
Bloody hell January has gone! A better month than I thought it would be what with post Christmas & New Year activities to deal with so here are our efforts for the month.
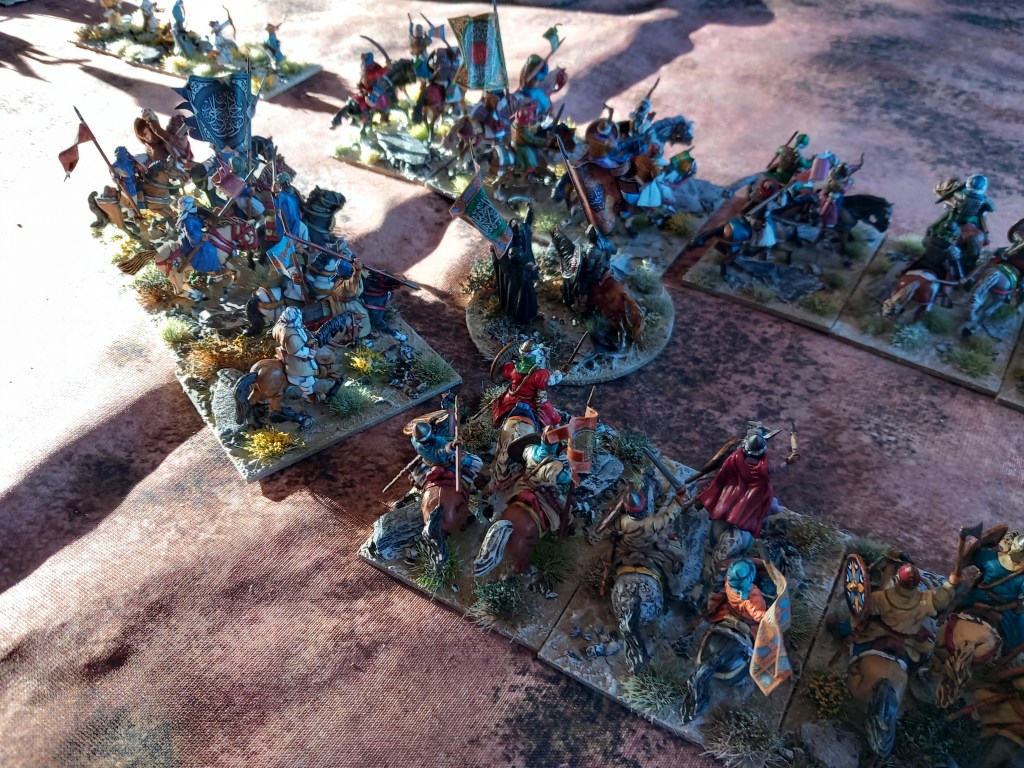
First up was a game from our Reconquista/El Cid project which is progressing rather well.

In this one we had Christian Spanish v Moslem Andalusians, an ‘equal points’ game rather than a scenario driven game – it’s easy to deride ‘points games’ but if you are trying to formulate a set of rule mechanisms that work then this does give a level playing field to work from.

Our terrain was a line of ridges with a stream just behind running east to west, emerging from the hills and ending at one table edge, the ground opposite was fairly open.
As it was the beginning of the month our numbers were low so we actually played the game twice with different players. Strangely both sets of players chose almost exactly the same set up with no knowledge of the previous player choices.
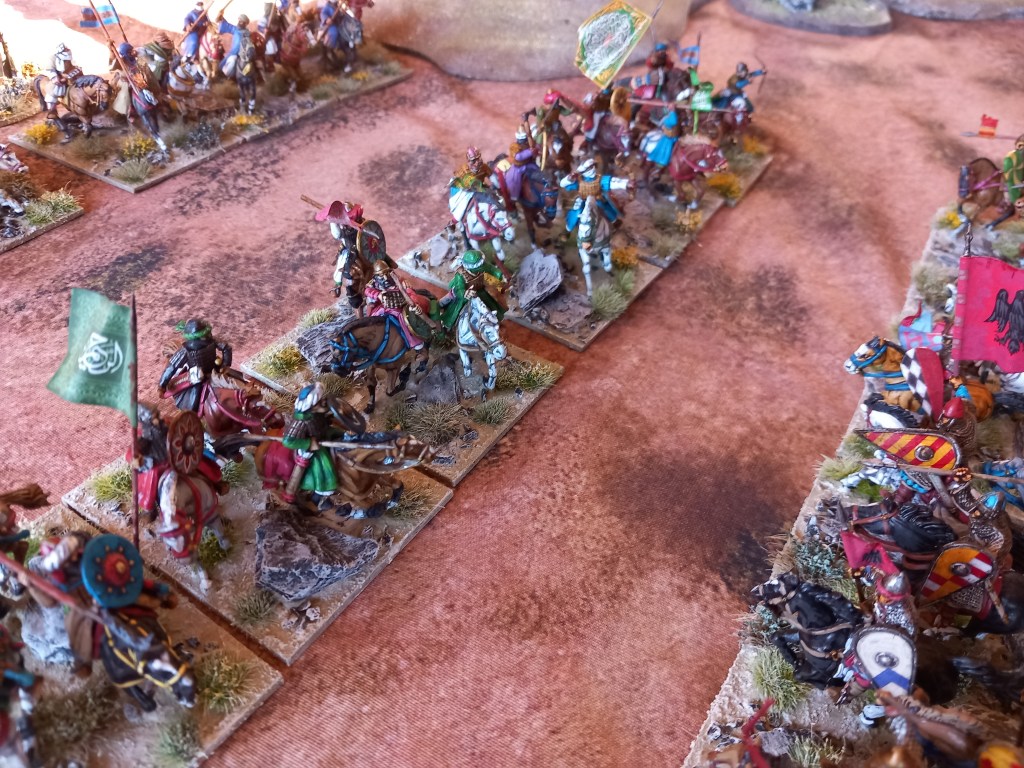
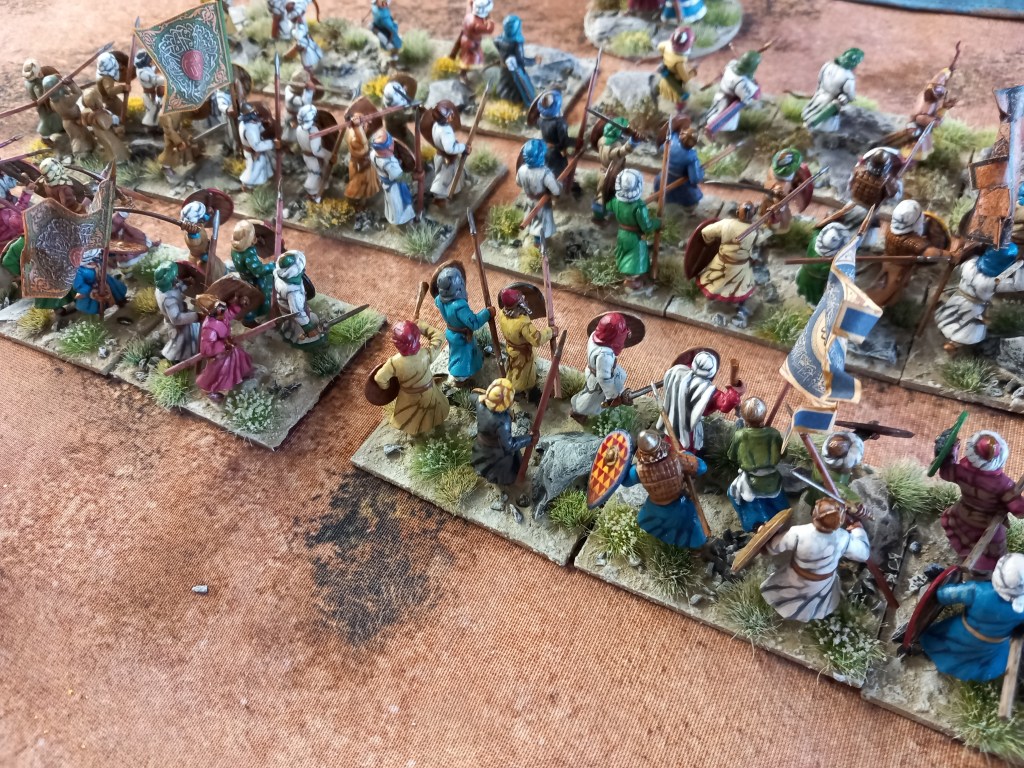
The Moslem forces chose the ground behind the stream & ridge line and in the first game deployed their spearmen covered by skirmishers out of sight behind the hills, in the second they deployed the infantry on the left hoping to move to the stream and deny a crossing to the Christians. With their cavalry; in the first game they deployed their jinettes and two units of retainers on the left and their nobles and two other units on the right, in the second game the jinettes were behind the ridge line and all the cavalry on the right.
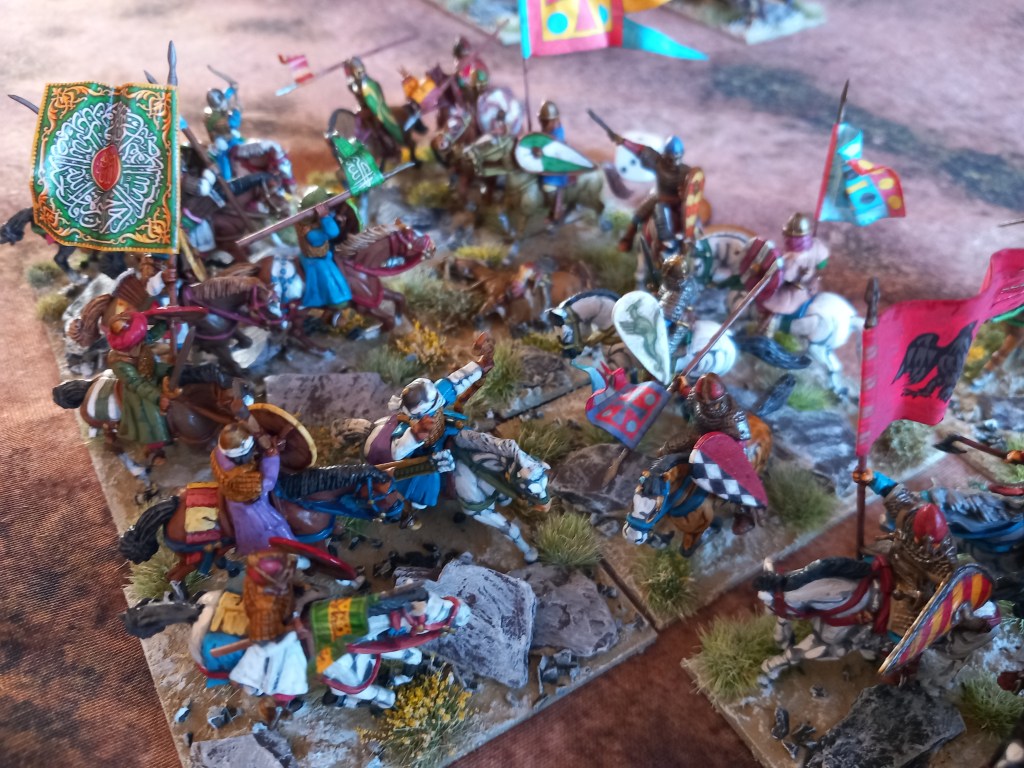
In both games the Christians deployed their infantry in the centre – militia spear and militia crossbows screened by skirmishing slingers and bowmen while on the right their caballeros (retainer cavalry) were deployed and on the left the military orders and noble cavalry.
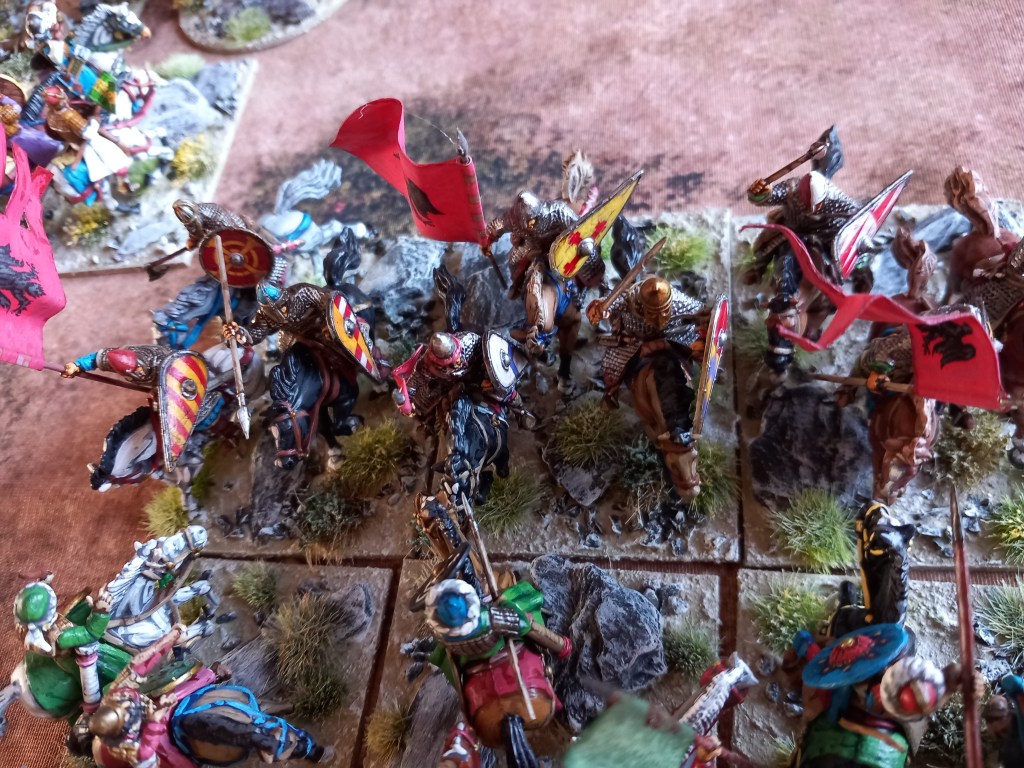
In the first game it was all about the cavalry. On the Christian left the nobles and military orders swept away the opposing nobles and retainers and on their right fought a tougher but ultimately successful series of melees which saw that Moslem flank also collapse. In the centre the Moslem infantry gained the ridgeline and held off the Christian centre but with both flanks swept away it was a clear Christian victory.
In the second game it was a much more even handed contest. The attack of the caballeros at the stream was met by the spearmen who defended the stream with tenacity and despite the the caballeros forcing their way over at one point their losses were too much and they fell back. On the Christian left the veterans and military orders were met by more numerous opposition and a couple of decent class noble units which ultimately proved decisive and the Christians fled with severe losses. In the centre the Christian infantry gained the ridgeline with little hindrance but so what? and in fact the overspill of Moslem cavalry from the Andalusian right started to cause problems for the crossbowmen, one unit of which was ridden down. So with the stream held and the best Christian units seen off an Andalusian victory was declared.

Although two games of the same scenario is not really our thing this did in fact prove very useful in that we were able to prove out the last rules mods and now have something that will see us through some consistent play. The particularly positive outcome was that we now feel confident enough to do the game at the next Partizan so come and have a look if you are there.
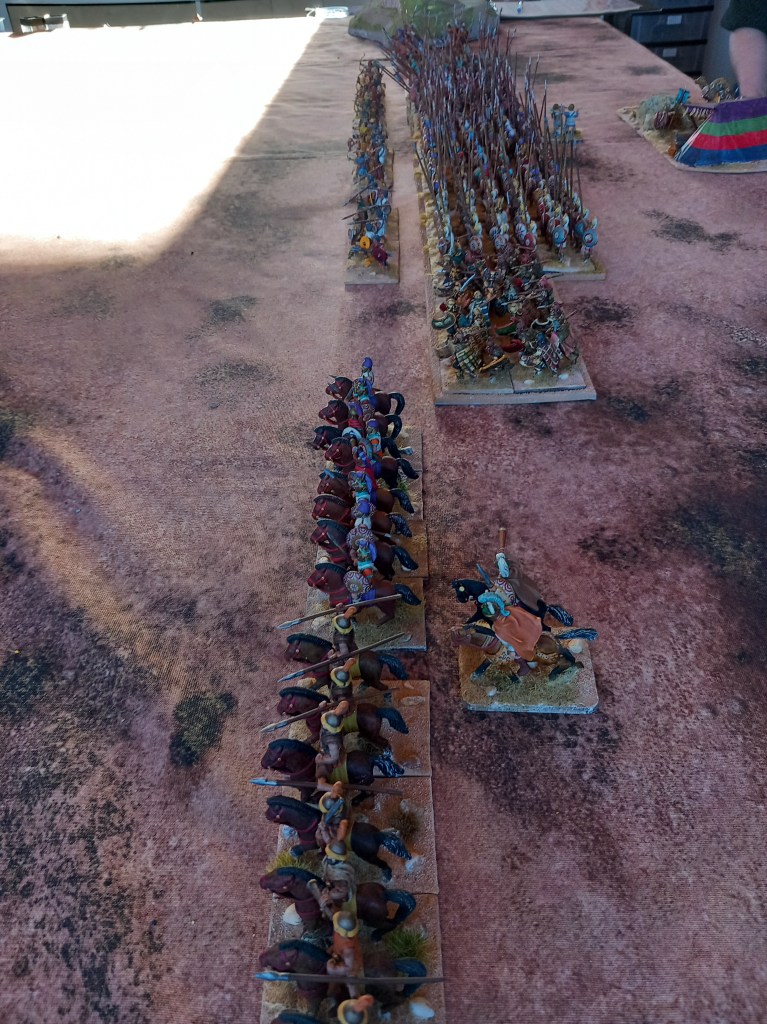
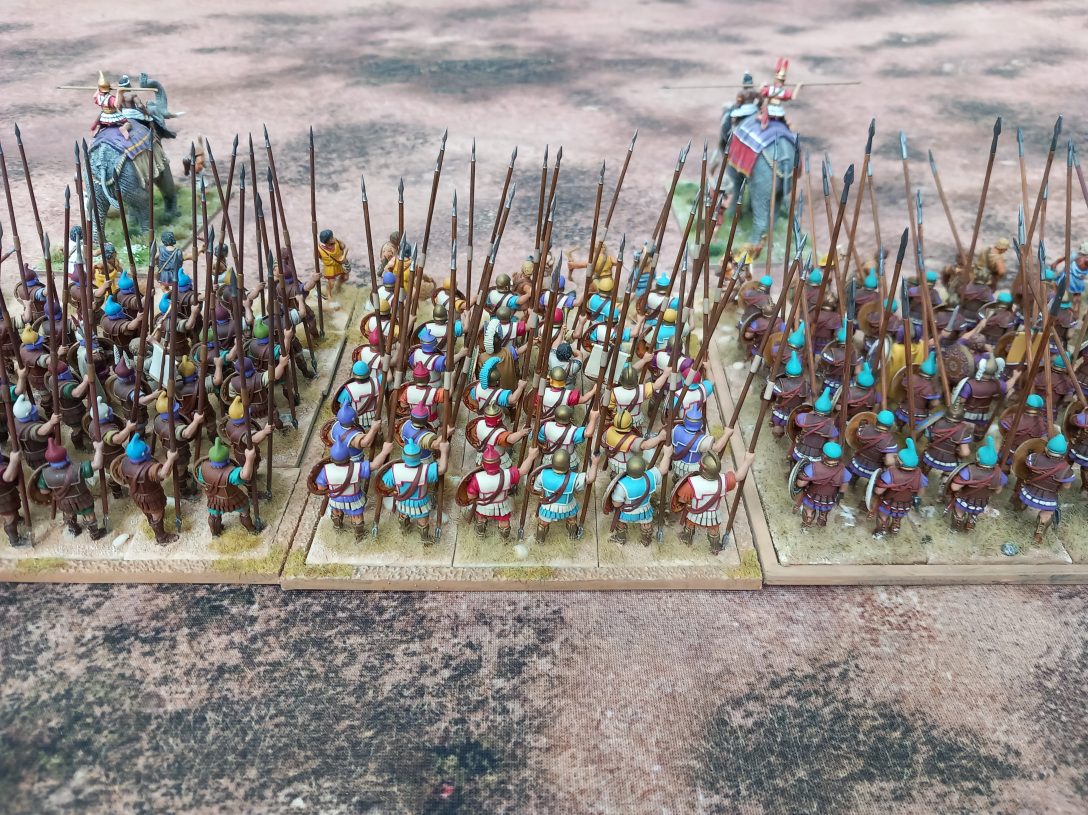
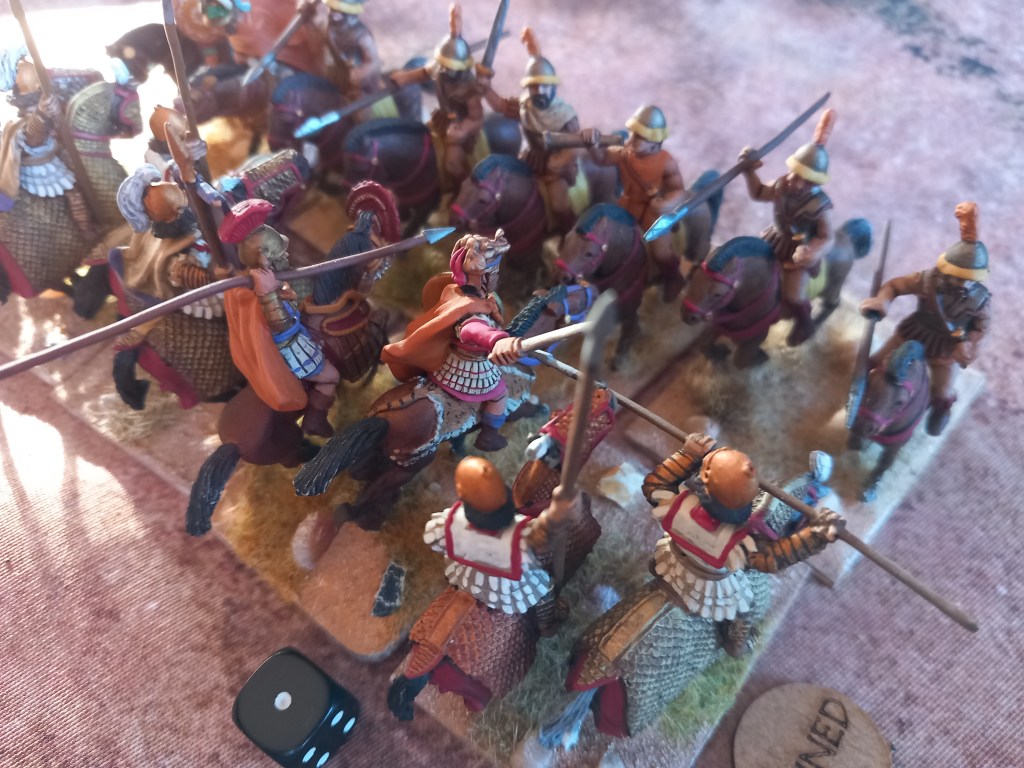
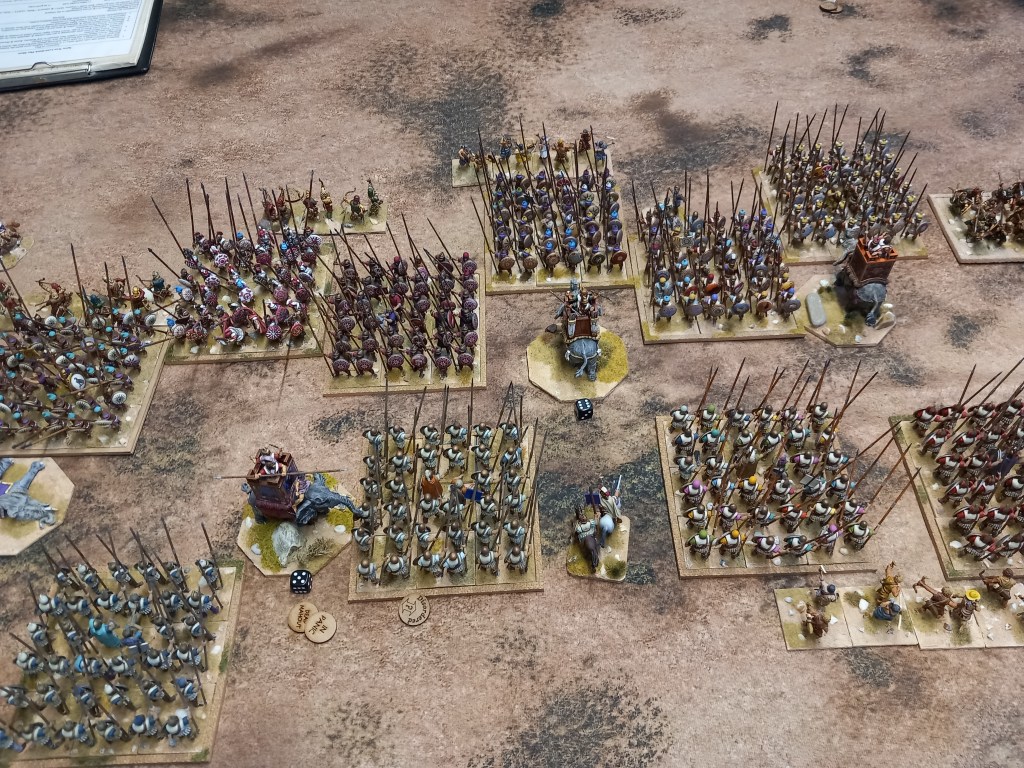
Our next effort was a step back in time and a re-fight – the battle of Panium, 201BC.

I knew nothing of this battle until one of the guys pointed out the recent article in Wargames Soldiers & Strategy by Mark Backhouse. As it featured later Successors (Ptolemaics & Seleucids) it talked to one of our loves and as we had just finished up some more cataphracts it seemed very serendipitous!

If you want a detailed read then turn to Mark’s article or if you fancy yourself as a scholar dig out Polybius Book 16 but I warn you it is just as confusing as Mark says! A precis of the battle is as follows; the Seleucids deployed with their cataphracts on the right stationed on Mount Hermon, the centre was the usual array of pikes covered by skirmishing infantry & cavalry plus elephants and the left was a smaller cavalry force; the Ptolemaics were weak in cavalry and so deployed limited numbers on both flanks but had a strong infantry centre of pike & Thracians screened by numerous skirmishers. The Seleucids opened the battle with a furious charge of the cataphracts off the hill which swept away the opposition, seeing this the Ptolemaics pressed the attack in the centre and seemed to have gained the upper hand but the victorious cataphracts returned and enveloped the Ptolemaic left at the same time as the Seleucid left turned in on the Ptolemaic right and the game was up.

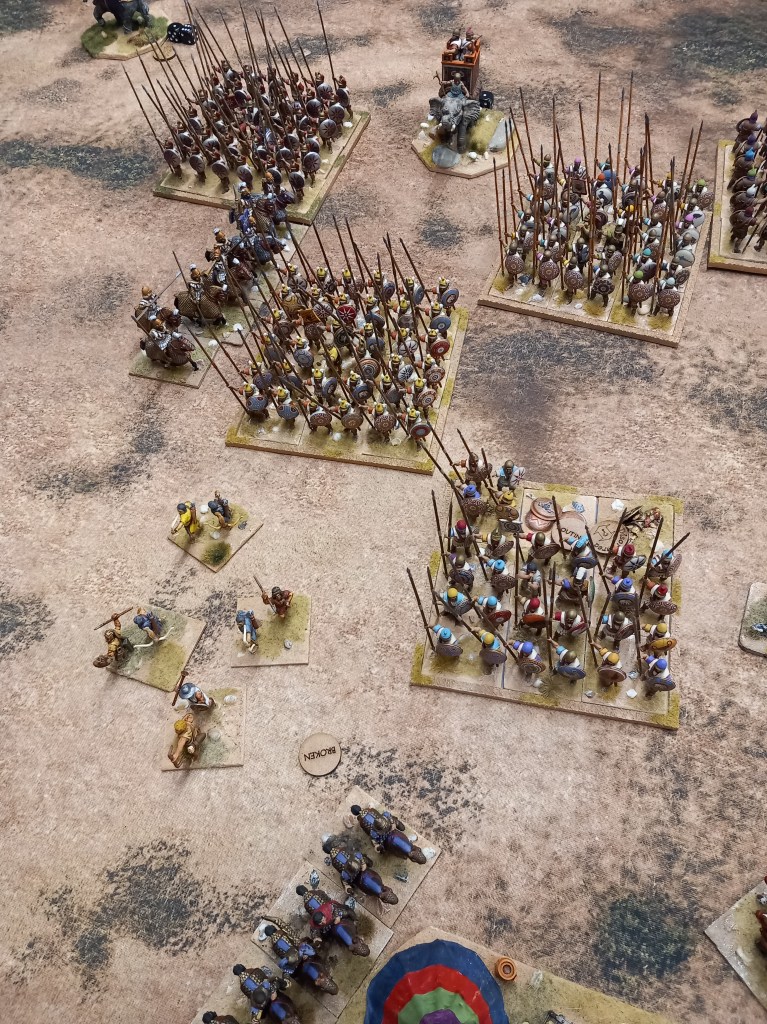
Our refight used the order of battle presented by Mark, translated into our rules and lists which came out as follows: On the Seleucid right, 3 x cataphracts under Antiochus the Younger, in the centre, under Antiochus the Great, 4 x pike (including the elite silver shields) screened by a unit of Cretan bow and a unit of Tarentine light horse with 5 x elephants placed at intervals between the pike, on the left a single unit of Agema heavy cavalry and a unit of local formed cavalry under Nicarchus (conjectural). On the Ptolemaic left was 2 x formed cavalry under Ptolemy, in the centre 6 x pike, and a unit of Thracians screened by 4 units of skirmishers of varying quality and out on the right the overall commander, Scopas, with a single unit of Agema cavalry.
Our refight was a classic example of how wargamers can break the historical narrative and the reason why we play.

As is always the case with these kind of games it’s all about the cavalry to start with. On the Seleucid right the cataphracts lumbered off the hill (hardly a furious charge 😂) but the Ptolemaics got the initiative when it came to contact and got in first precipitating a drawn out melee which ultimately saw the one unit of cataphracts fleeing. Fast forwarding, this flank then devolved into the other Ptolemaic unit being routed by it’s opposing cataphracts and the the third cataphract unit advancing to the Ptolemaic camp and begin looting. On the other cavalry flank the clash of the Agema resulted in the destruction of the Seleucid version and their supporting cavalry was shot down by Ptolemaic skirmishers, the Ptolemaic Agema however was in no state do do anything further.
In the centre we got to do the thing we love, shove long pointy sticks at each other 🤣

Both sides advanced steadily and in the initial missile exchanges the Seleucid Tarentines were quickly eliminated. The Ptolemaic levy skirmishers who made up half the total performed surprisingly well which demonstrated that crap troops can do well enough if not overly threatened. The Seleucid elephants had a good start when being used as a shooting platform and assisted in the destruction of the enemy Aetolian javelin men.

Once troops started to close then it became more hard core. The elephants had to start earning their keep and that was a bit of mixed bag. Two elephants (well squadrons) got stuck in with the veteran Ptolemaic pike and paid the ultimate price although it did slow those units down and broke up the nice neat lines. Unusually only one unit panicked and of course that ran into it’s own pike effectively pinning that unit, the other two essentially hung around never quite getting the courage up to get stuck in – well who would!
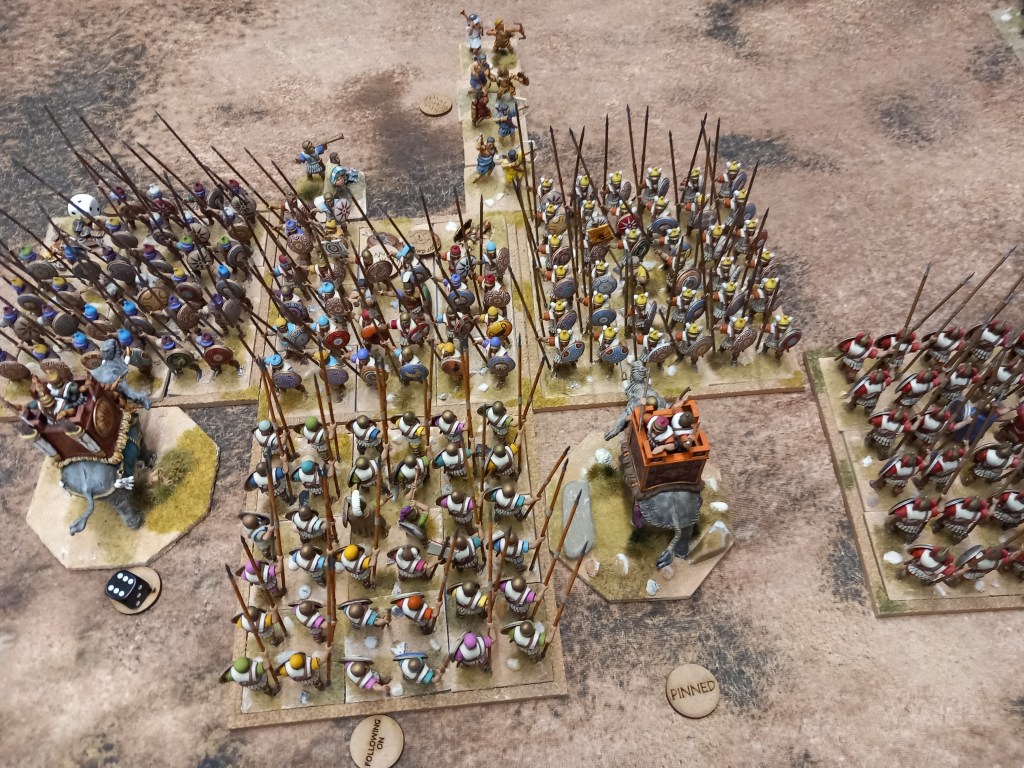
The battle of the pike battalions went pleasingly well from a game point of view but the Seleucids were having a far harder time of it than their historical prototypes. The Silver Shields destroyed the Thracians, great for them but probably a poor use of an elite unit. Further Seleucid success saw the rout of one levied pike and one mercenary pike on the Ptolemaic side with the loss of only one mercenary pike on the Seleucid side.
As we reached the prescribed number of turns assigned for the game it was clear a Seleucid victory had been obtained. The Ptolemaic camp was looted and so the focal point for rallying was lost and they had more units in the wind. Not the decisive victory of history but a dammed good game.
A bit of a sidebar note, I did speak to Mark about doing a write up of the game as a follow on from his article to offer a bit of a different perspective from his own rules but he advised that WS&S policy wasn’t to publish battle reports. Their loss your gain 😉
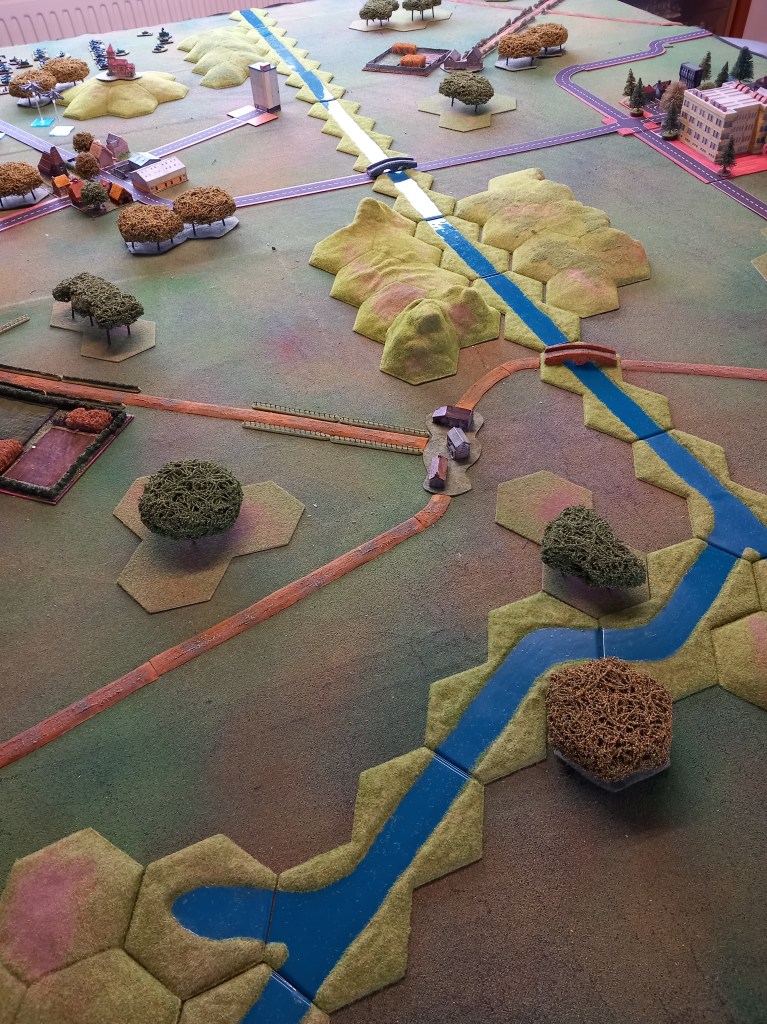
Up next was another Cold War Commander this time with our growing 6mm collection, both in terms of hardware but also the terrain, I think we have made some serious progress 🙂

We opted for the ‘Battle of Attrition’ scenario from the rules which is exactly that, kill more of the opposition than they kill of you within a fixed number of game turns.
Given that both sides start in fixed positions, somewhat randomised by the roll of the dice, this is a bit of a cat and mouse game and on reflection I’m not convinced of its historical veracity.
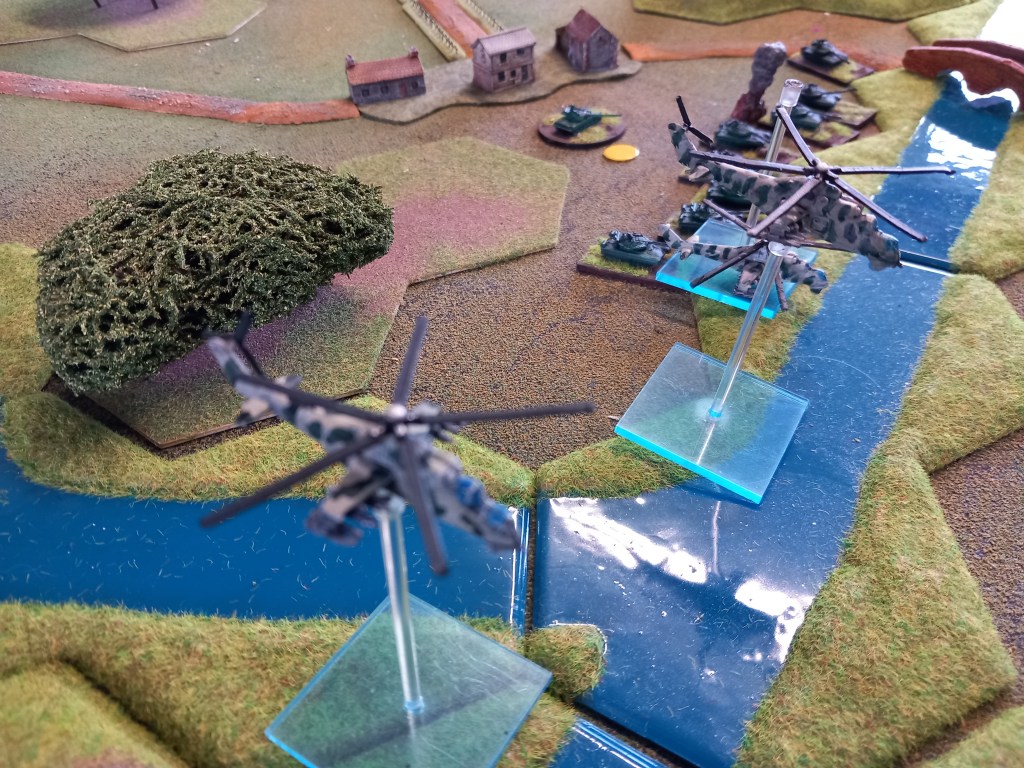
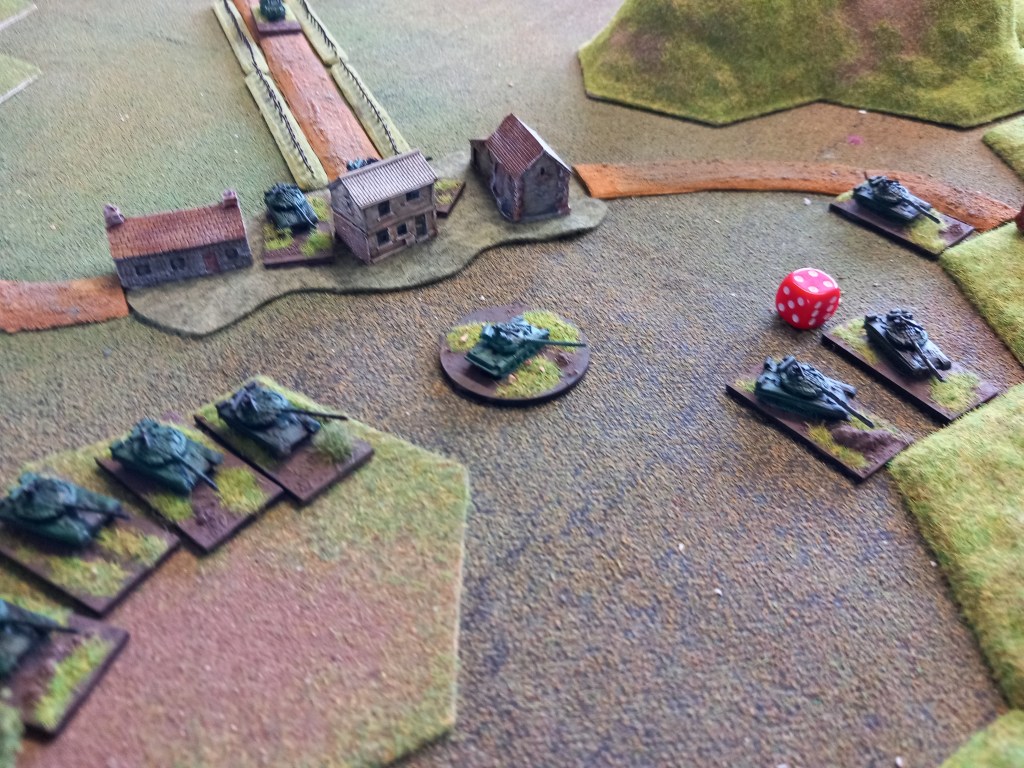
Regardless, both sides manoeuvred to try and get the advantage, the Soviets to use their superior numbers and the potentially devastating Hinds with their onboard ATGW arsenal, the Bundeswehr to get the best out of the superior range and superior armour of the Leopard 2’s.

The vulnerability of the Soviet armour was demonstrated several times although in fairness presenting your flank to enemy fire does tend to result in disaster 🤣😂
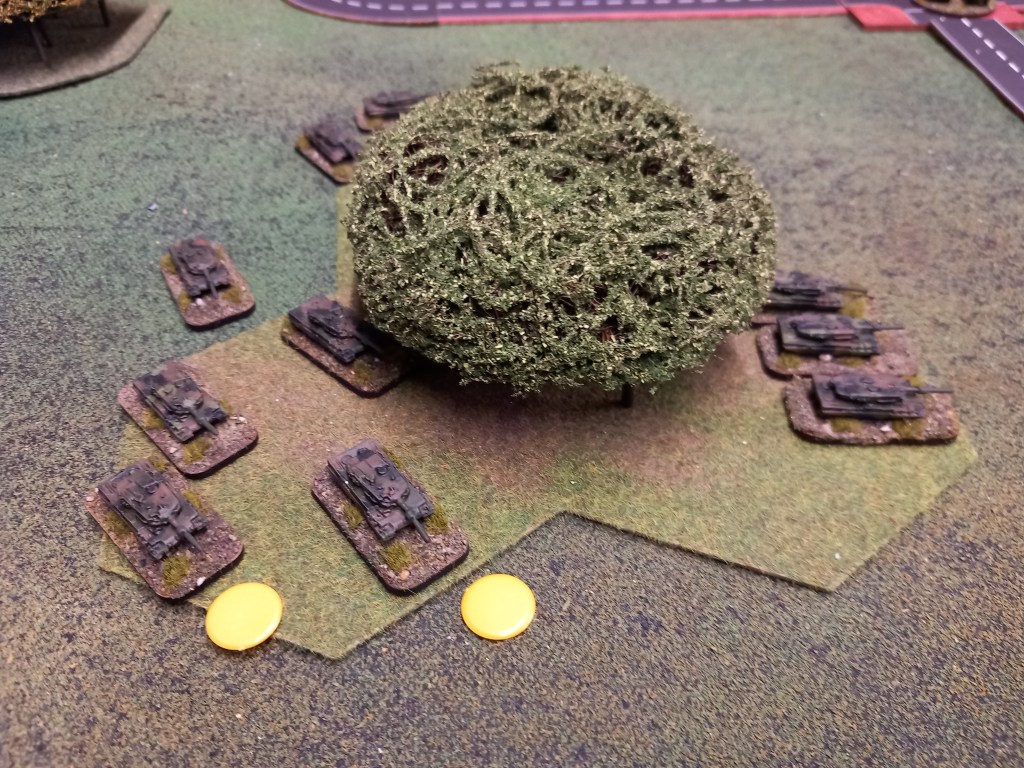
Ultimately the game was a NATO (Bundeswehr) victory but probably not one of our more satisfying games. The rules, like any set of rules, have bits where you go “really?” but I think it was the scenario that was a bit self defeating, more of a narrative game next time I think.

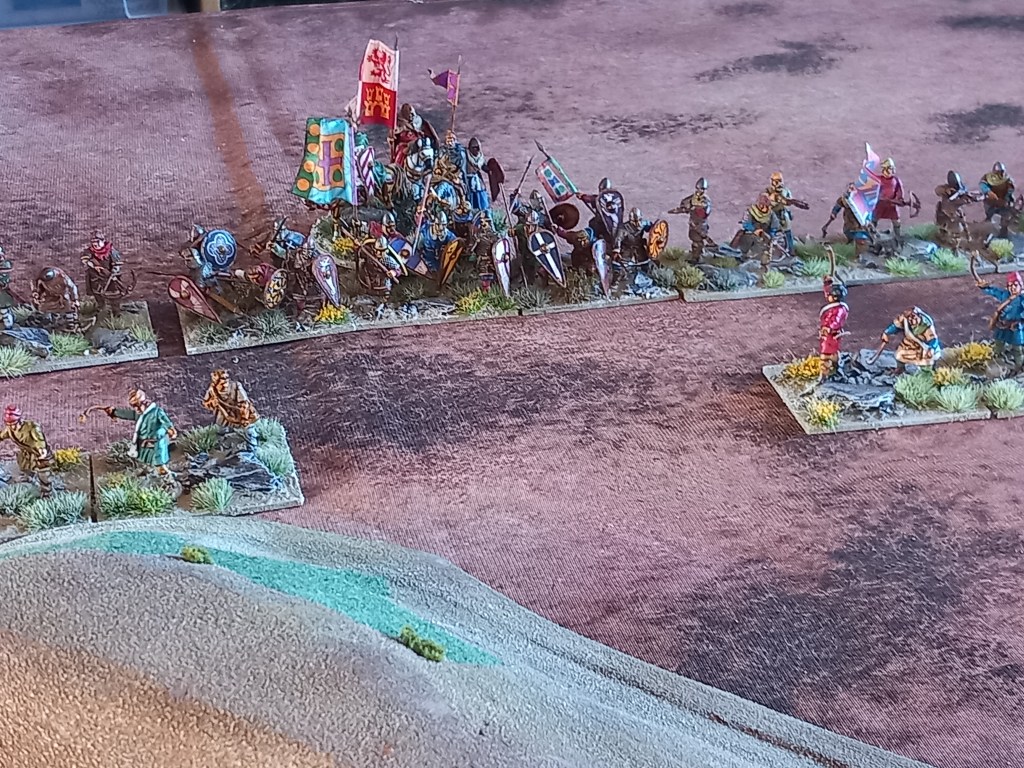
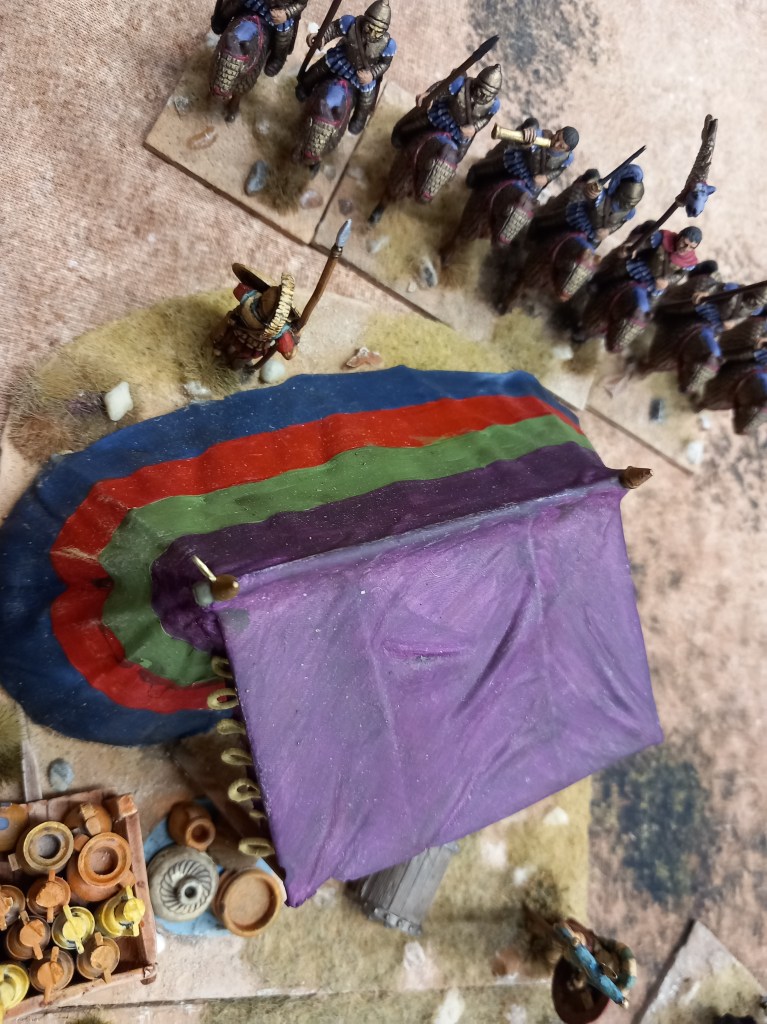
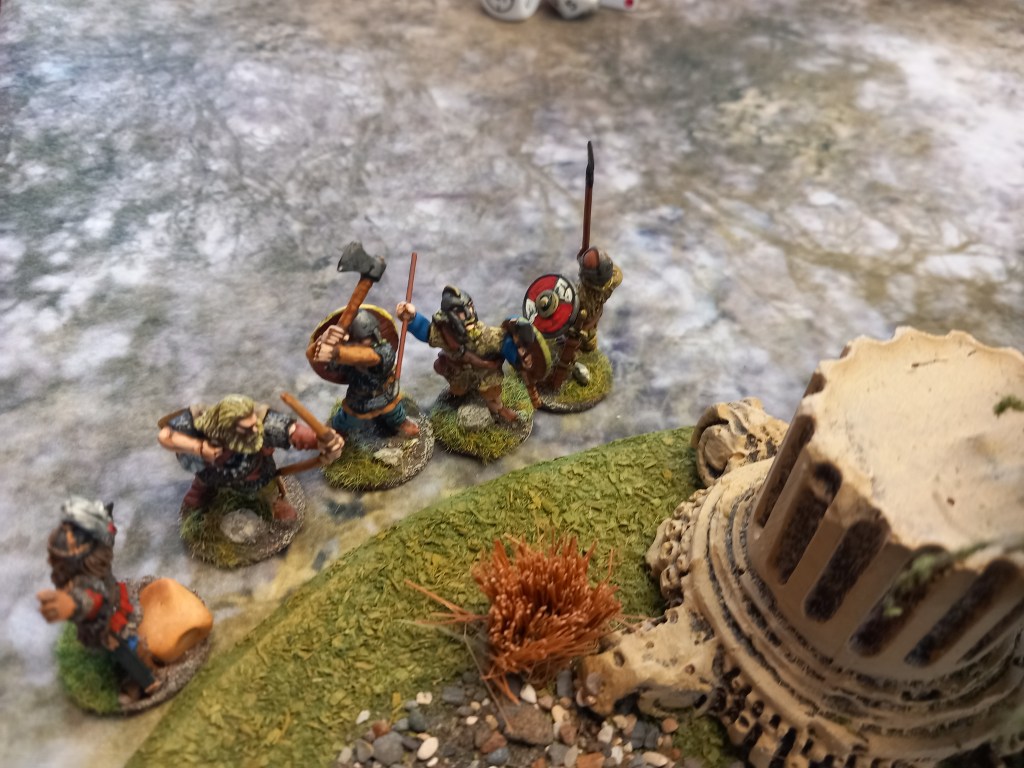
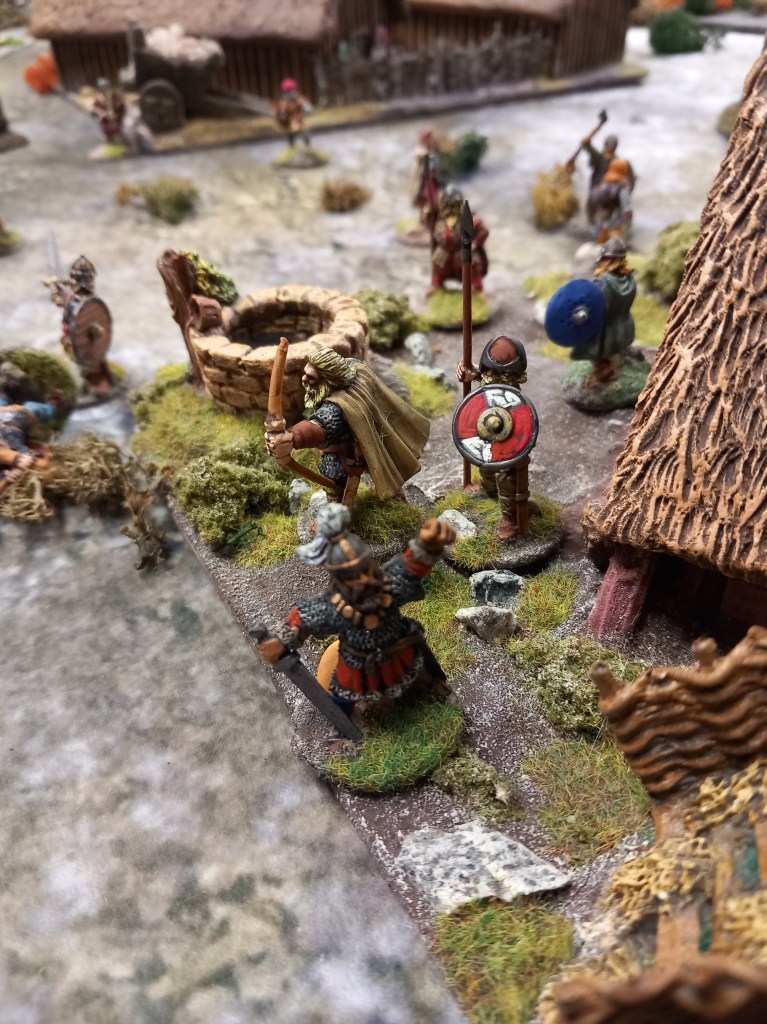
By way of a complete change our next effort was a Viking skirmish, two roving/allied bands out to loot a rival settlement getting ready for winter.
The raiding bands had the rather obvious objective of obtaining loot, ranging from livestock to hidden wealth, the settled Vikings the objective of seeing off the raiders and killing enough for them not to try again. Forces were positioned randomly on the board.

The raiders approached from the north and the east under Eanmund and Halfdane respectively. Eanmund headed for the isolated smithy to start while Halfdane skulked around the vegetable patches.

The village guard dogs were completely useless and it was complete luck that one of Hygellac’s crew saw Eanmund’s band at the smithy. Horns were sounded, to battle!

The game quickly became the battle for the smithy – not quite Beowulf level but hey ho 😆
The ‘battle’ eventually sucked in Hrothgar’s band from within the village and a lopsided fight saw Eanmund fleeing the scene bleeding from his wounds, his armour rent and his sword notched.

But what of Halfdane and his band I hear you ask? Well, with the guard dogs having wandered off and Hrothgar having heeded the call of the horn it was time for some easy looting.
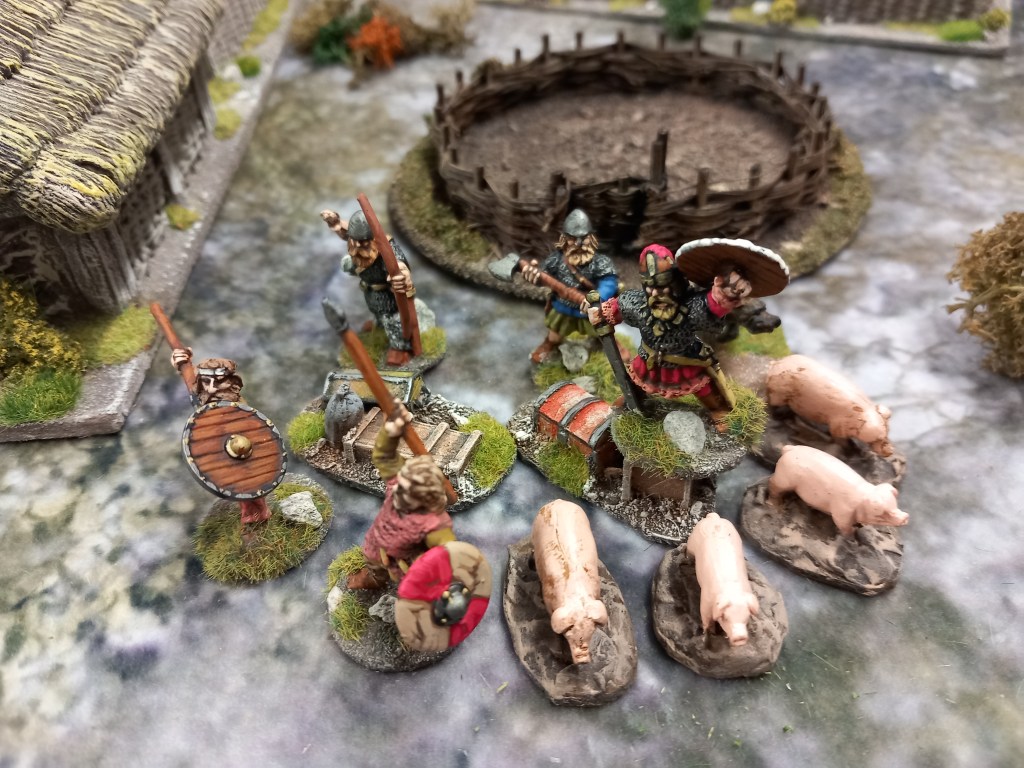
In fact Halfdane was the clear winner, livestock taken and some of the lesser valuables looted, a fine day out 😄

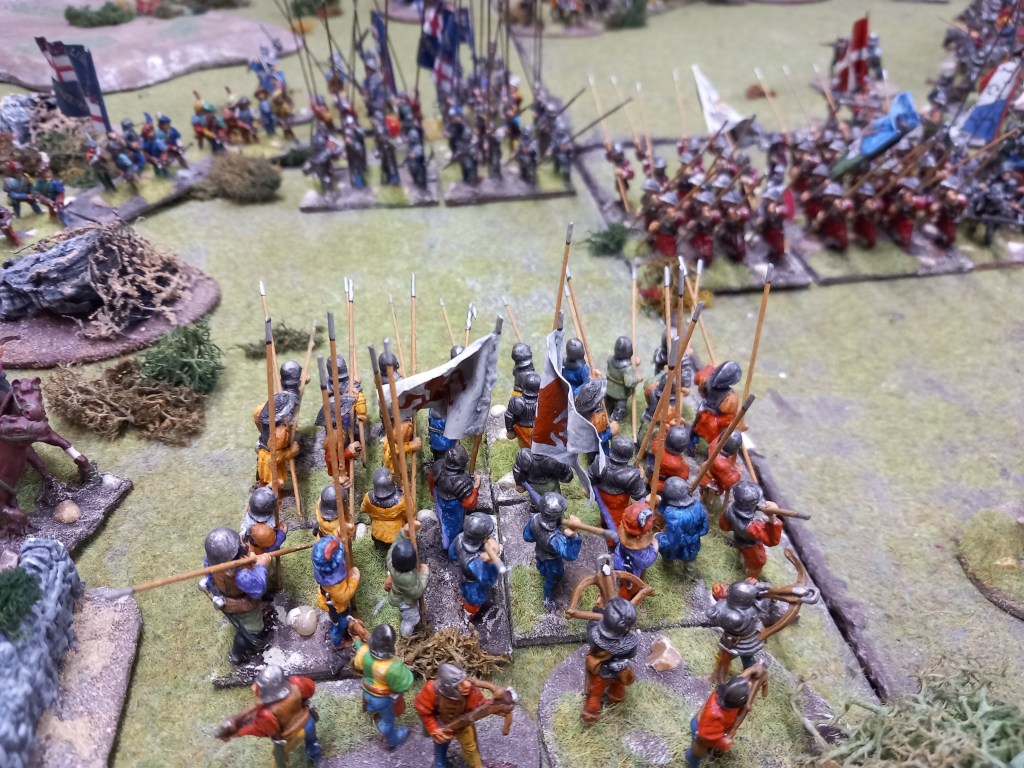
Next up, Italian Wars, Florentine and Venetians squabbling about real estate in Mantua.

Both sides fielded pretty large forces. The Florentines were strong in militia crossbows & pike supported by mercenary condottierre and mounted crossbows. The Venetians slightly outmatched the Florentines in cavalry and did have the better quality Lanze Spezzate while their infantry was a more eclectic mix of professional crossbowmen and mercenary pike & crossbows. Both sides had a smattering of skirmish horse.
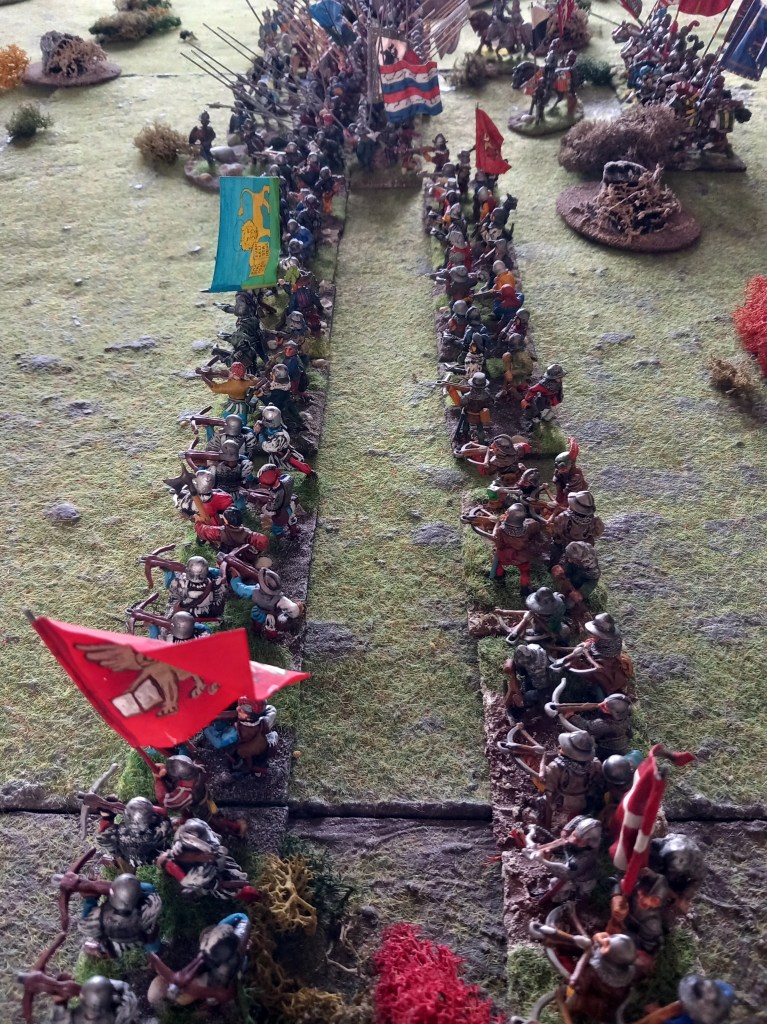
Both sides deployed their battle cavalry on the right flank, the Venetians screened by a wood and the Florentines planning to use the town to anchor their flank. Given the number of crossbows in their army the Florentines strung them out in one long line hoping to get the best out of their firepower, the pikes they deployed on the right centre. The Venetians had deployed their Provisionati (professional crossbow) opposite the Florentine condottiere so their plan automatically became shoot the heavy guys before they ride you down, the mercenary pike and crossbows were deployed in the centre. Both sides had formed units of crossbow cavalry, so not skirmishers, which they deployed on the flanks – history tells us there were thousands of these guys and generally ineffective they were too.

The initial aggression was shown by the Florentines who got their condottierre moving (after a bit of persuasion) in the direction of the Provisionati.

To fast forward a bit the Florentine condottiere weathered the storm of crossbow bolts that met them and ultimately swept away the Provisionati which ended the participation of both combatants for the game.
In the centre we had general disappointment, despite some fairly effective skirmishing neither side could get their pikemen to get stuck in. A mix of poor dice rolling and low rated captains meant that all they did was stand and stare – we did have a discussion about this and although not completely satisfying from a gaming perspective we had to acknowledge that historically these units weren’t that effective in the field.

The game was lost on the Venetian right. The cavalry block advanced late from behind the wood and ran into crossbow fire from the Florentine crossbows on this flank but it wasn’t the casualties that stopped them it was the death of two captains that stymied the advance and led to more casualties and ultimately morale failure.

With the centre deadlocked but the Venetian right stuck and the left lost we gave the victory to the Florentines.
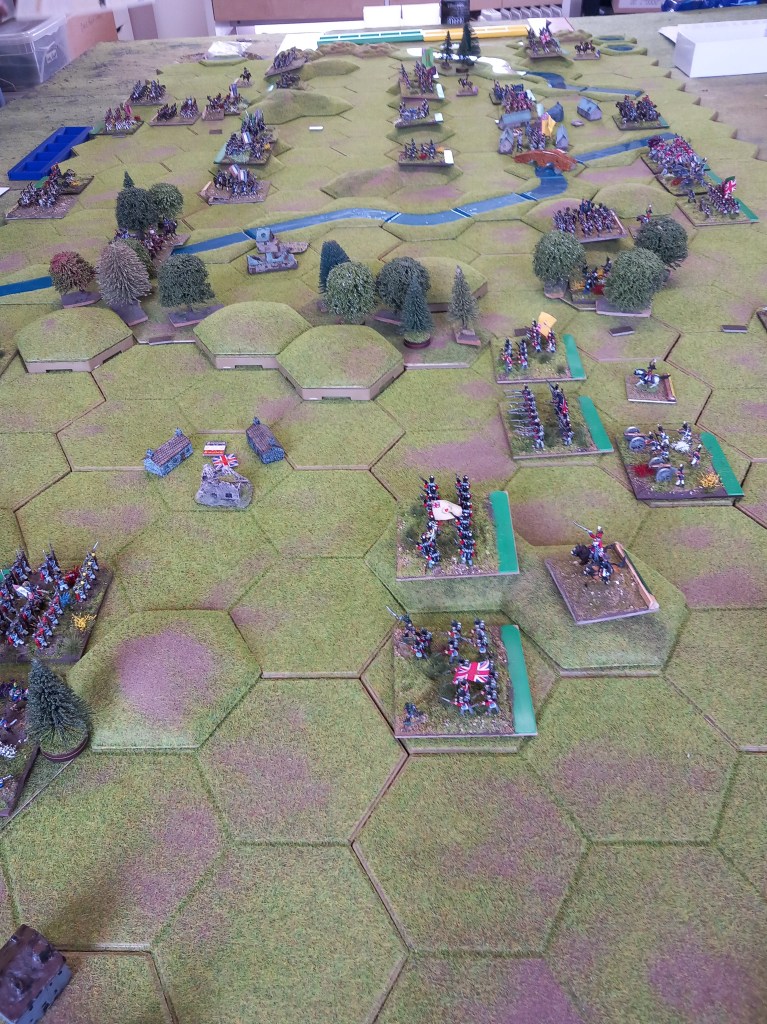
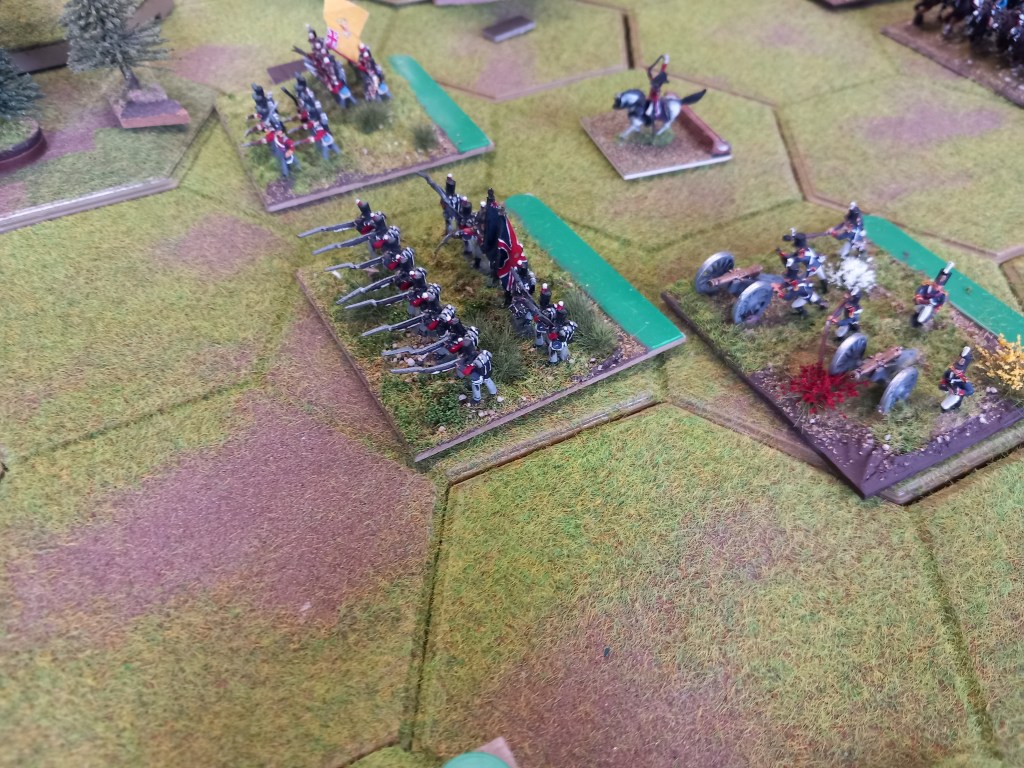
Our final effort of the month was a refight of the battle of Vimeiro 1808 using Command and Colours in 15mm.
My understanding of Vimeiro is that Wellesley, with slightly superior numbers, defended his position at Vimeiro and the adjacent ridge against several uncoordinated attacks by the French under Junot and drove them off with significant losses and ended the French intervention in Portugal.
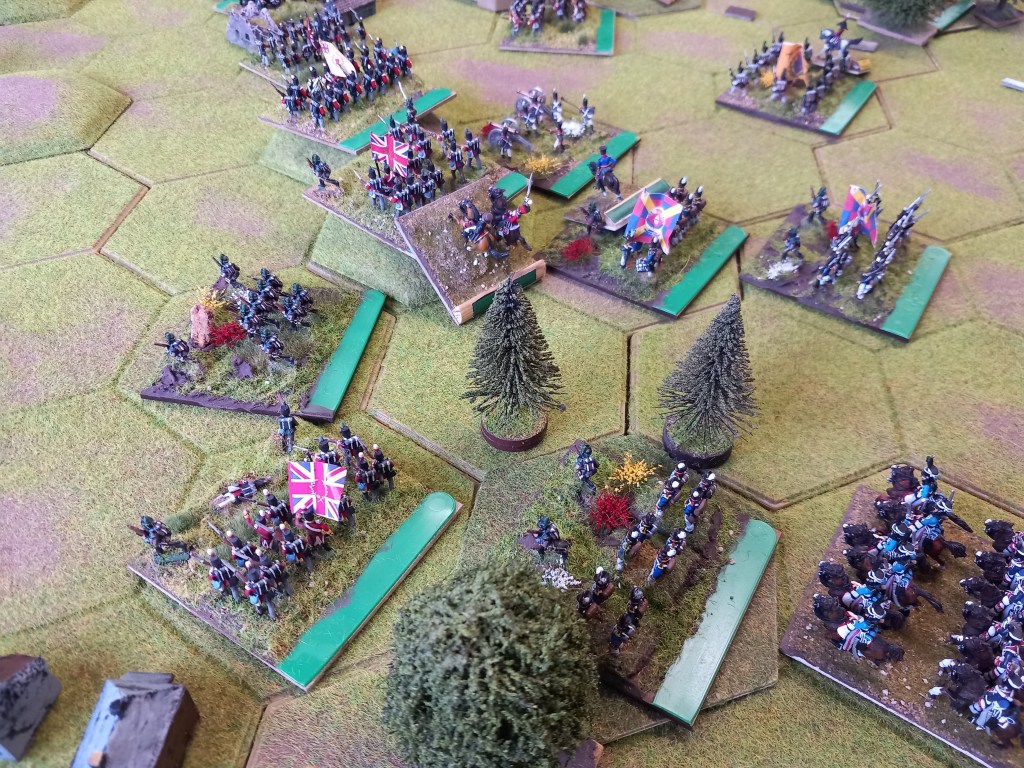
For our refight the troops were set out as per the historical prototype using the map supplied with the rules.

Being coordinated or otherwise is rather at the discretion of the cards drawn and the playing of them.

In the centre and right the British attempted to get as many units in and around the village of Vimeiro as the cards would allow as well as trying to wear down the French attackers.

On the British/Portuguese left there were a series of moves and counter moves with the French as each tried to seize a village I’ve forgotten the name of and was in fact completely unimportant.

The game was won in the centre where the British just couldn’t get enough troops around Vimeiro to defend it and the French didn’t obligingly launch piecemeal attacks. Conclusive French victory.

I’ll freely admit the rules don’t really do it for me, the card thing is just too abstract and the use of a unique dice mechanism too random. That said though the rest of the group are all Napoleonic fans and there are plenty of battles to fight so we will continue to feature these in our play.
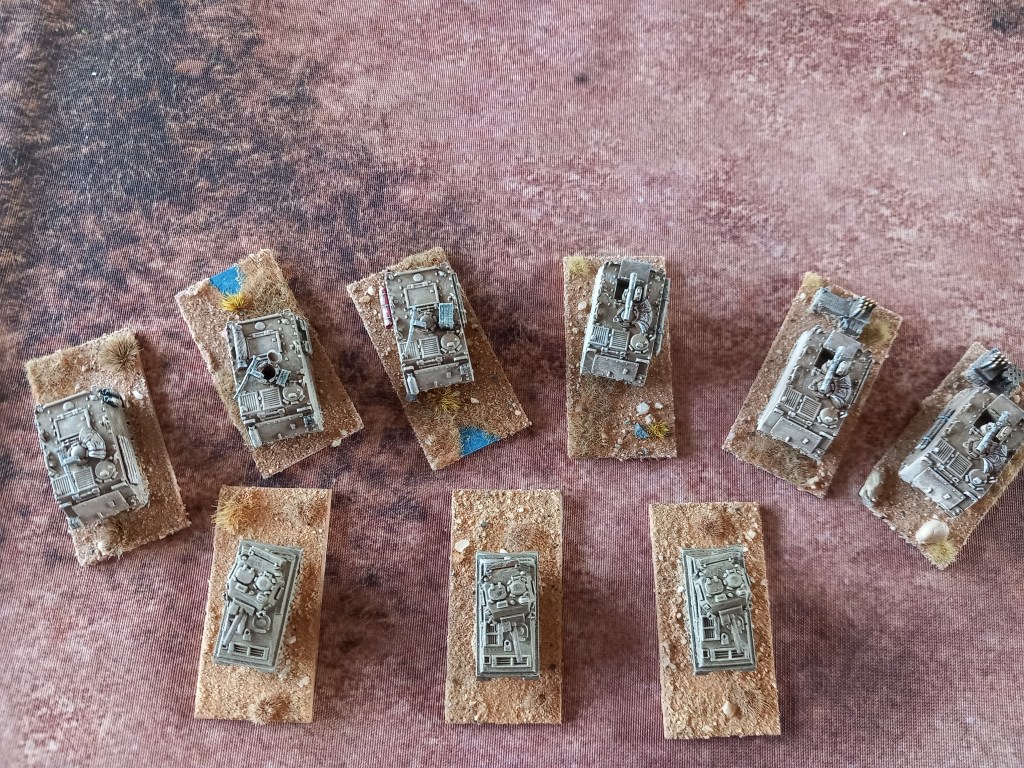
Well that’s it I reckon, not much done on the painting scene although this Iranian armoured recon battalion did get finished along with some road sections, most of the month has been spent on terrain items for the 6mm. So, signing off, please feel free to comment and look forward to posting in a months time.

As always, I’m in awe of your pike blocks. I love seeing the battle shots, always a good read too! In my head I imagine your display cabinets literally groaning under the weight of so much metal!
Keep up the good work!!!
LikeLiked by 3 people
Thank you Paul, we are very proud of the Successor rules and how the armies look. Glad you like the read too, it makes the time spent typing worth it.
There are 3 x 6 foot tall cabinets in the gaming room and yes they are completely full, in fact too full, on one occasion one glass shelf broke and the figures tumbled down onto the shelf below – many tears were shed on that day!
LikeLike
All very nice looking games and minis! 🙂 First time I’ve ever seen an elephant casualty marker!
LikeLiked by 1 person
Thank you, very much appreciated. Glad you like the markers they are very much part of the game, basically they are the unused body half from the Victrix kits.
LikeLiked by 1 person
Thank you, enjoyed it as usual.
LikeLiked by 1 person
Well I’m pleased about that, sometimes when you are sitting typing away you can think “is this worth it?”
LikeLike
Great looking and inspirational stuff as always guys. Always love to see Elephants.. and those Foundry Vikings are the BEST.
LikeLiked by 1 person
Thank you, glad the posts have a positive effect.
LikeLike