
A month of funerals and holidays but we managed a fairly productive month.
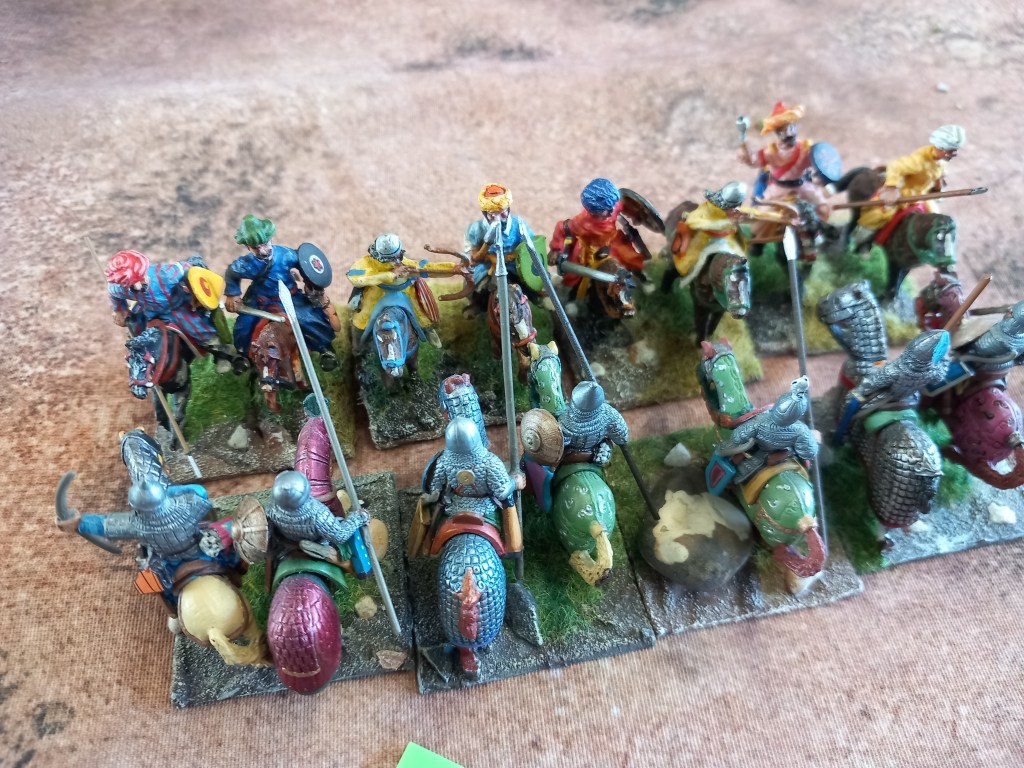
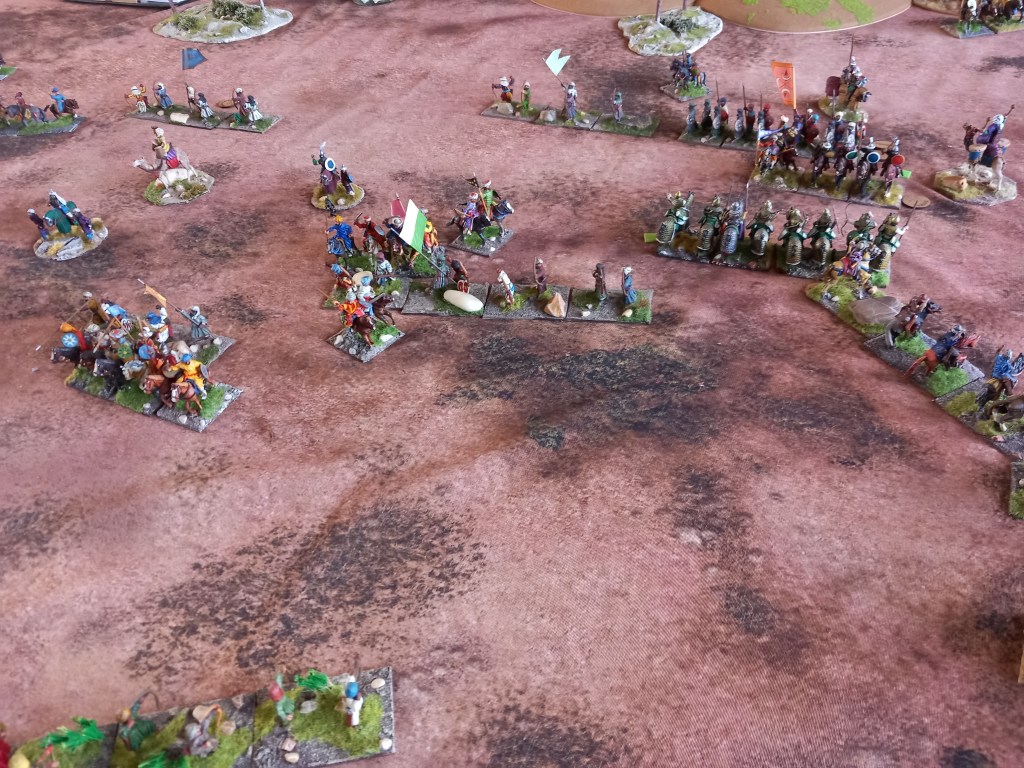
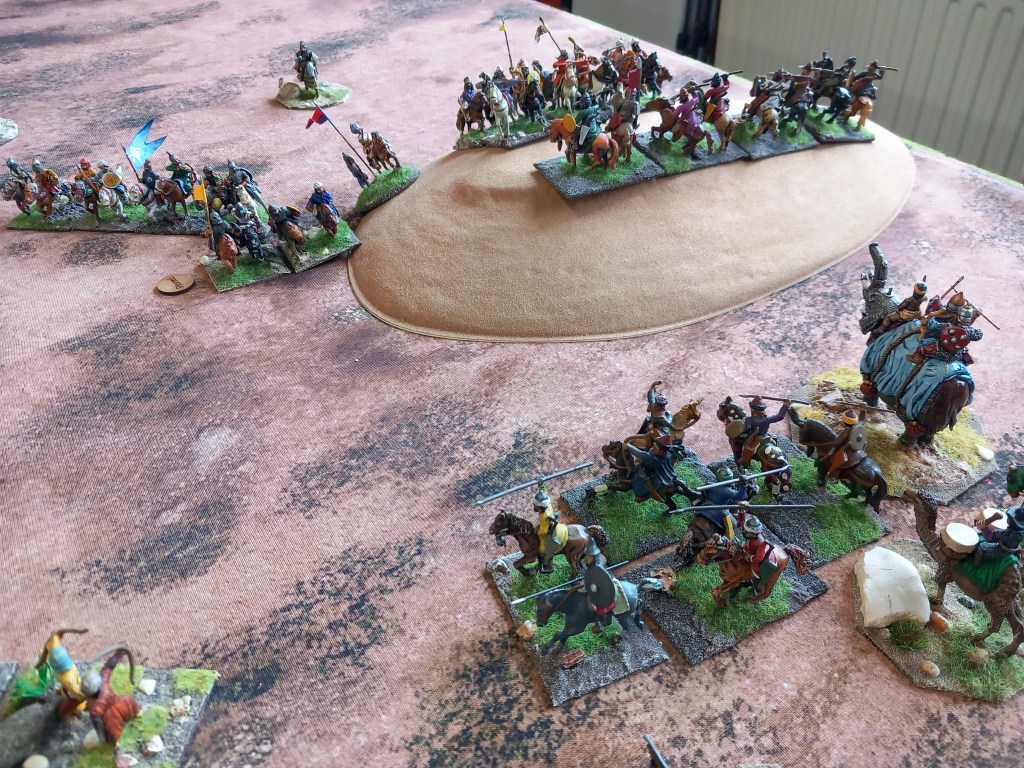
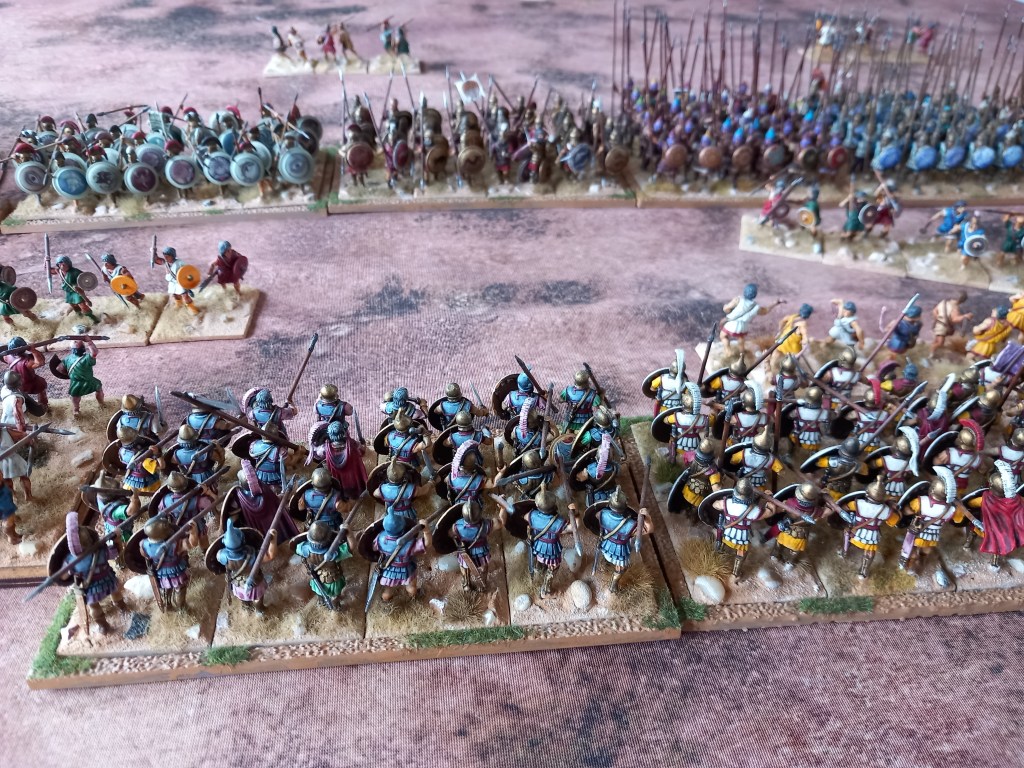
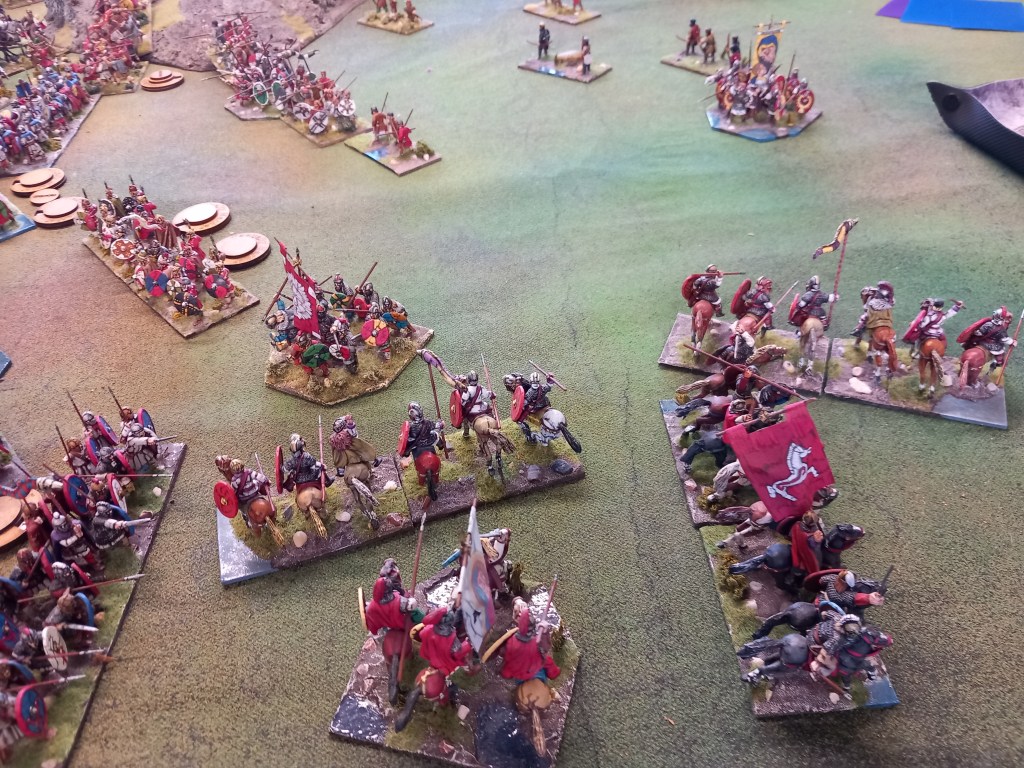
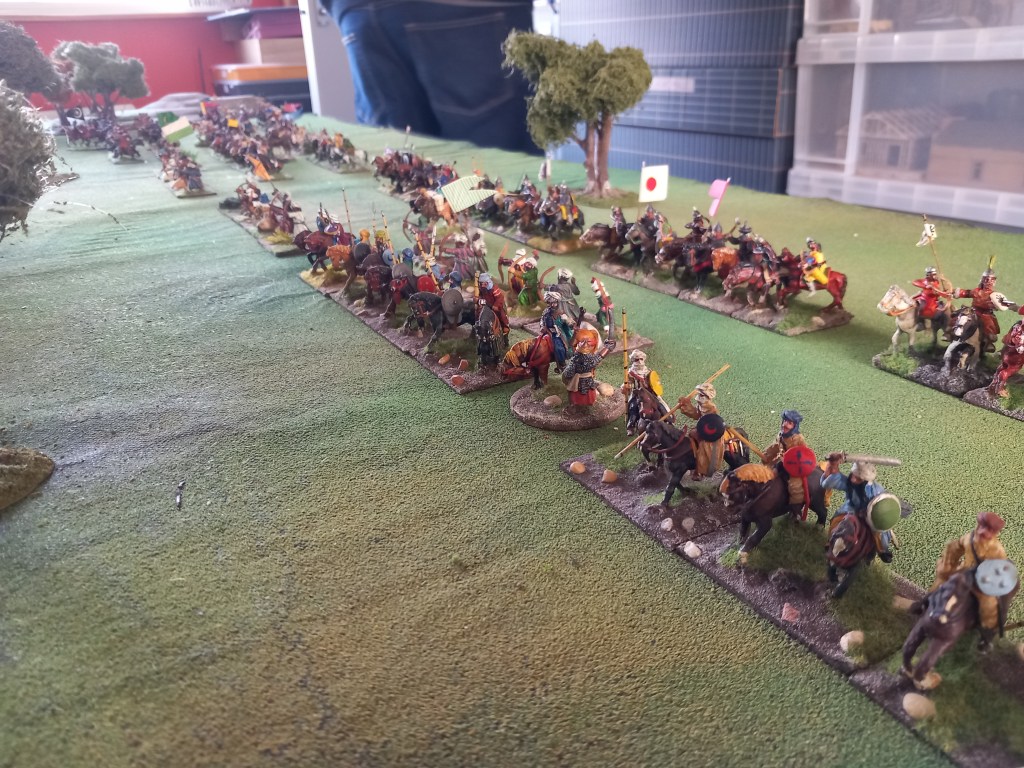
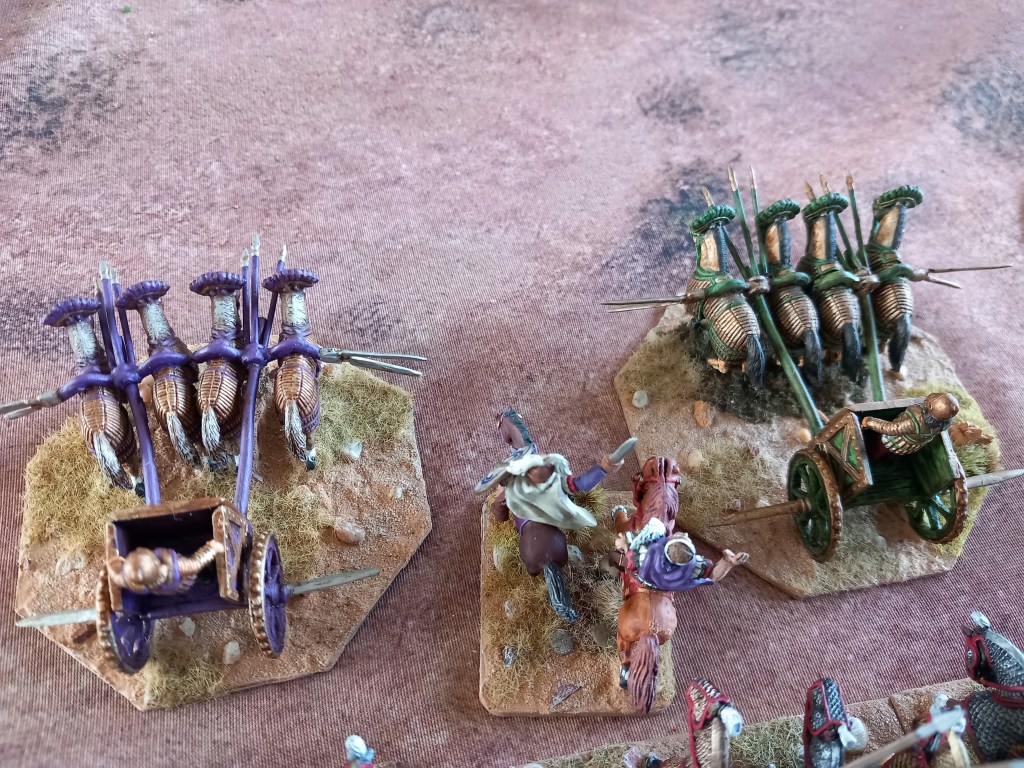
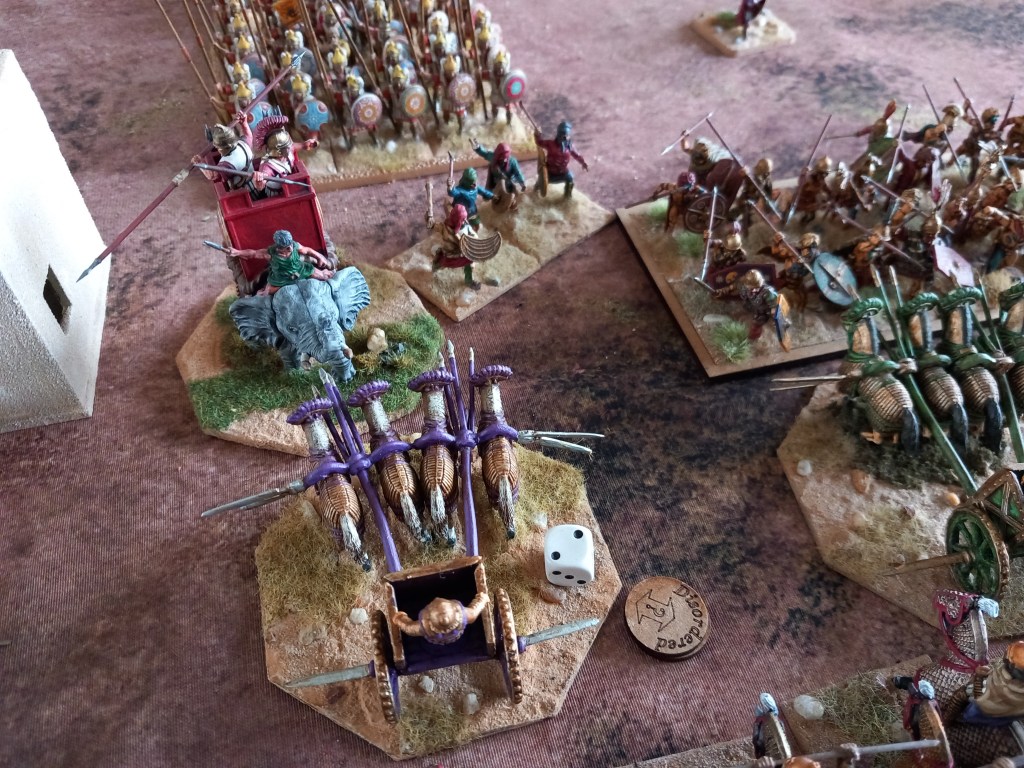
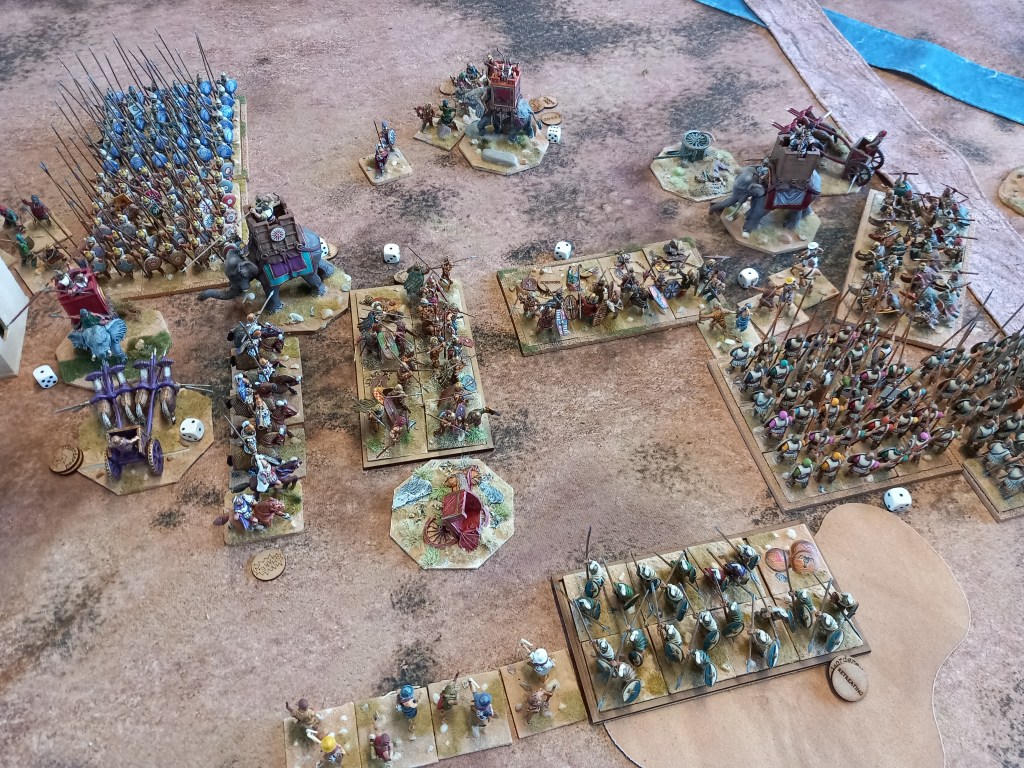
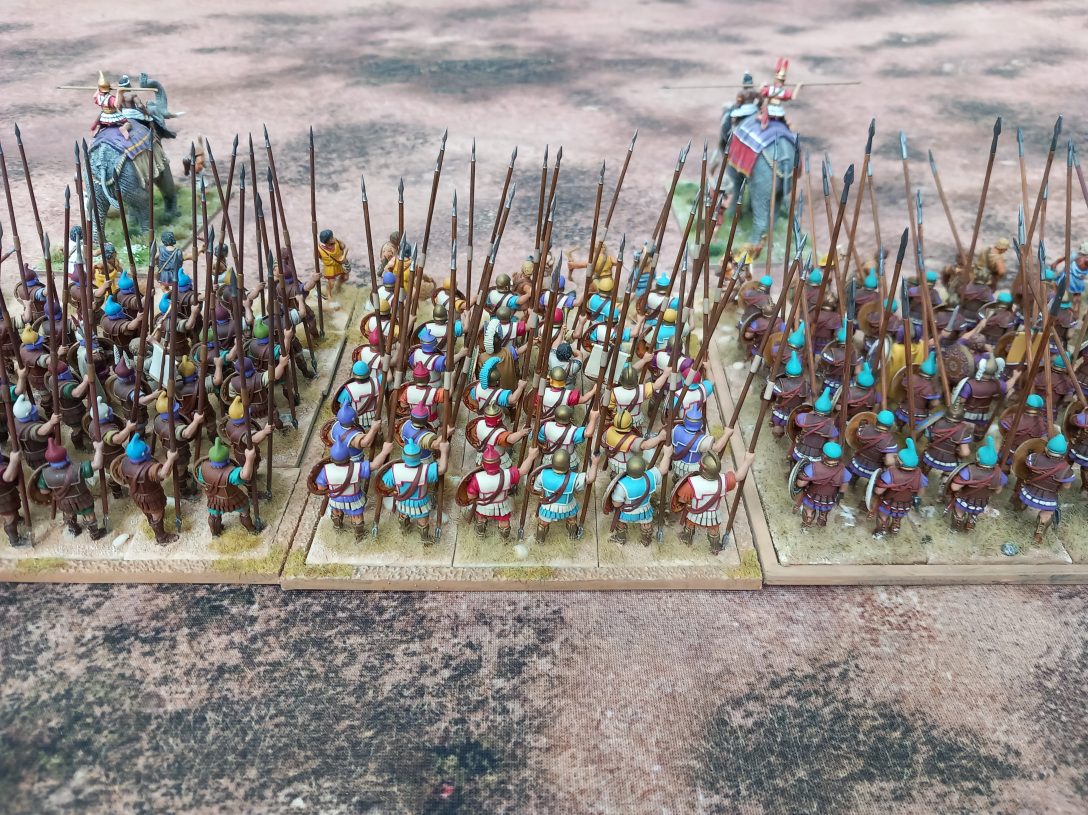
First game of the month was Successors, this time a refight of the battle of Gaza 312BC where Demetrius, son of Antigonus, took on Ptolemy I and lost.
We managed to recreate the forces of both sides from interpretations by modern authors and set up according to those sources.

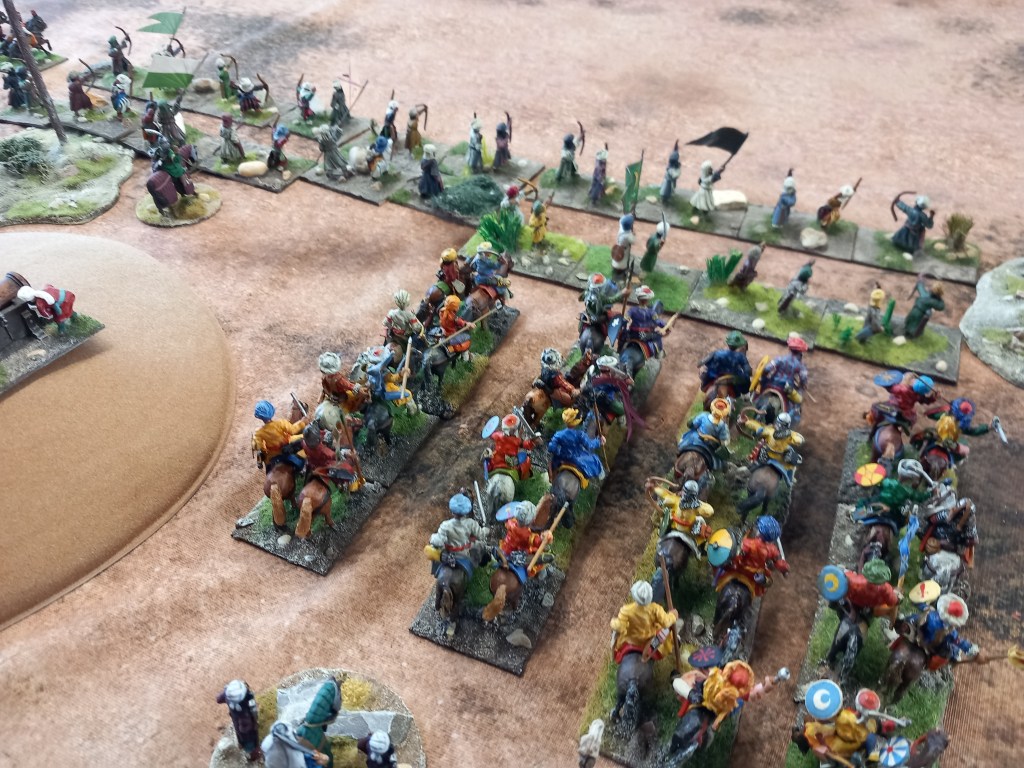
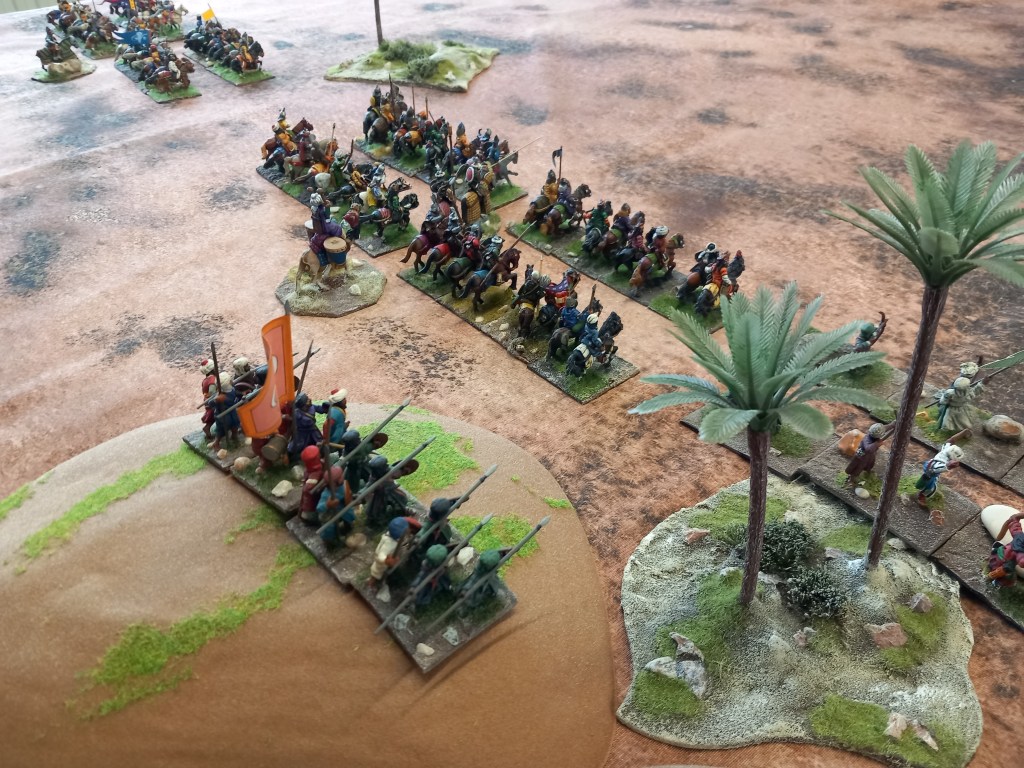
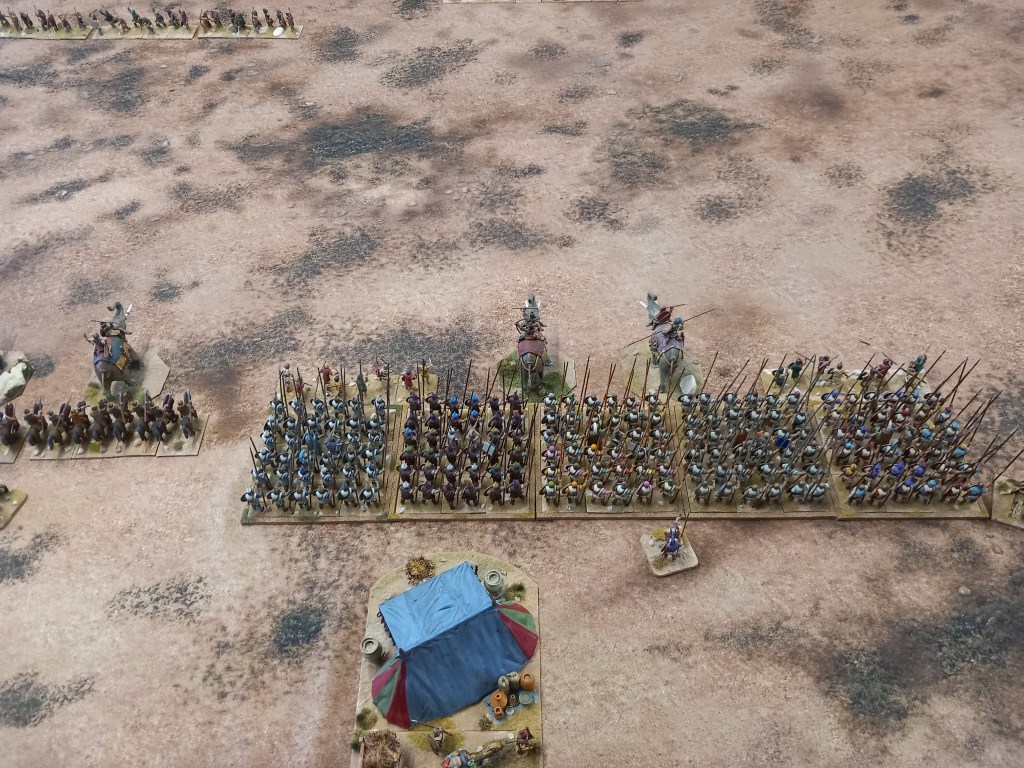
The Antigonid set up gave us a strange deployment whereby Demetrius had a strong body of pike on his right centre flanked by a weak skirmish cavalry wing and a strong cavalry centre and centre left screened by elephants. Ptolemy had a more traditional deployment, a numerically inferior infantry centre composed mainly of Greek mercenaries and two wings of cavalry; the right wing was settler cavalry sitting behind Persian skirmishers who were themselves protected by caltrops, the left wing was skirmish cavalry and a single elephant squadron.
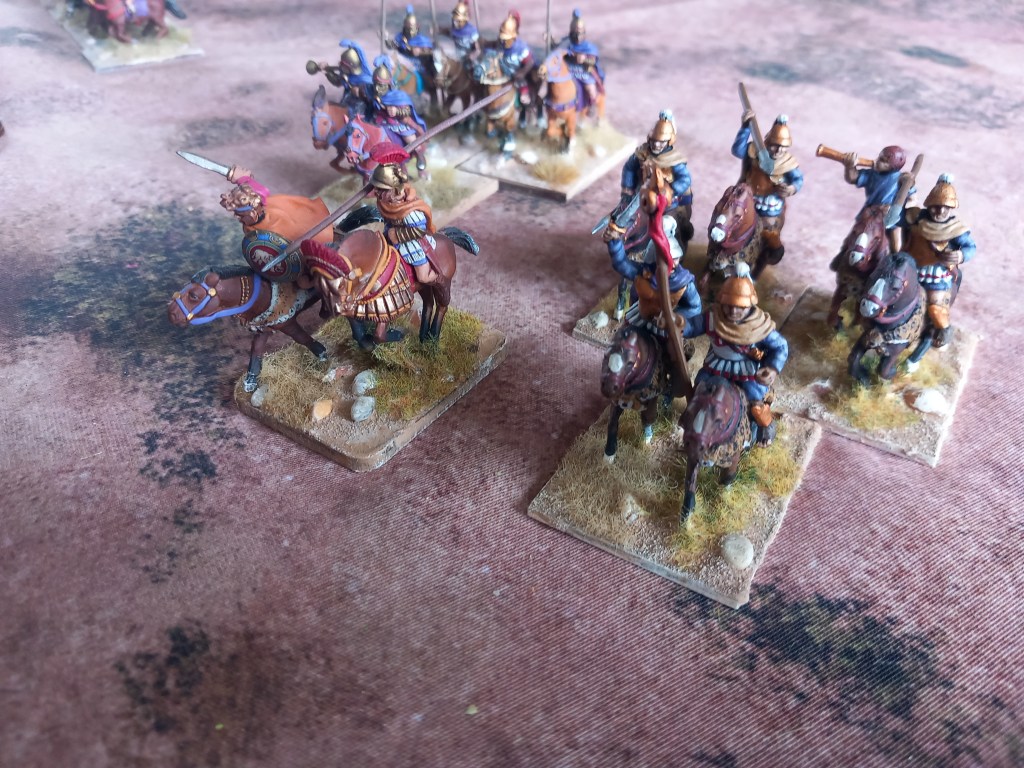
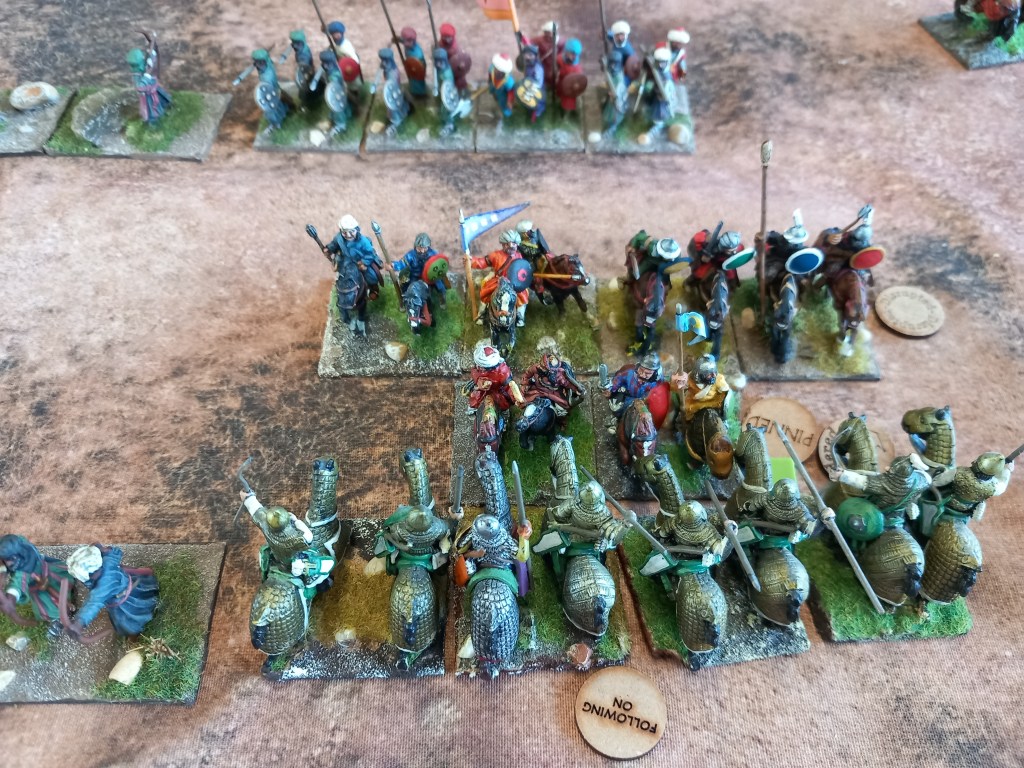
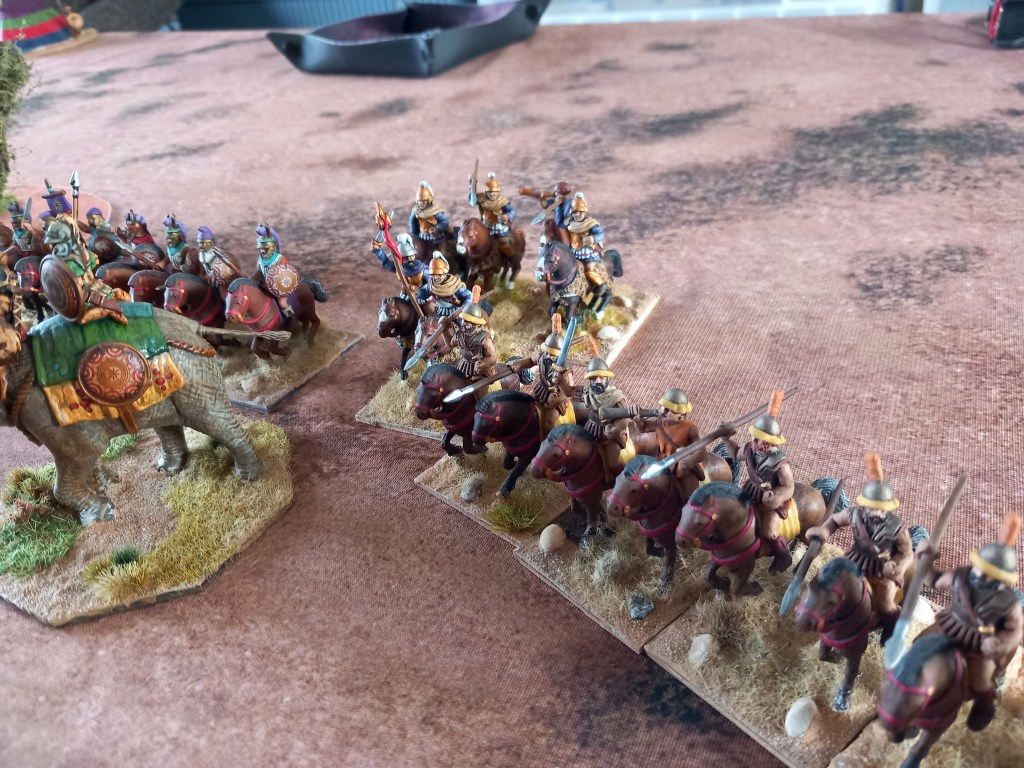
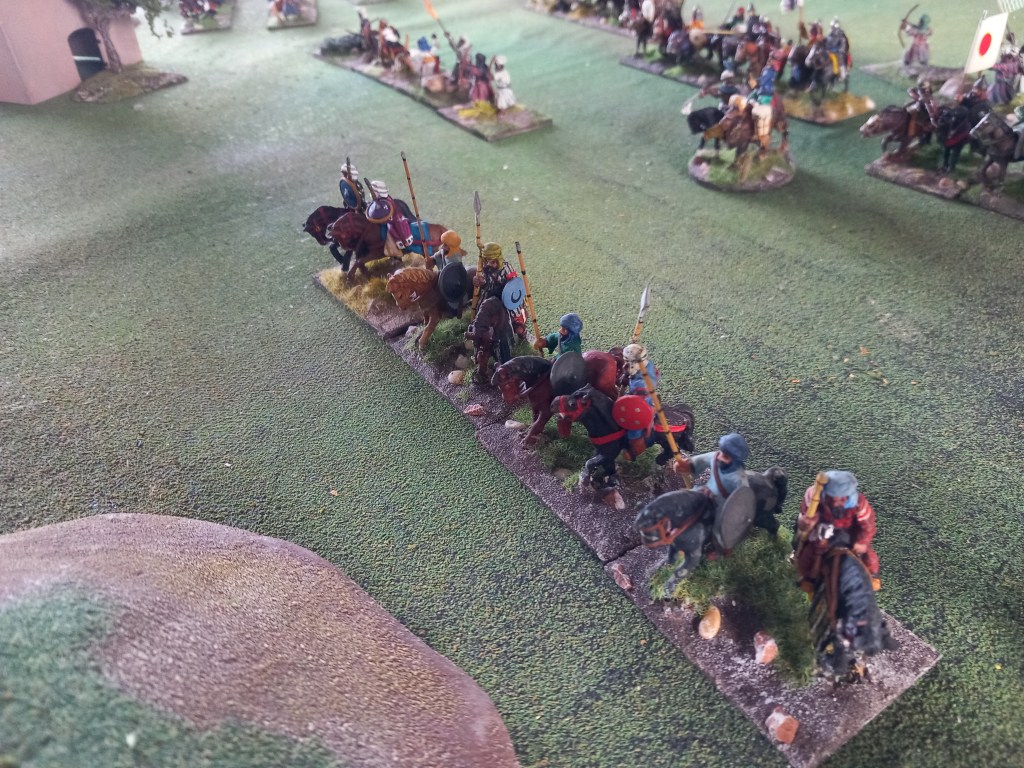
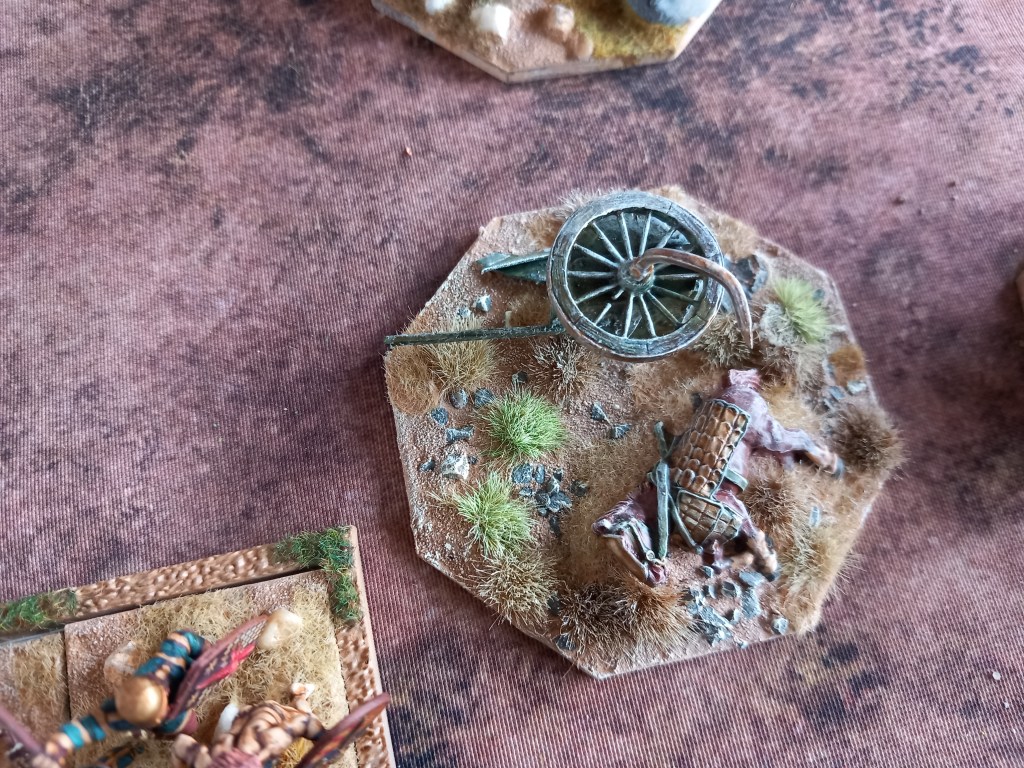
As is nearly always the case with these games the cavalry got the ball rolling. The Demetrian cavalry were first out of the gate; on the right the weak skirmish wing under Andronicus did better than history and saw off their opposite numbers but some cunning manoeuvring by Ptolemy saw the peltasts from his infantry line wheel in and shower them with javelins ultimately removing them from the battle. On the left Demetrius and his Xystophoroi headed out to the flank accompanied by the Tarentines while the elephant corps and their supporting cavalry headed for the easy target of the Persian skirmishers only to be brought to a grinding halt by the caltrops. The caltrops were hidden at the commencement of the game and not revealed until the elephants were one turn away – the Demetrian player knew the history but we had agreed to have orders that reflected the action of the day and only allow changes once contact was made.
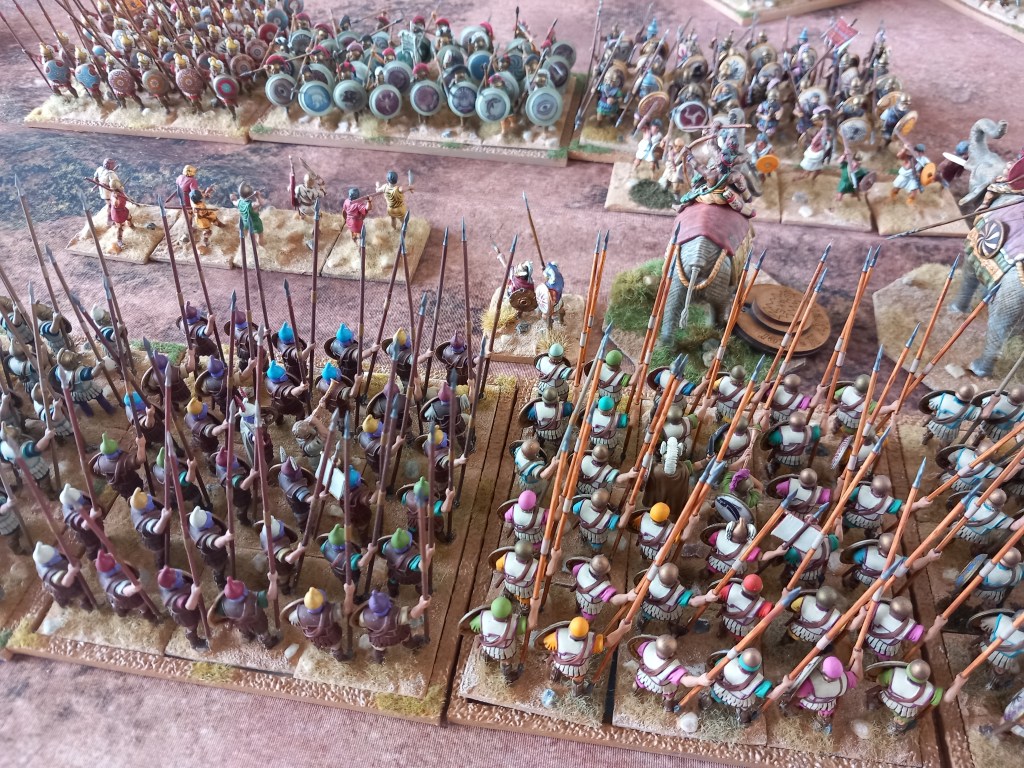
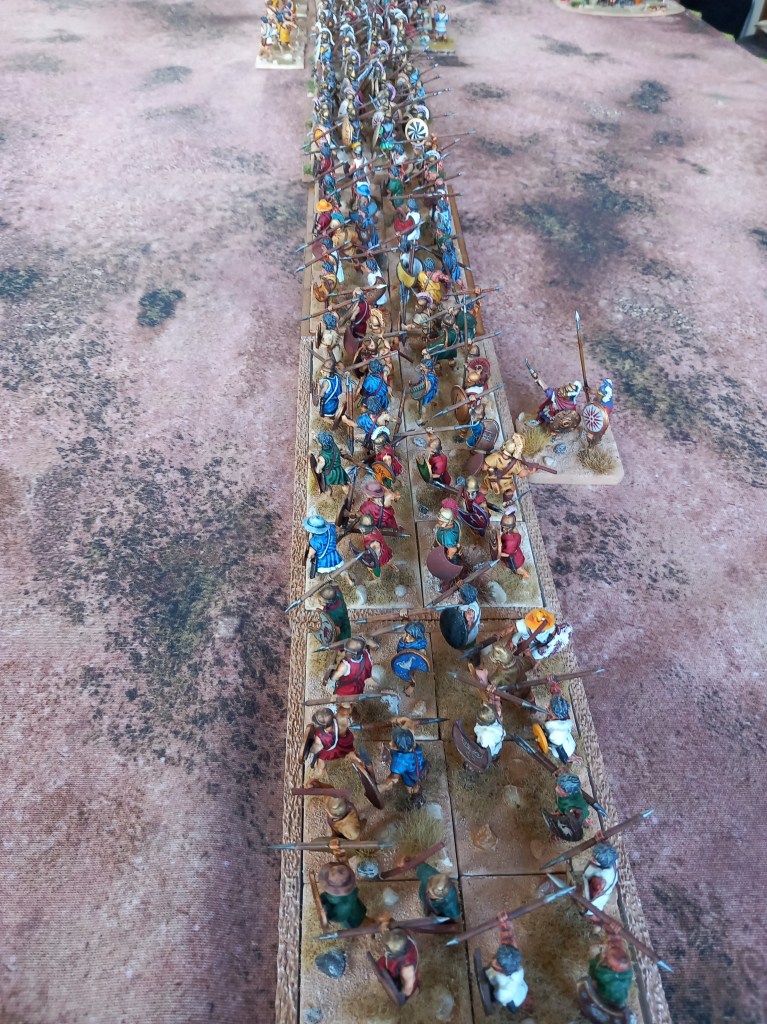
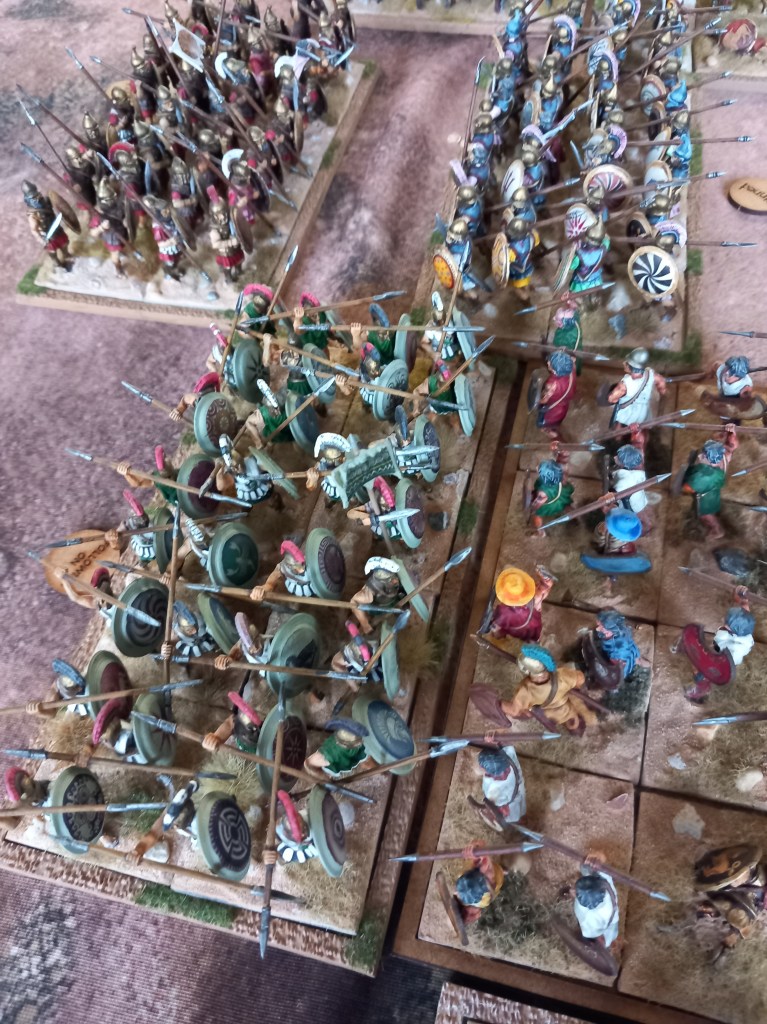
In the centre the infantry advanced on each other stoutly – Ptolemy knew he was outmatched but planned on his more nimble peltasts swinging in to attack the flank of the pikes while the hoplites held. It didn’t work but in a different game it might well have.
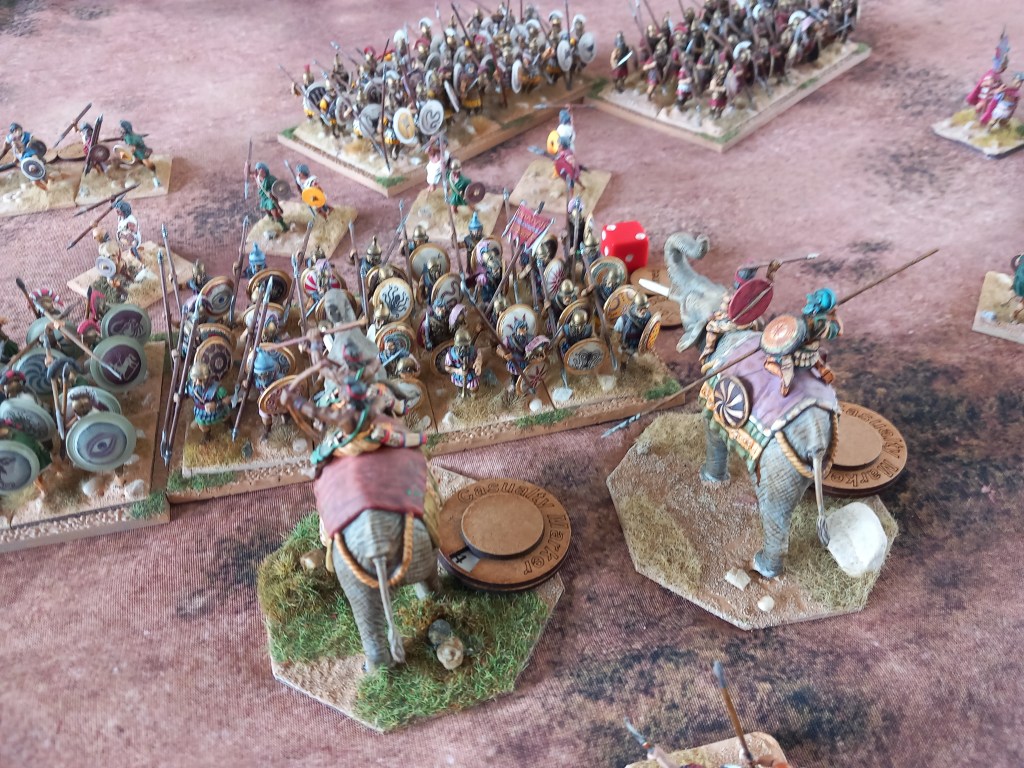
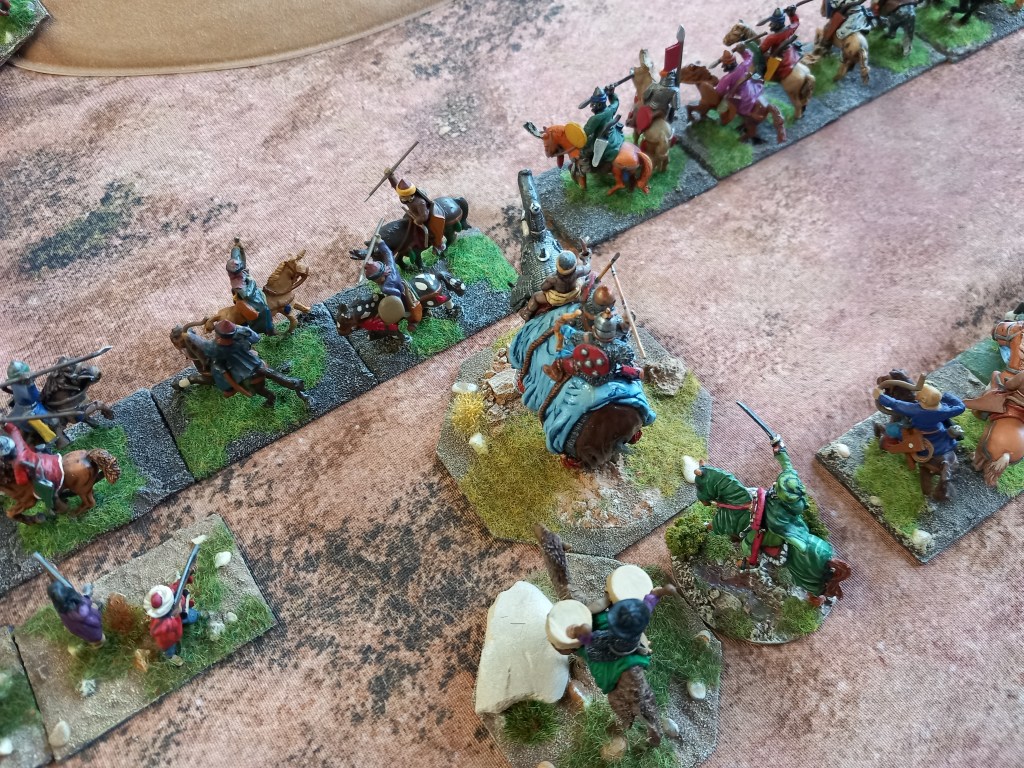
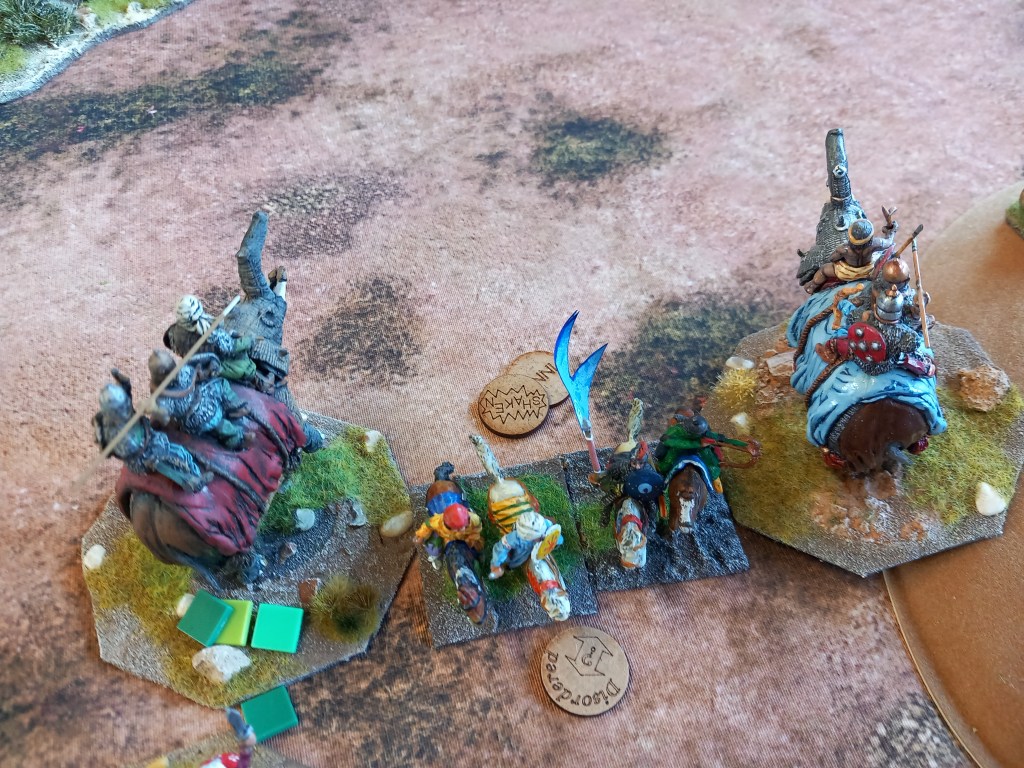
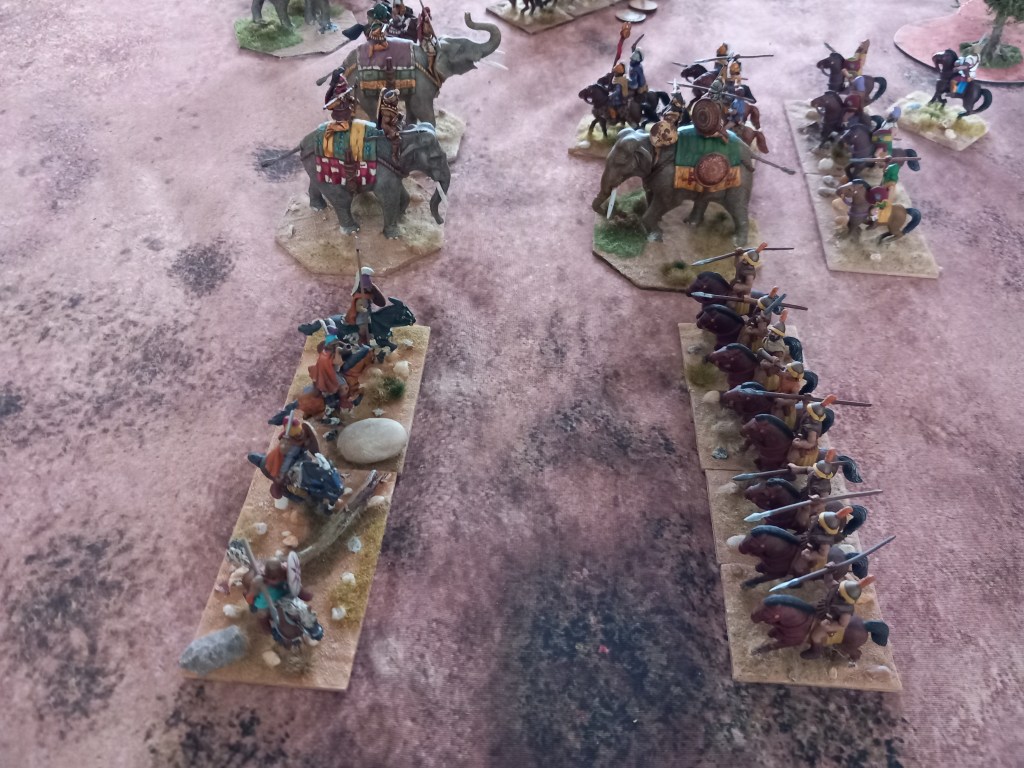
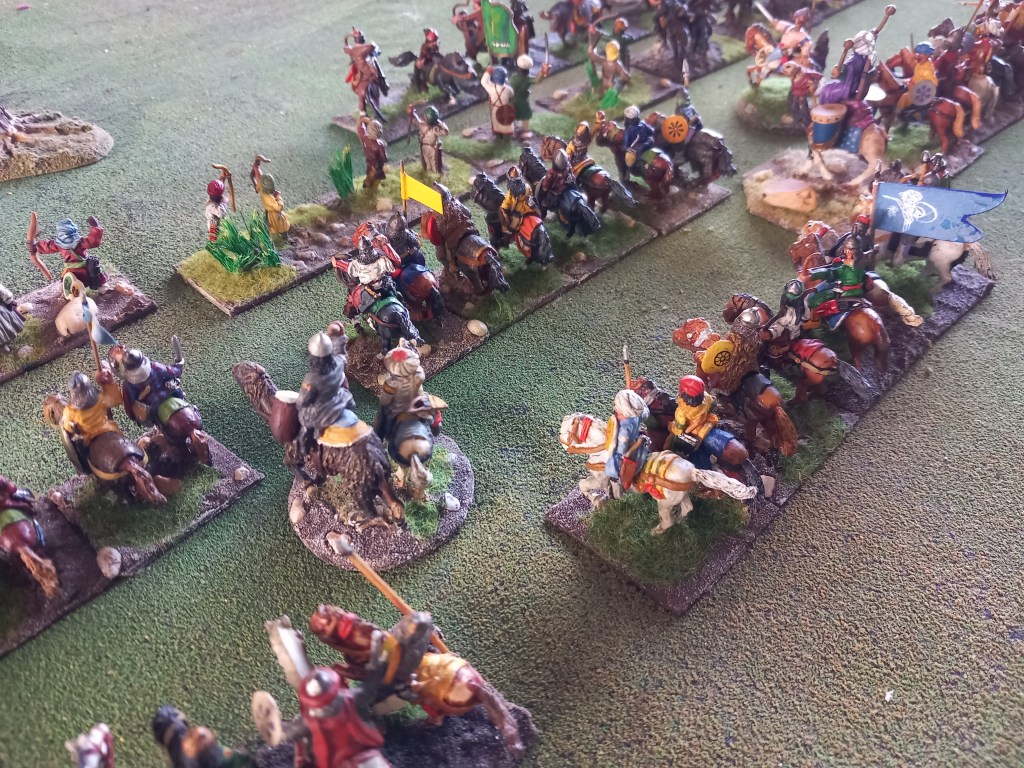
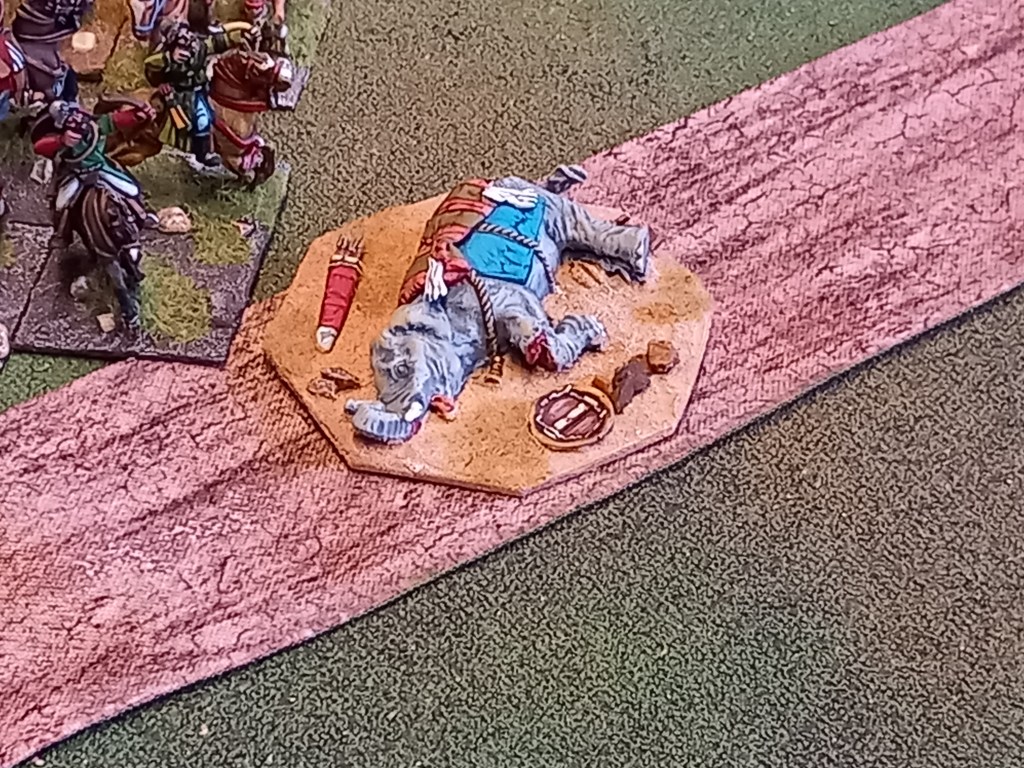
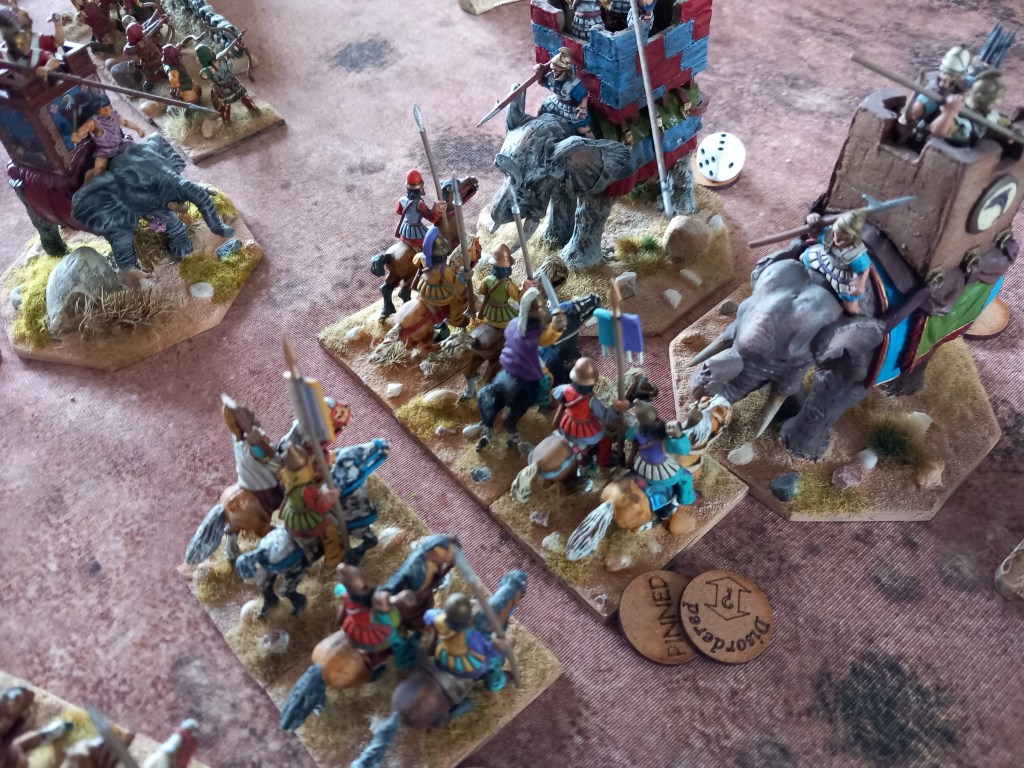
No Successors game is complete without elephants!
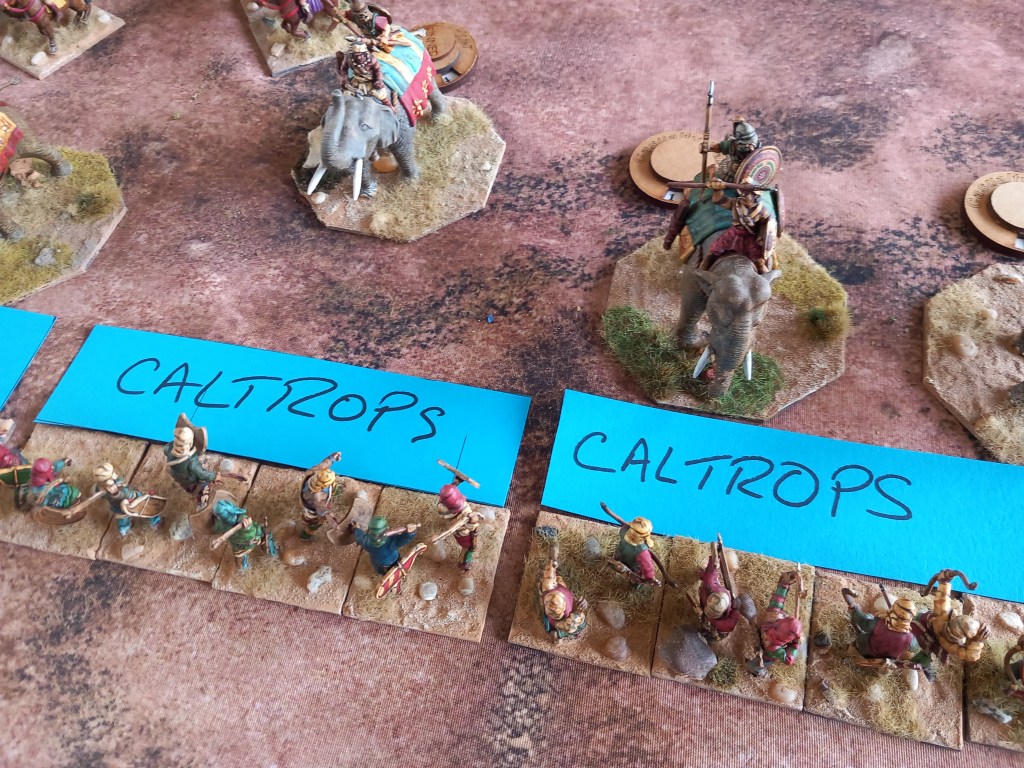
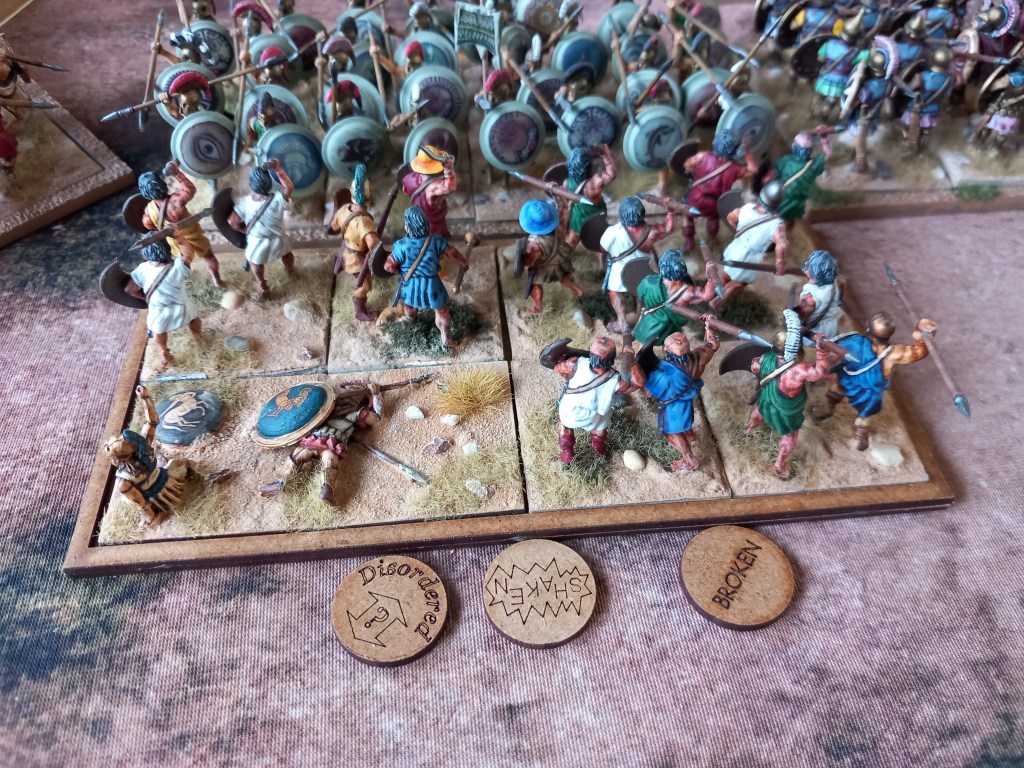
The Demetrian elephants were well and truly stuck at the caltrop line and even rubbish Persian infantry could whittle them down.
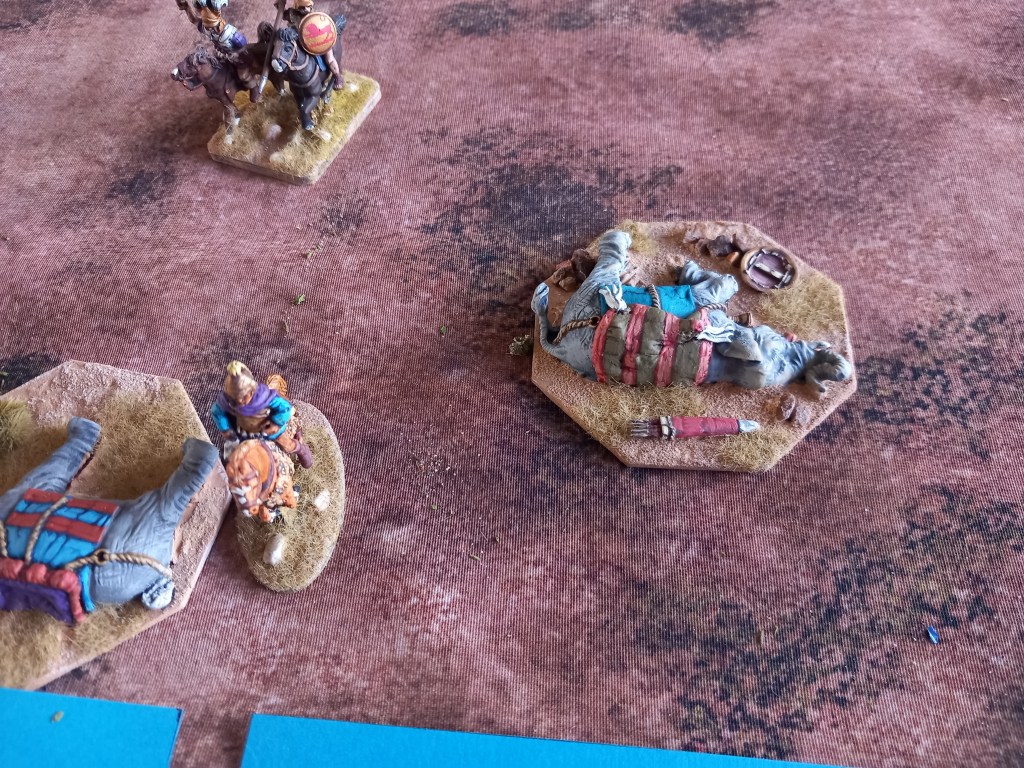
And they died 😢
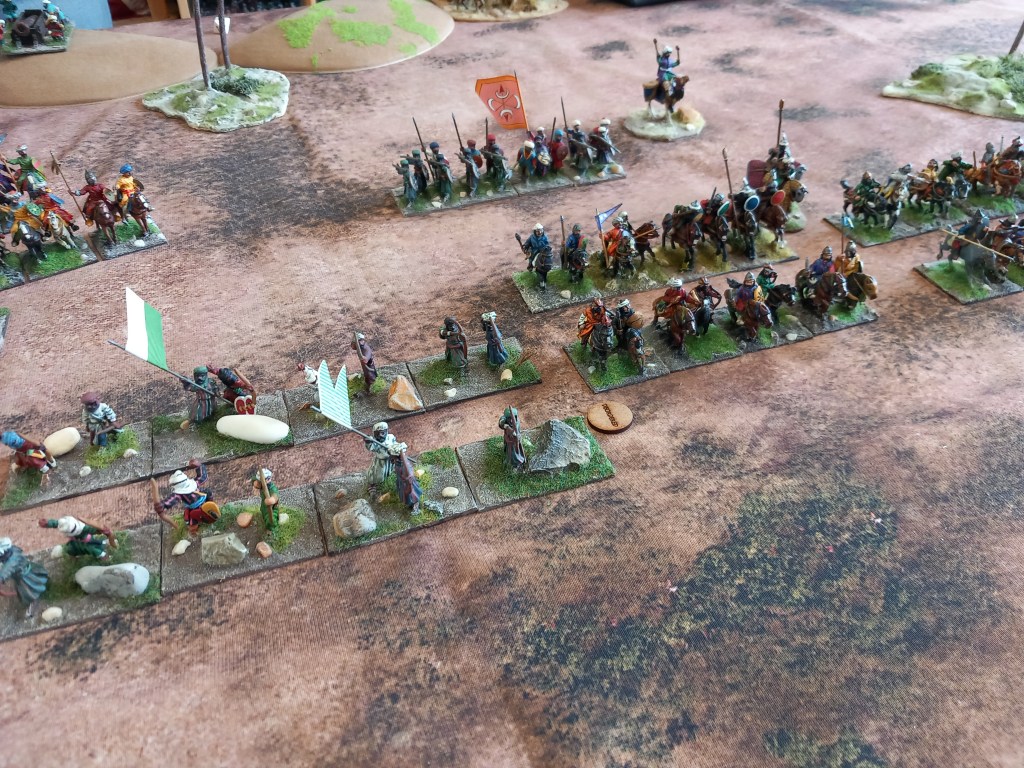
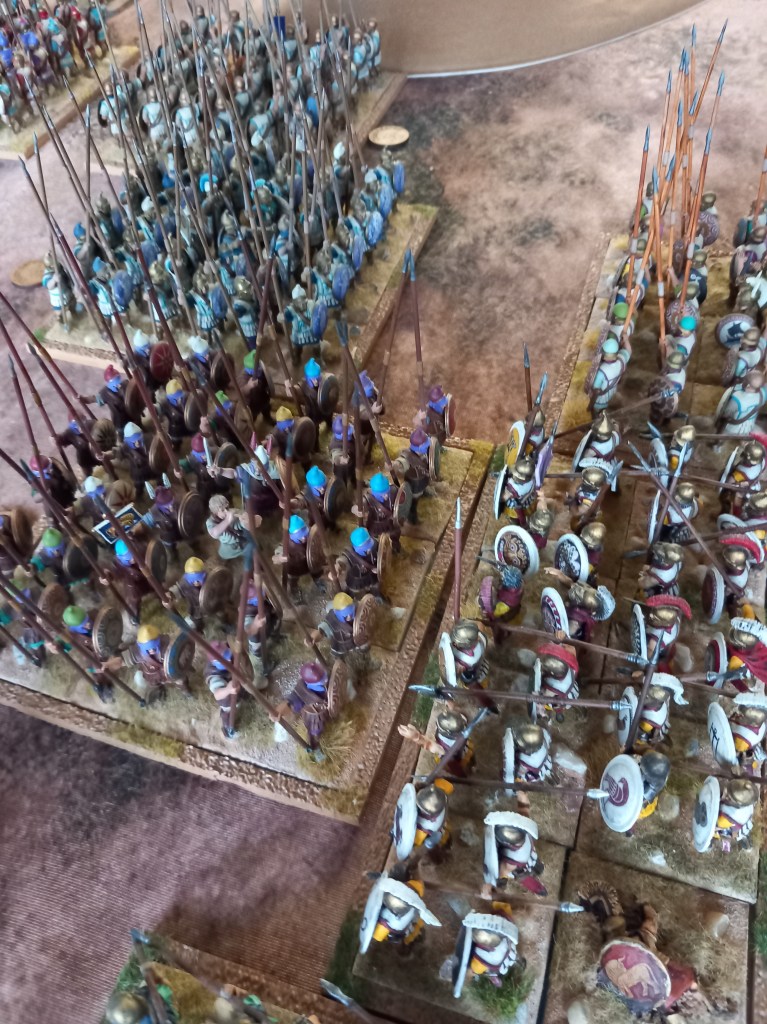
In the centre the Ptolemaic line started to crack as the weight of the Demetrian pike battalions prevailed.
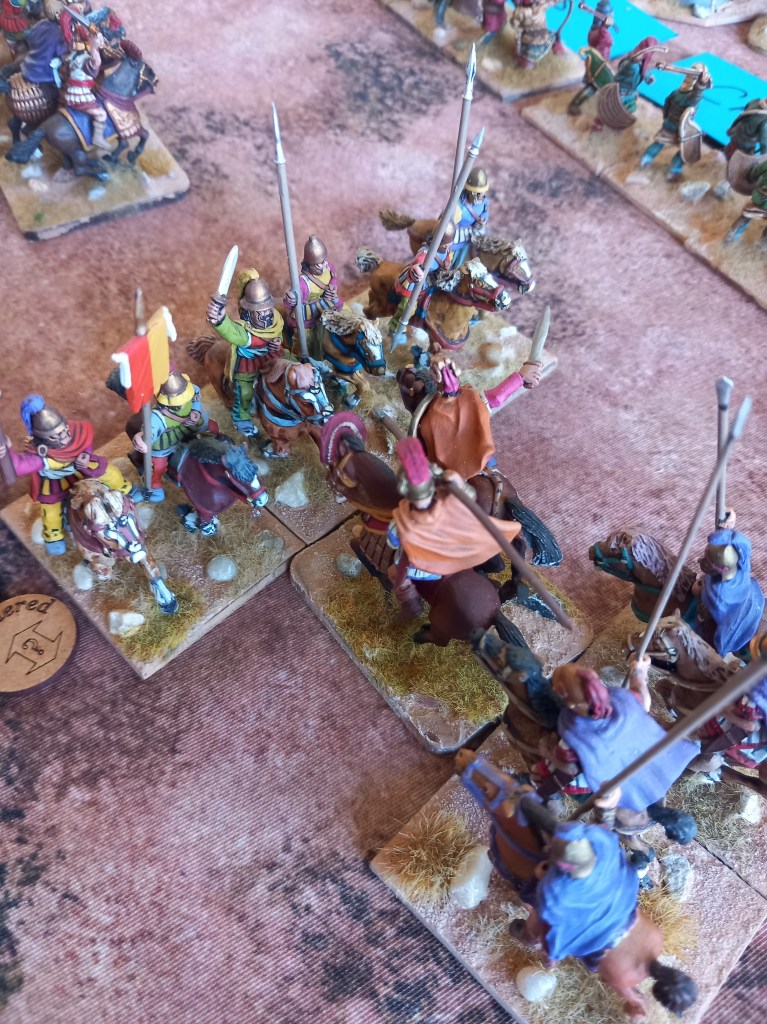
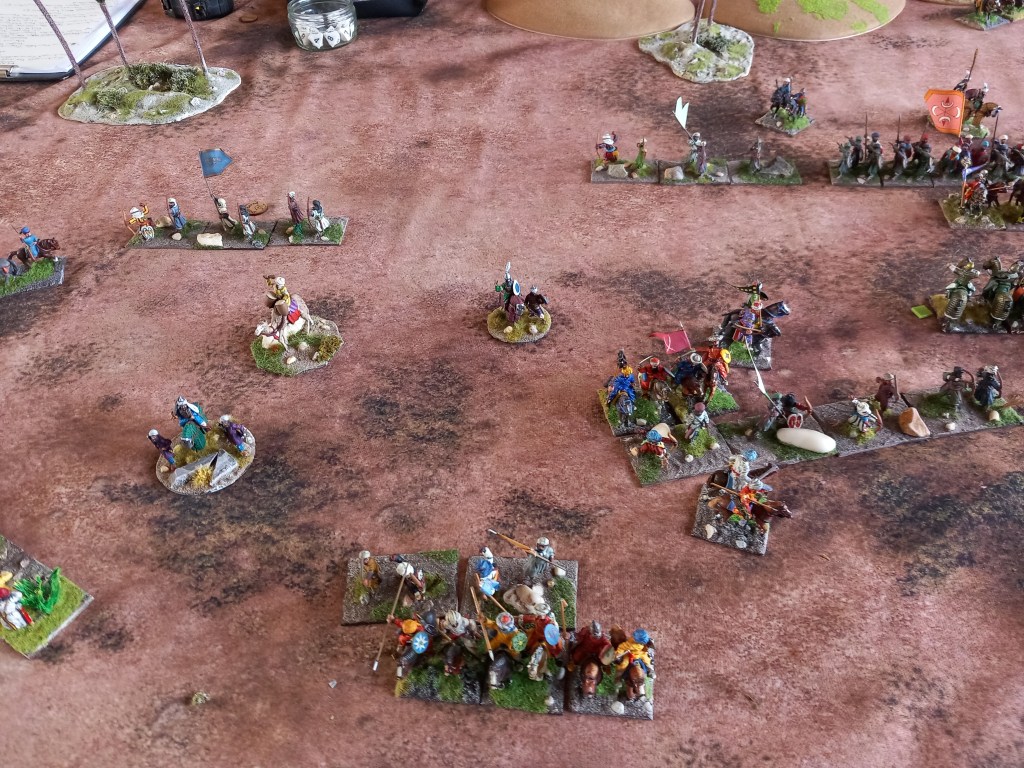
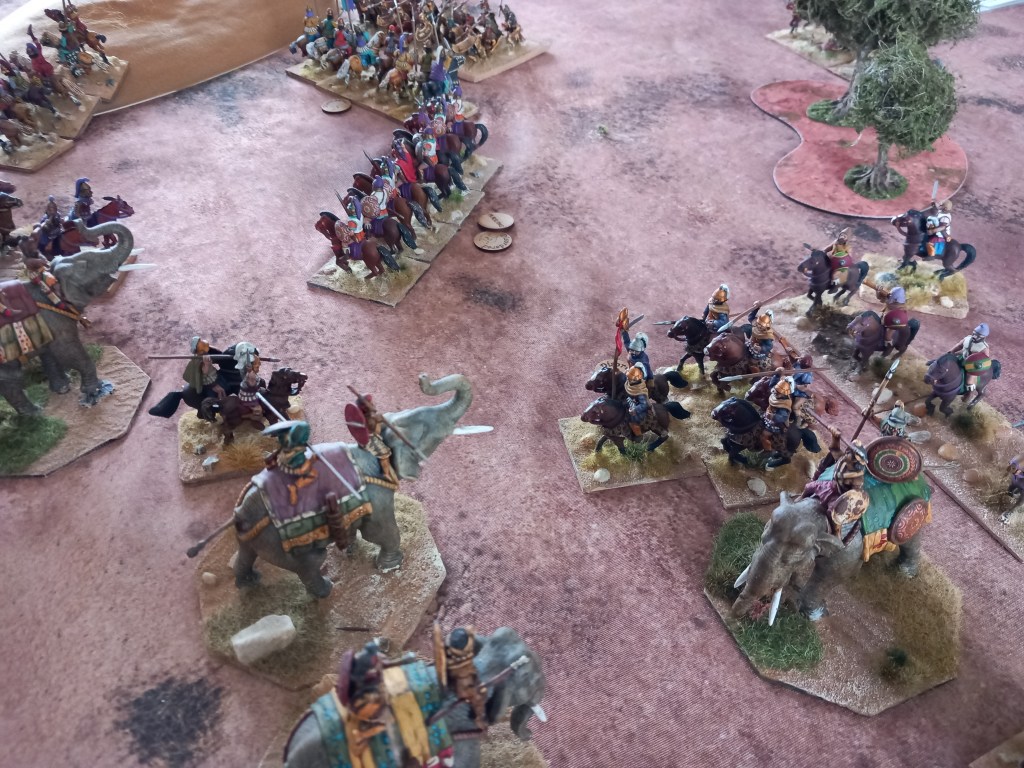
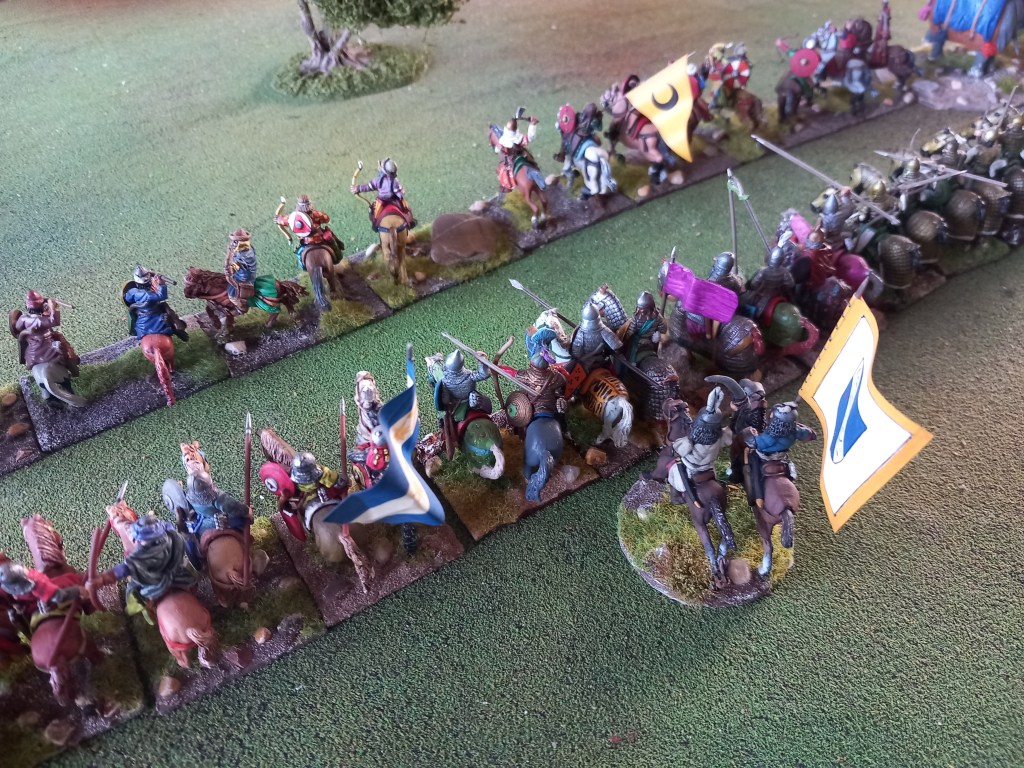
Out on the left flank Demetrius personally led his cavalry into the melee and prevailed ultimately seeing off two out of the three settler cavalry units. The Ptolemaic right was now open and the Demetrian cavalry started to flow behind the Persians and towards the already collapsing infantry centre. A complete reversal of history 😀
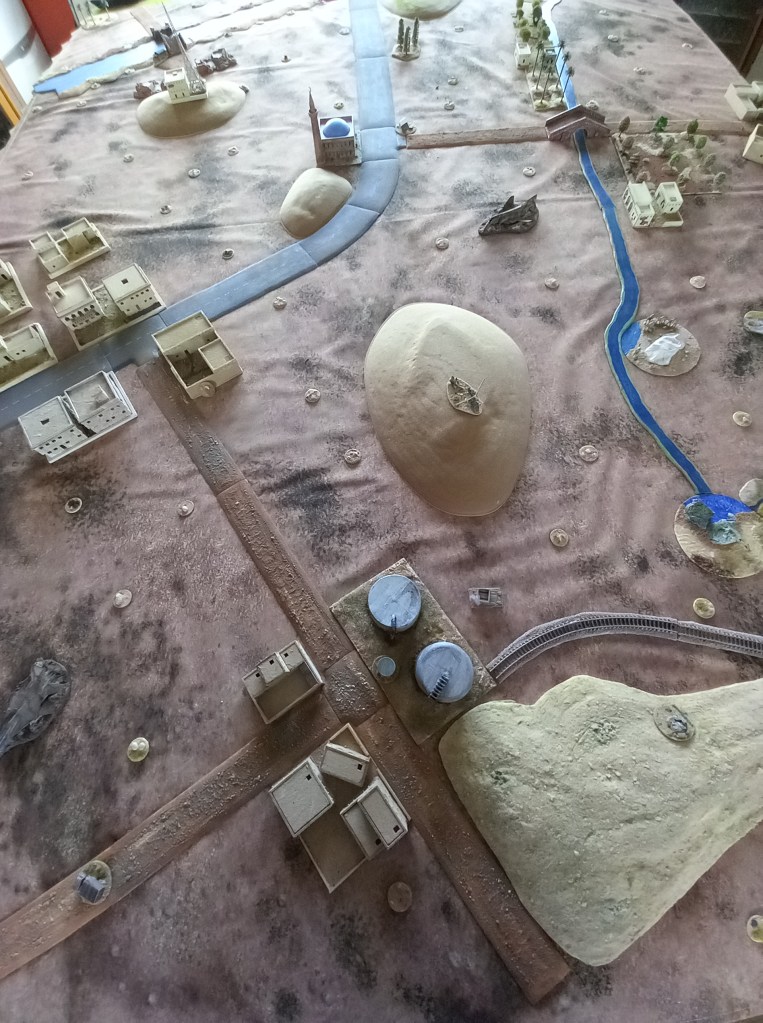
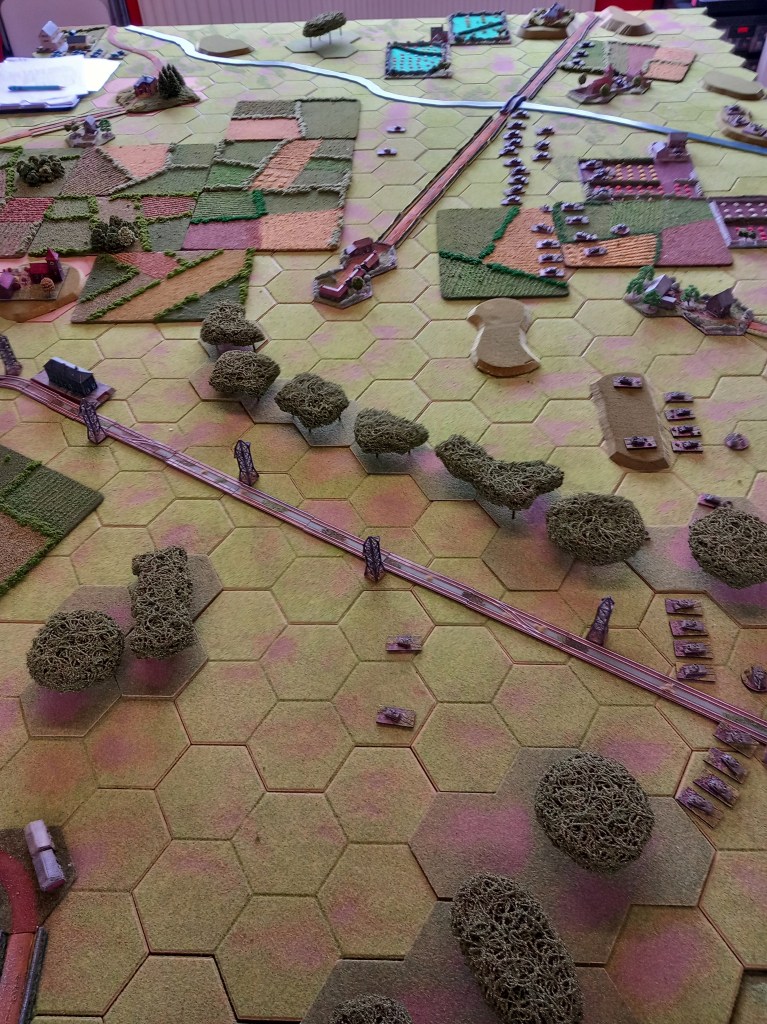
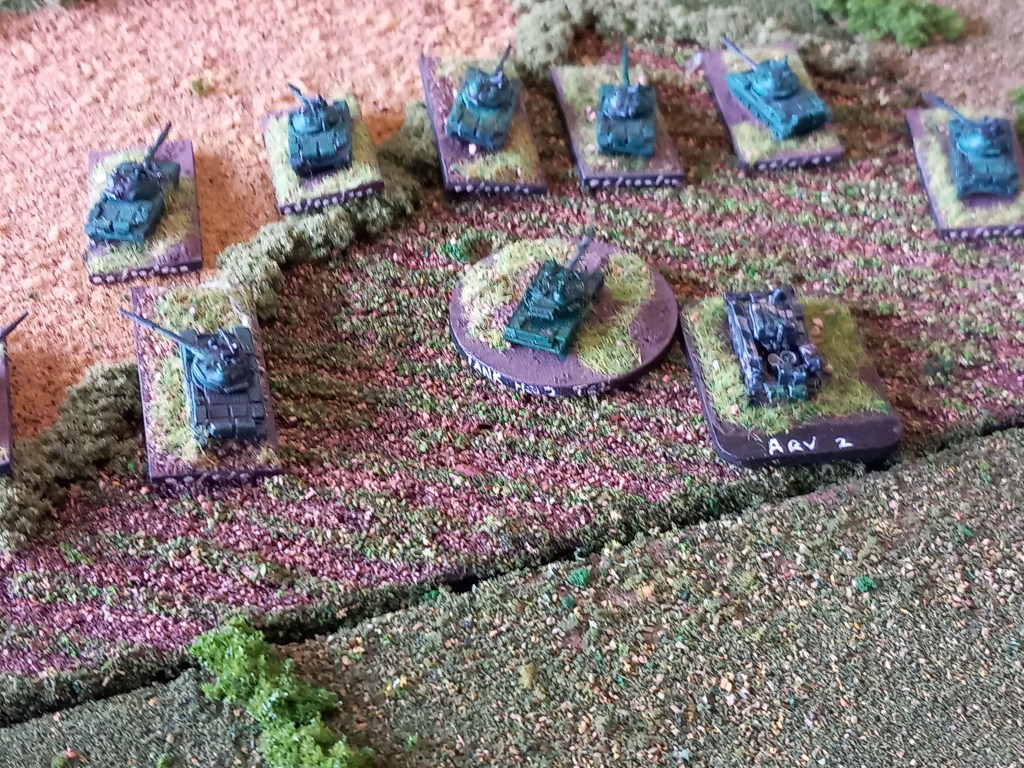
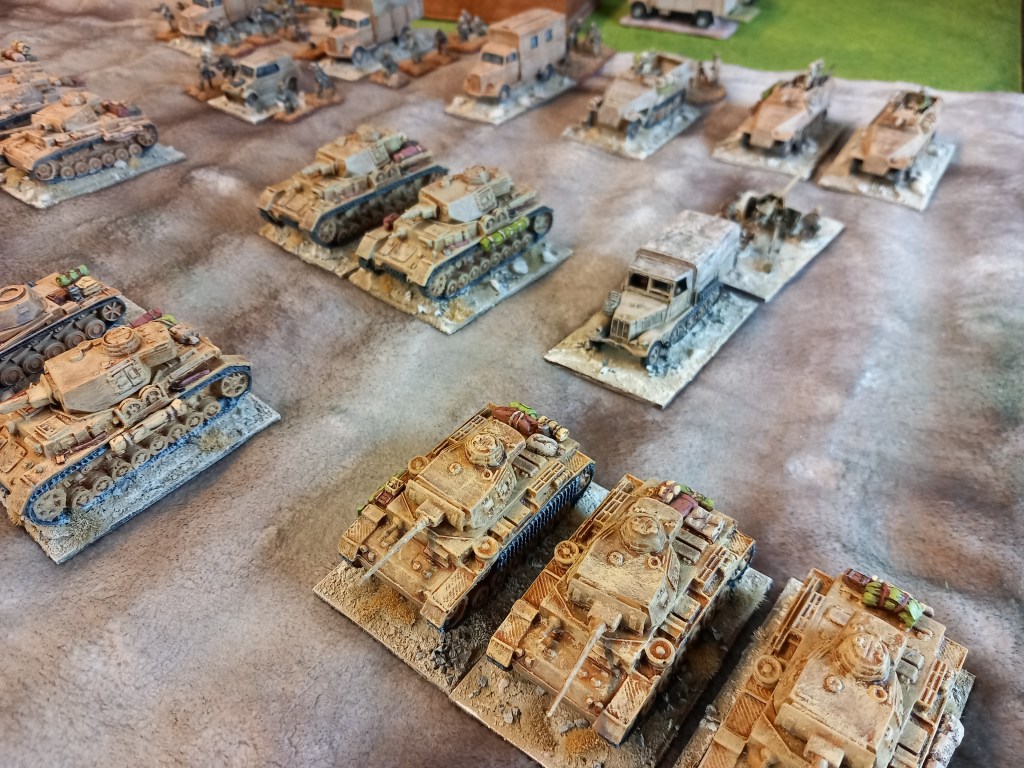
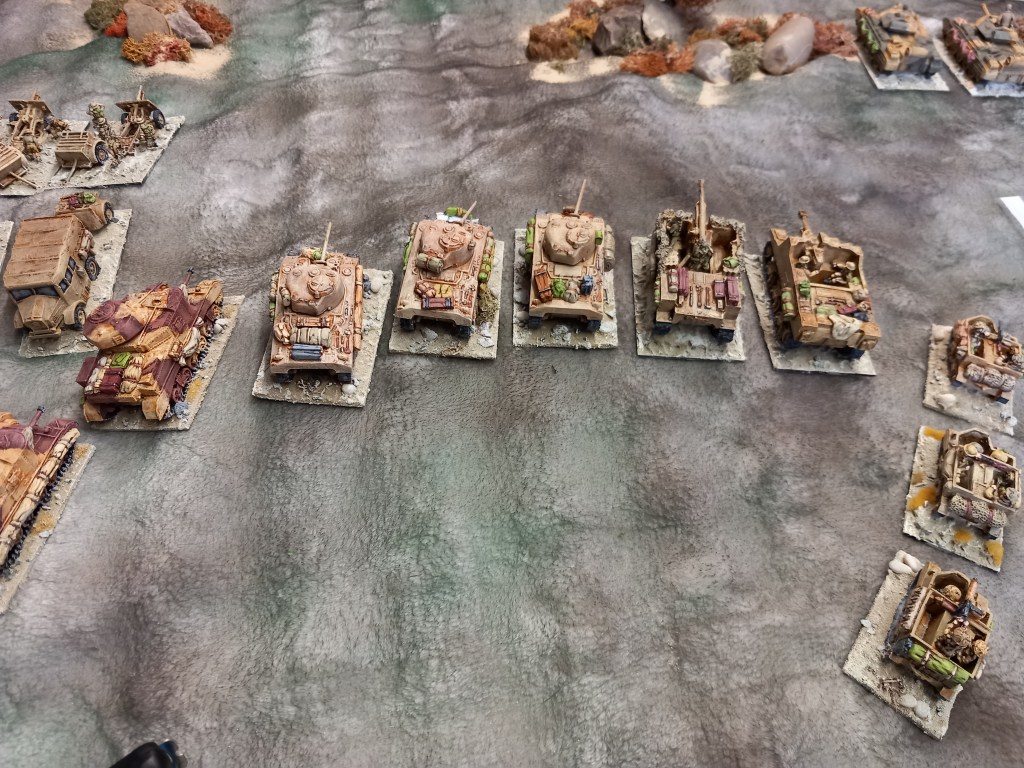
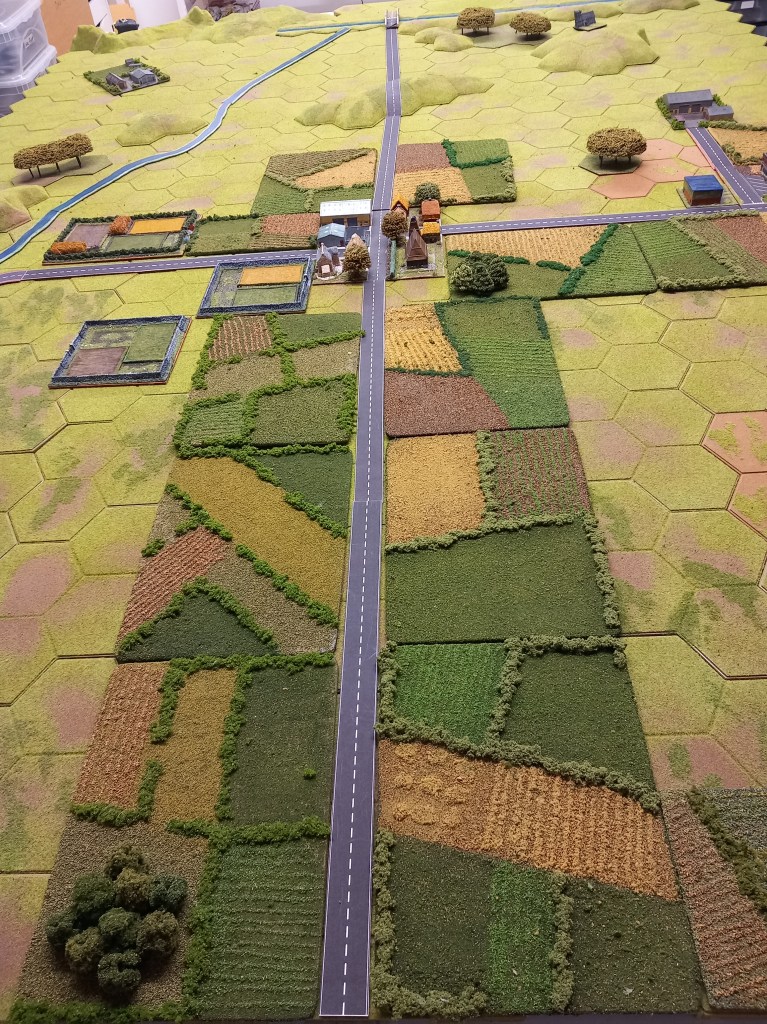
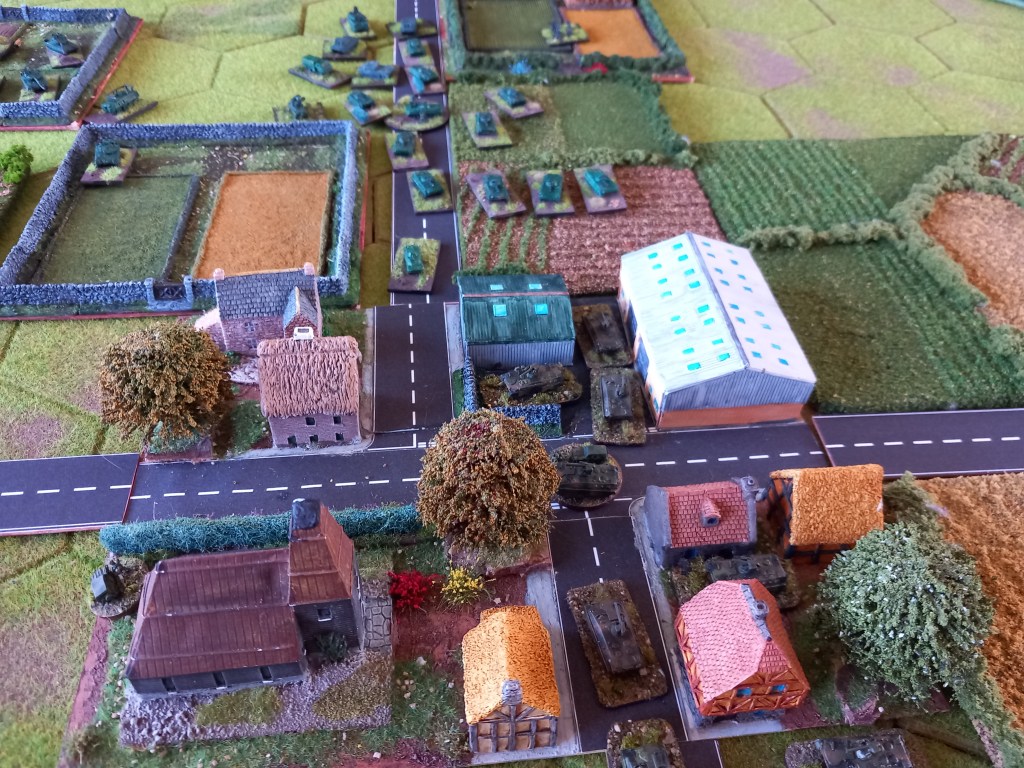
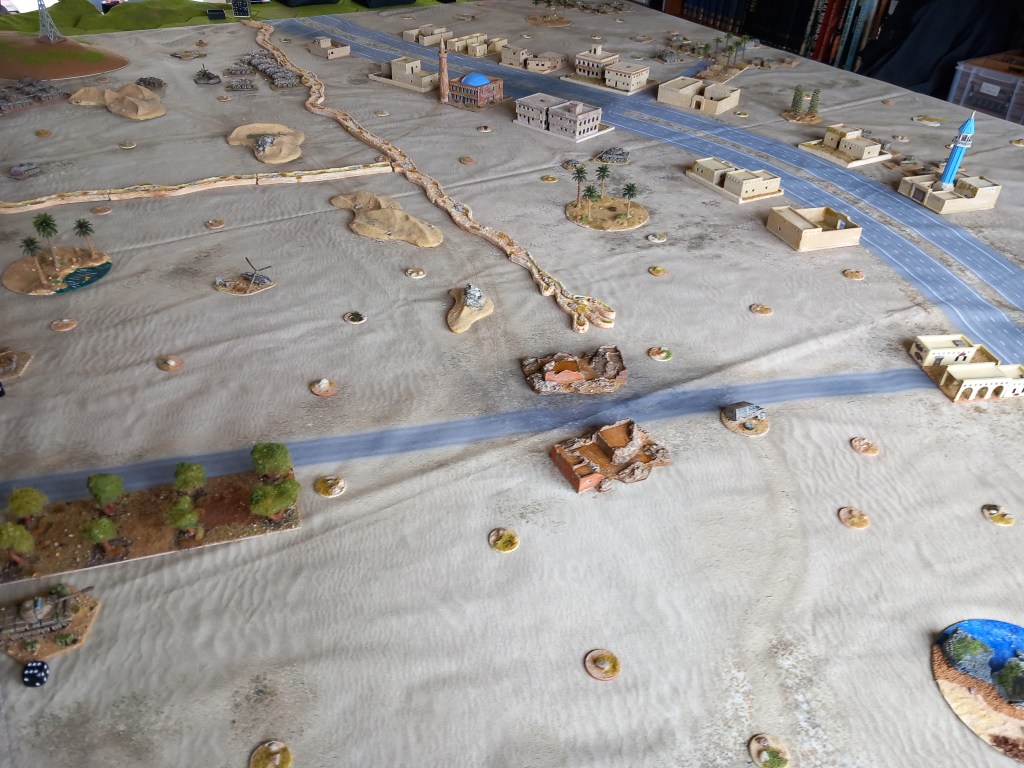
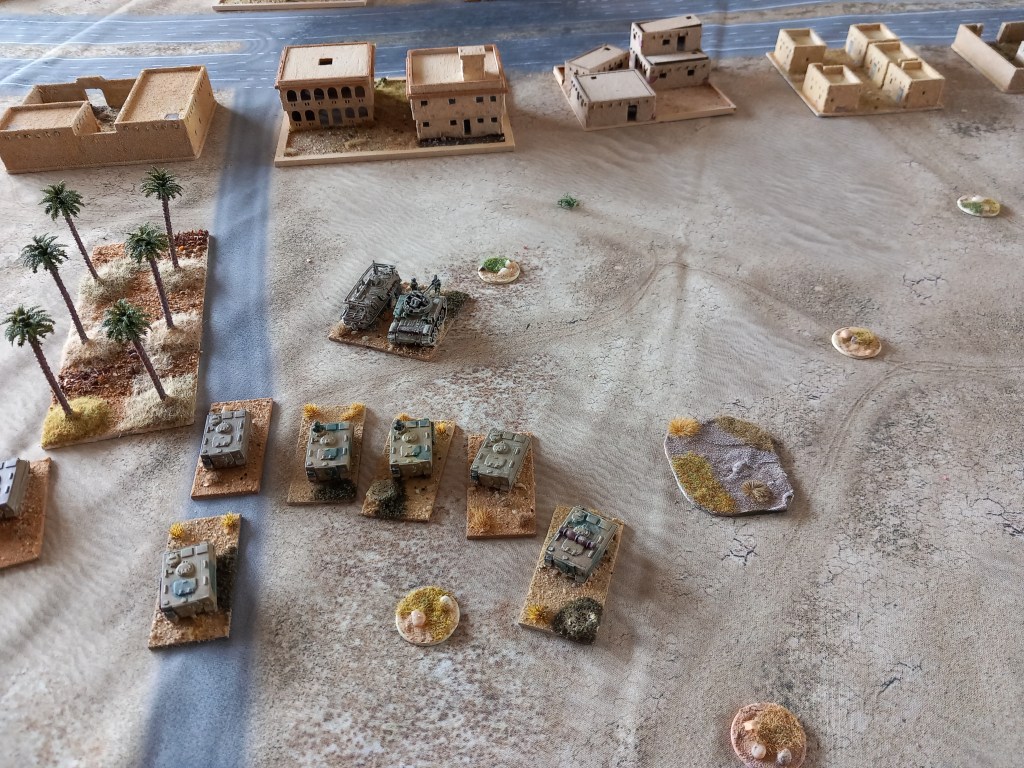
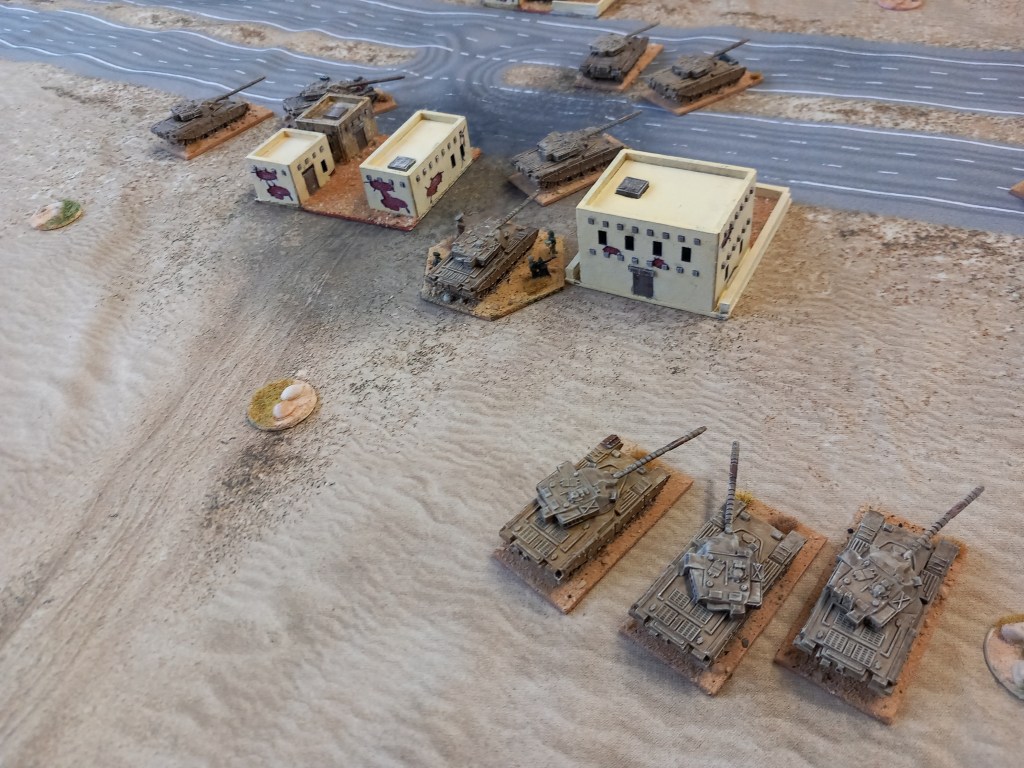
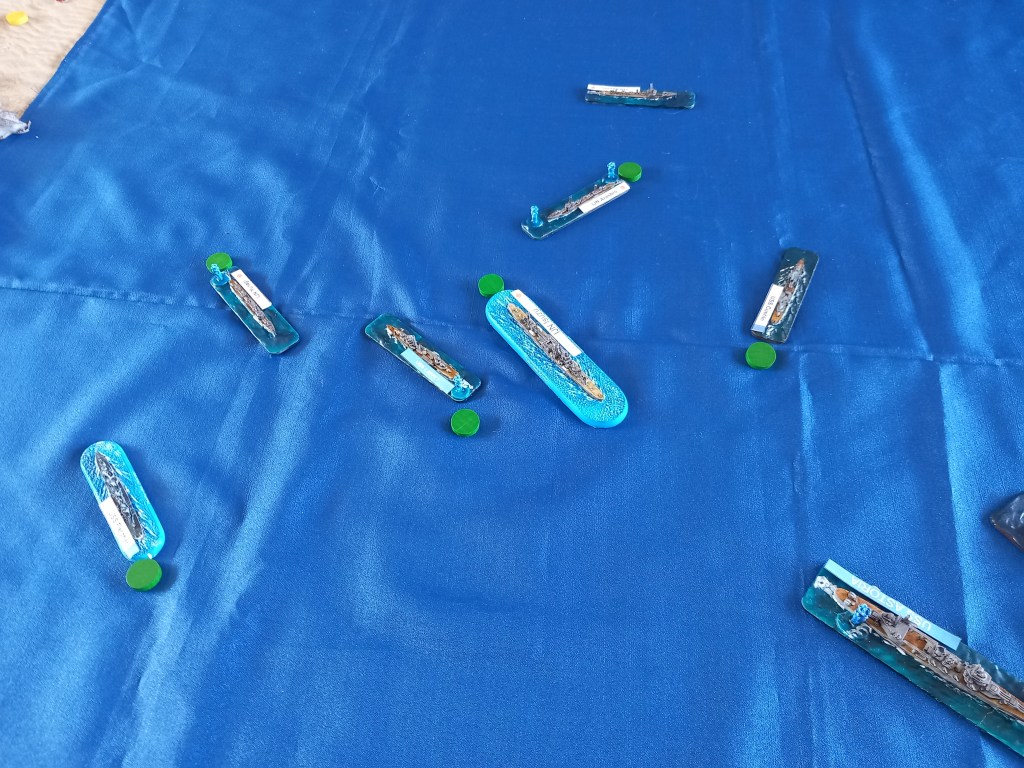
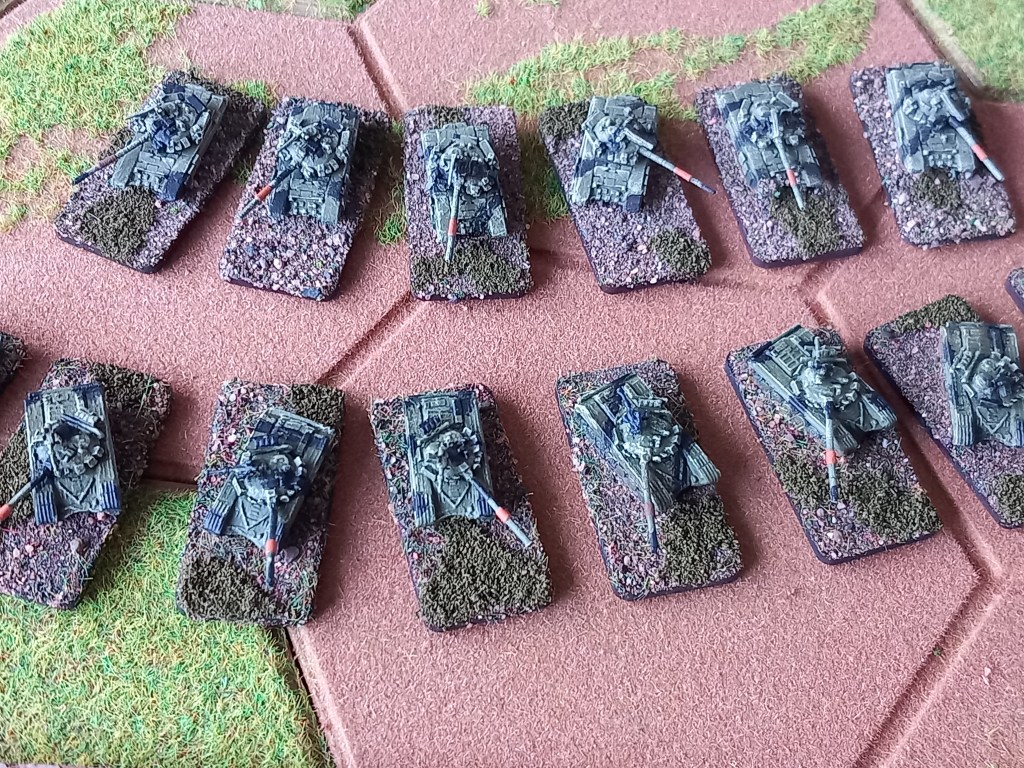
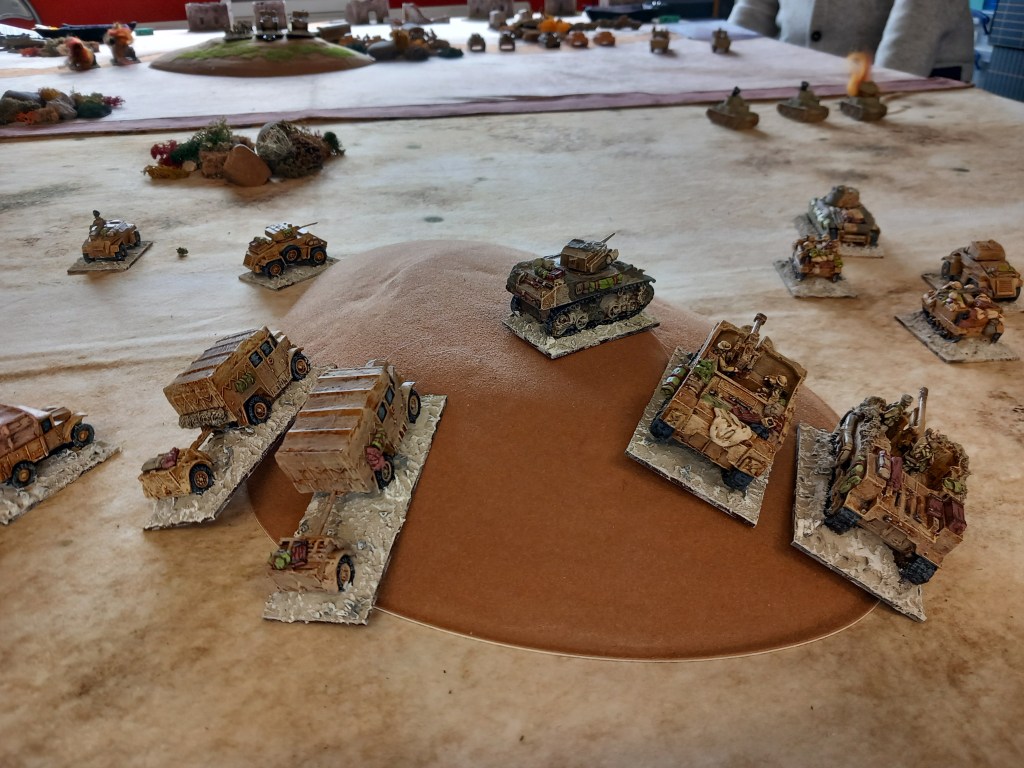
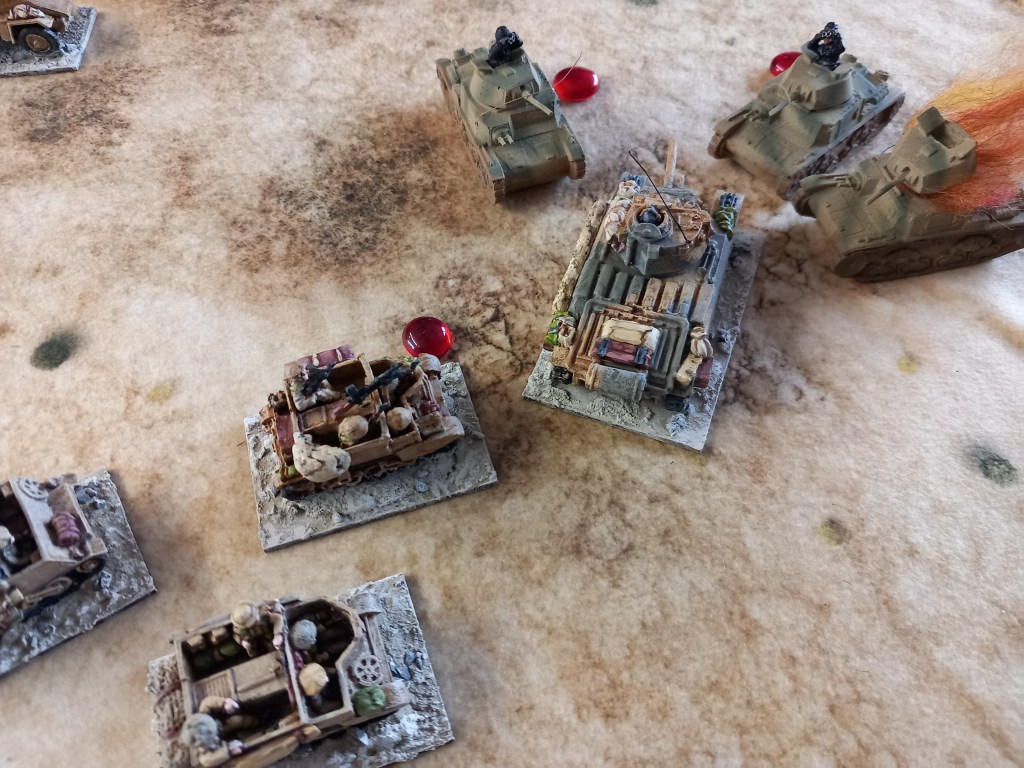
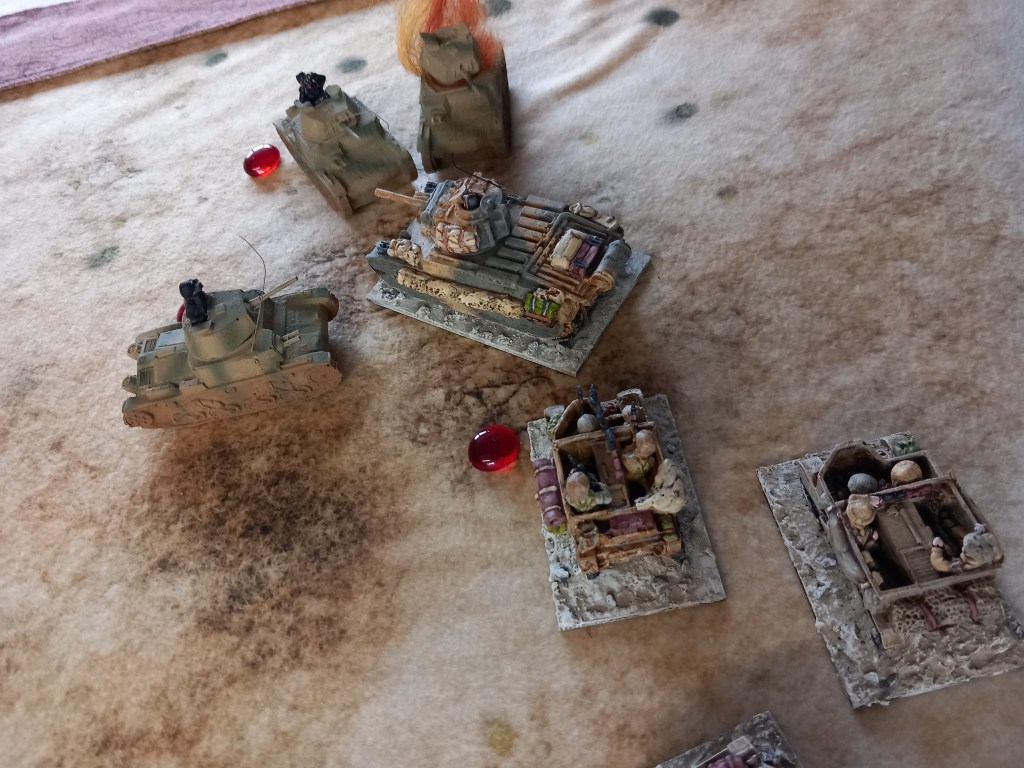
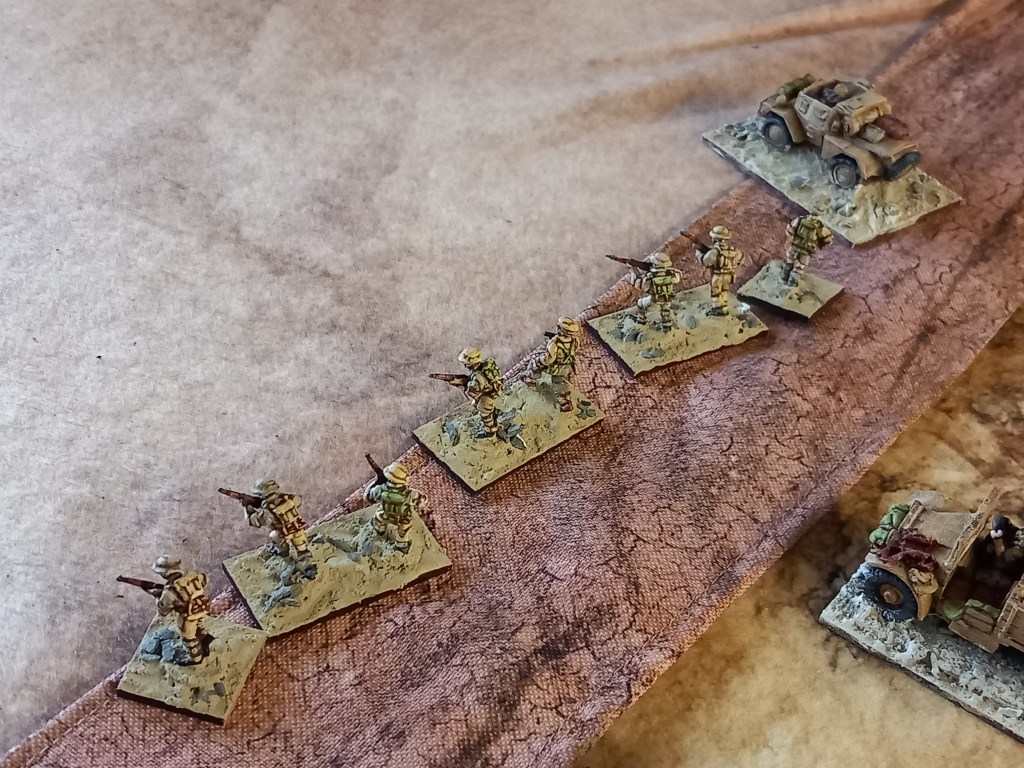
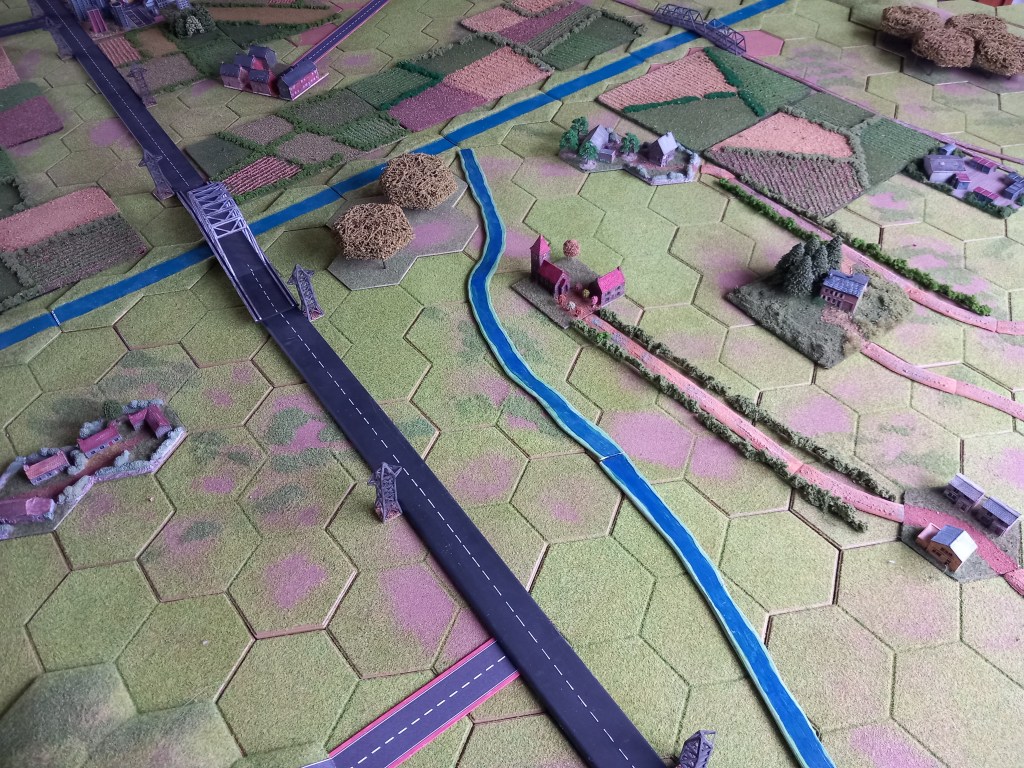
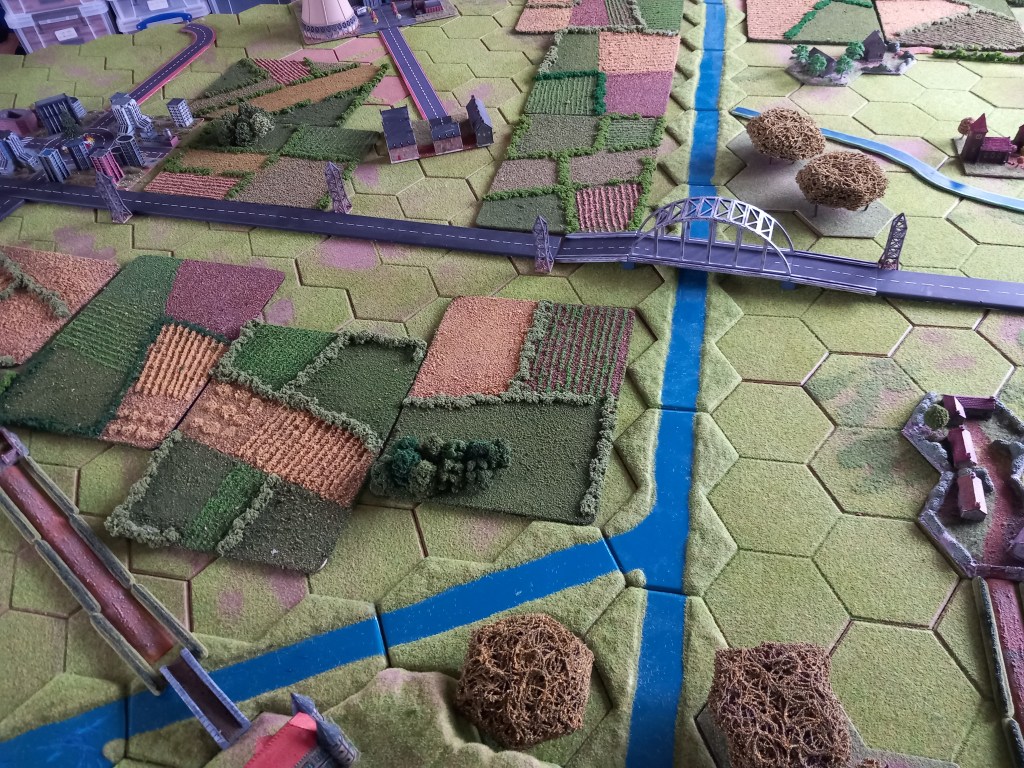
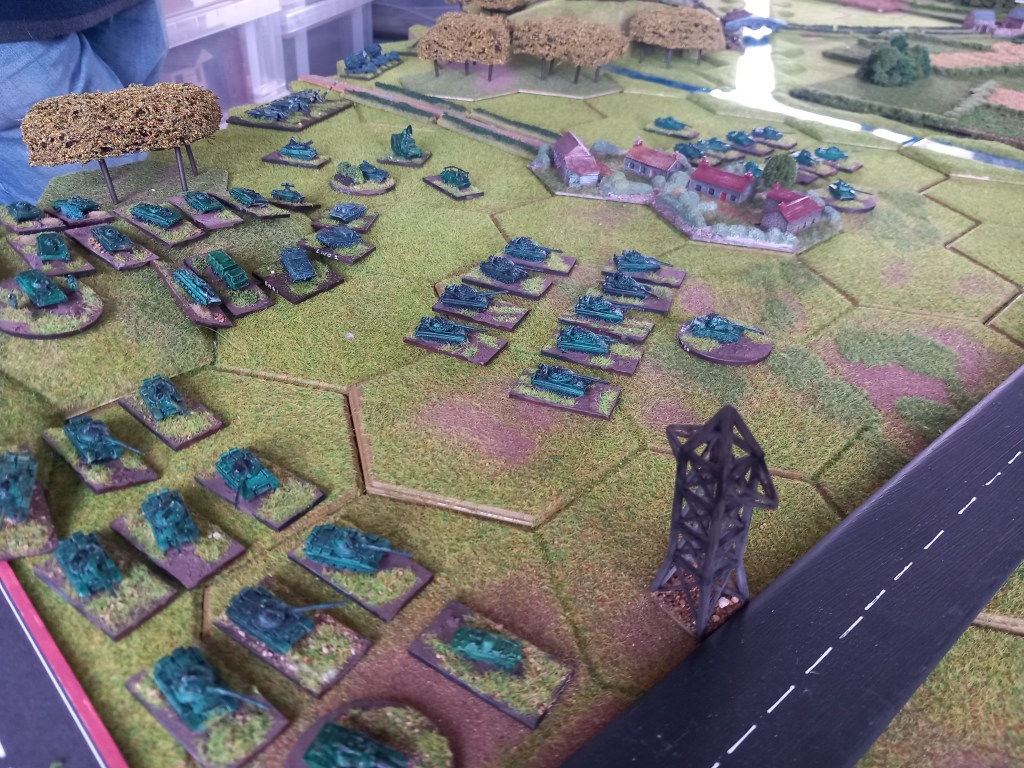
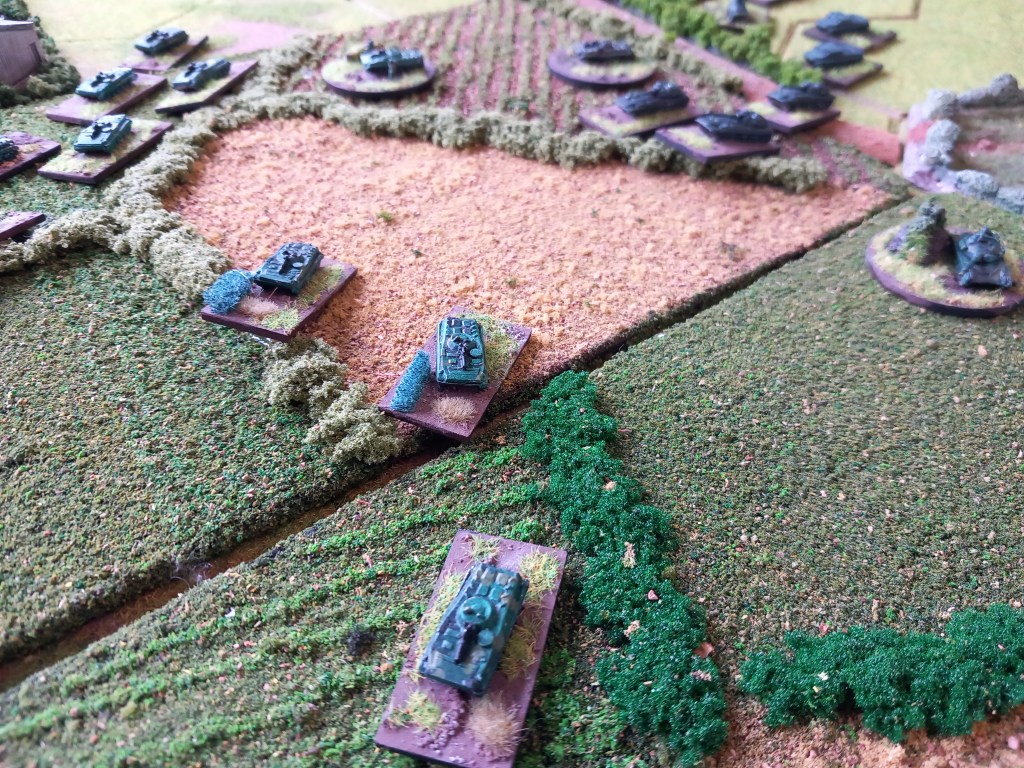
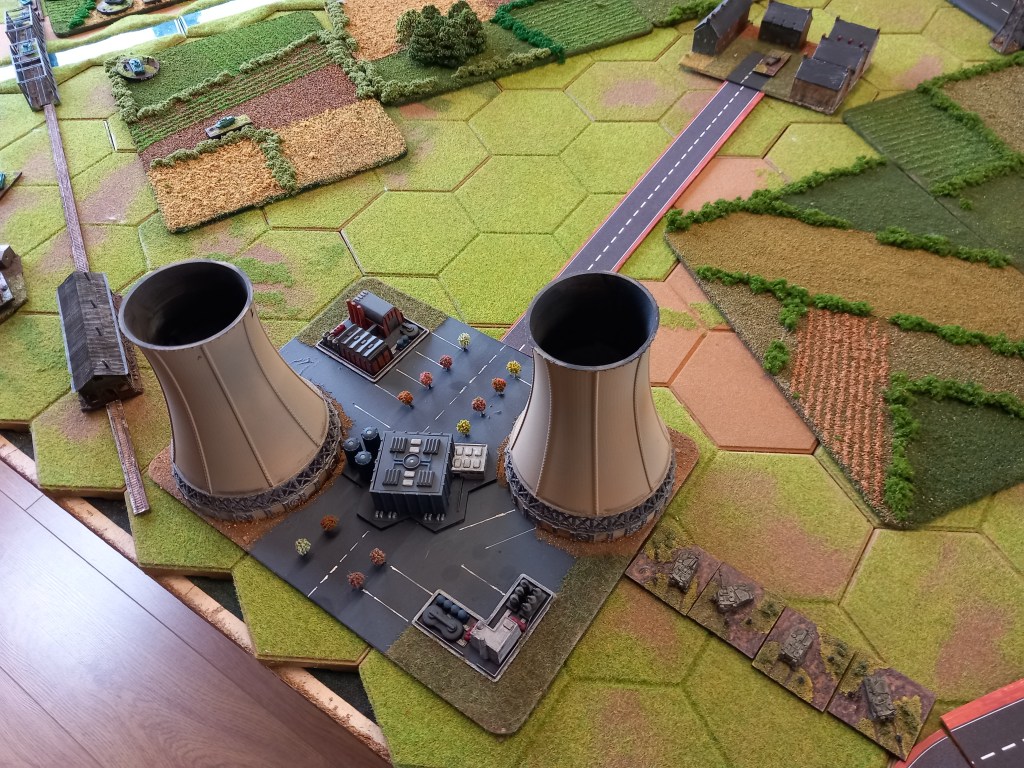
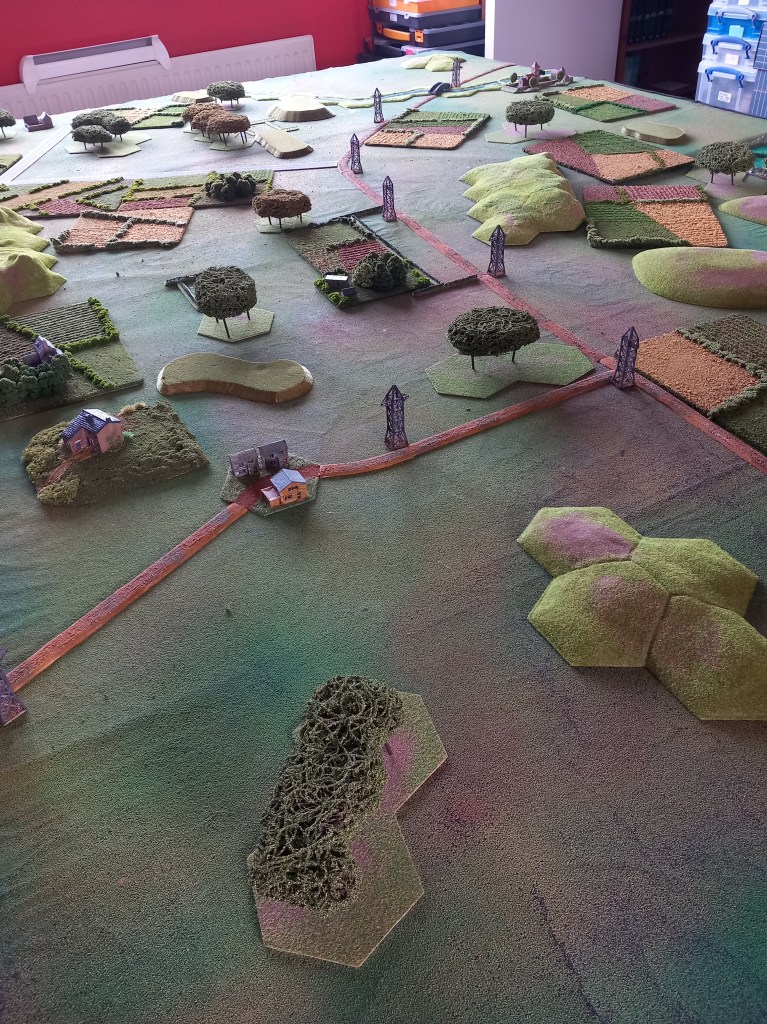
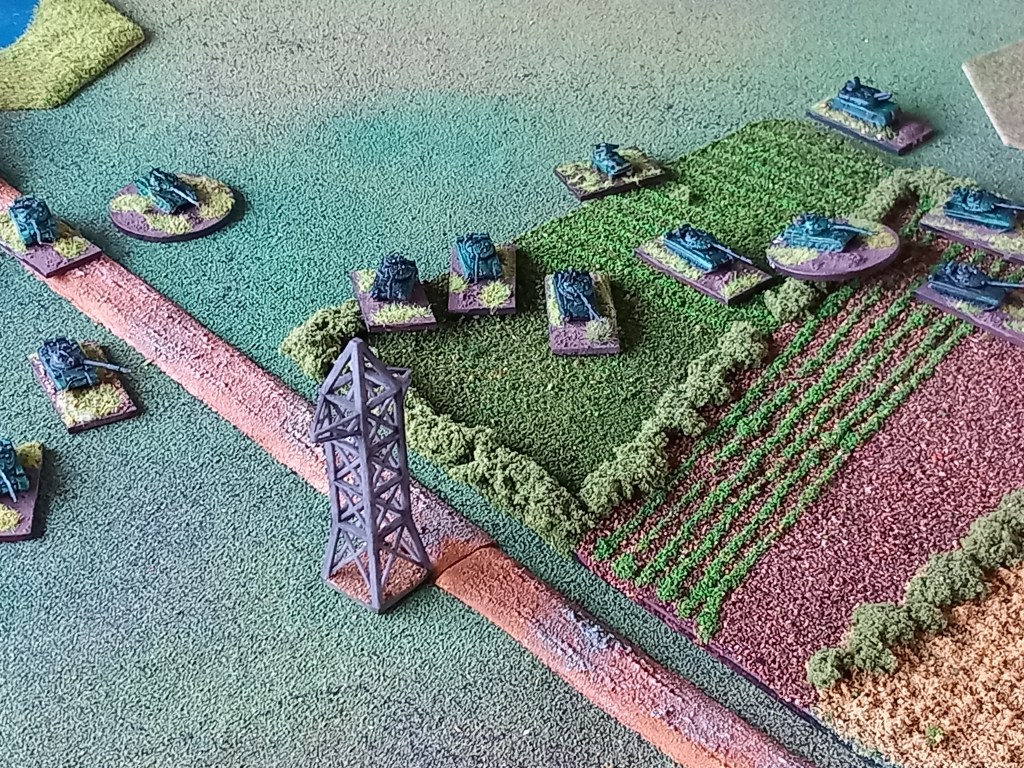
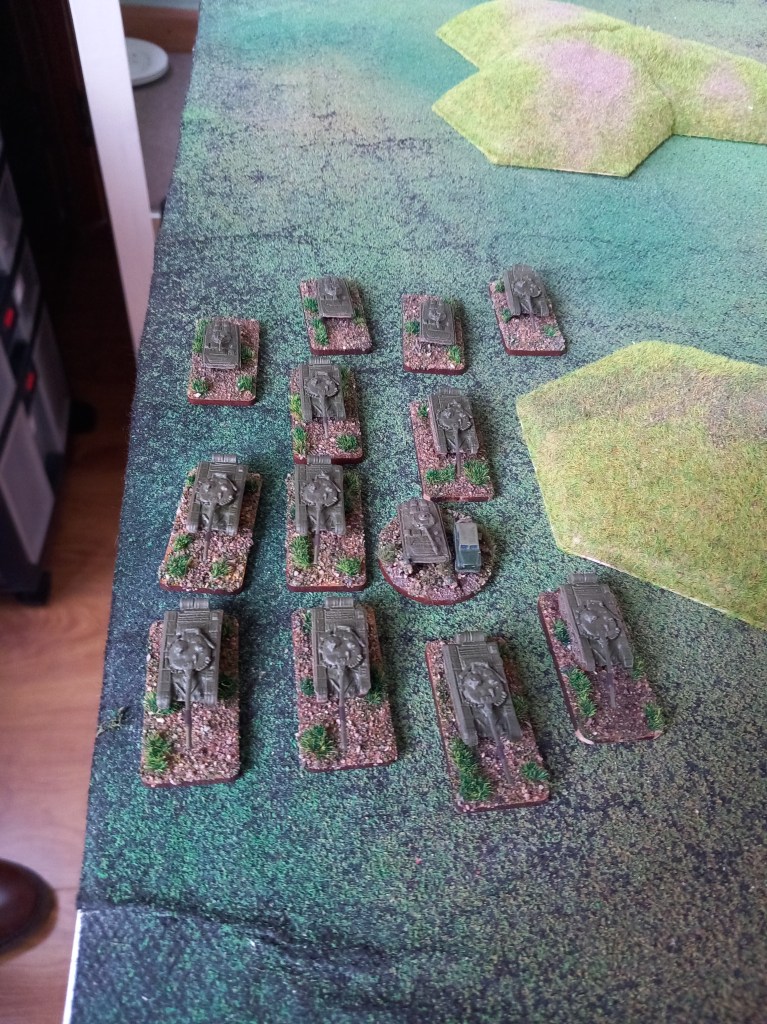
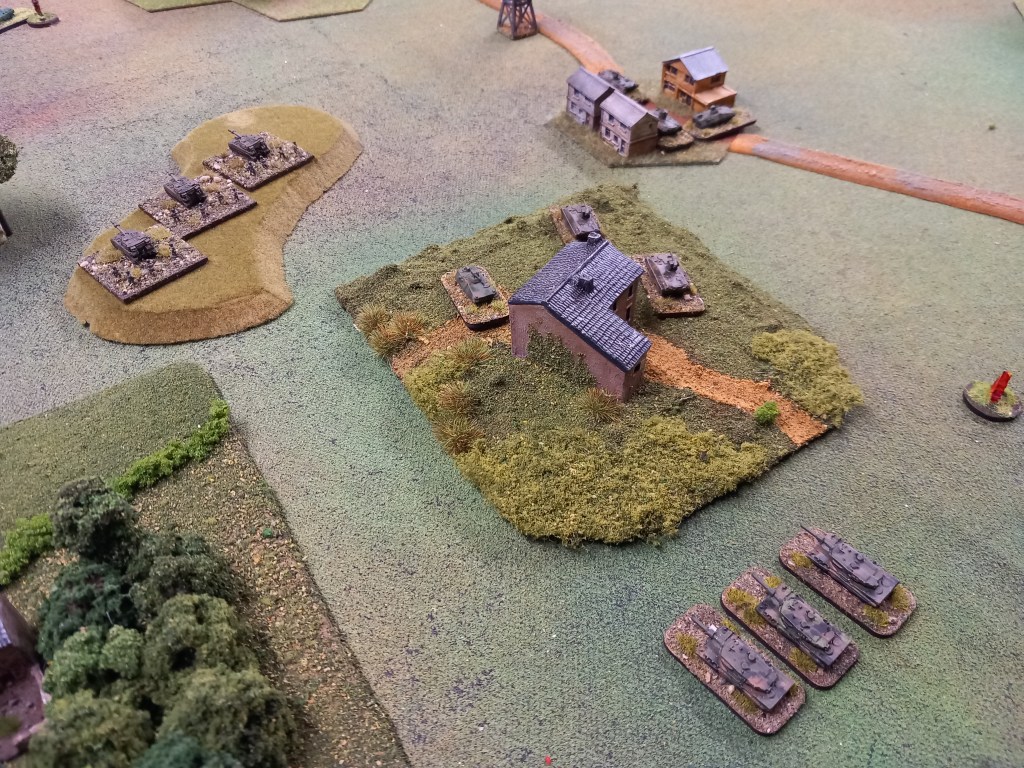
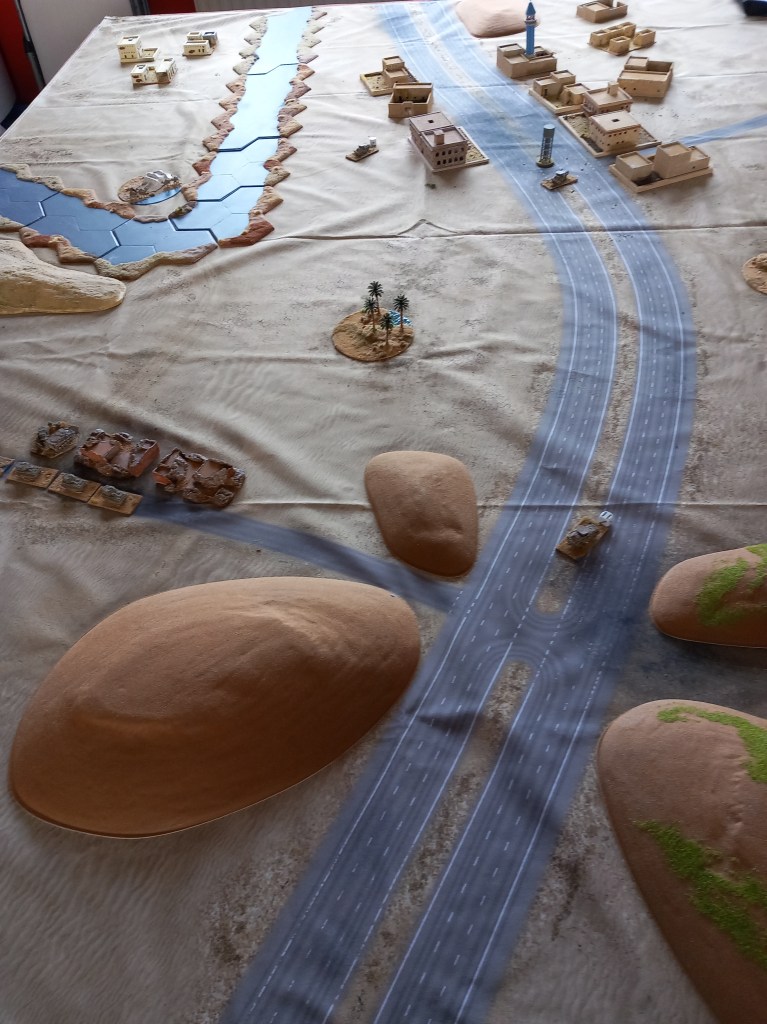
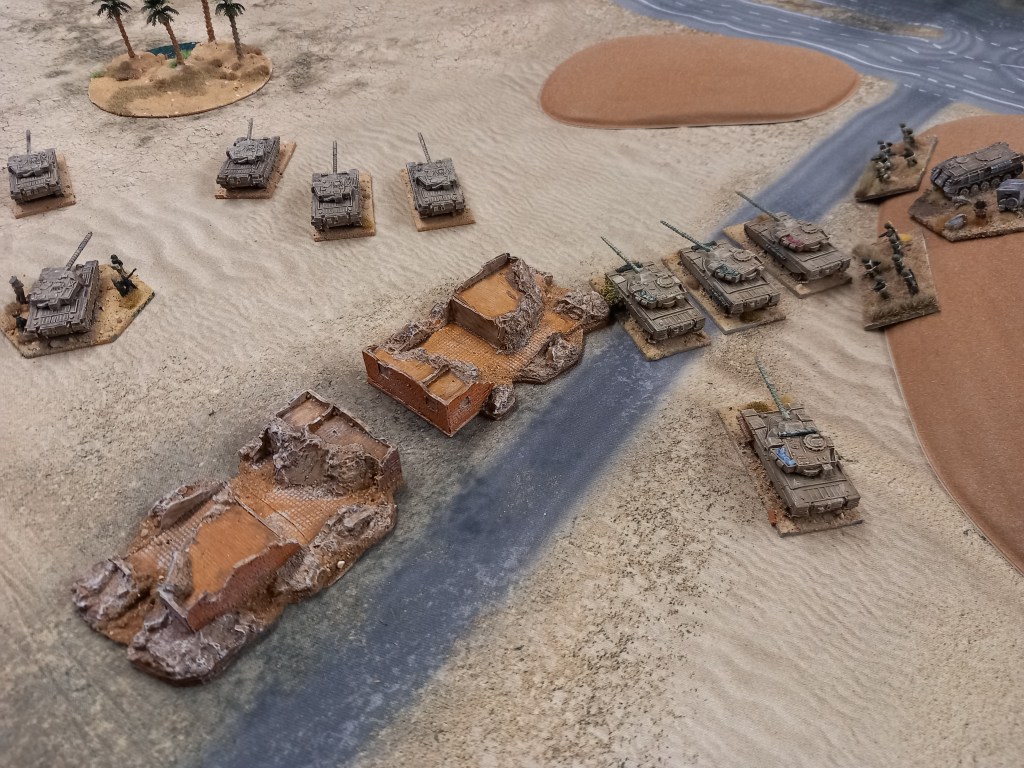
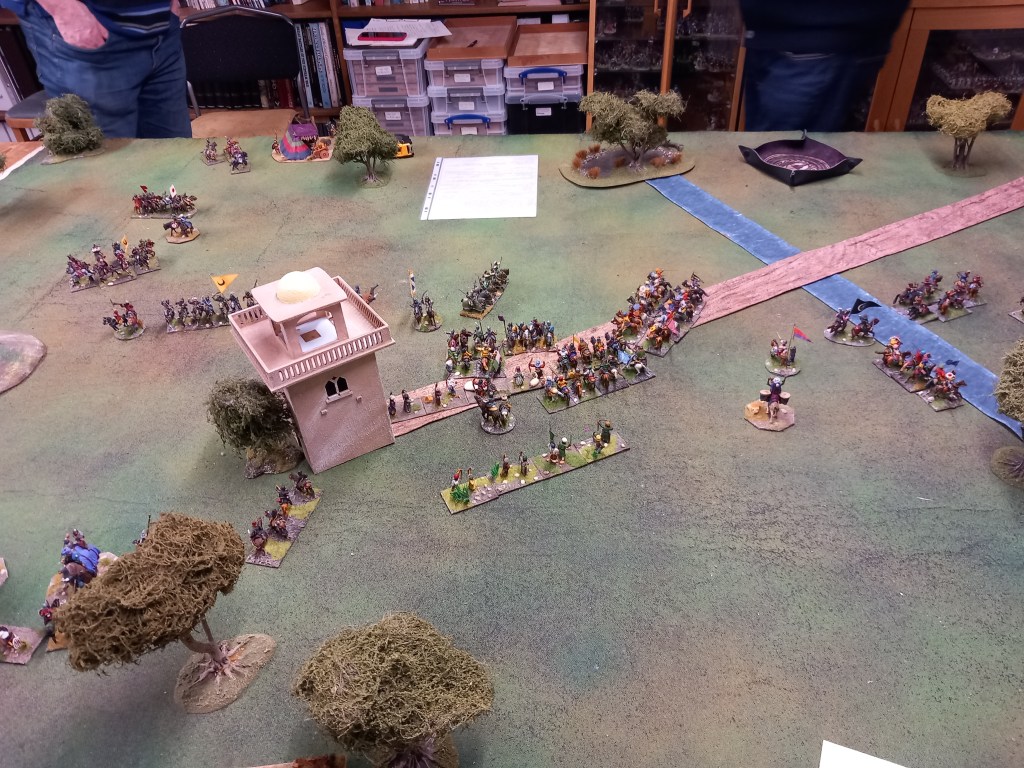
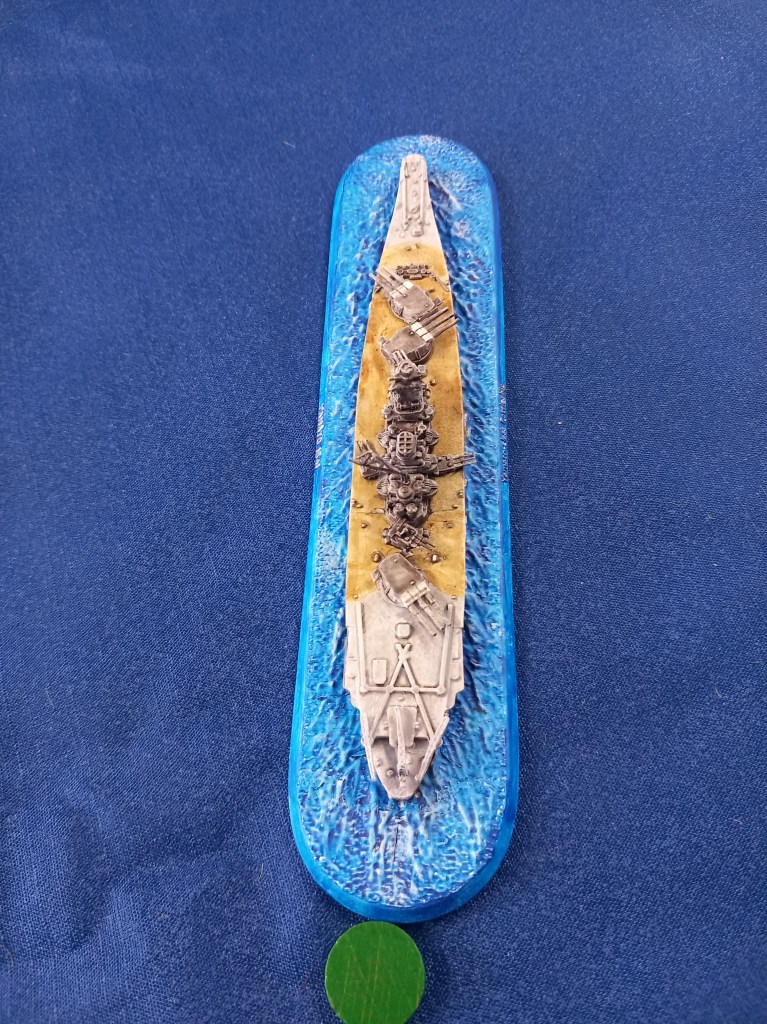
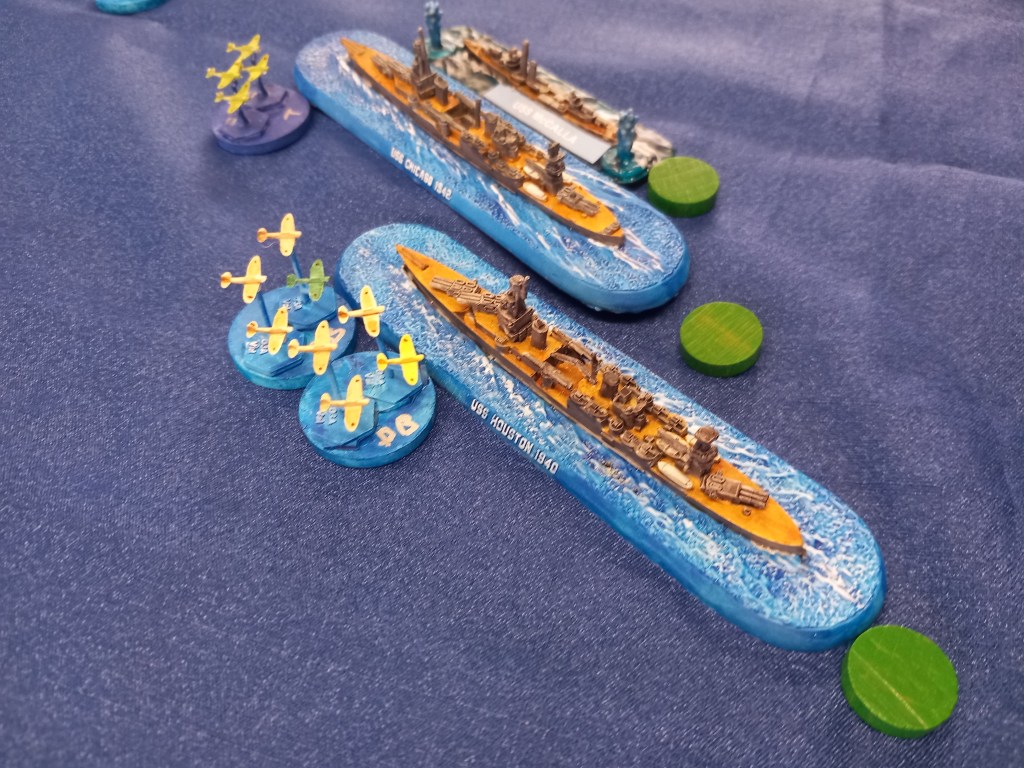
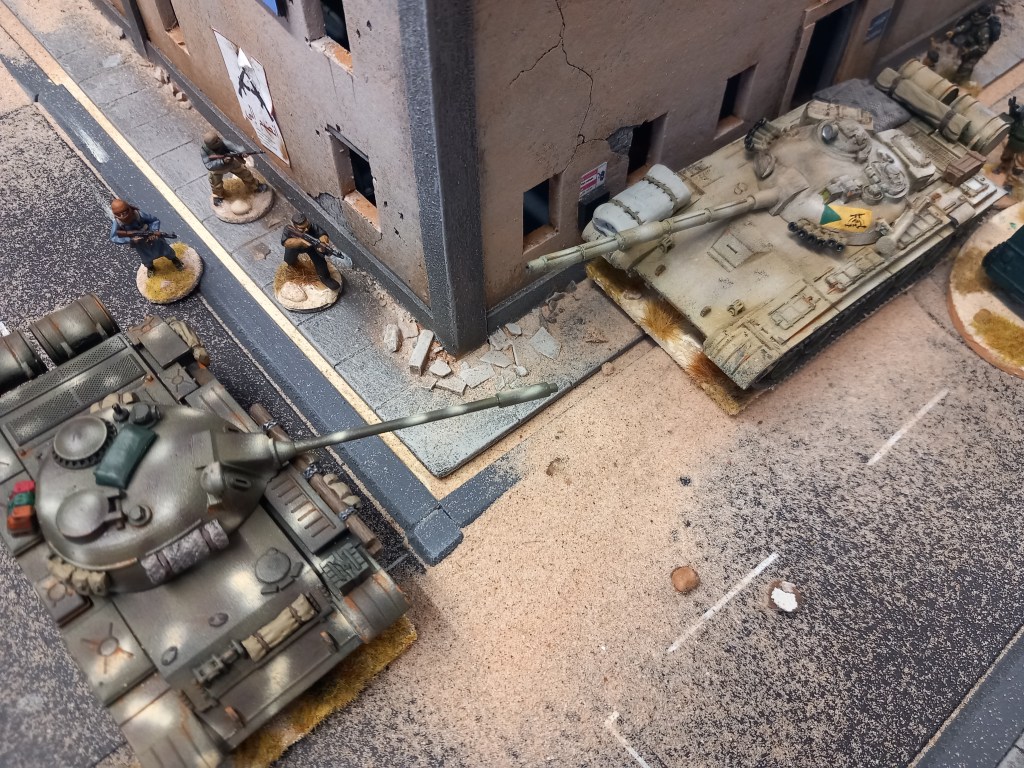
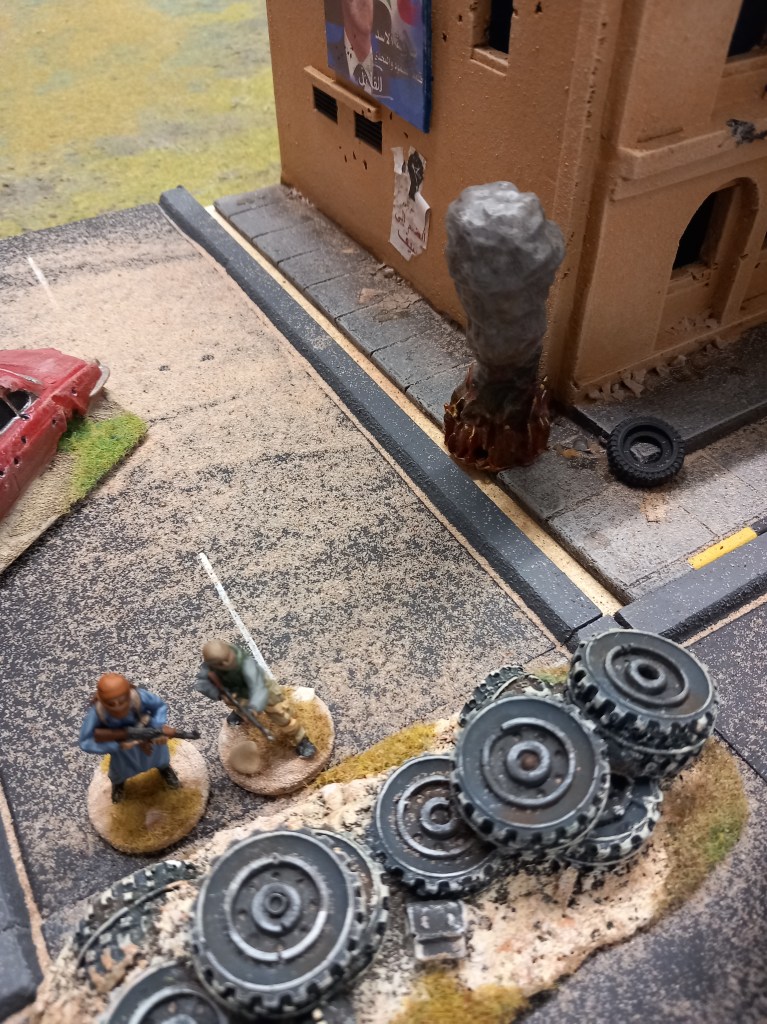
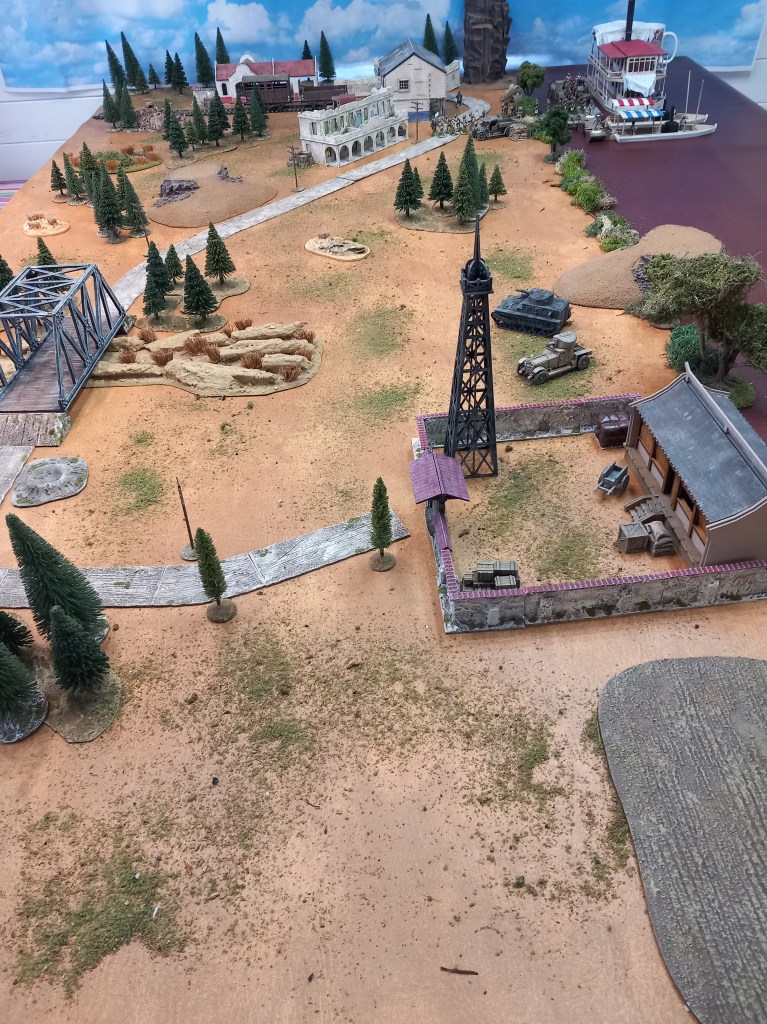
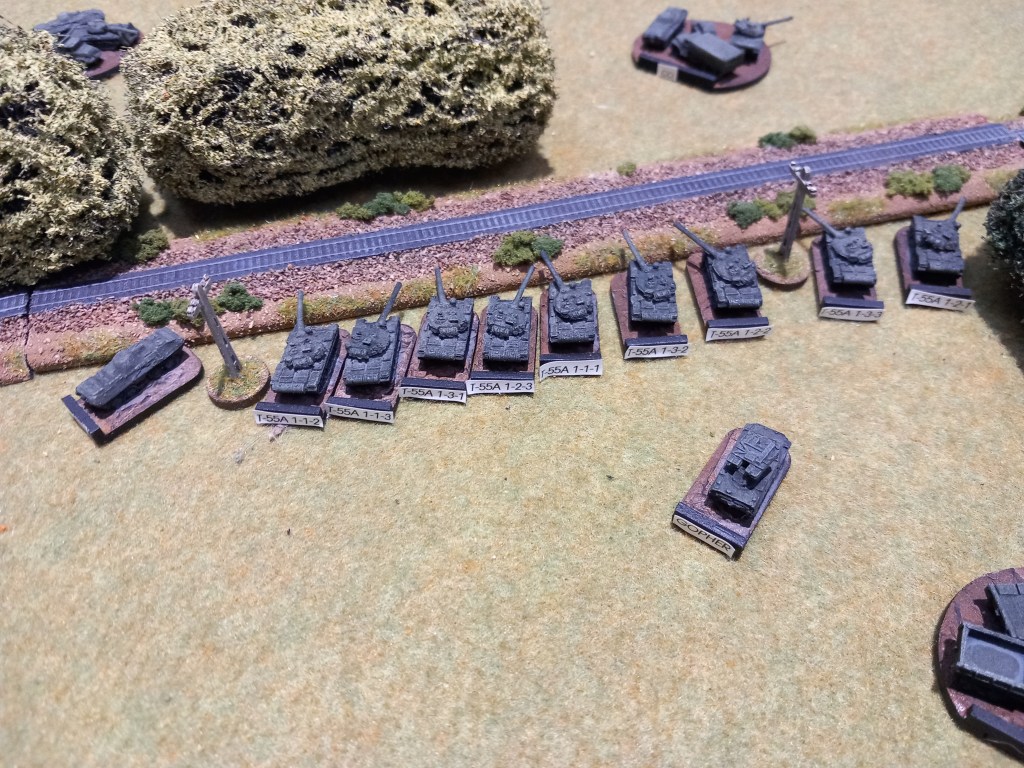
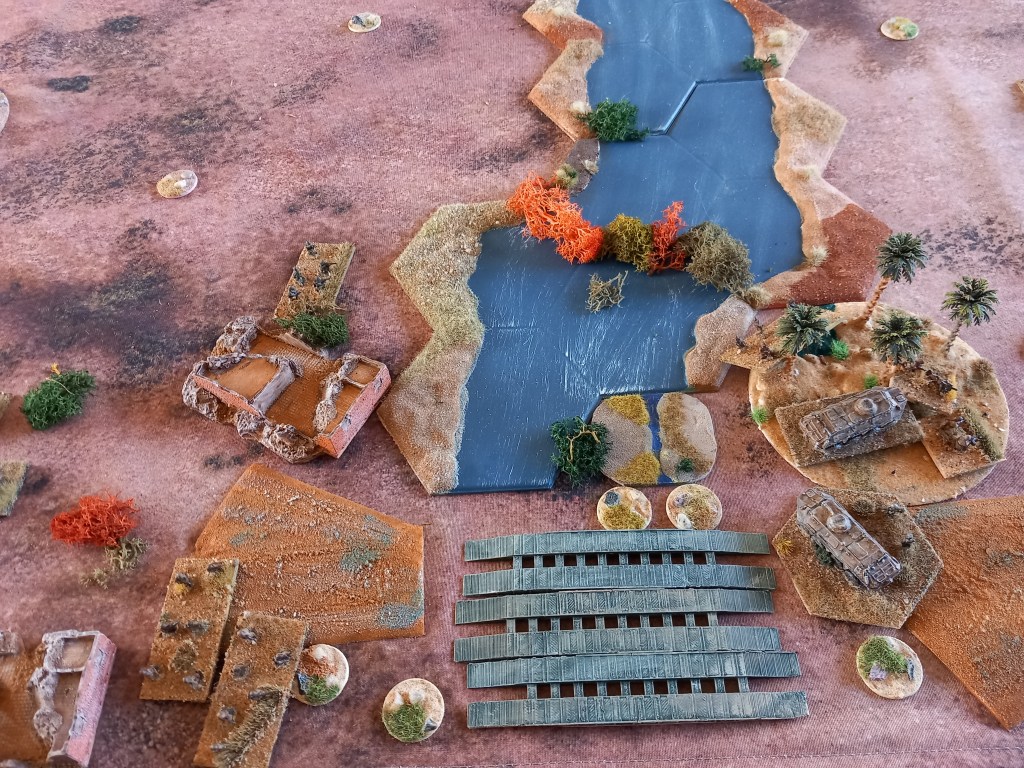
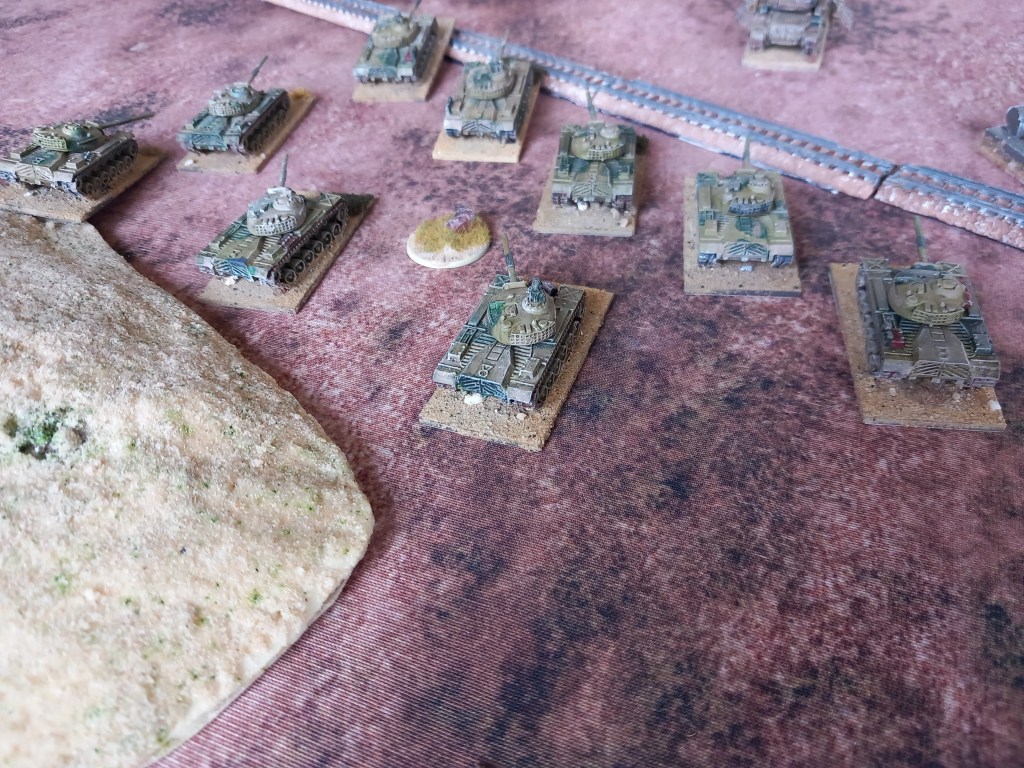
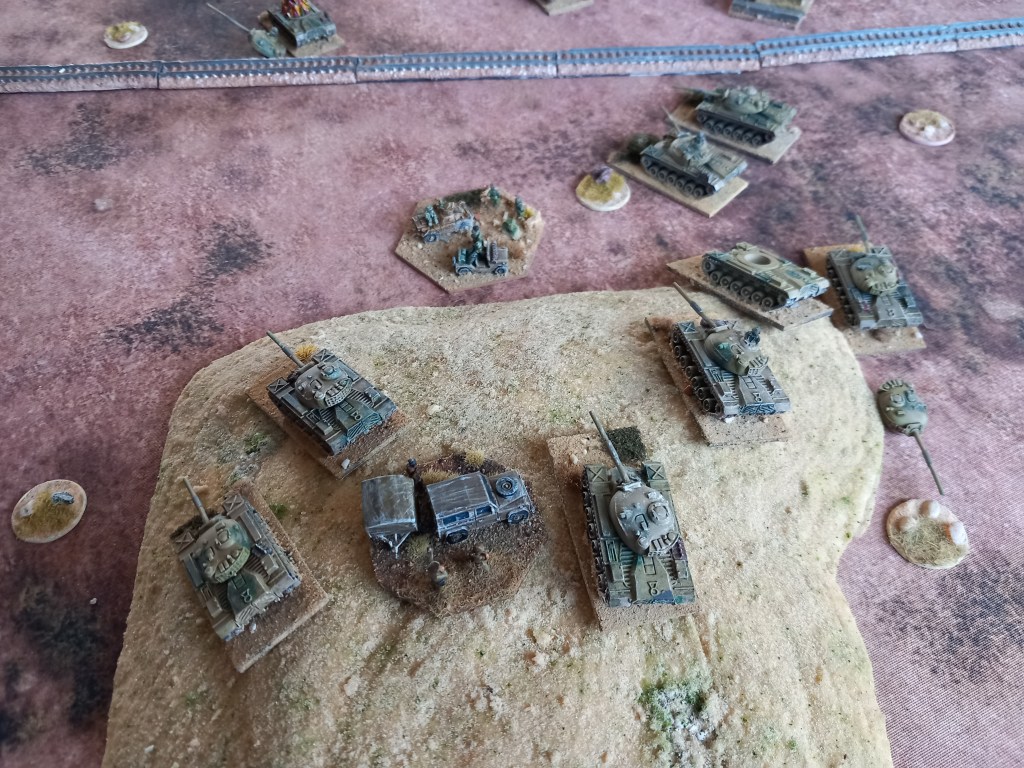
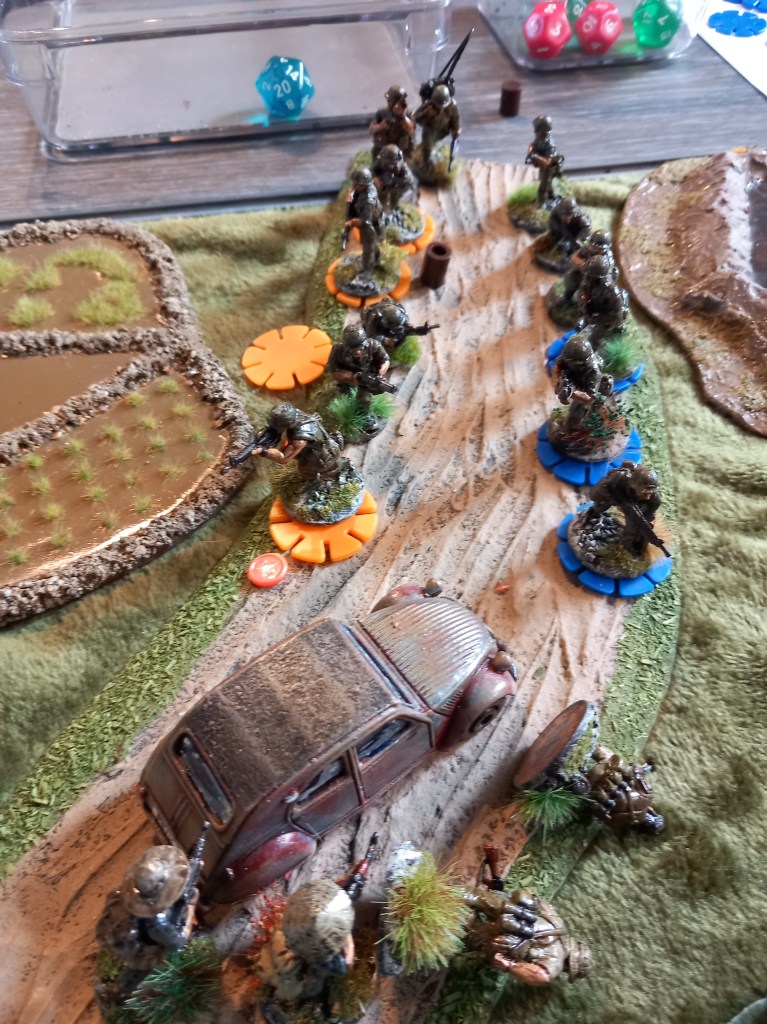
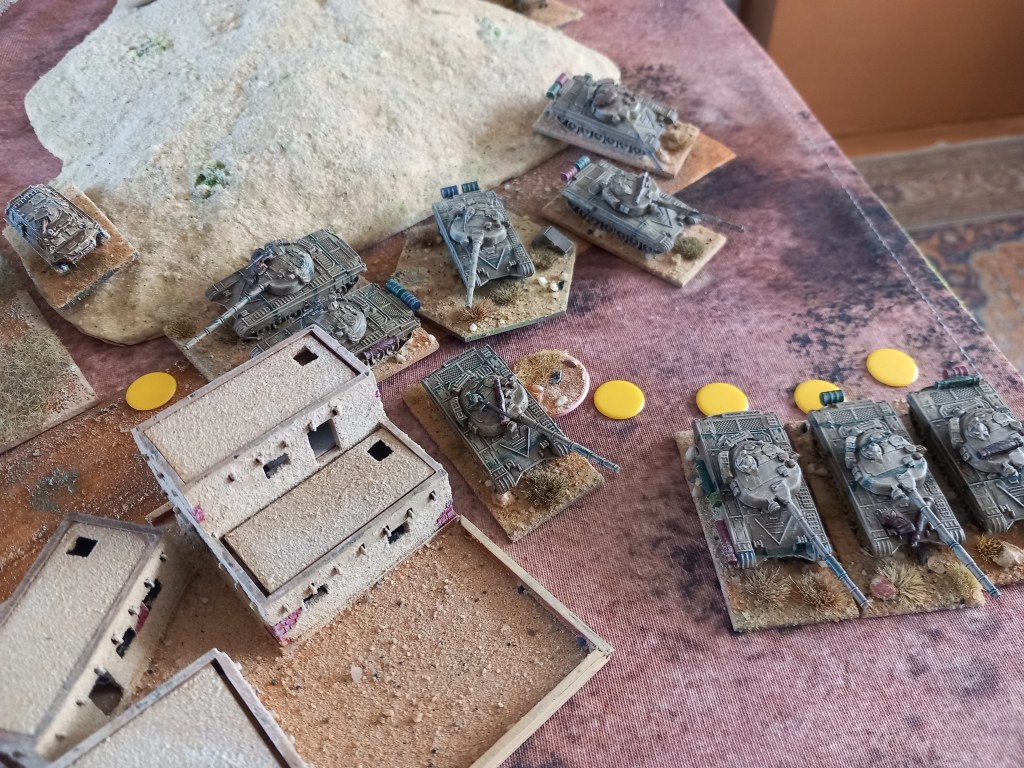
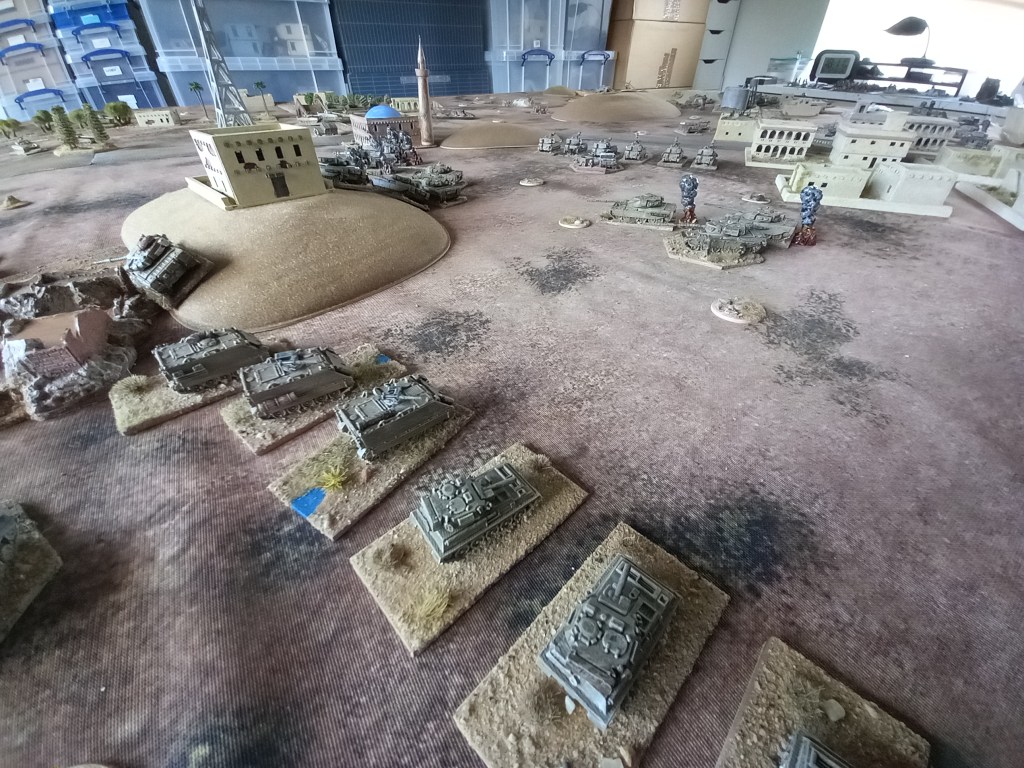
Our next effort was an 8 turn encounter battle for our Iran Iraq collection using Cold War Commander (amended). The table consisted of a series of objectives allocated varying points values, most points gained by turn 8 is the winner unless the combat group fails morale.
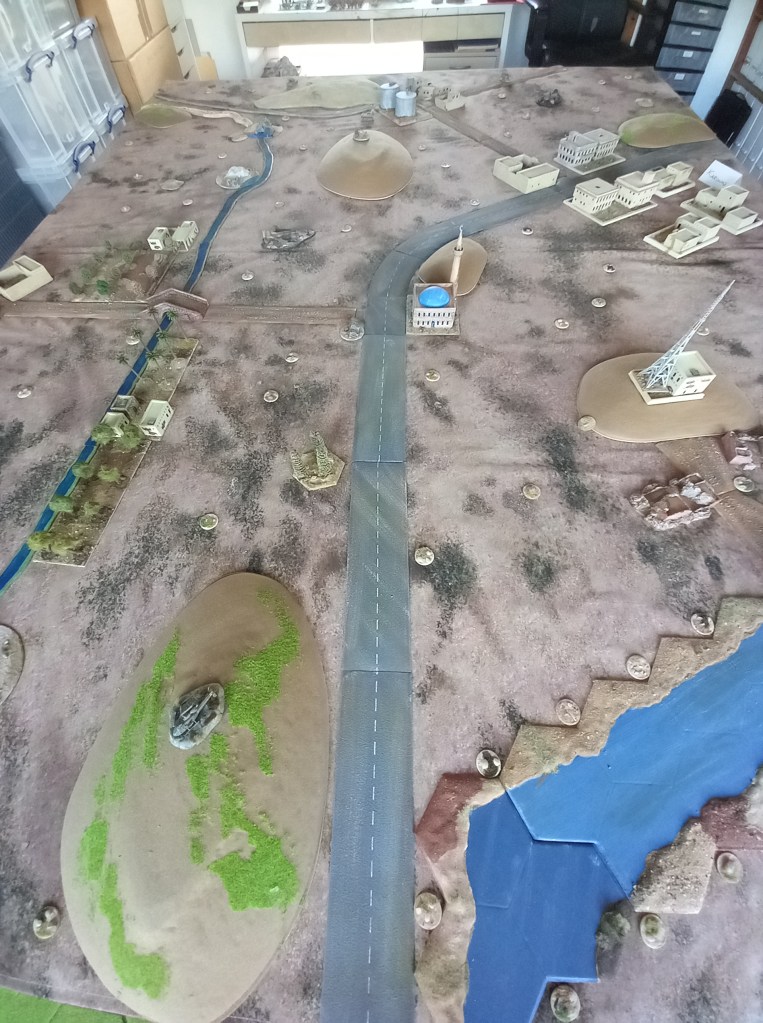
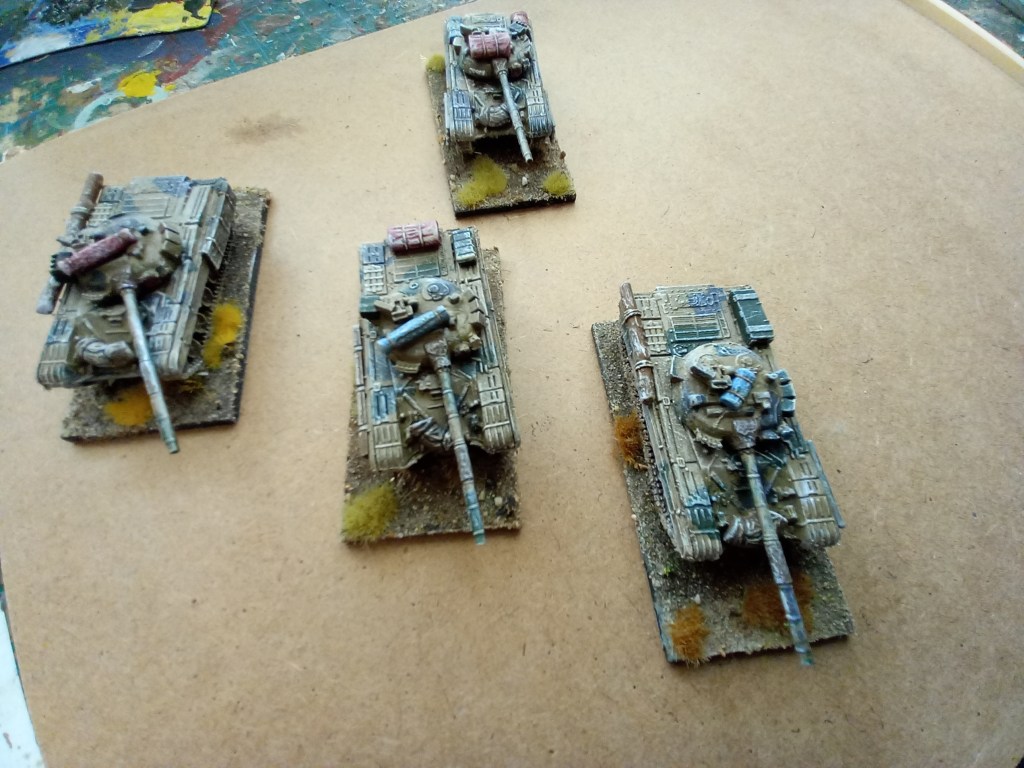
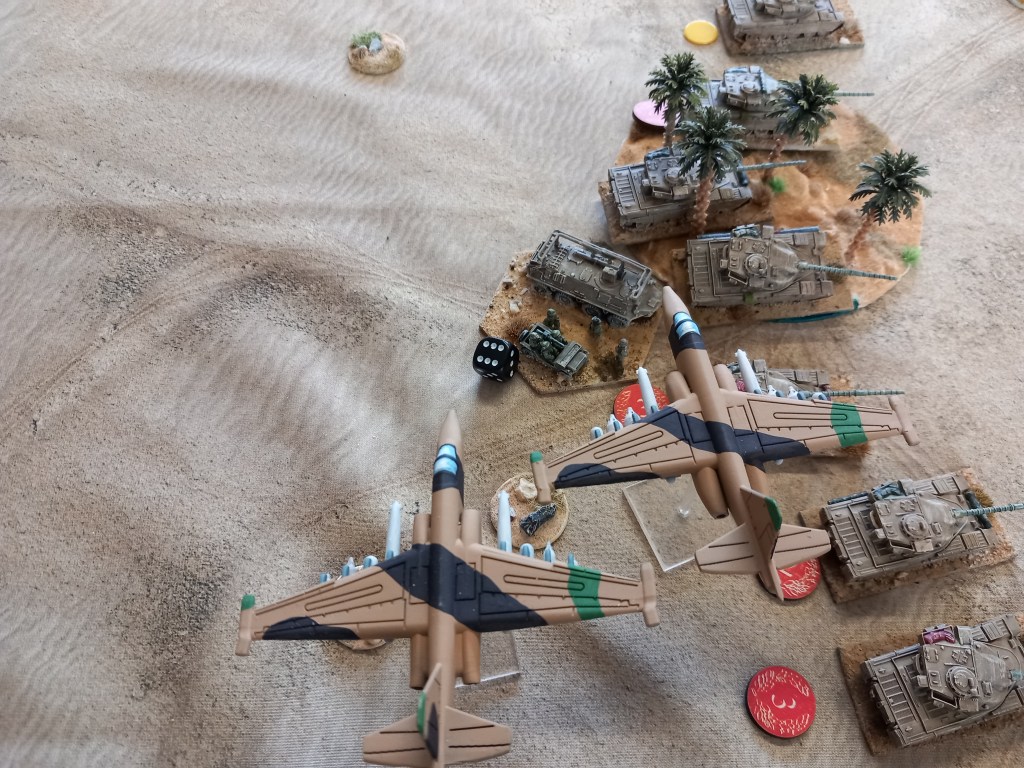
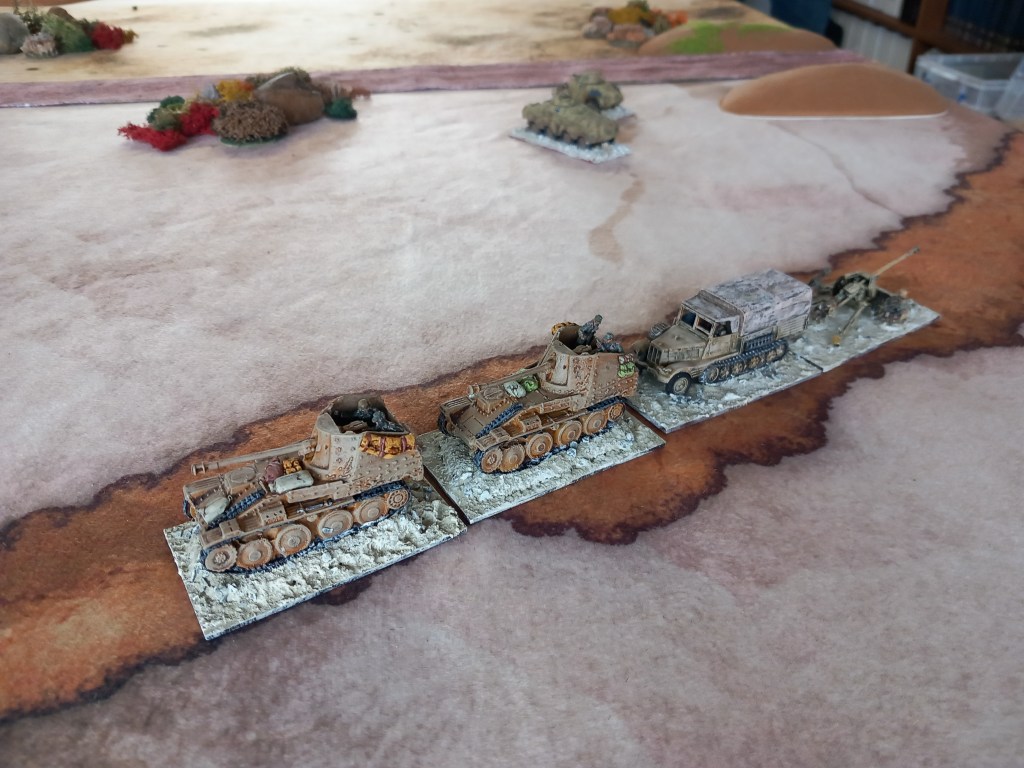
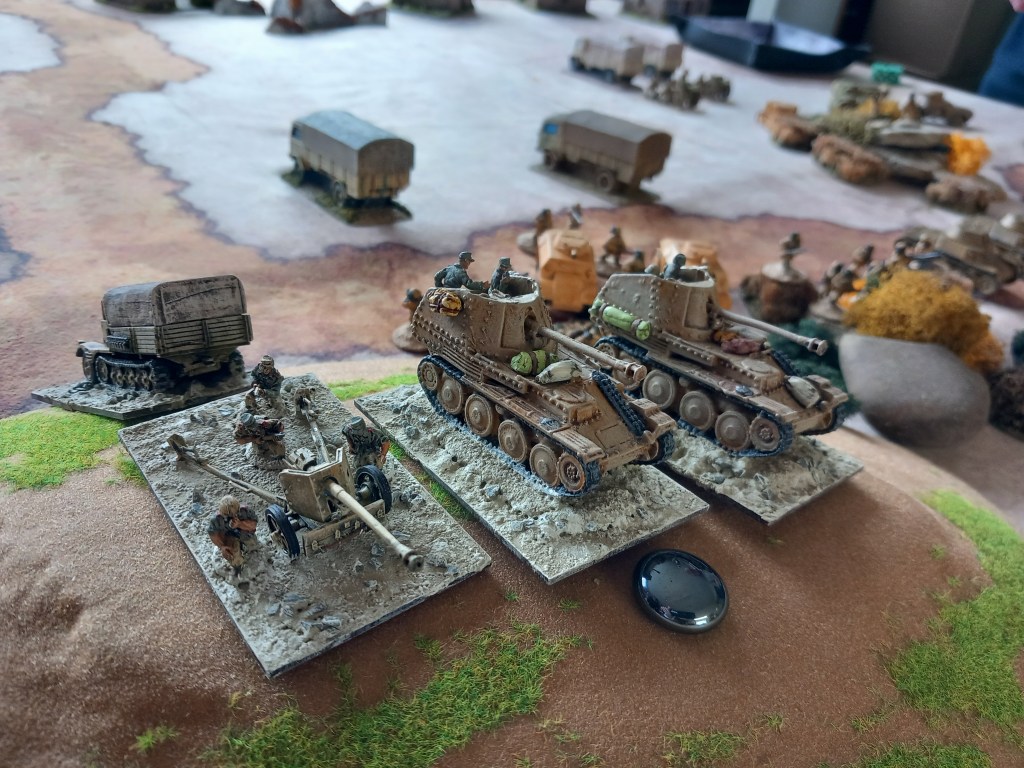
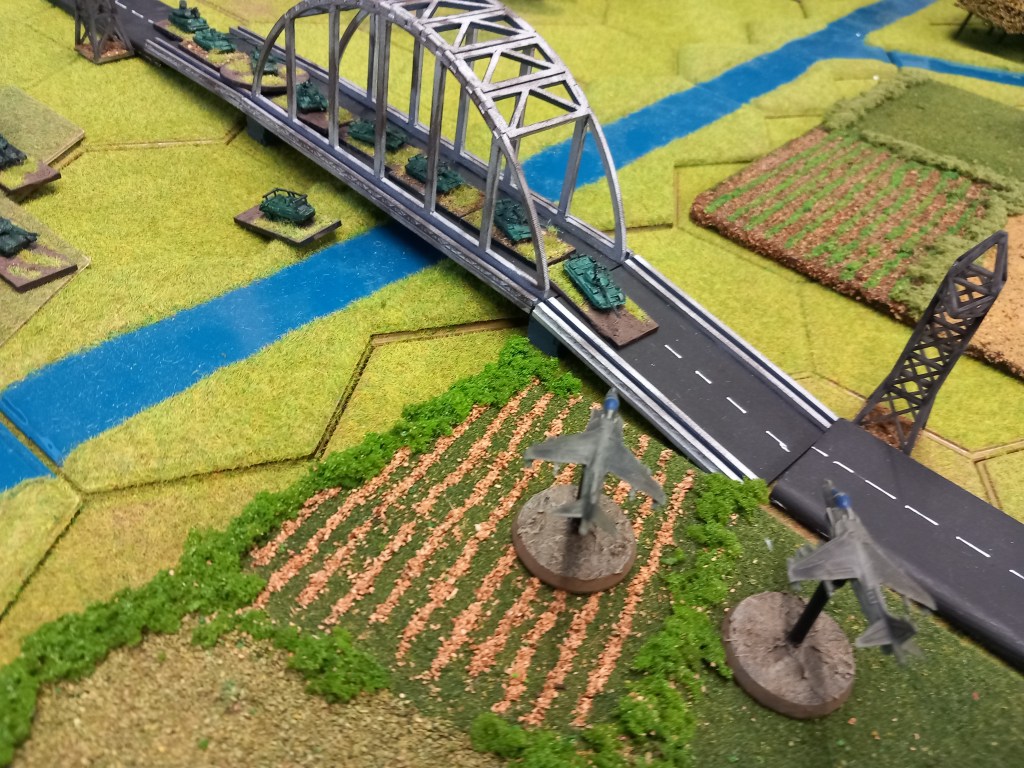
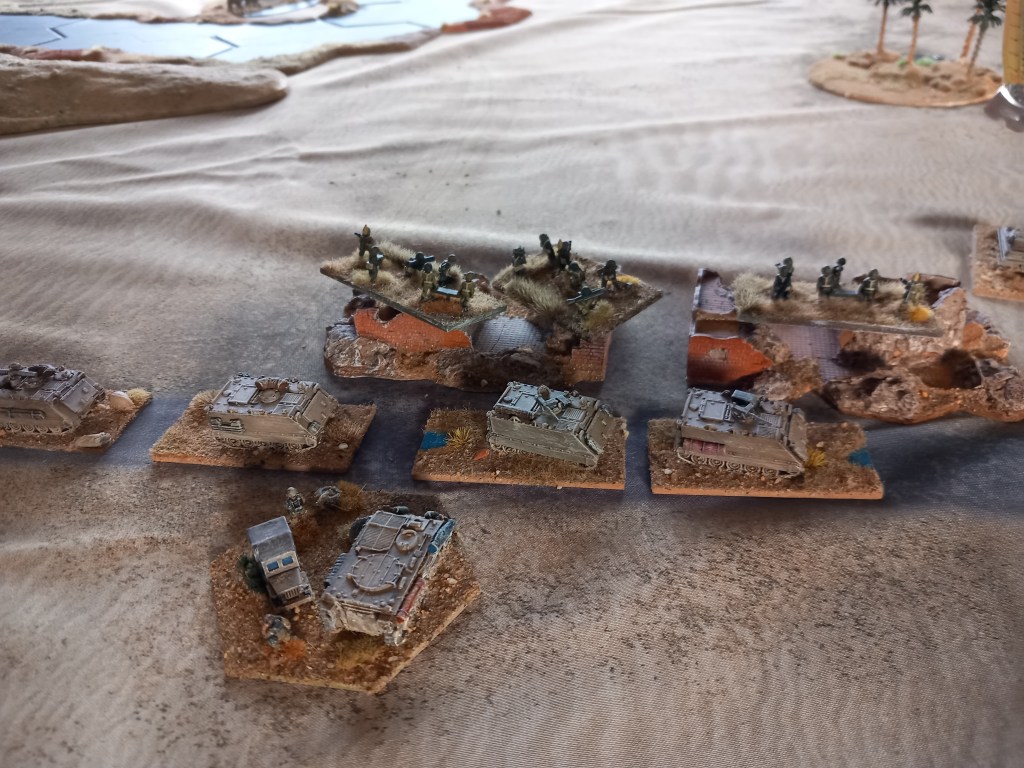
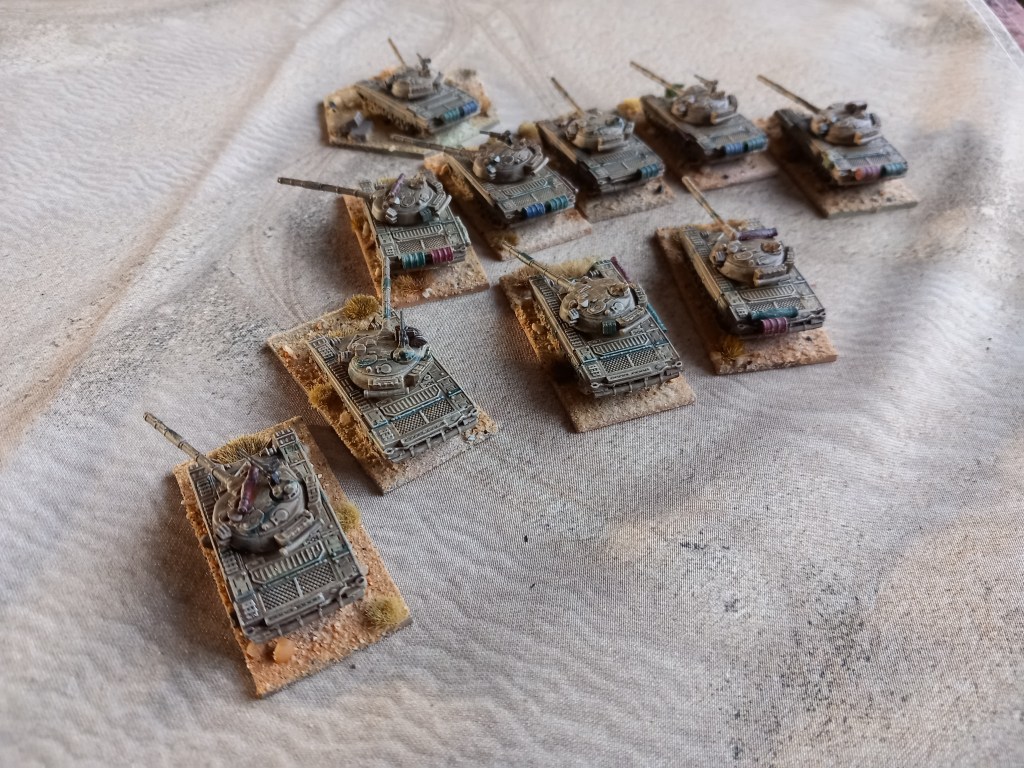
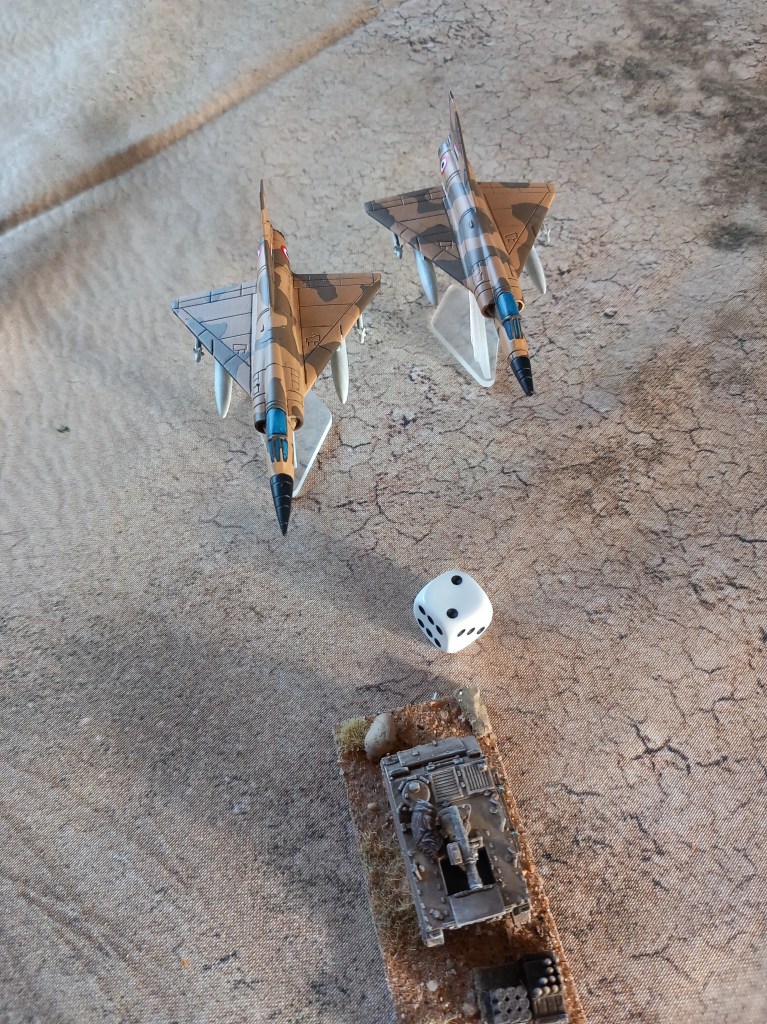
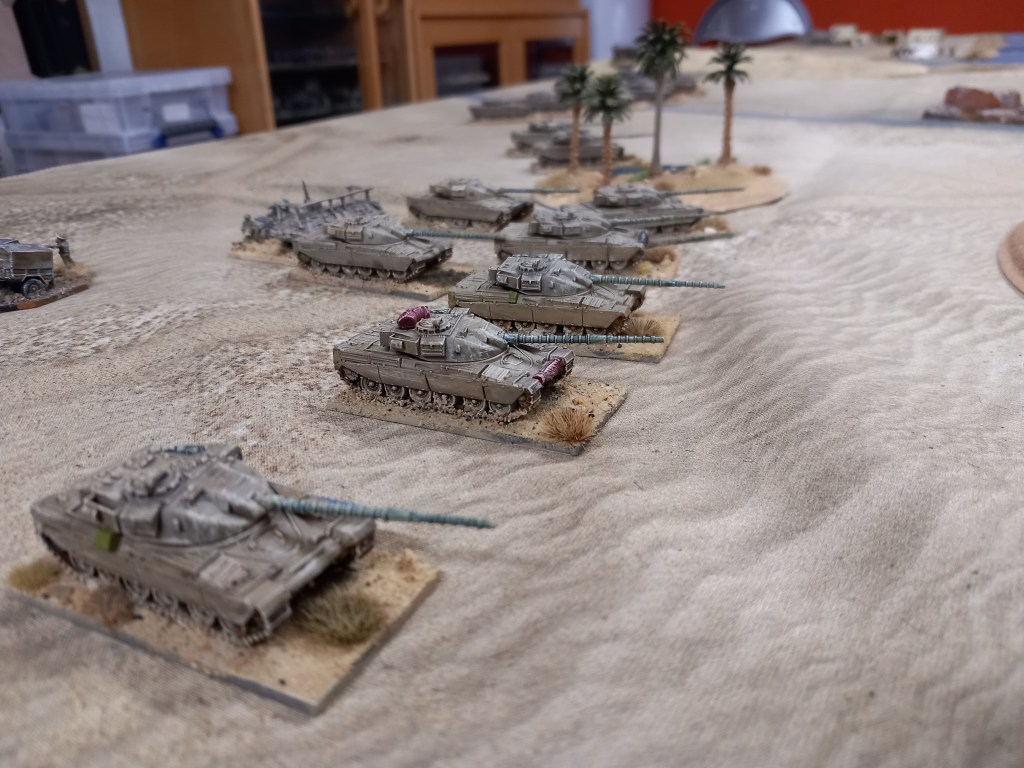
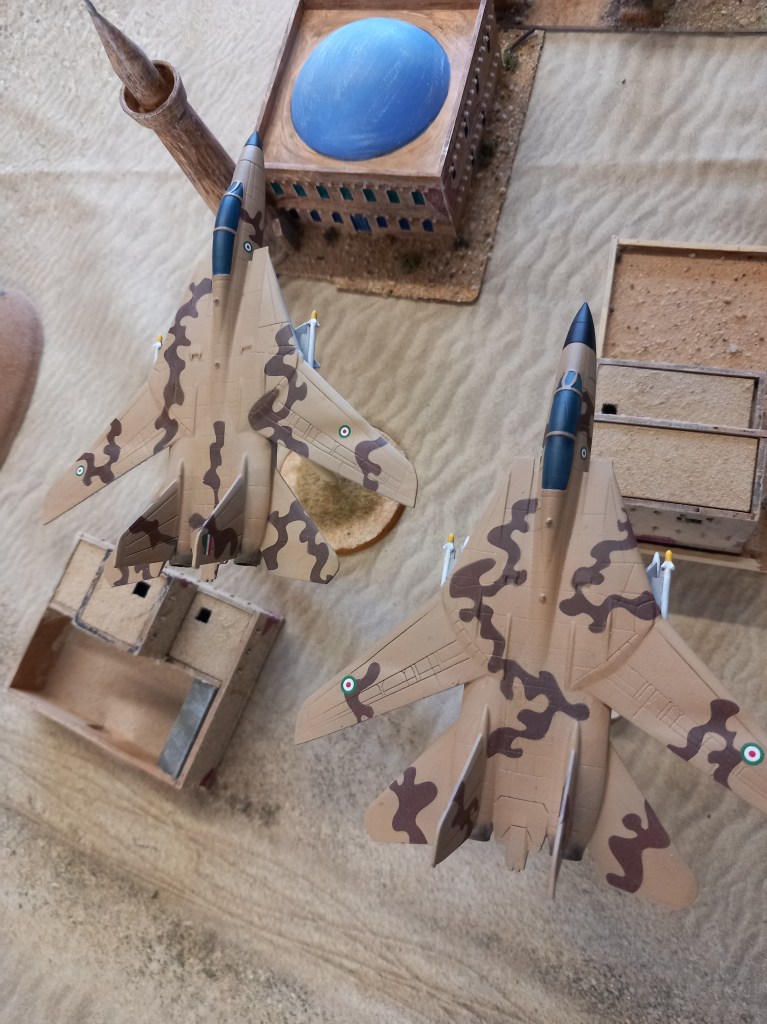
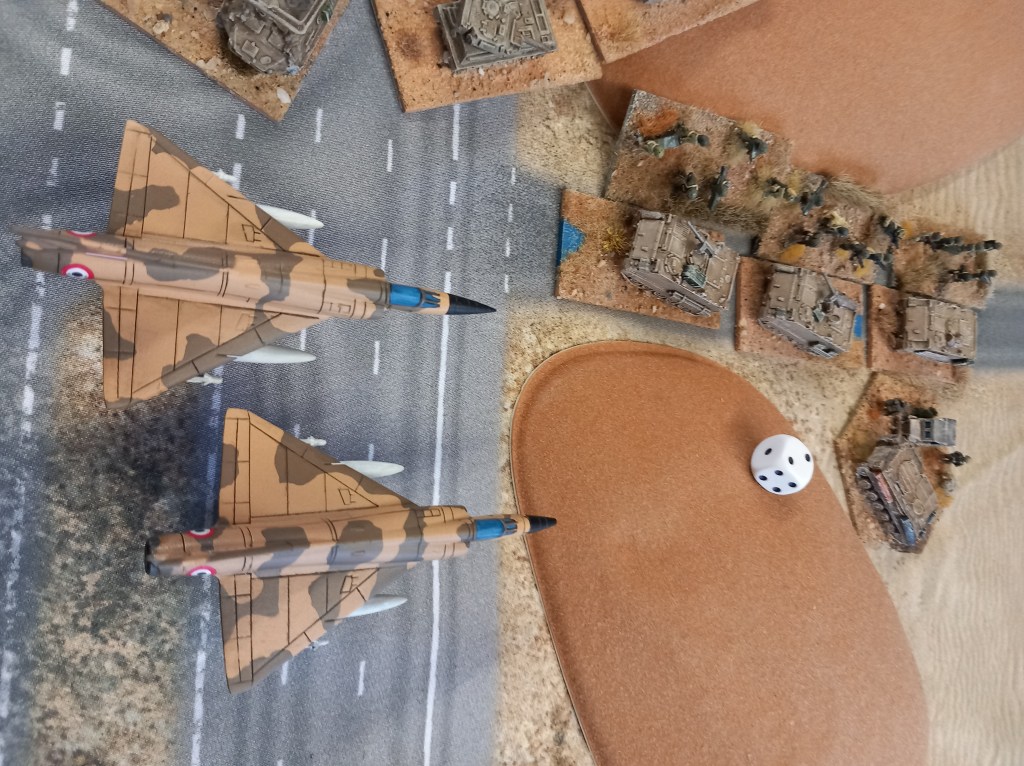
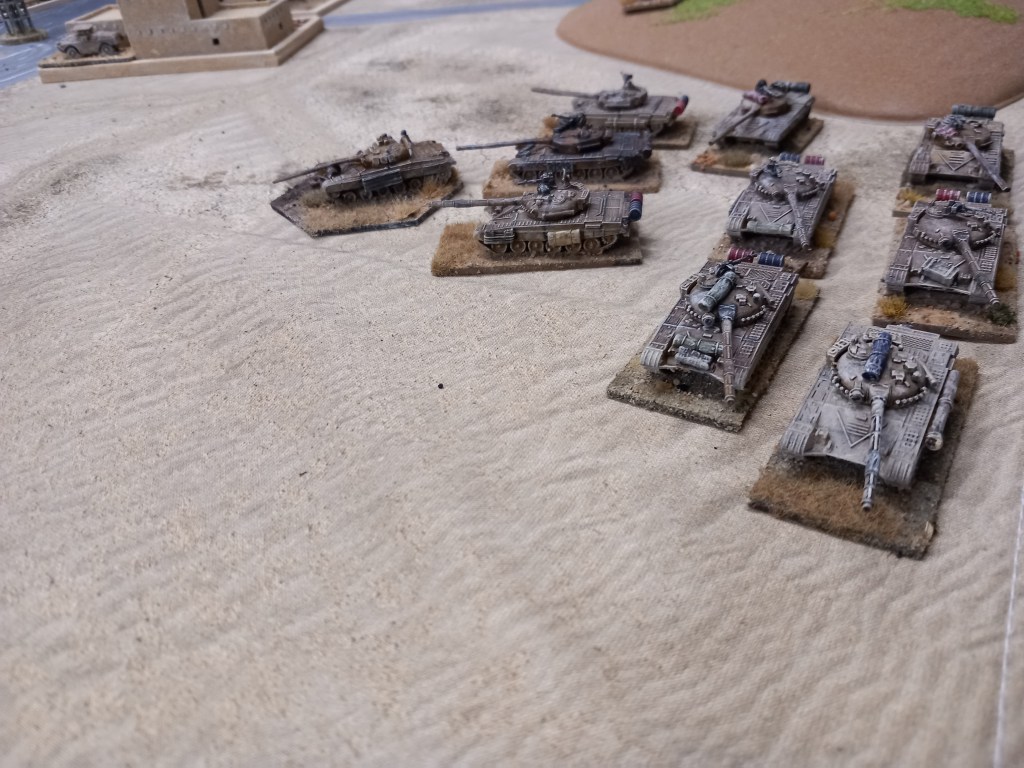
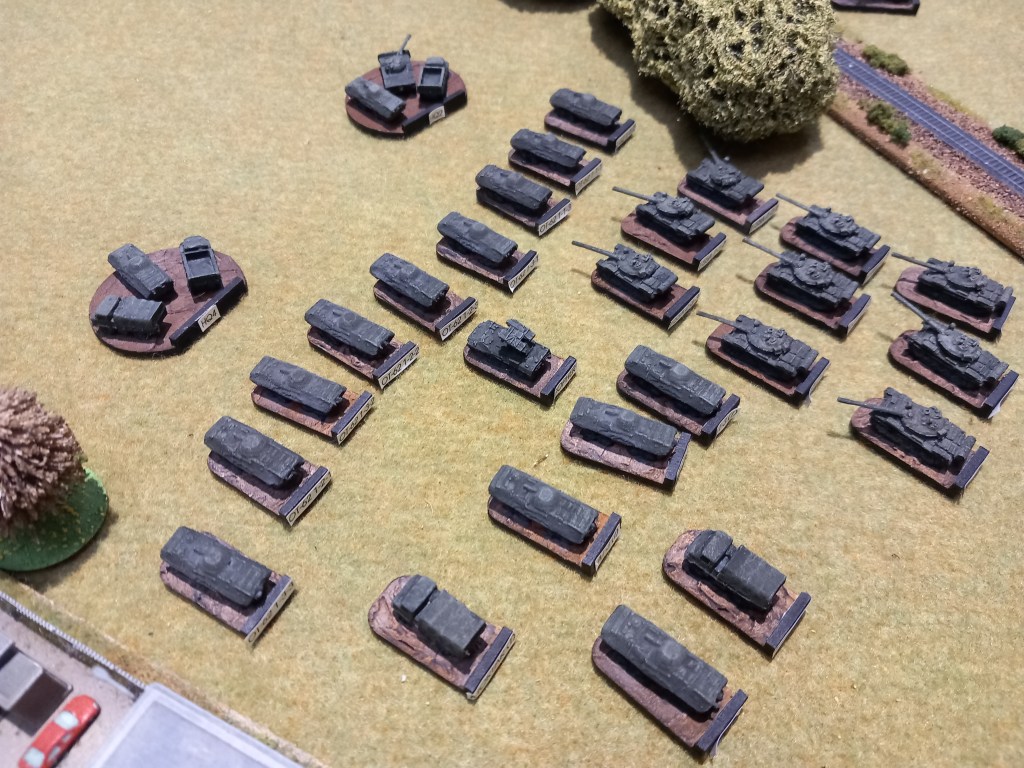
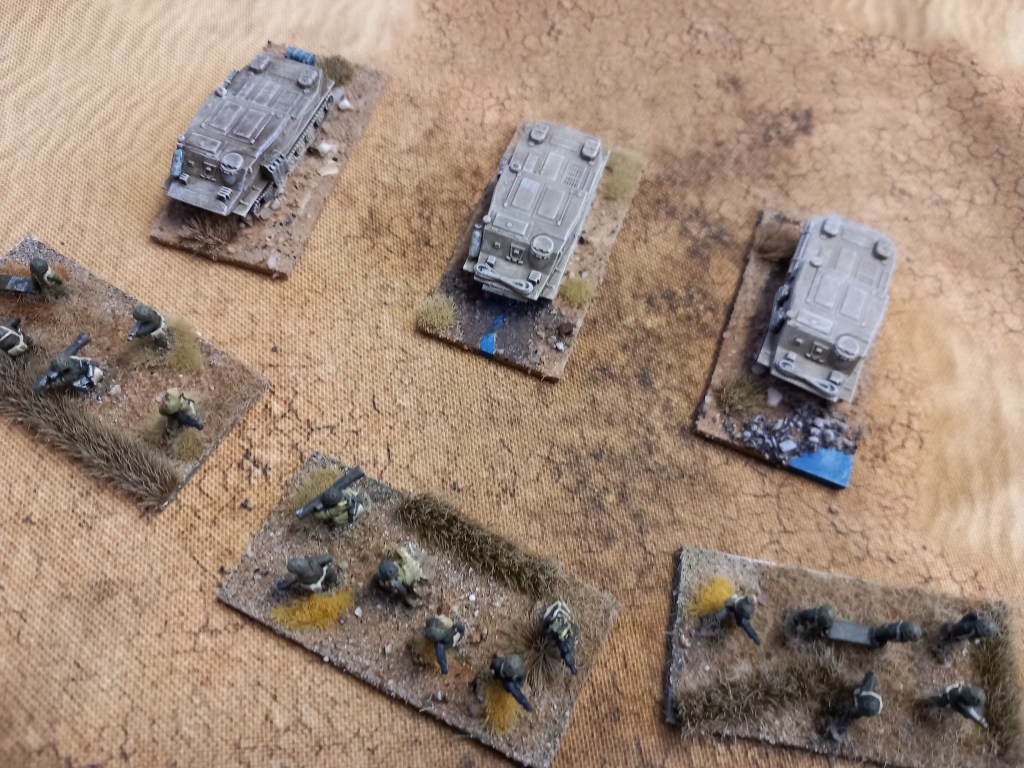
Both sides had several brigades to choose from each with their own points values and then additional assets that could be chosen to make up a ceiling number. The Iranians chose the 1st Armoured of the 92nd Armoured Division which gave them two Chieftain battalions, a Mechanised Infantry battalion, an armoured cavalry battalion and an armoured artillery battalion; their only additional asset was an F14 Tomcat squadron. The Iraqis chose the 10th Armoured (forerunner of the Republican Guard) which gave them three T-72 battalions and a Mechanised Infantry battalion; their additional assets were a Mirage squadron, a Gazelle squadron with ATGW, a BRDM Sagger company and a couple of off table 2S1 self propelled gun batteries.
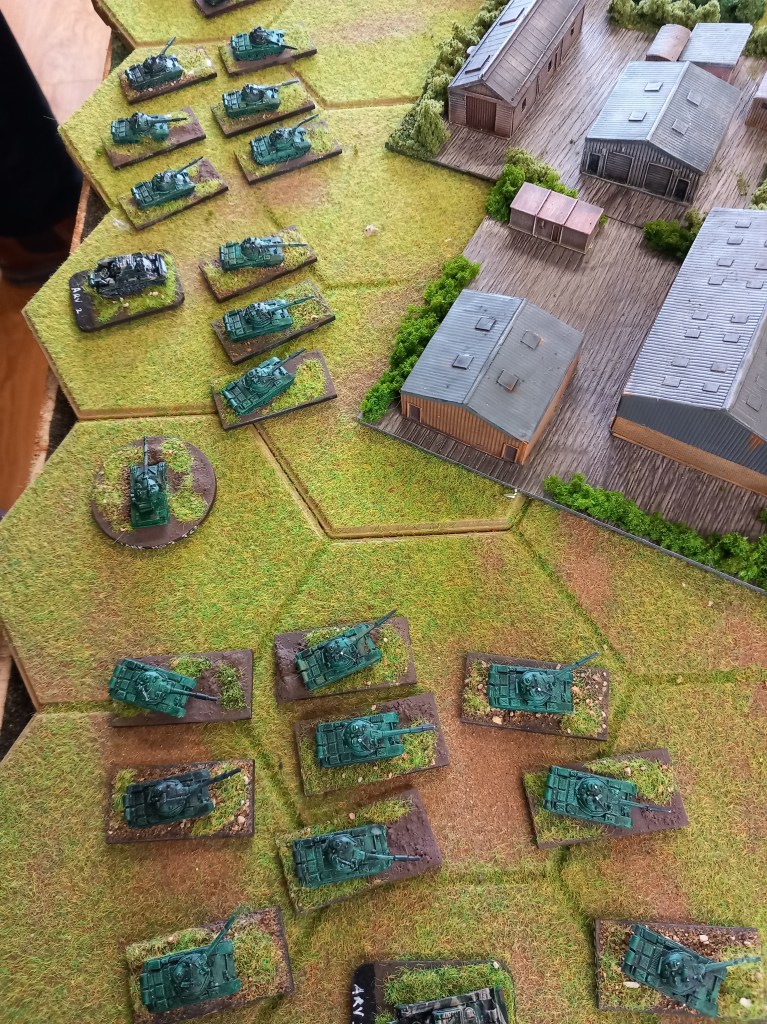
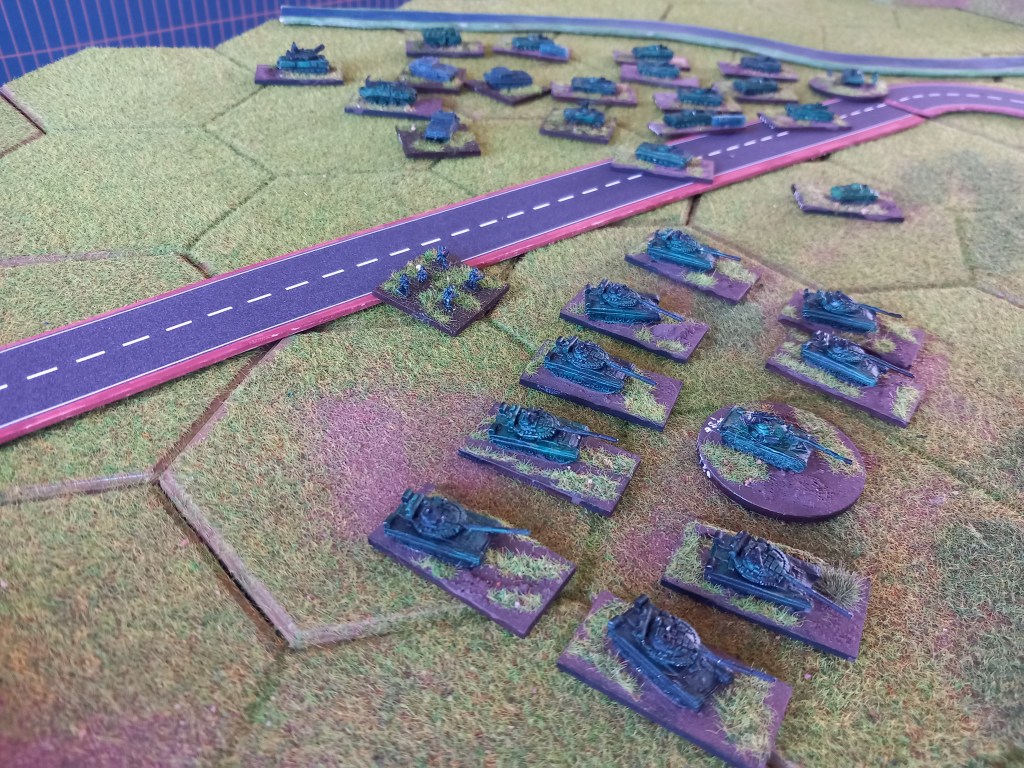
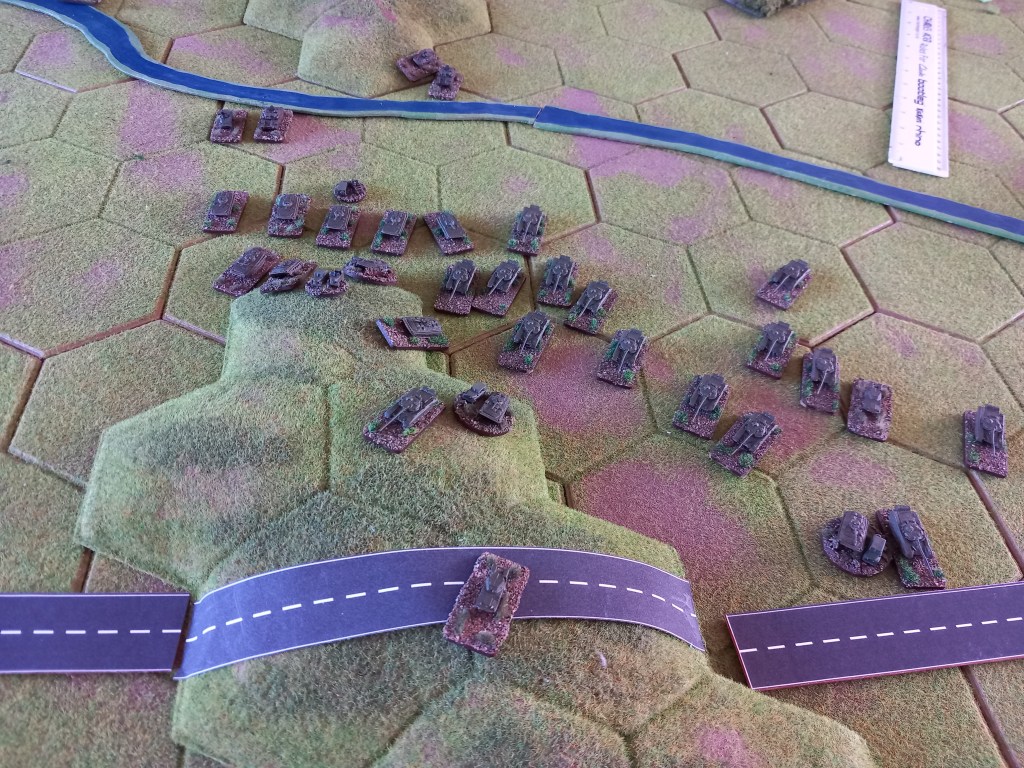
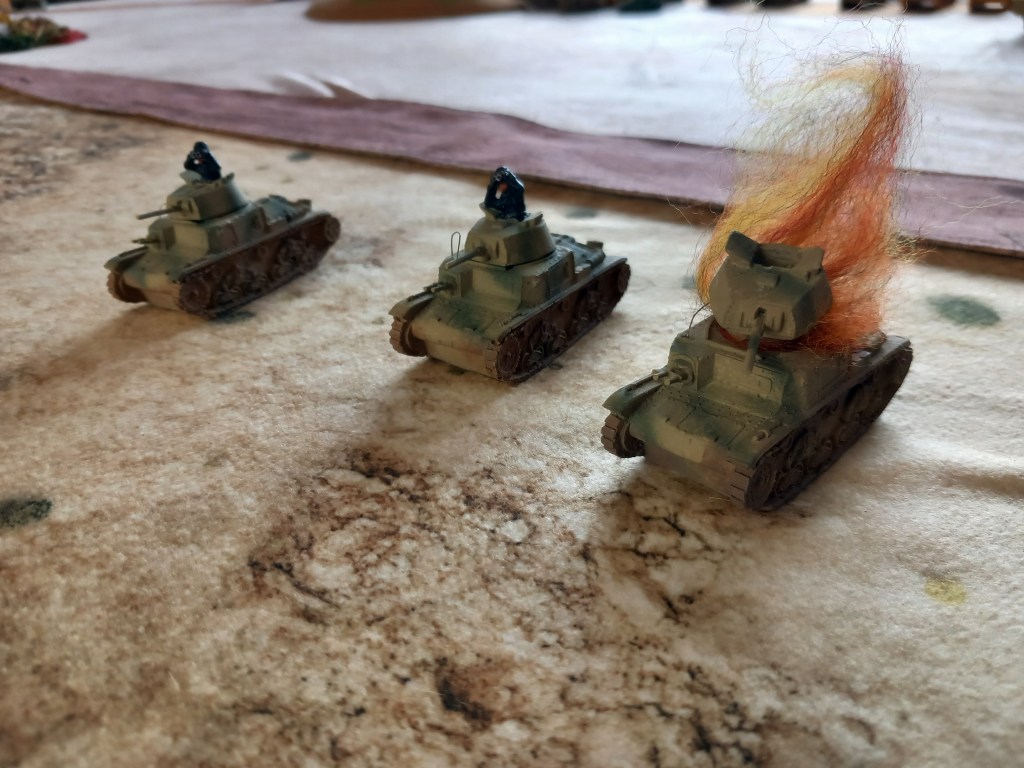
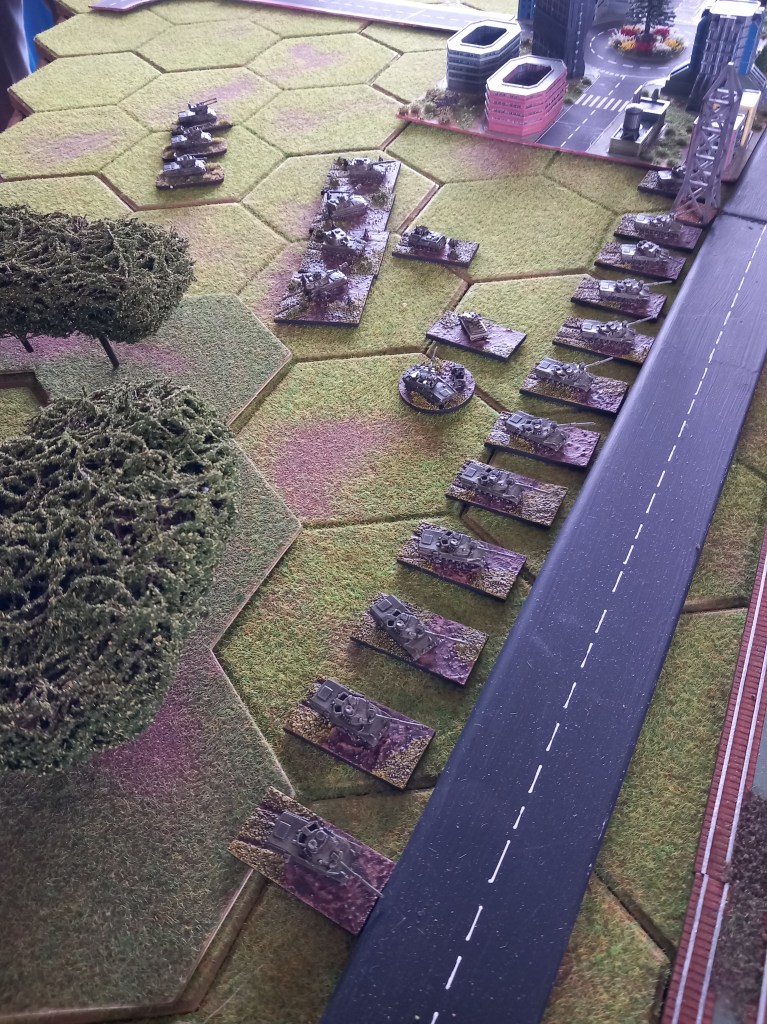
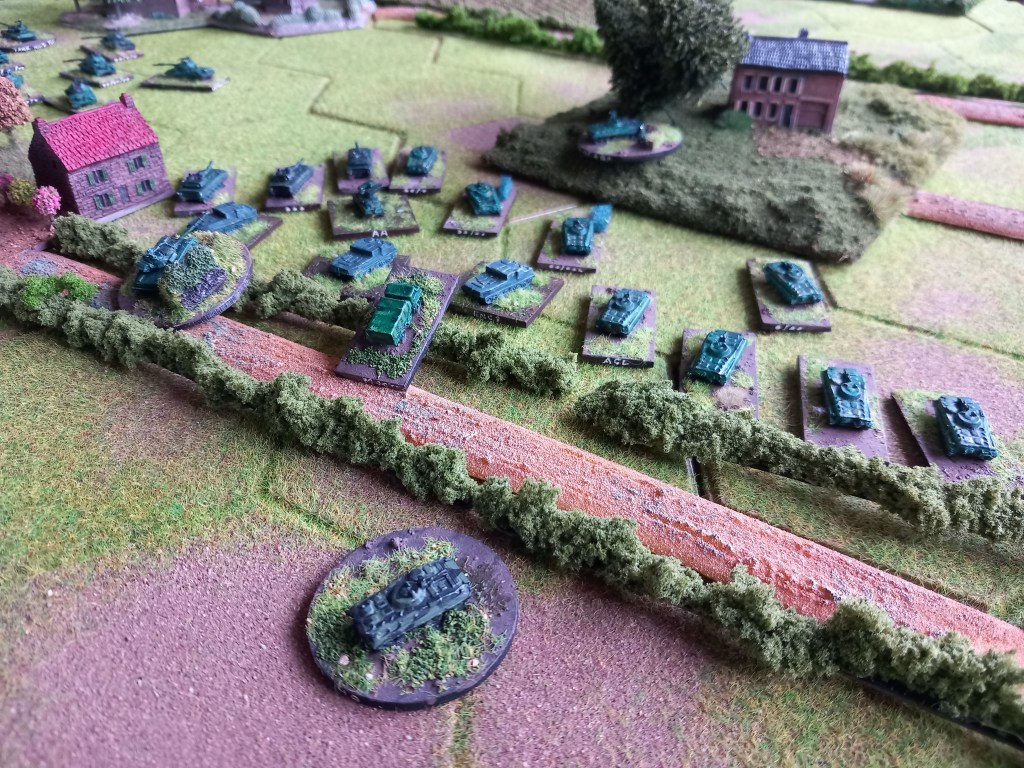
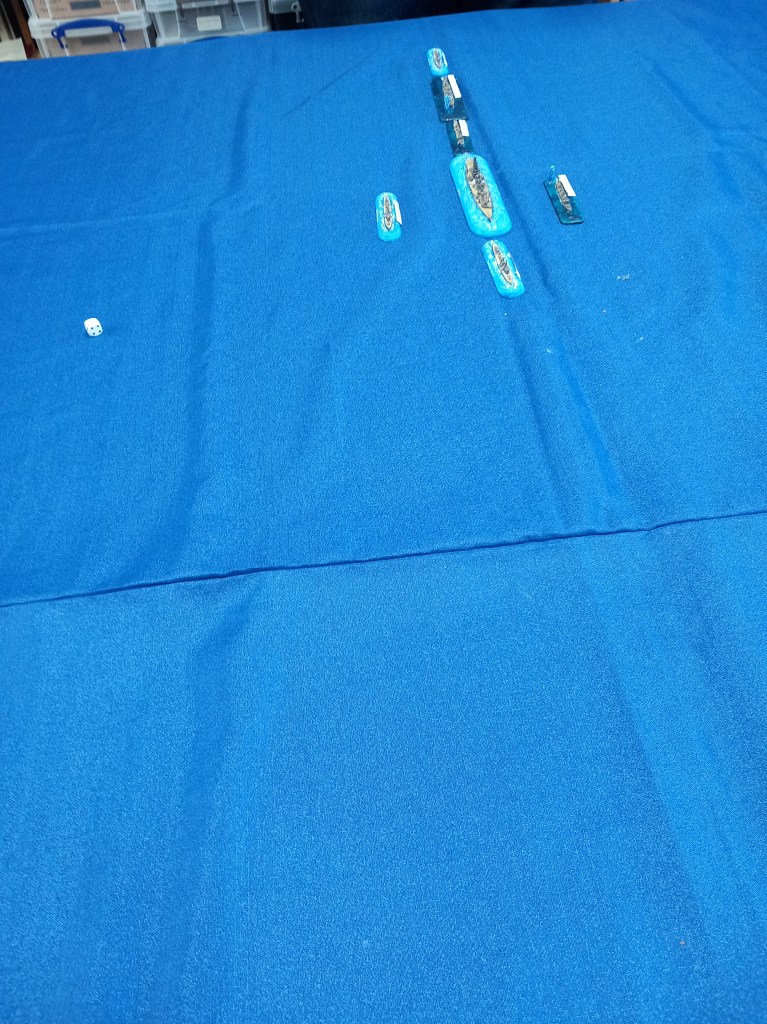
As it was an encounter game the battalions arrived randomly according to a die roll and the Iranians got on the table quickly.
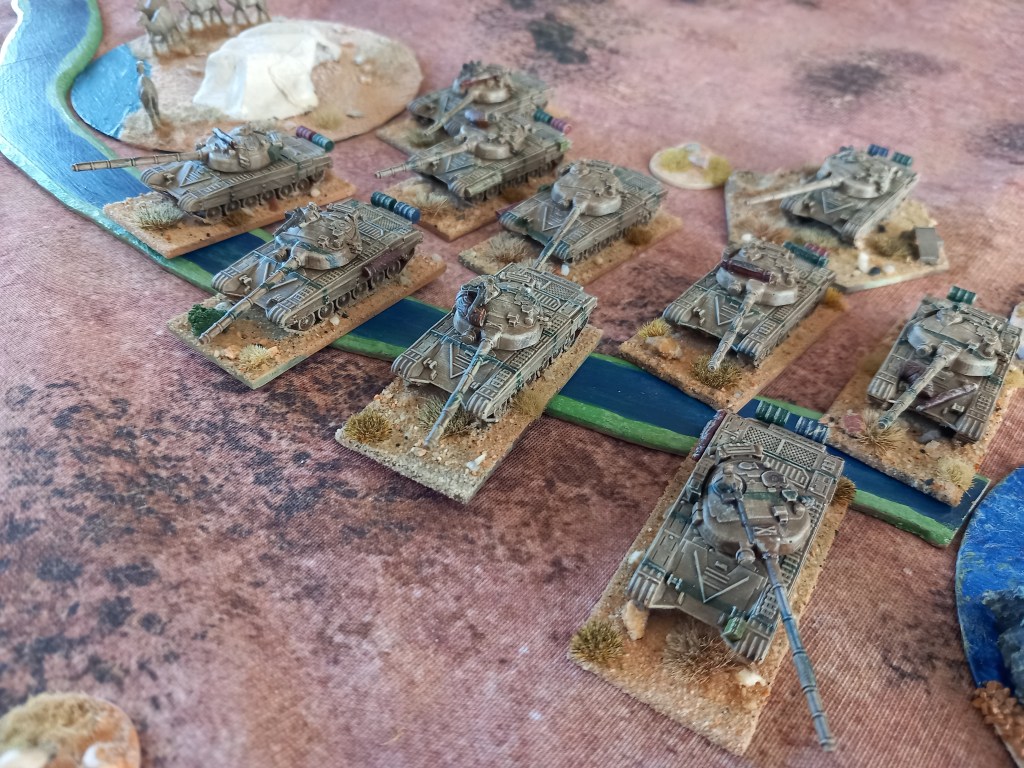
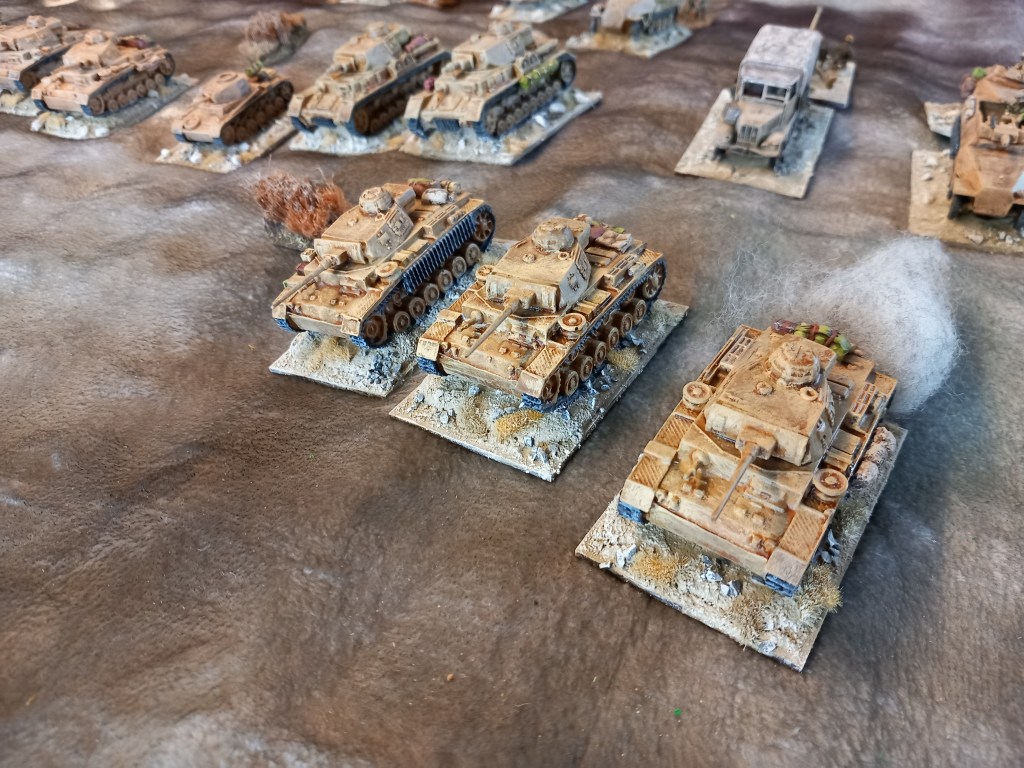
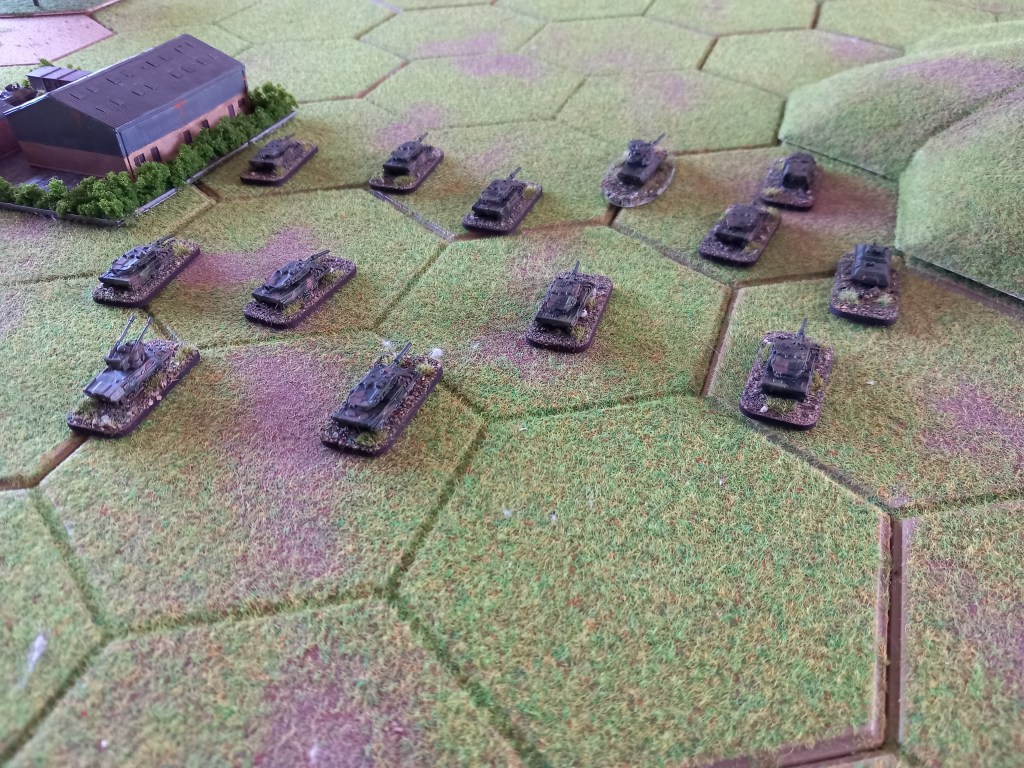
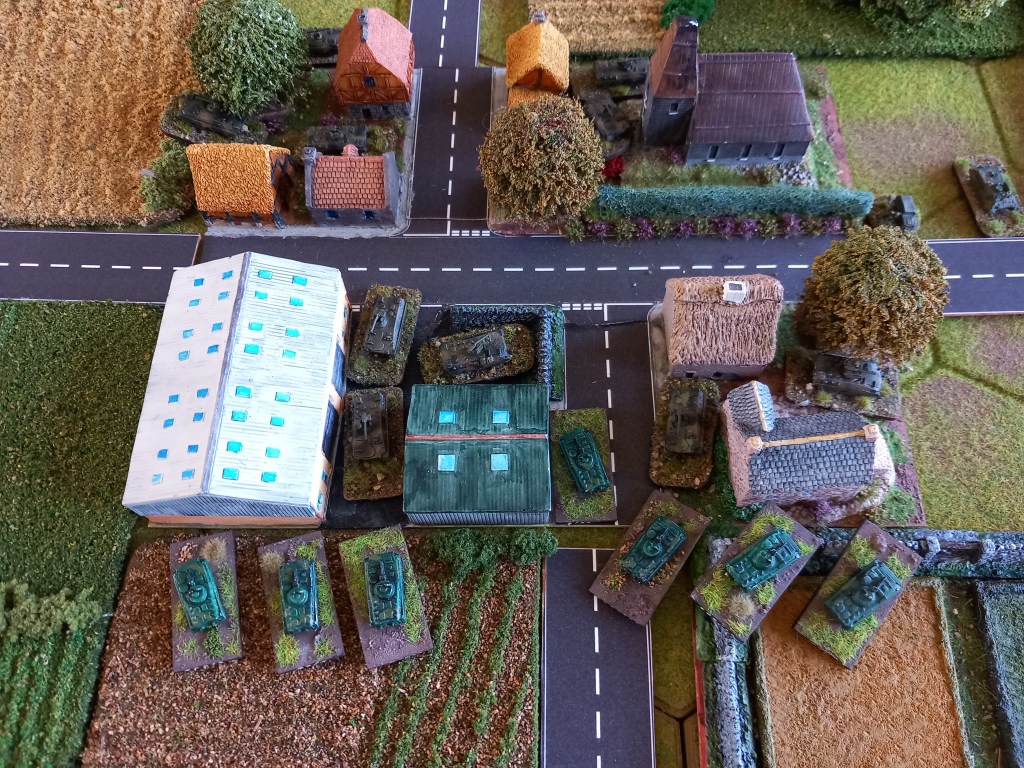
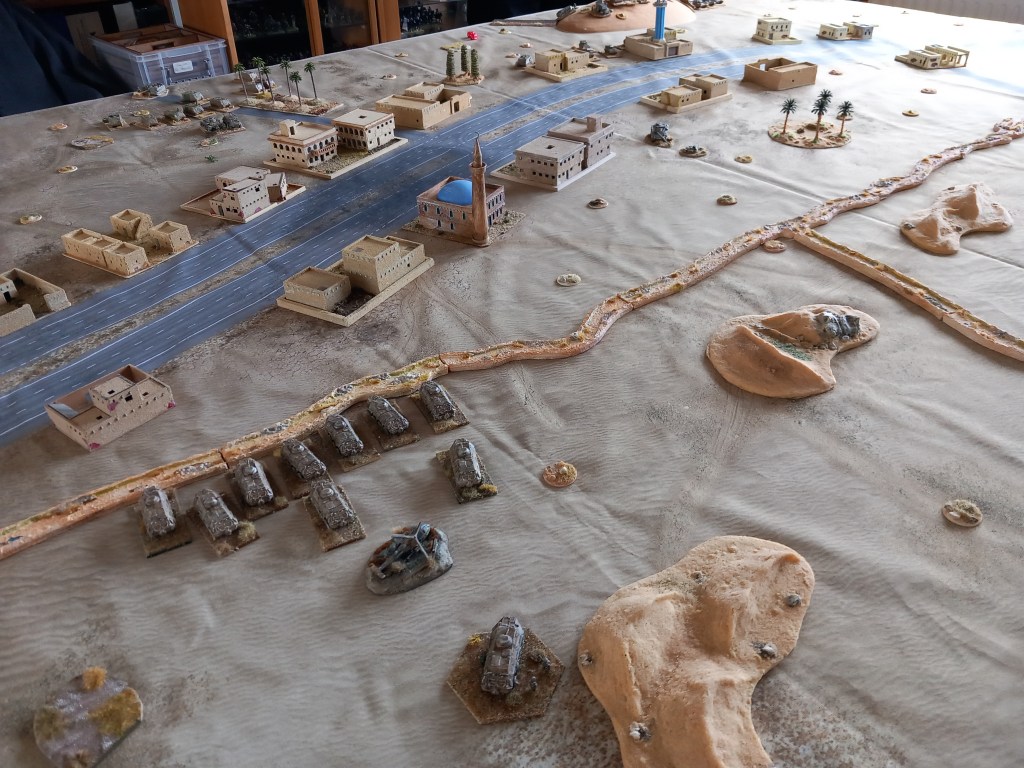
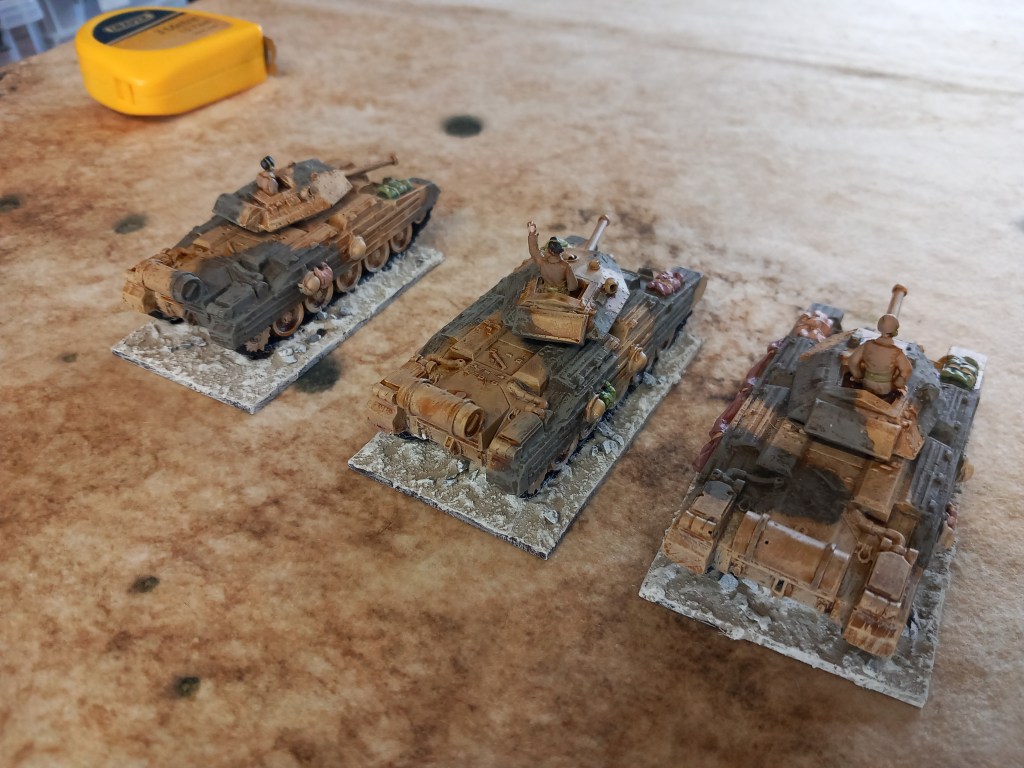
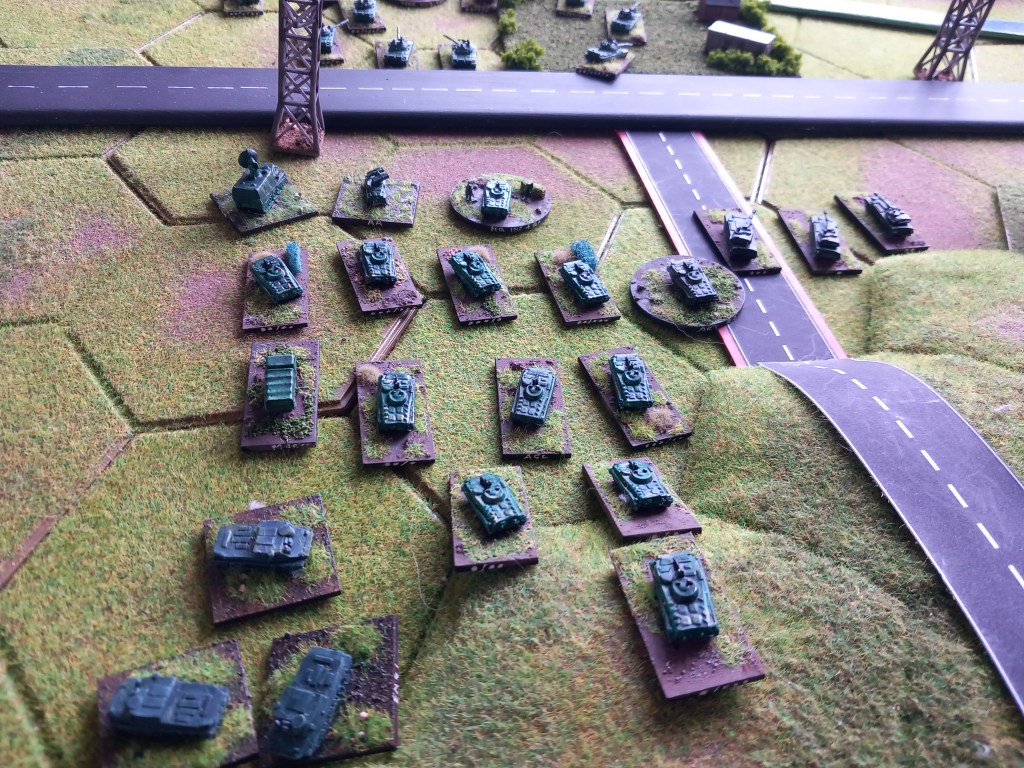
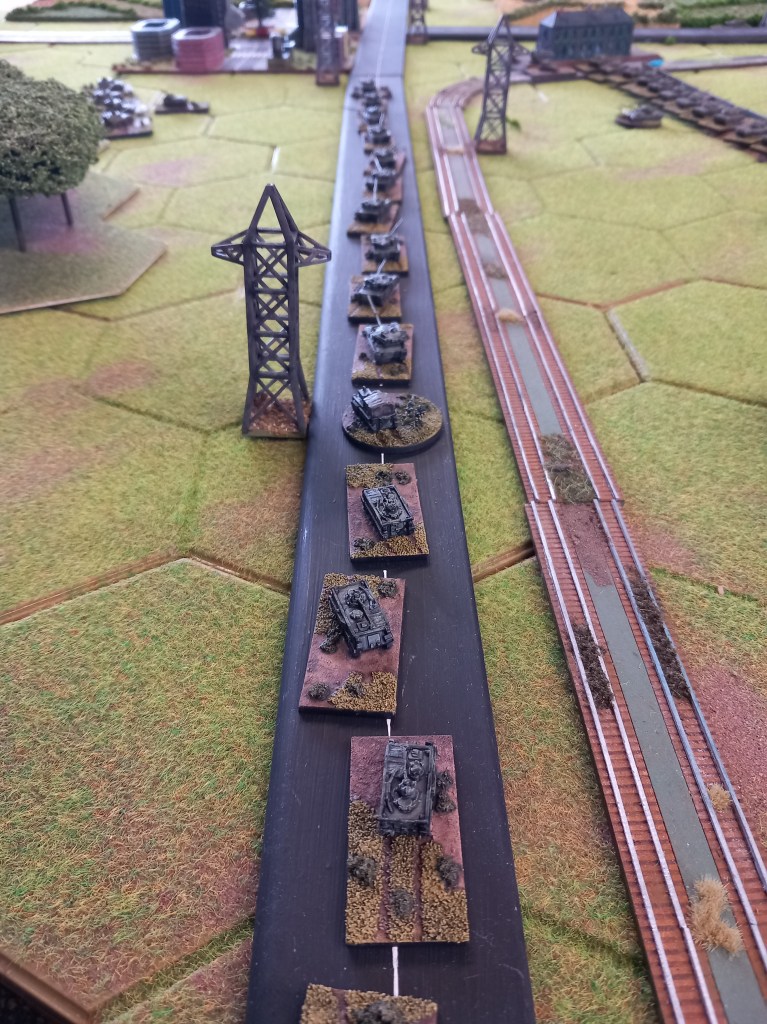
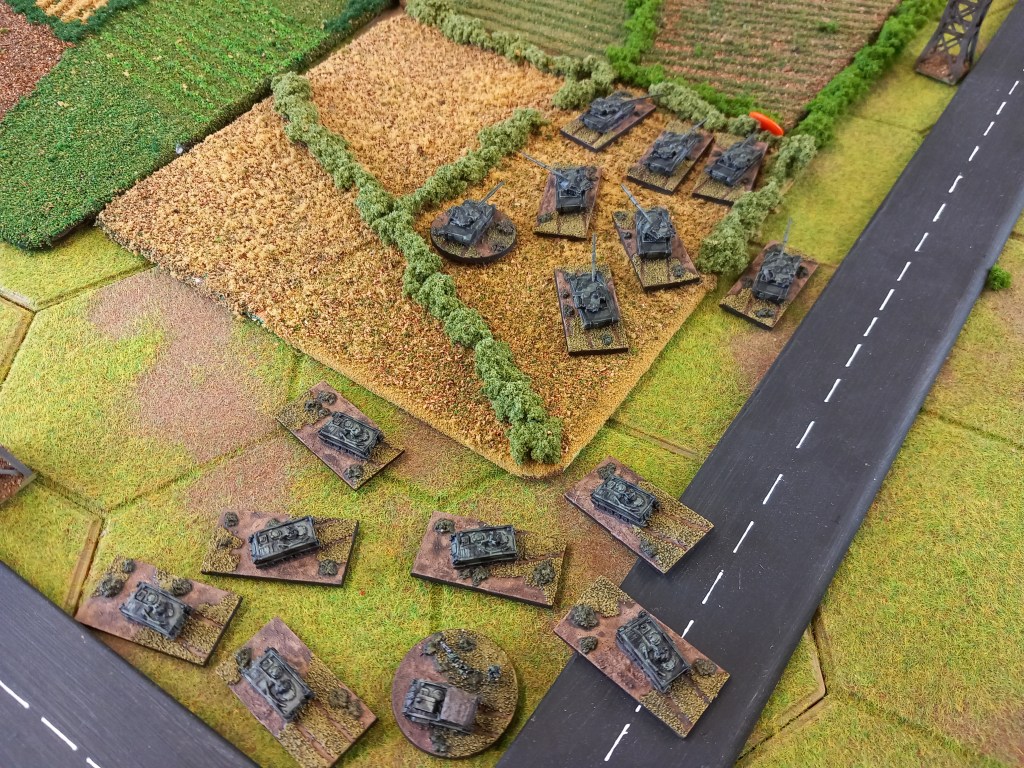
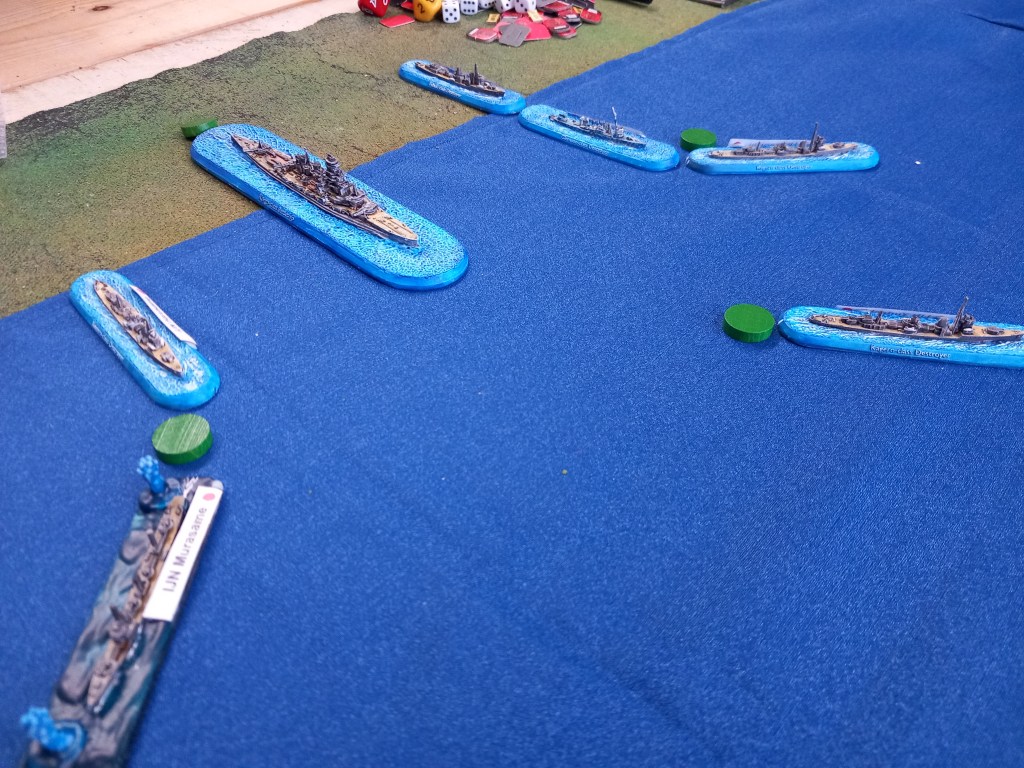
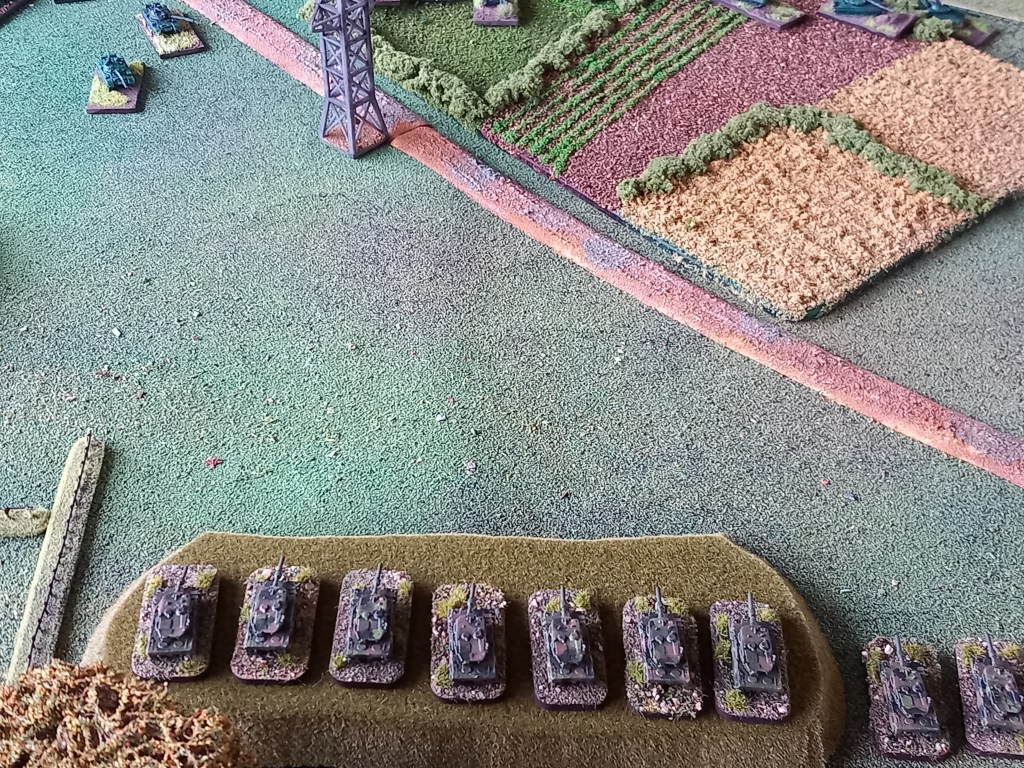
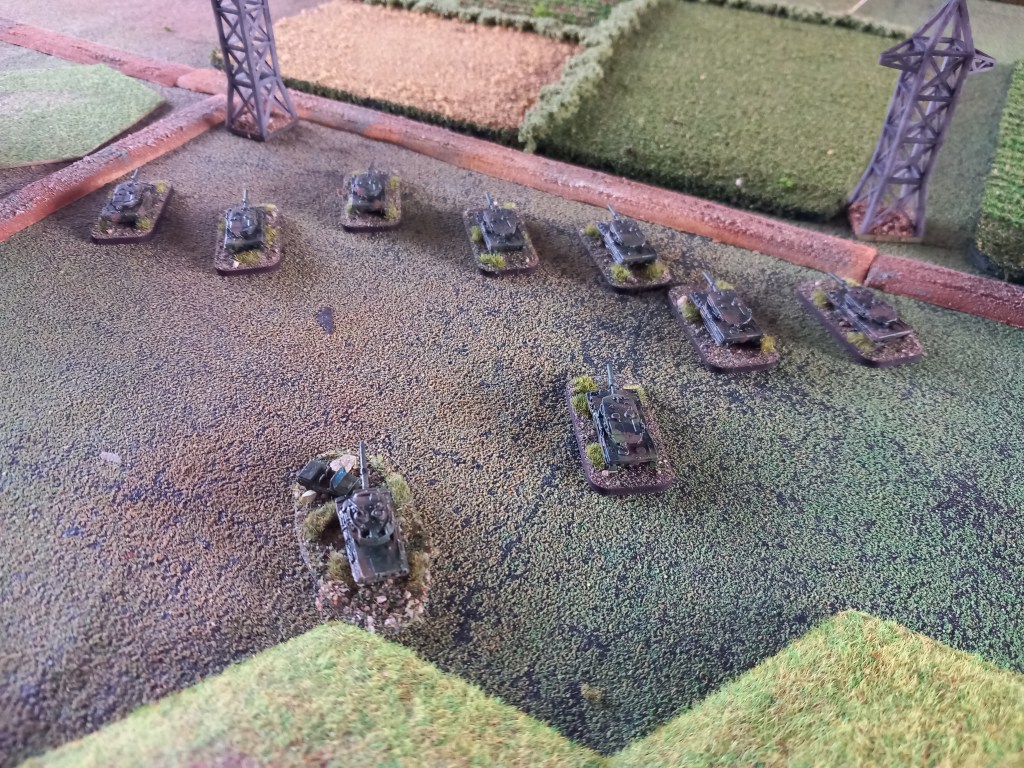
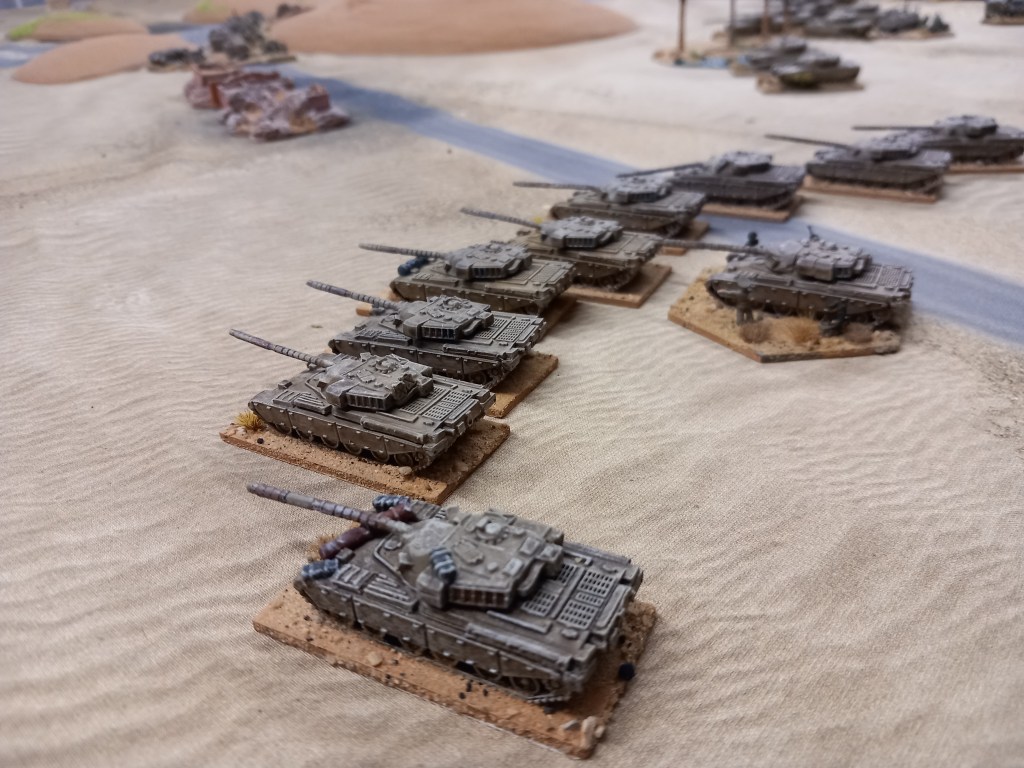
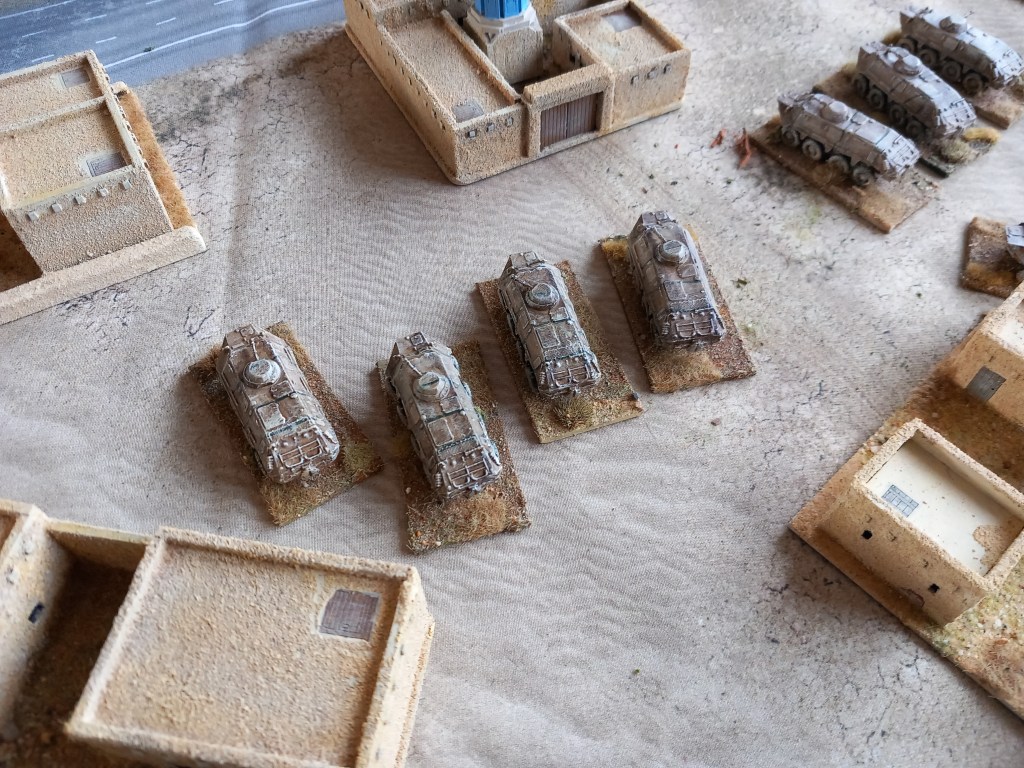
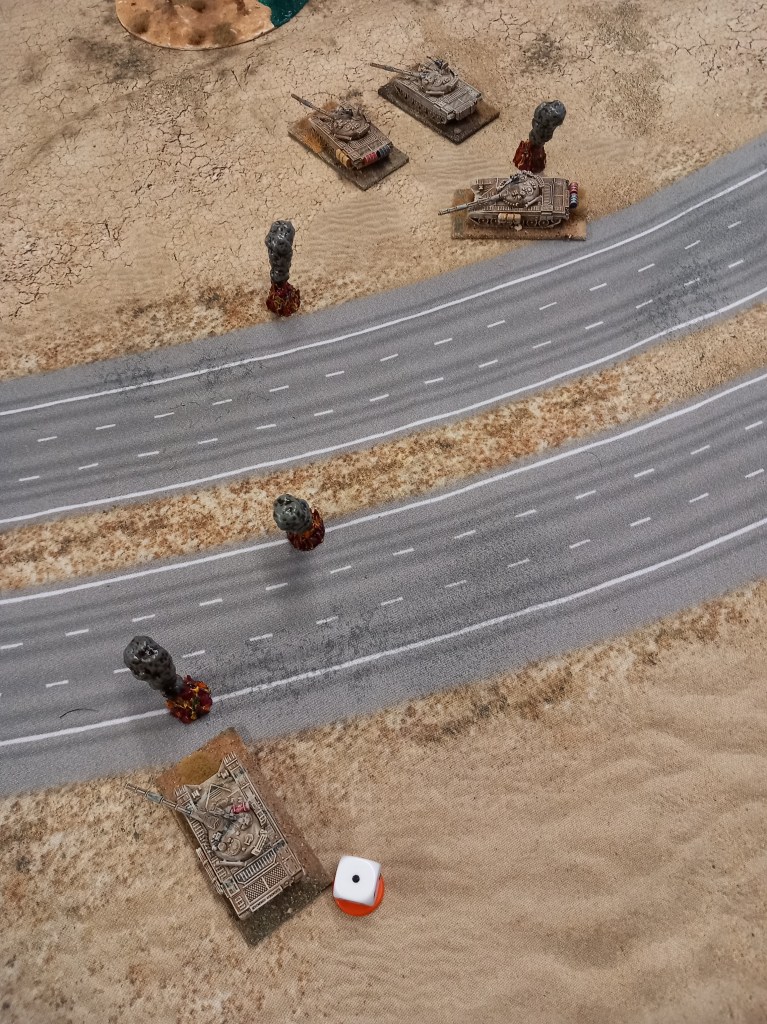
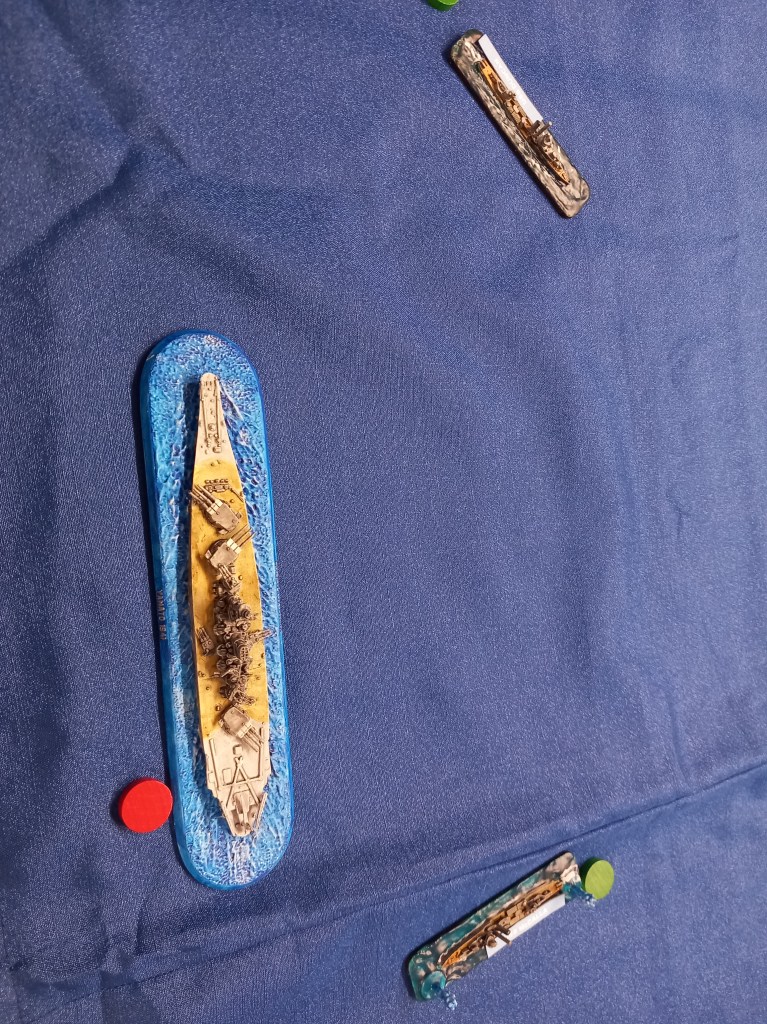
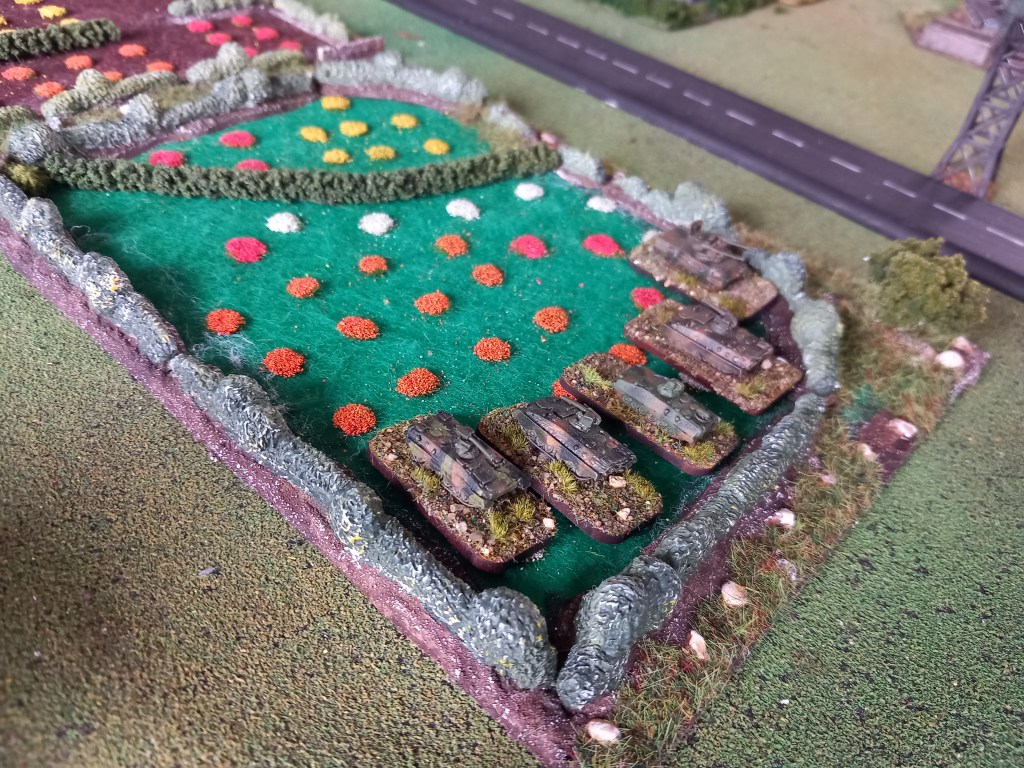
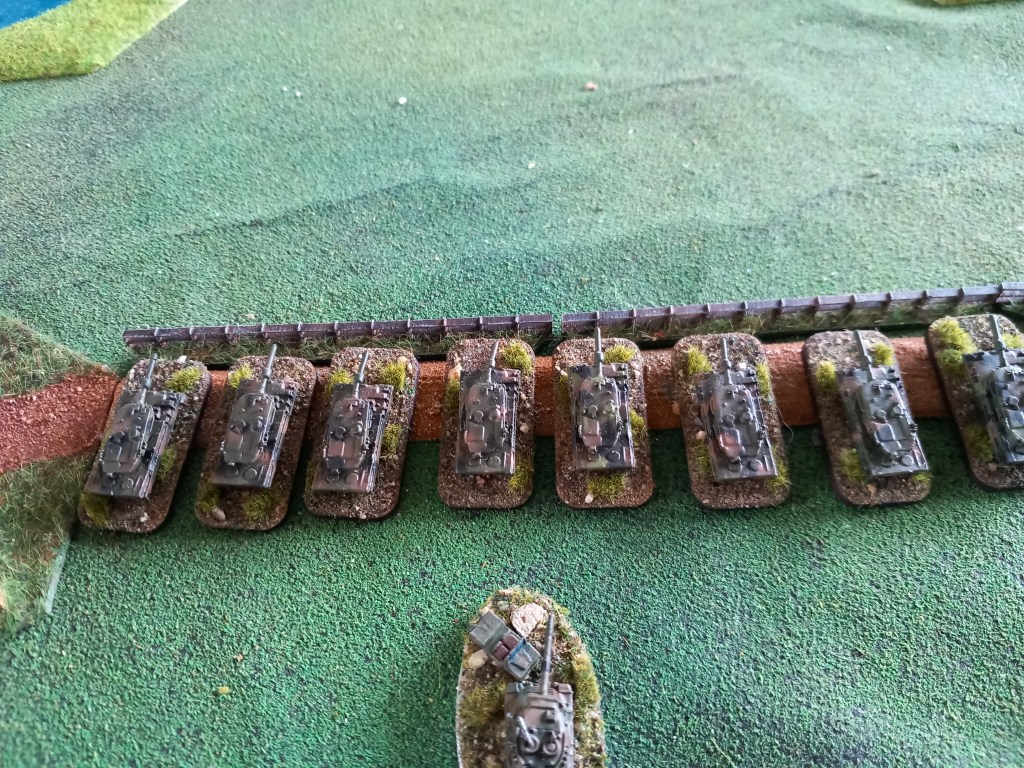
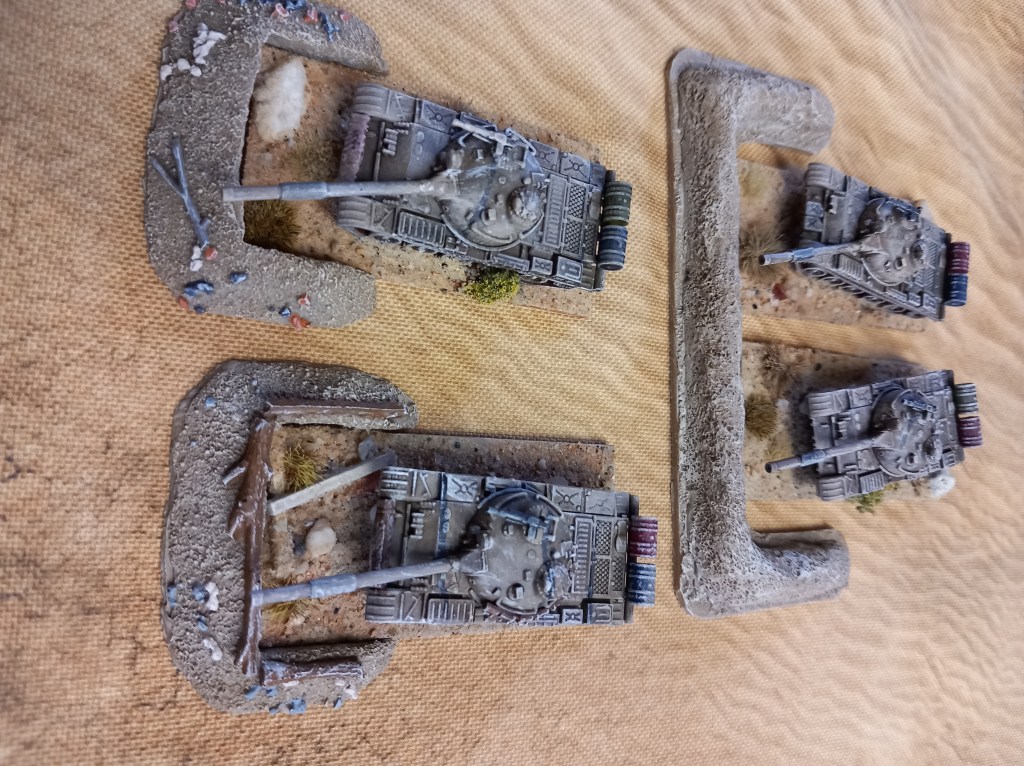
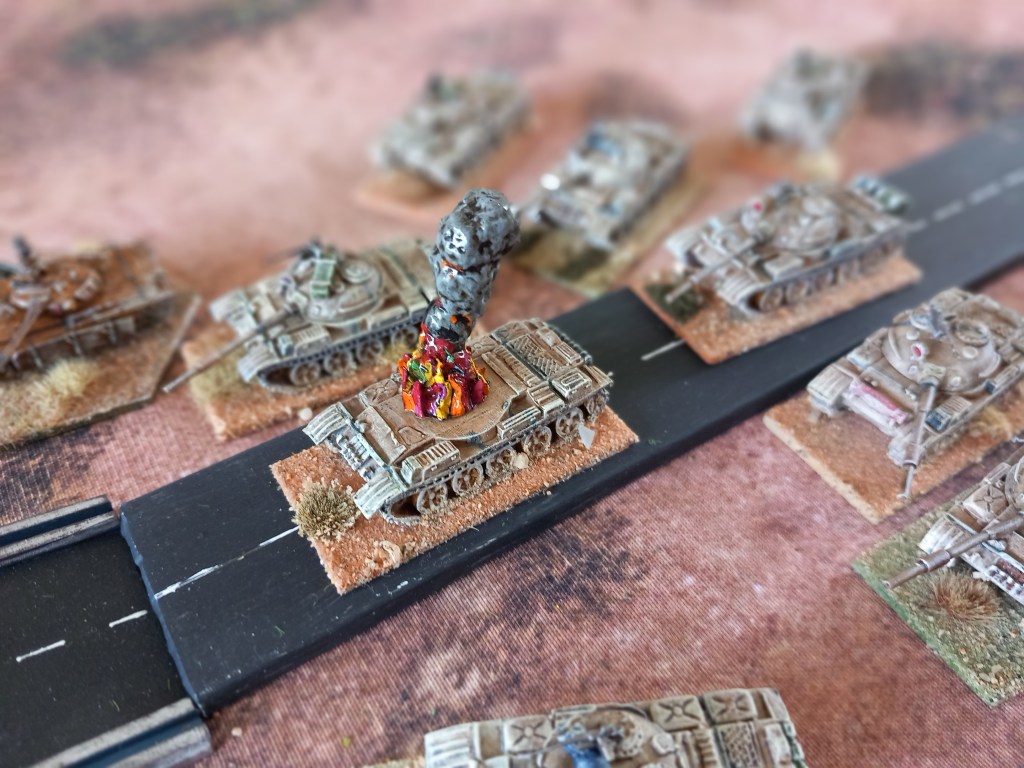
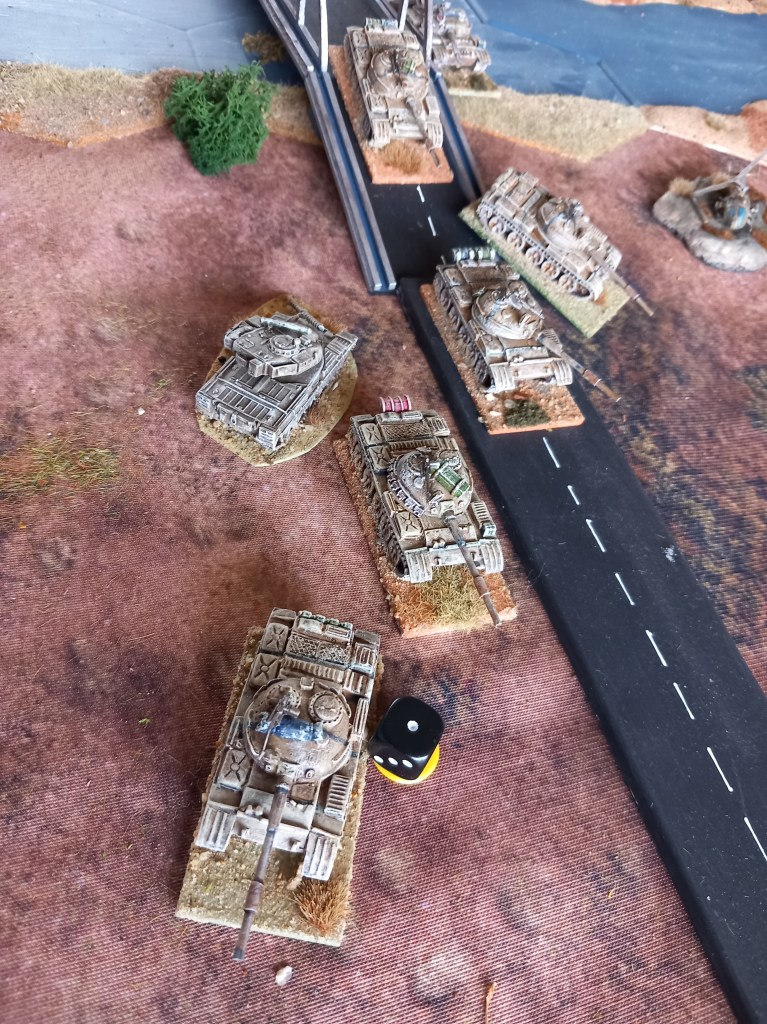
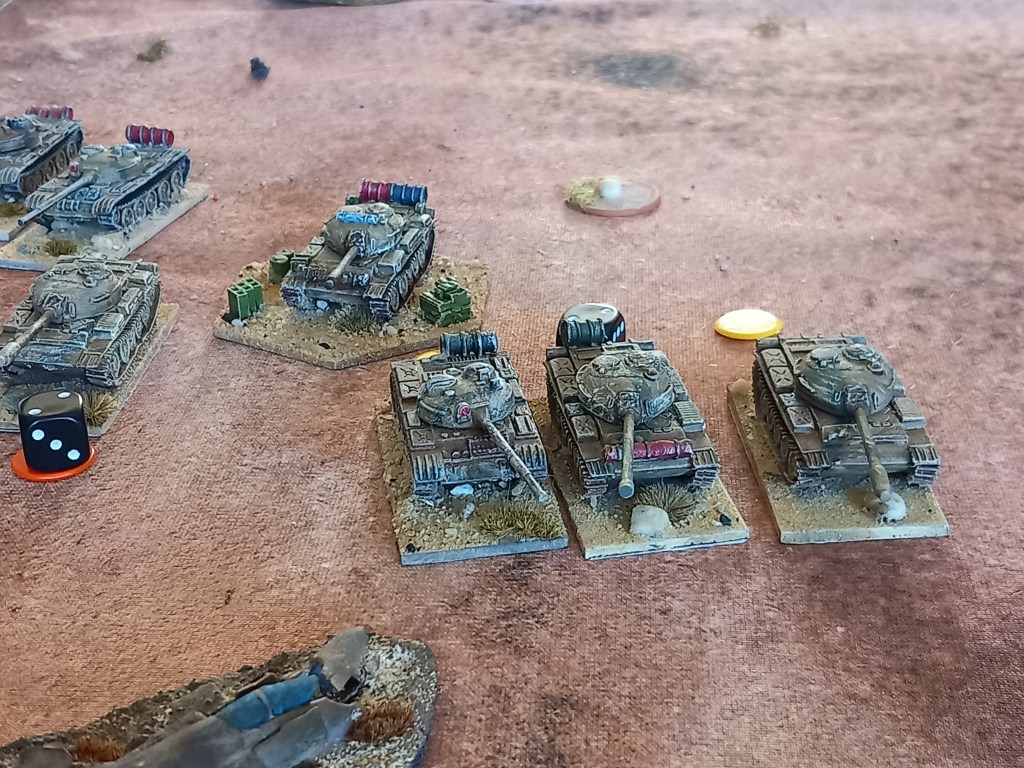
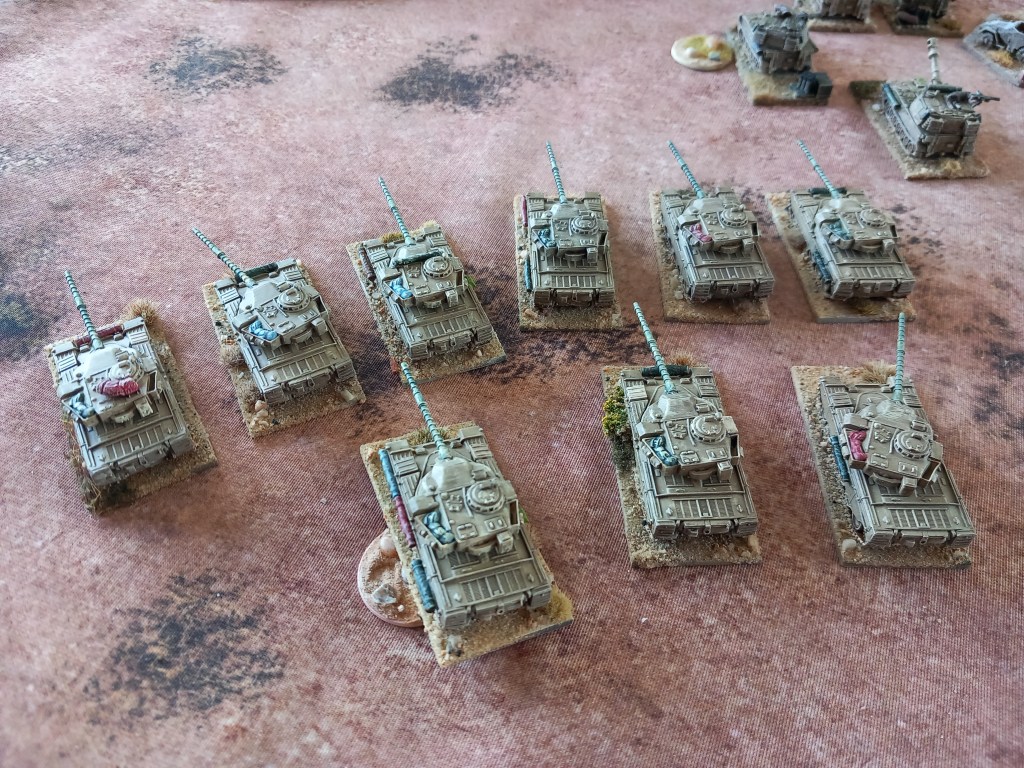
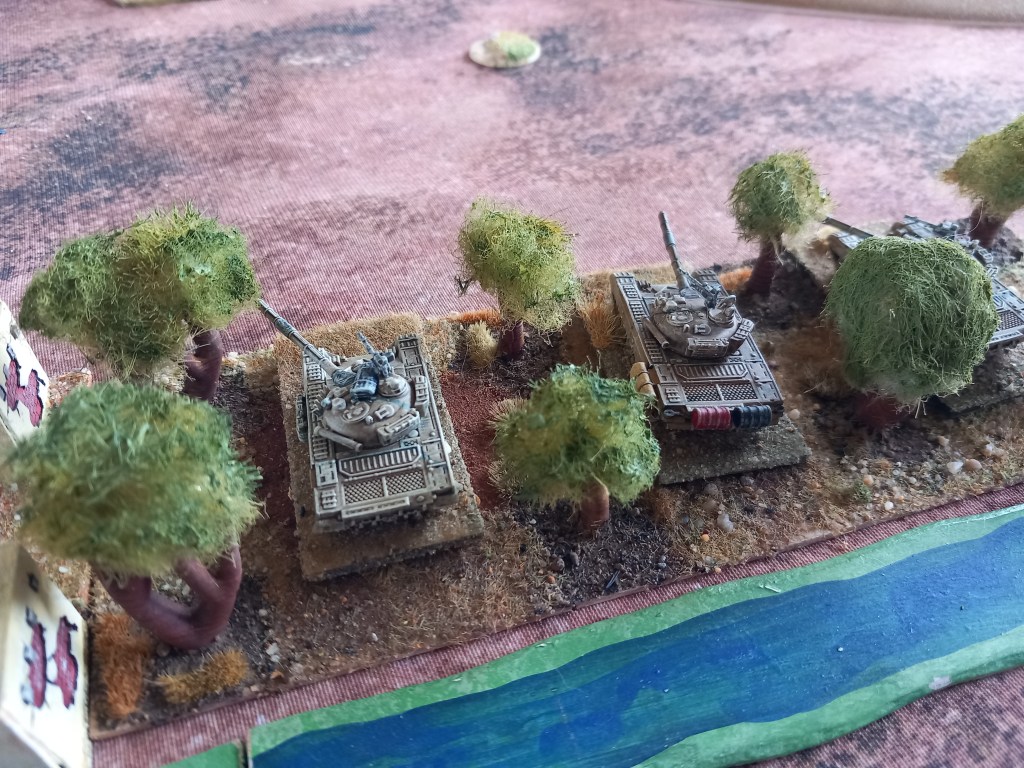
The Iraqi T-72s started to get into position trying to avoid the better ranged Chieftains with their better penetrative power.
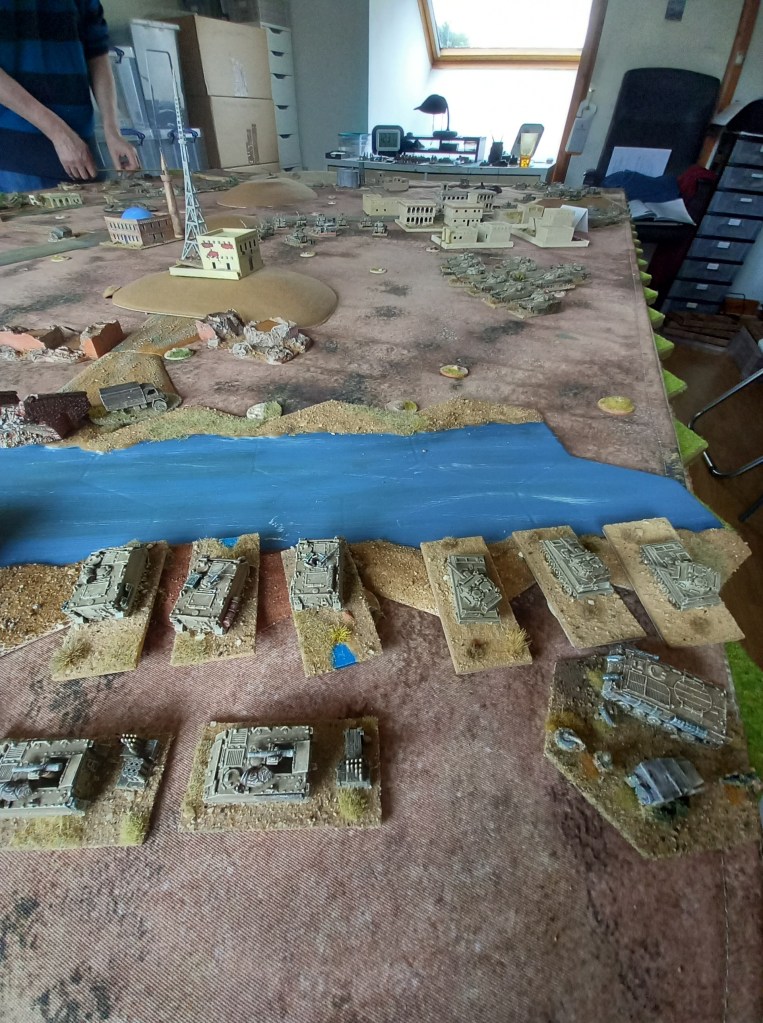
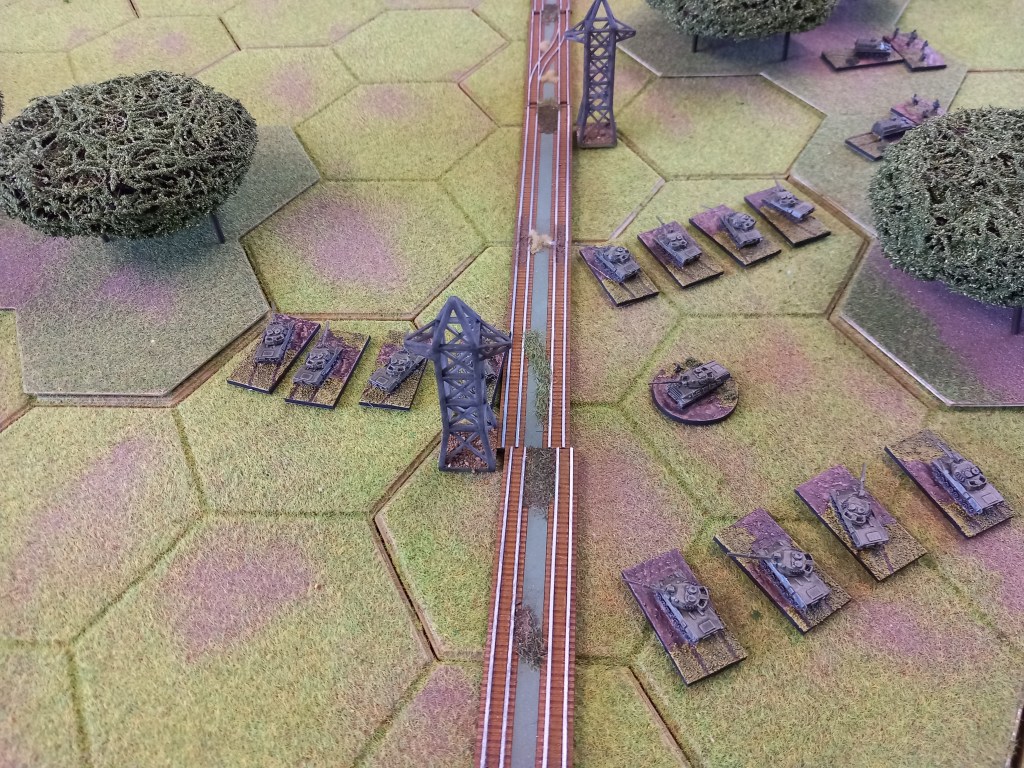
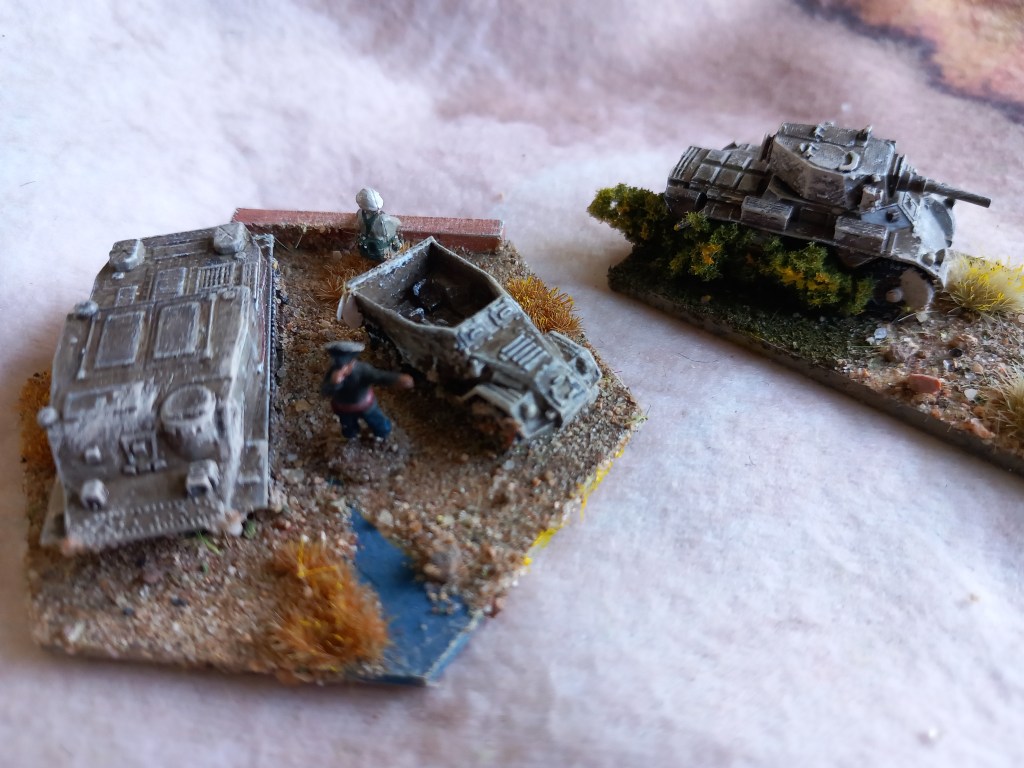
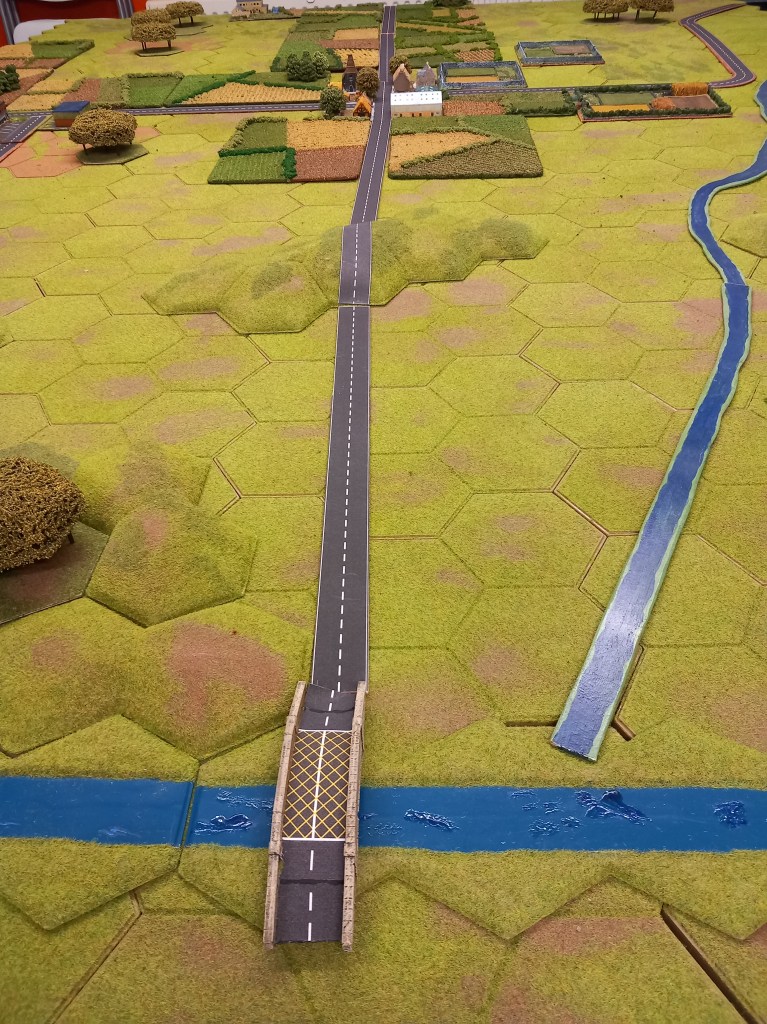
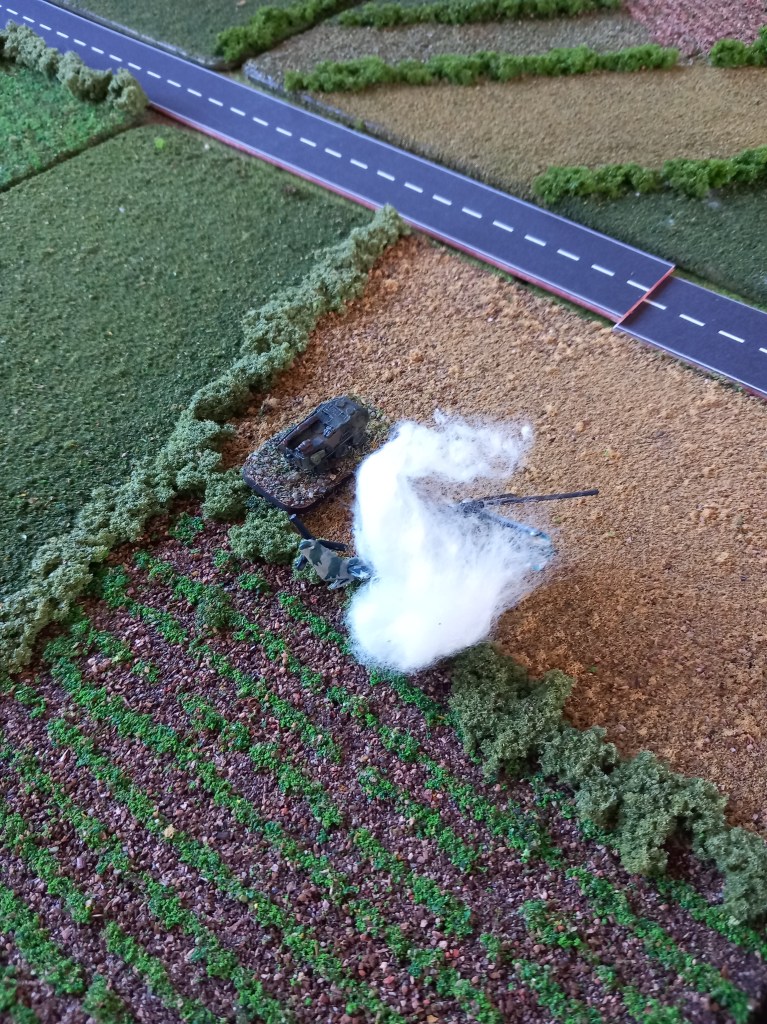
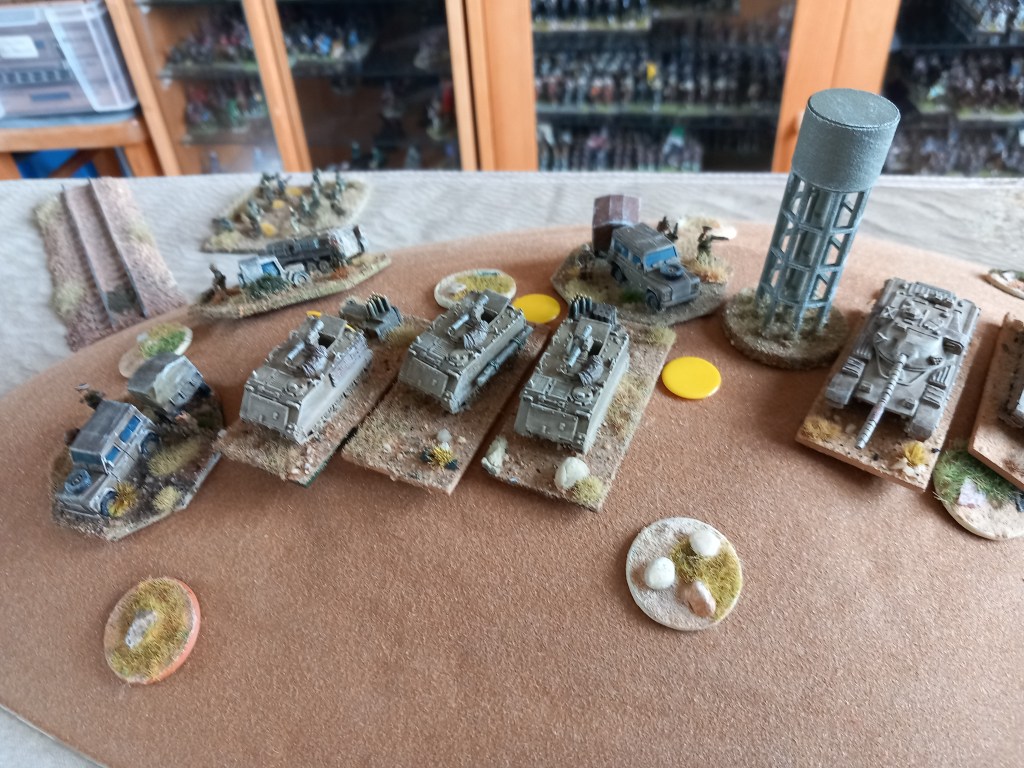
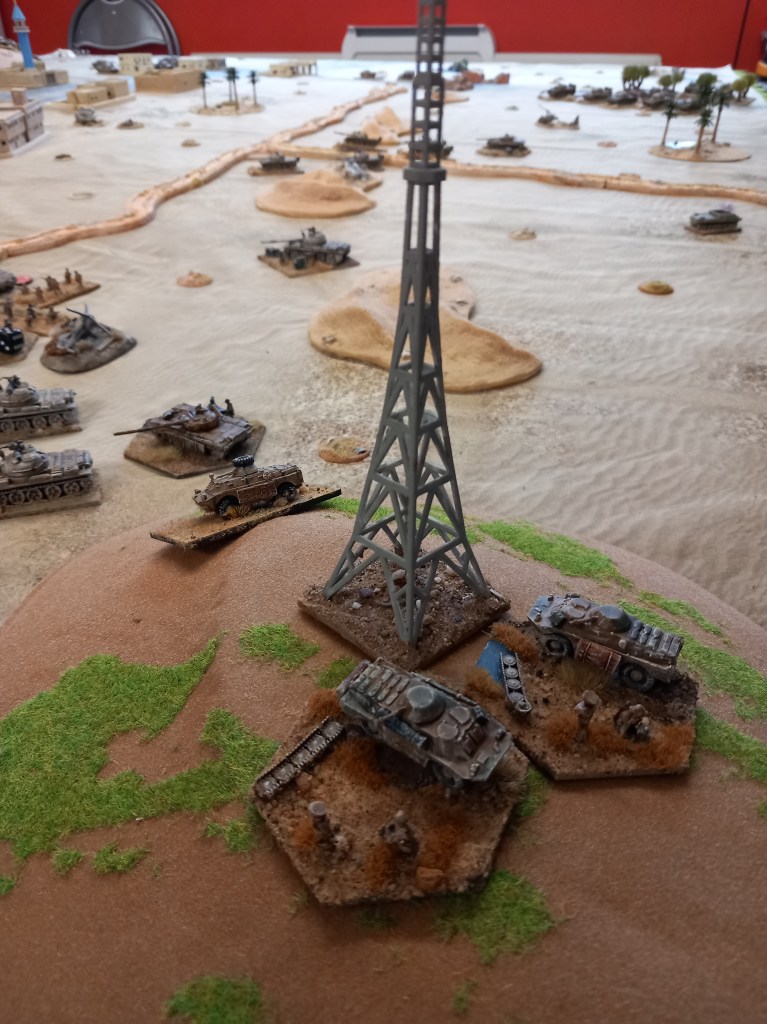
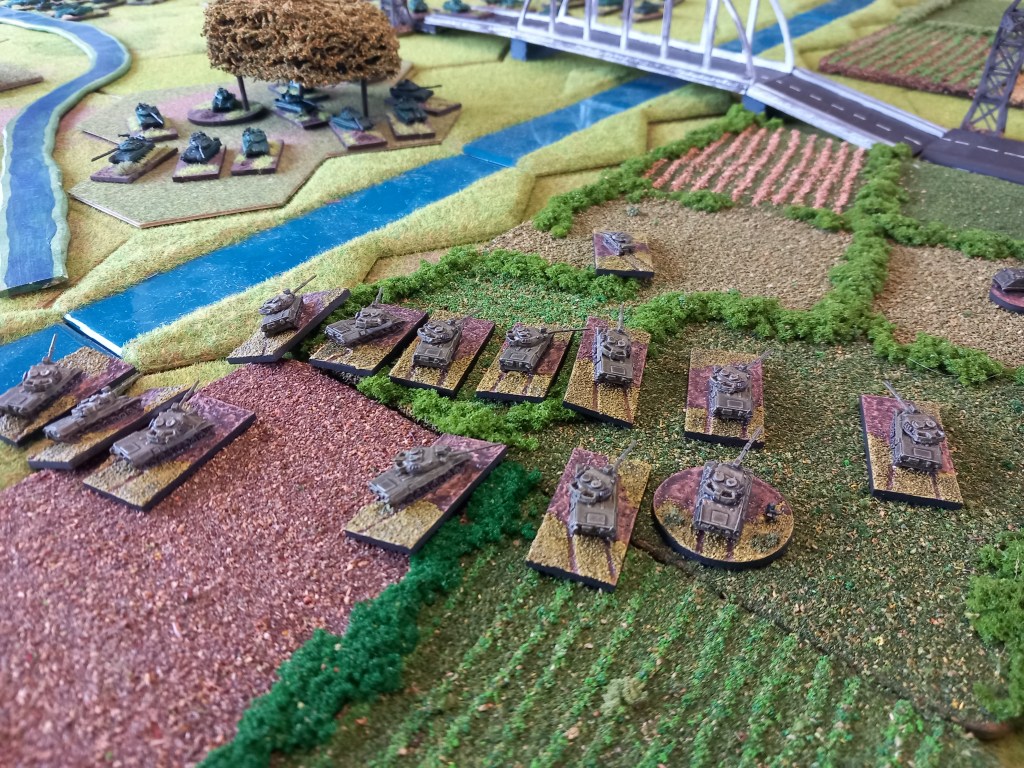
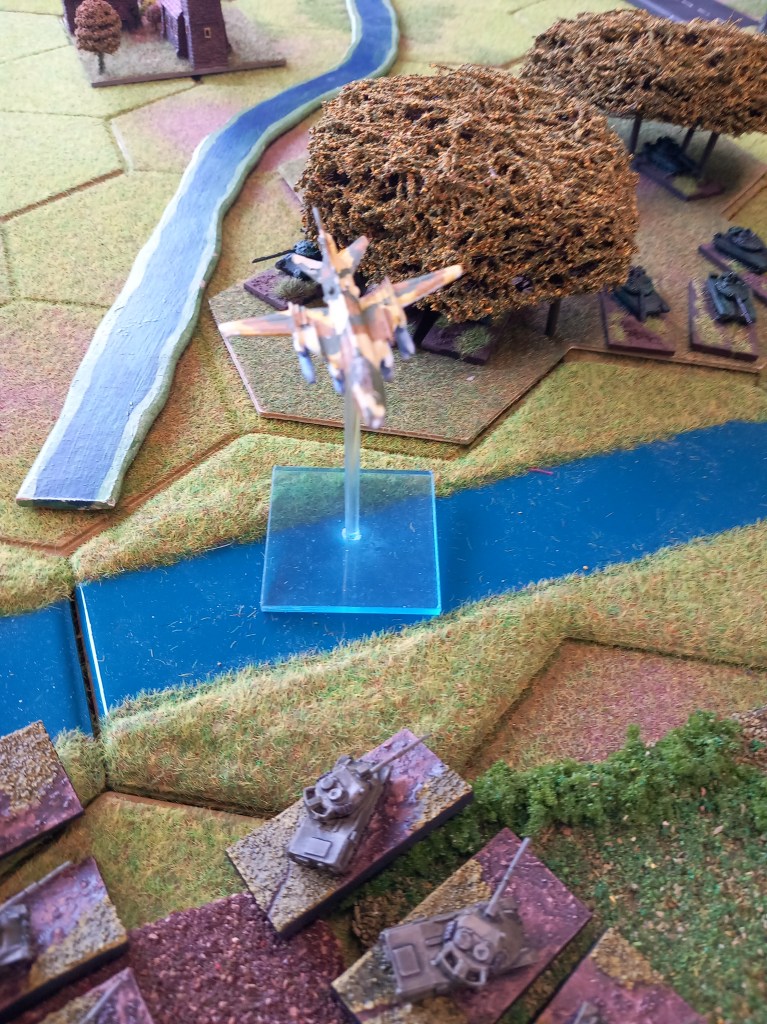
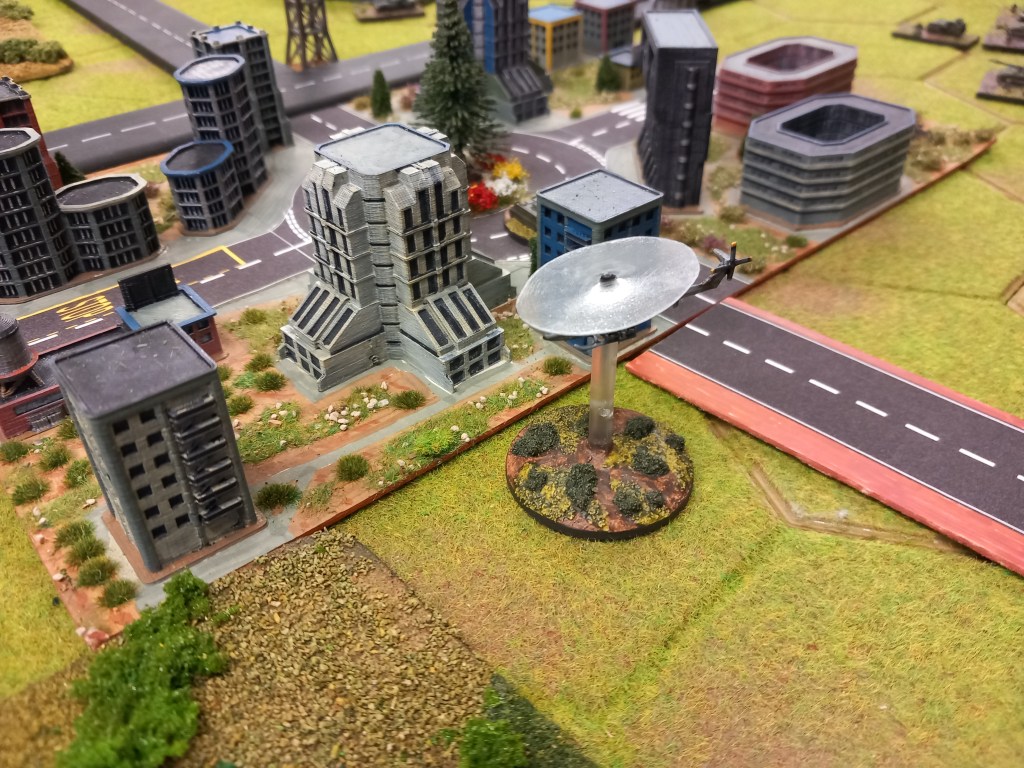
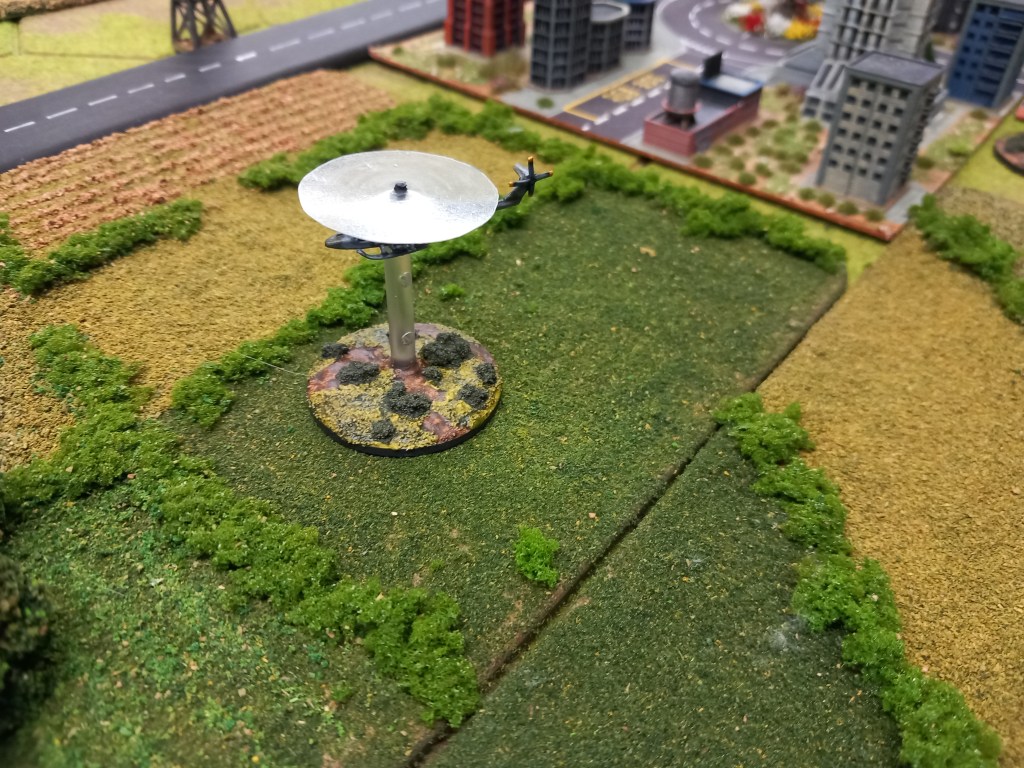
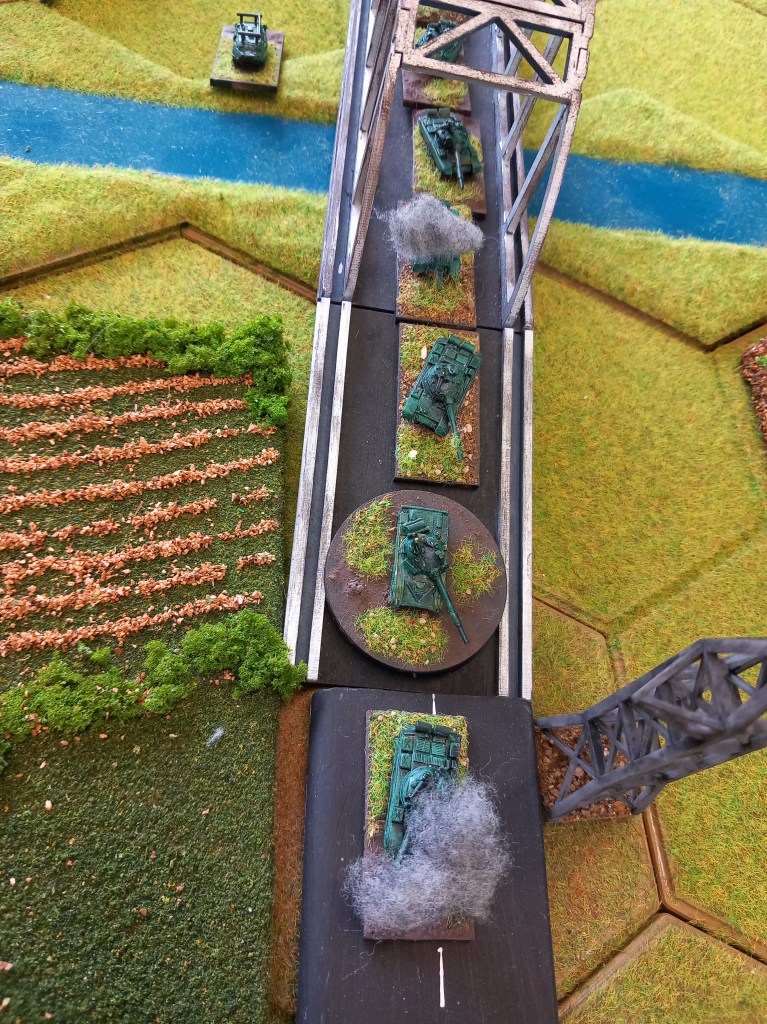
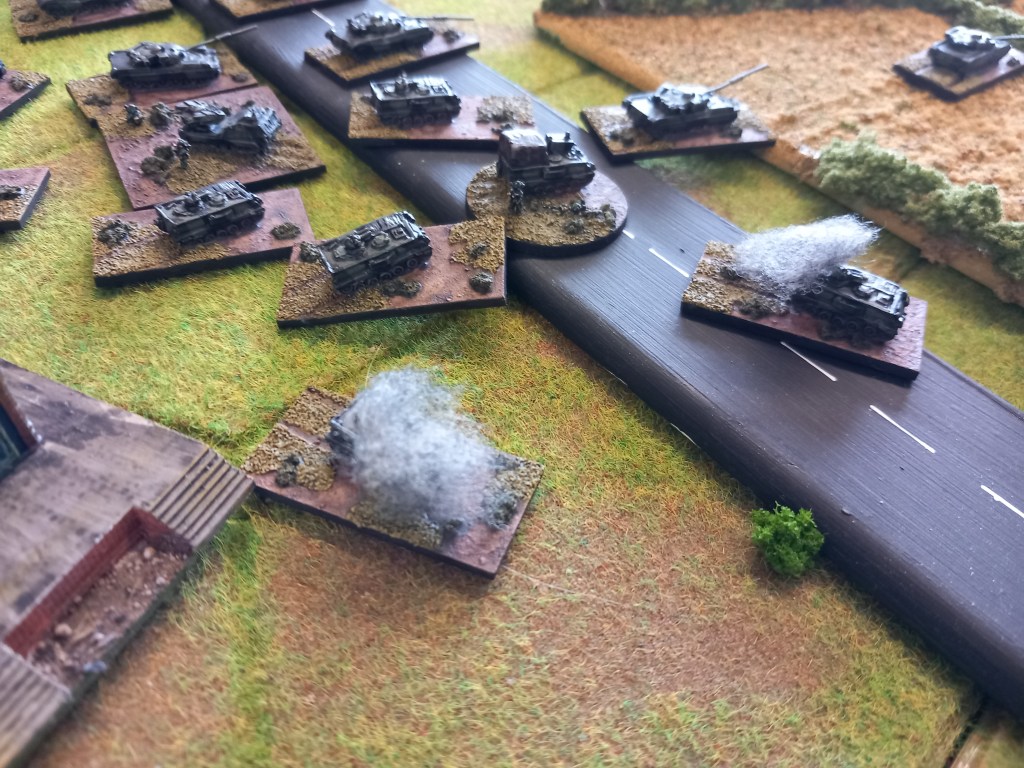
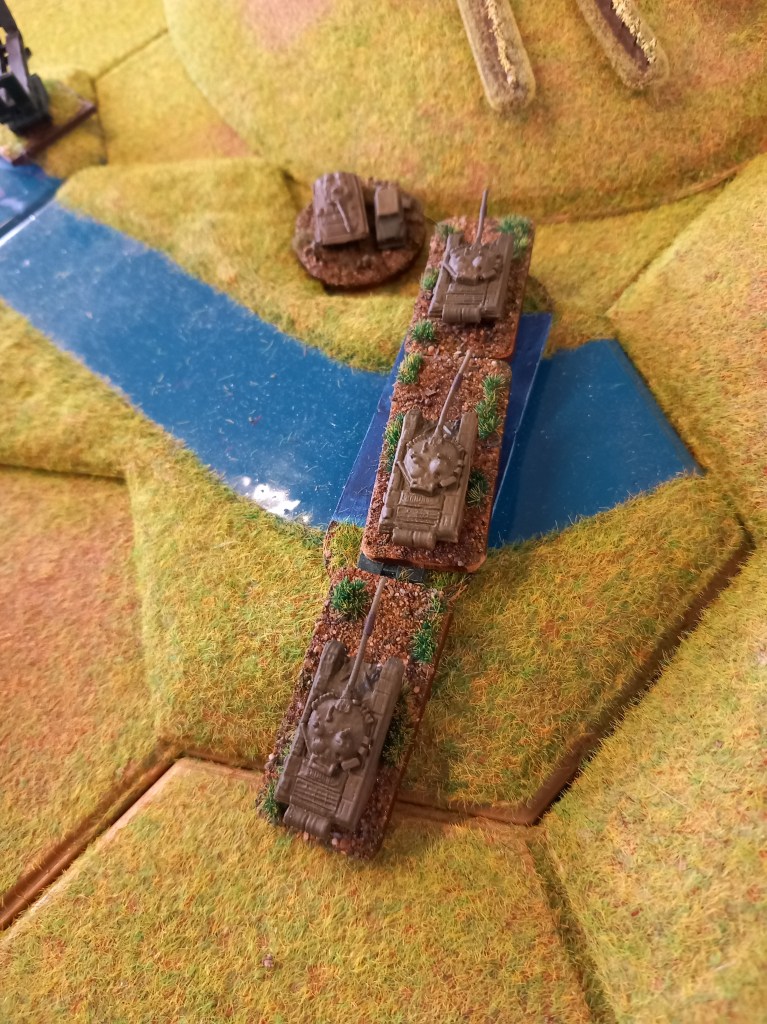
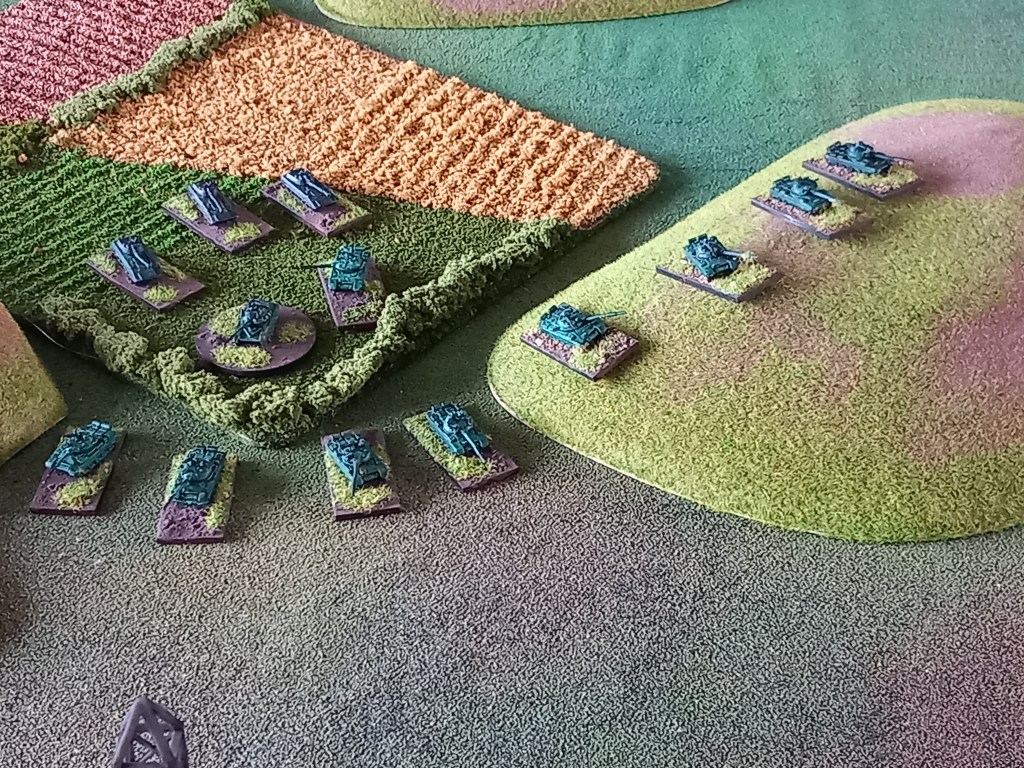
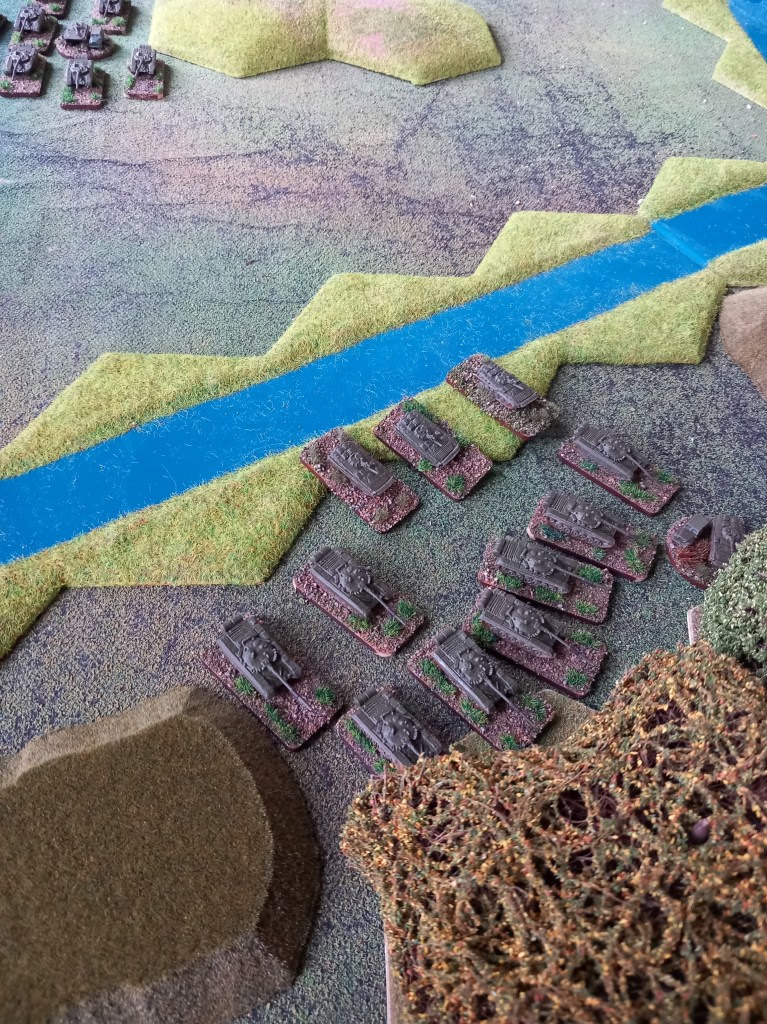
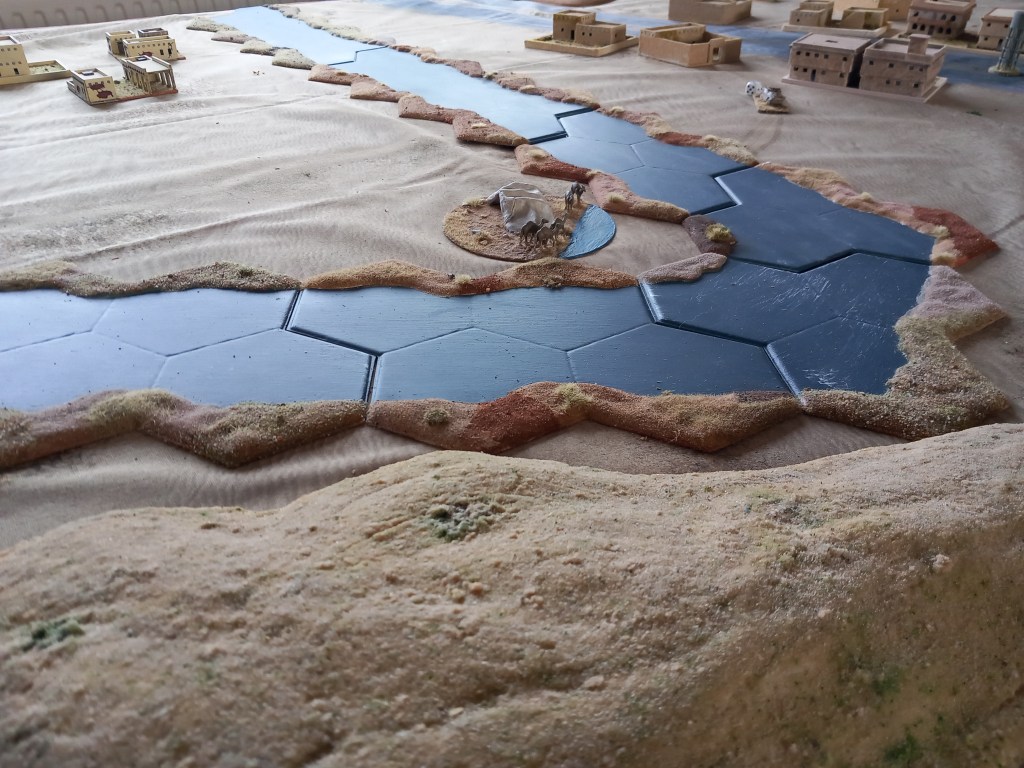
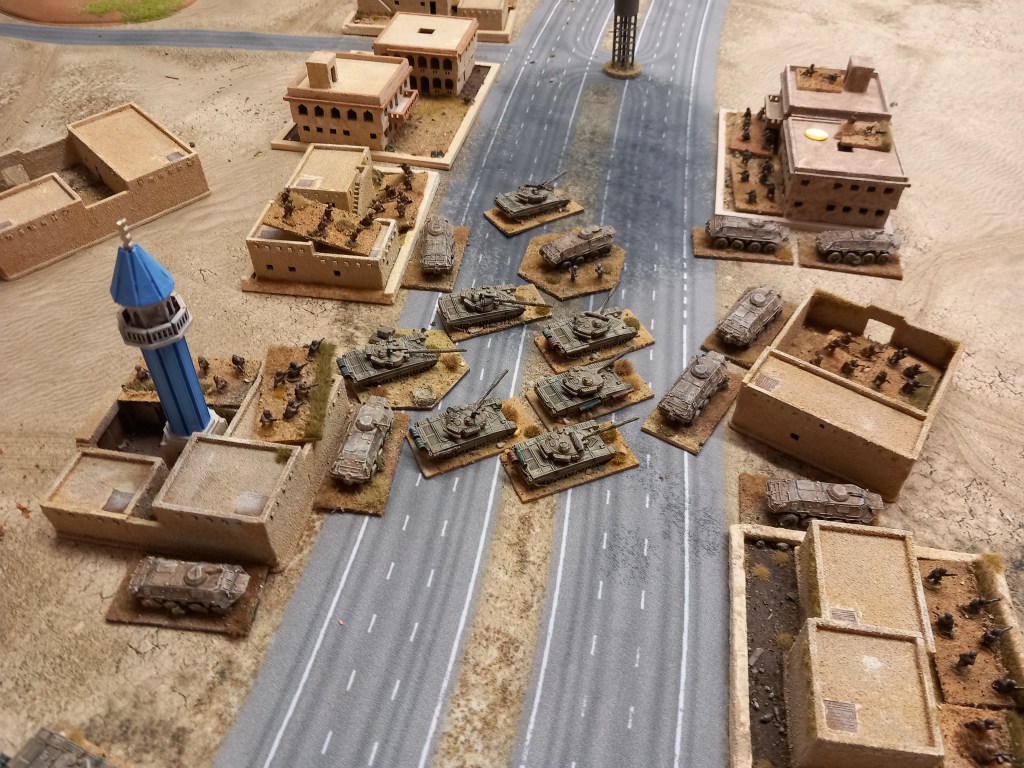
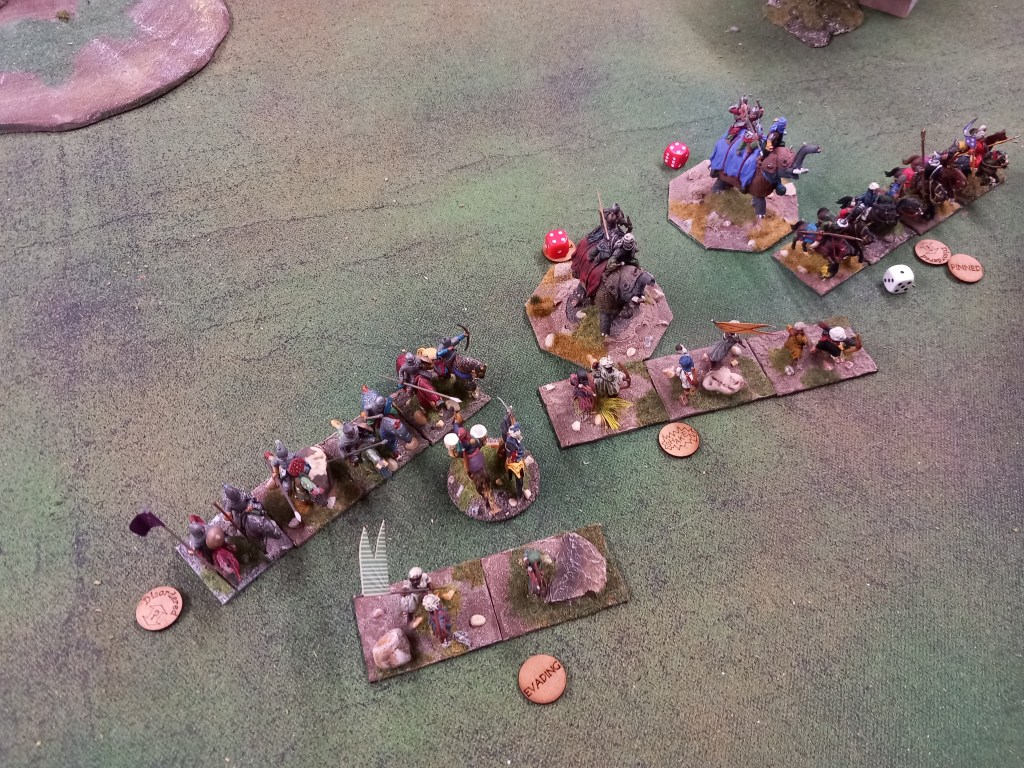
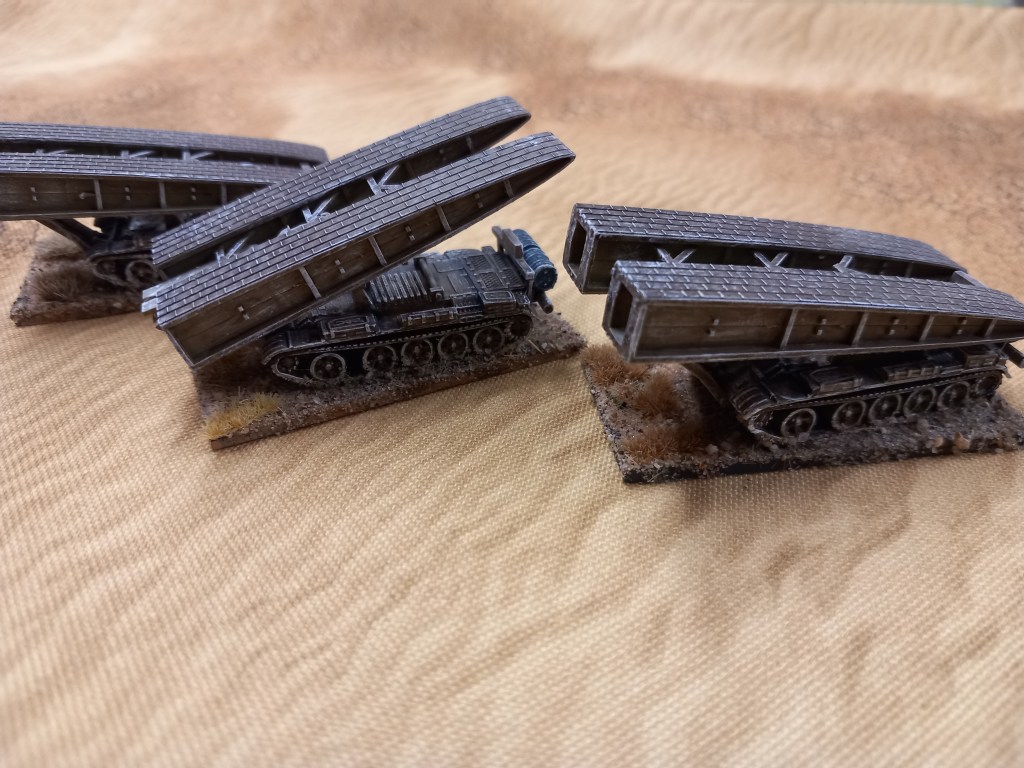
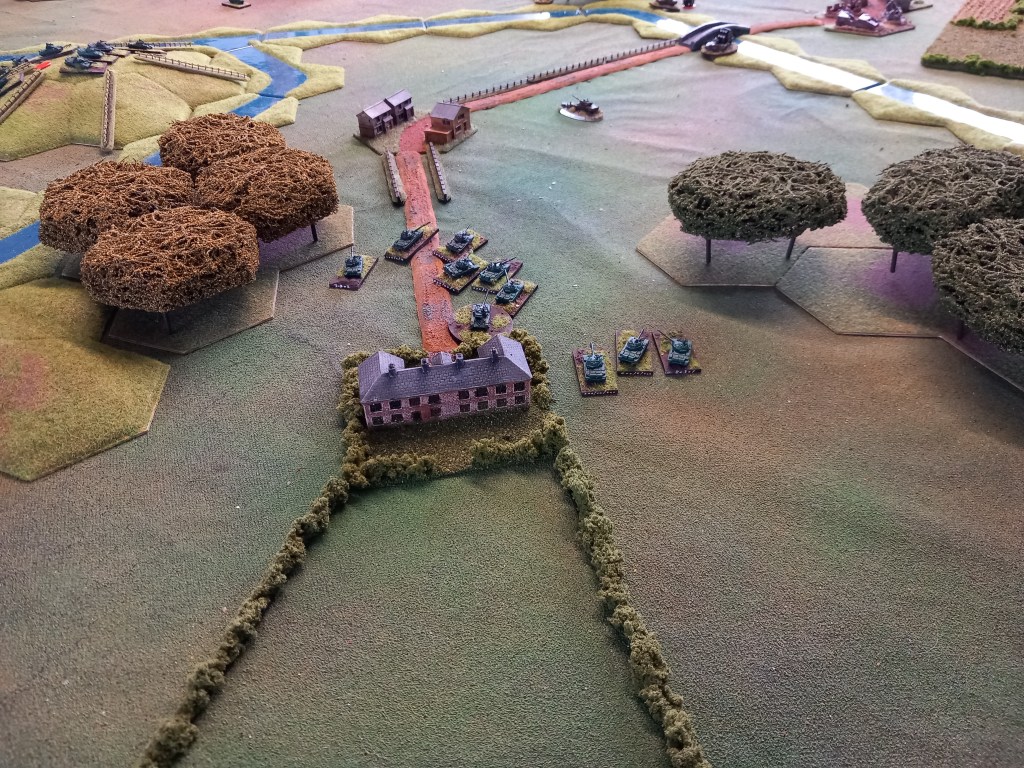
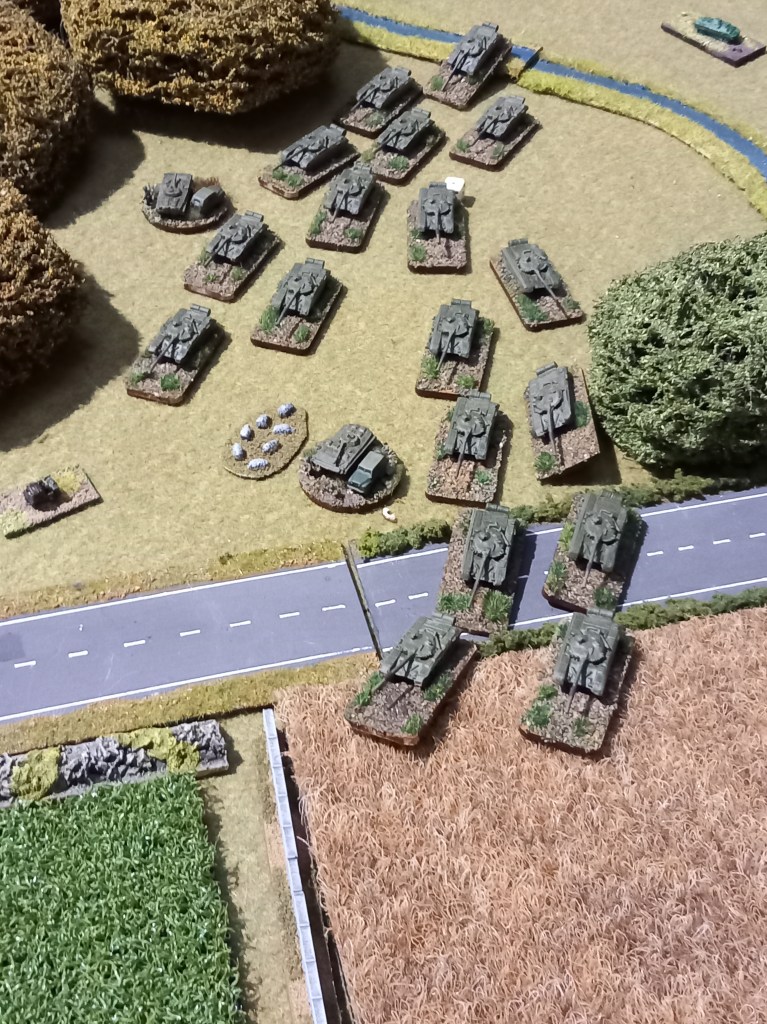
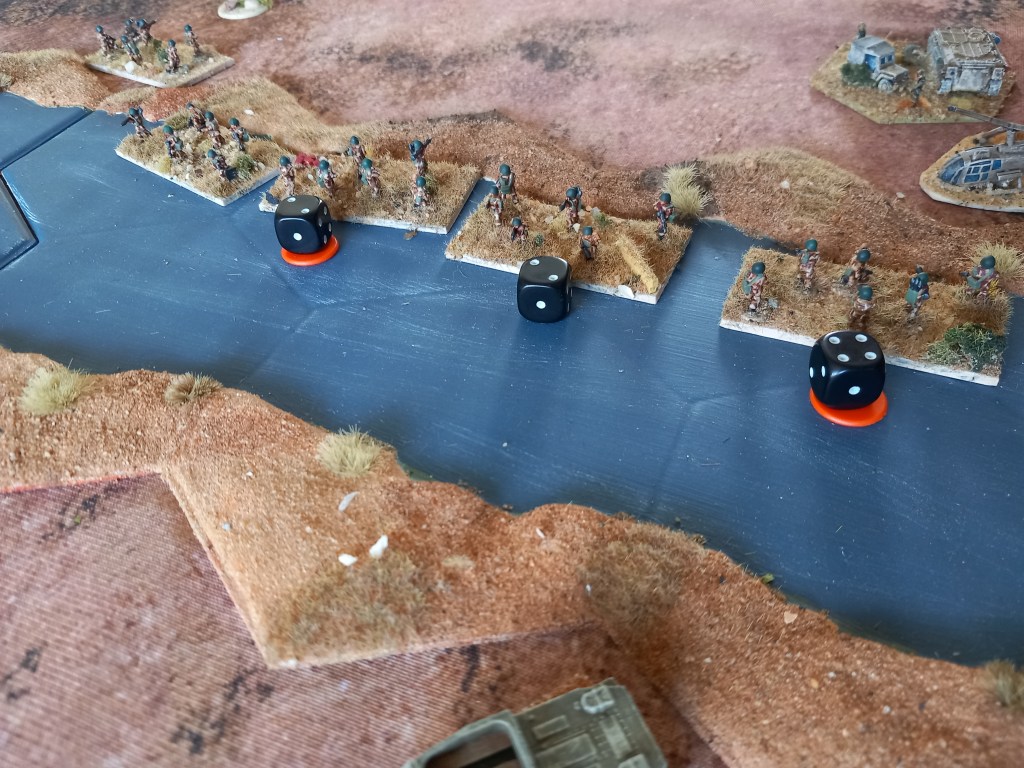
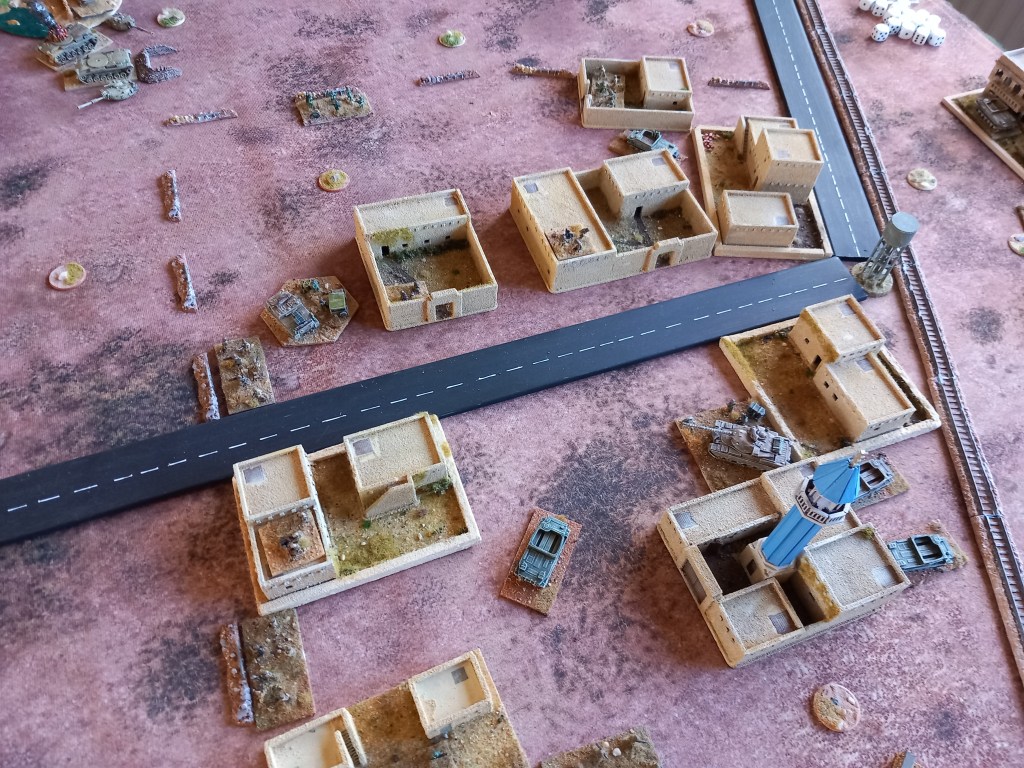
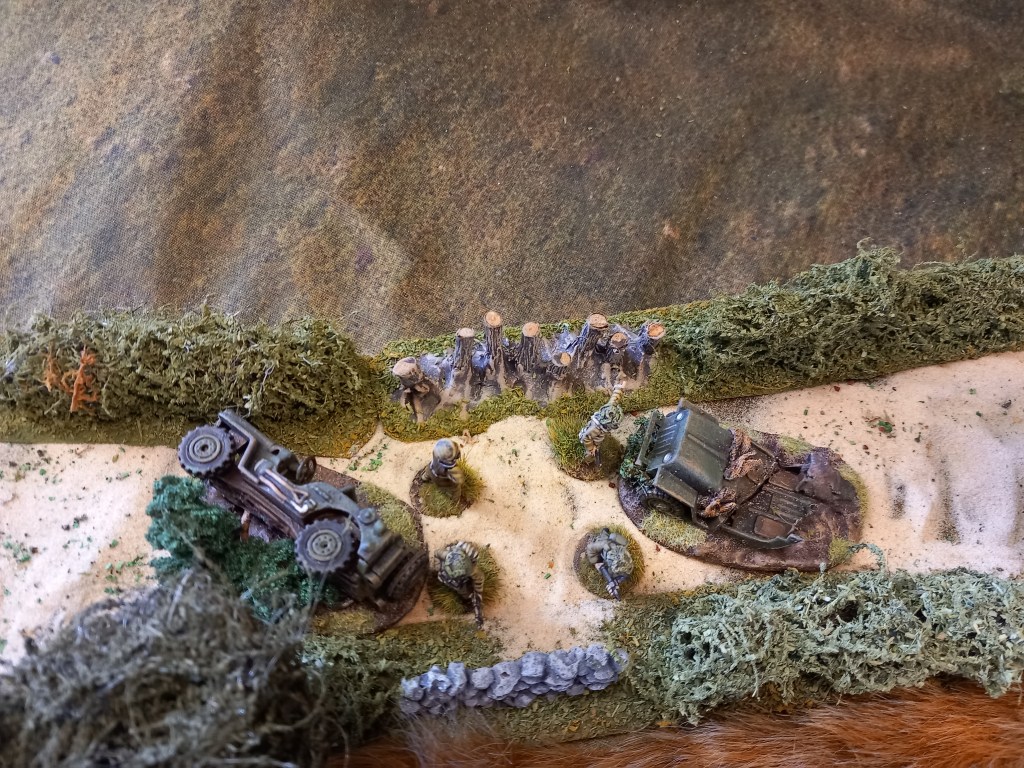
The Iranian armoured cavalry opted to come on behind the river in the corner, the plan being to use their amphibious ability to cross and seize the transmitter tower position while their M150s gave ATGW covering fire from the river bank.
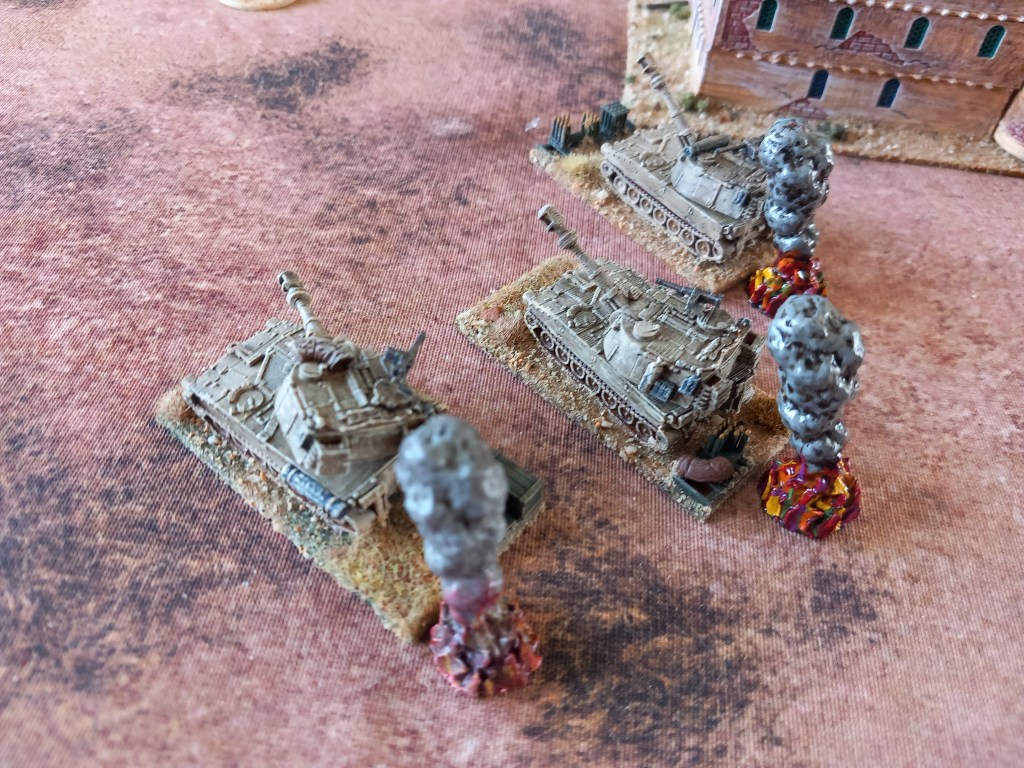
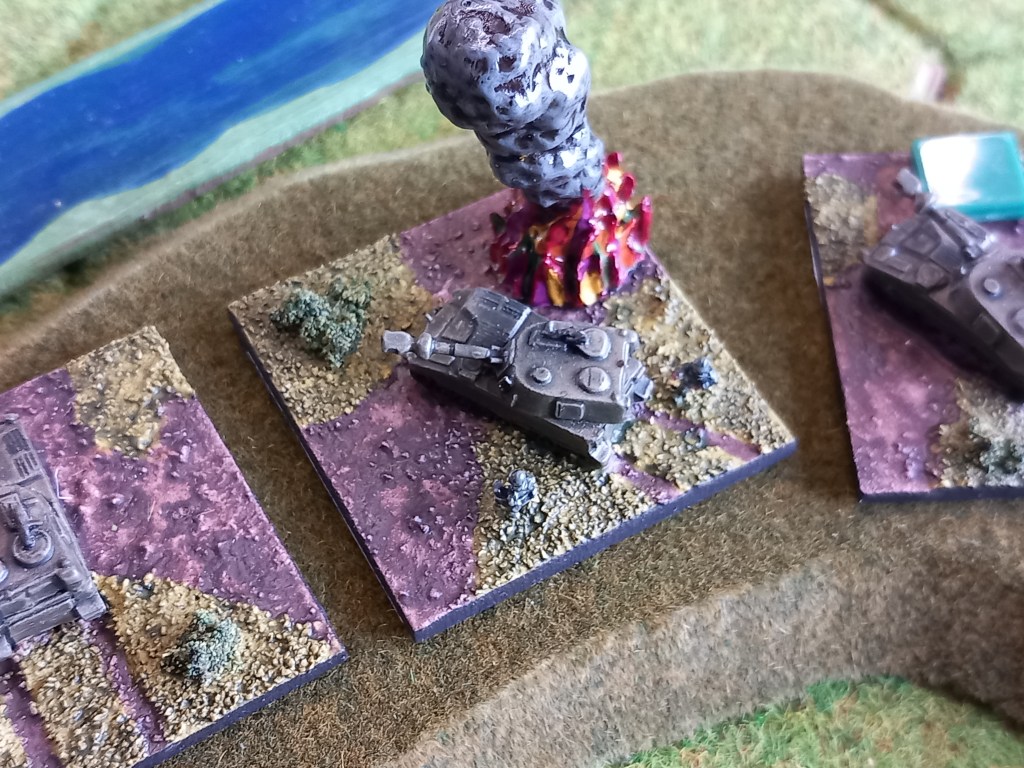
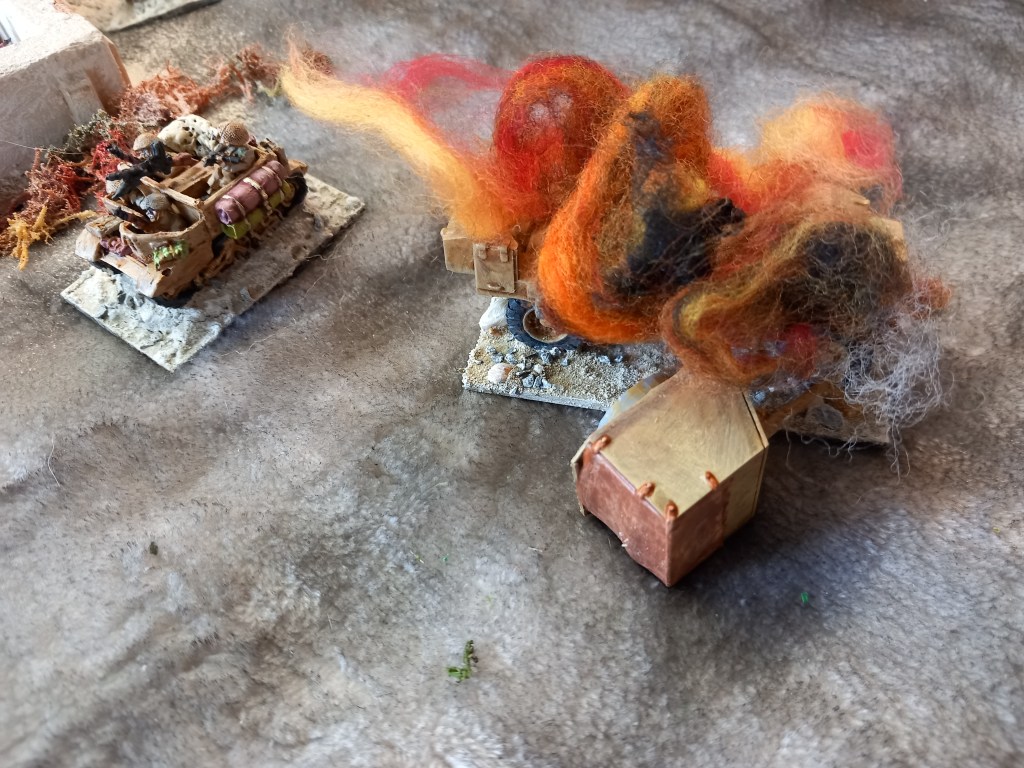
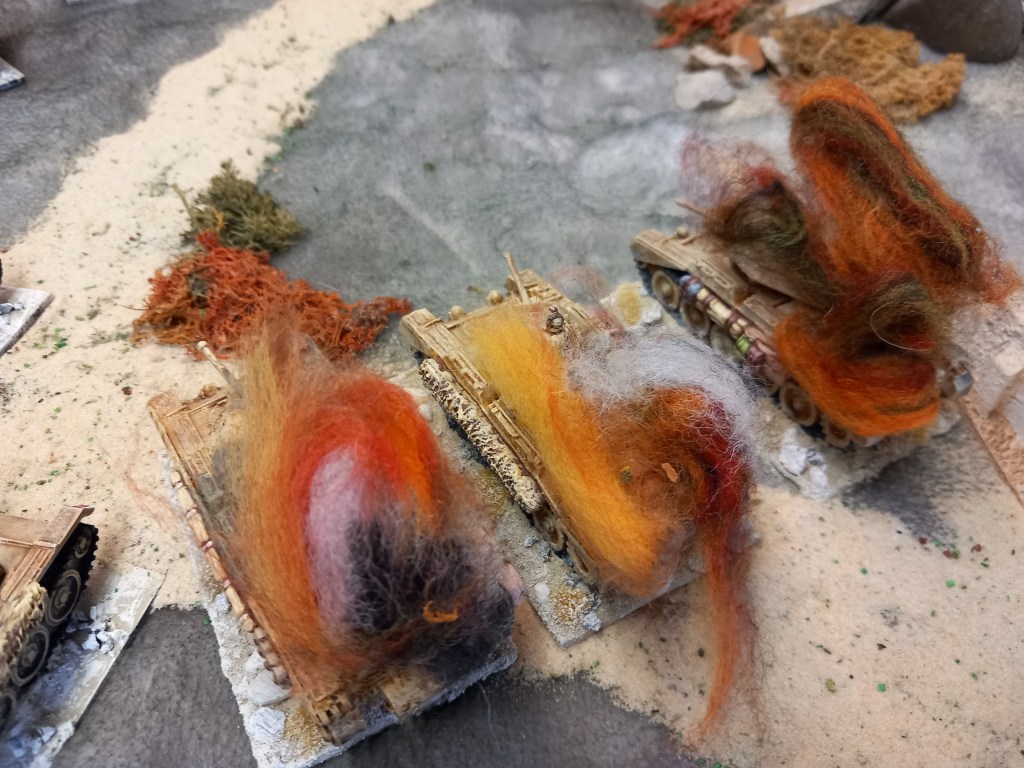
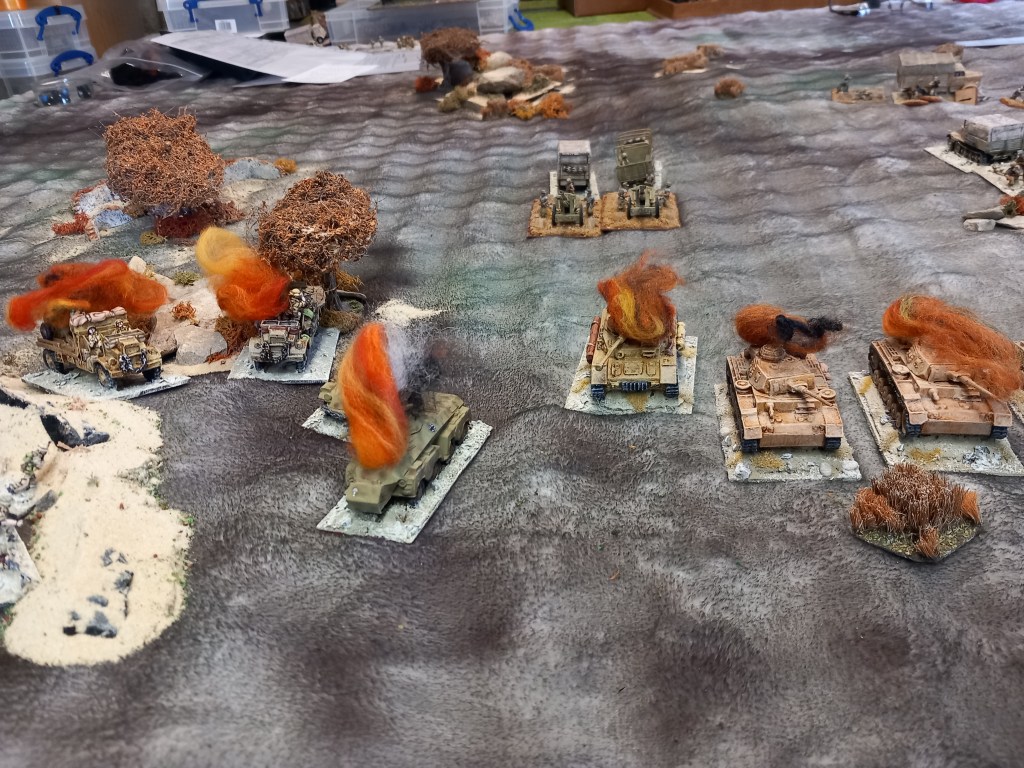
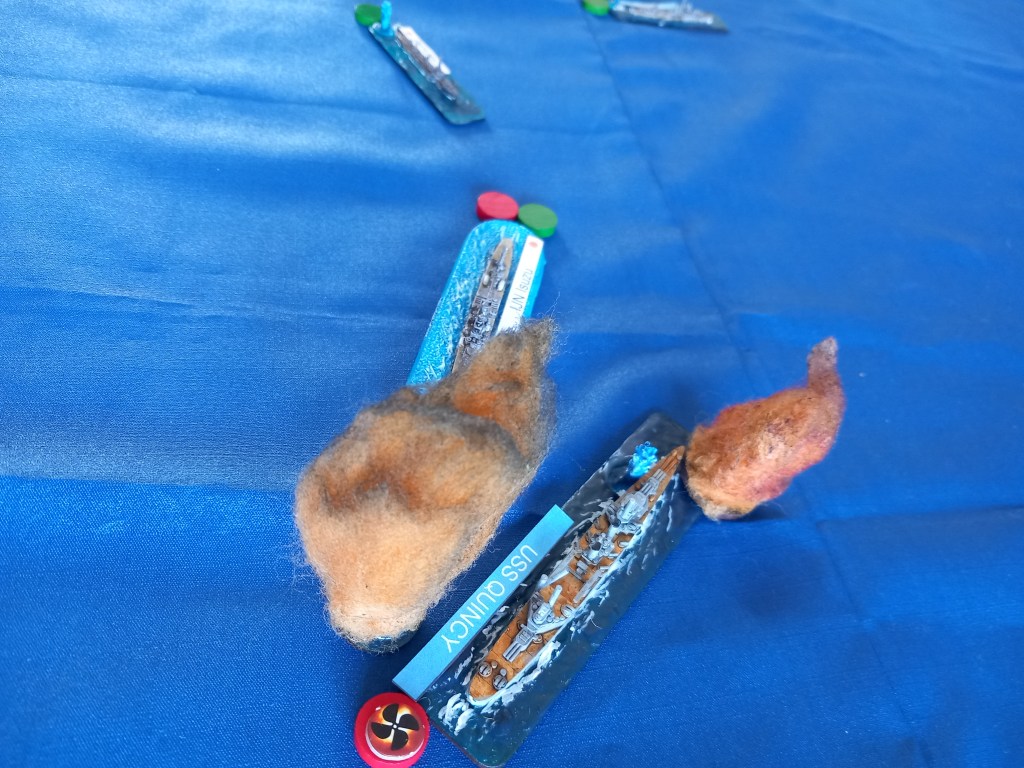
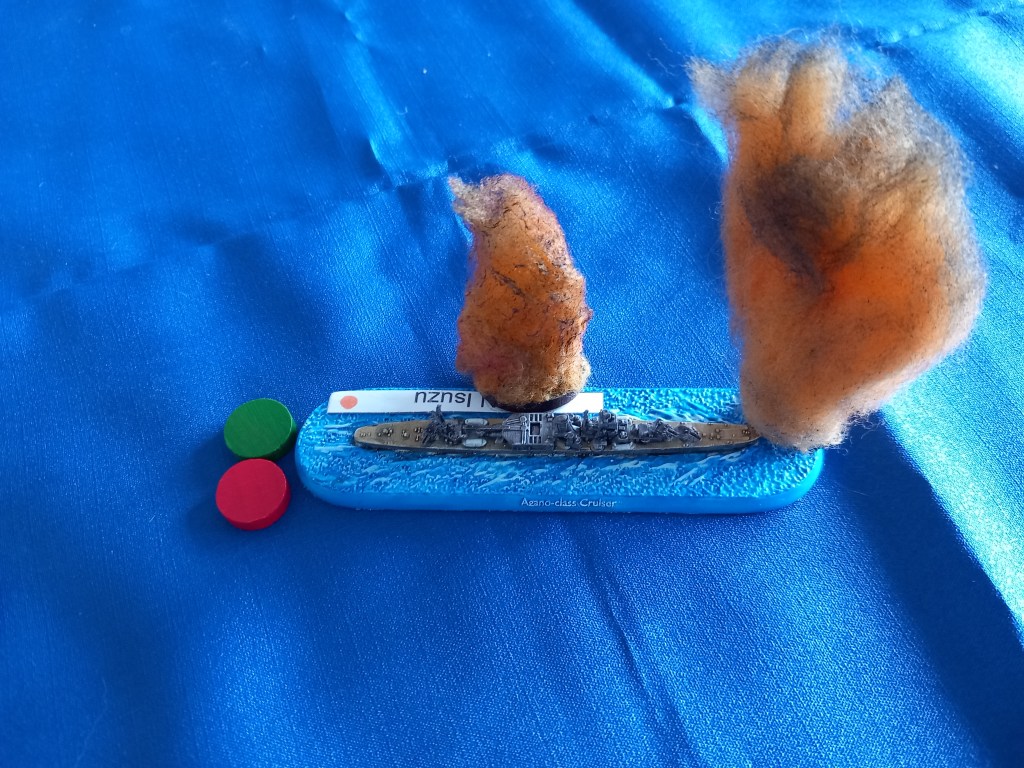
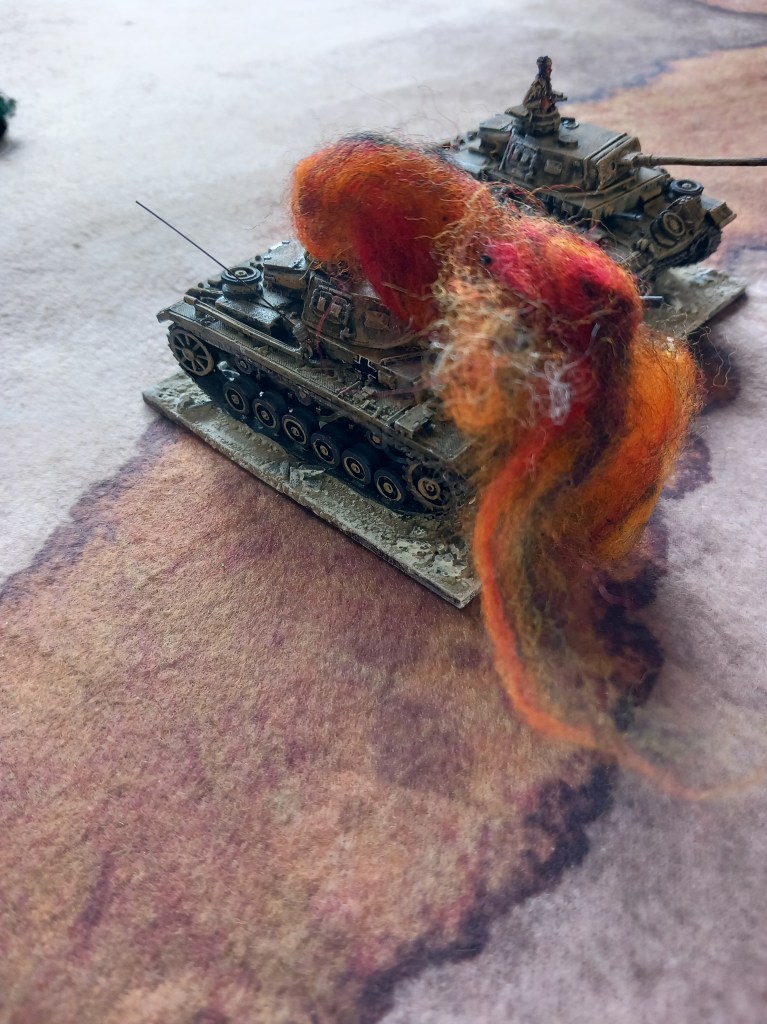
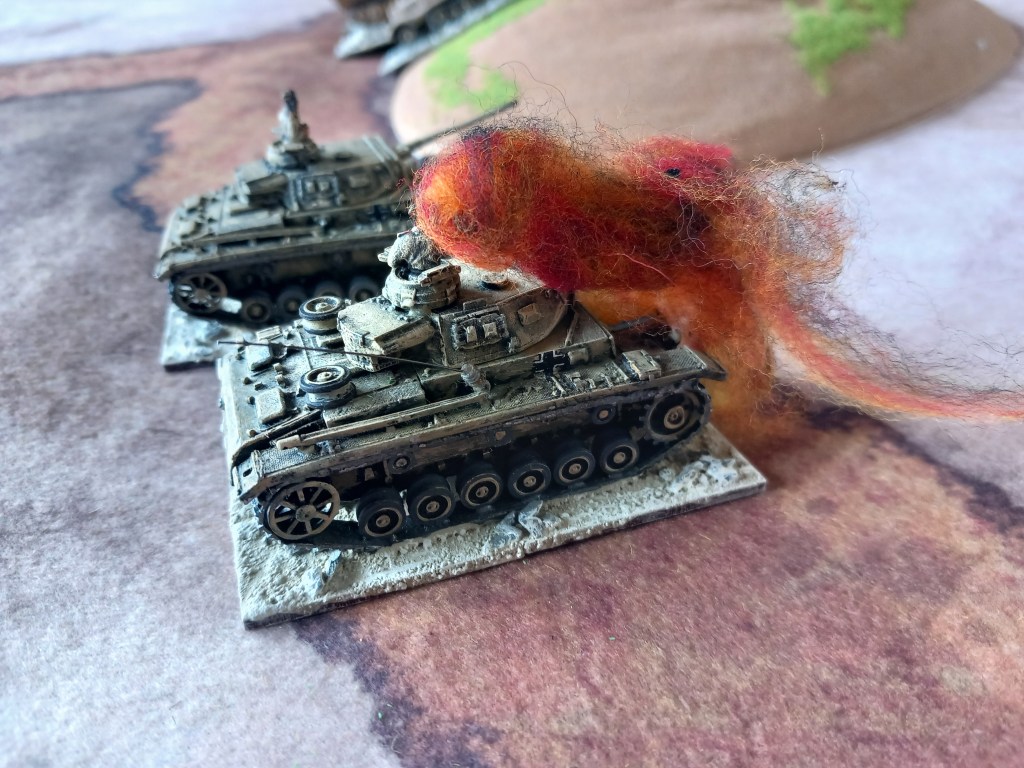
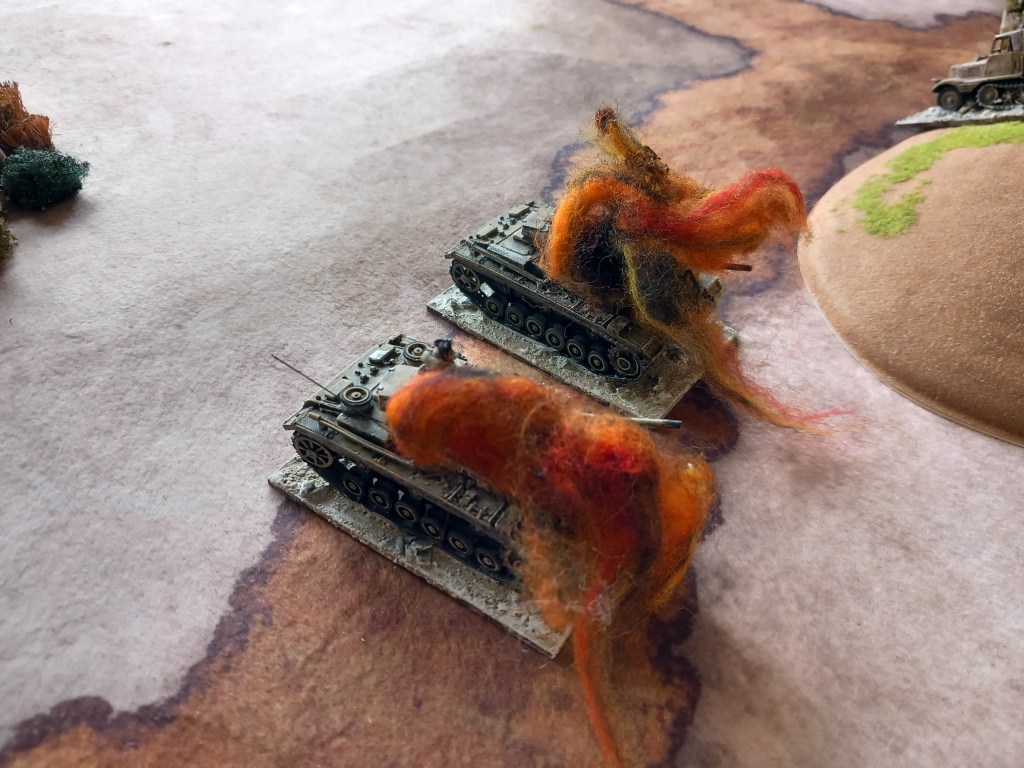
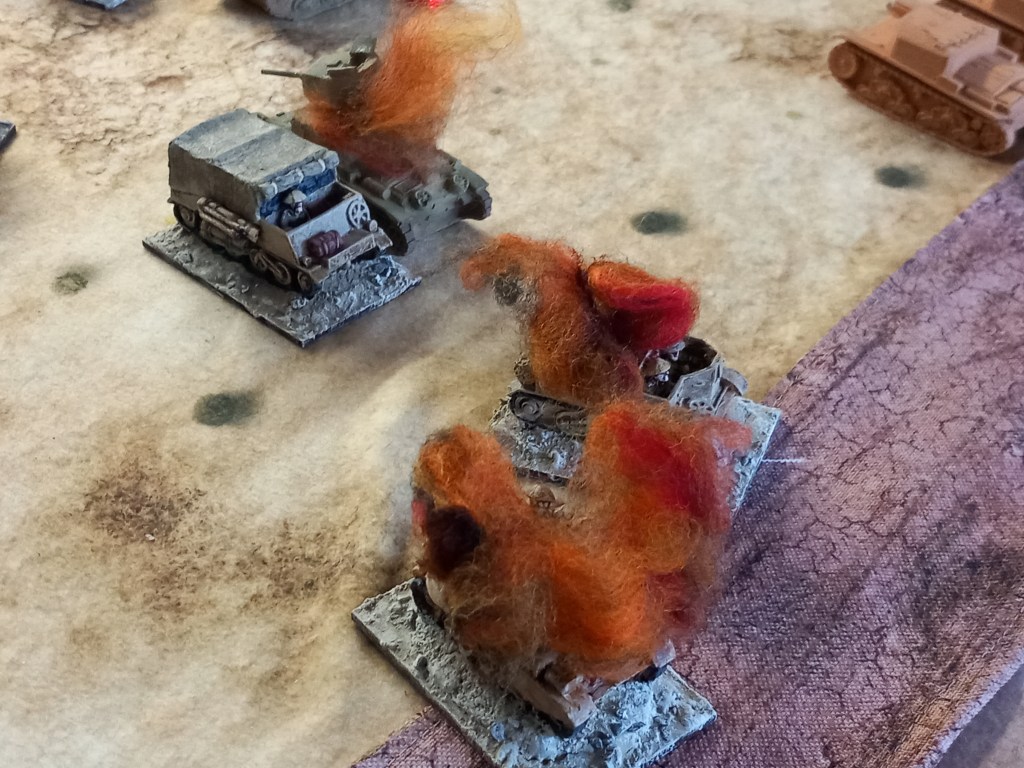
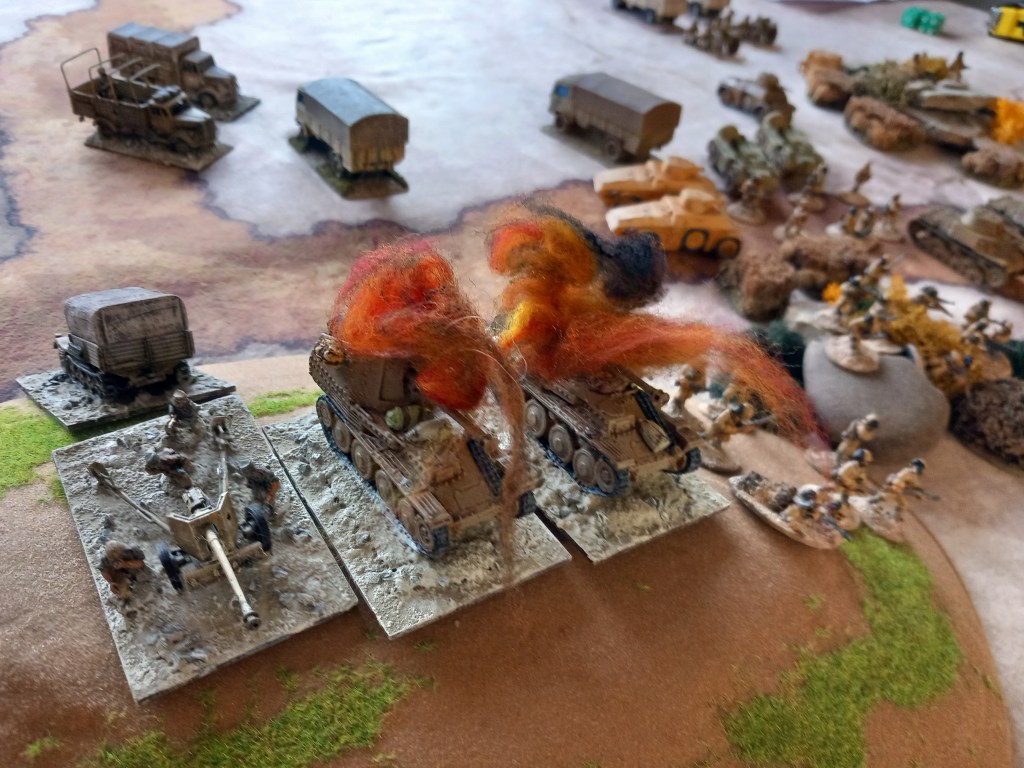
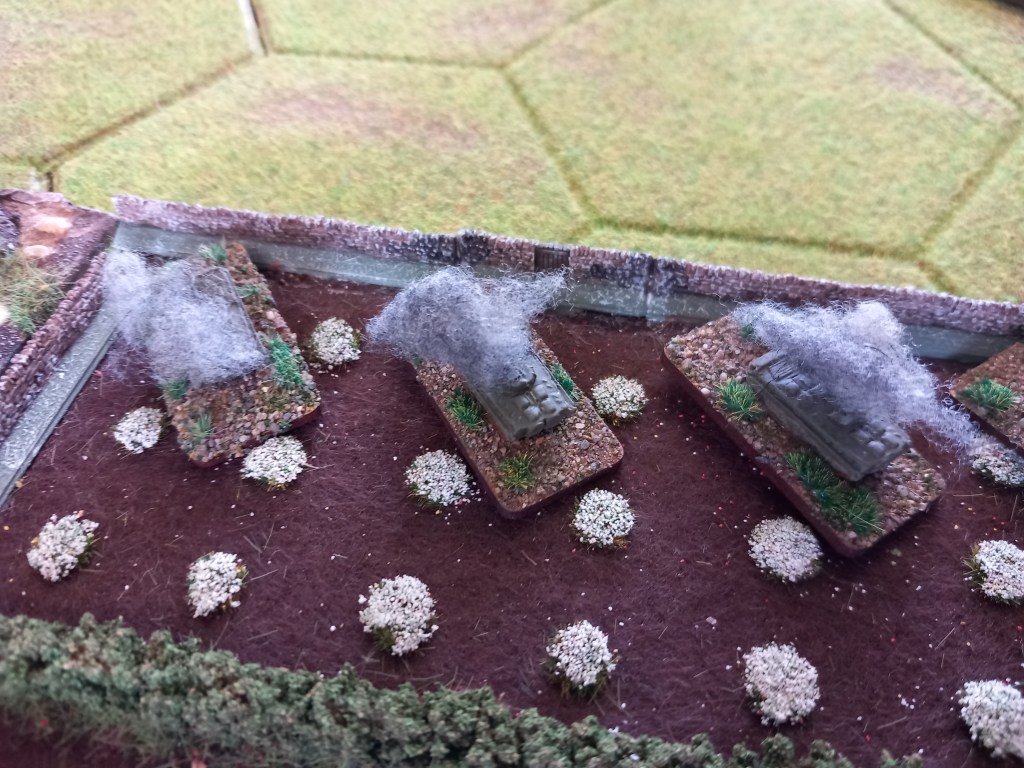
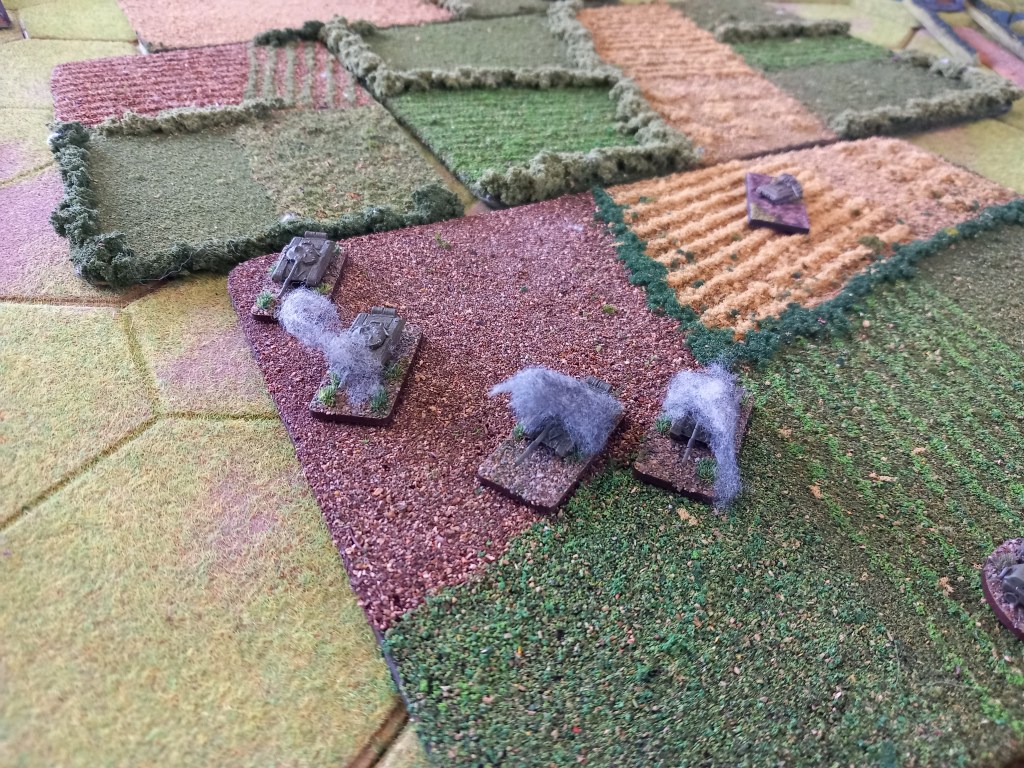
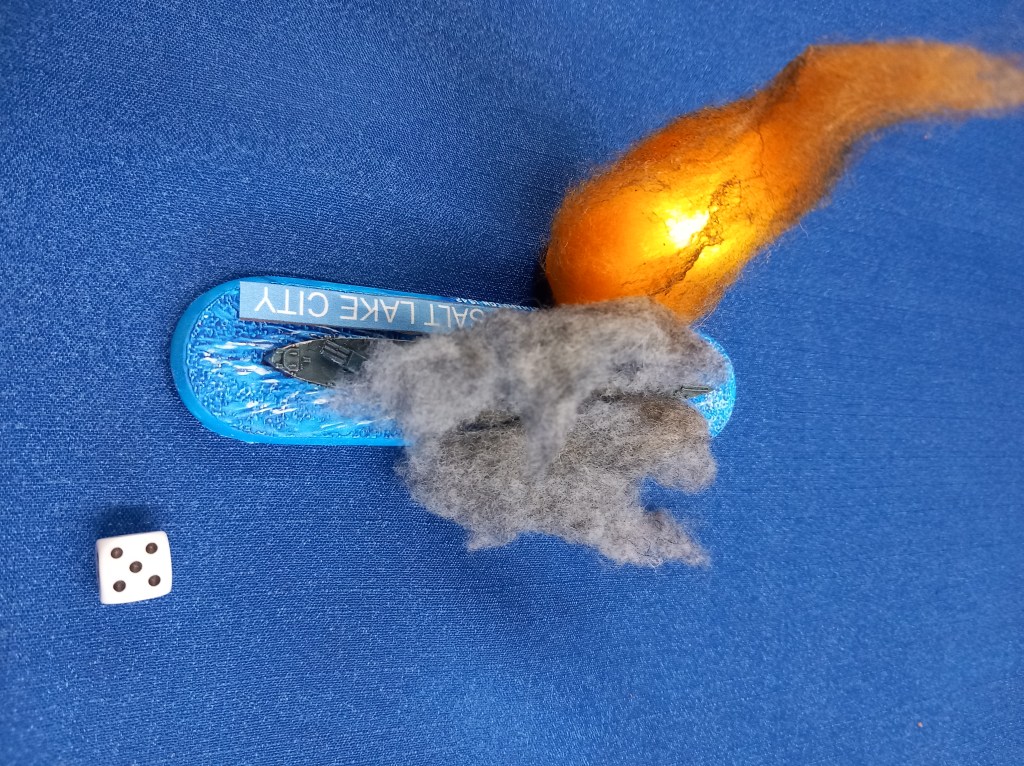
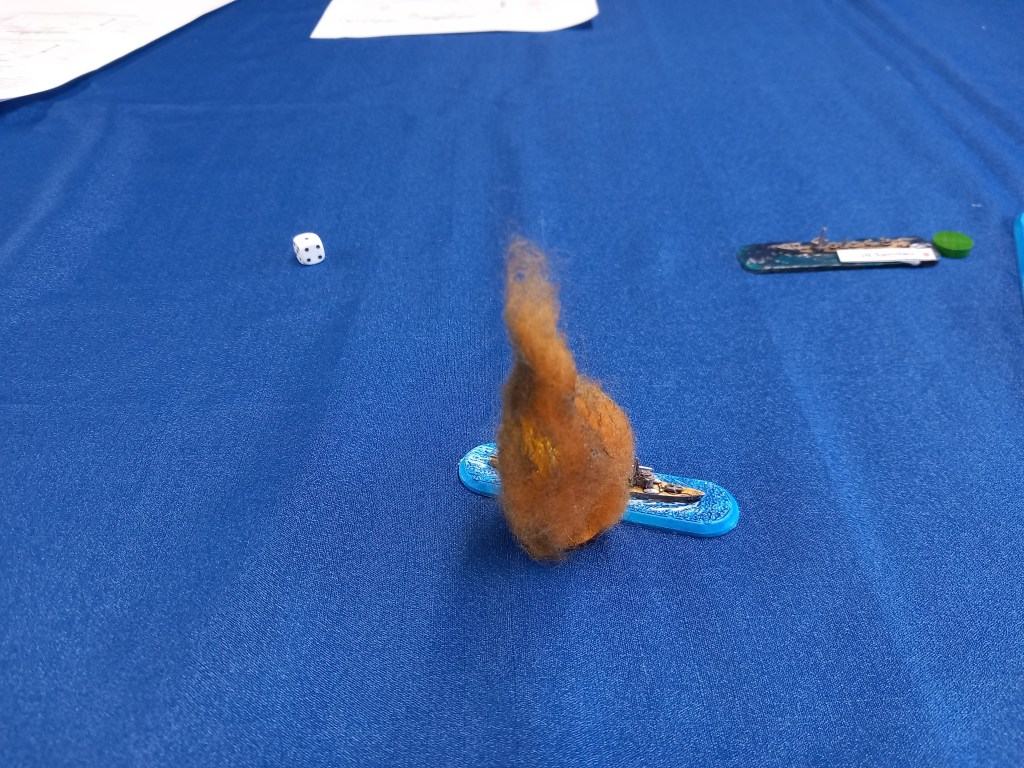
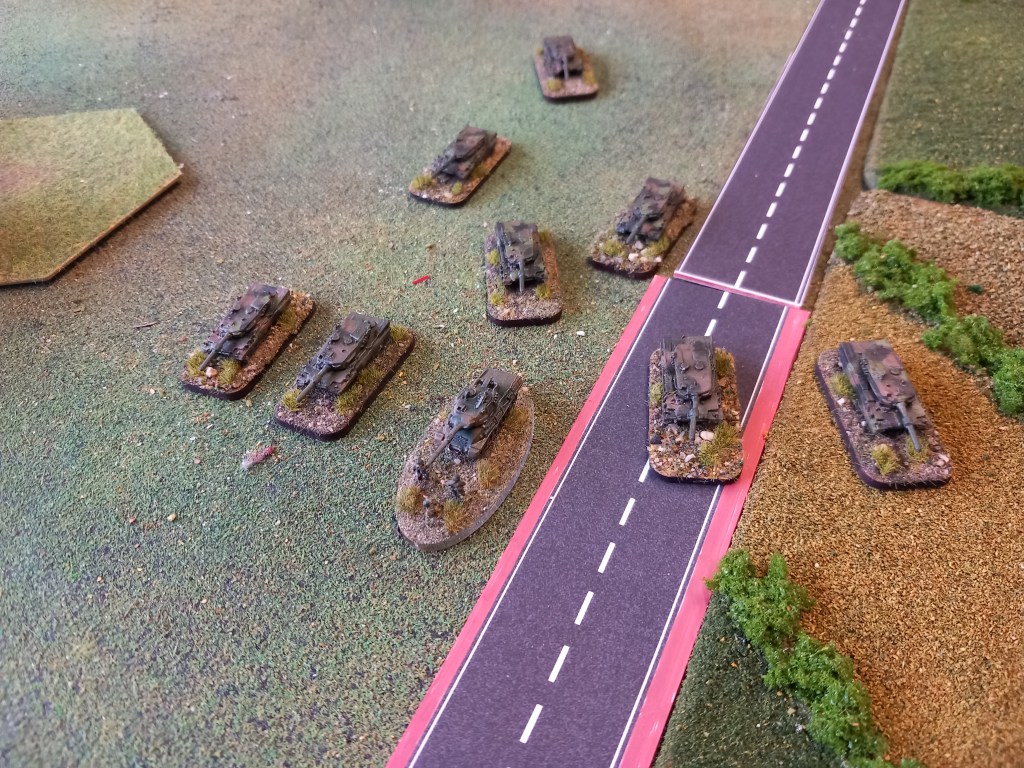
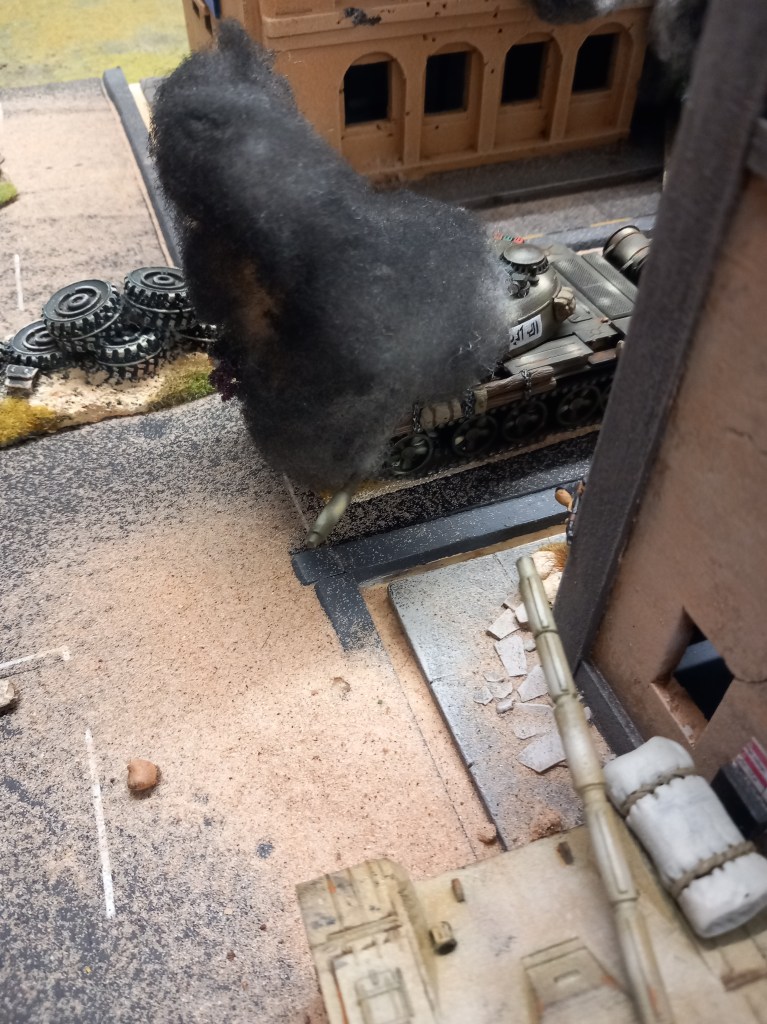
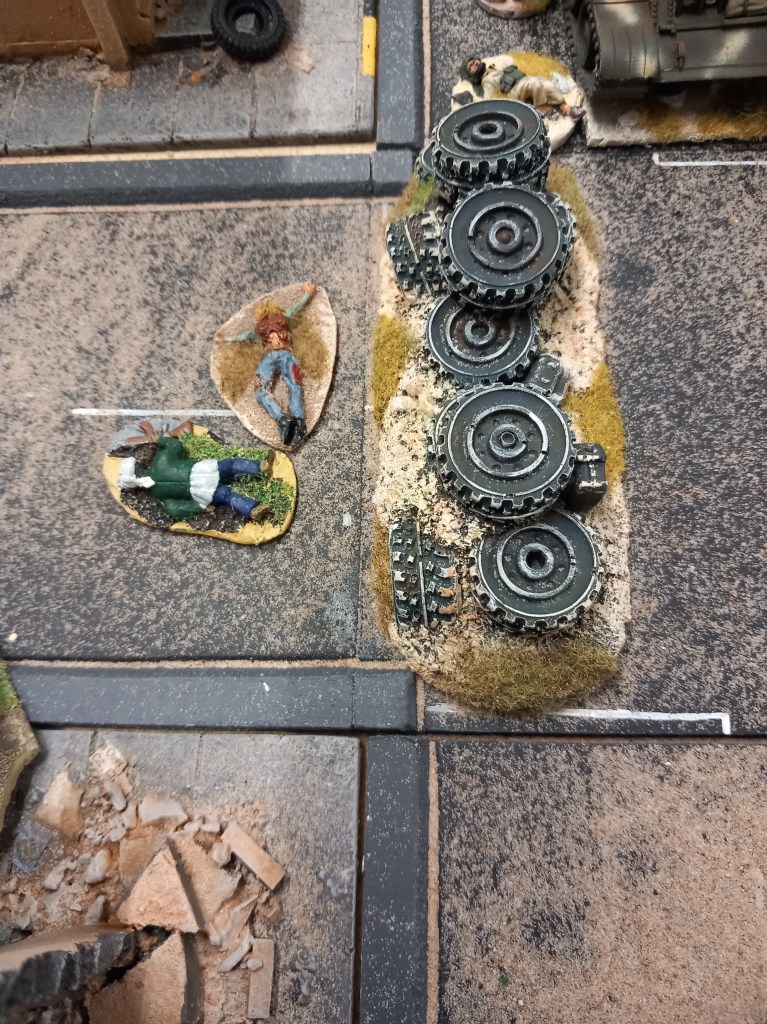
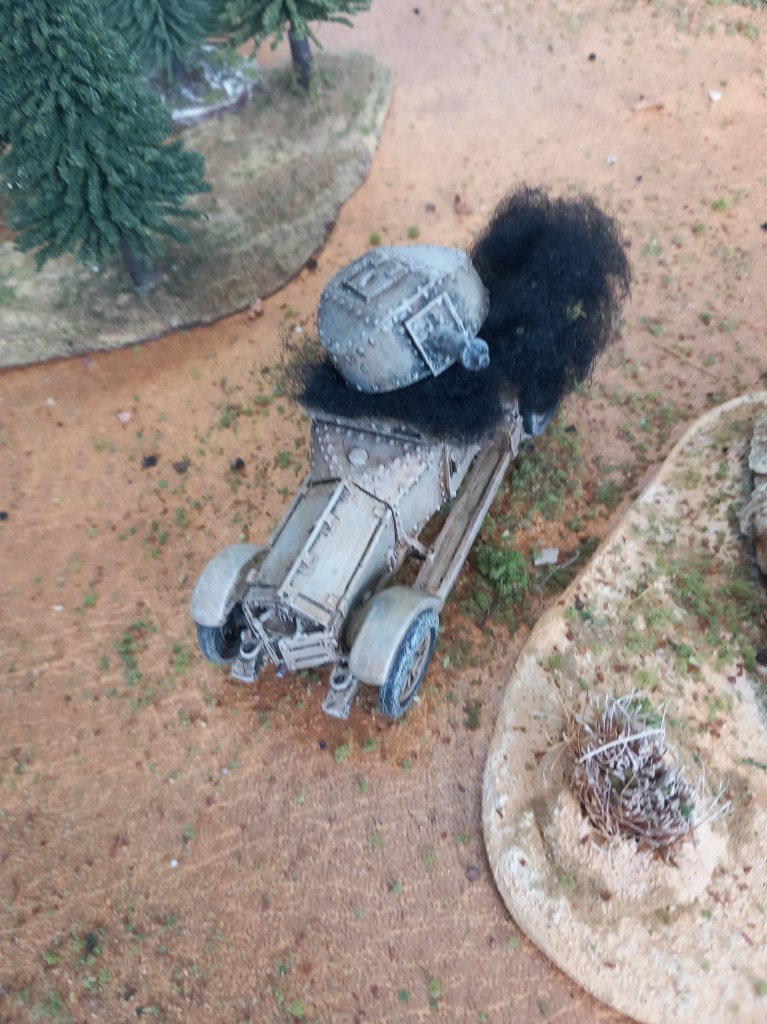
The Iranians pushed their M109s forward to shoot in their tanks but this was a complete bust, the very vulnerable machines were soon on fire and the remainder of the battalion sought cover.
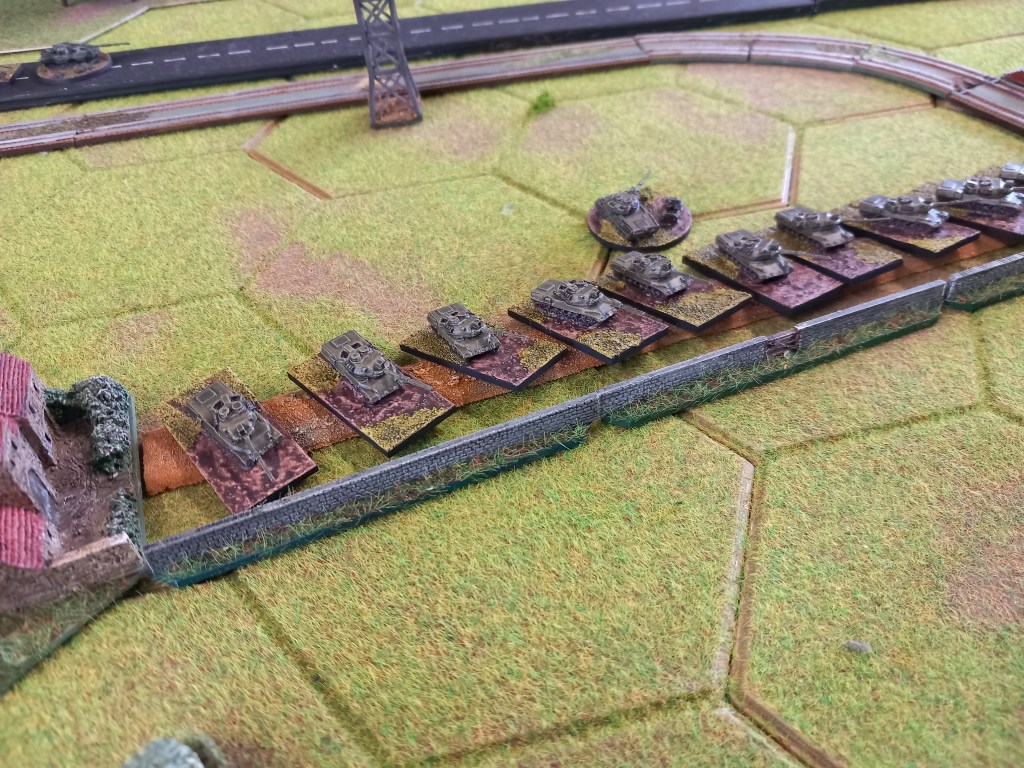
The Iraqis used the cover close to their deployment area early on so that the Chieftains couldn’t see them and it certainly kept one battalion intact for the bulk of the game.
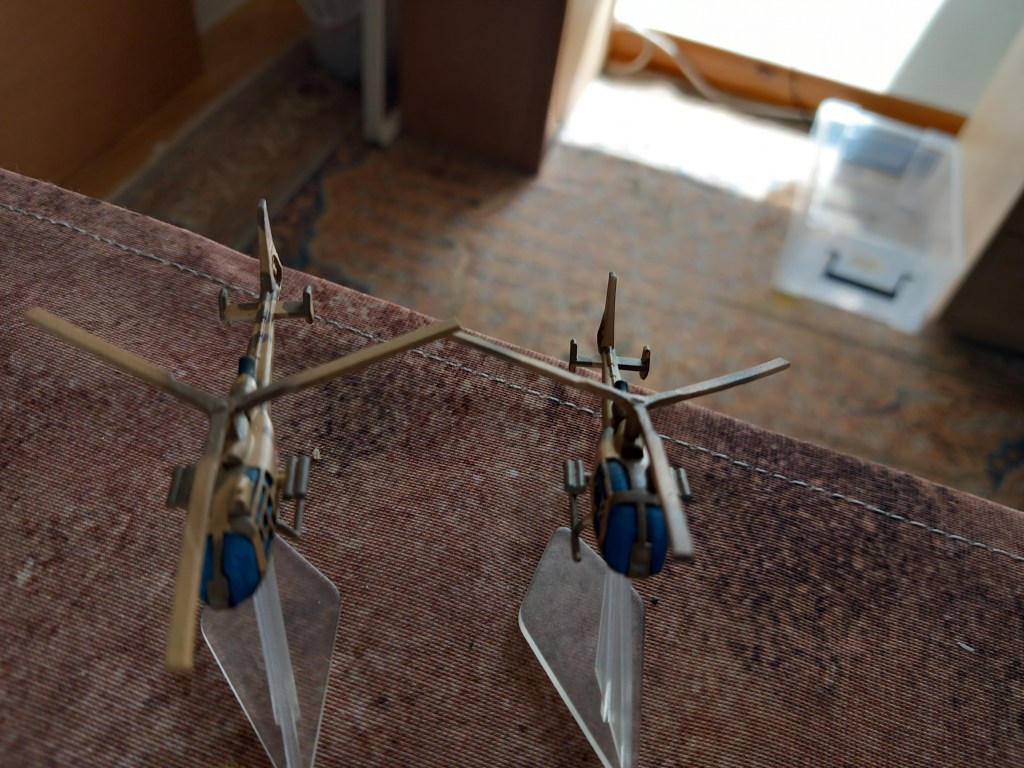
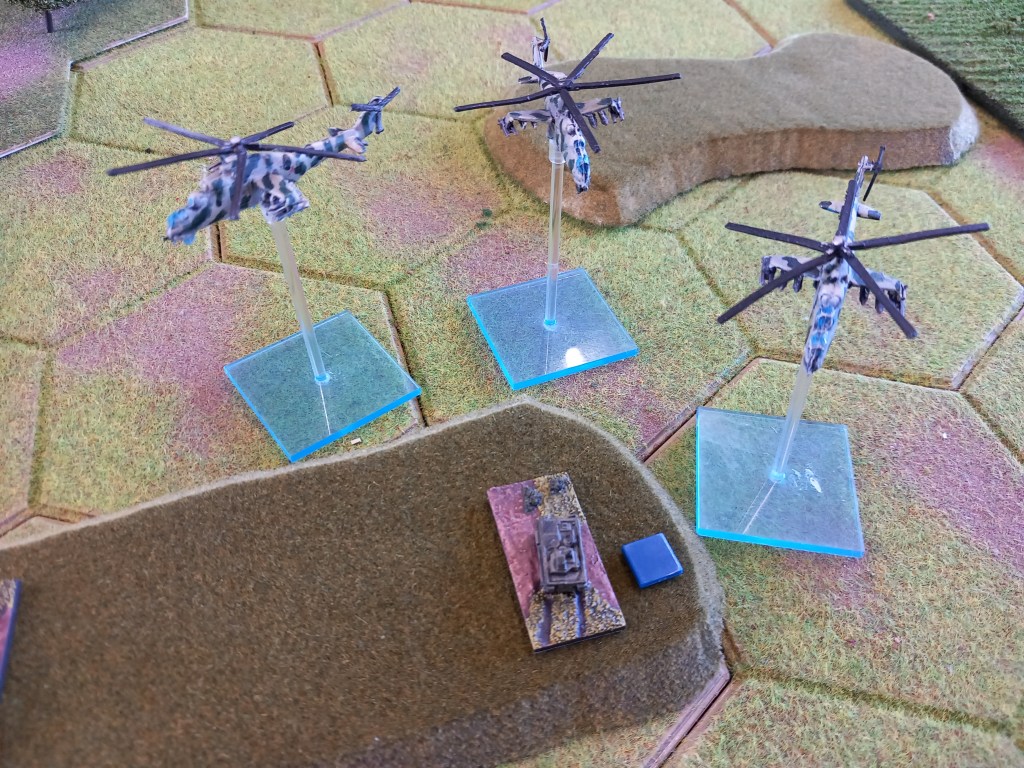
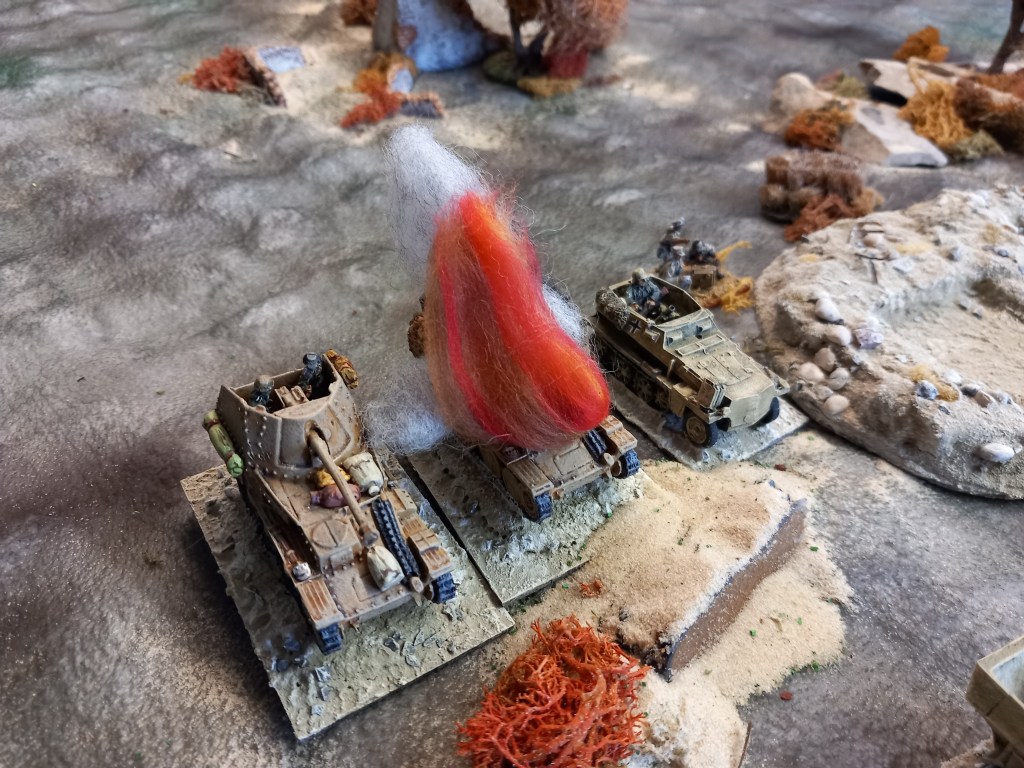
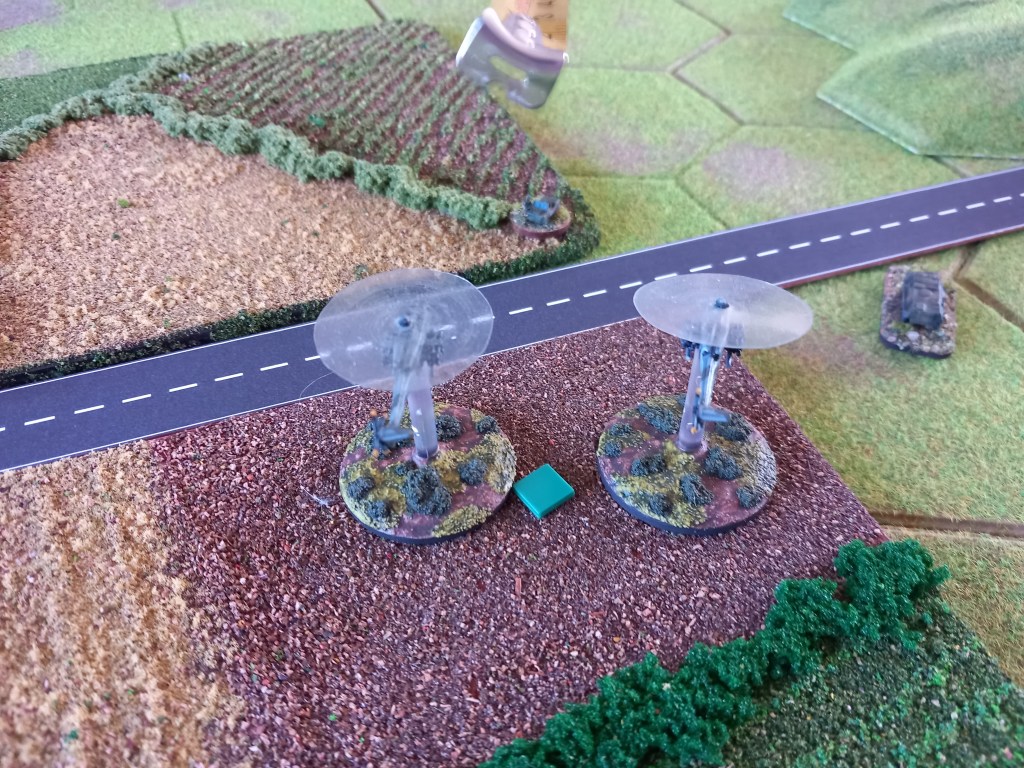
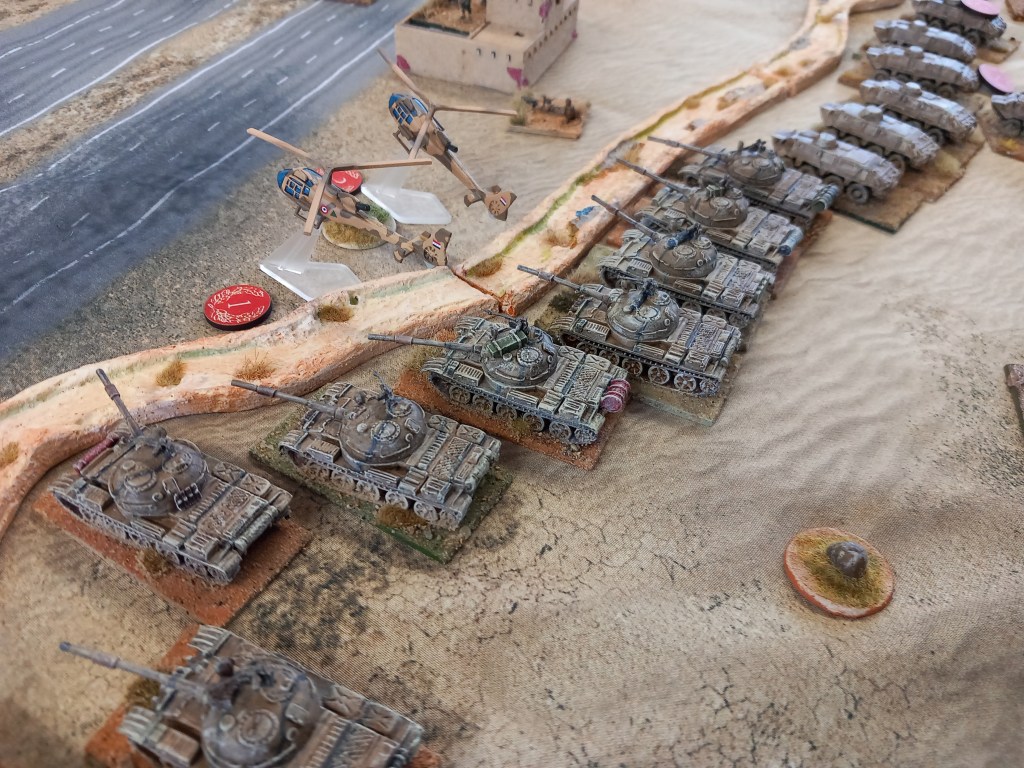
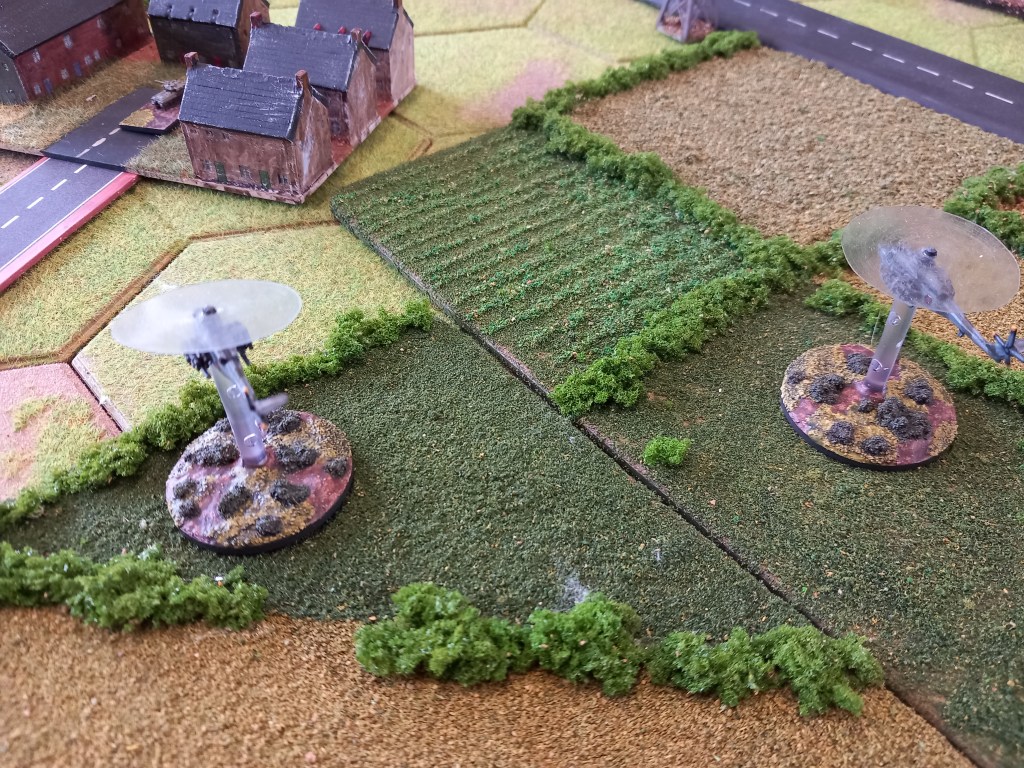
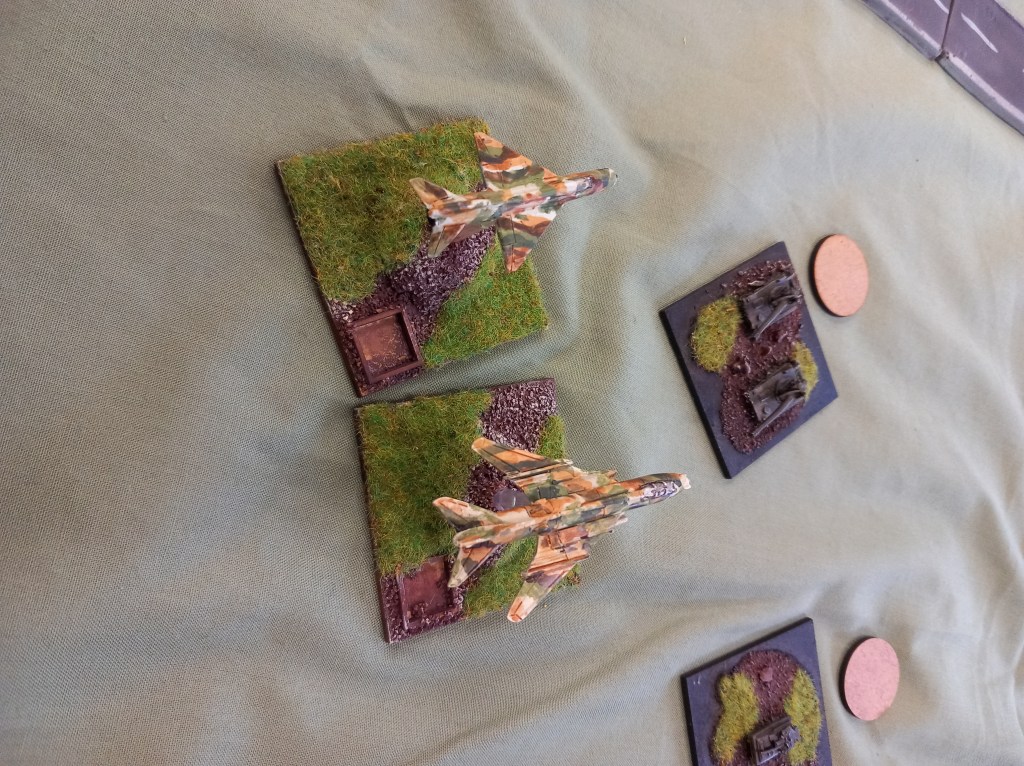
The arrival of the Iraqi Gazelles meant 4 turns of playing hunter seeker with the Iranian armour.
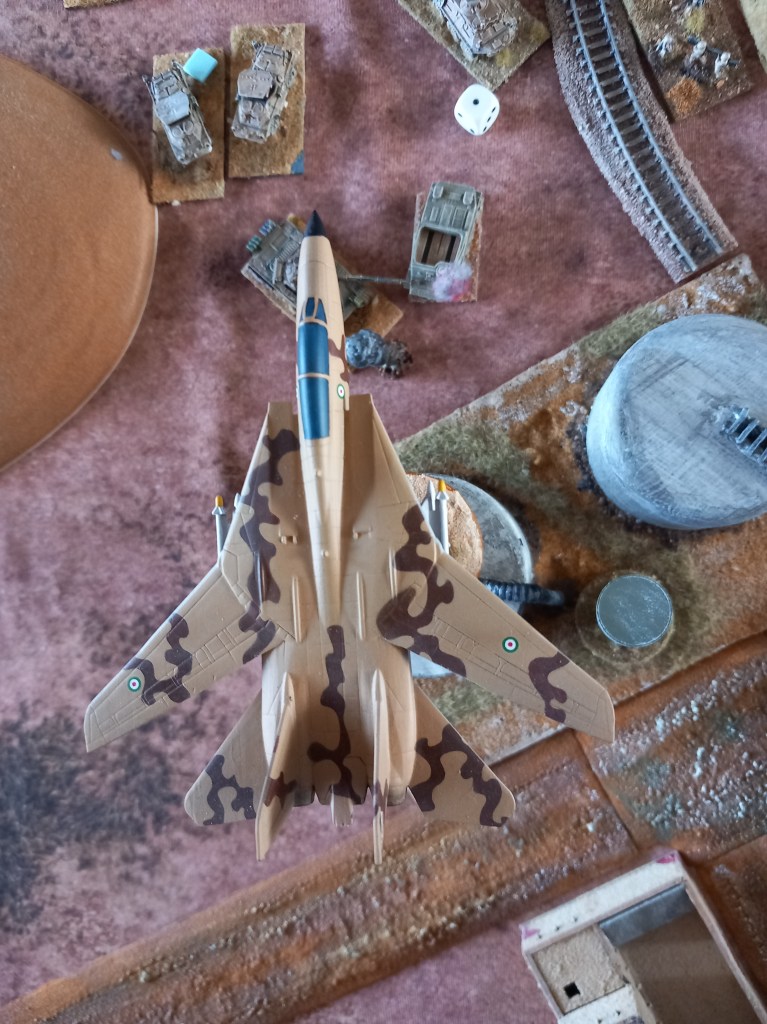
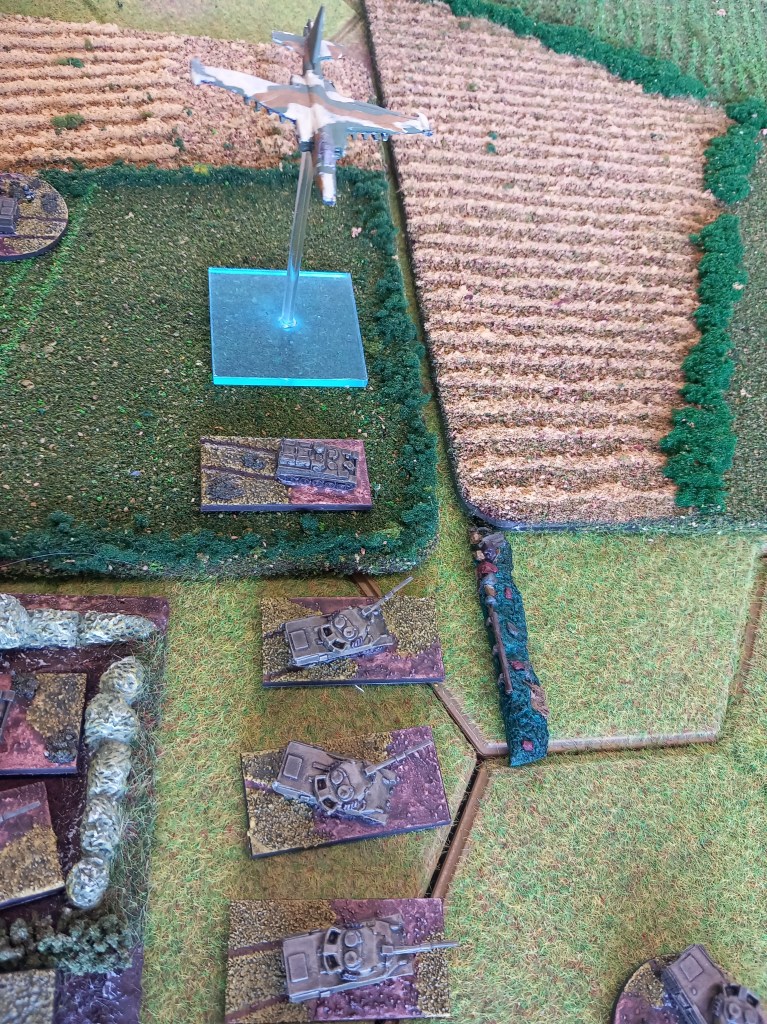
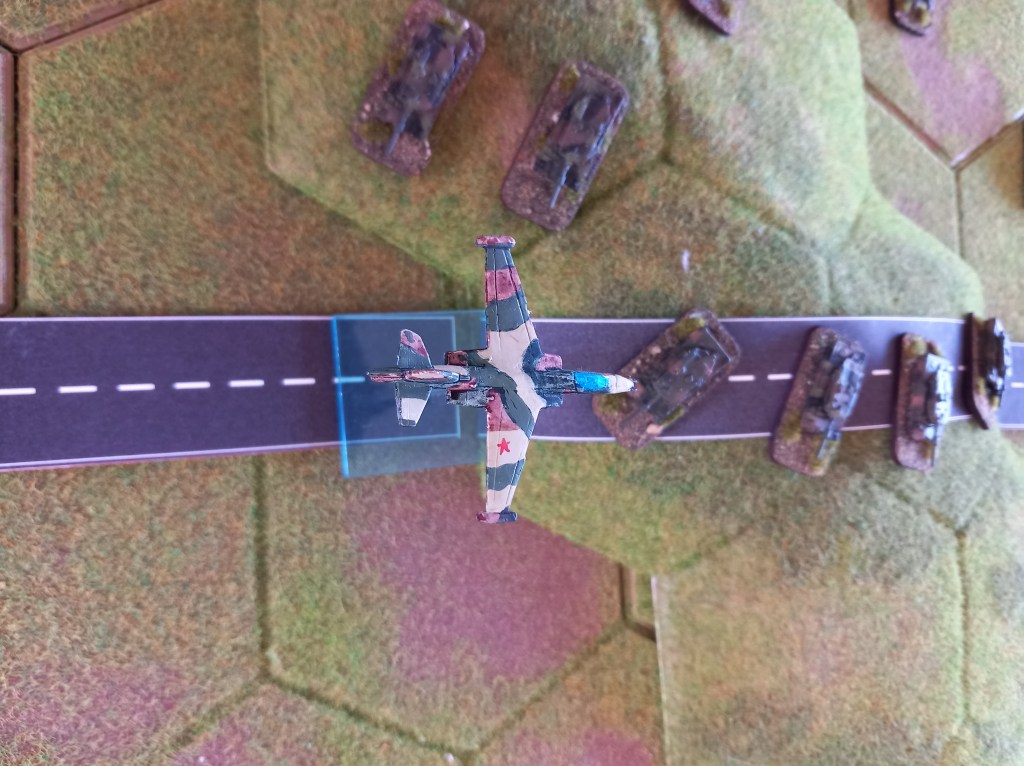
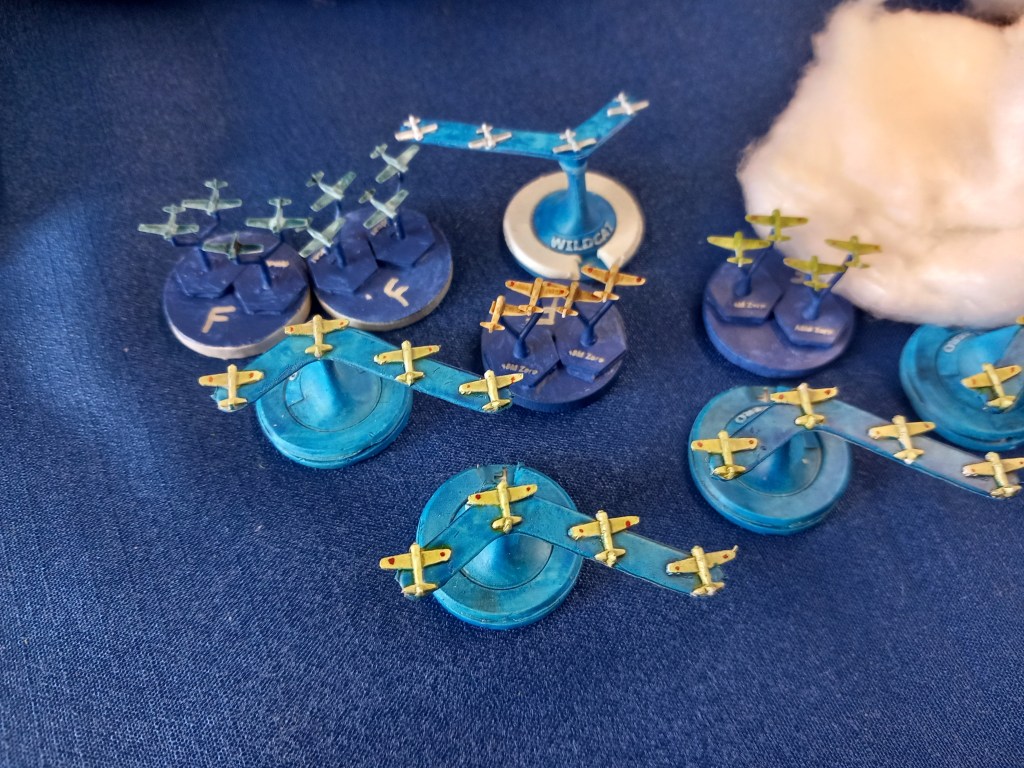
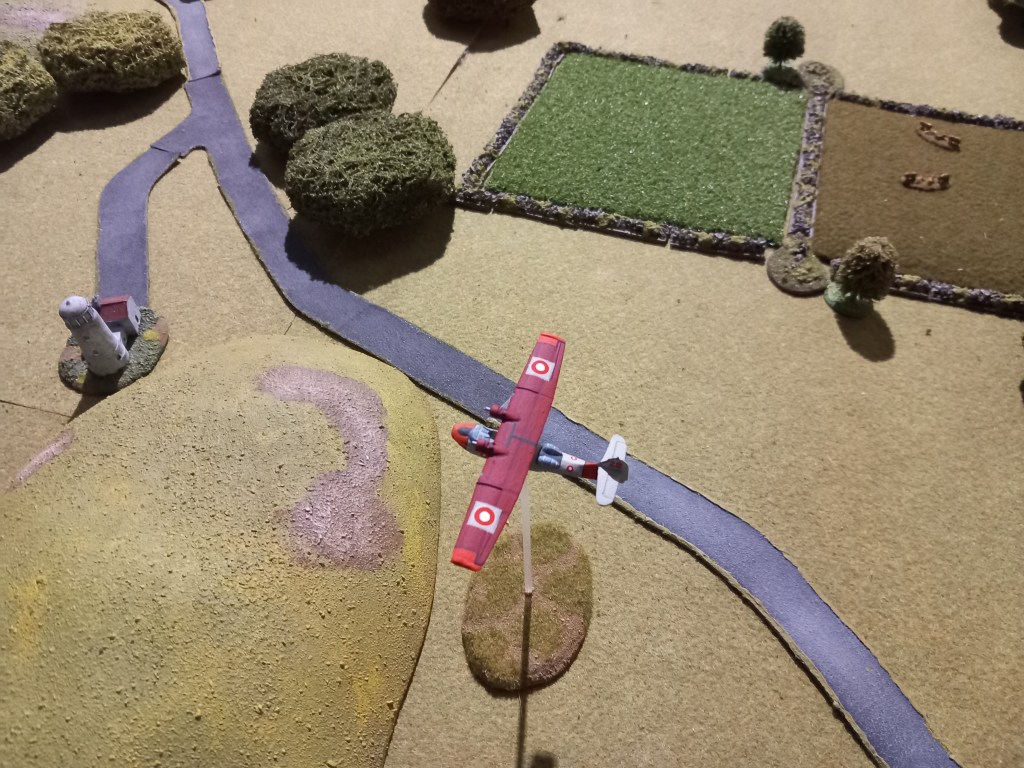
The arrival of the Iranian Tomcats was quite a sight although their impact wasn’t as great as the paint job 😂
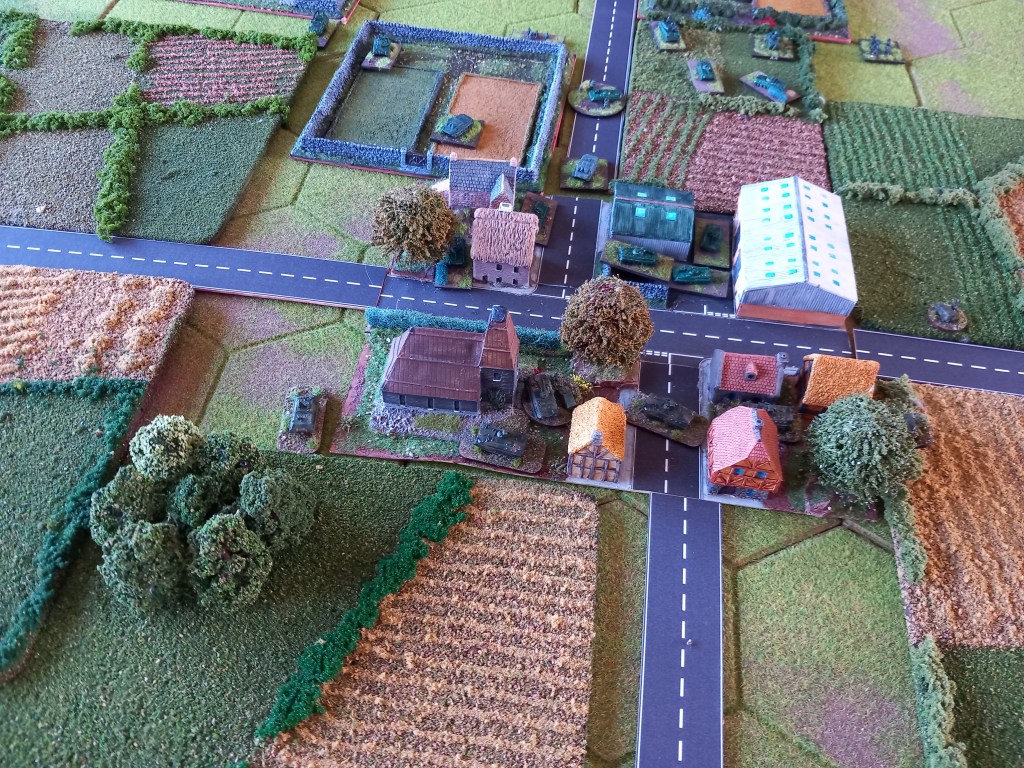
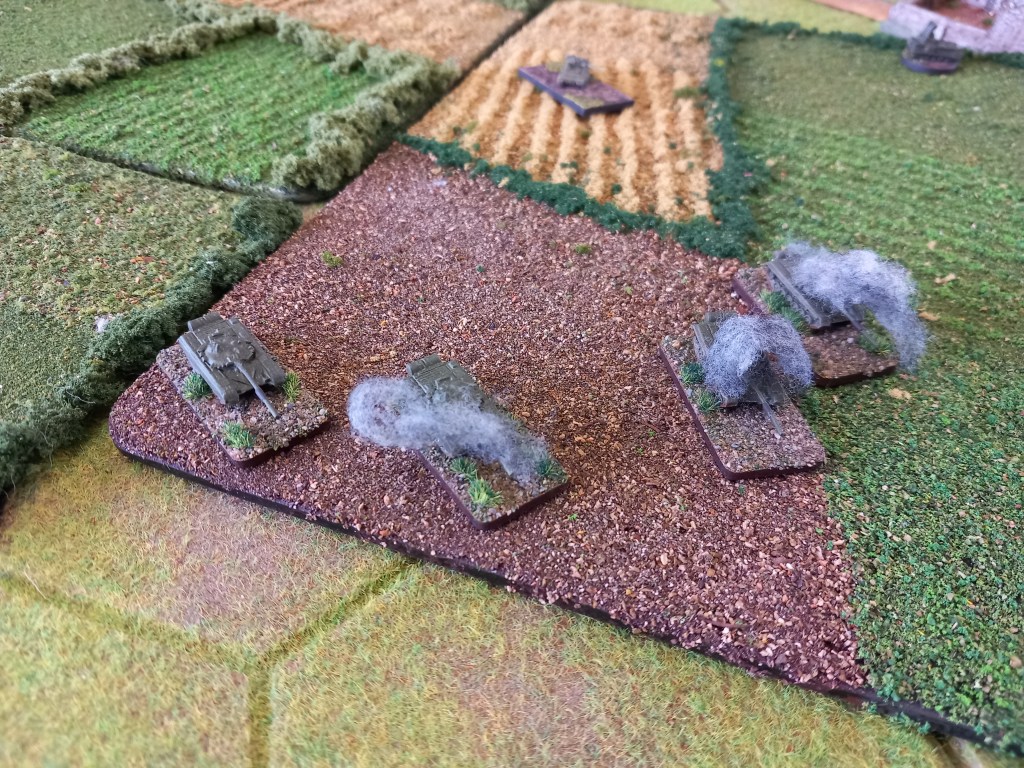
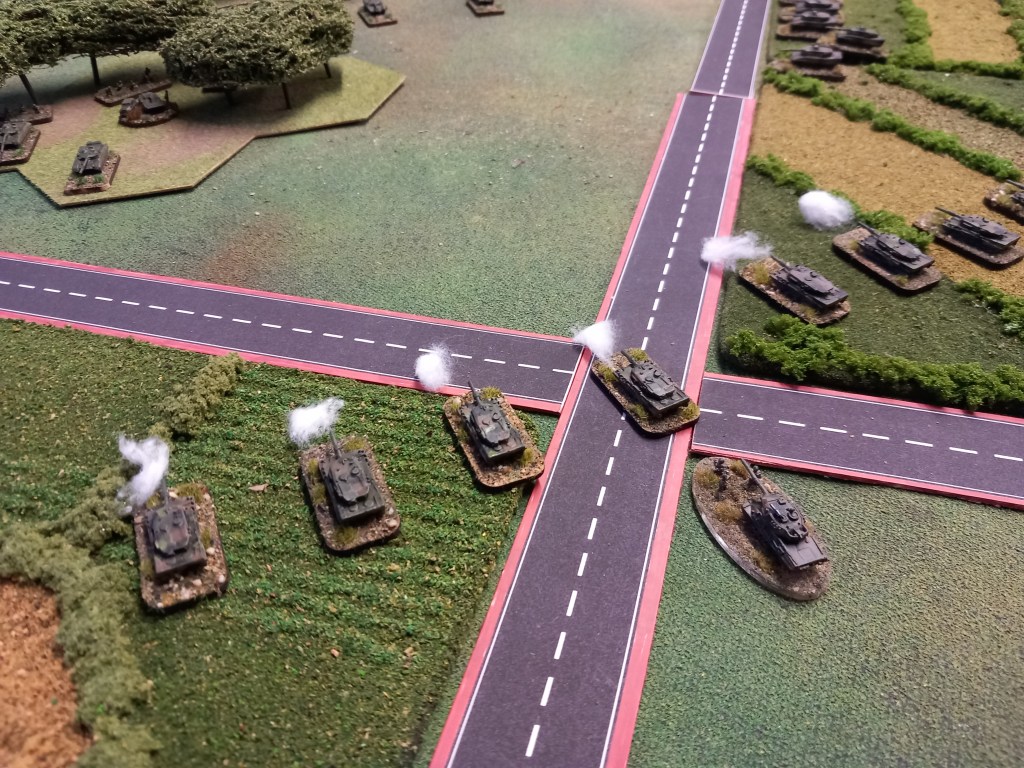
As the battle developed the other two T-72 battalions attempted to envelop the Iranian flanks. On the one flank they shot up the Armoured Cavalry battalion and on the other captured the oil storage depot and its rail link.
As we rolled into turn 8 the game was on a knife edge. In terms of the rules the Iraqis had achieved a minor victory for losses inflicted on the Iranians, the Iranians had however scored more objective points for seizing the transmitter station and the town. So I guess a draw 🙄
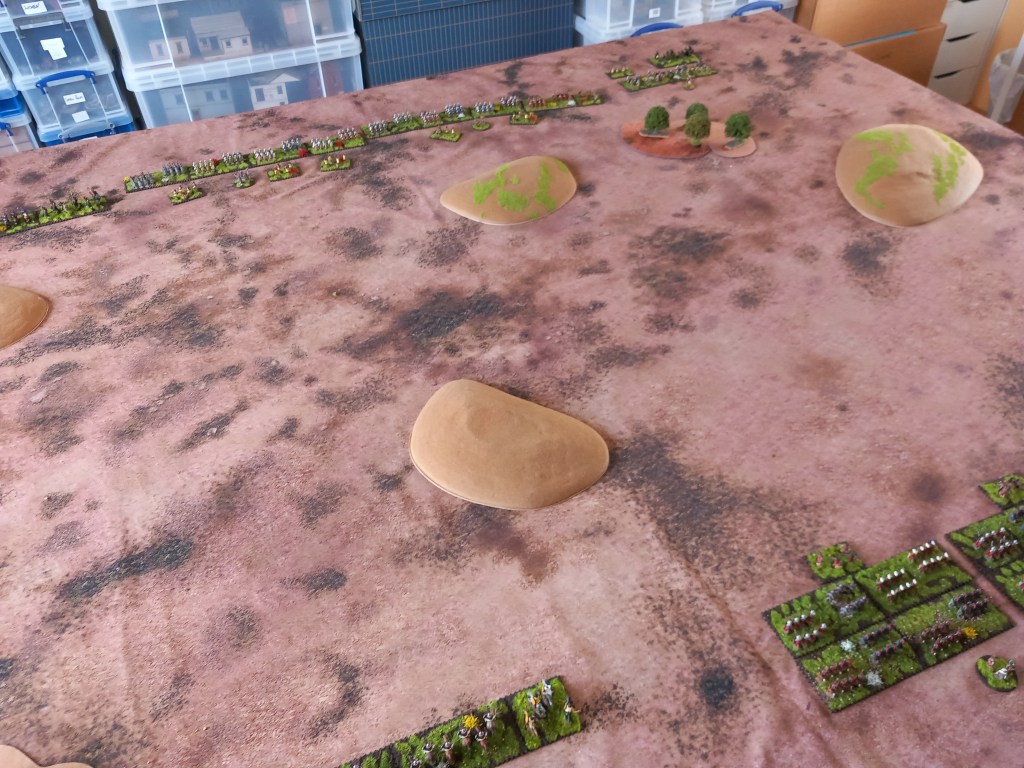
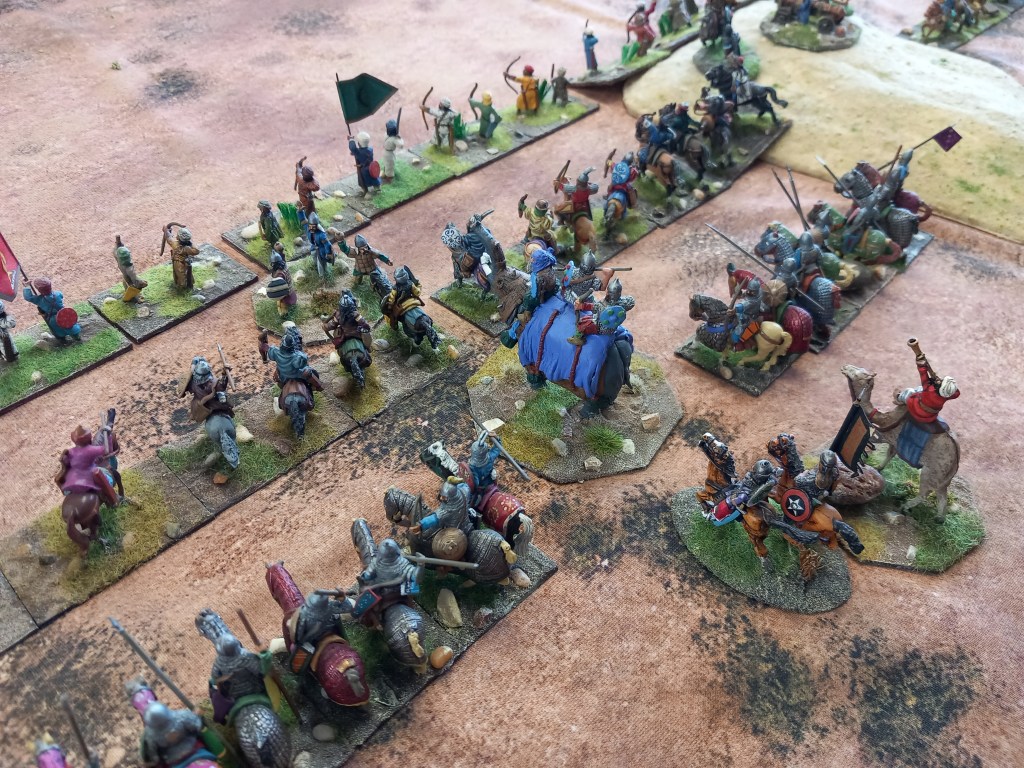
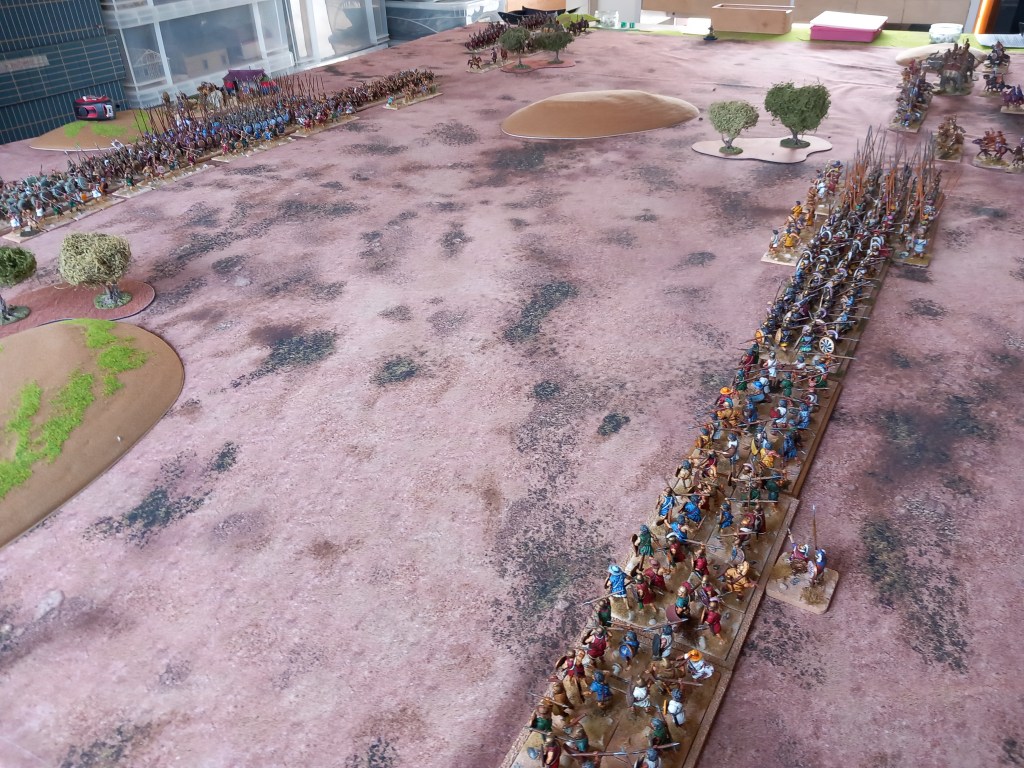
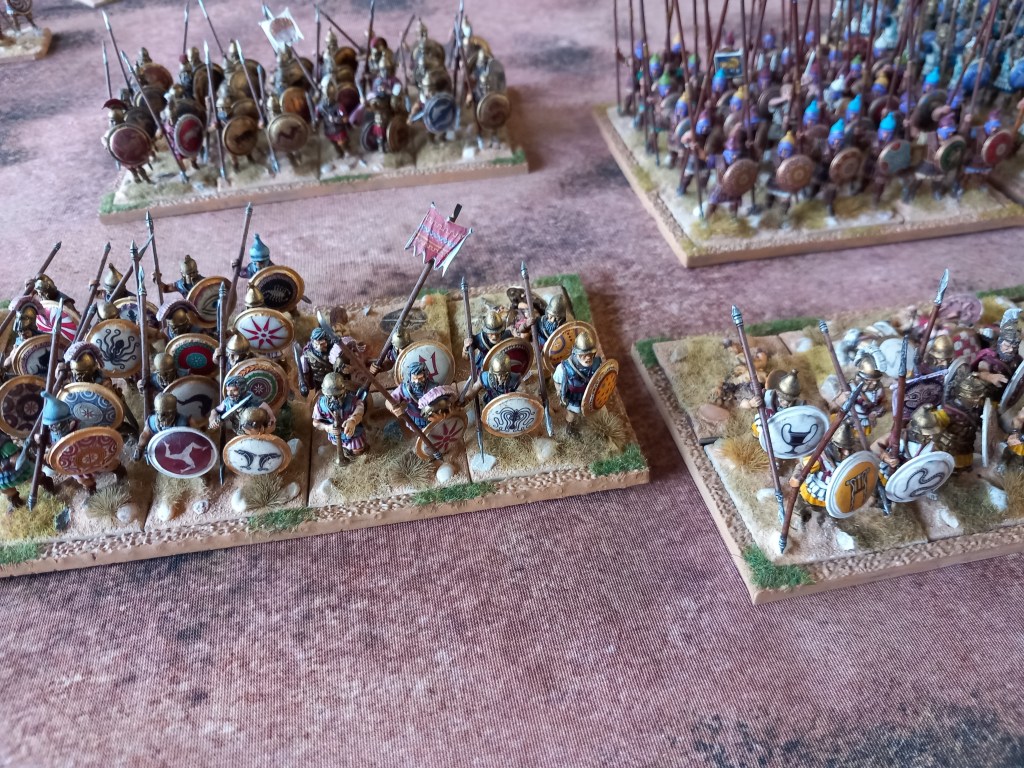
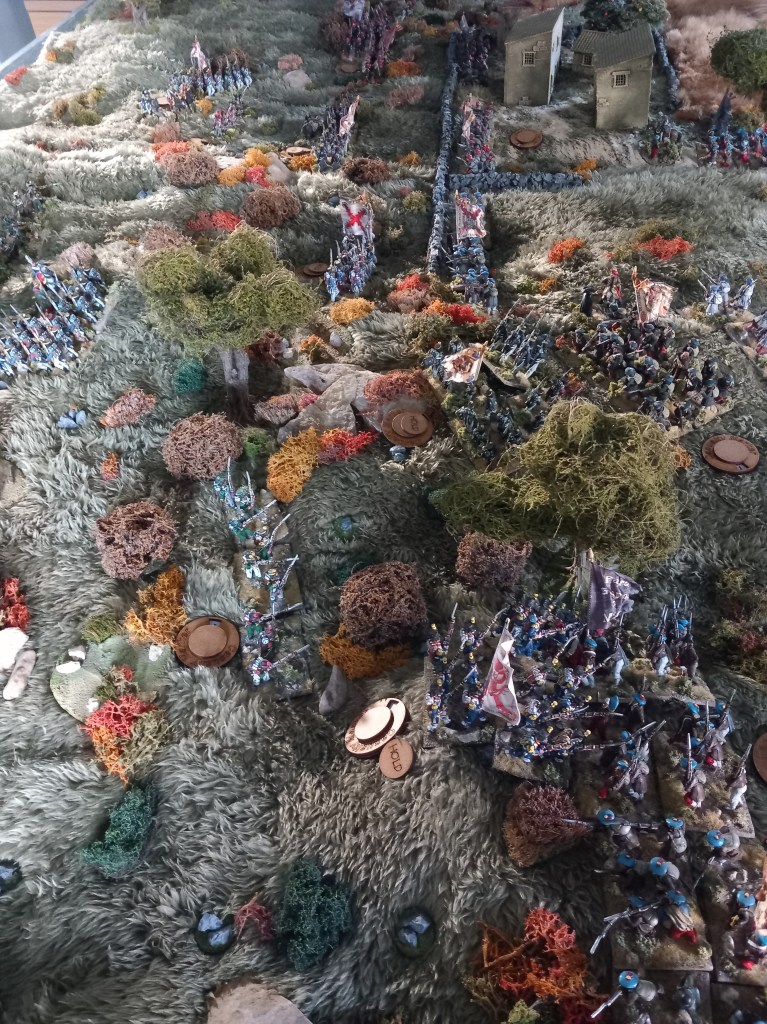
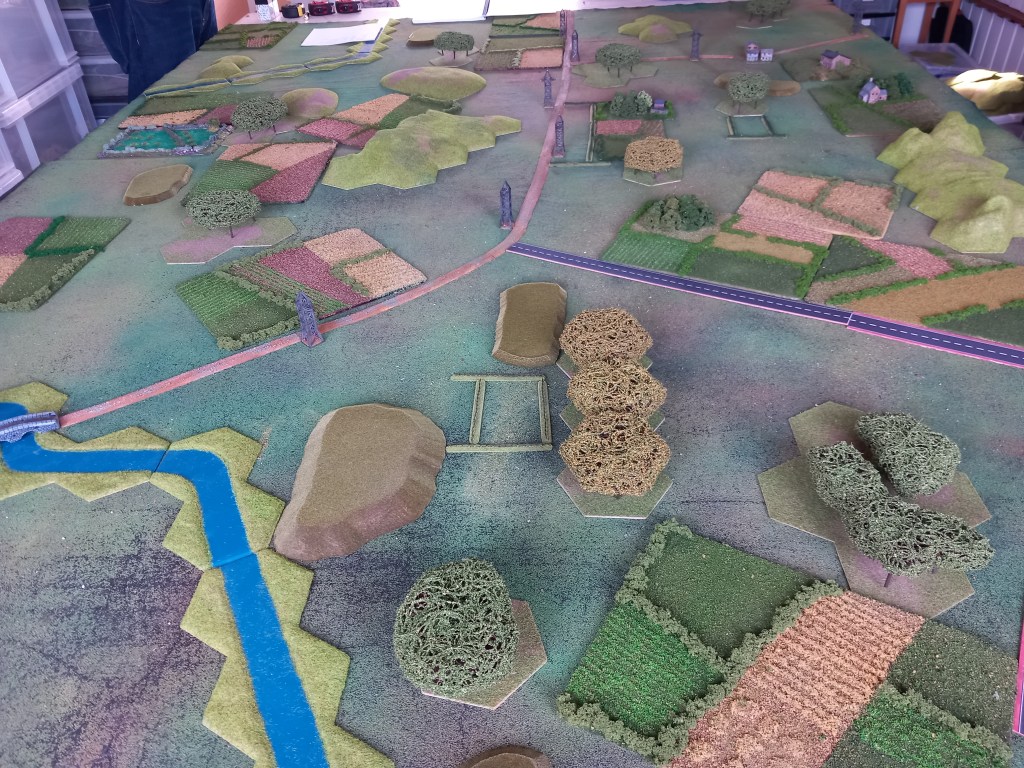
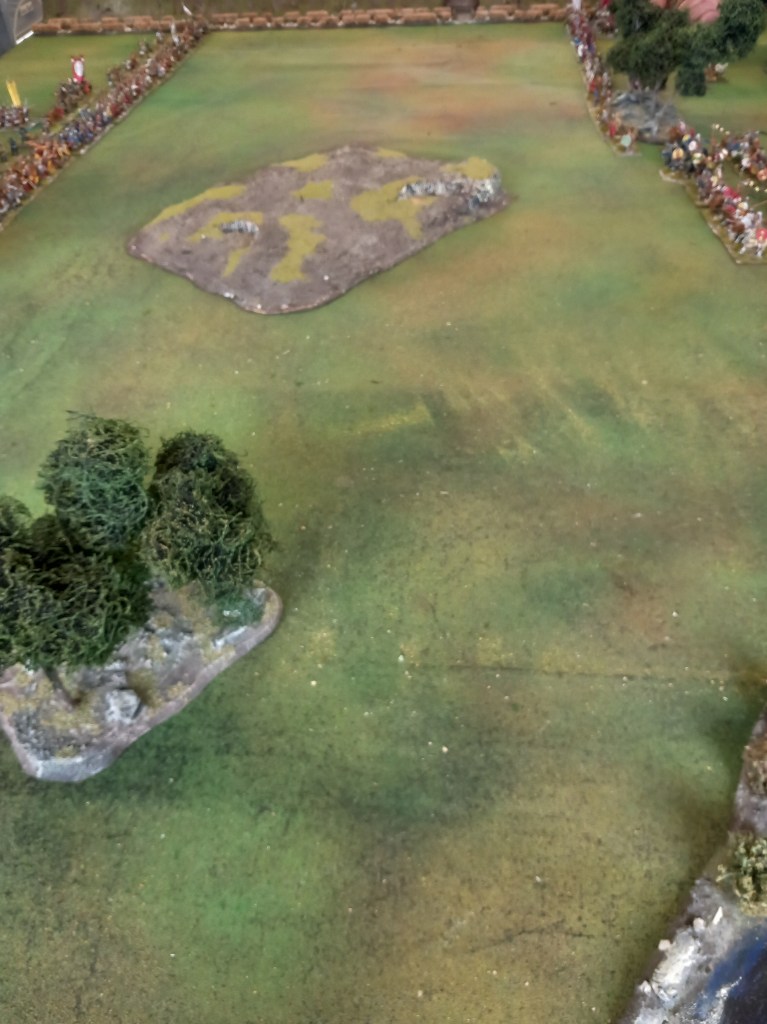
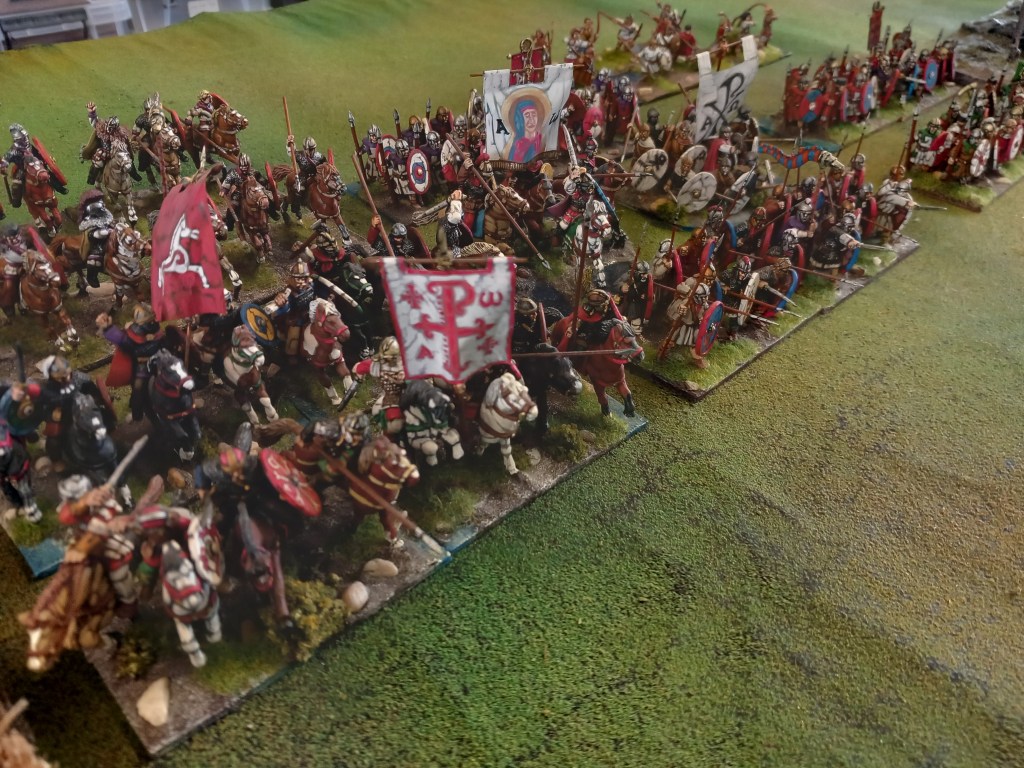
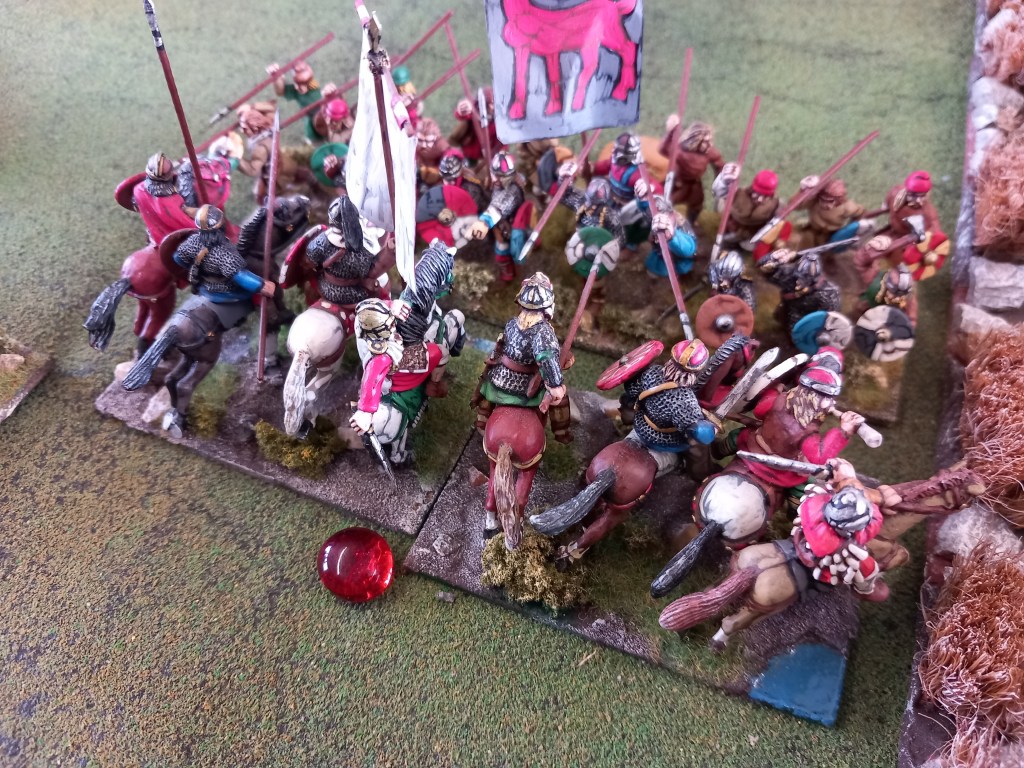
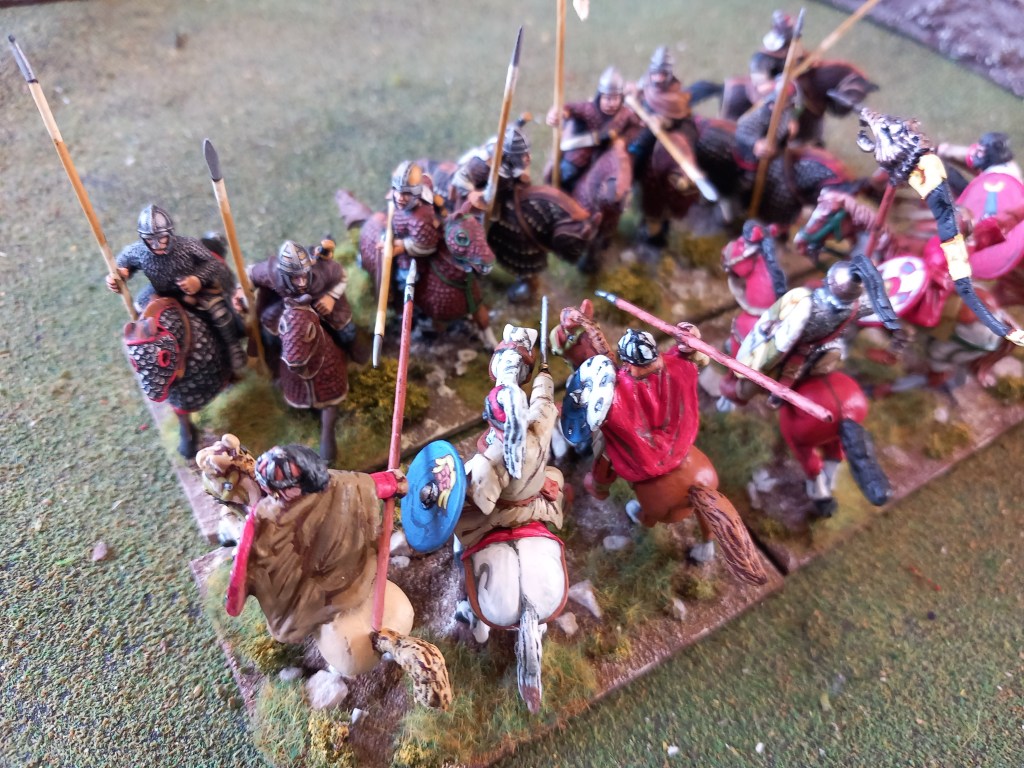
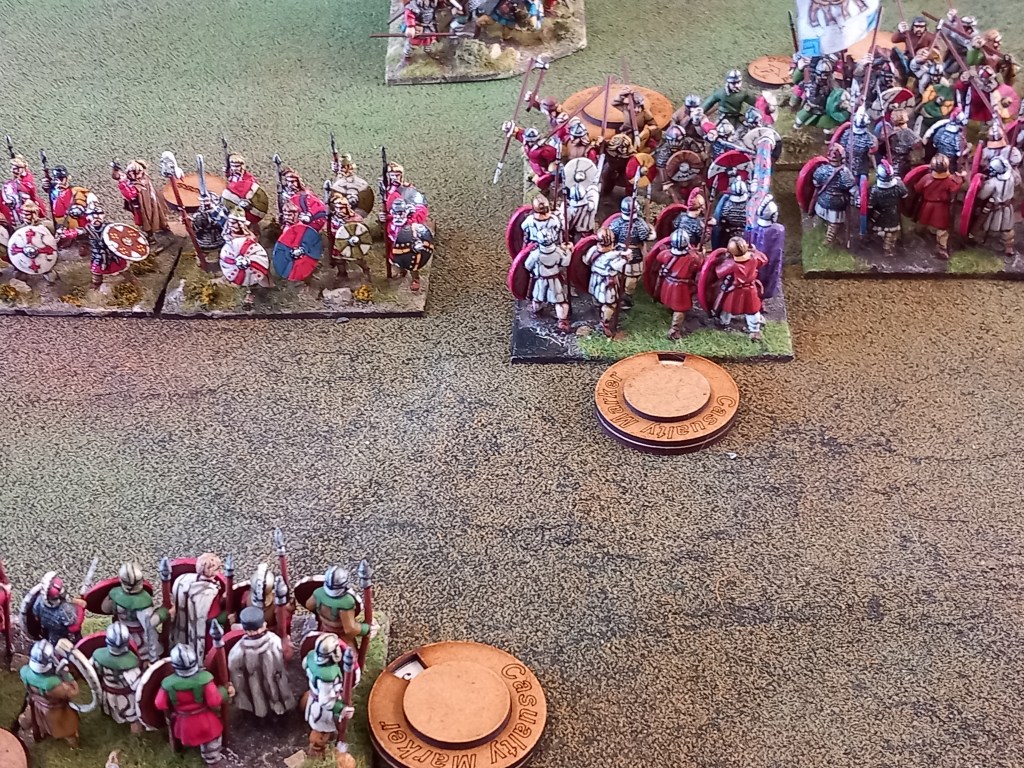
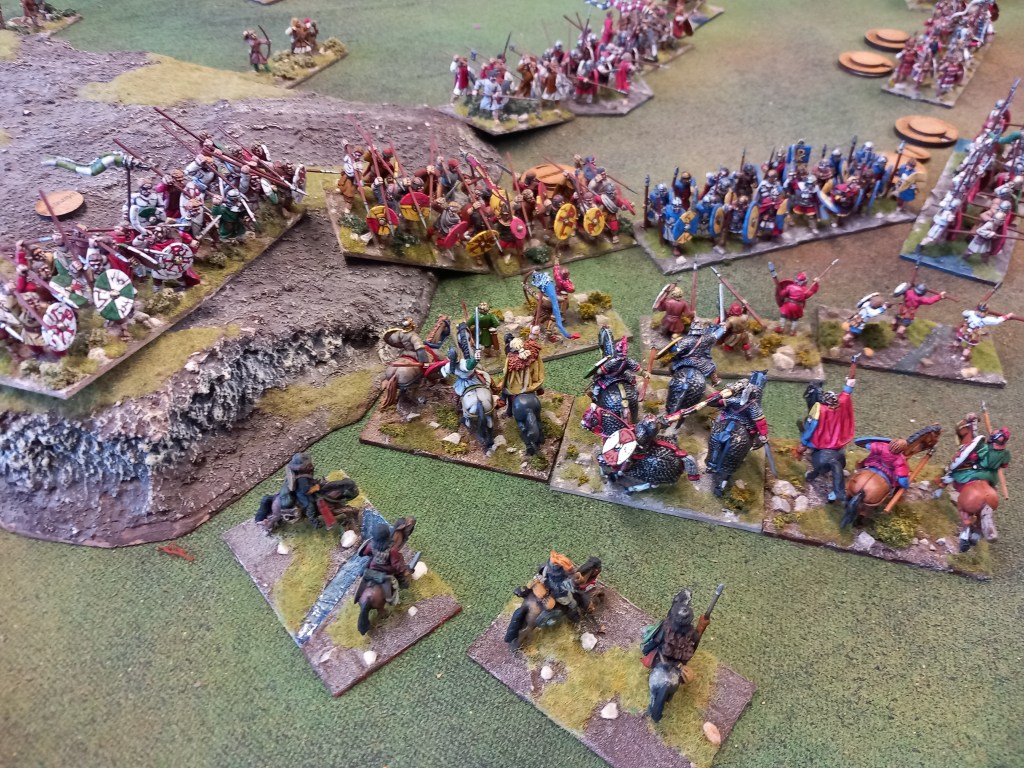
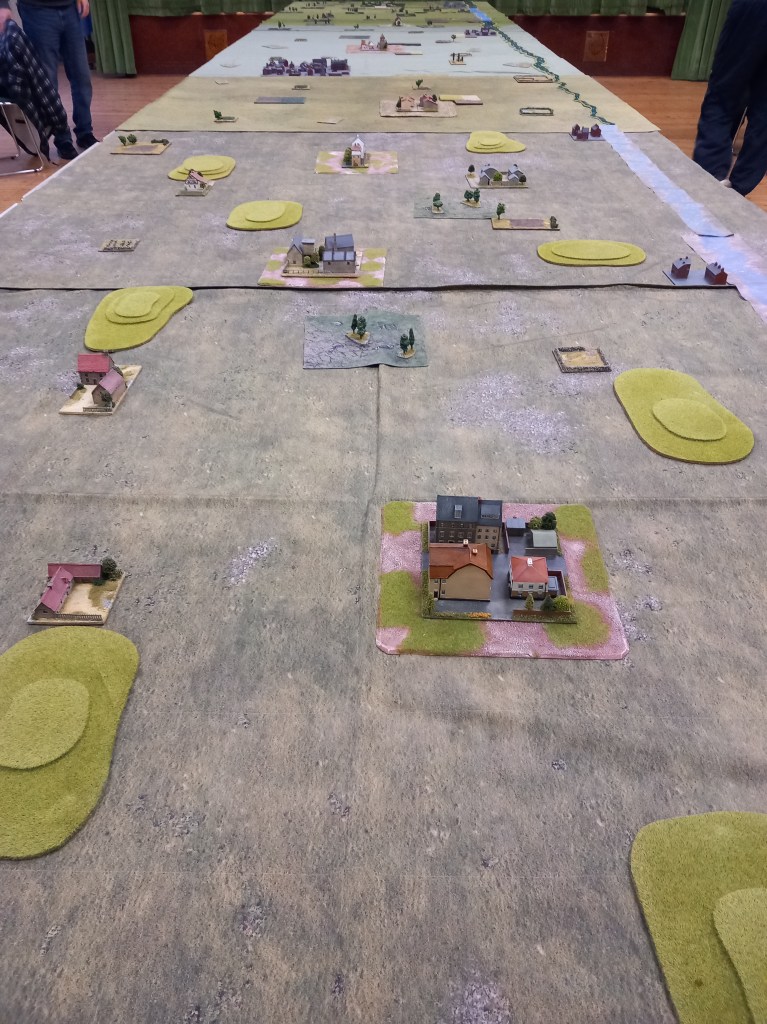
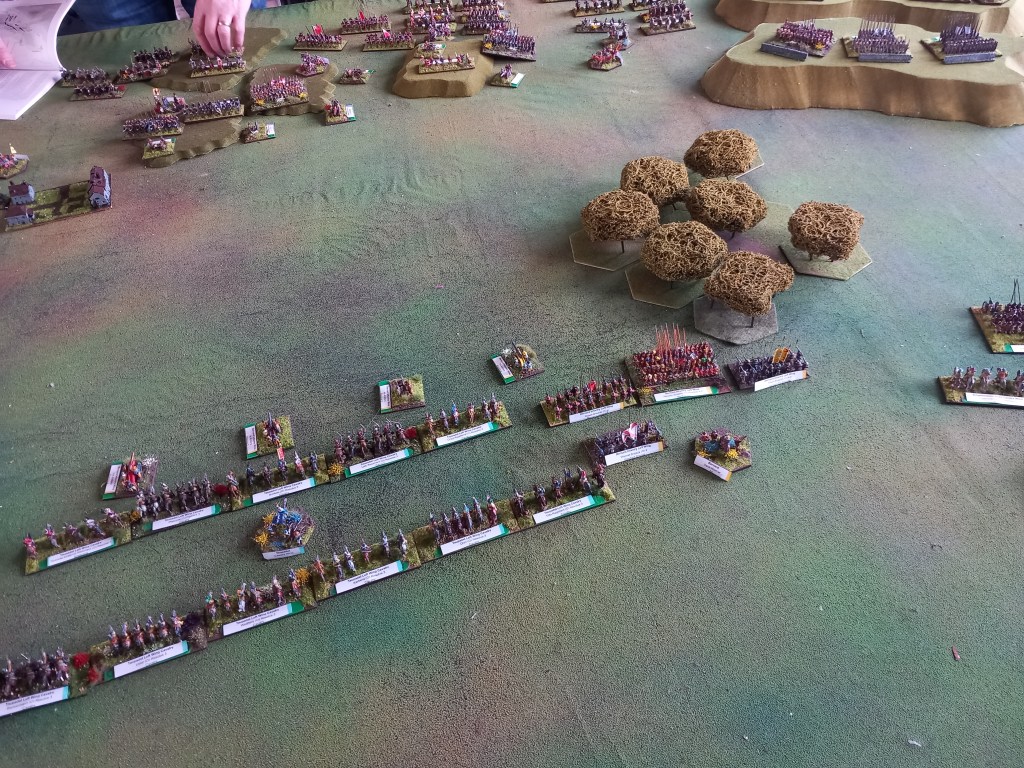
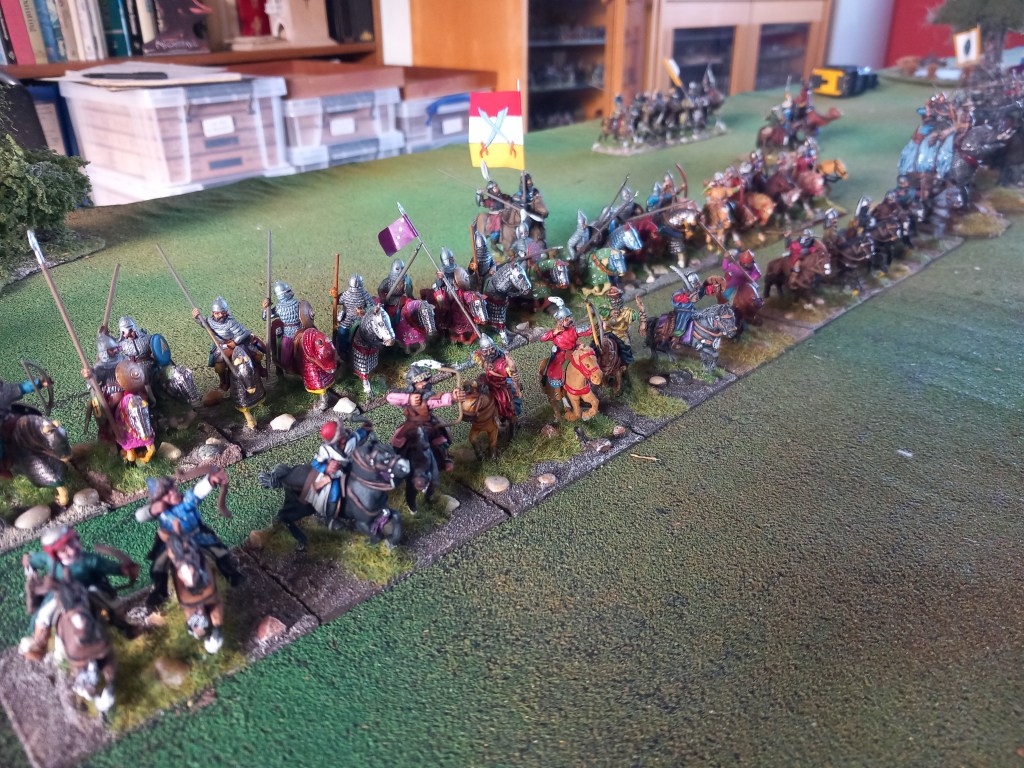
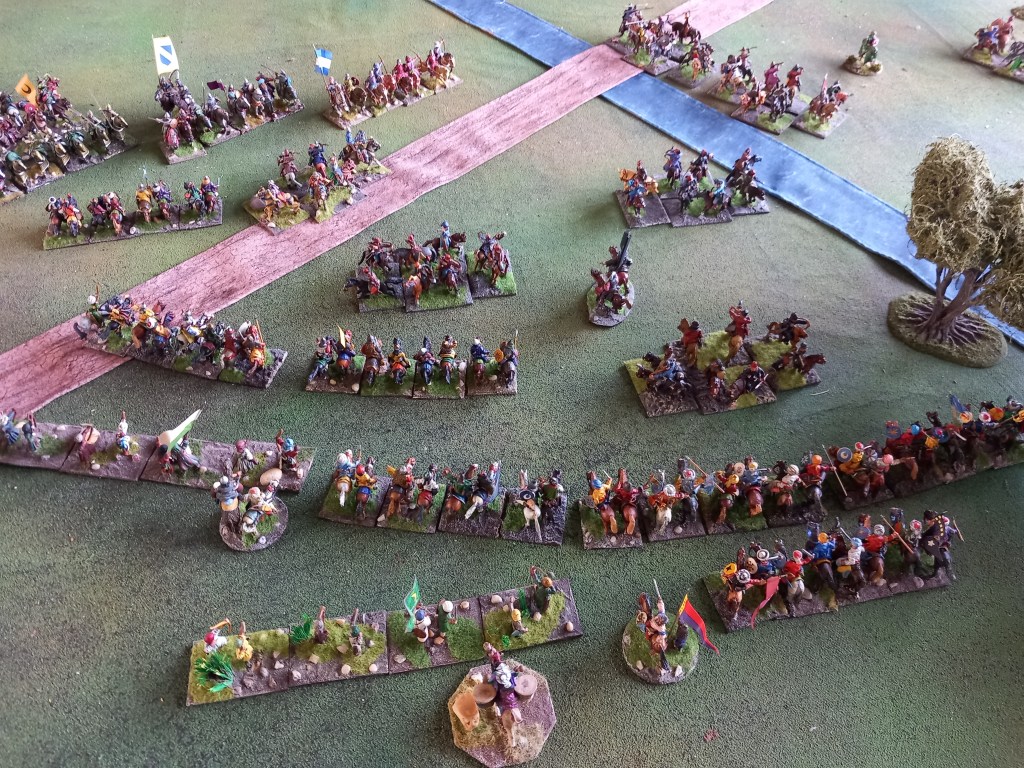
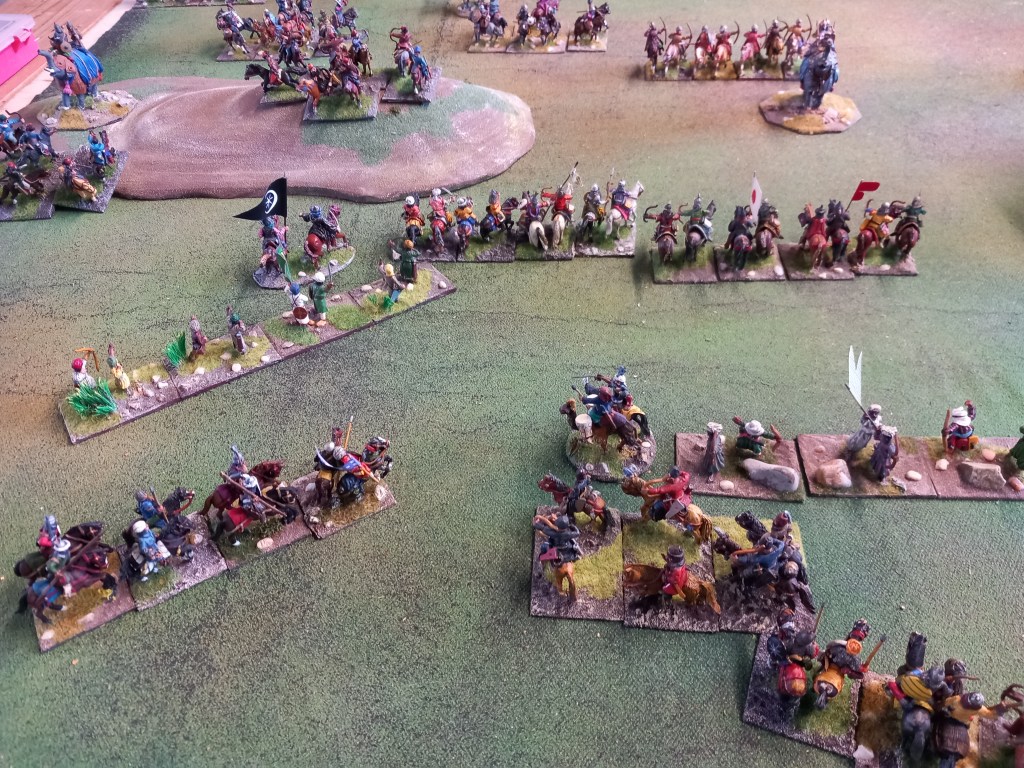
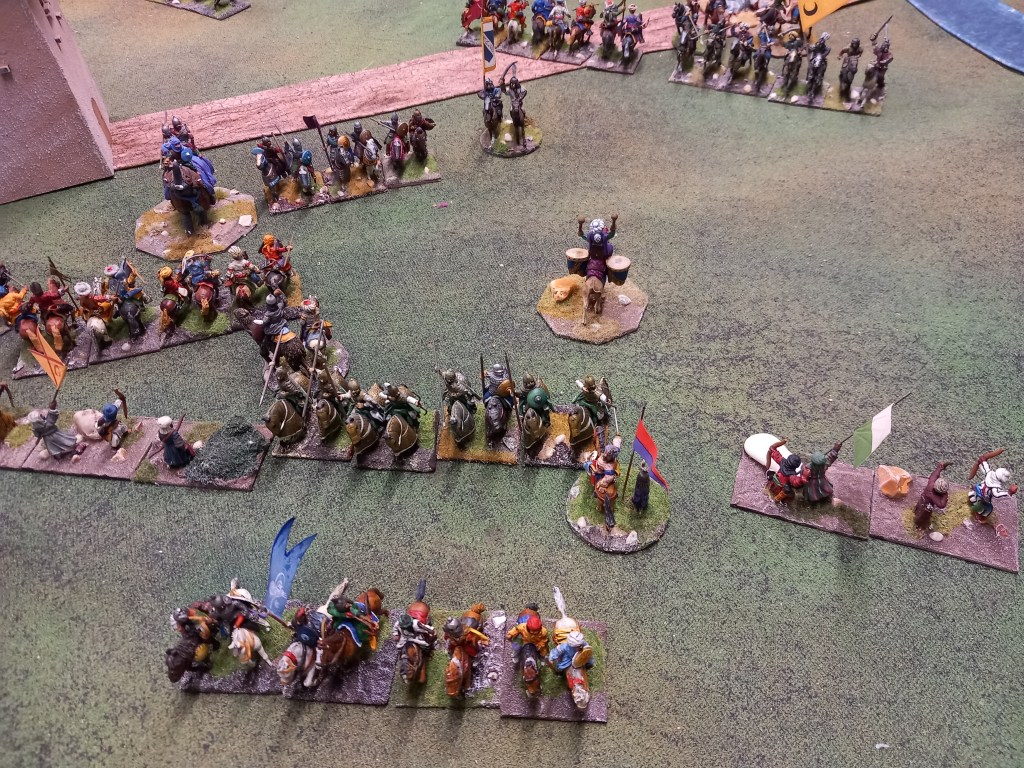
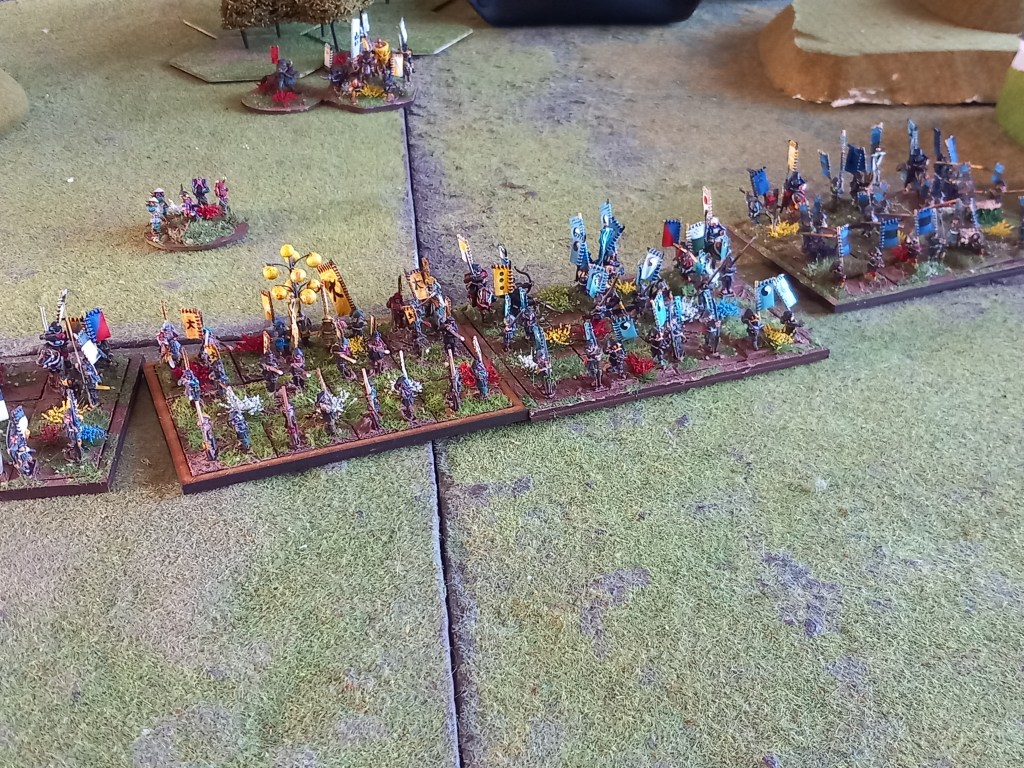
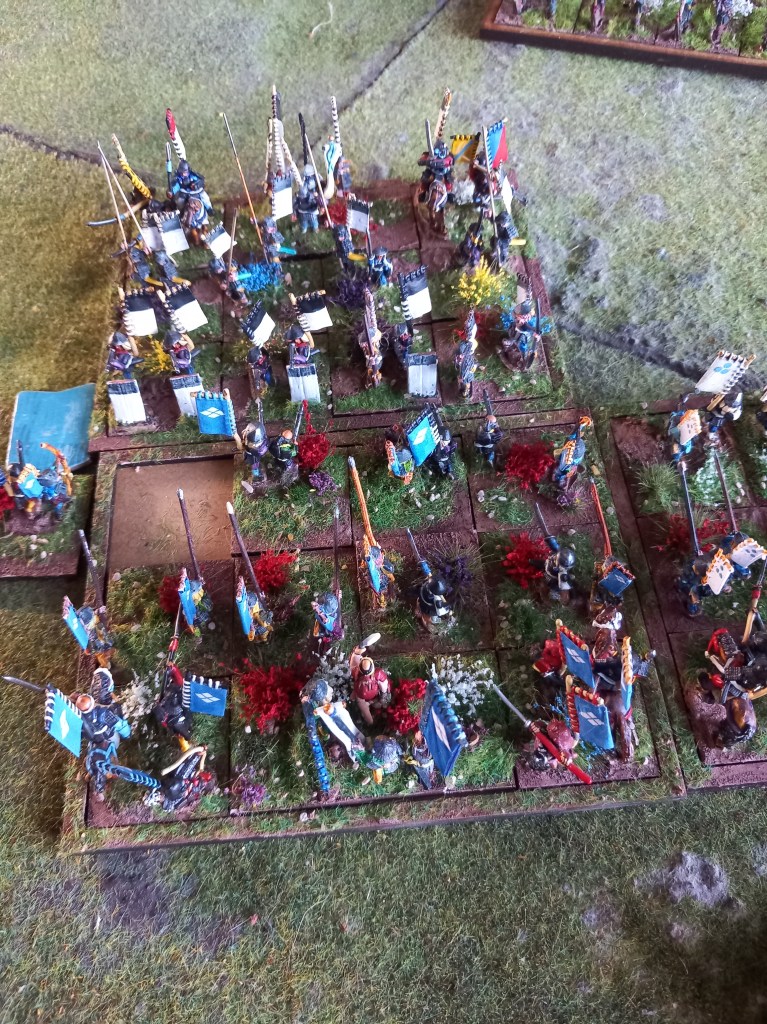
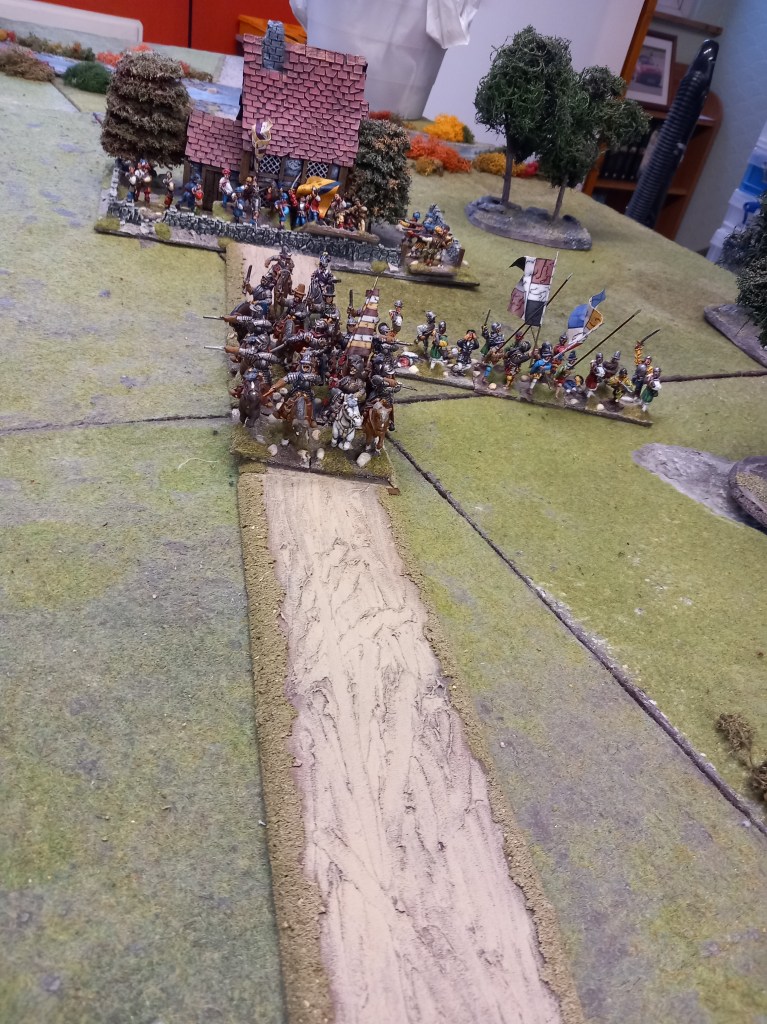
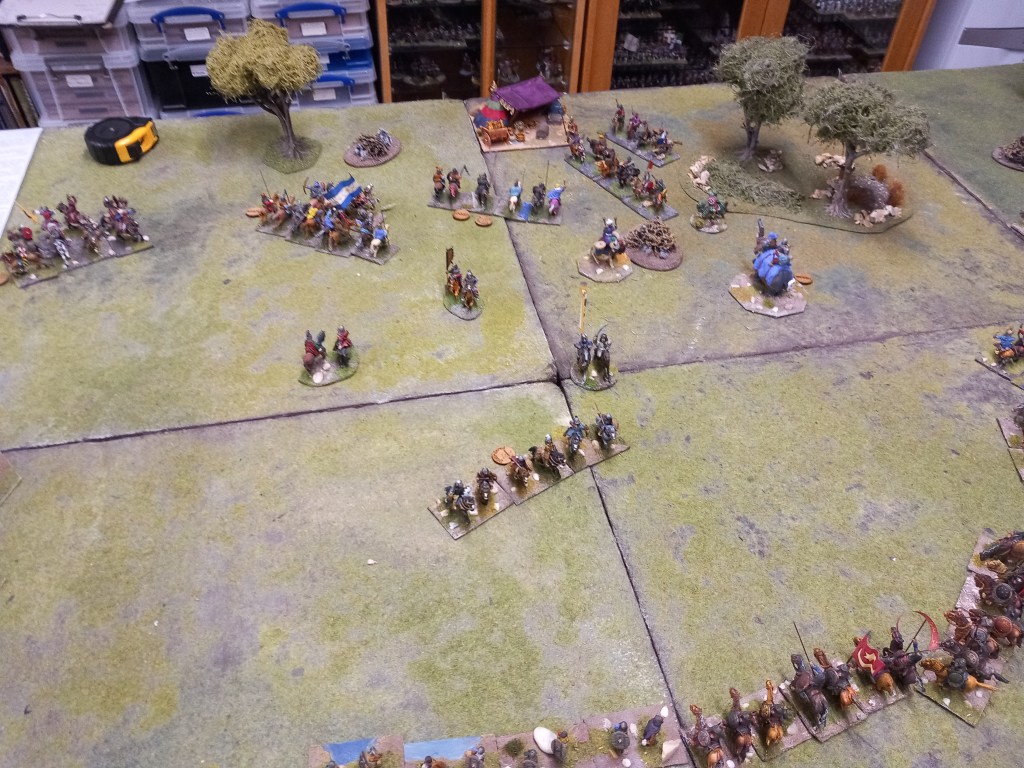
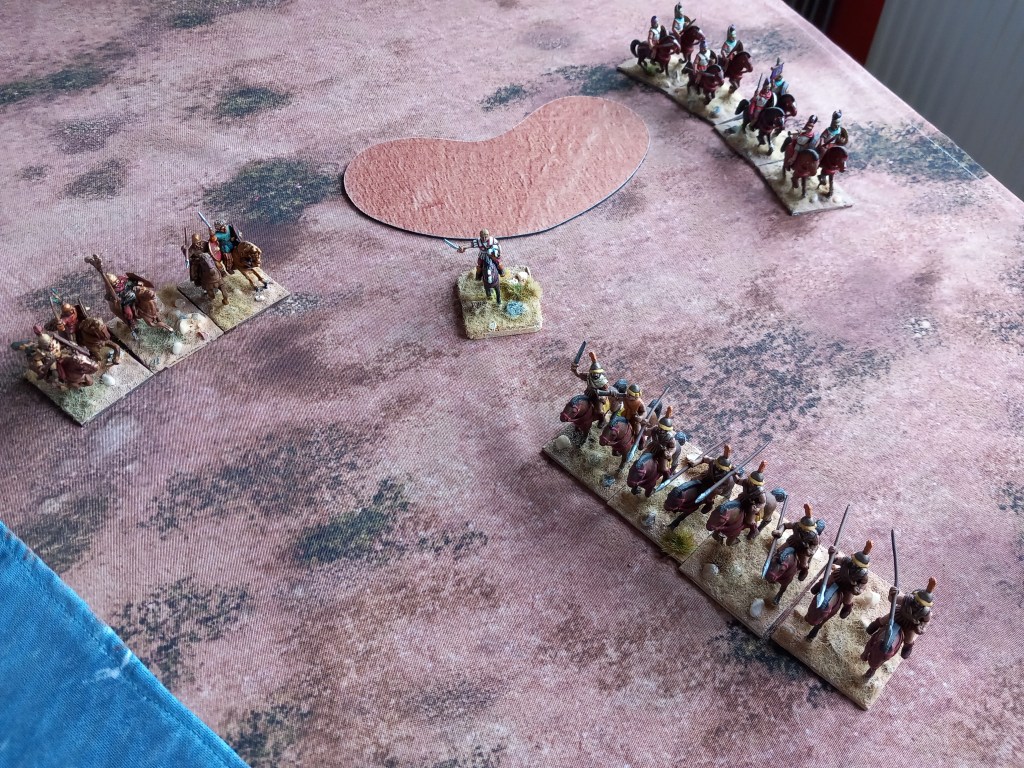
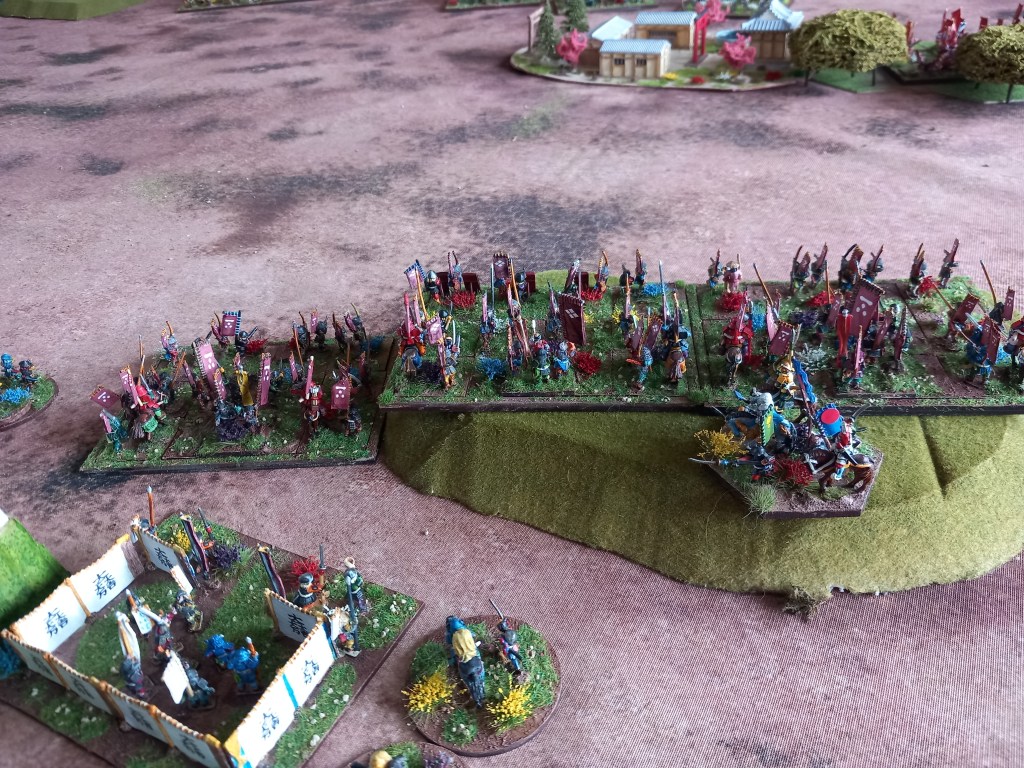
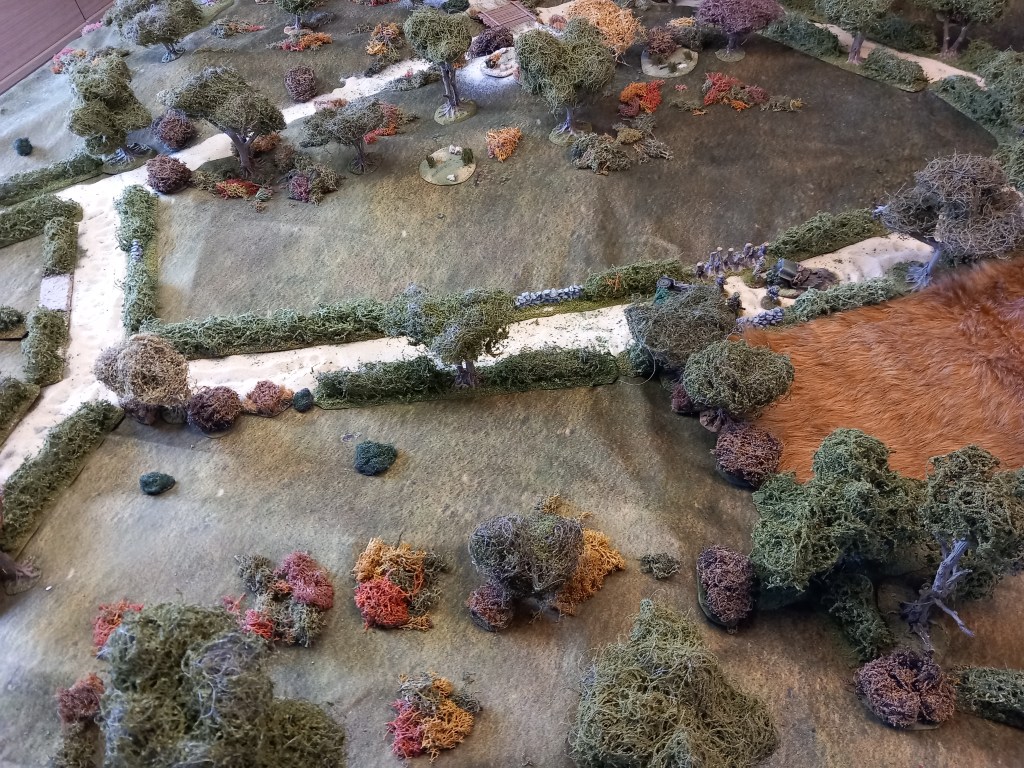
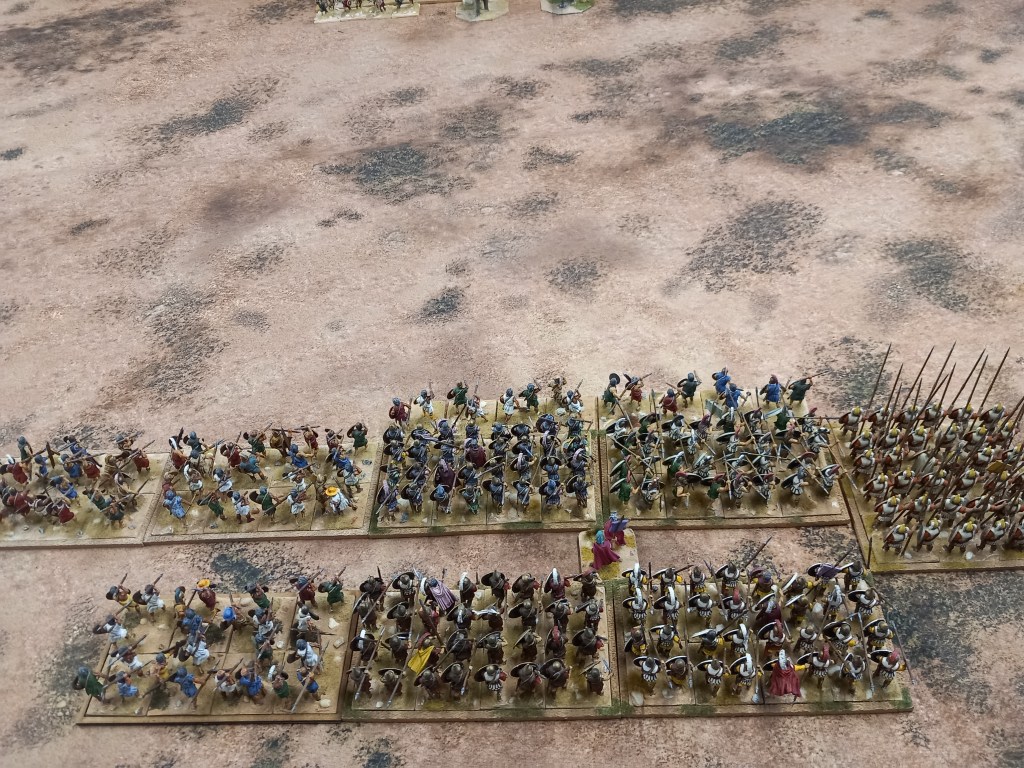
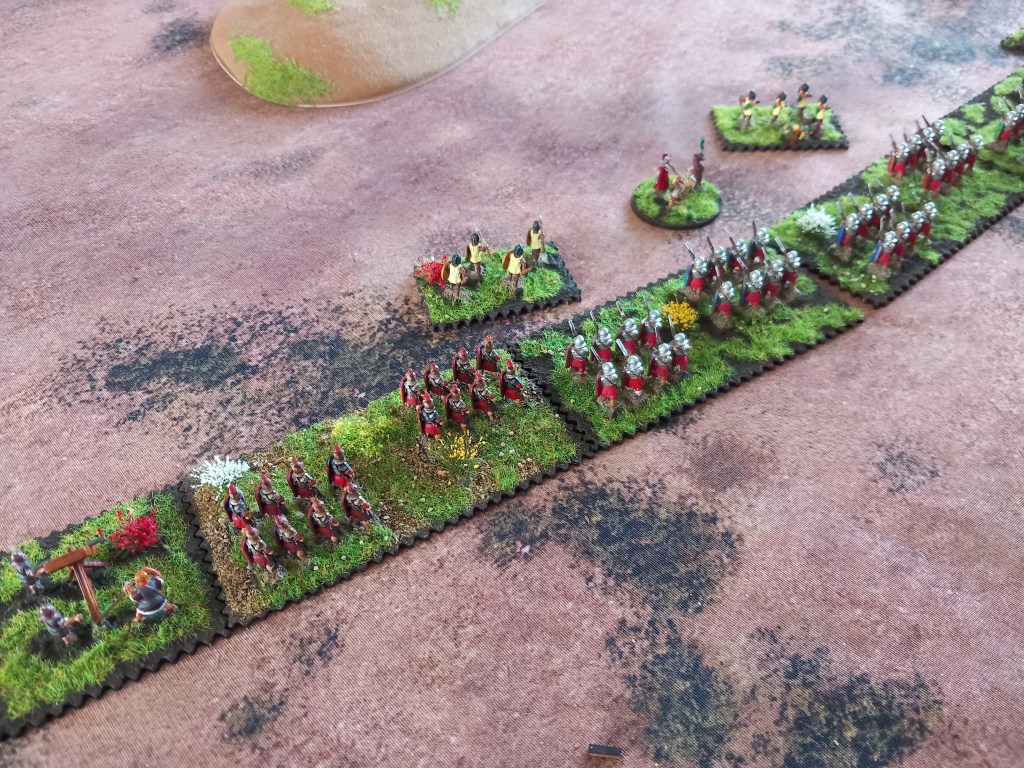
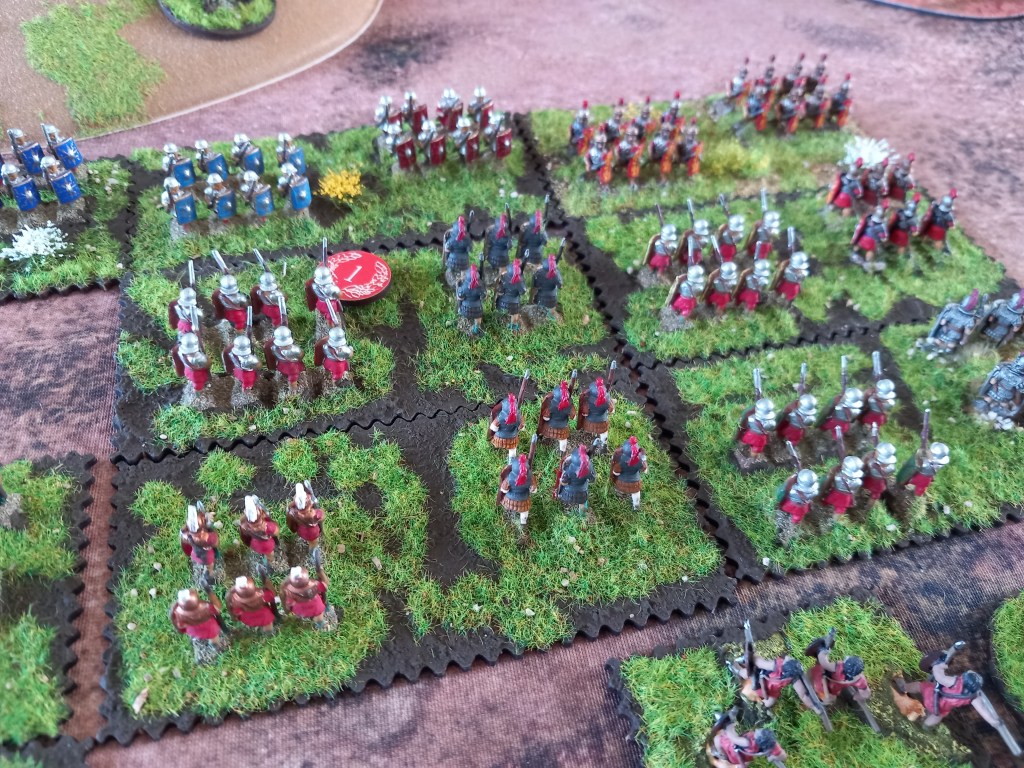
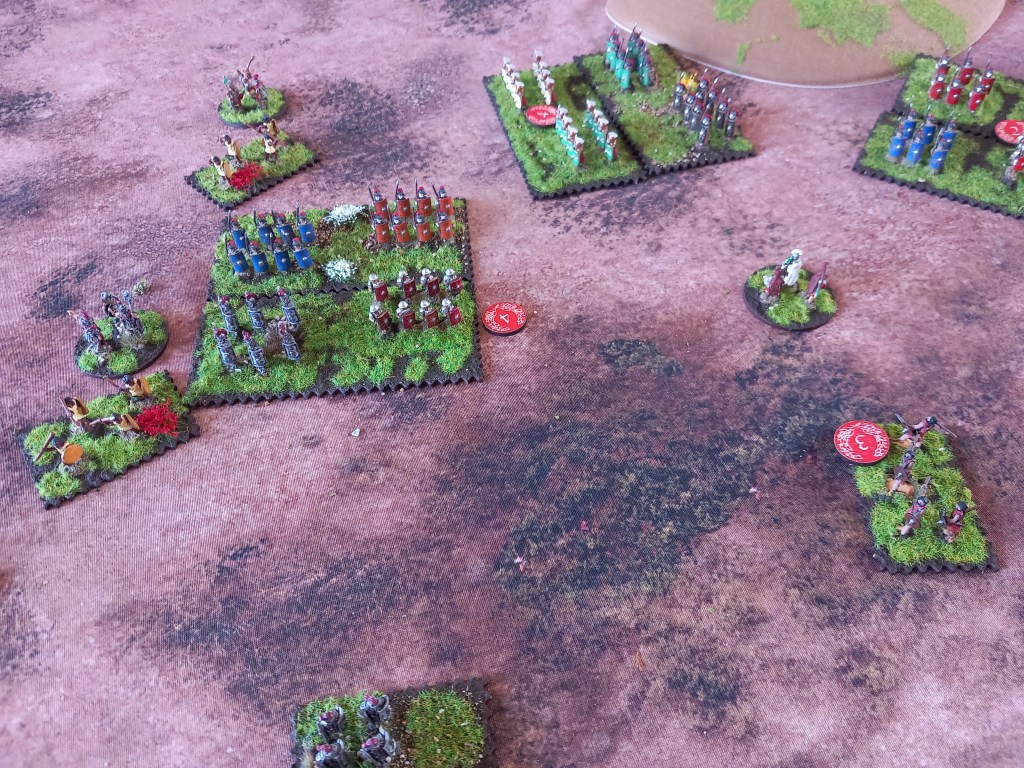
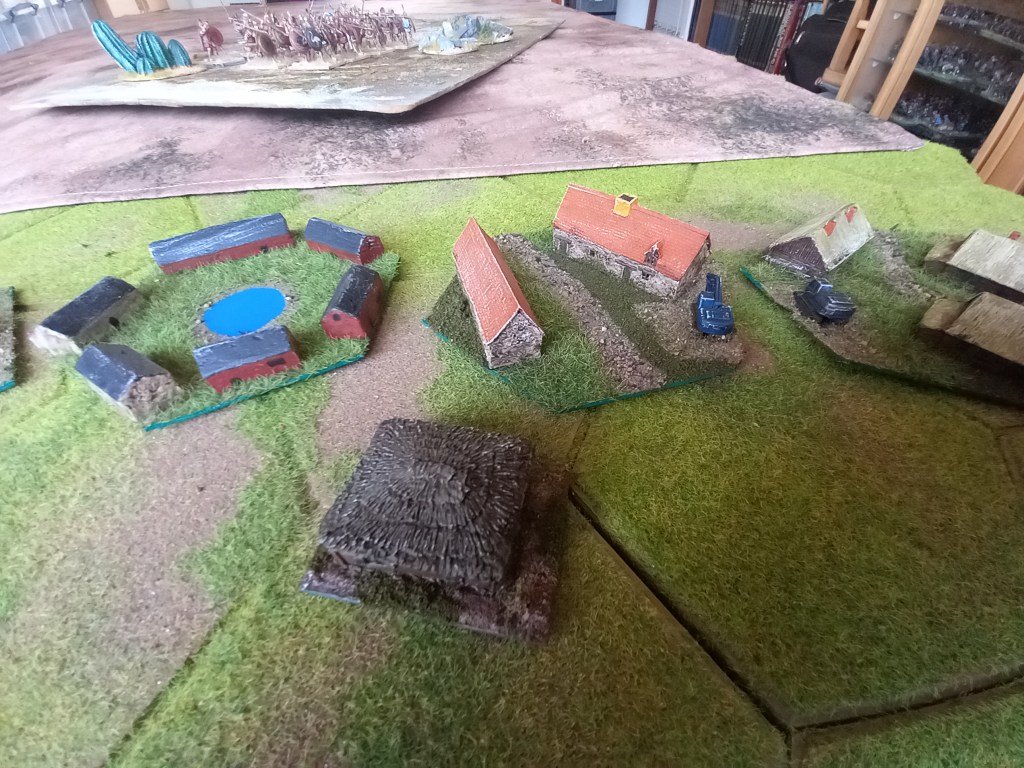
Next was a more traditional/commercial game when we gave Hail Caesar II a go using 15mm Romans in an AD69 civil war set to. The terrain was fairly randomised, several hills and a couple of woods.
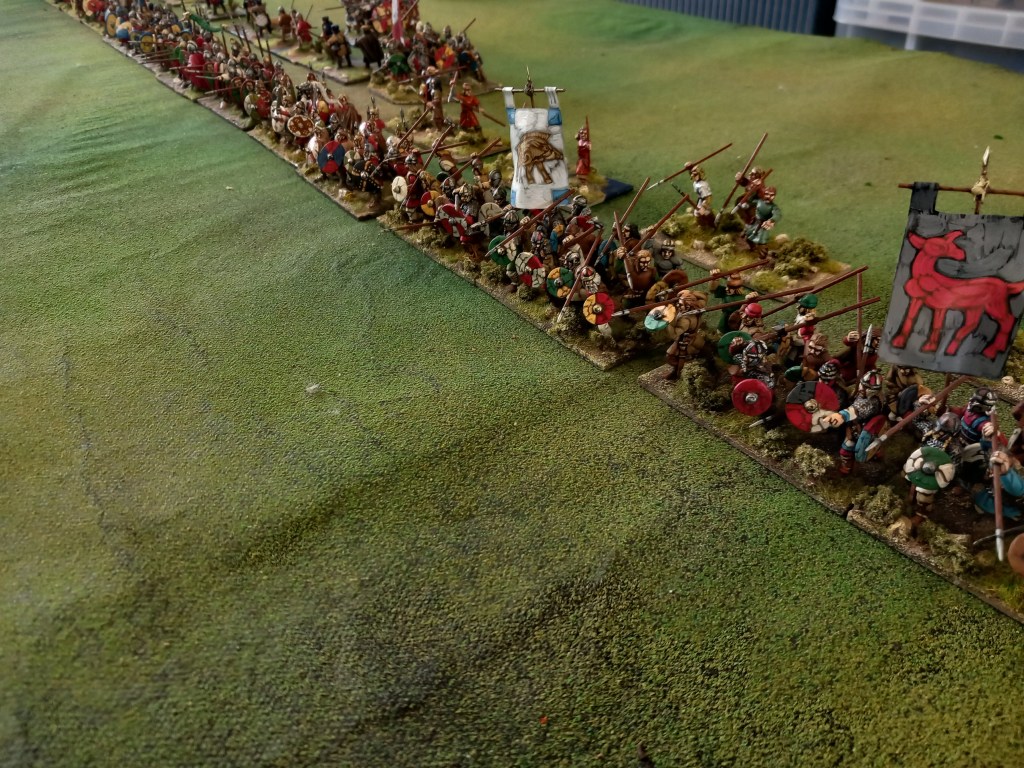
Both sides were more or less the same, six or seven legions per side plus auxilia and some cavalry. Deployment however was different; on the one side a single shallow line covering most of the table, on the other a double ranked line aimed between two low hills, auxilia on one flank cavalry on the other.
As in most ancients wargames the cavalry were in first, this time fighting over a low hill. The guys who got the charge in didn’t gain any advantage for that and ultimately lost and retired. Nobody cares about cavalry anyway 😀

The infantry took forever to get close, mainly due to crap die rolling and the random nature of the movement.
Some auxilia bowmen got on a hill and then found out they couldn’t shoot off it. Huh?
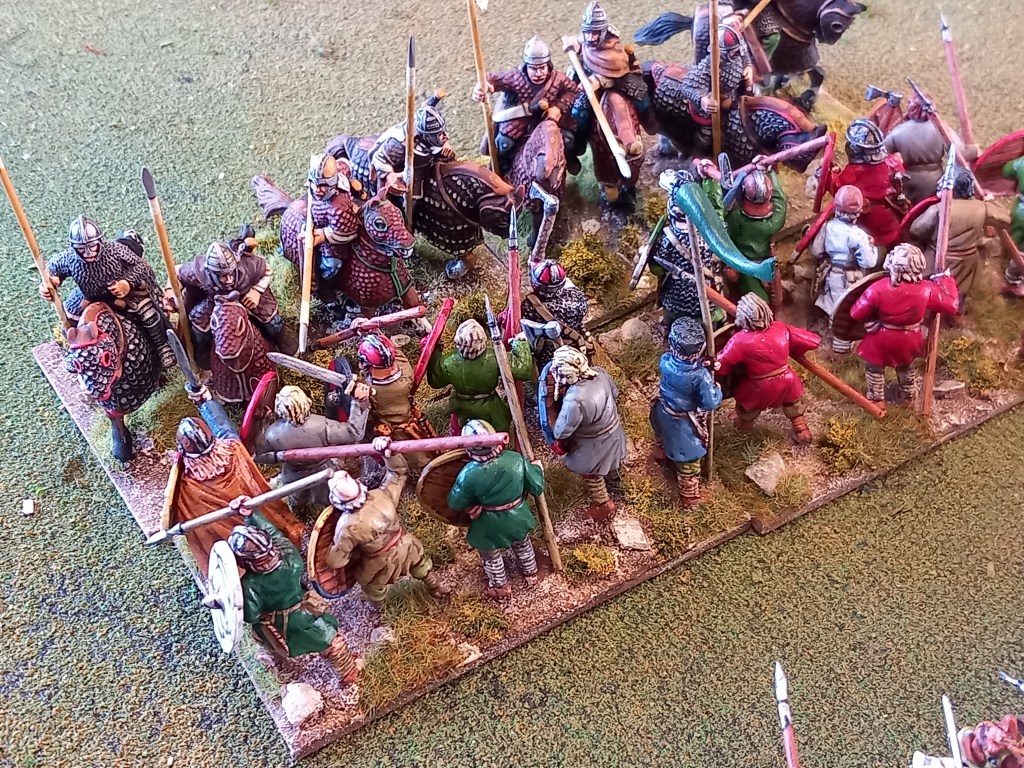
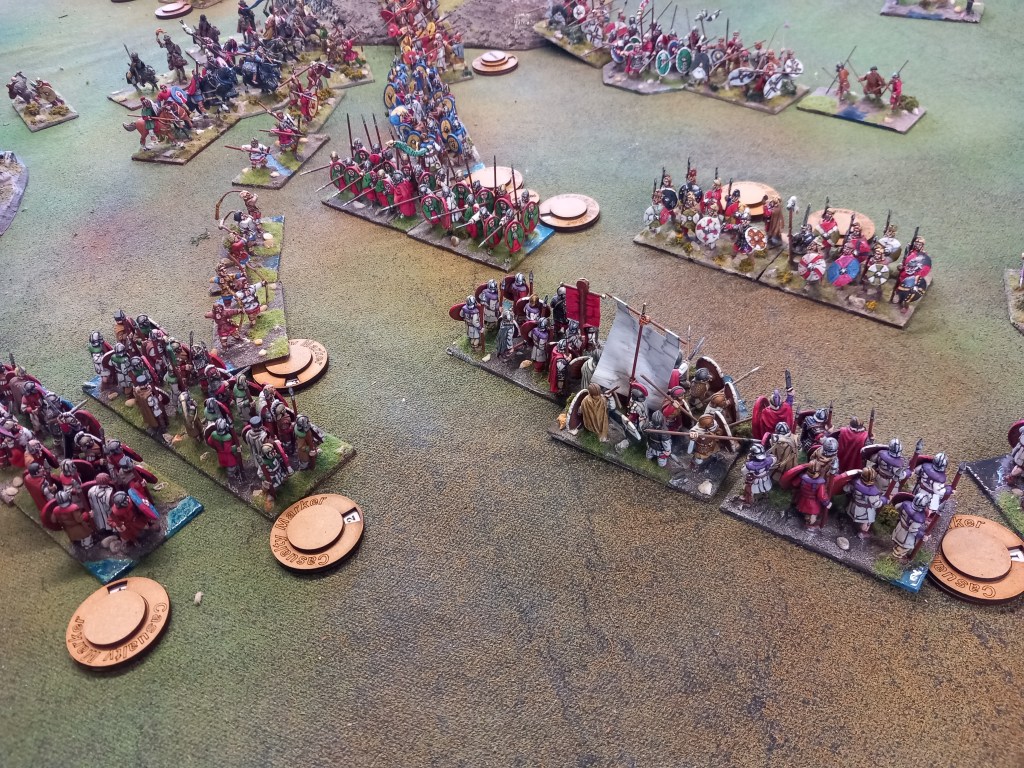
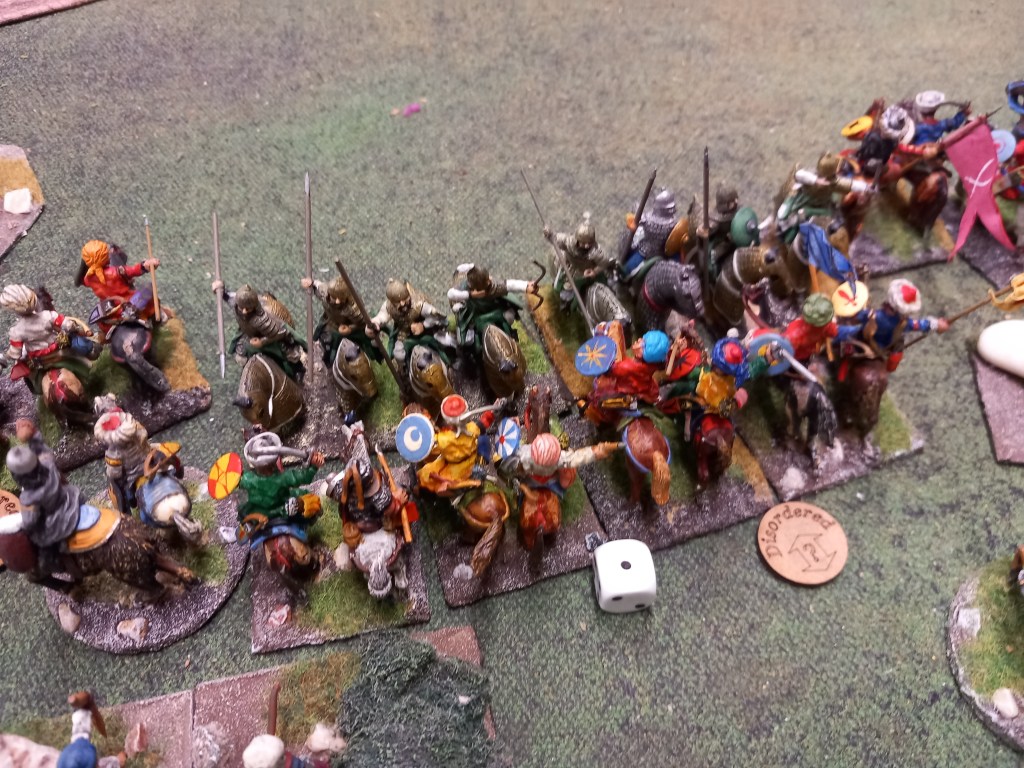
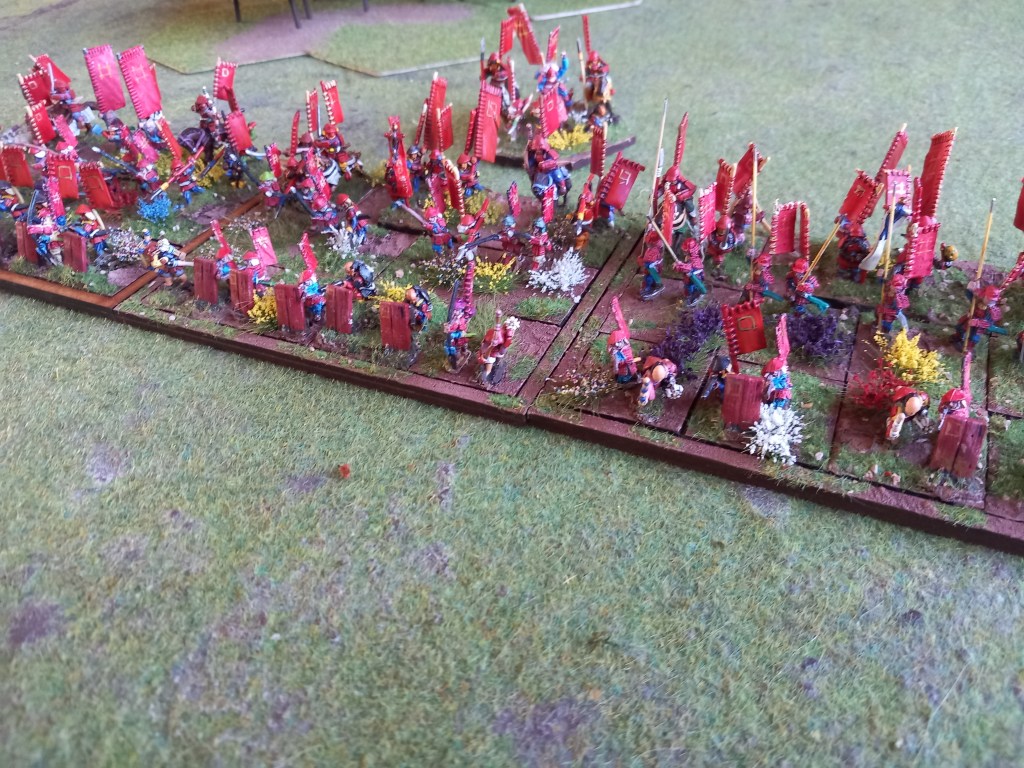
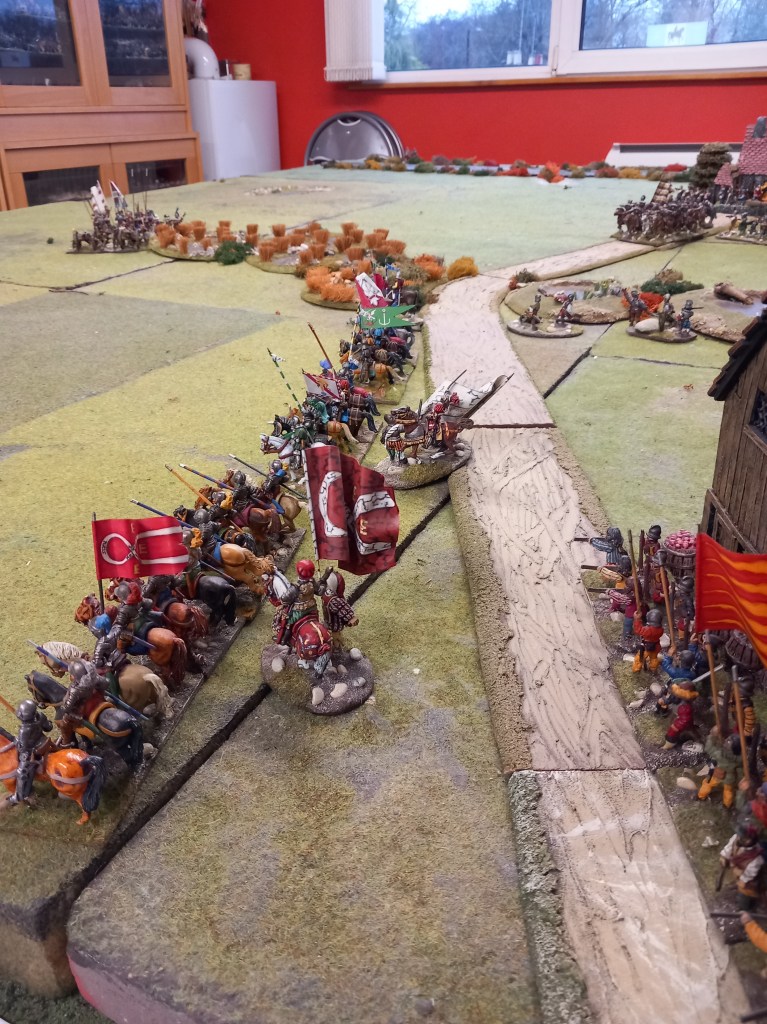
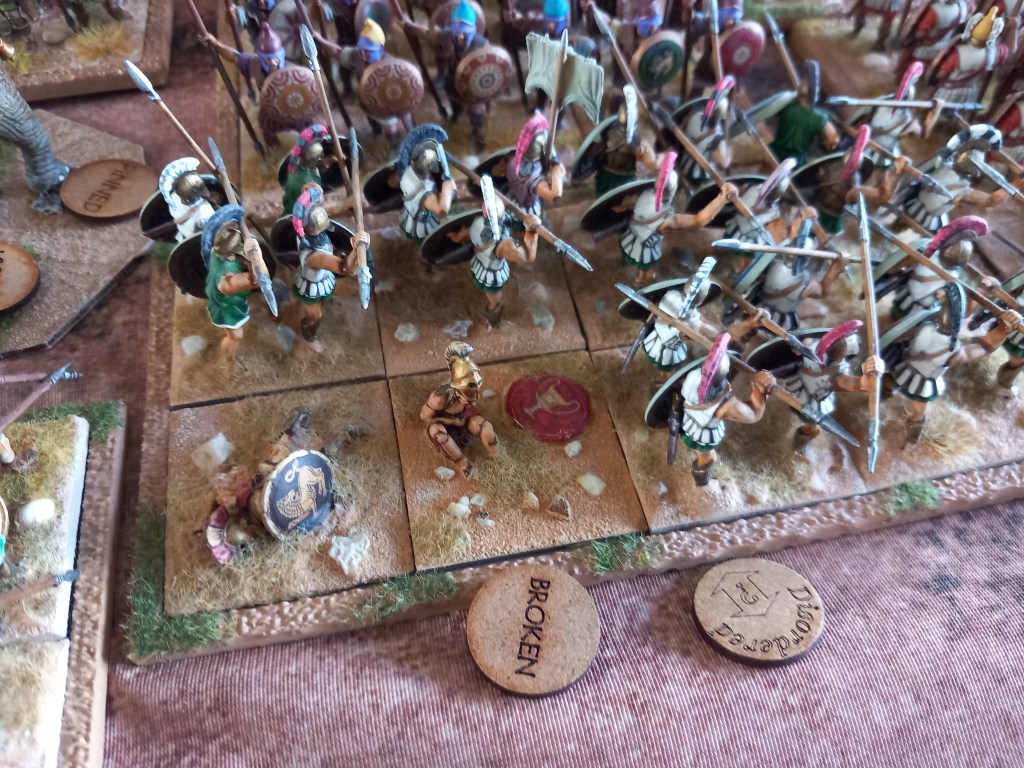
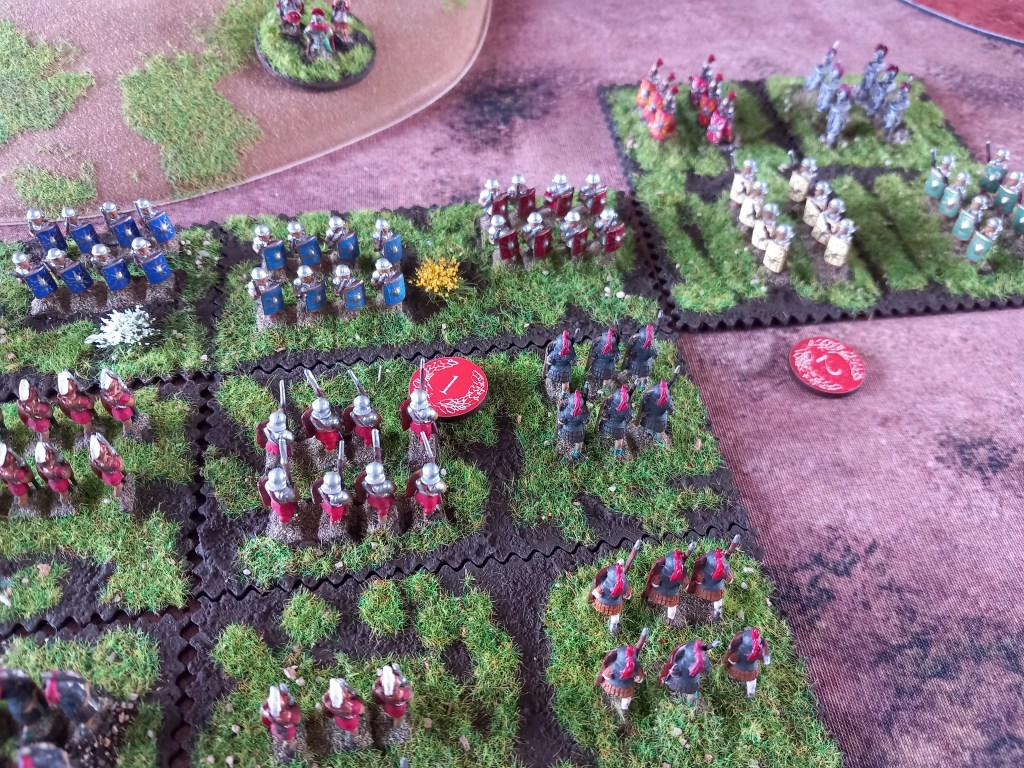
Then we got into the infantry scrap and bloody hell this was brutal!
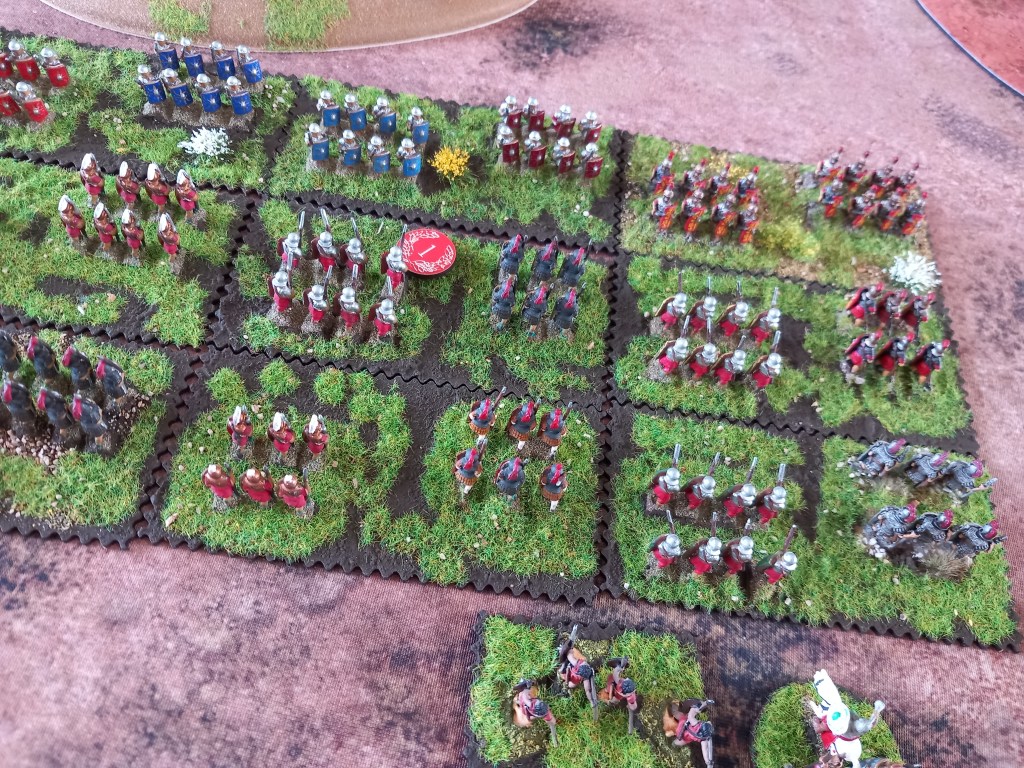
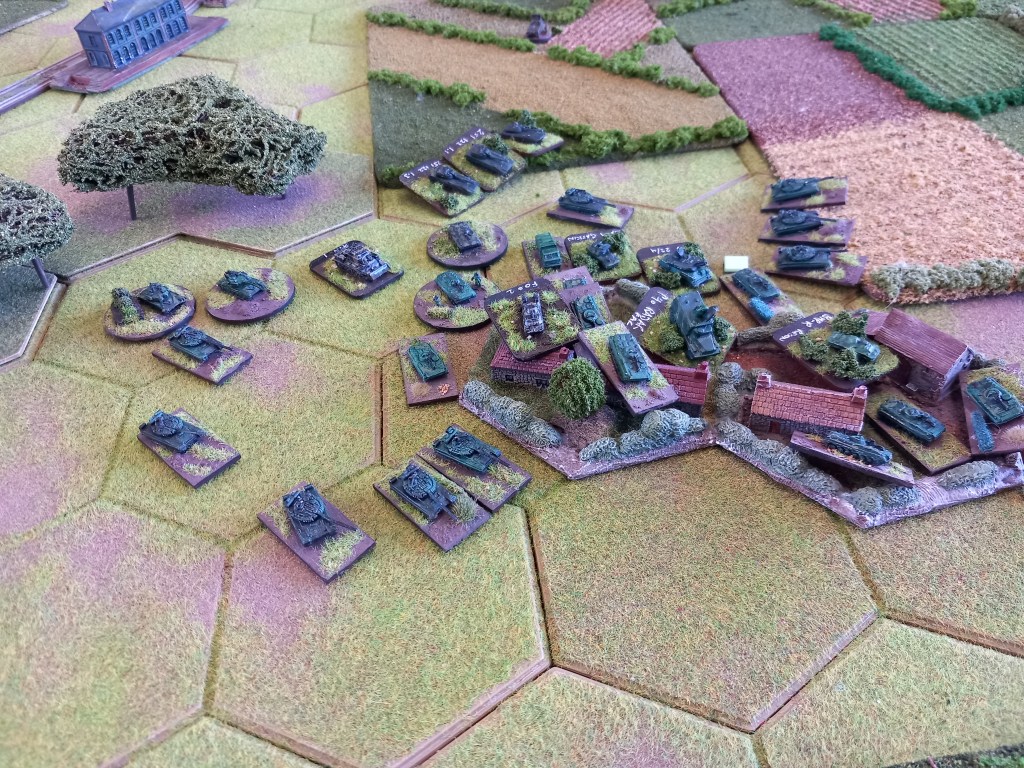
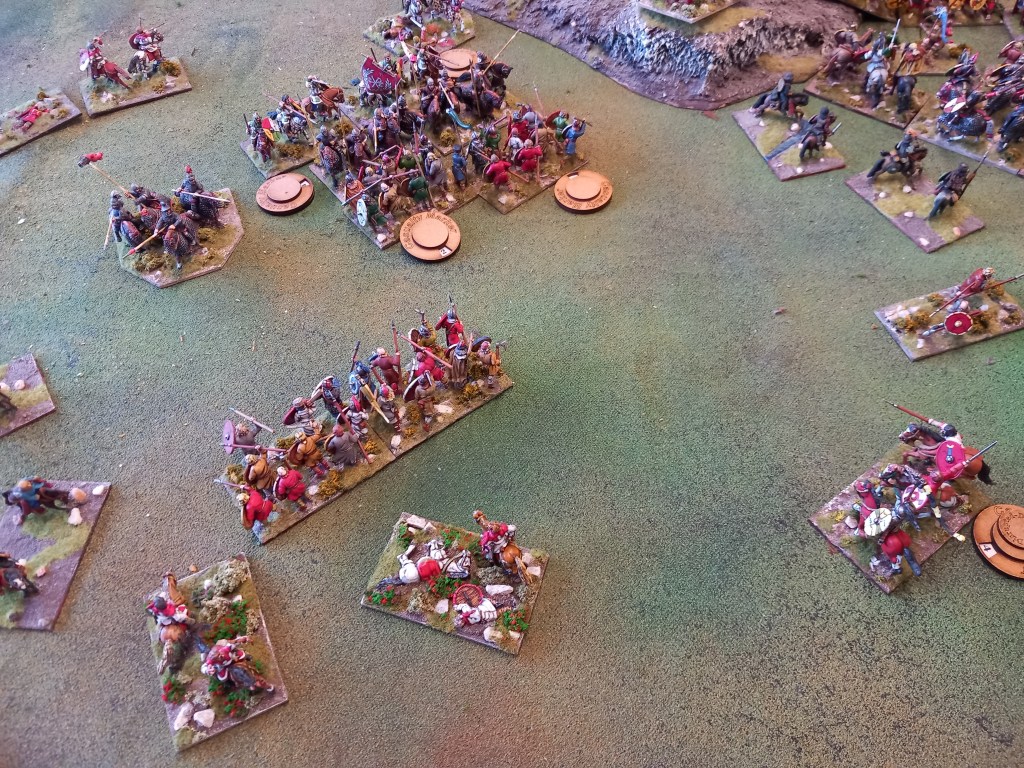
Depth definitely trumped line and in the blink of an eye 4 legions were gone.
The empty space where 7 legions were! Mainly due to the mechanism where a victorious unit can turn in on the next enemy in line and fight again (and again) with considerable advantages.
It was a brutal game and quite fun for one player but was it any kind of representation of warfare of the time period? I don’t think so. That said I can absolutely see why the rules are so popular; we had never played the rules before yet we smashed through a game easily with quite a lot of figures on the table. We play all day but with less figures I can see why a 3 hour club night game can easily be completed including set up and put away. Not a set for me in the long term but it has set us the task of finding a rules set that will enable us to get the forgotten 15mm ancients out every now and then.

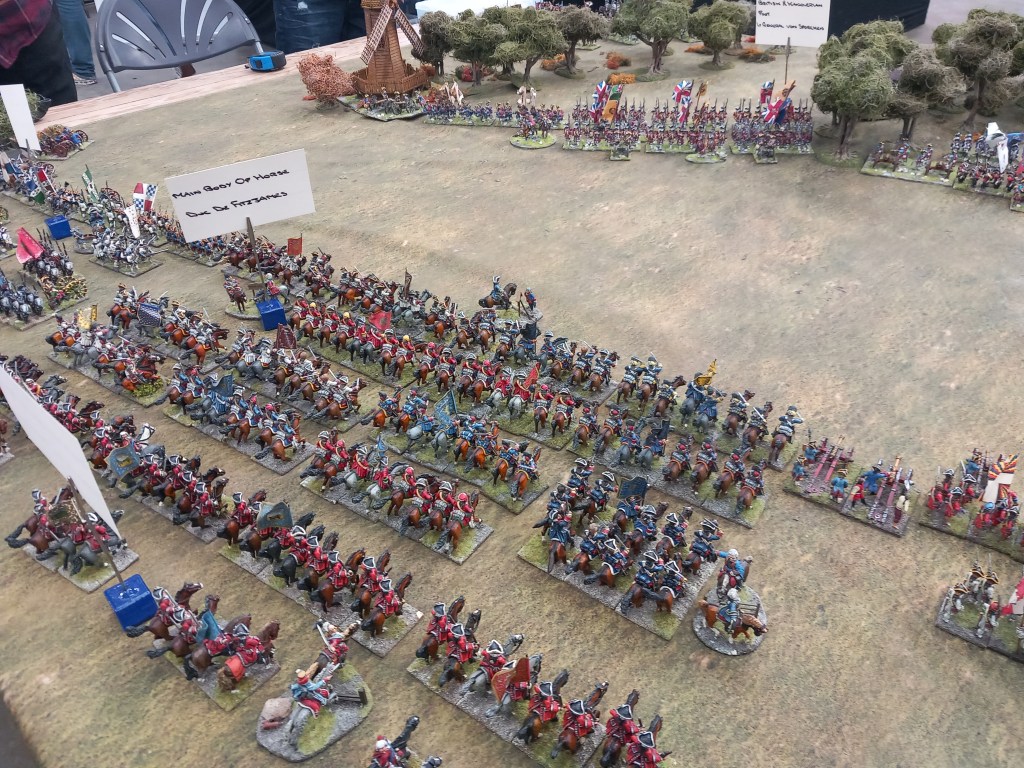
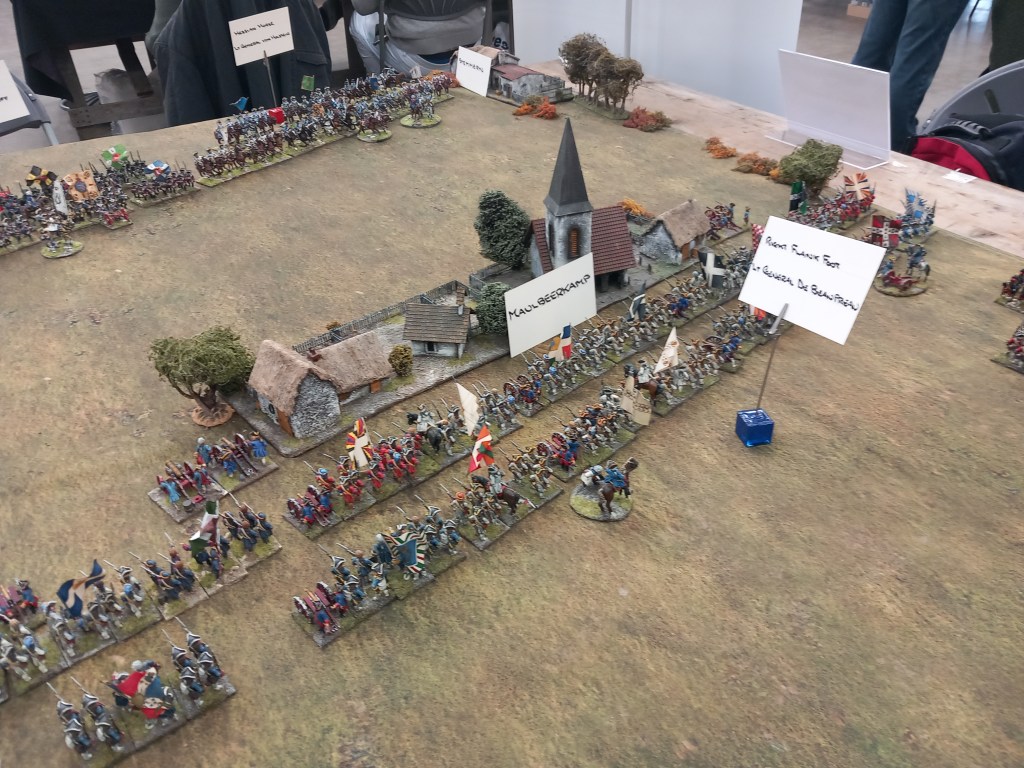
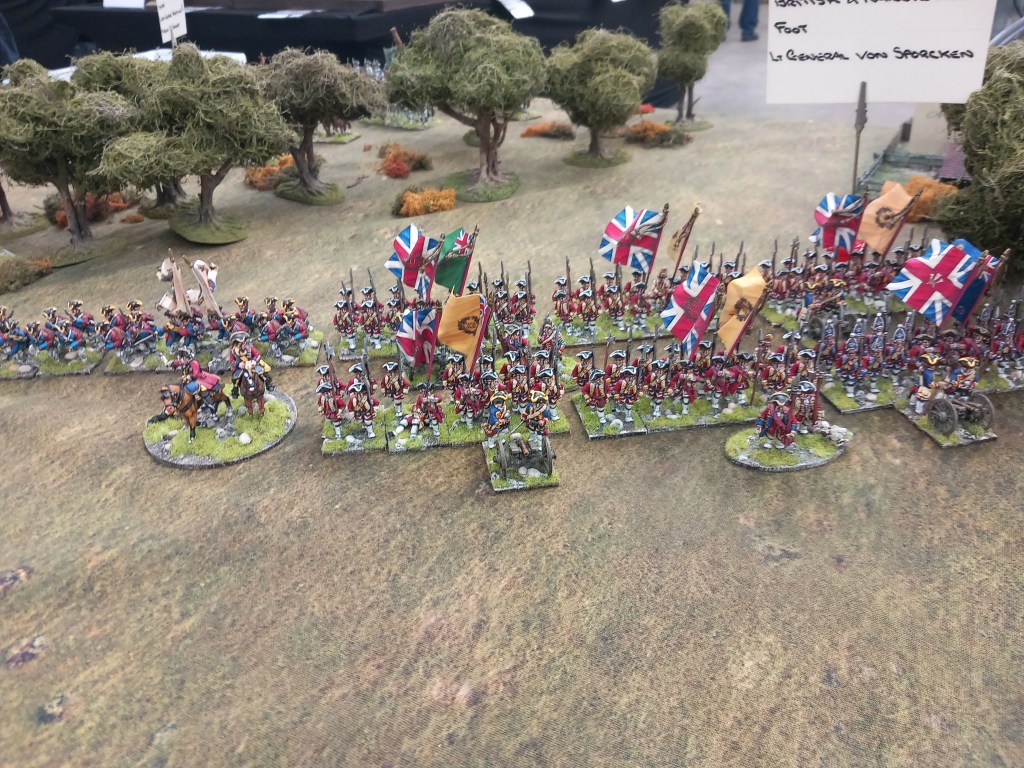
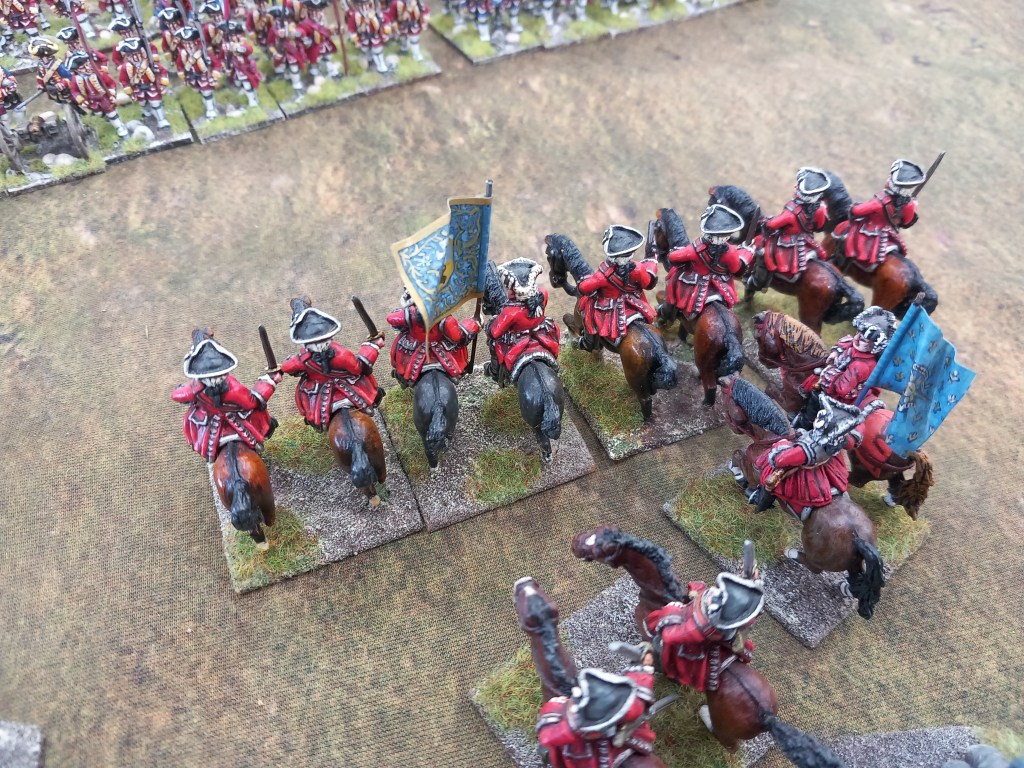
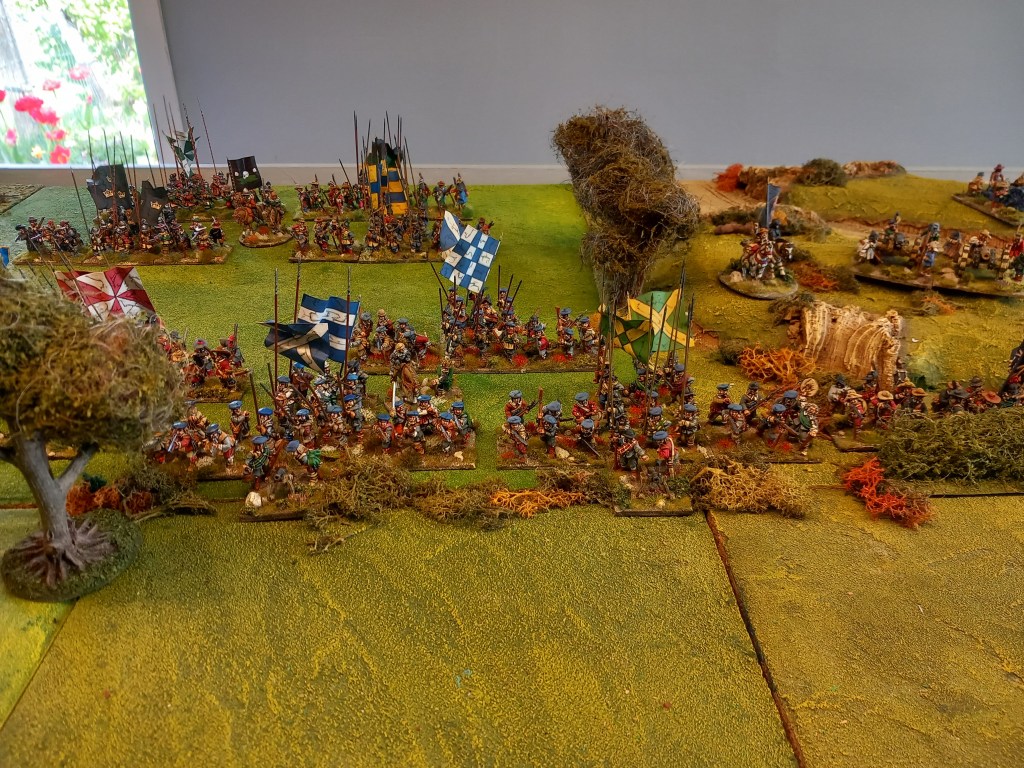
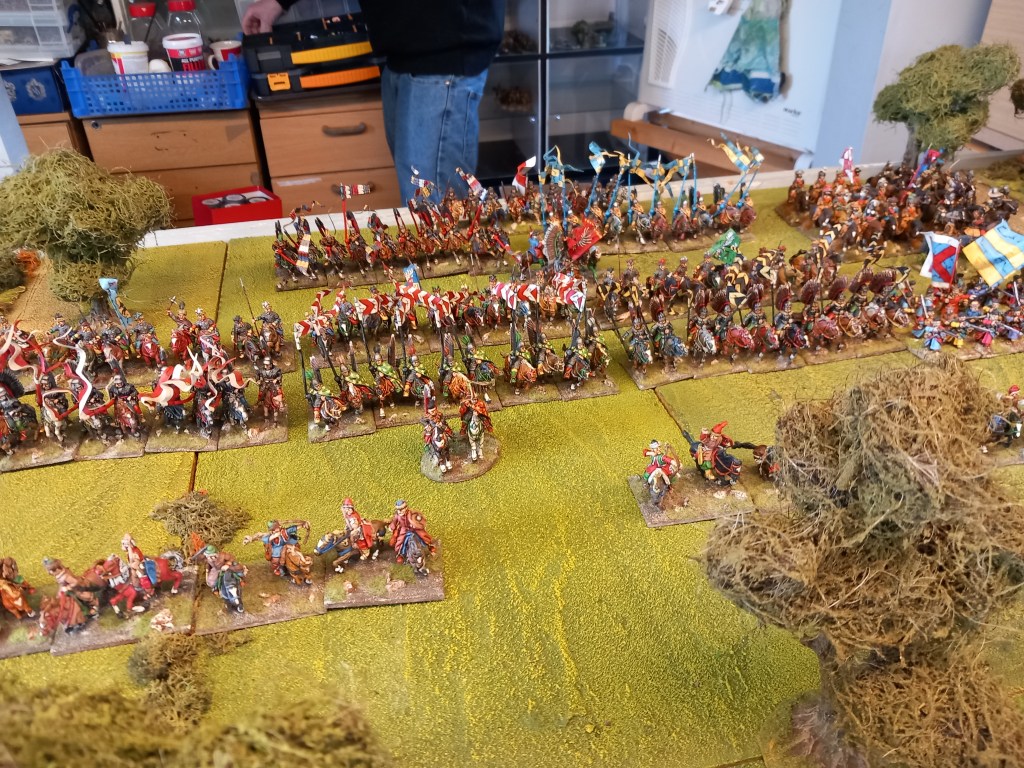
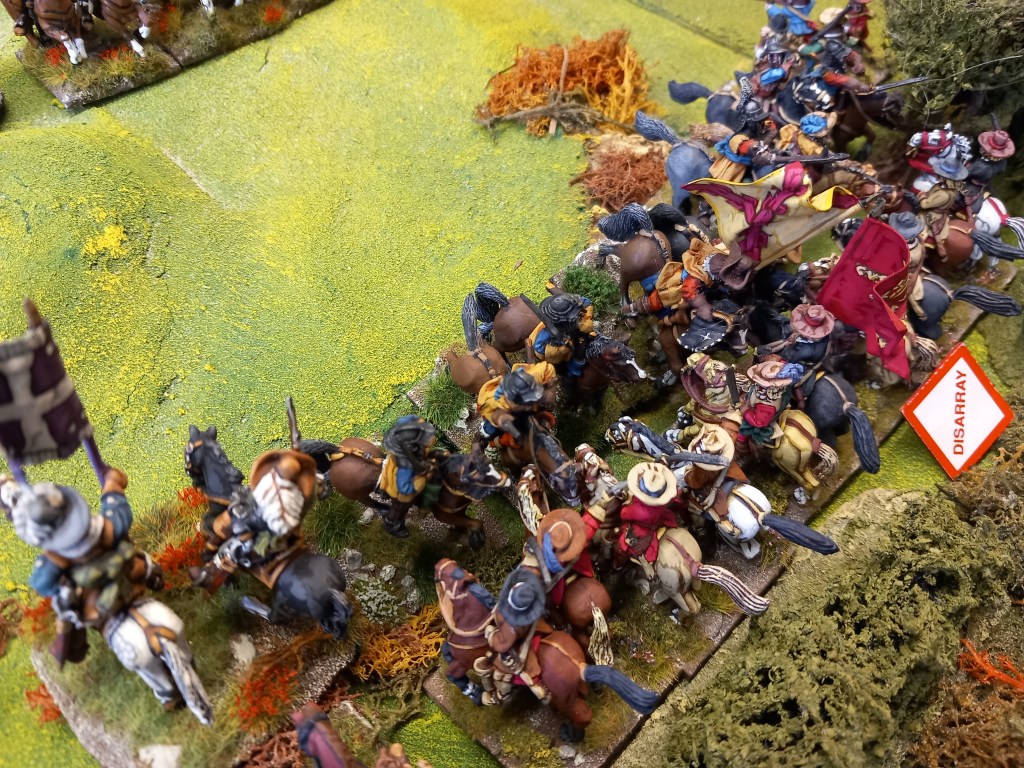
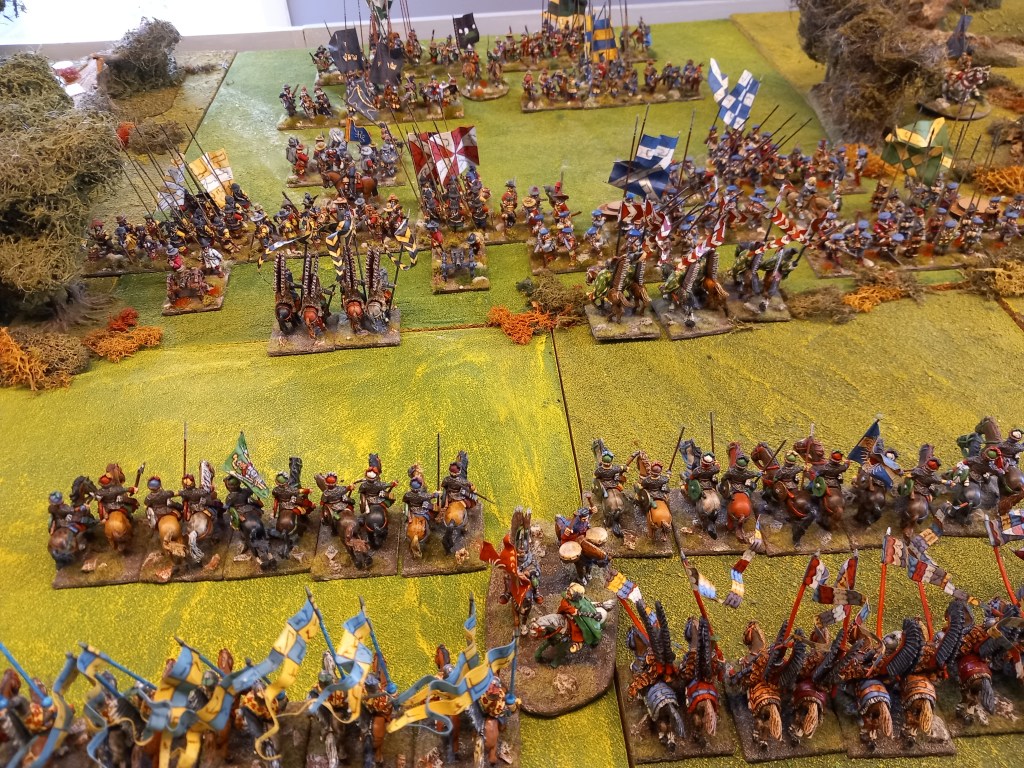
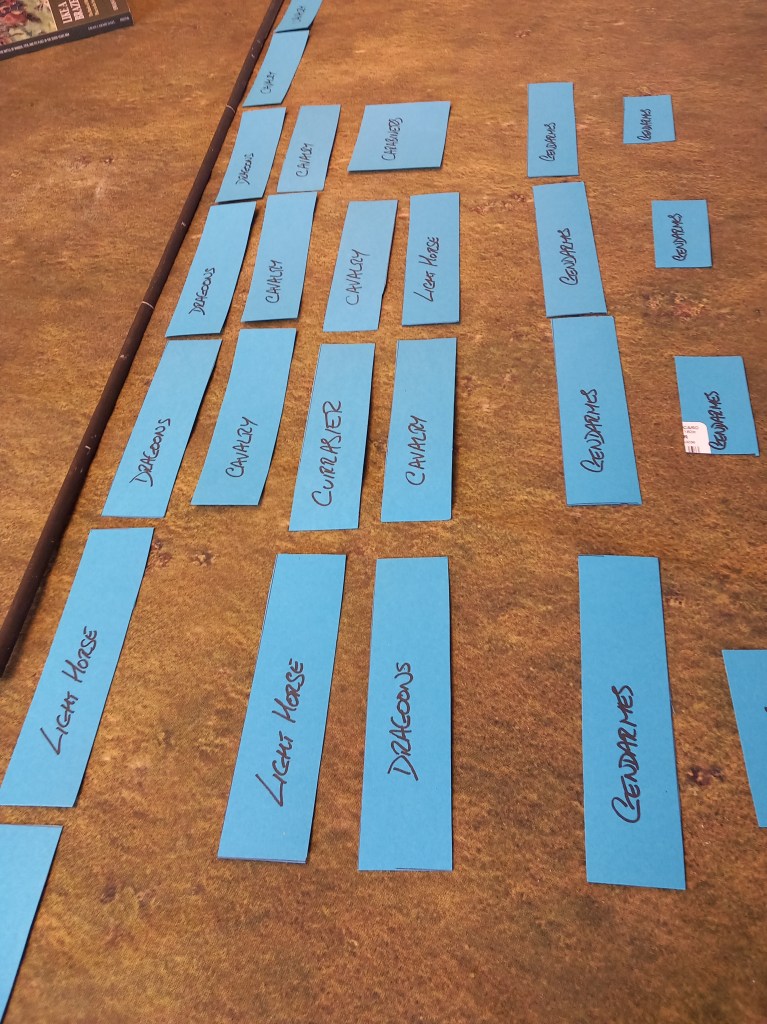
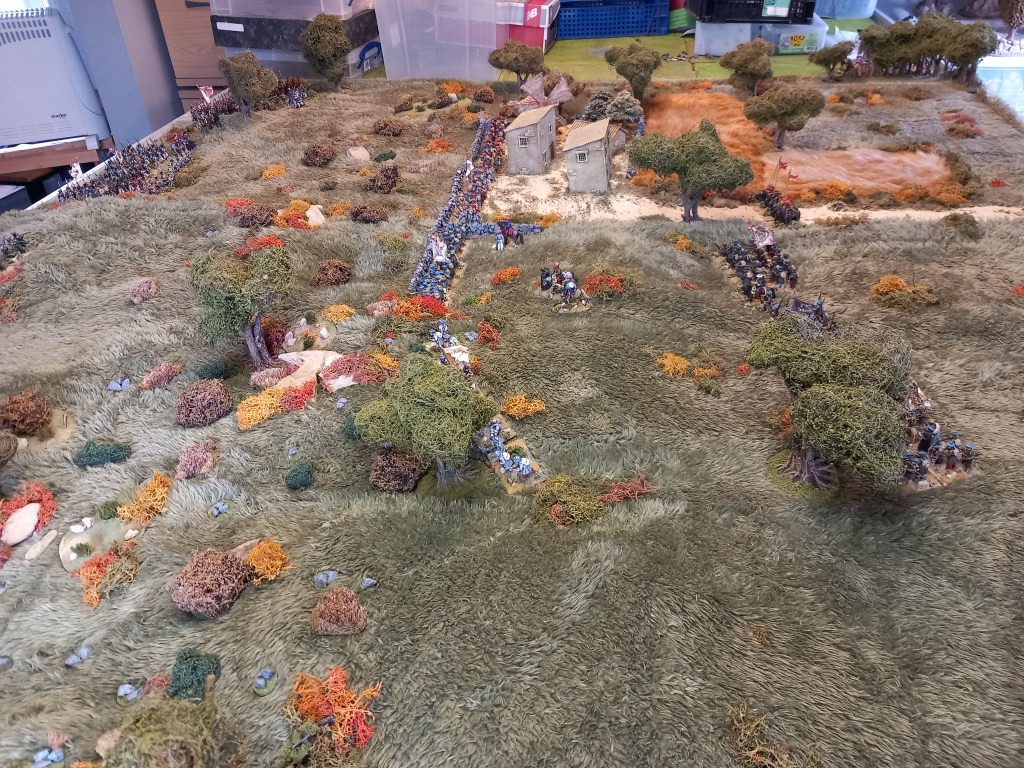
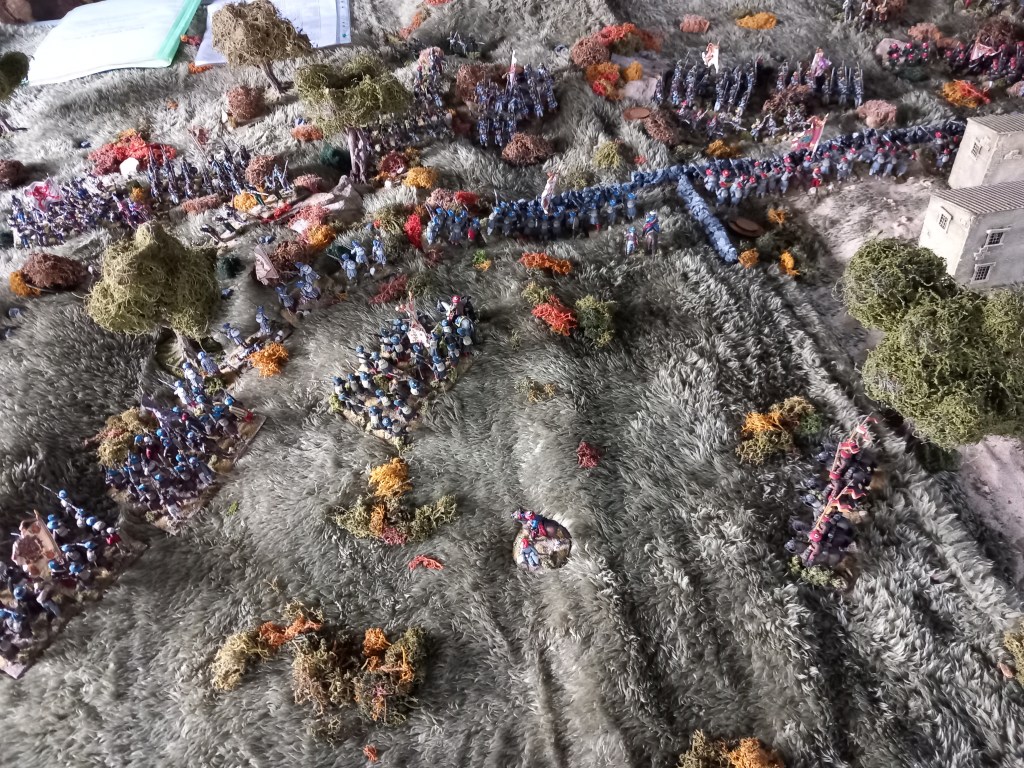
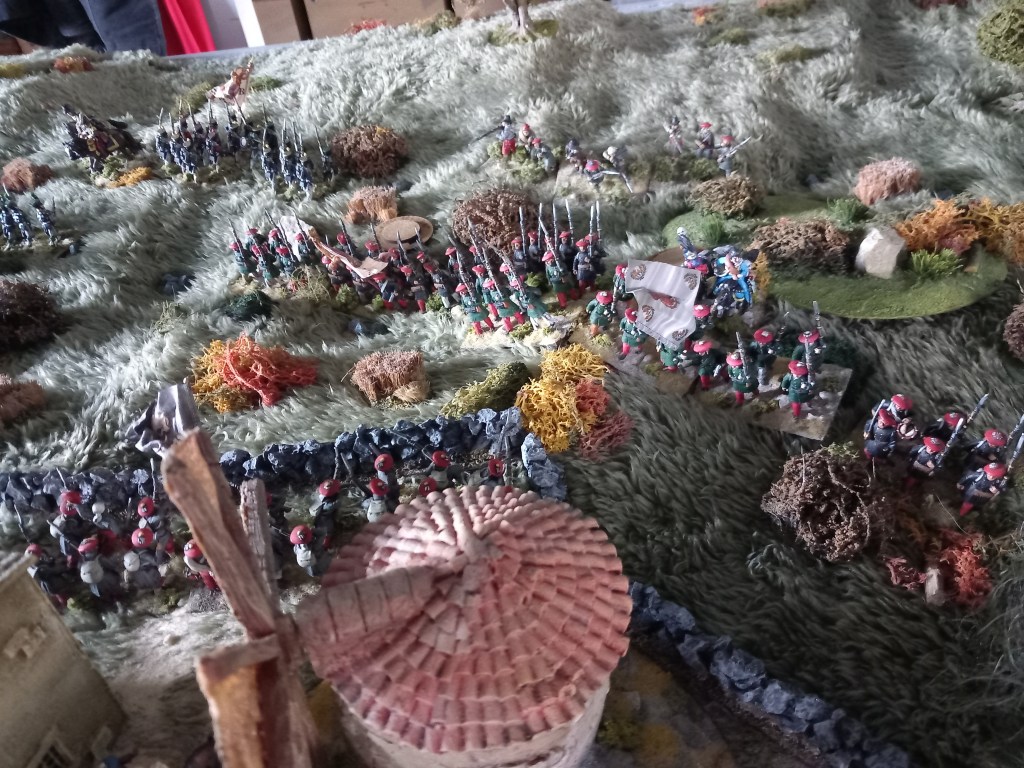
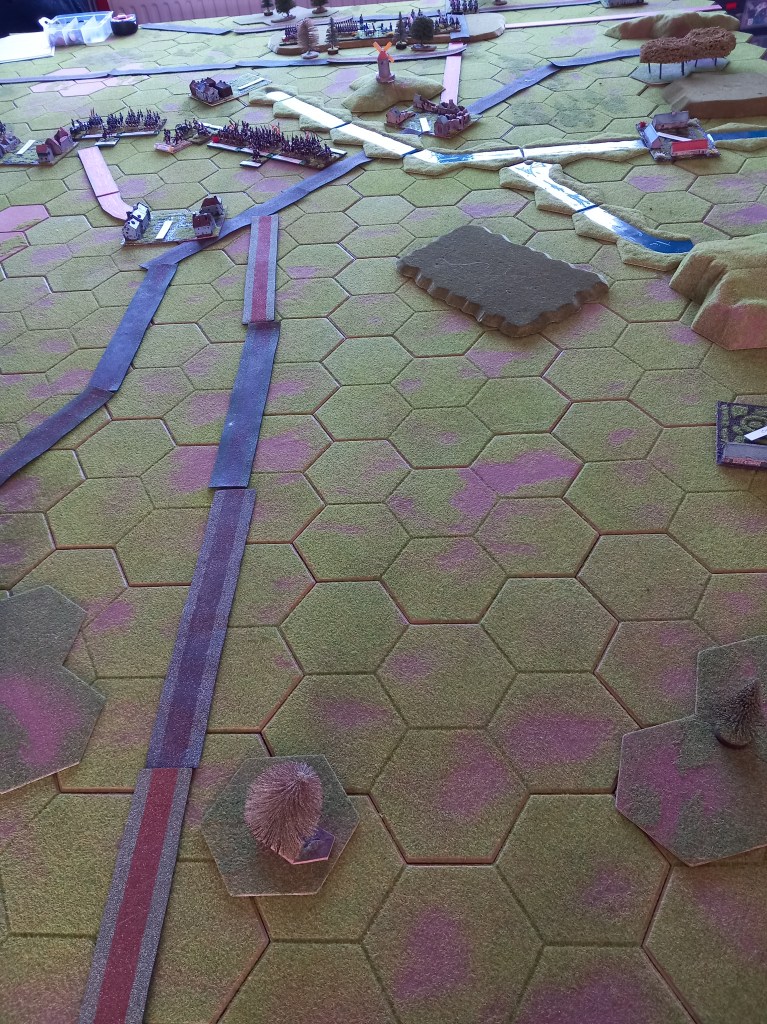
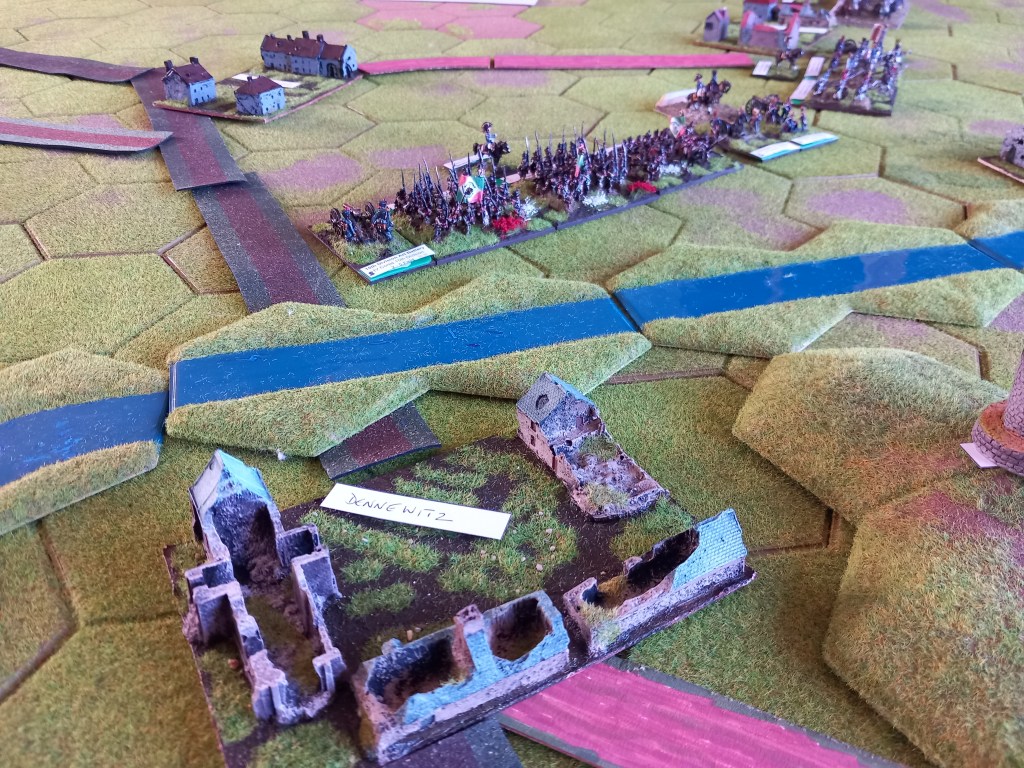
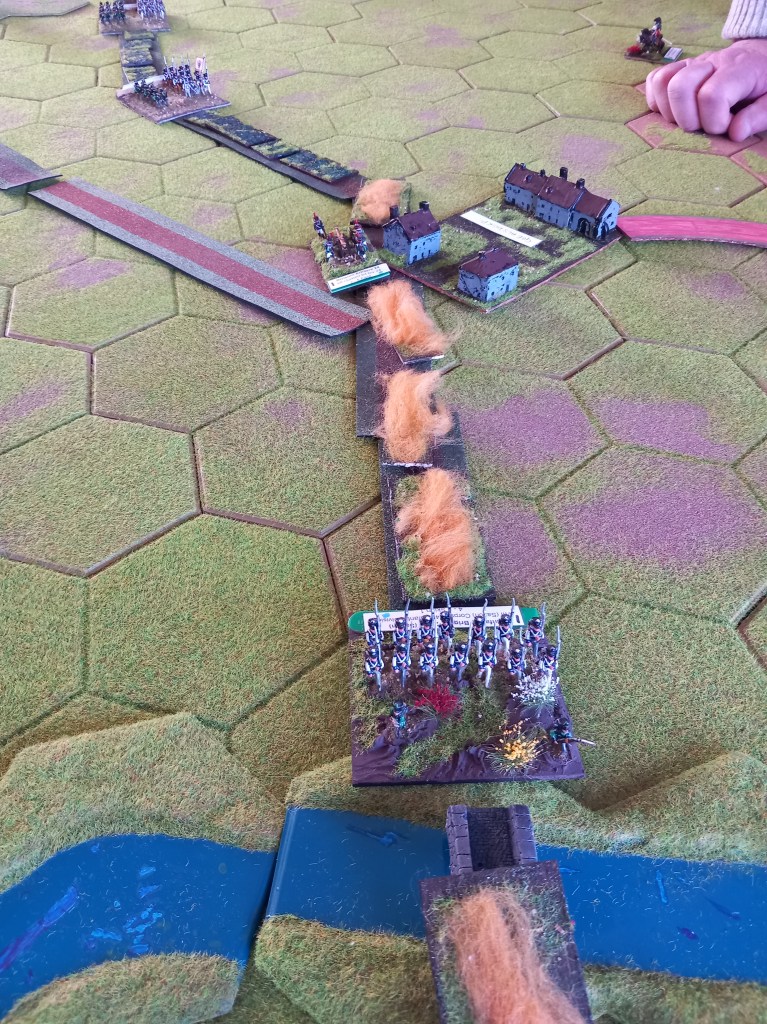
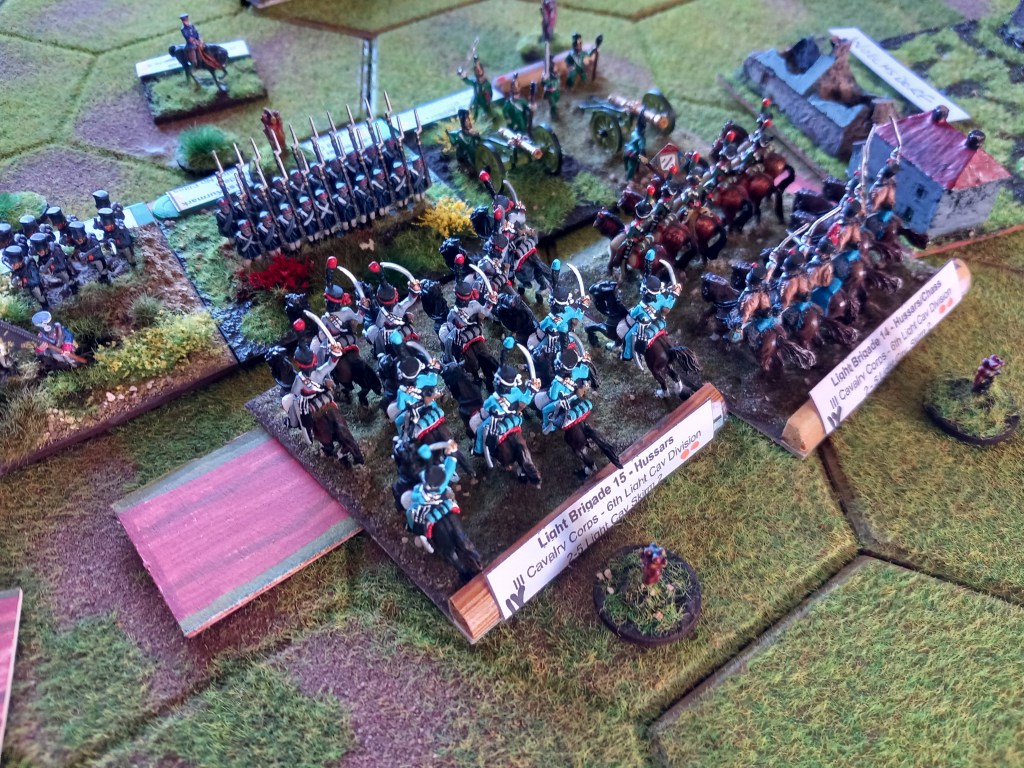
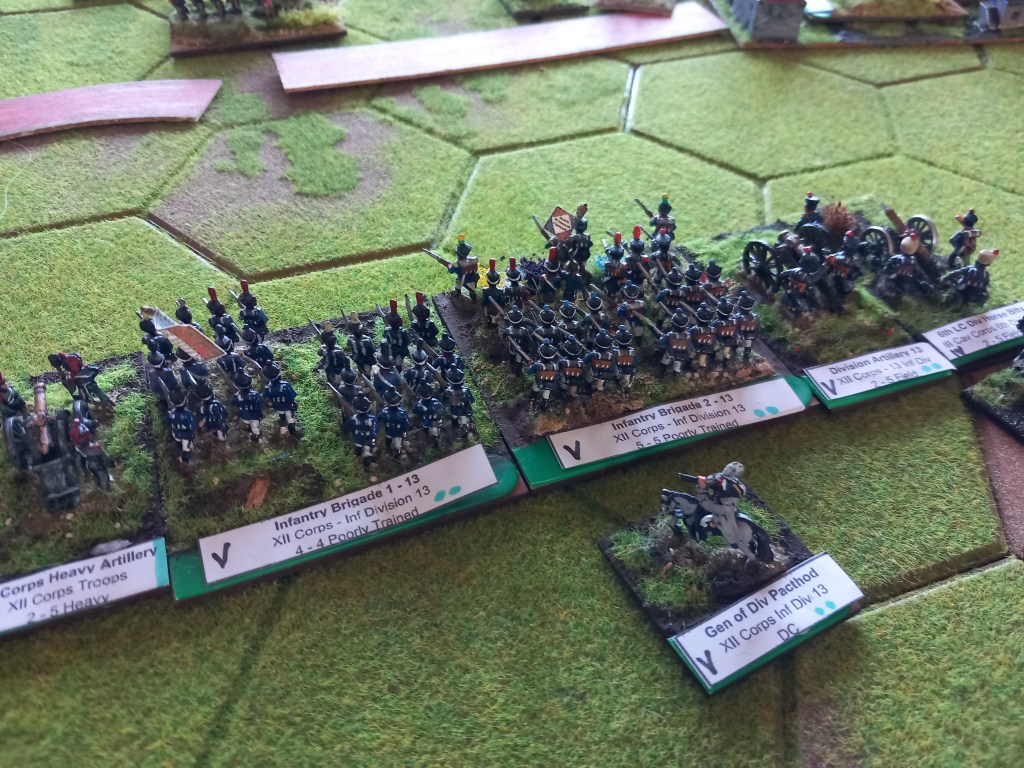
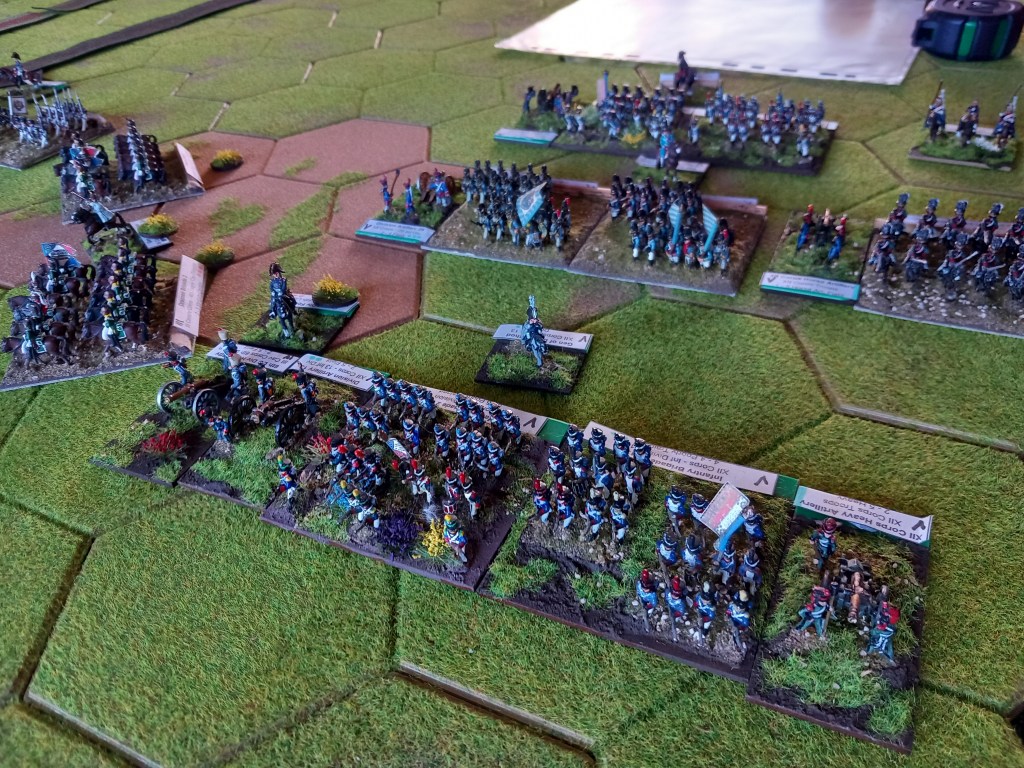
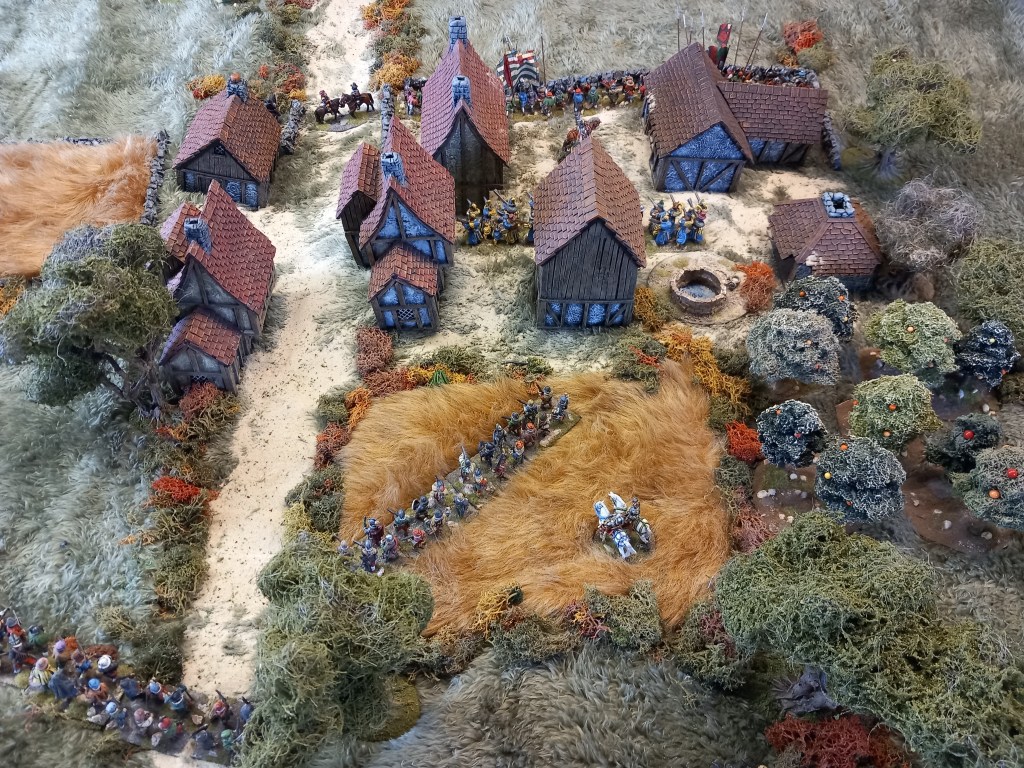
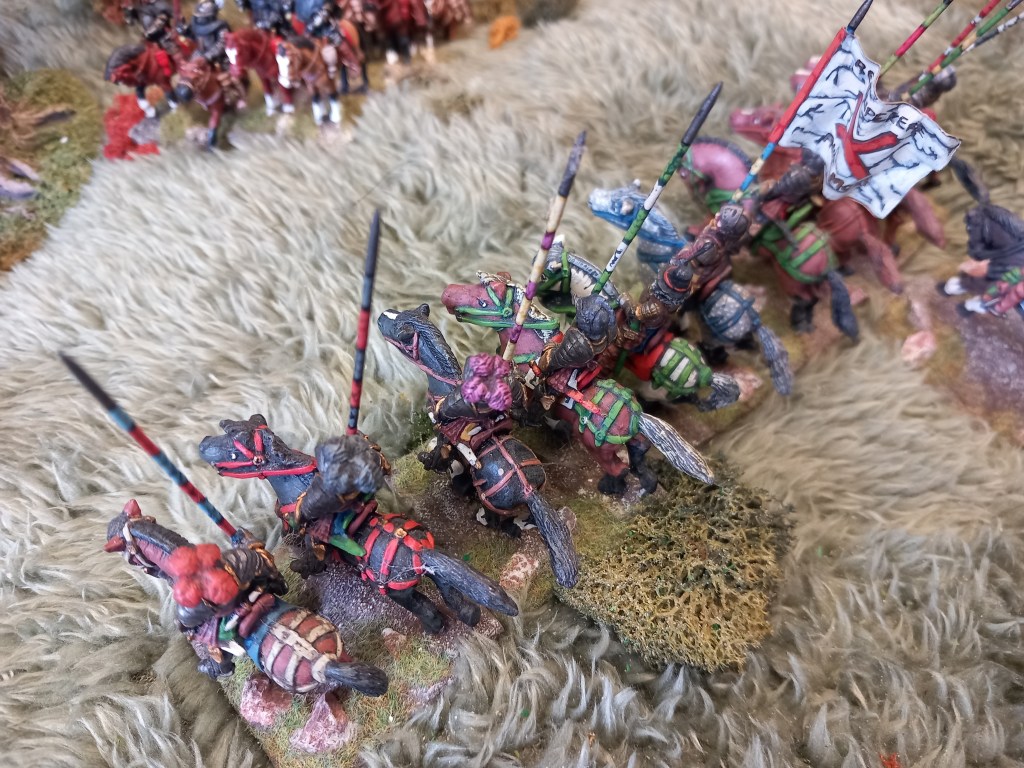
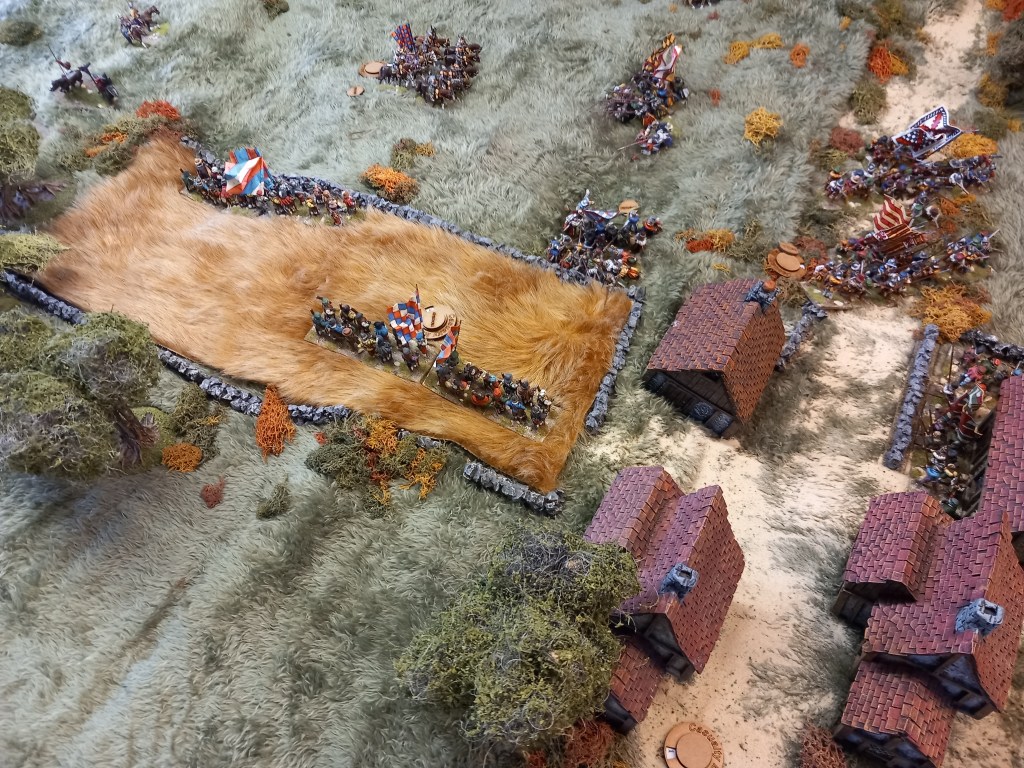
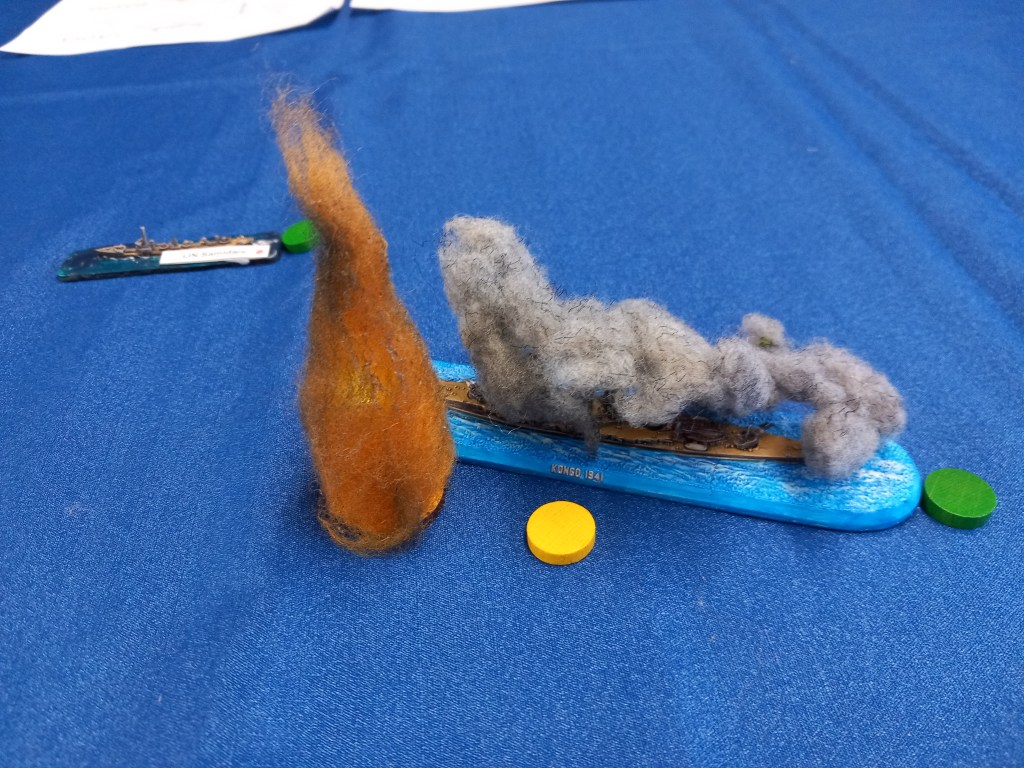
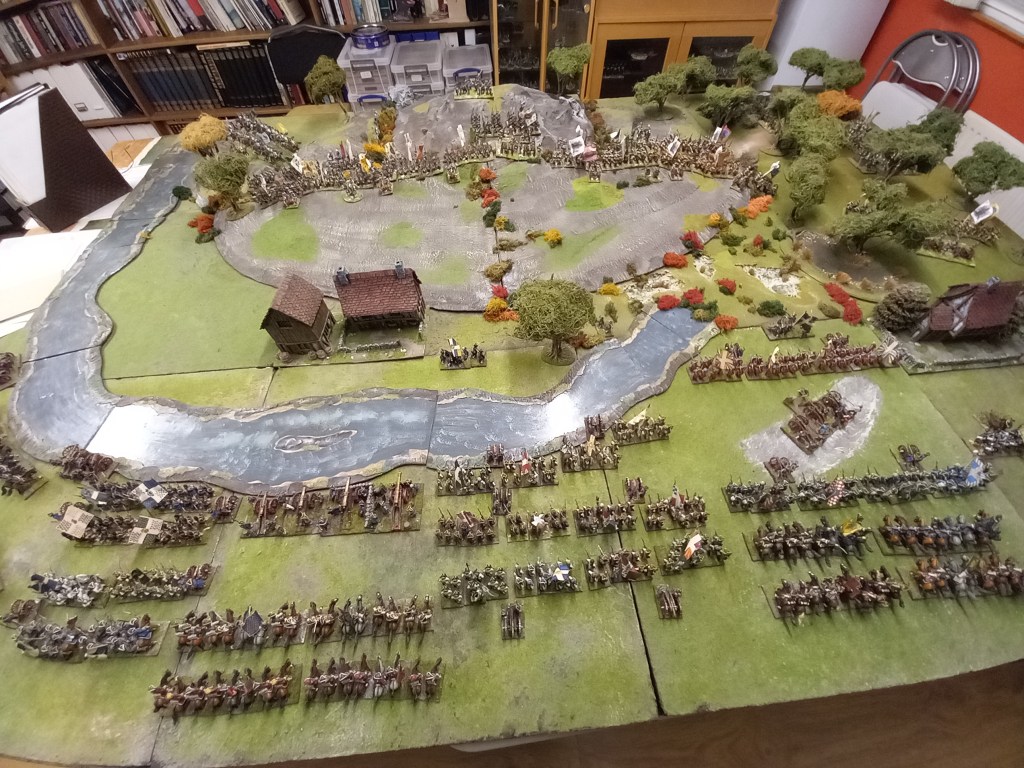
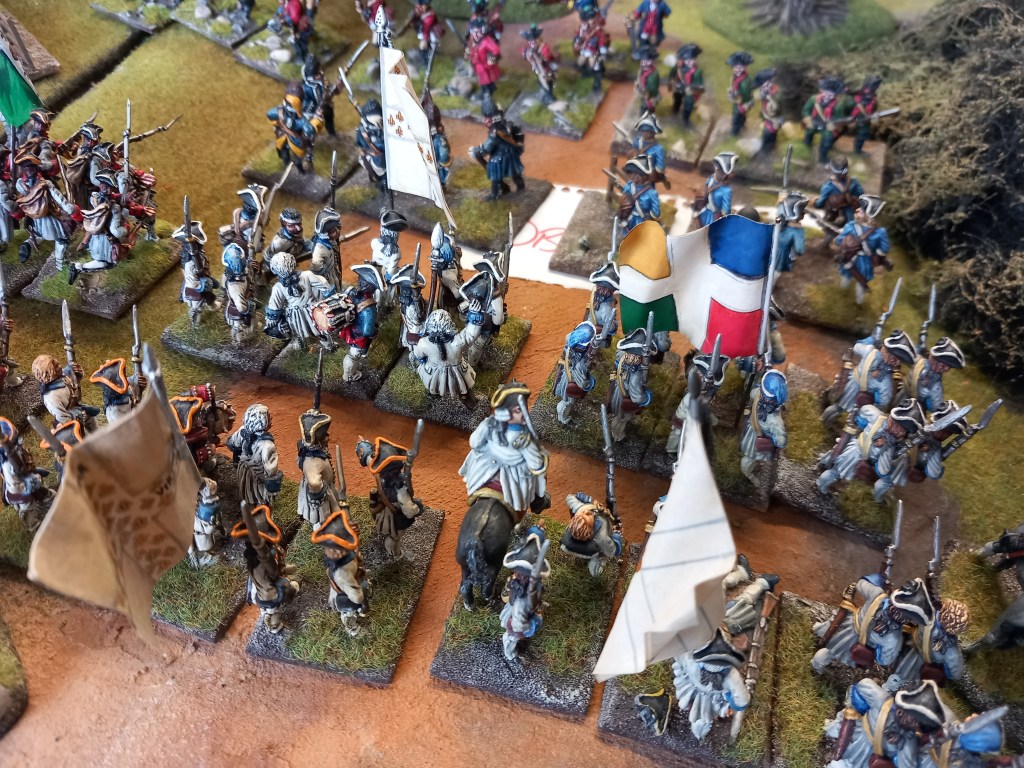
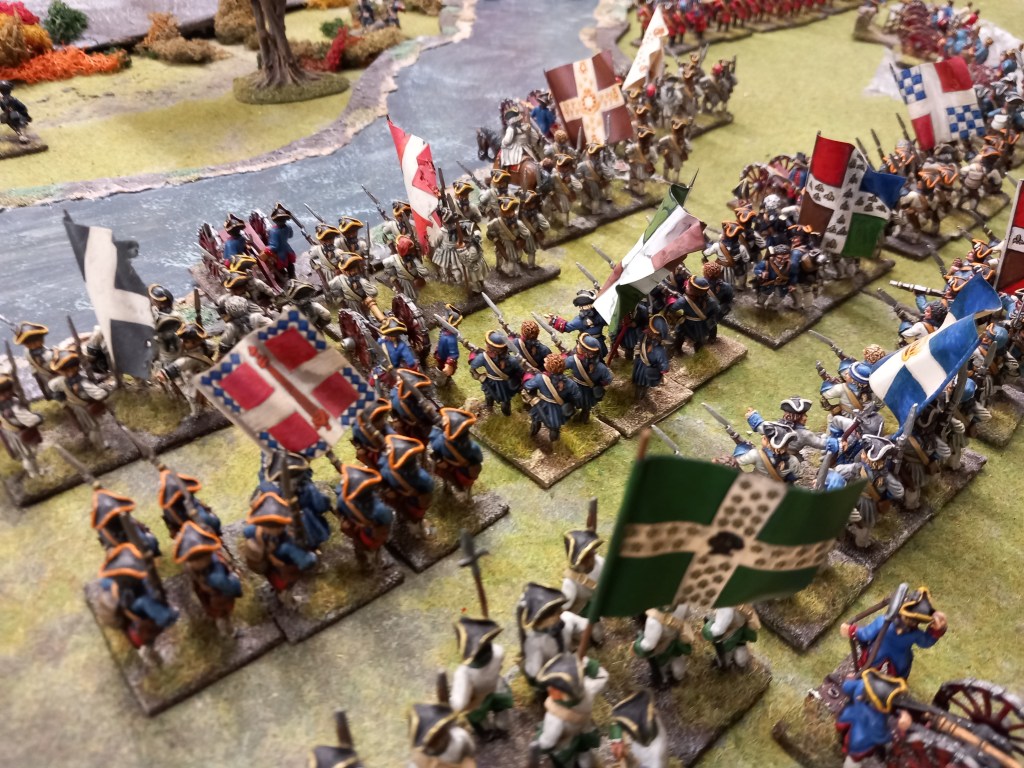
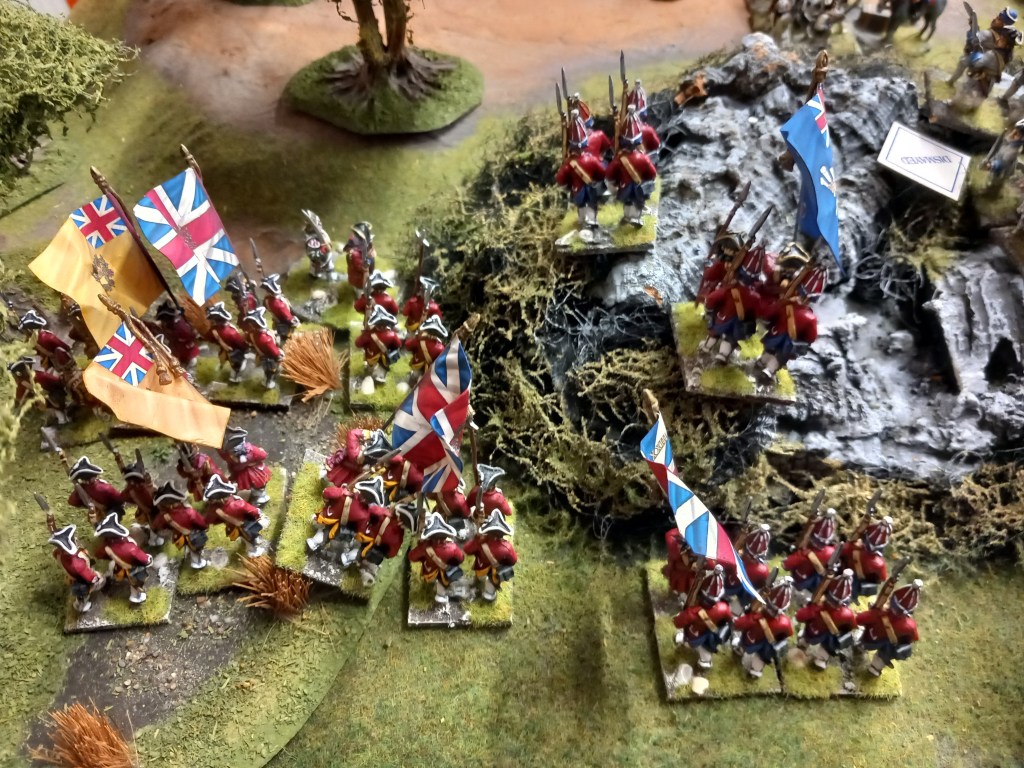
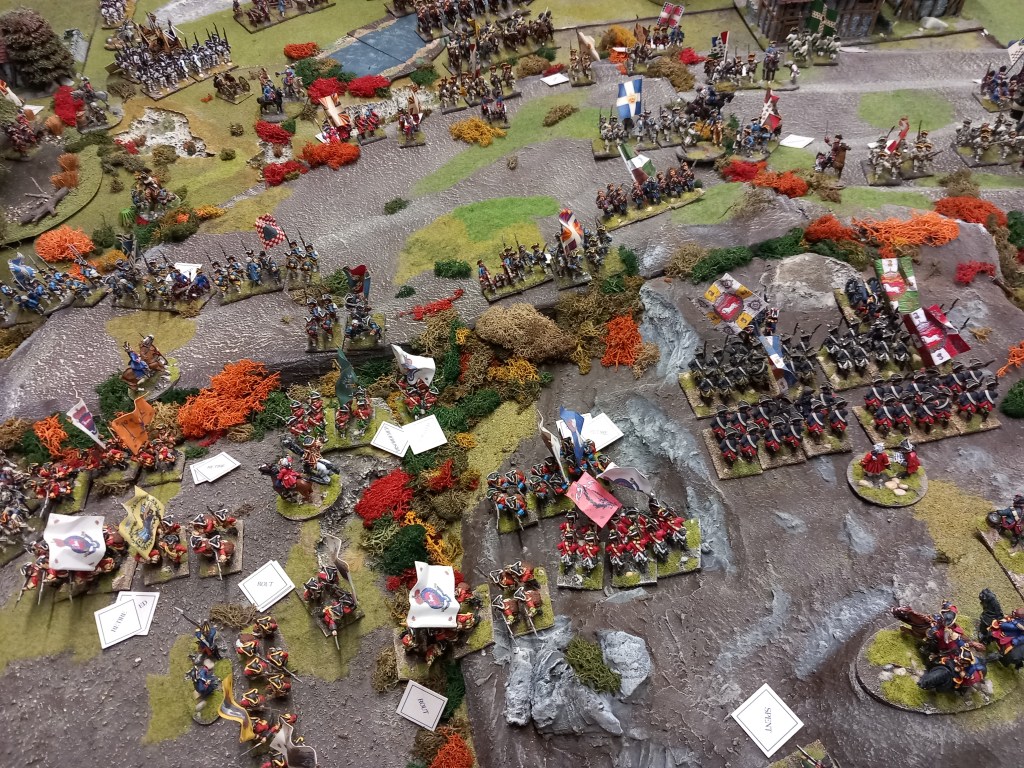
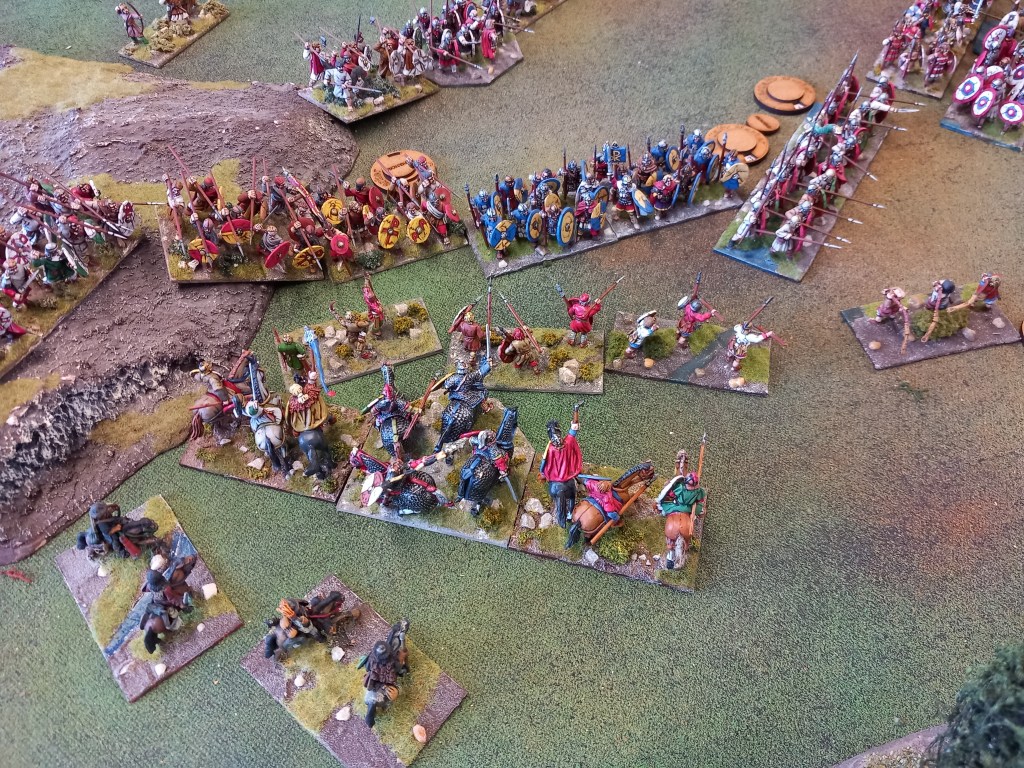
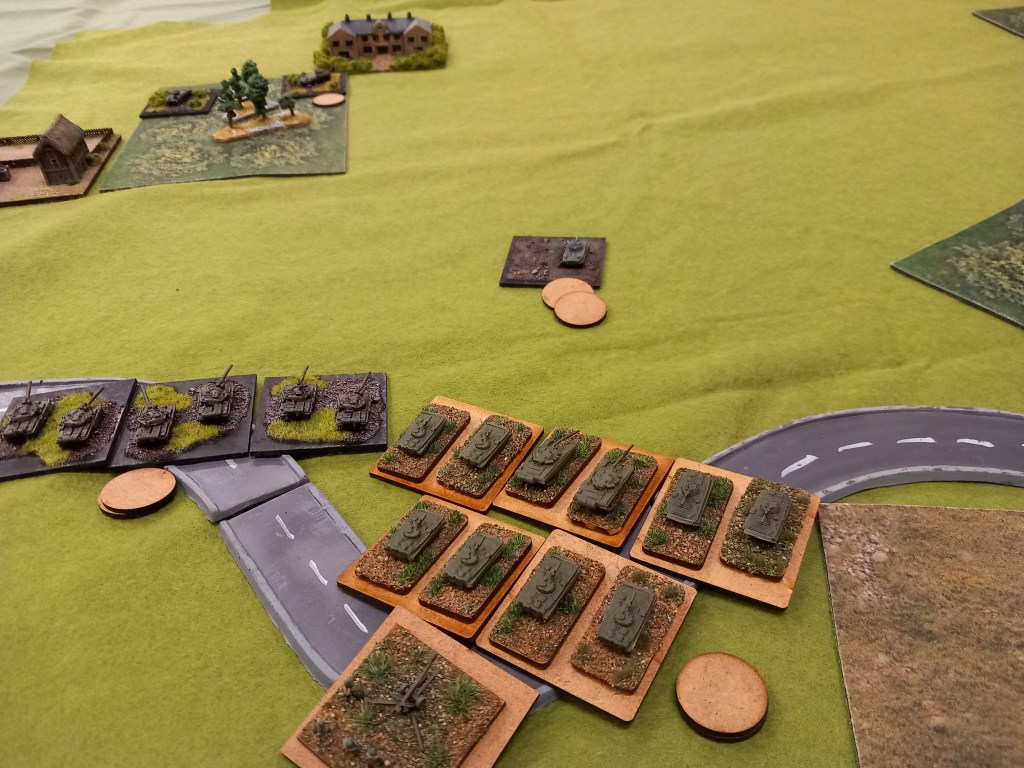
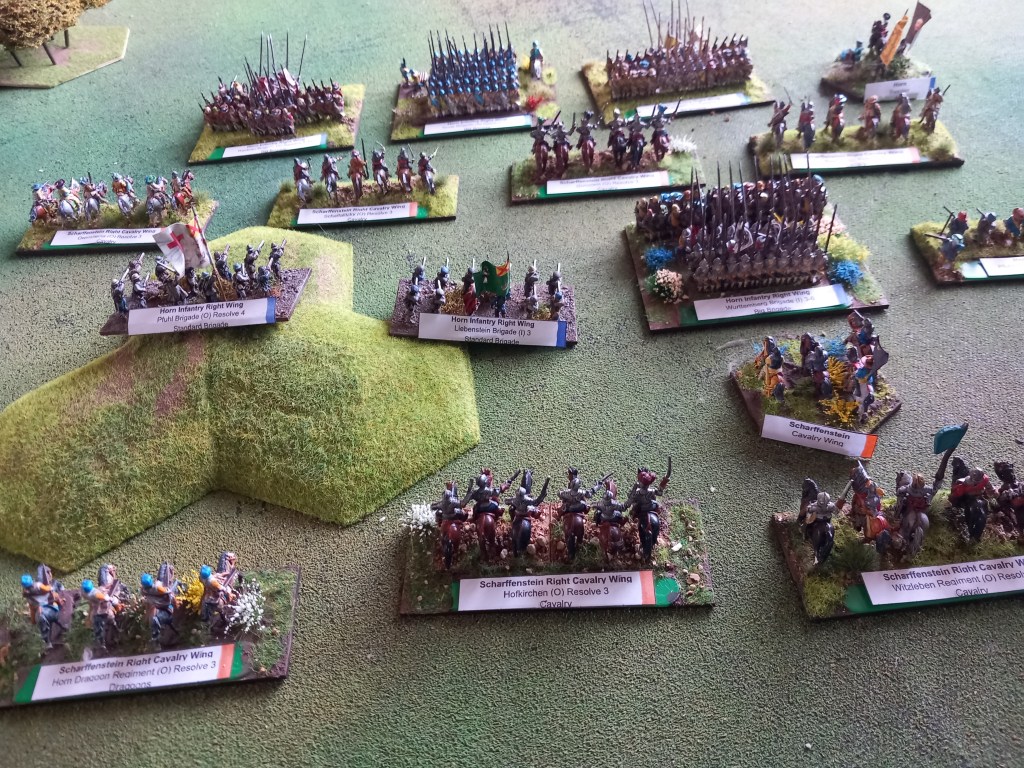
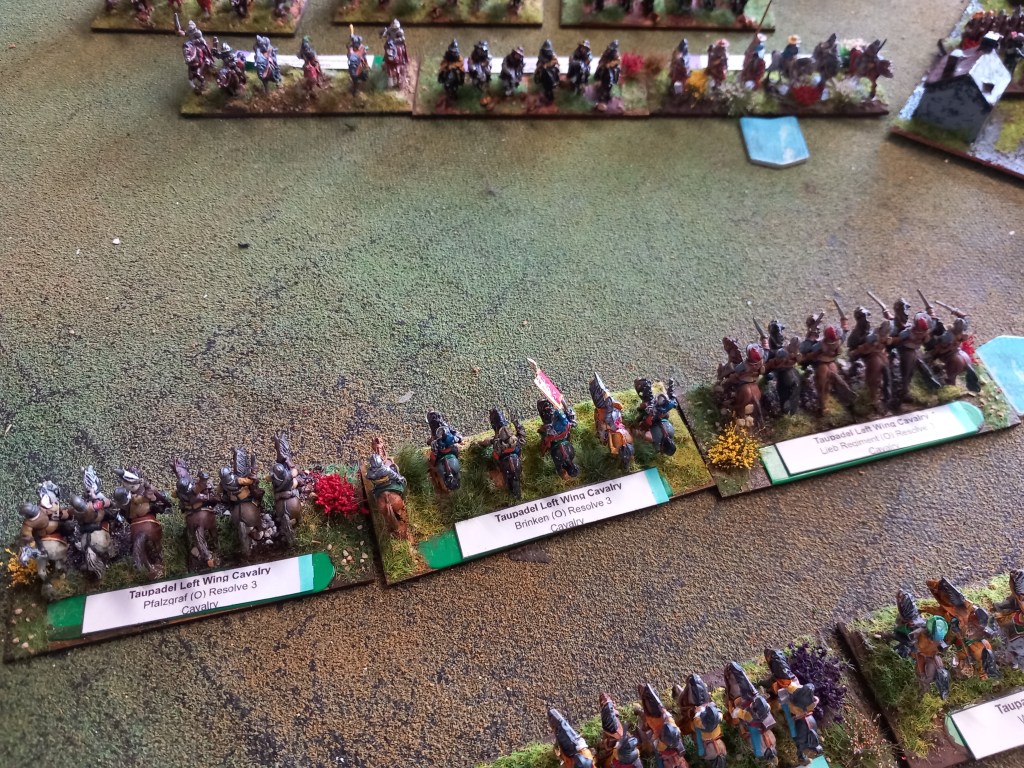
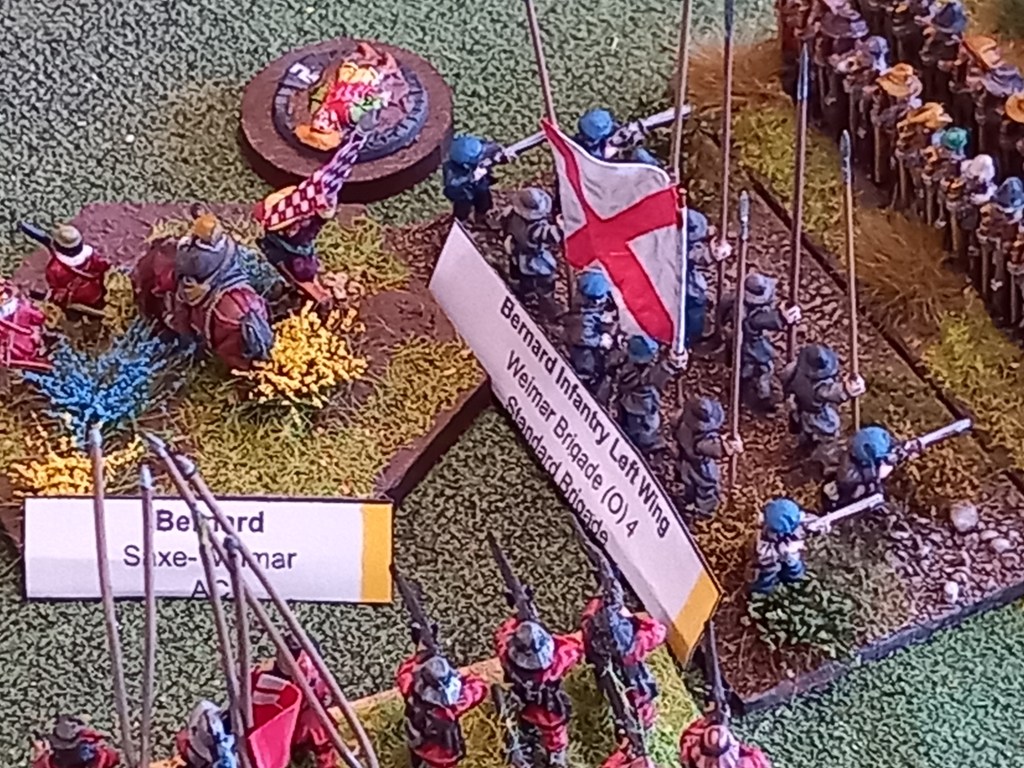
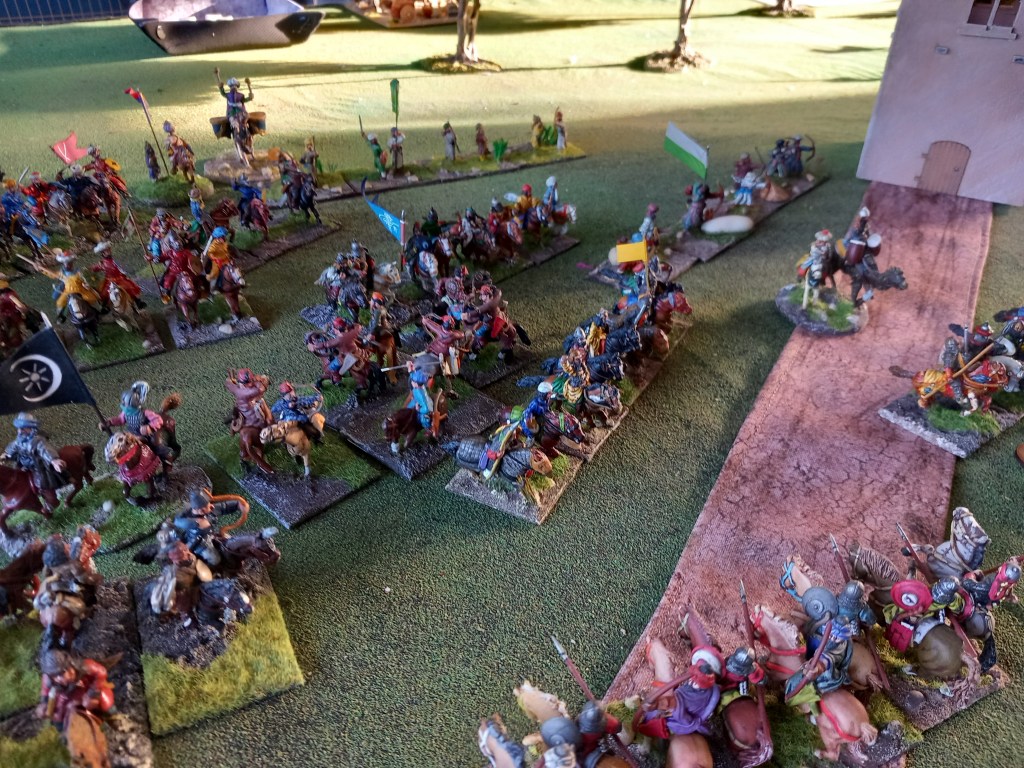
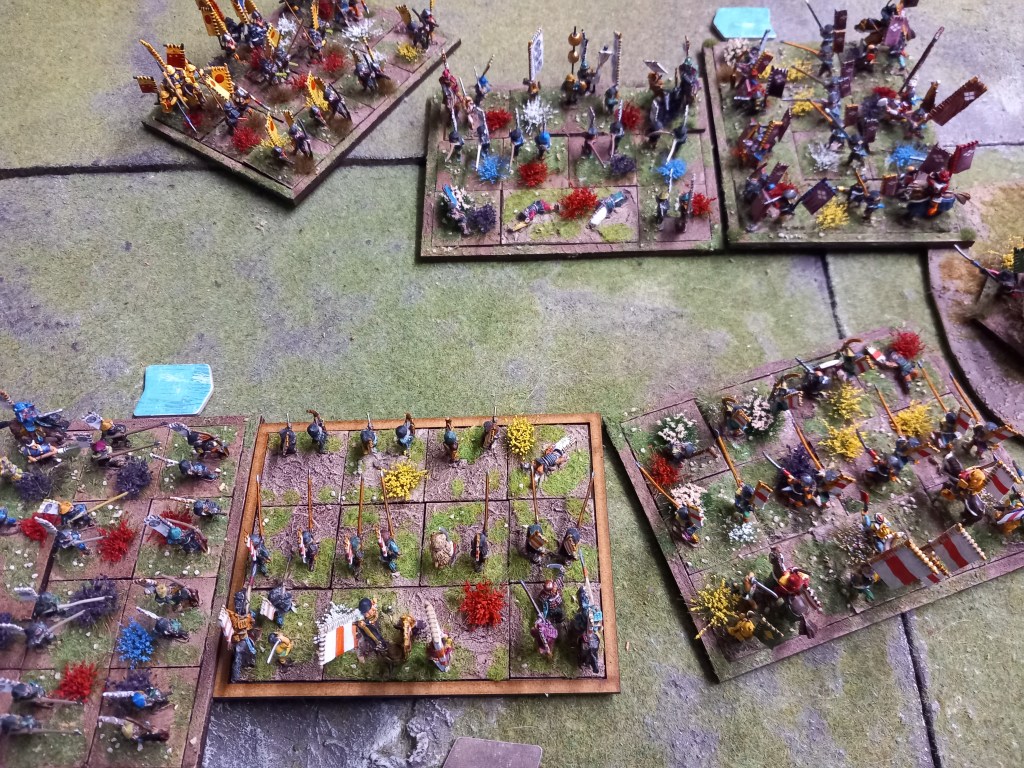
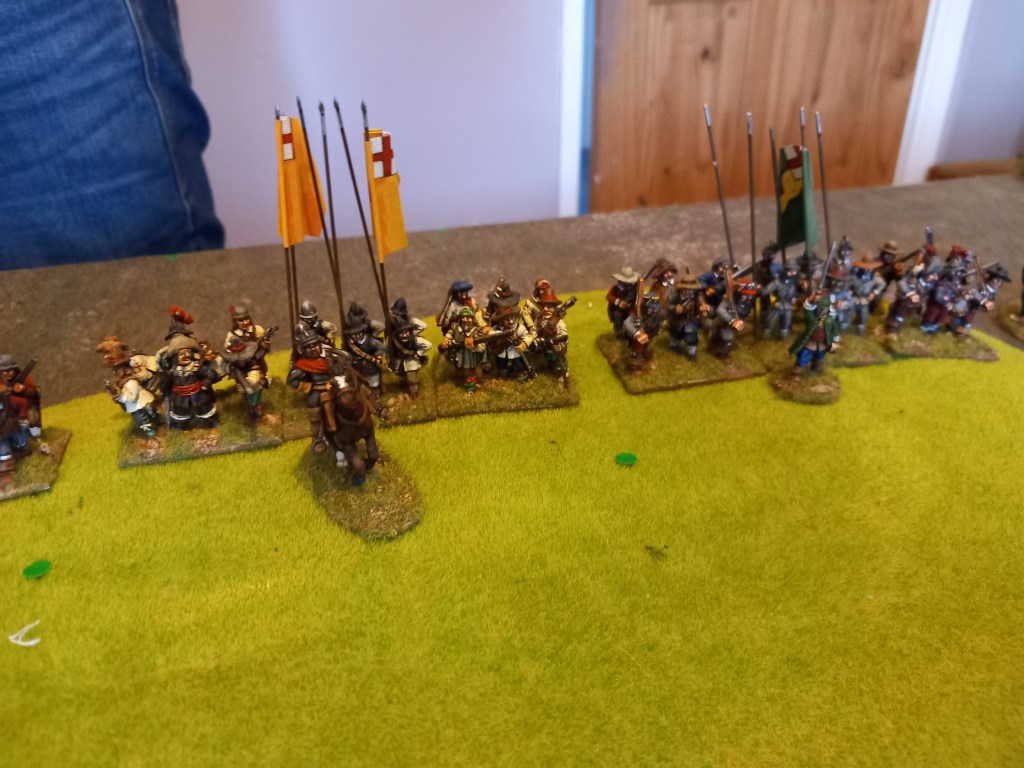
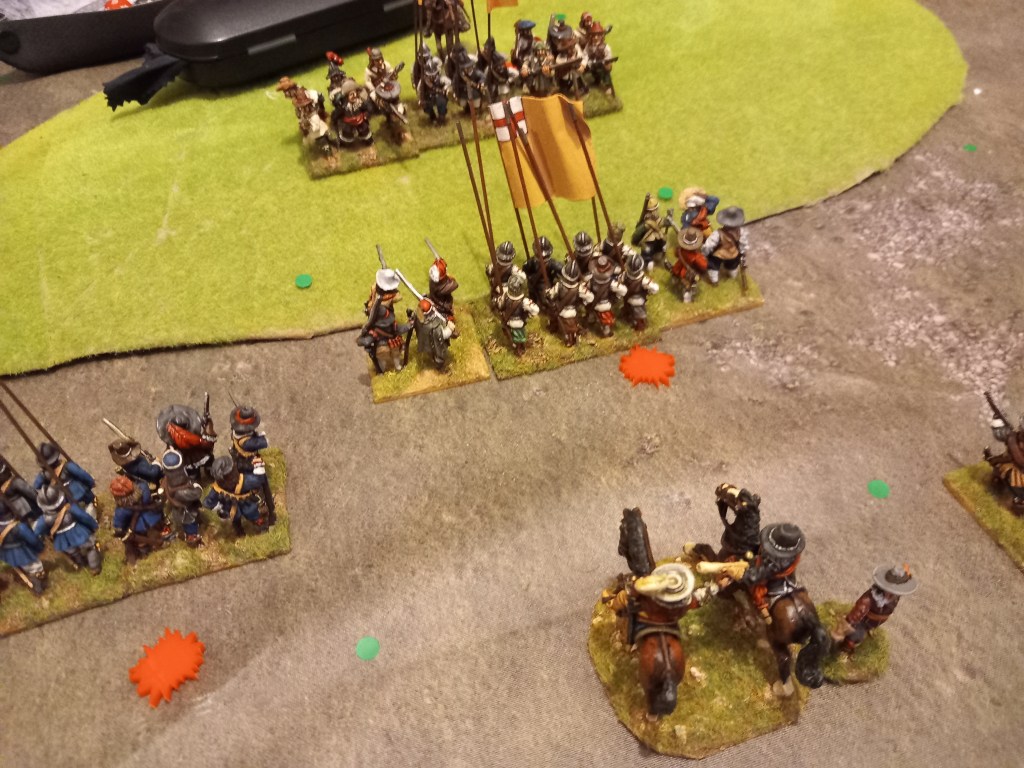
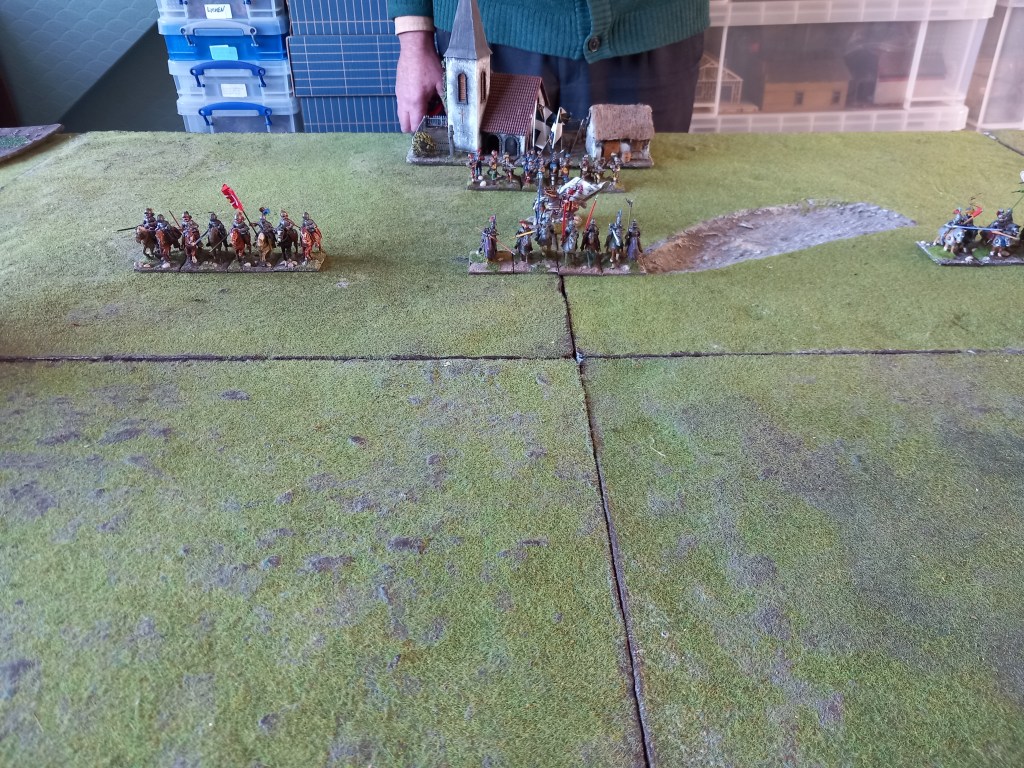
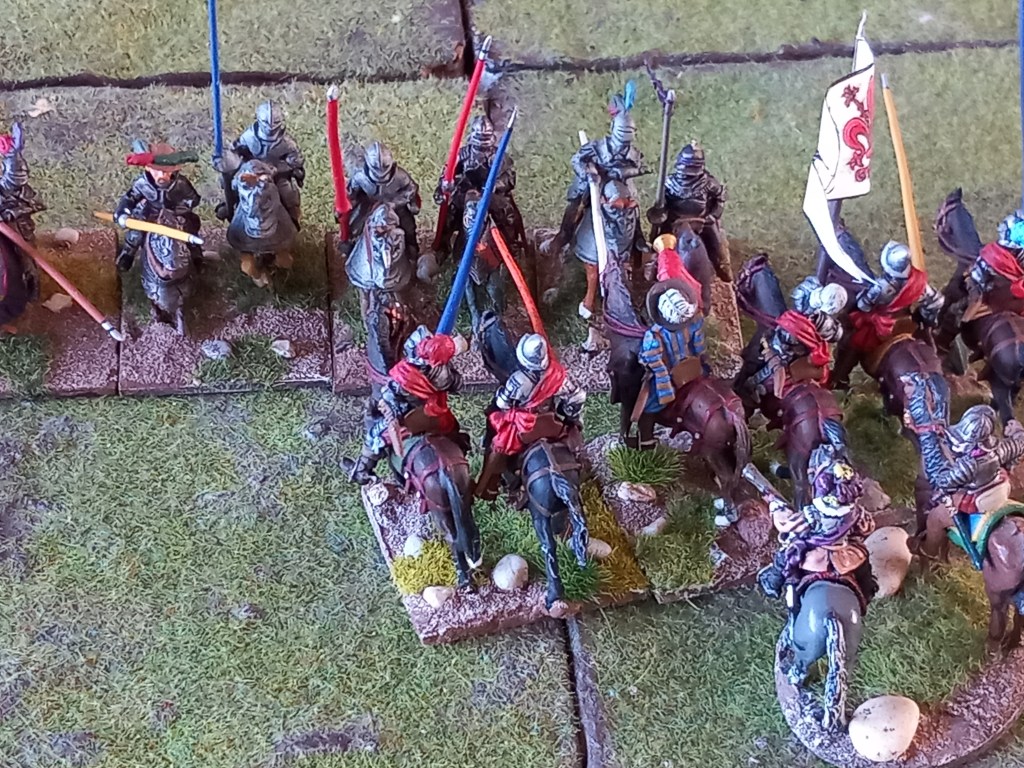
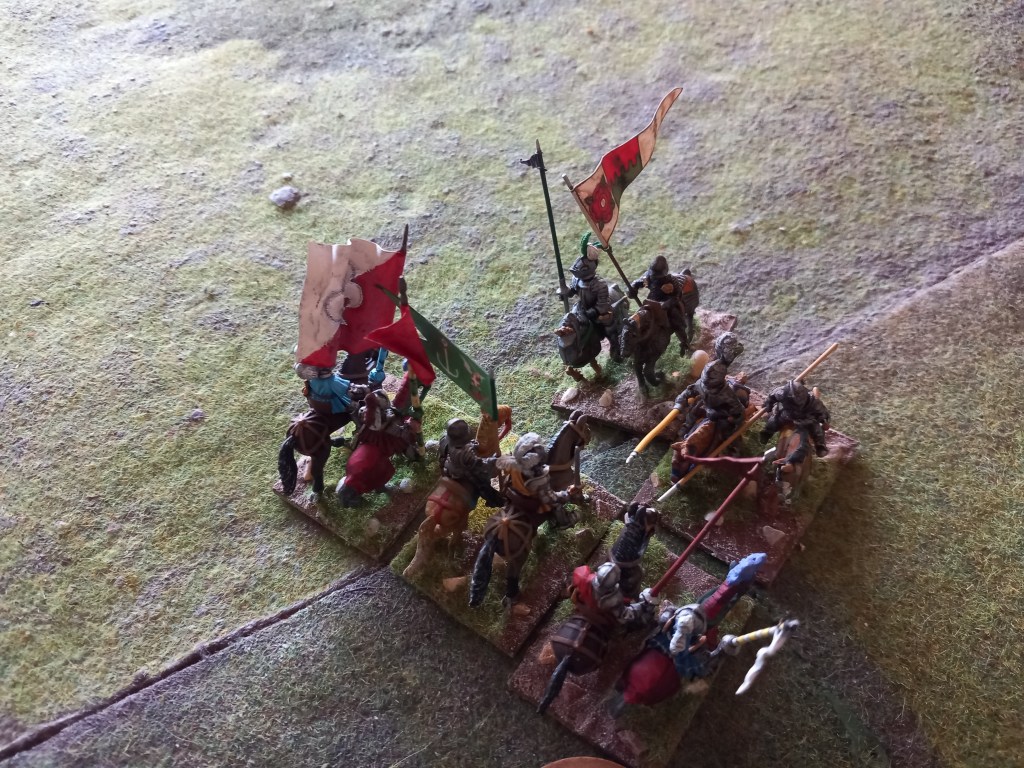
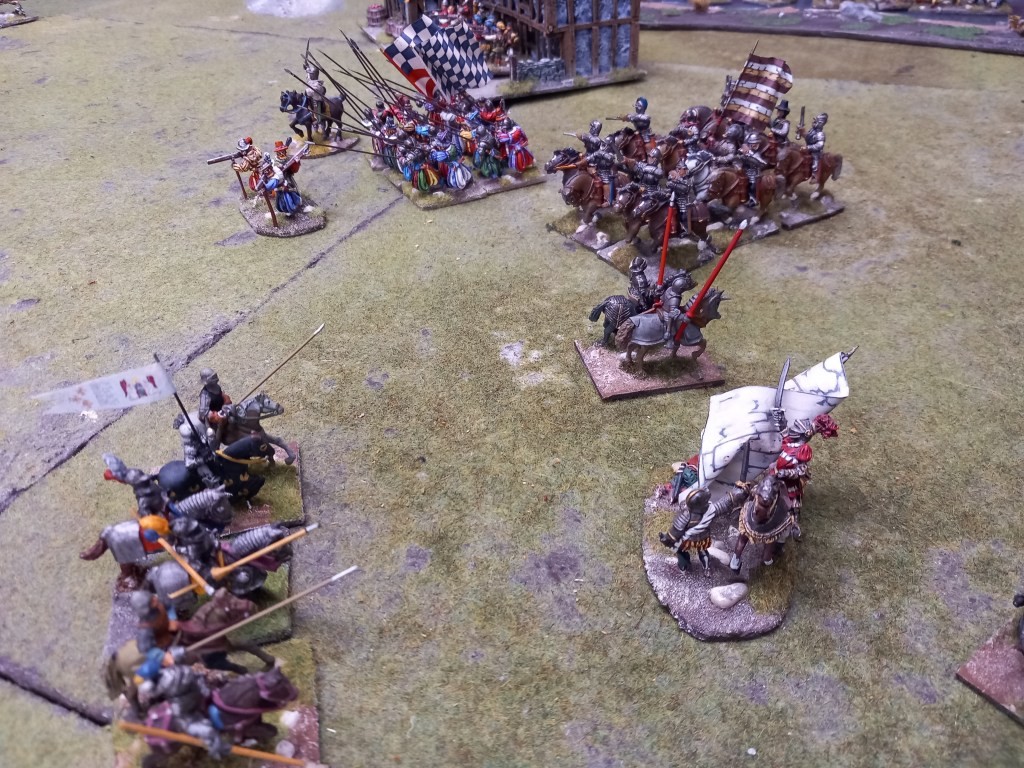
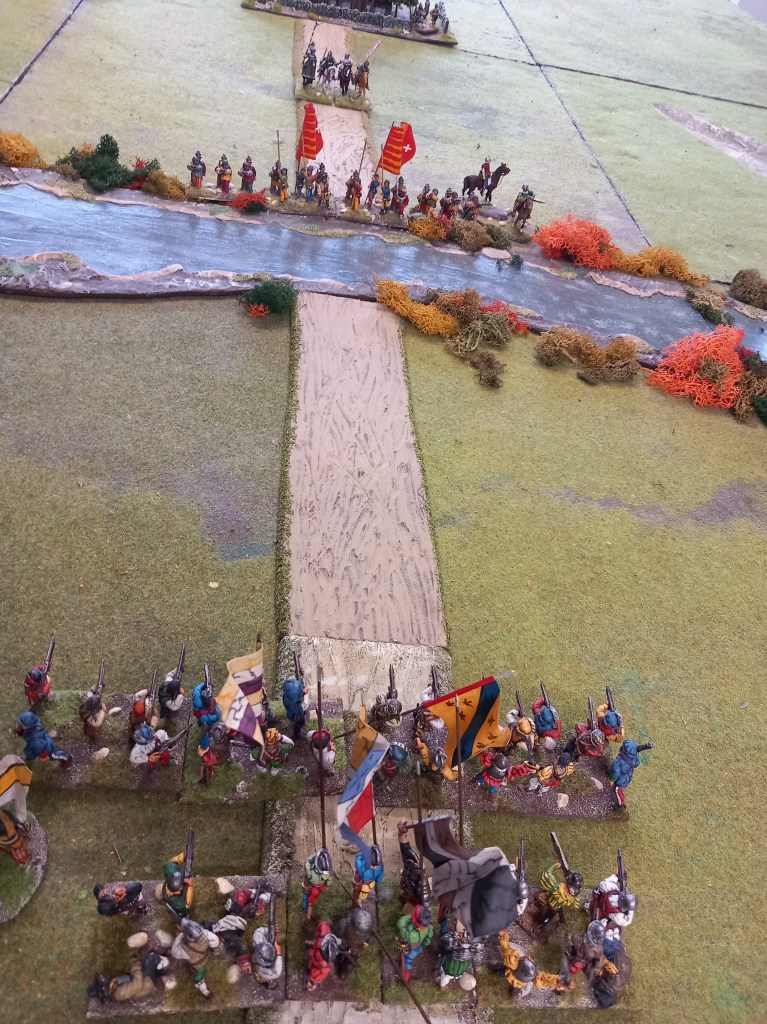
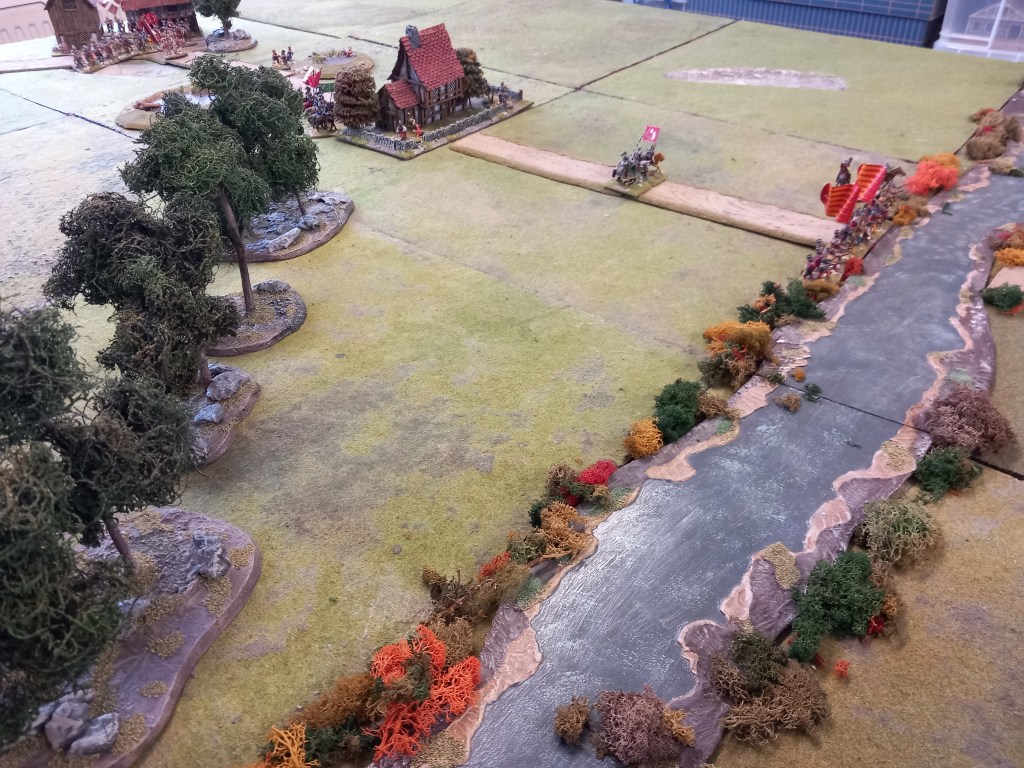
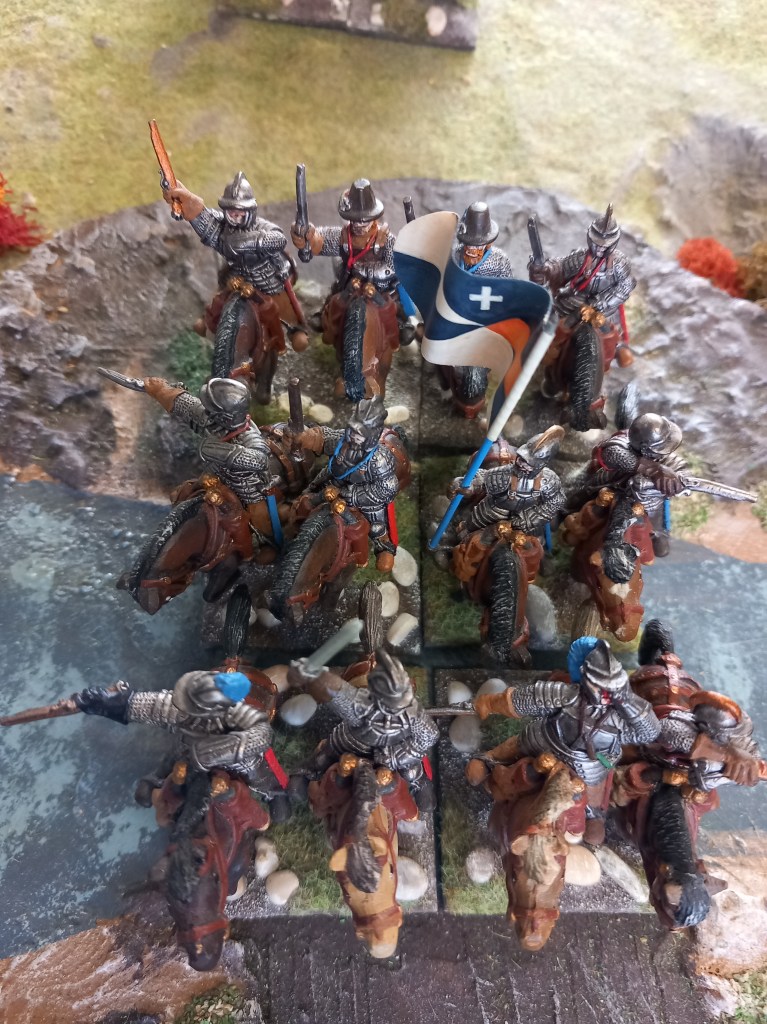
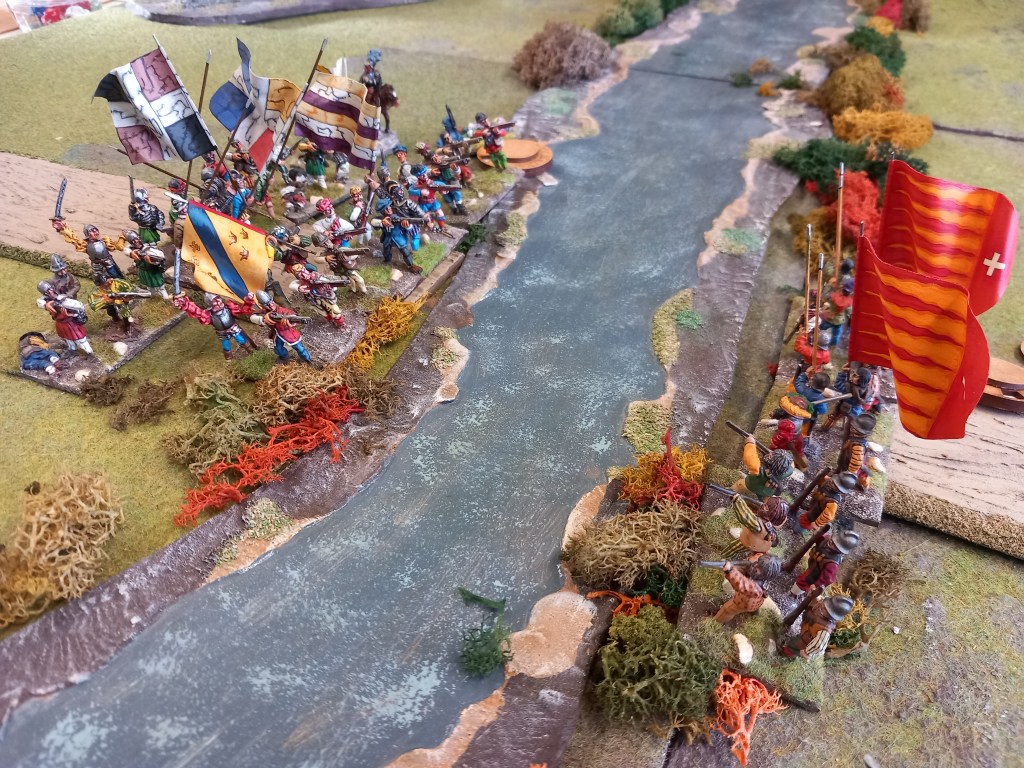
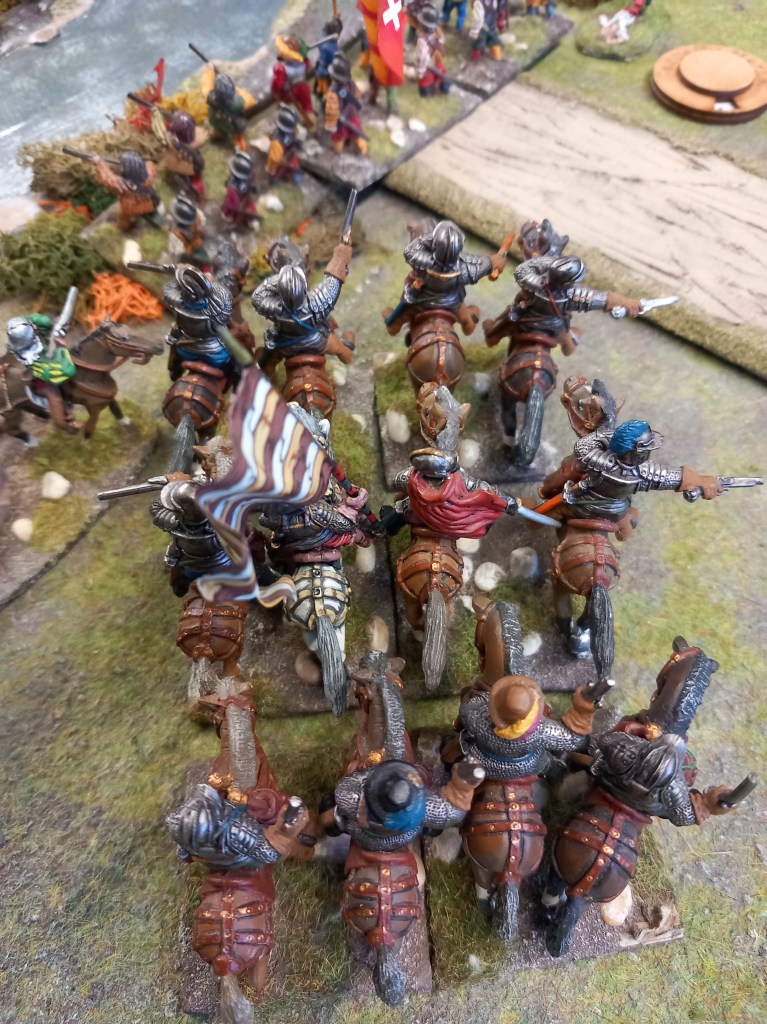
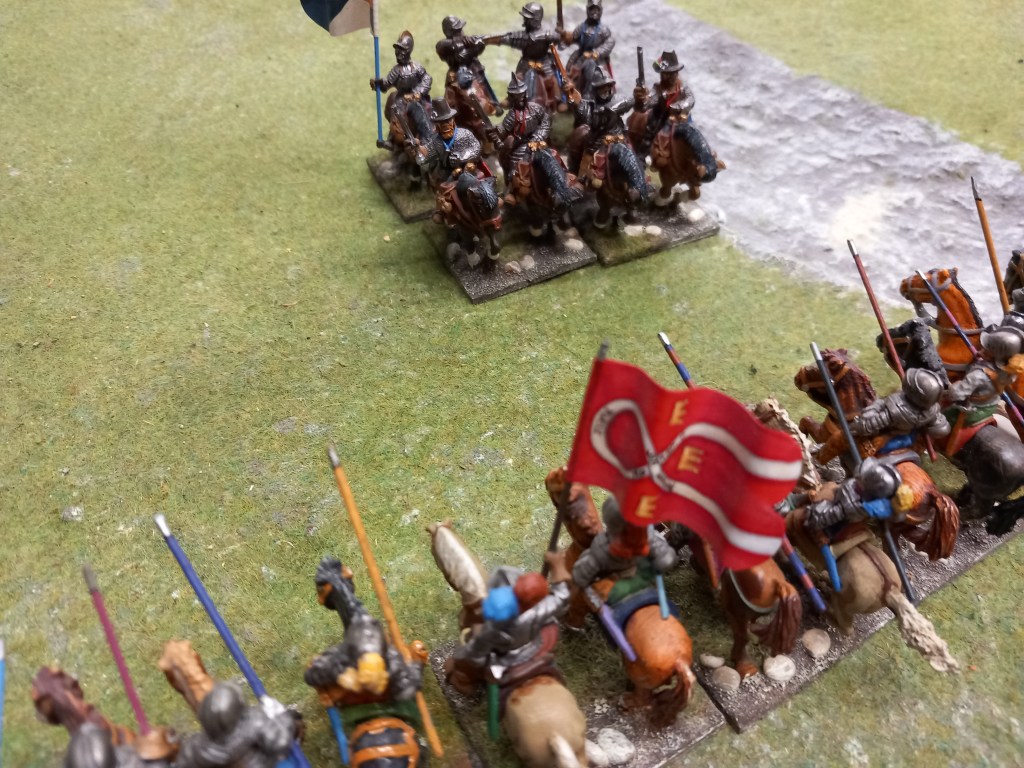
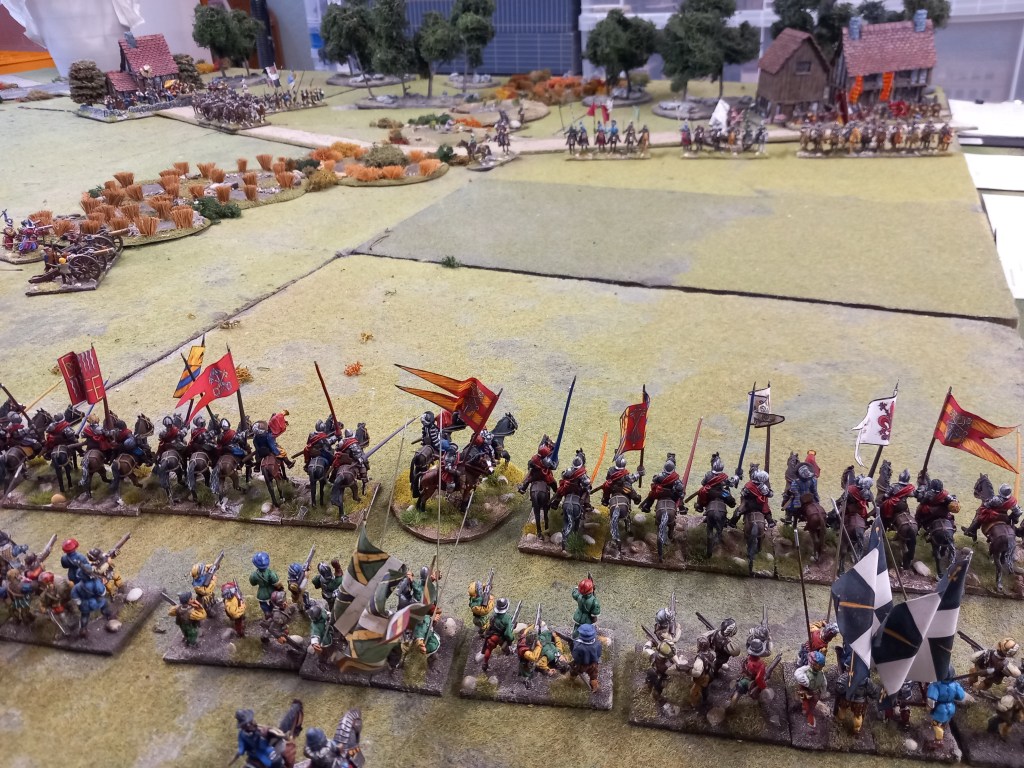
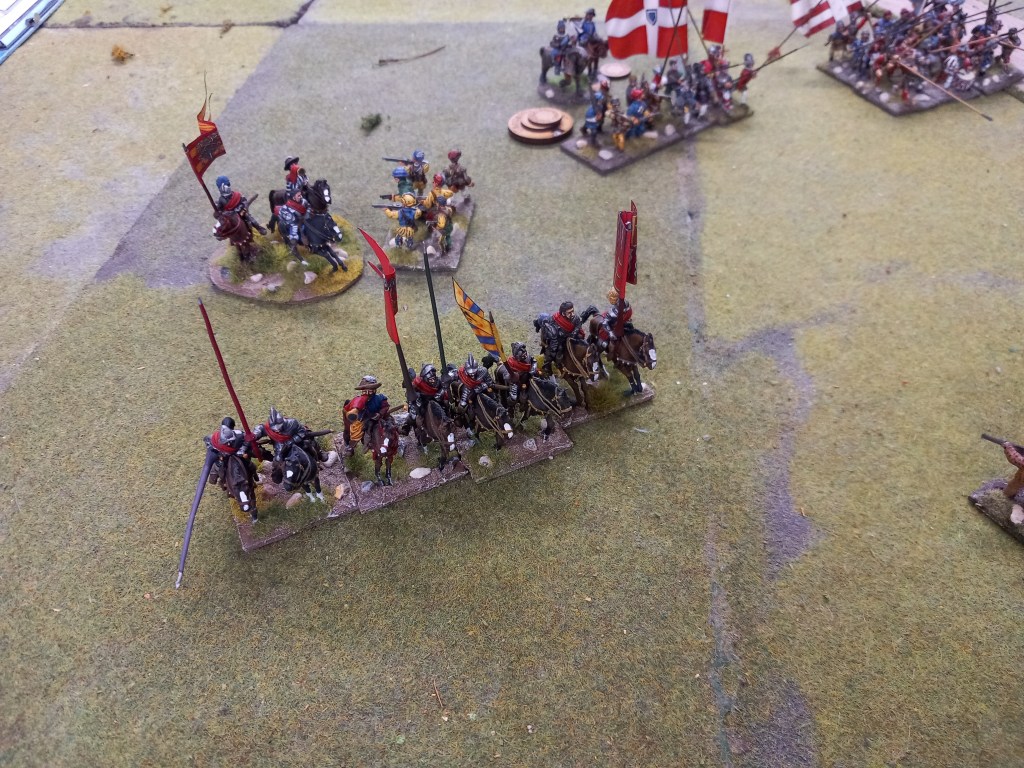
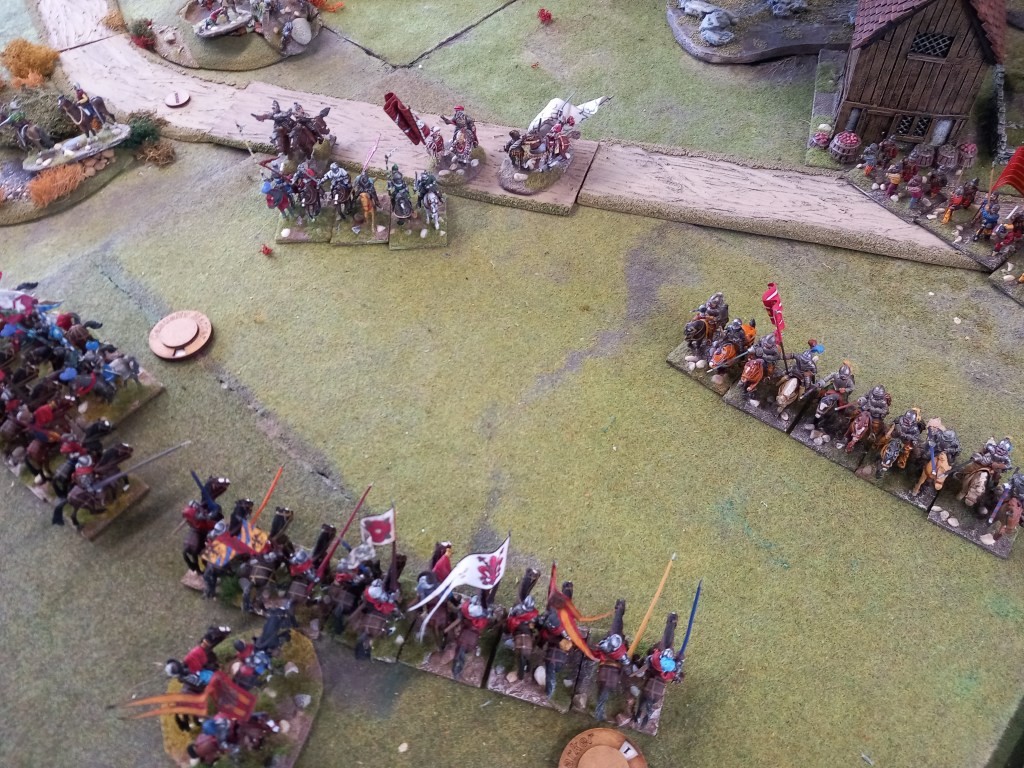
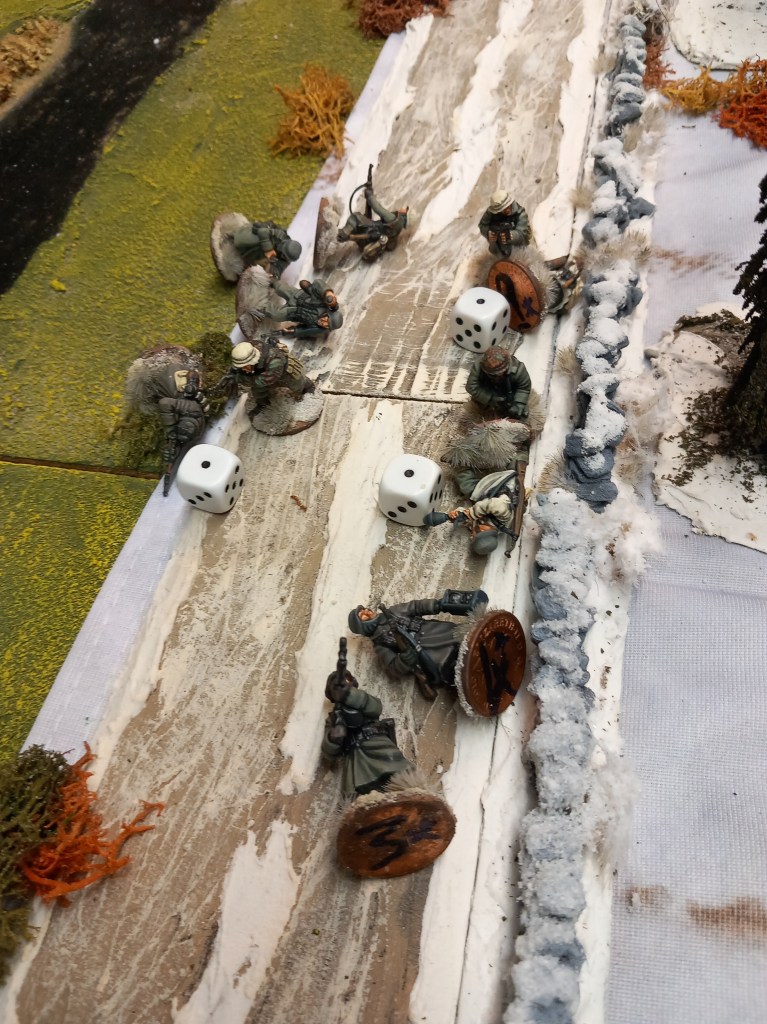
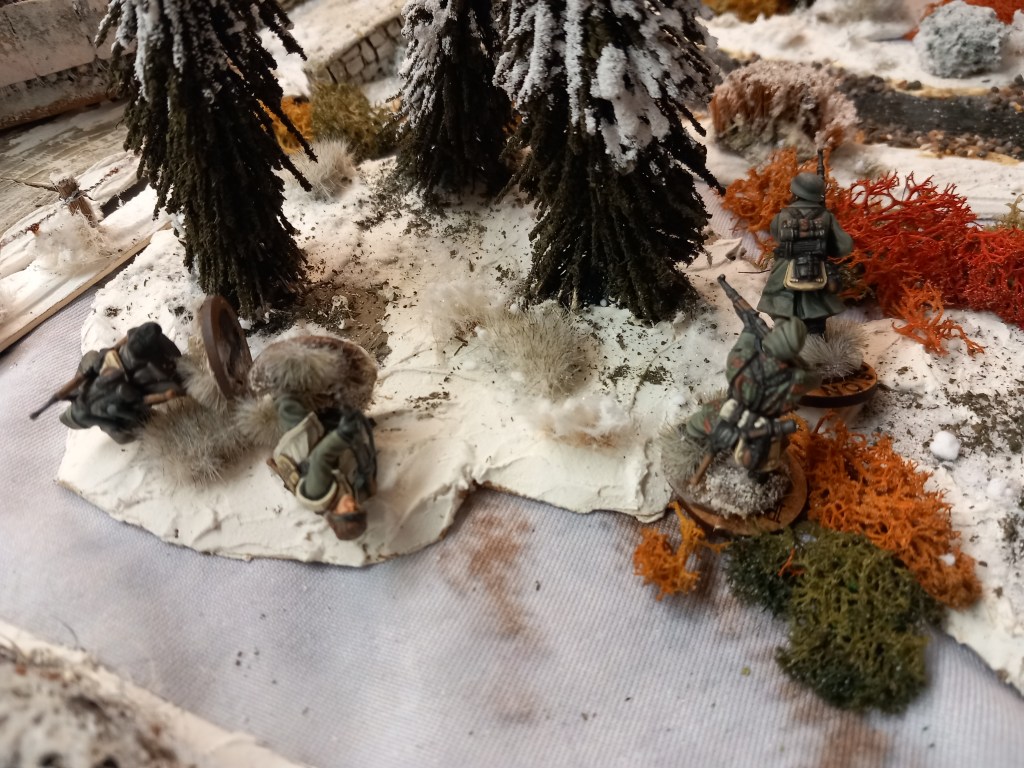
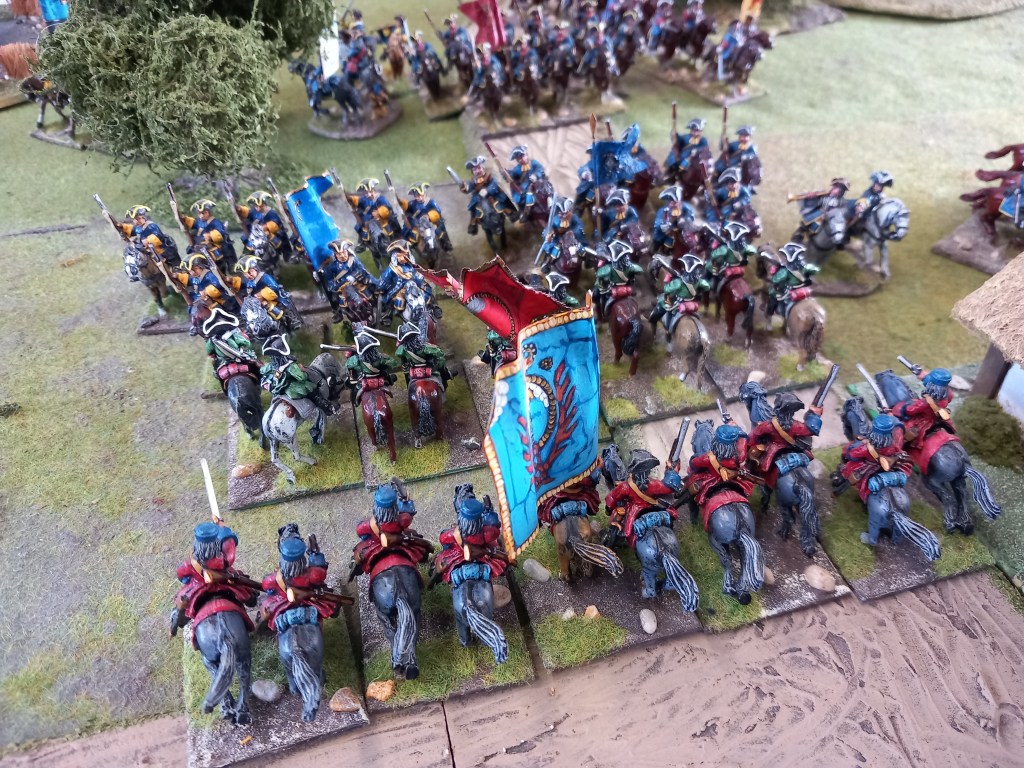
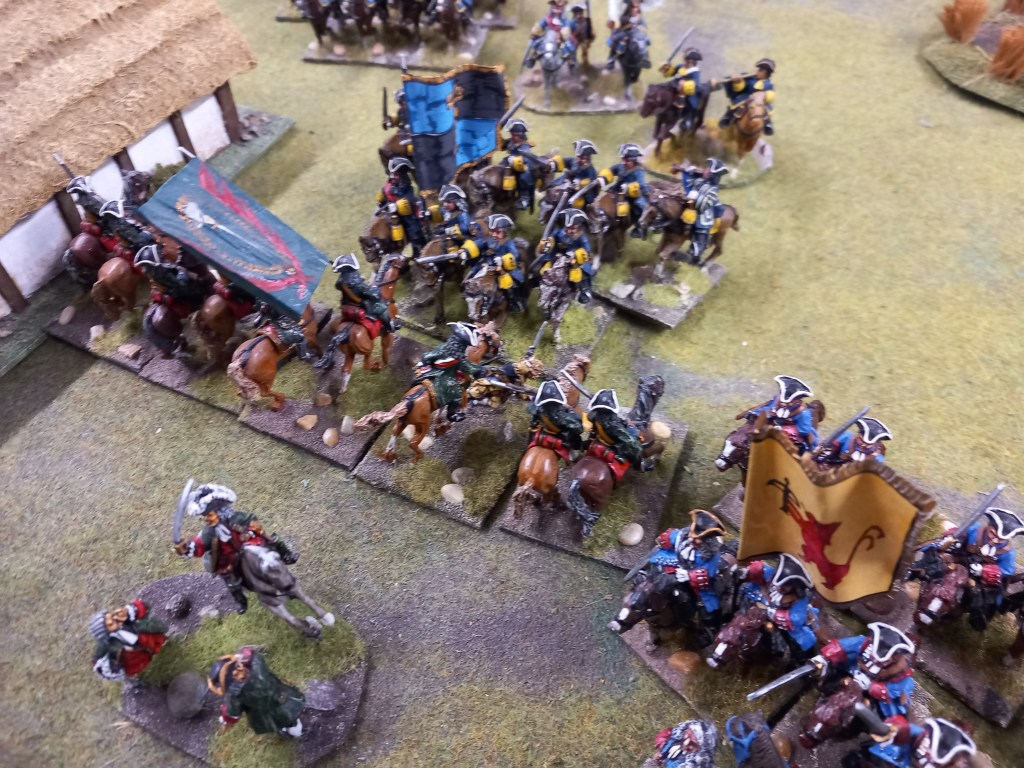
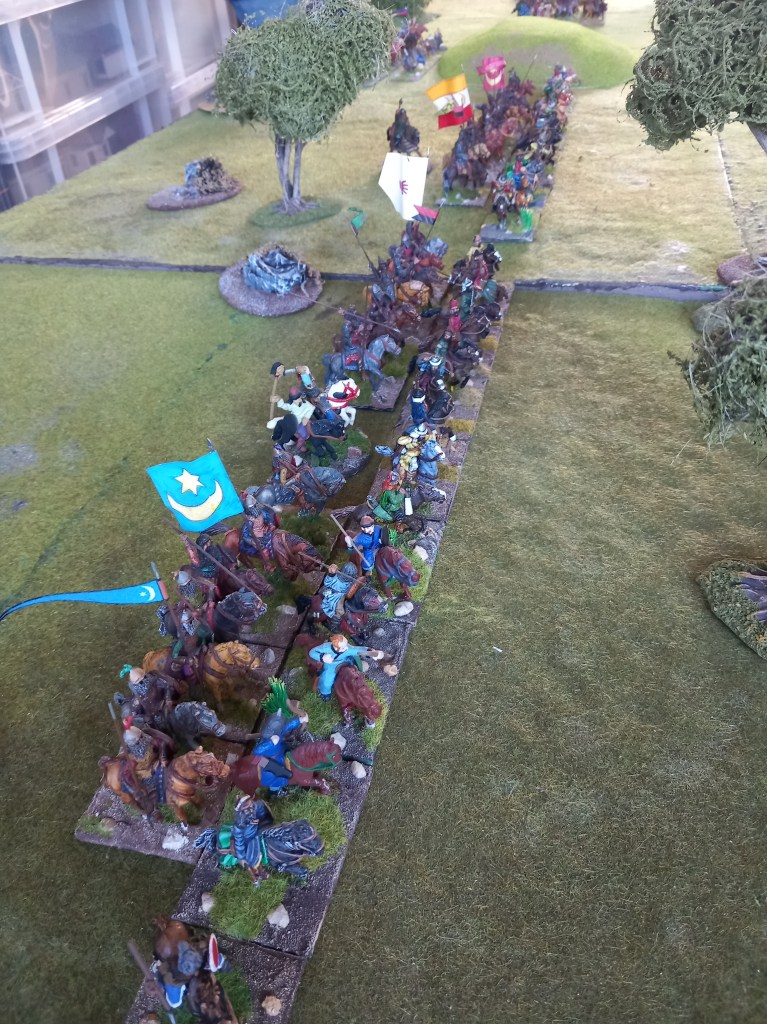
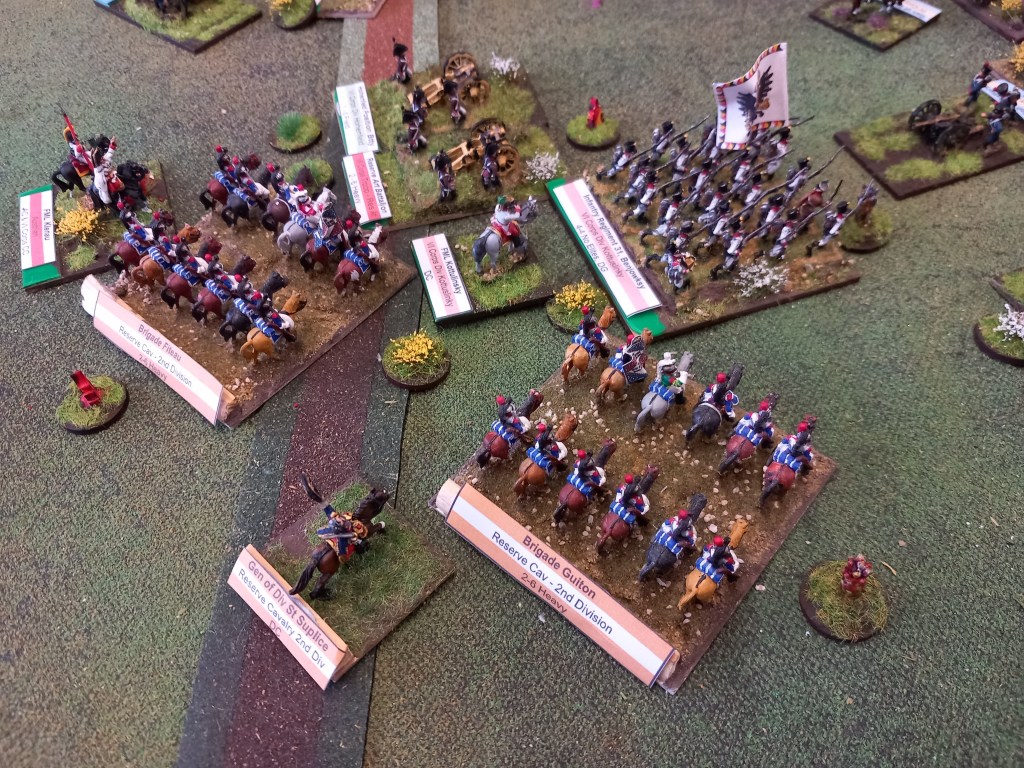
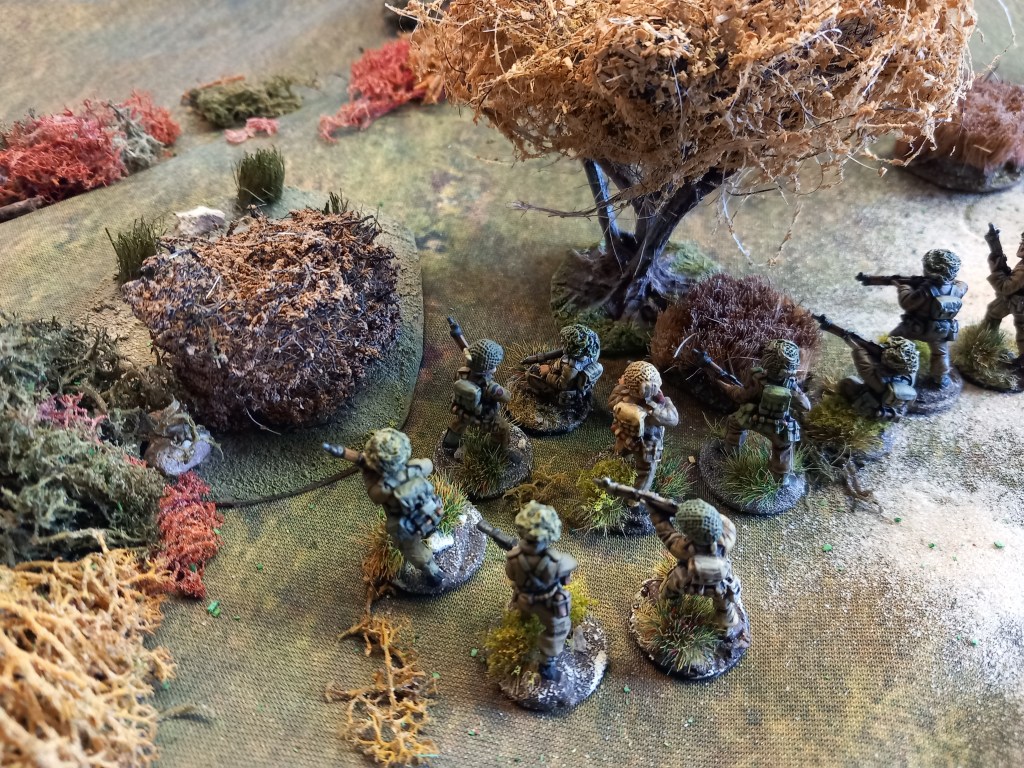
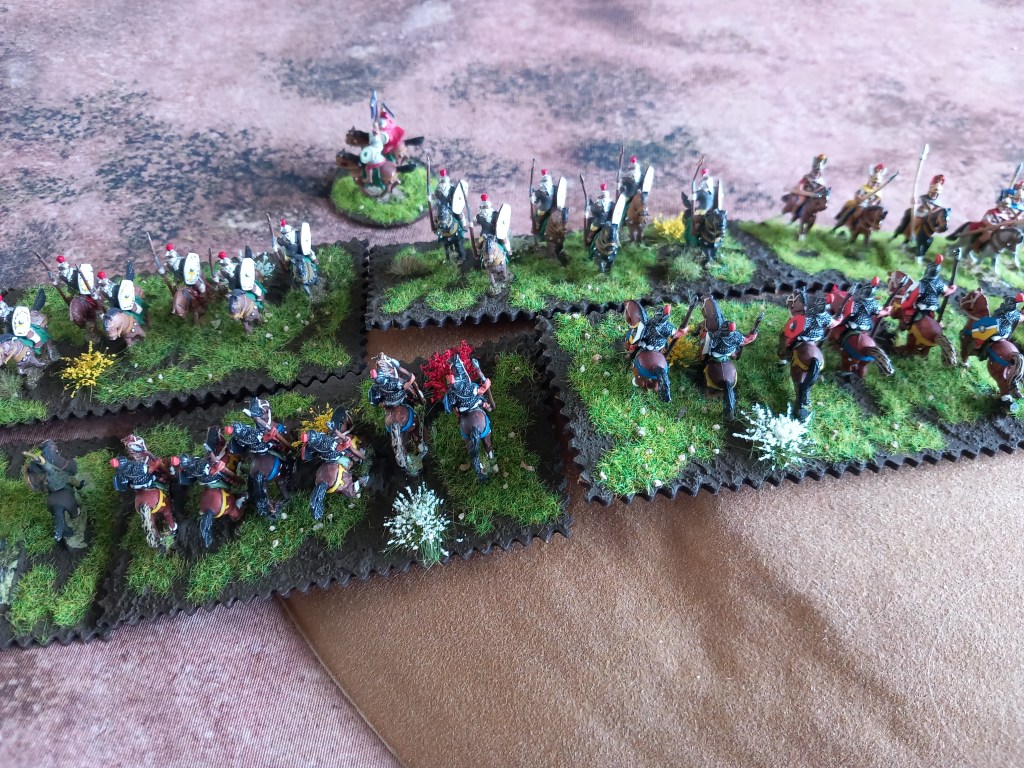
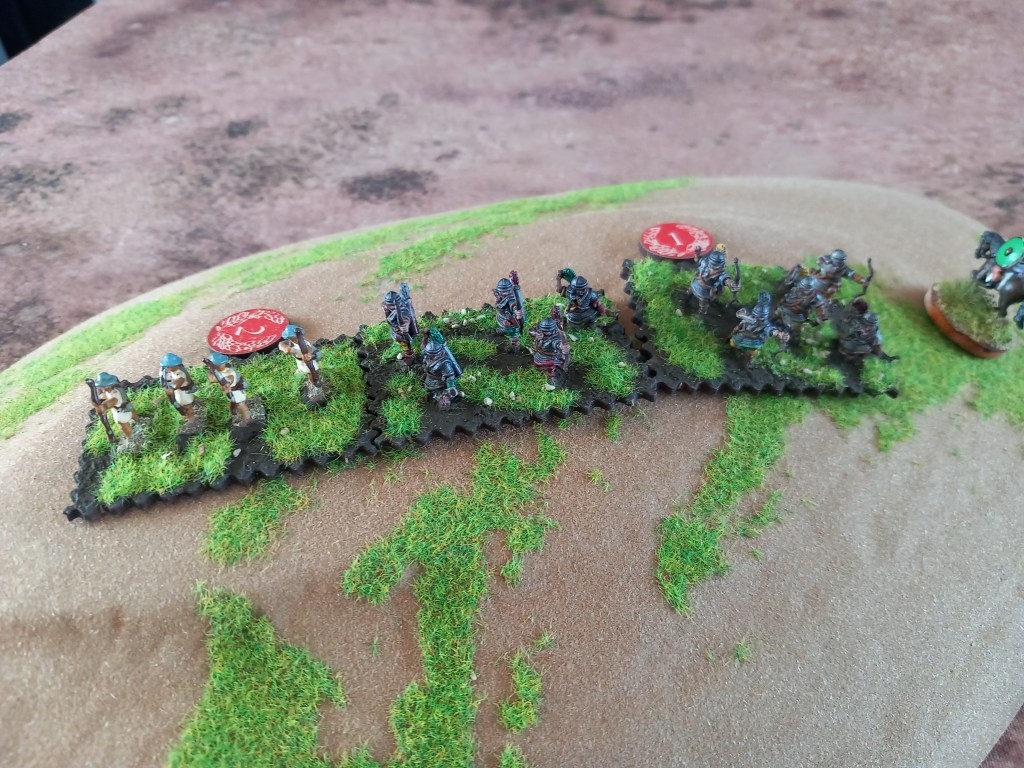
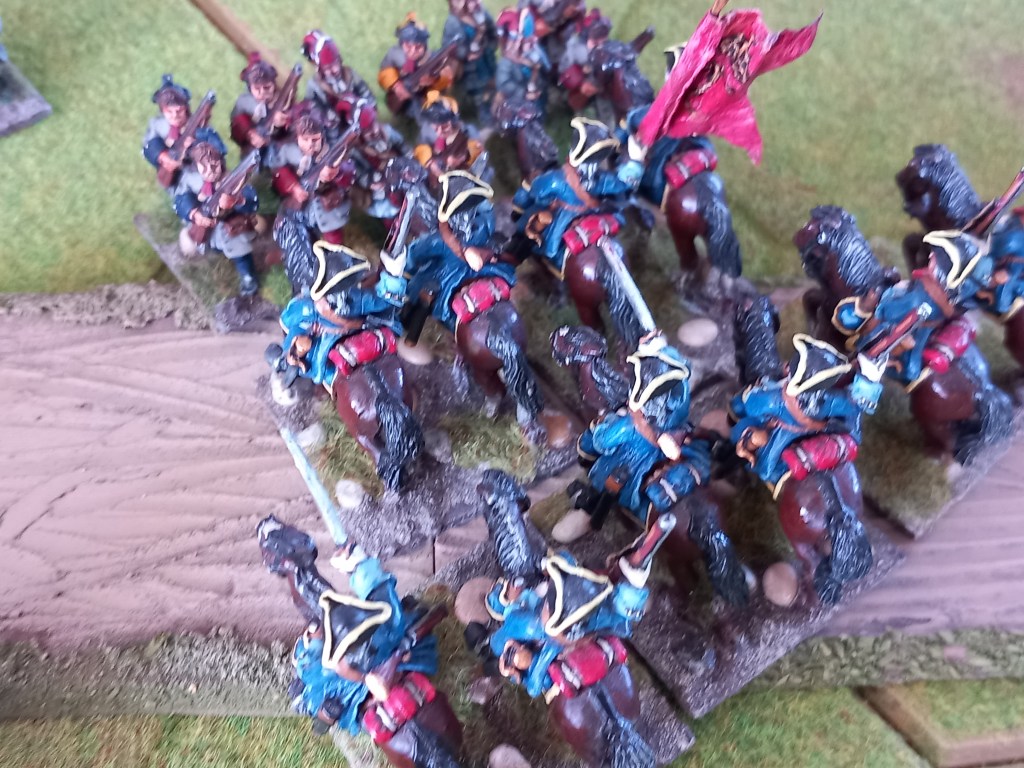
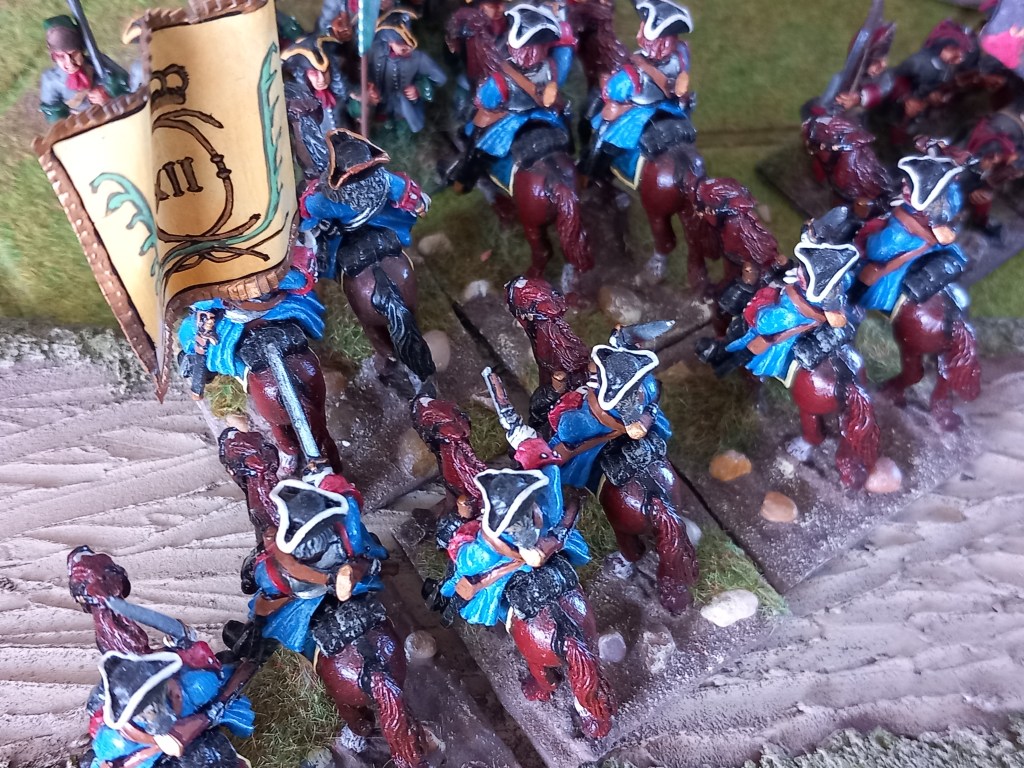
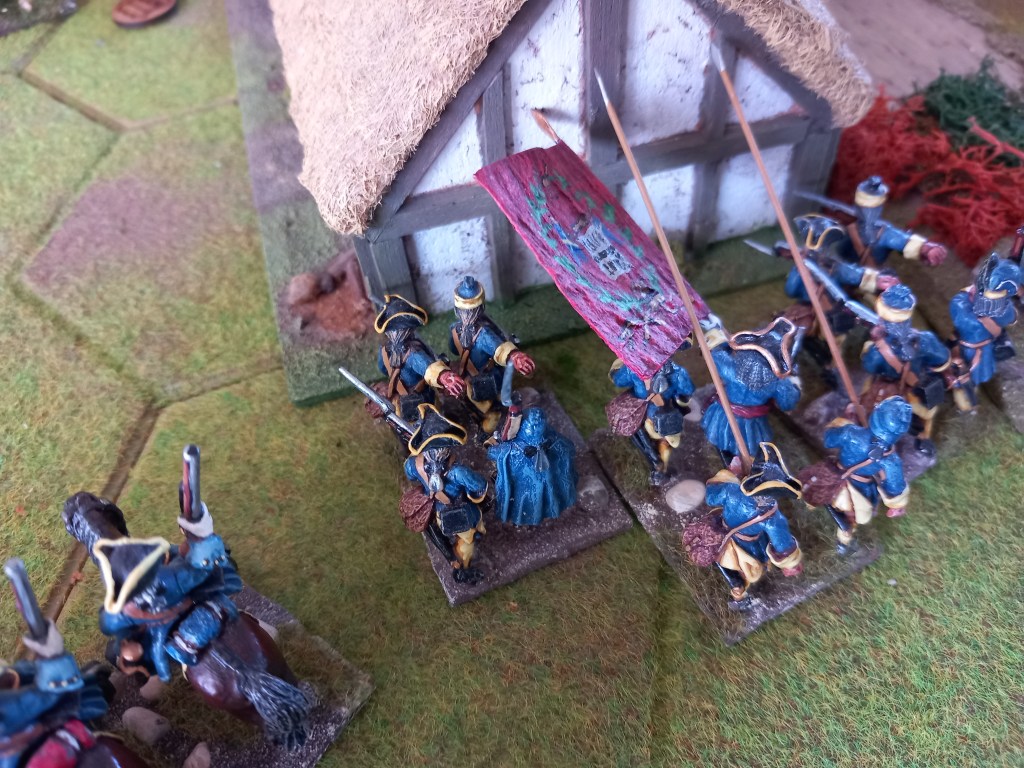
Our last game was a return to our GNW collection but this time Swedes v Danes in a fairly balanced encounter game around a village and a river crossing.
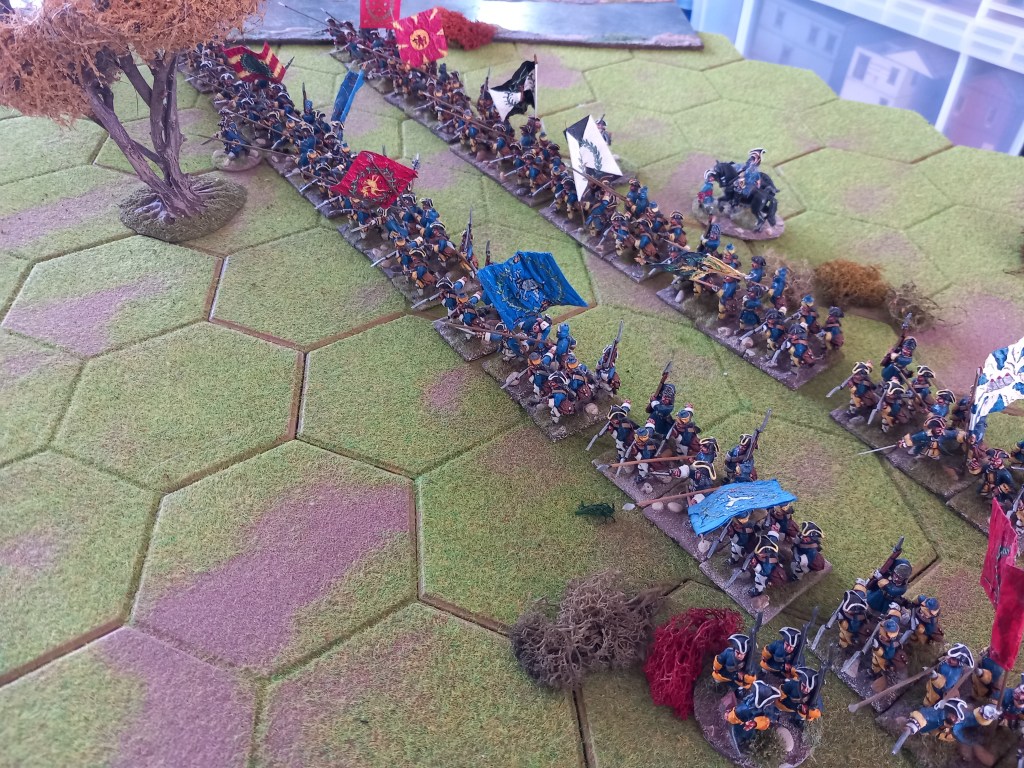
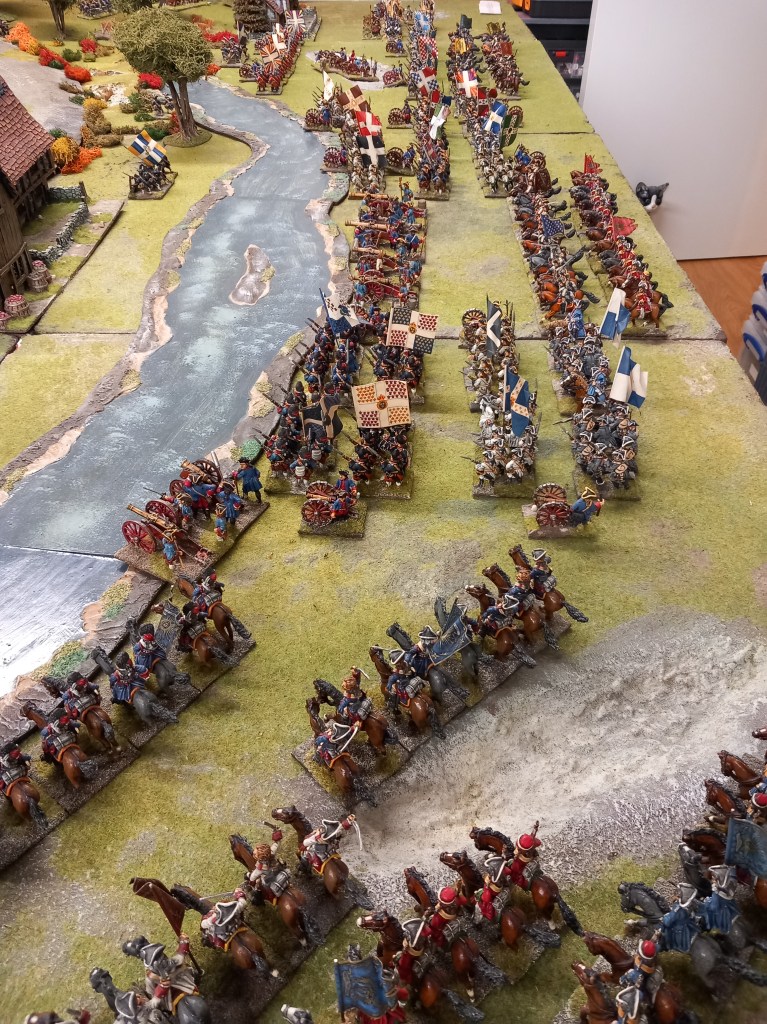
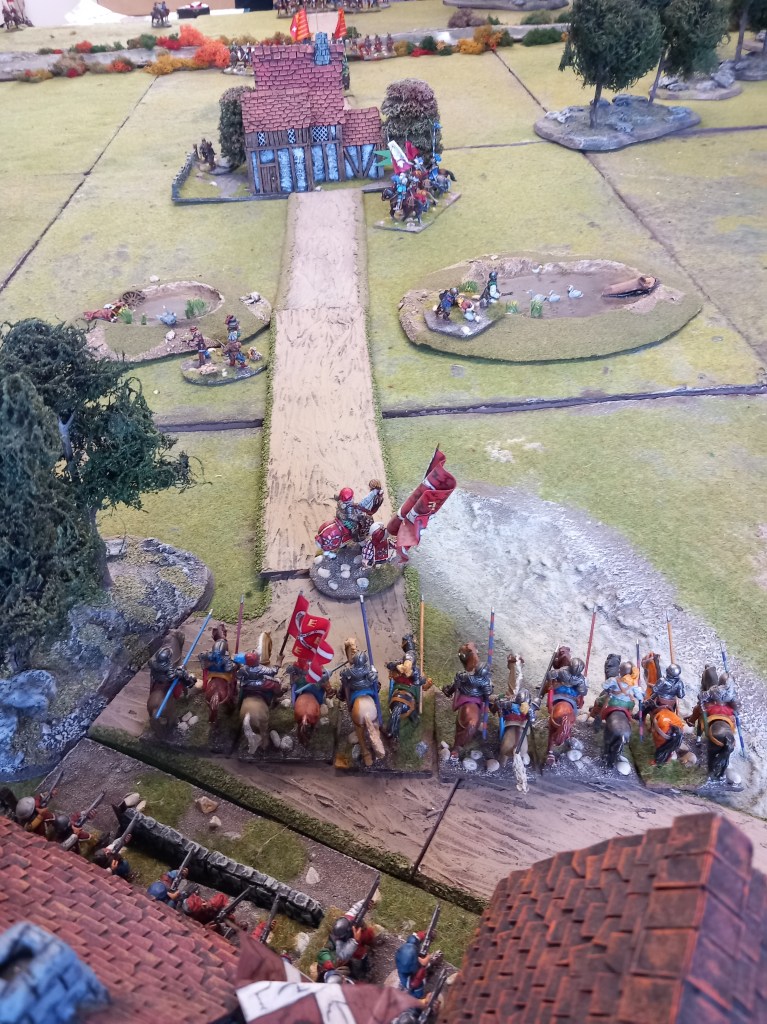
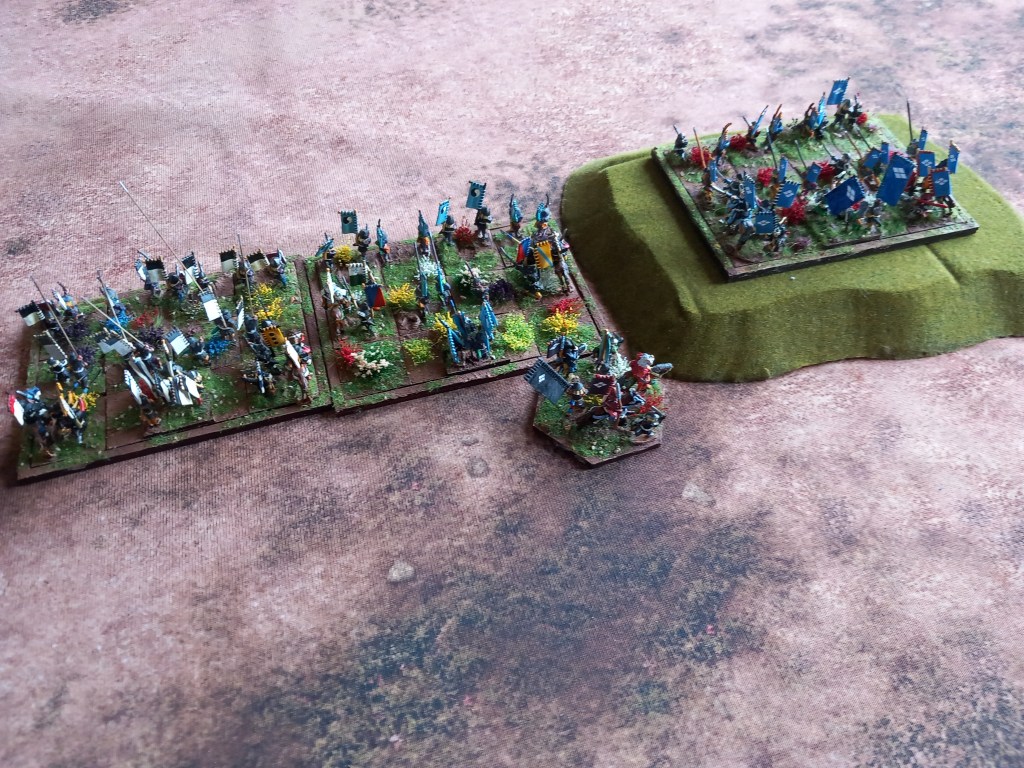
The Swedes comprised 4 infantry brigades in two divisions, one tasked with seizing the village and the other tasked with destroying the infantry on the Danish right of the village. The cavalry were in two brigades, one deployed out on the left to attack the enemy infantry in advance of their own infantry and then break through to swing behind the Danish line, the other was to cross the river bridge in the centre and swing out to the right where a couple of Danish militia brigades looked like easy pickings.
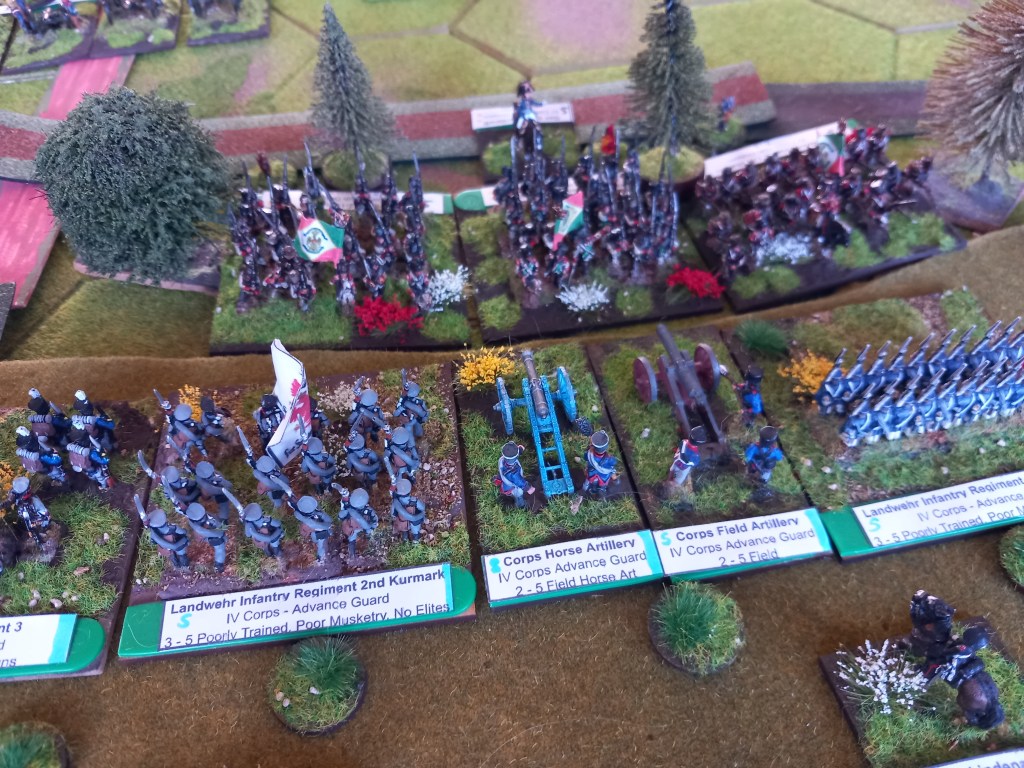
The Danes had a wide range of troop types and sought to use them as effectively as they could. The two weak militia brigades were stuck right out on the left to guard a secondary bridge crossing and hopefully not get involved in any serious fighting – these were the guys singled out for some Swedish cavalry attention. The Lieb brigade and the Foot Guards brigade were deployed to advance and hold the village – they were slightly closer than their Swedish opposite numbers so should make it while on either flank two line brigades, stiffened by a combined grenadier battalion each, were to support. The sole cavalry brigade started the game at the back in reserve.
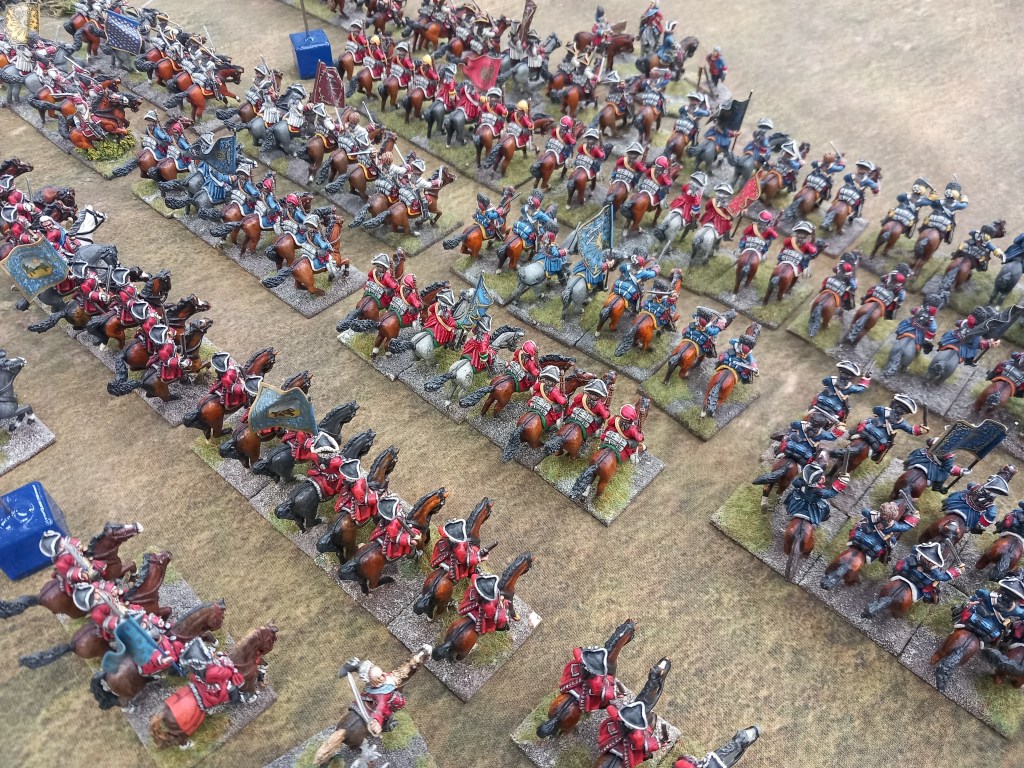
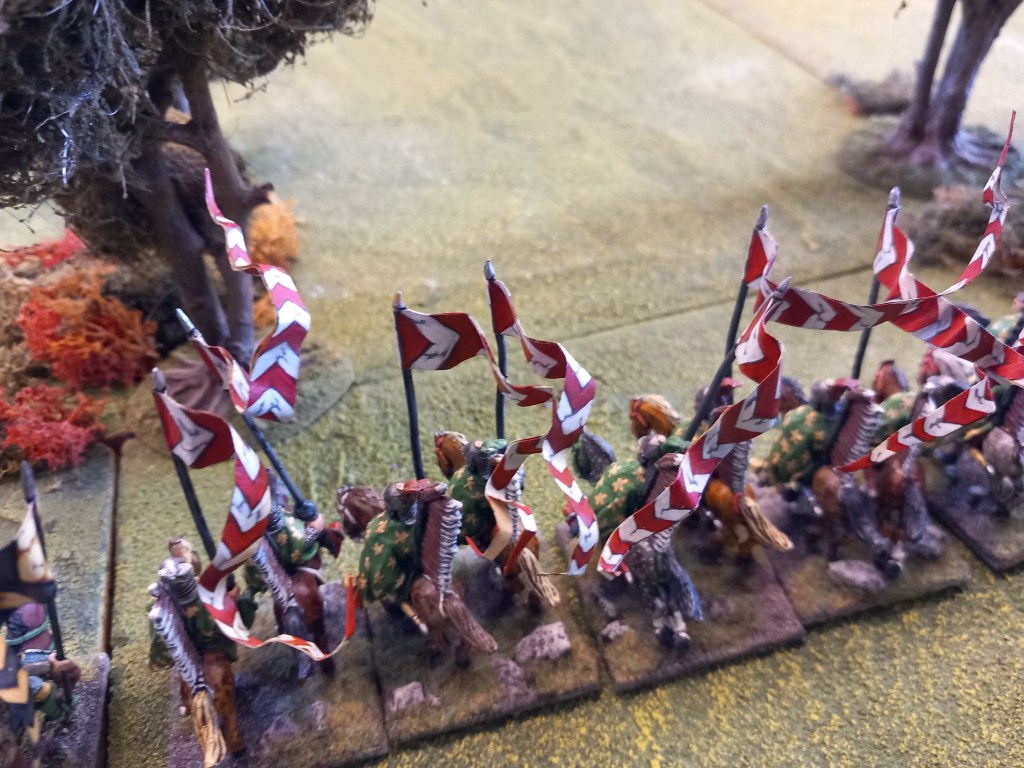
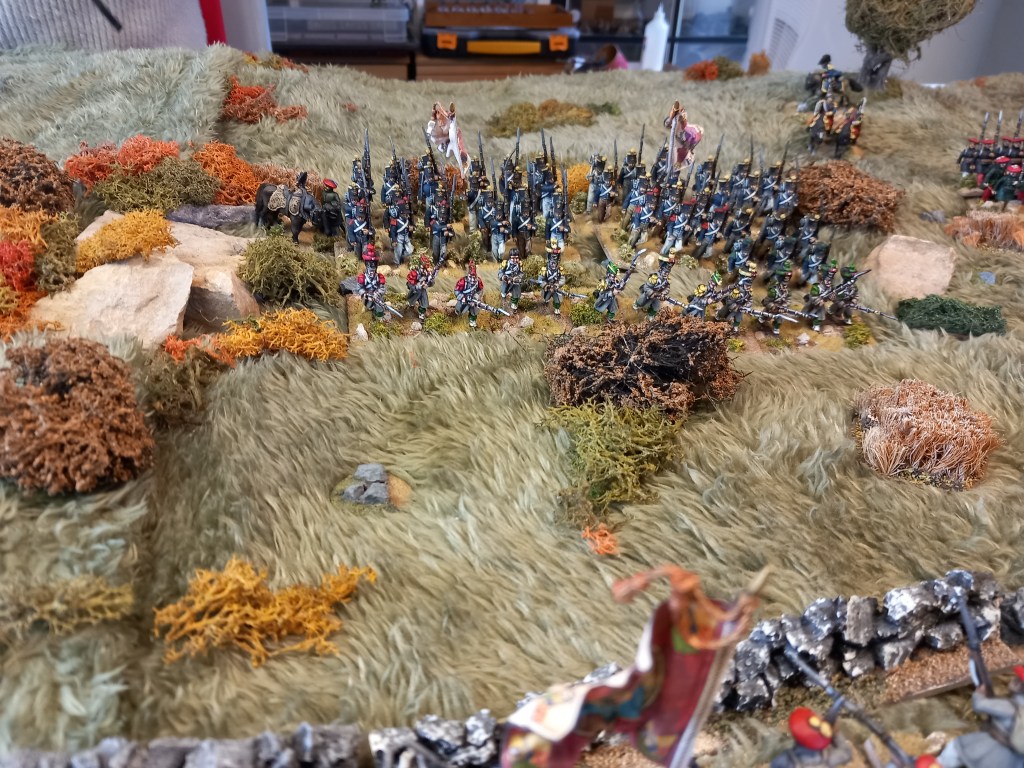
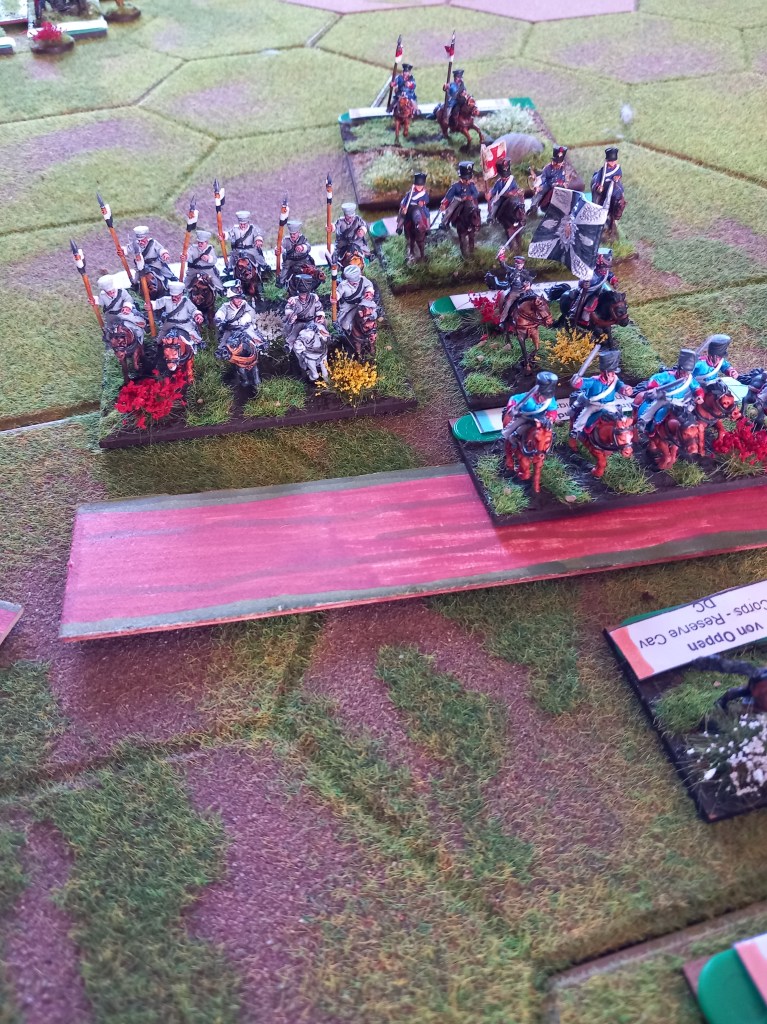
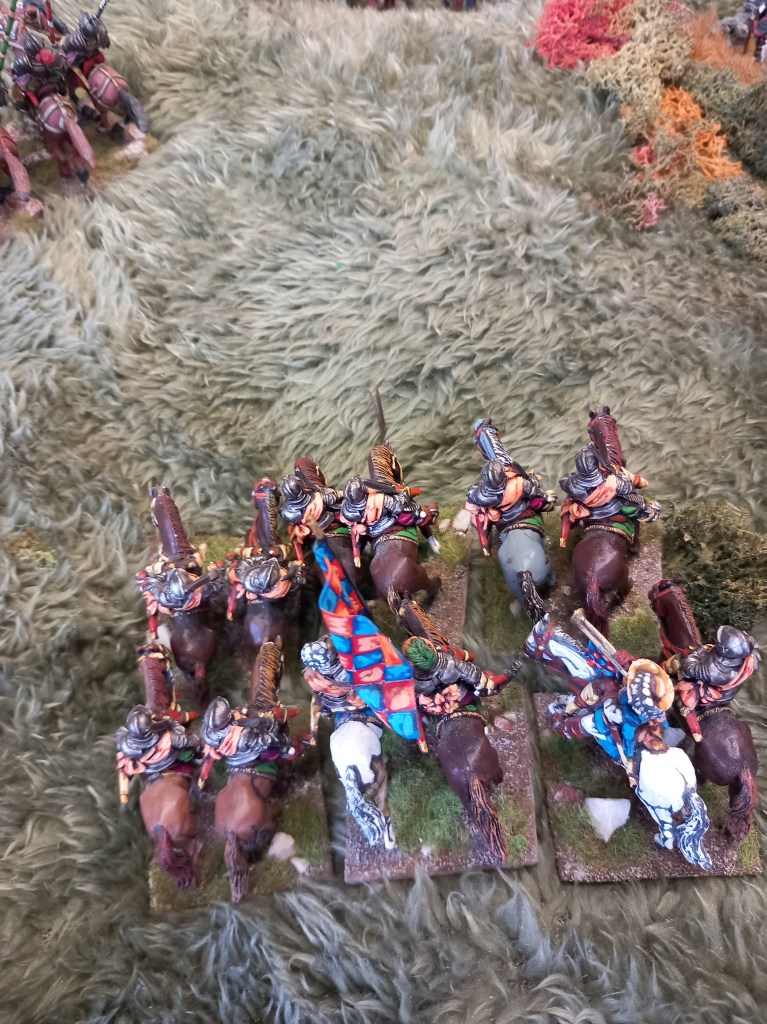
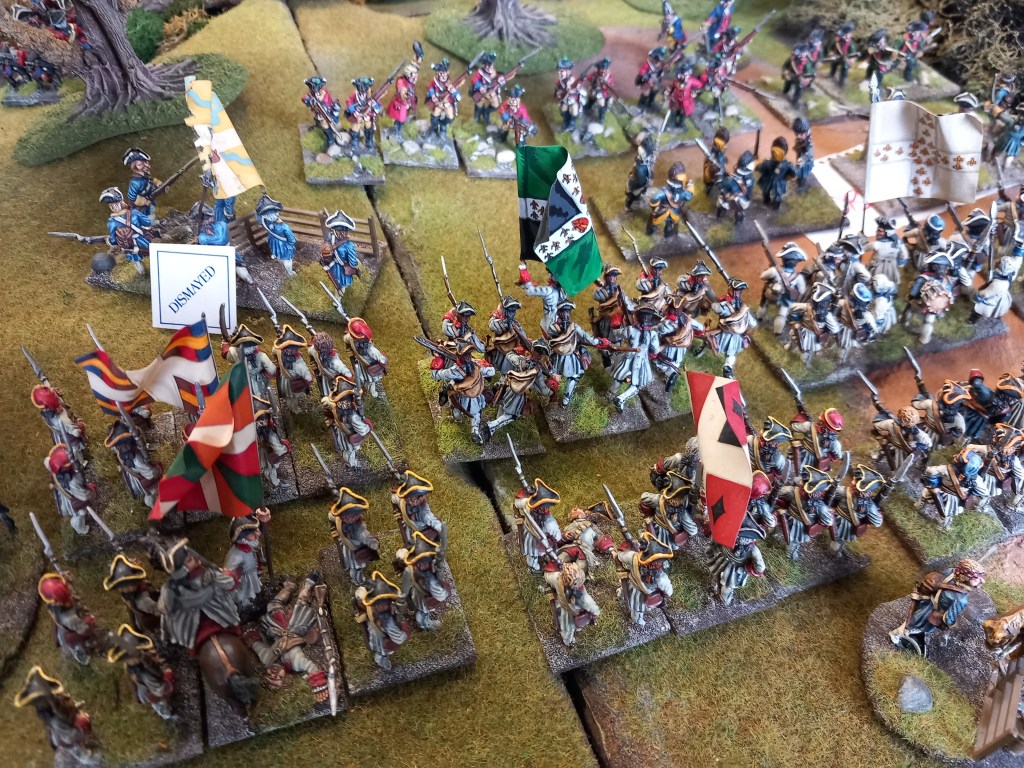
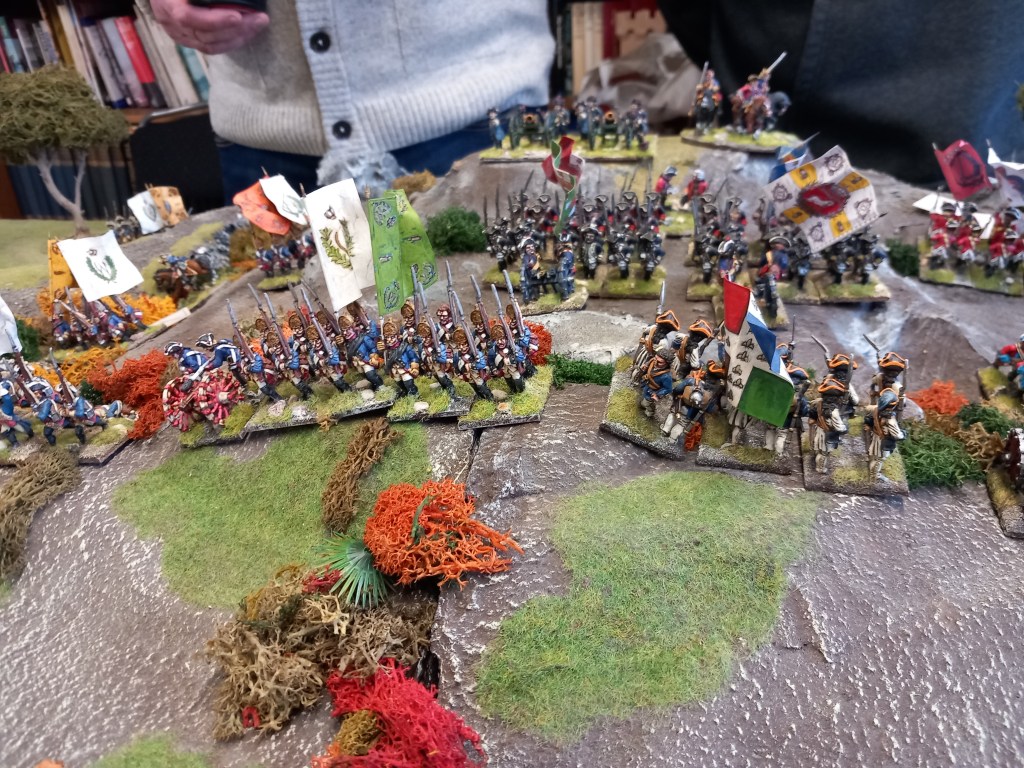
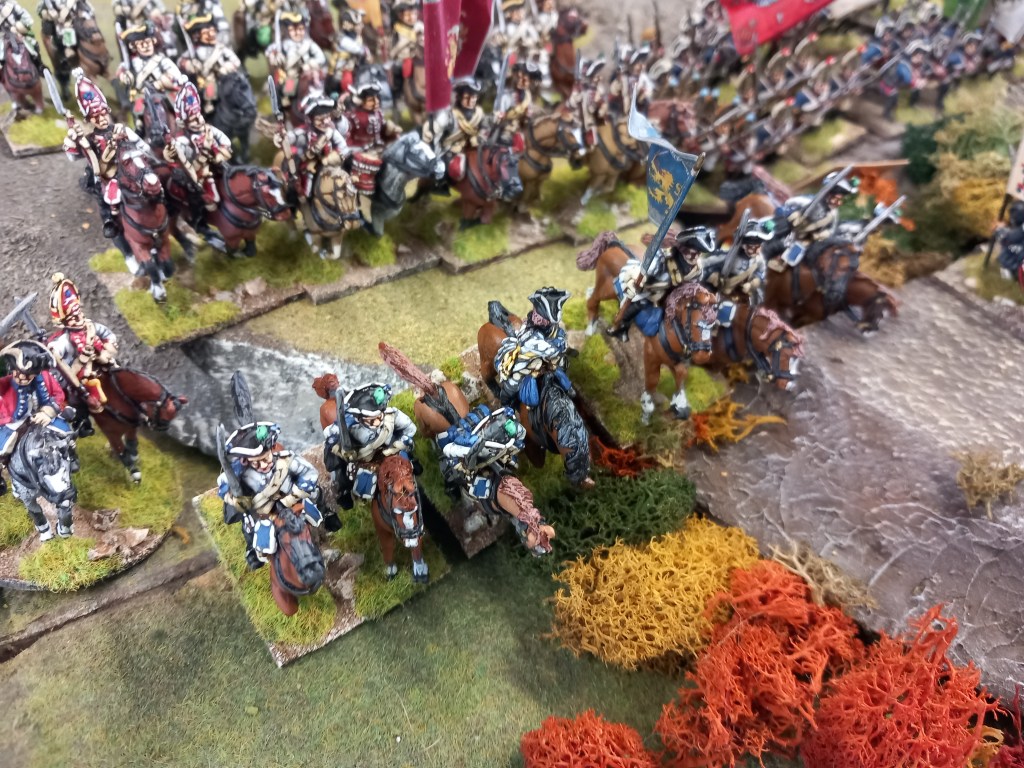
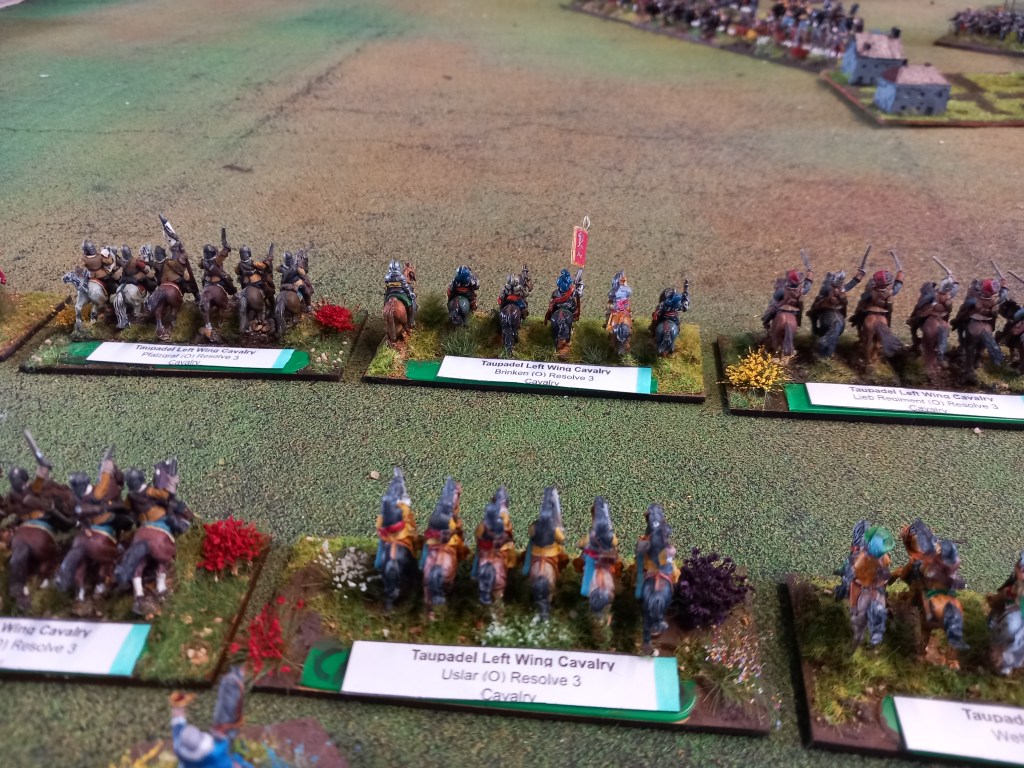
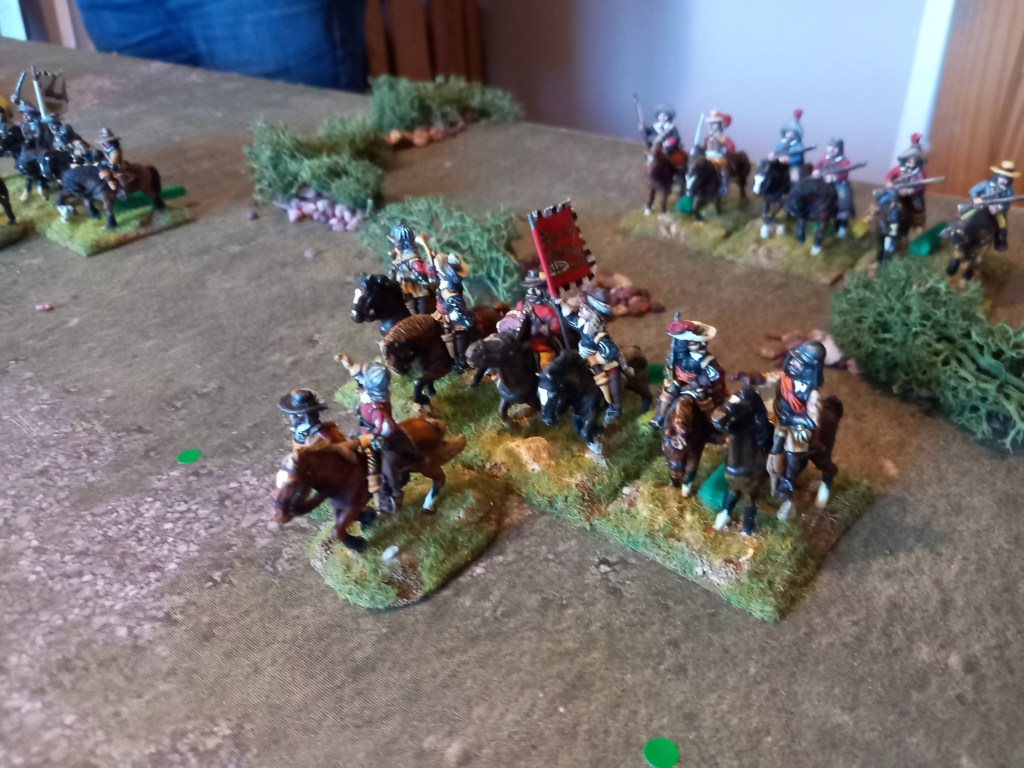
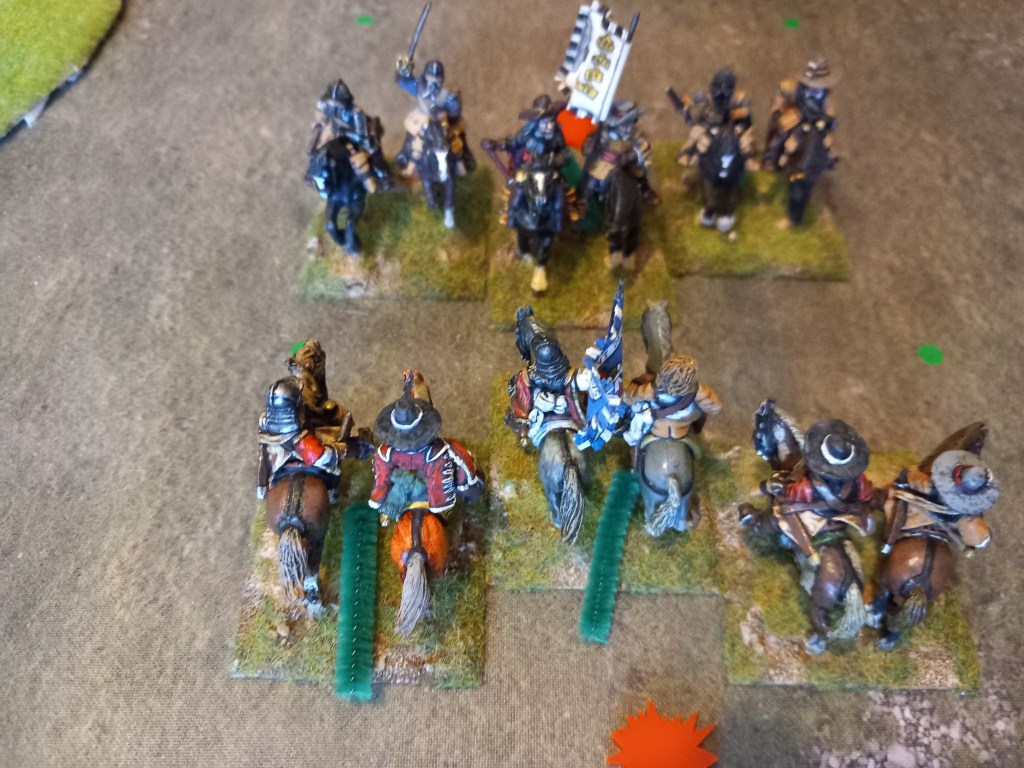
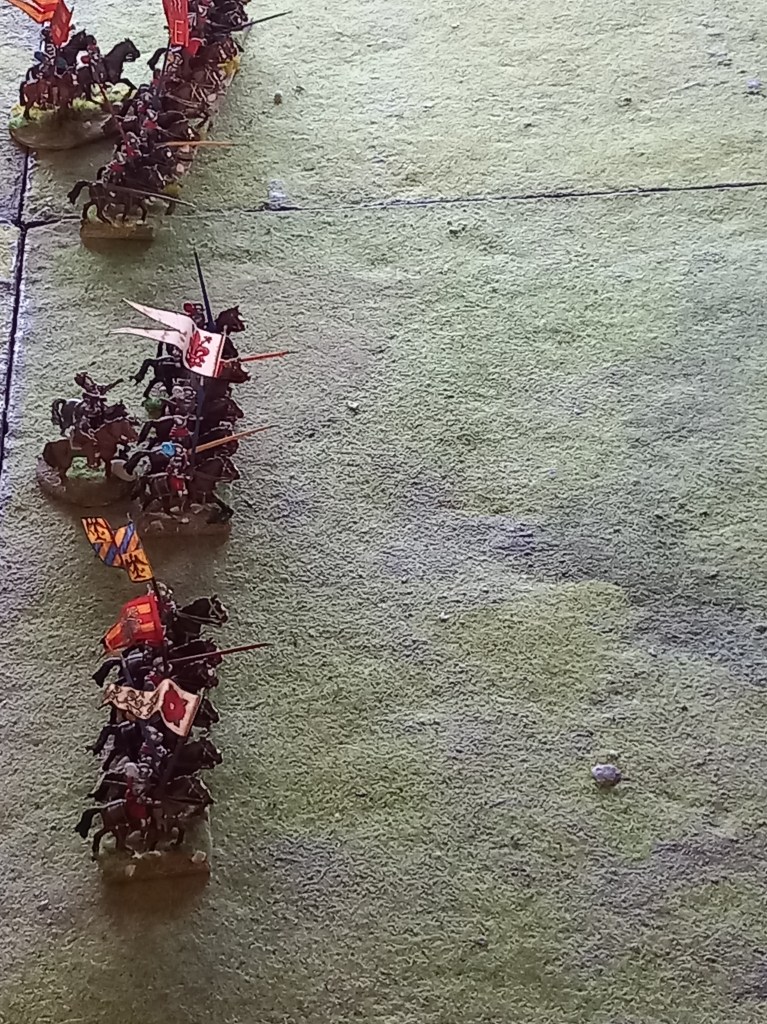
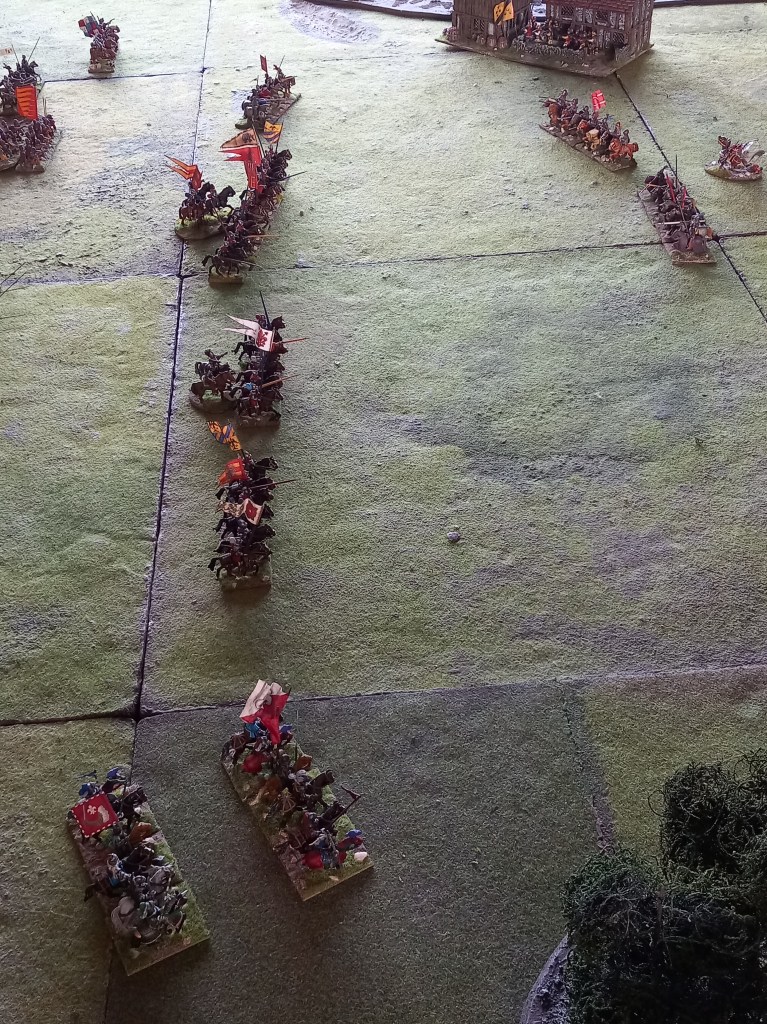
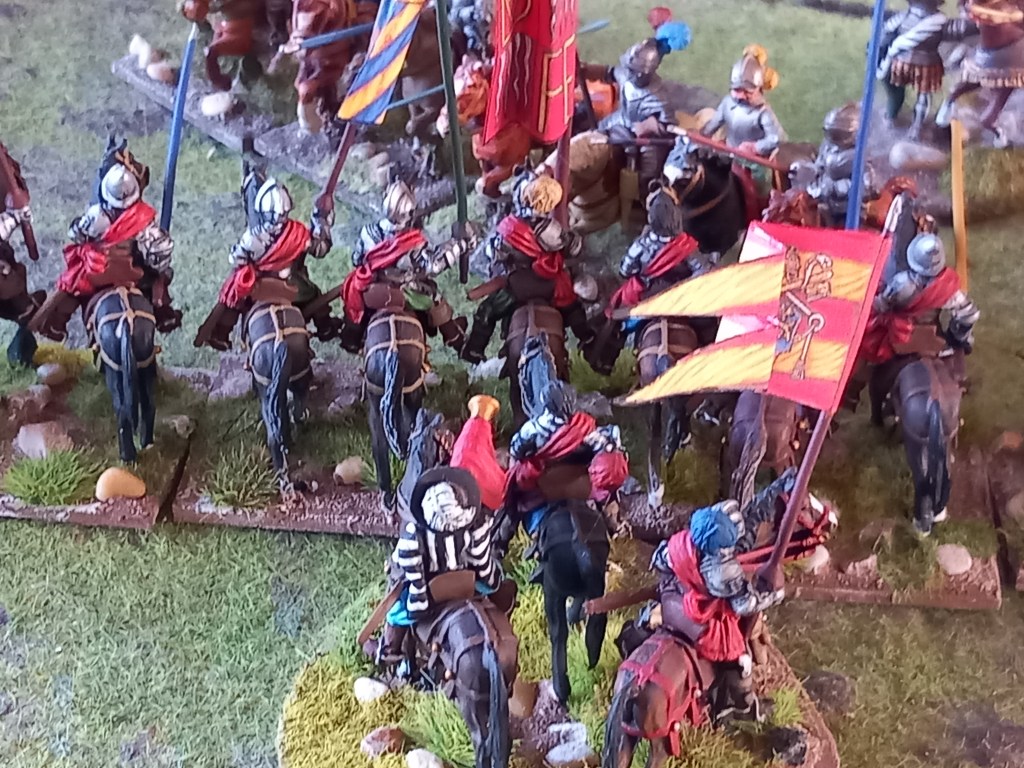
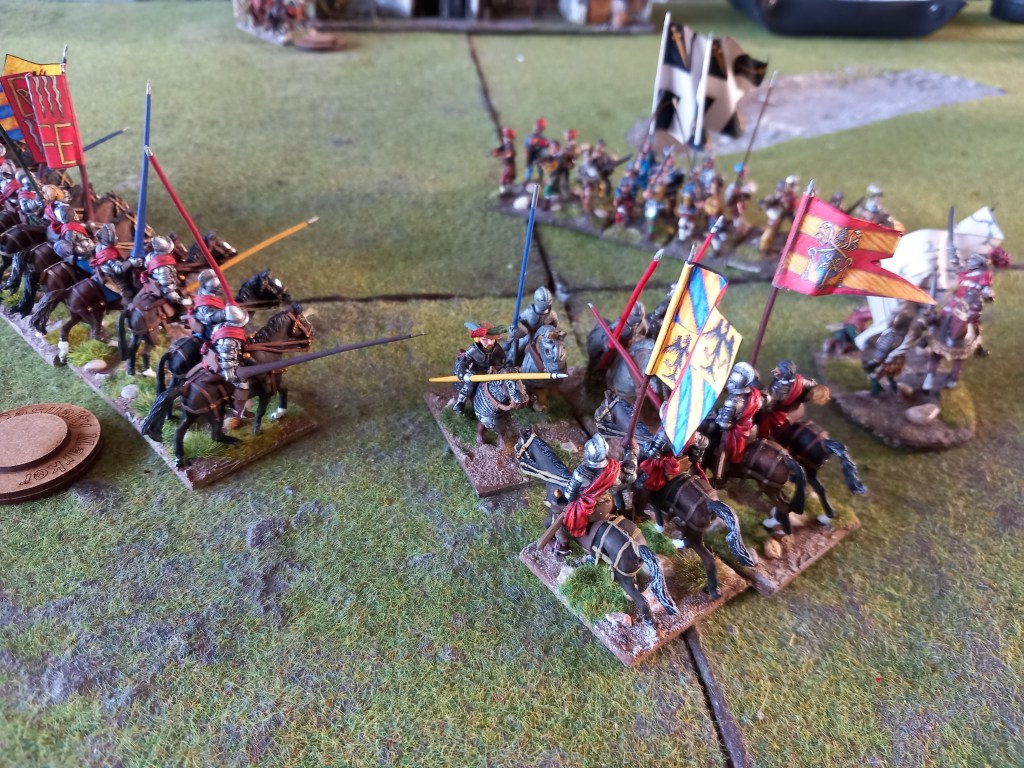
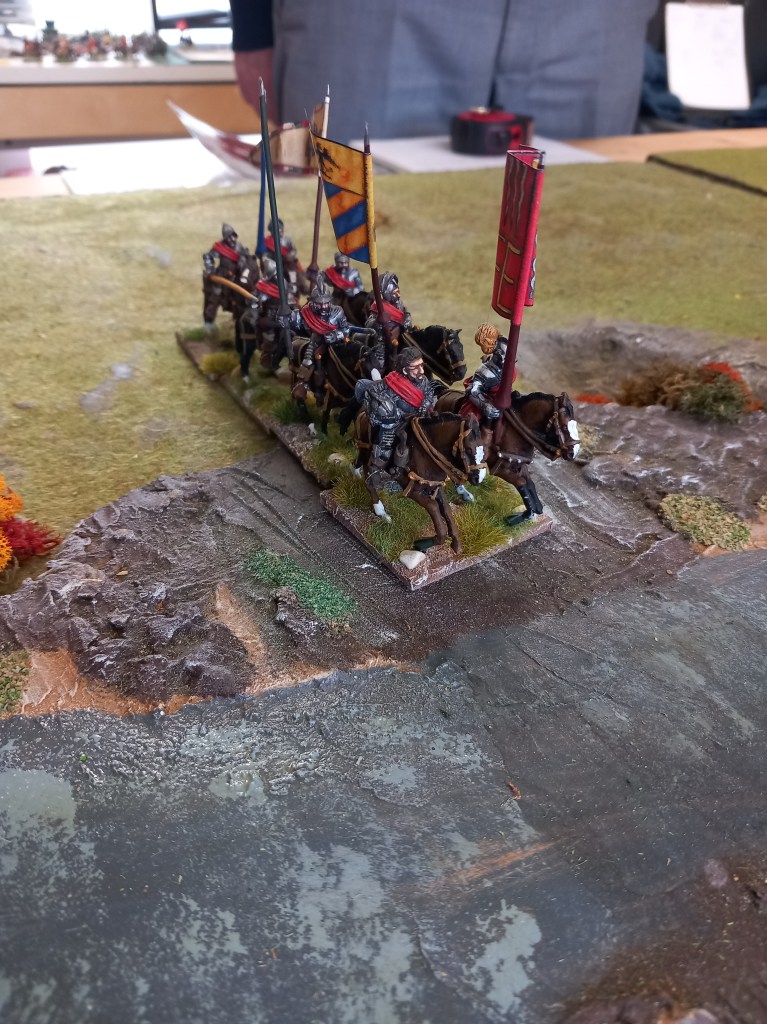
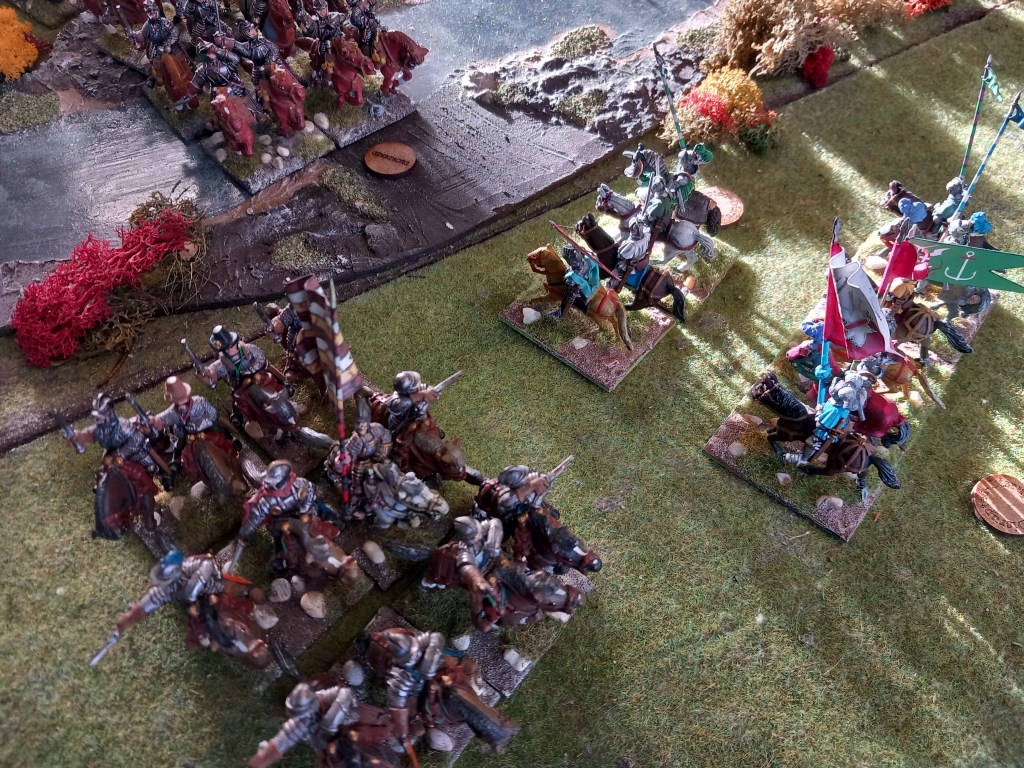
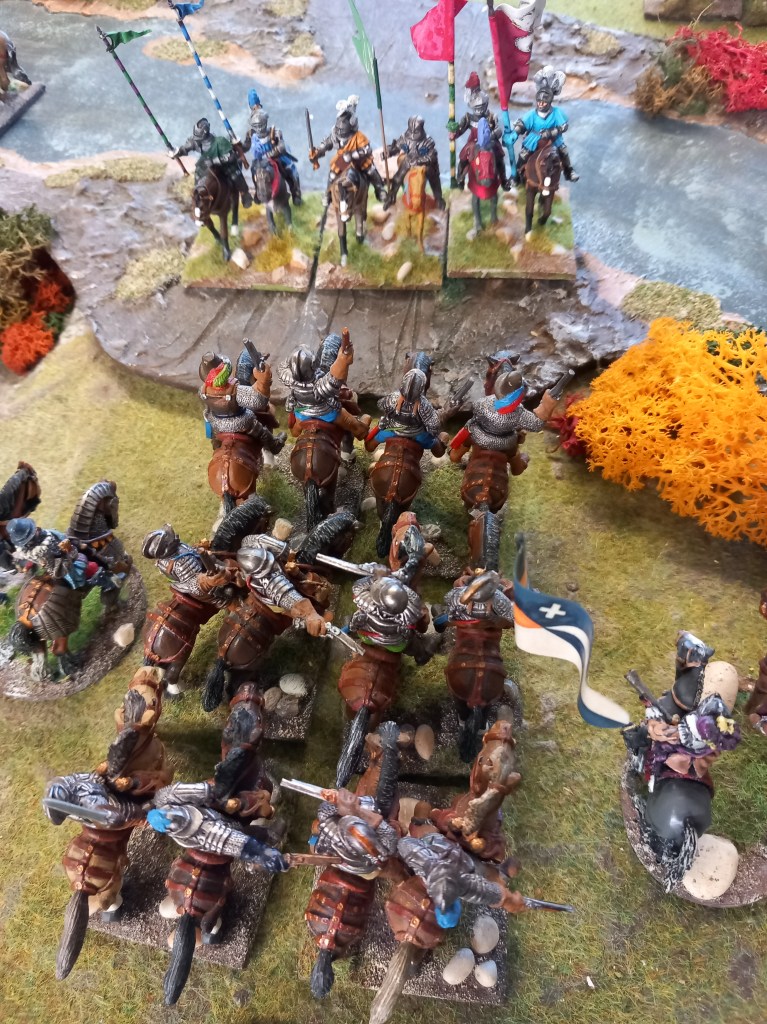
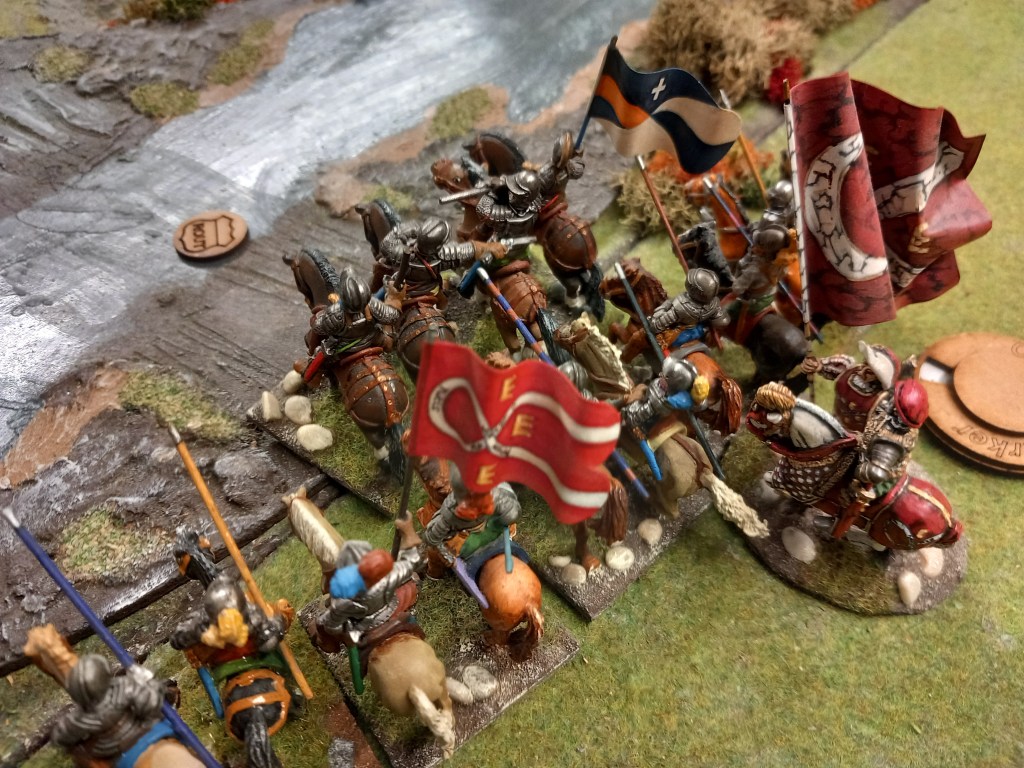
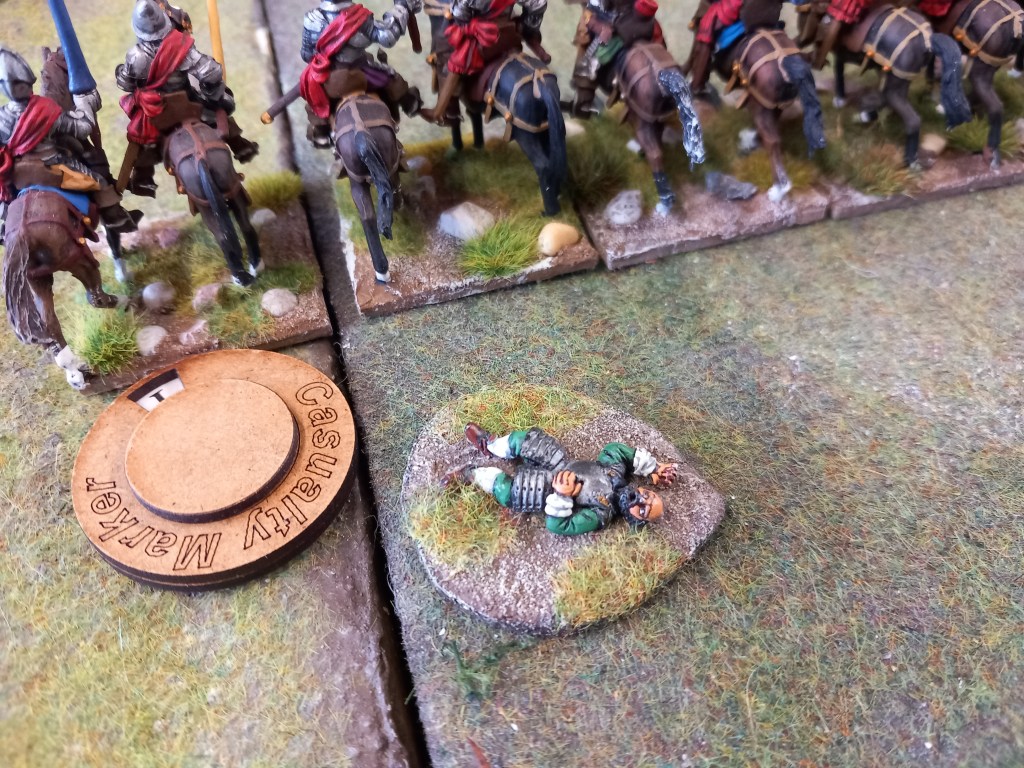
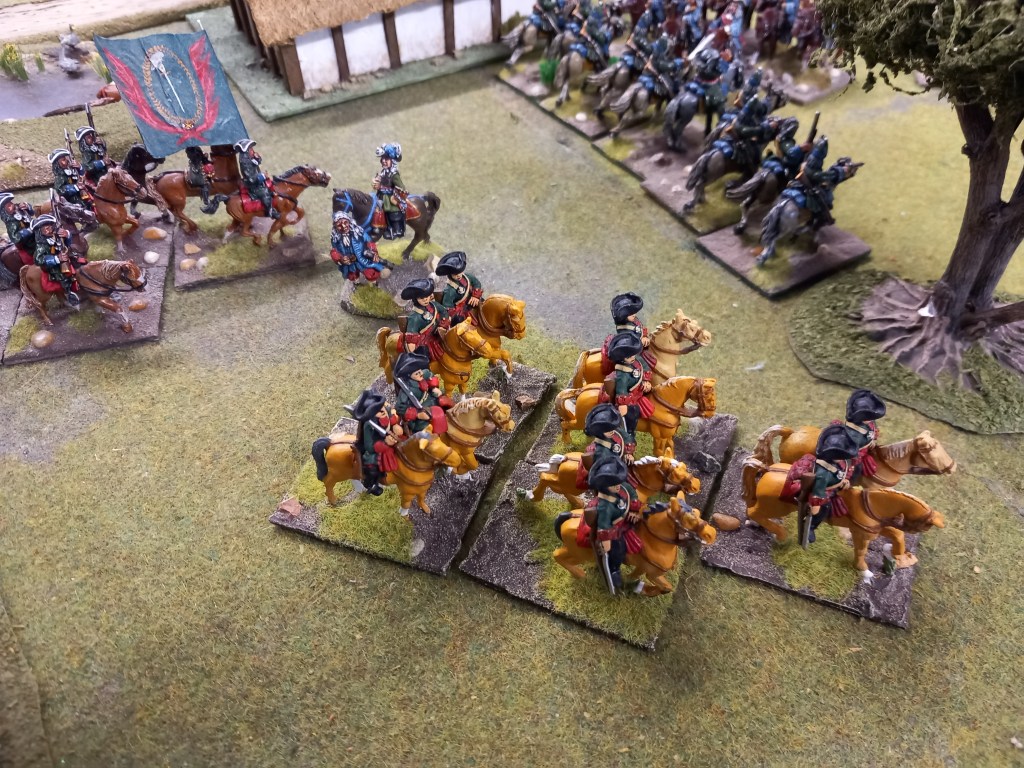
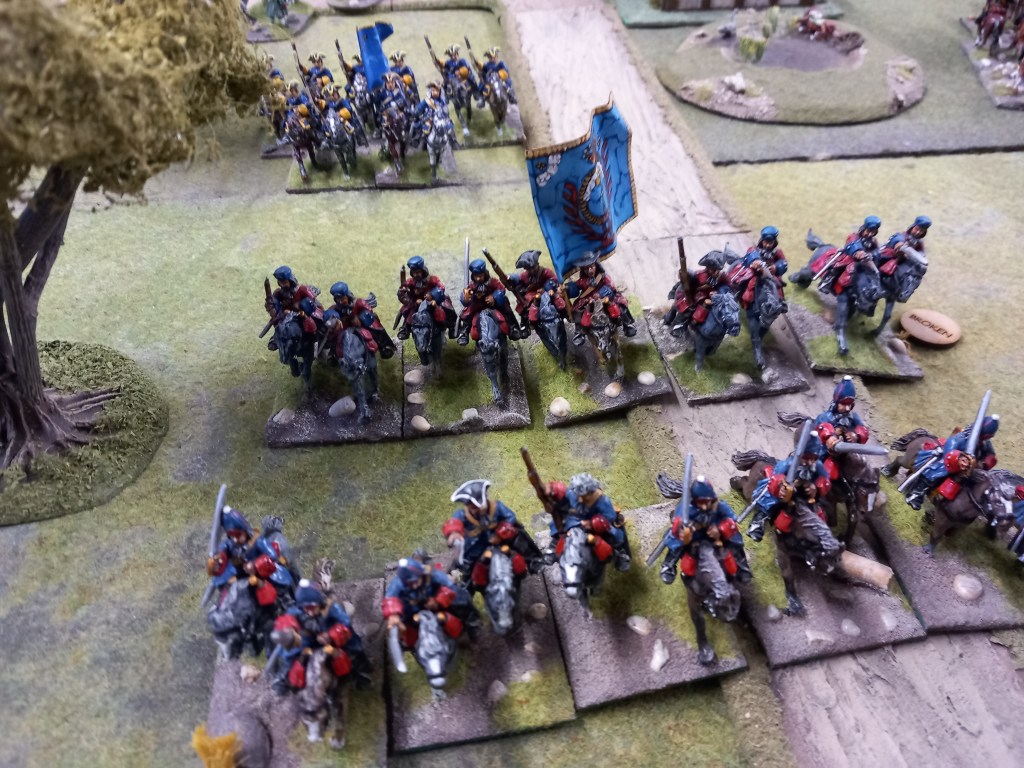
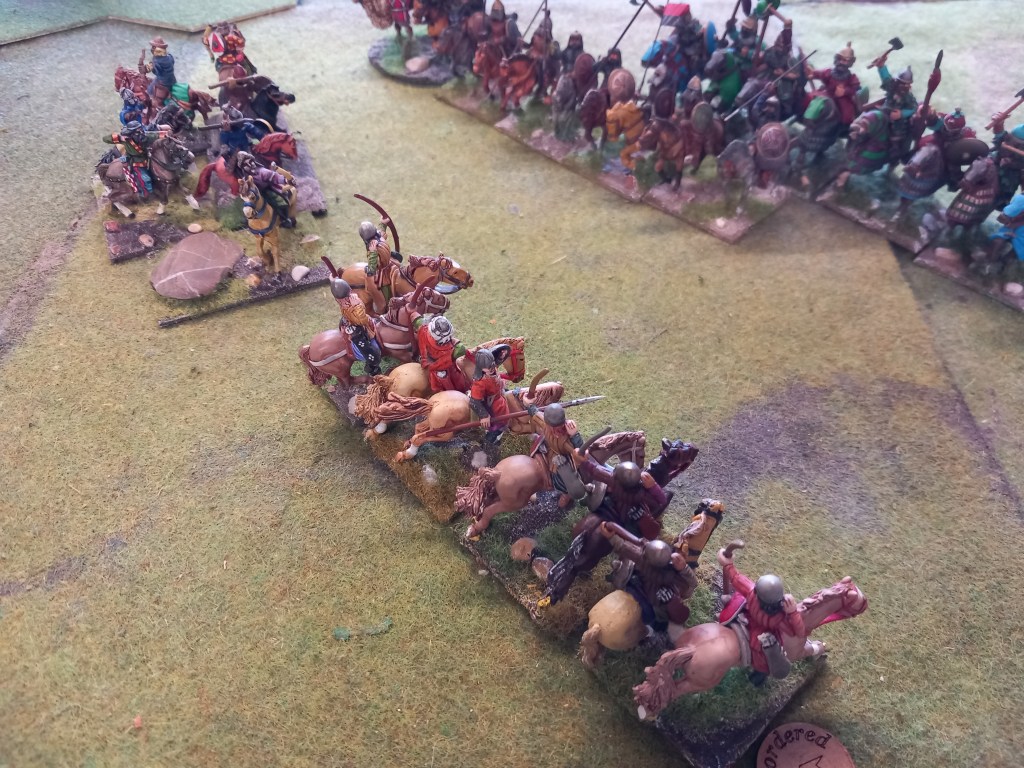
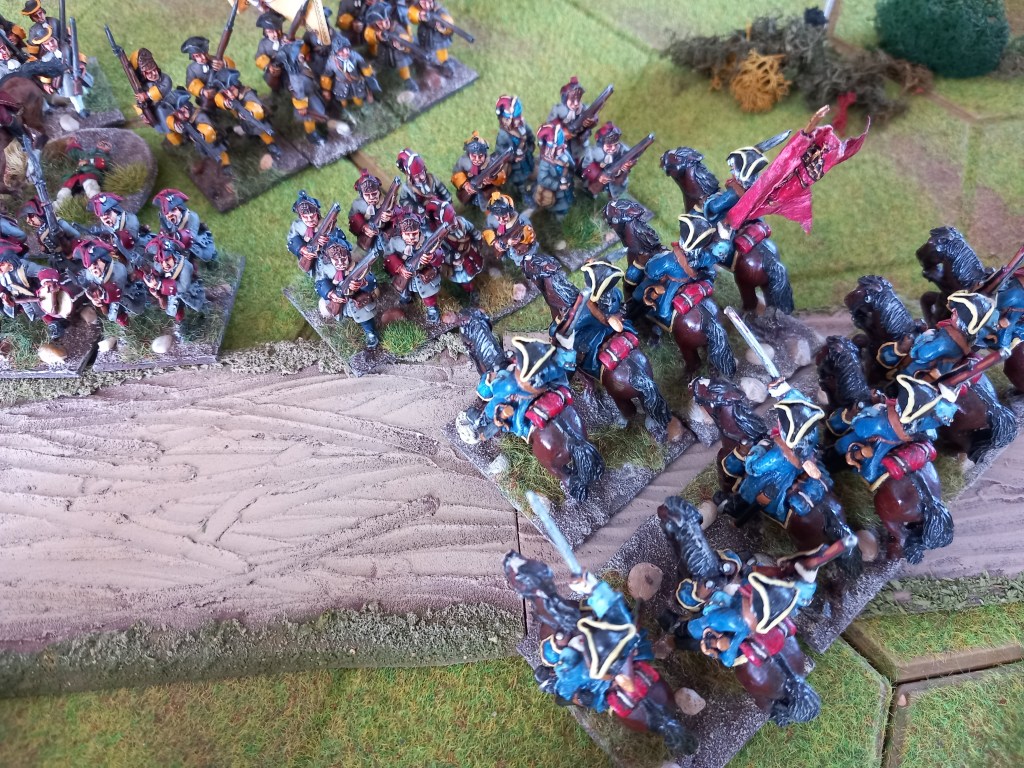
The Swedes were, as usual, full of themselves, and so the left wing cavalry galloped into action and smashed into the grenadiers of the opposing line infantry brigade. This didn’t go quite as planned and the cavalry were repulsed.
Undeterred a second cavalry regiment was thrown in, this time against a line battalion but to no avail. Things were not going according to plan!
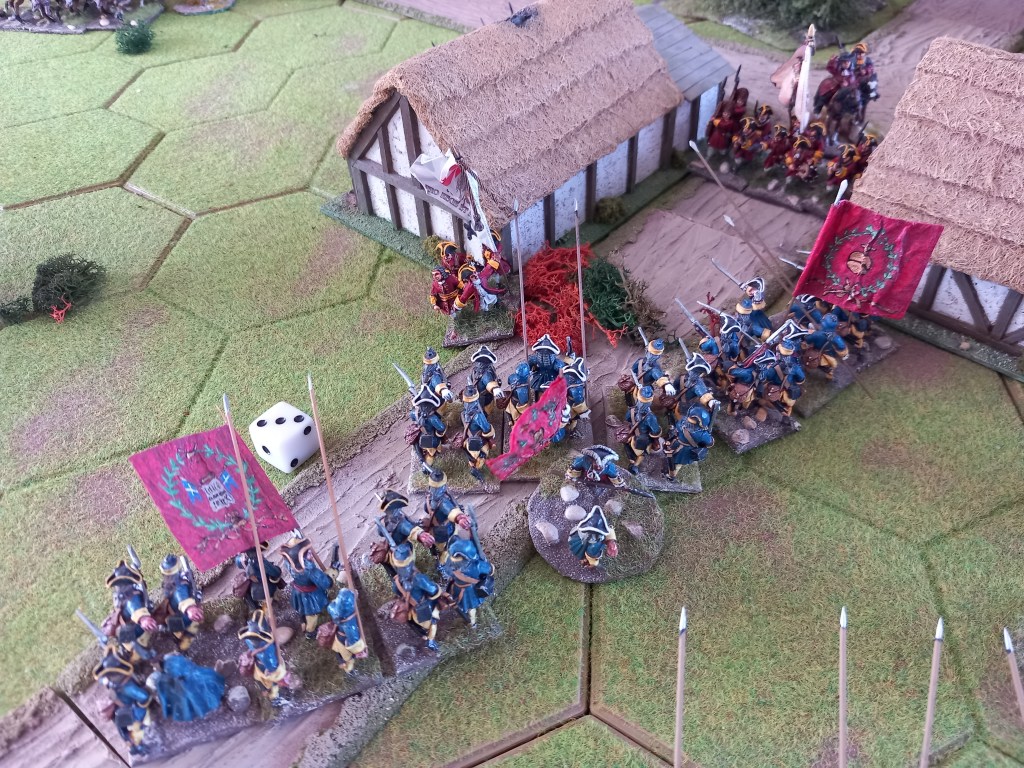
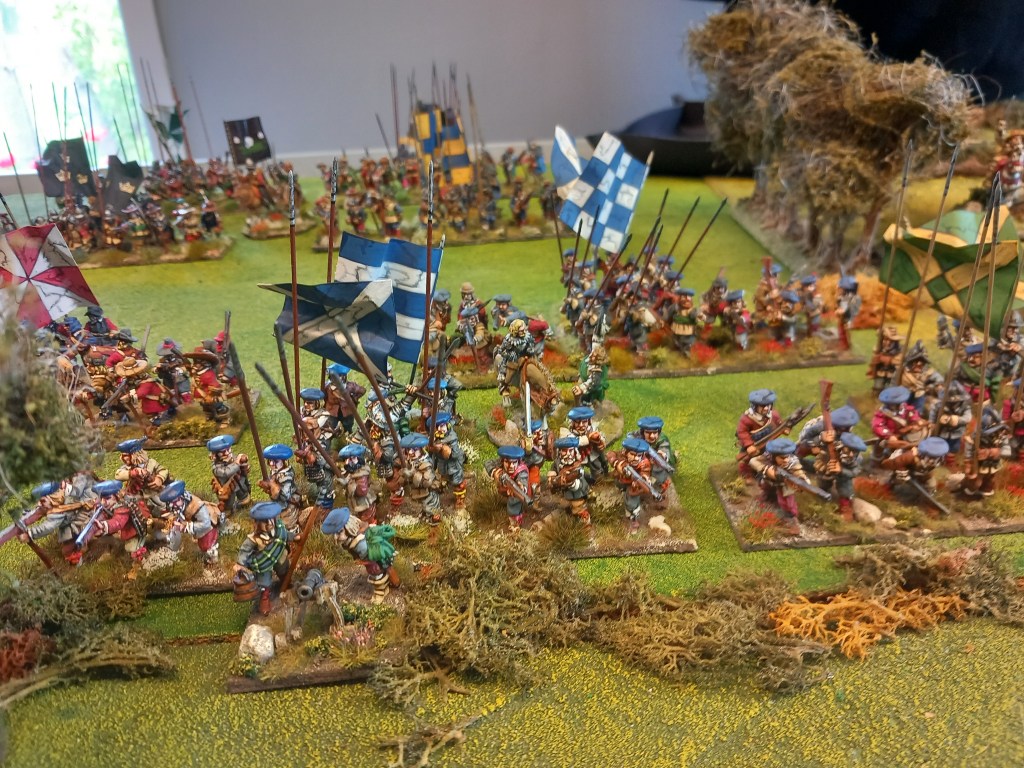
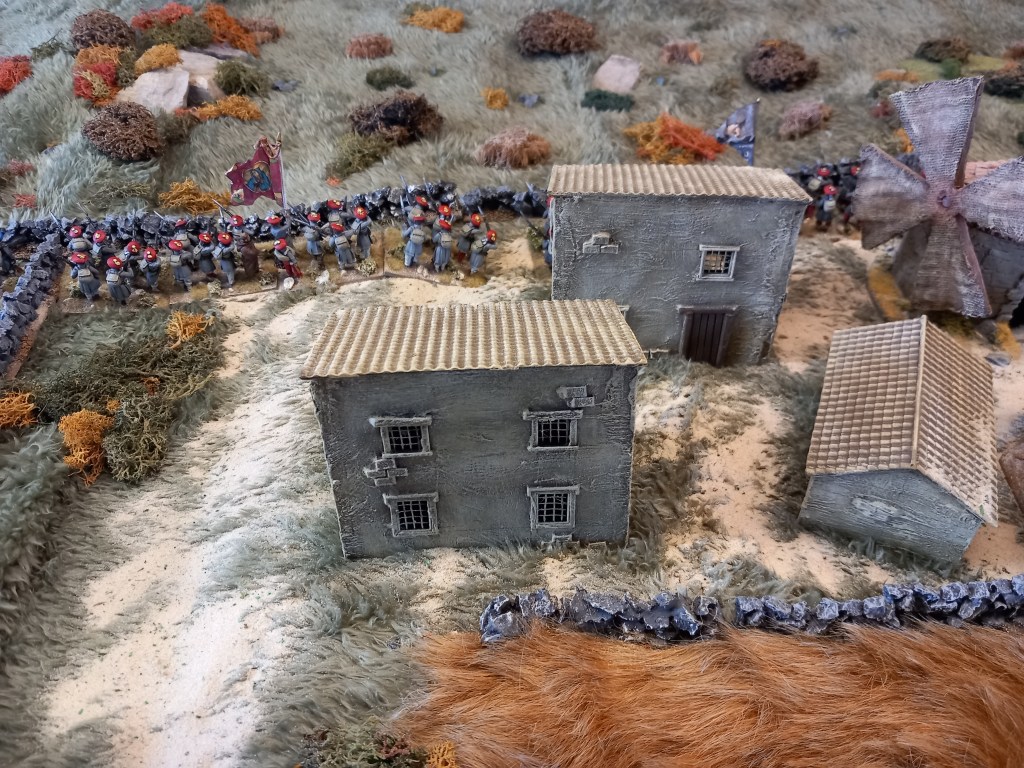
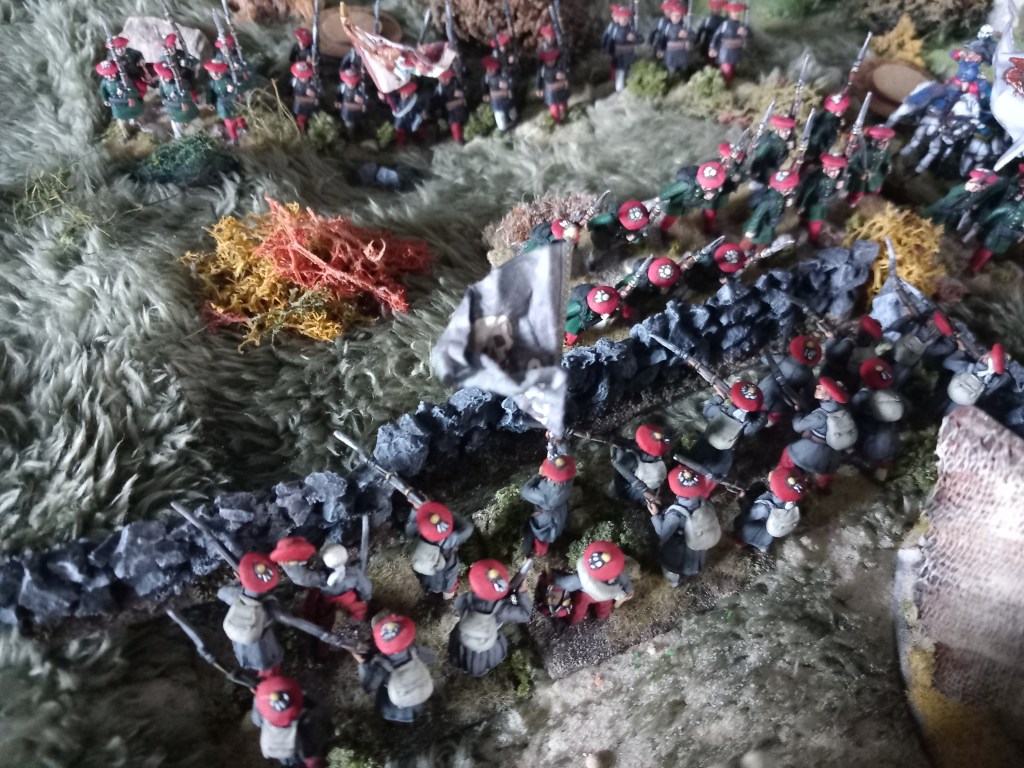
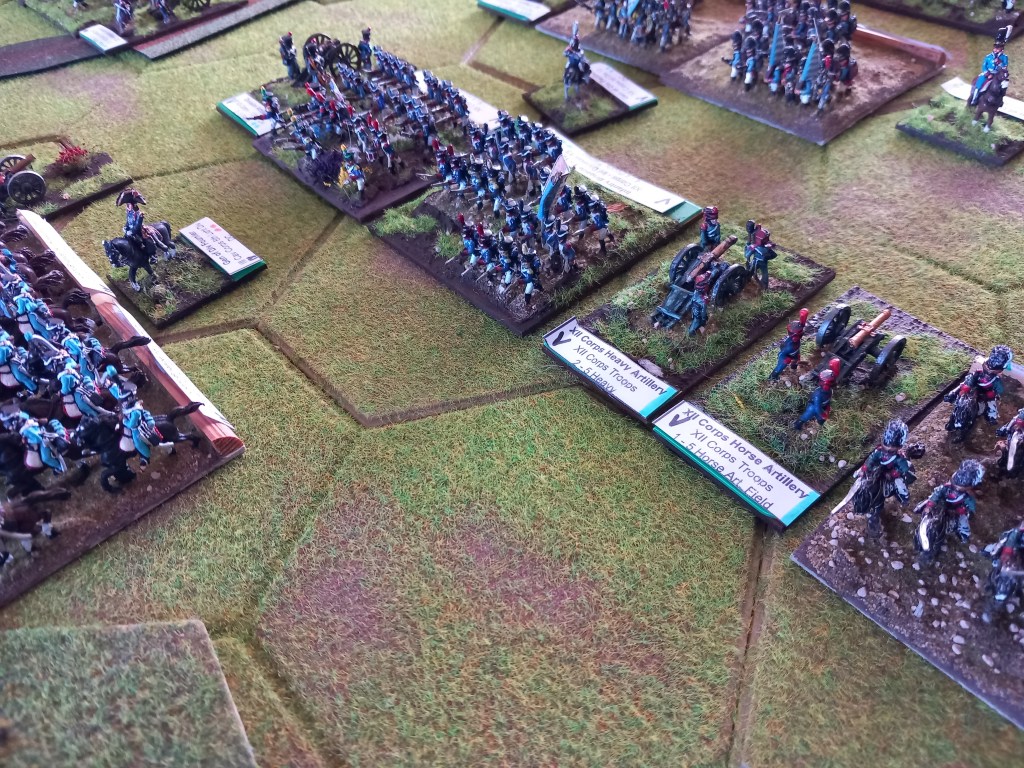
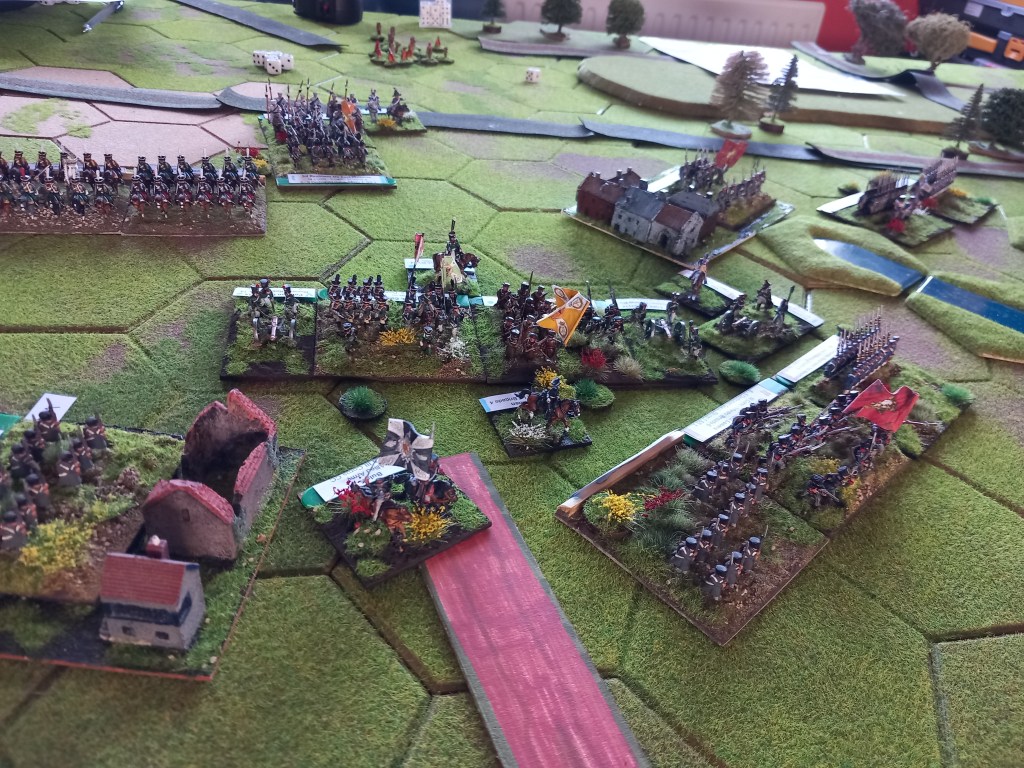
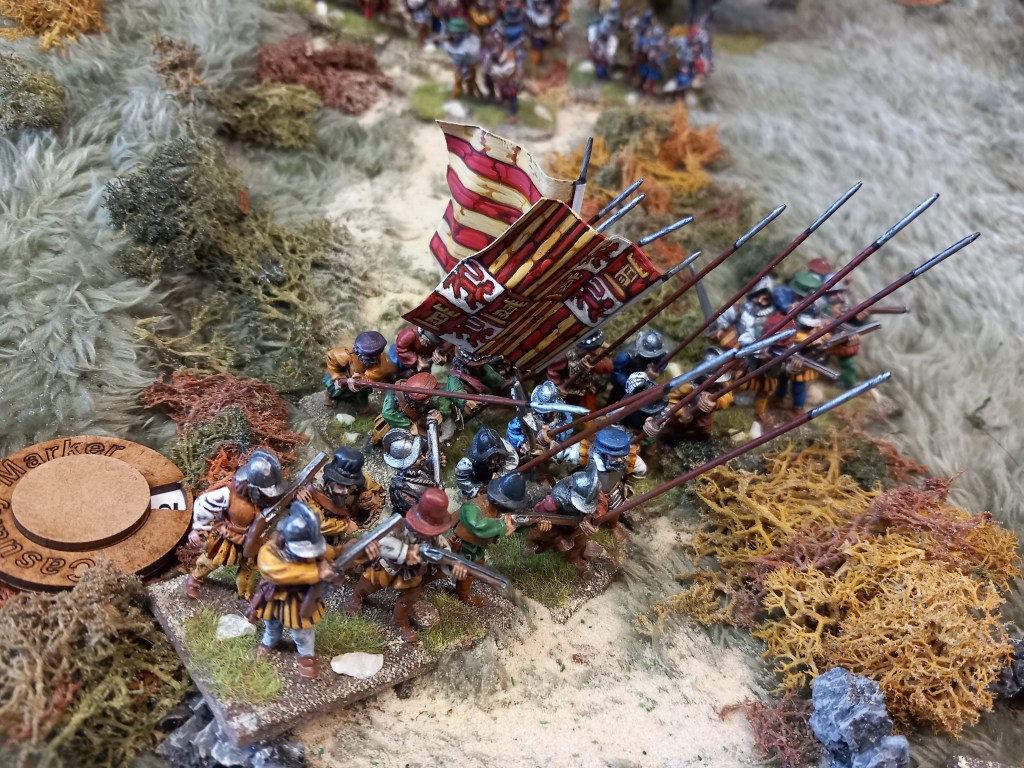
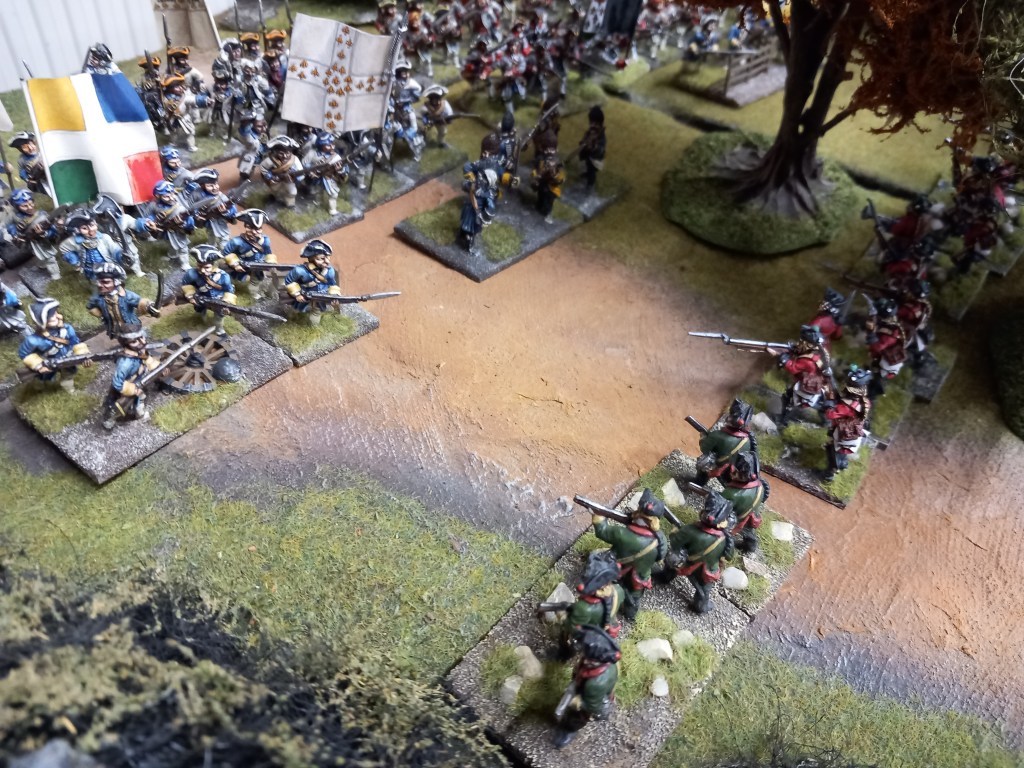
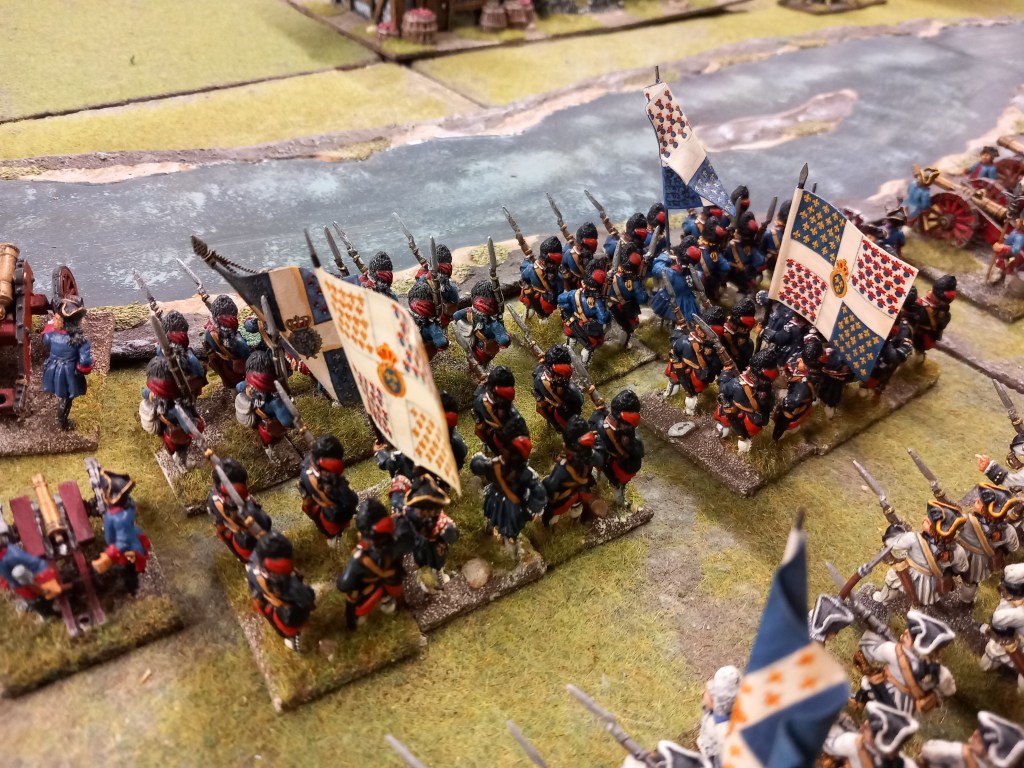
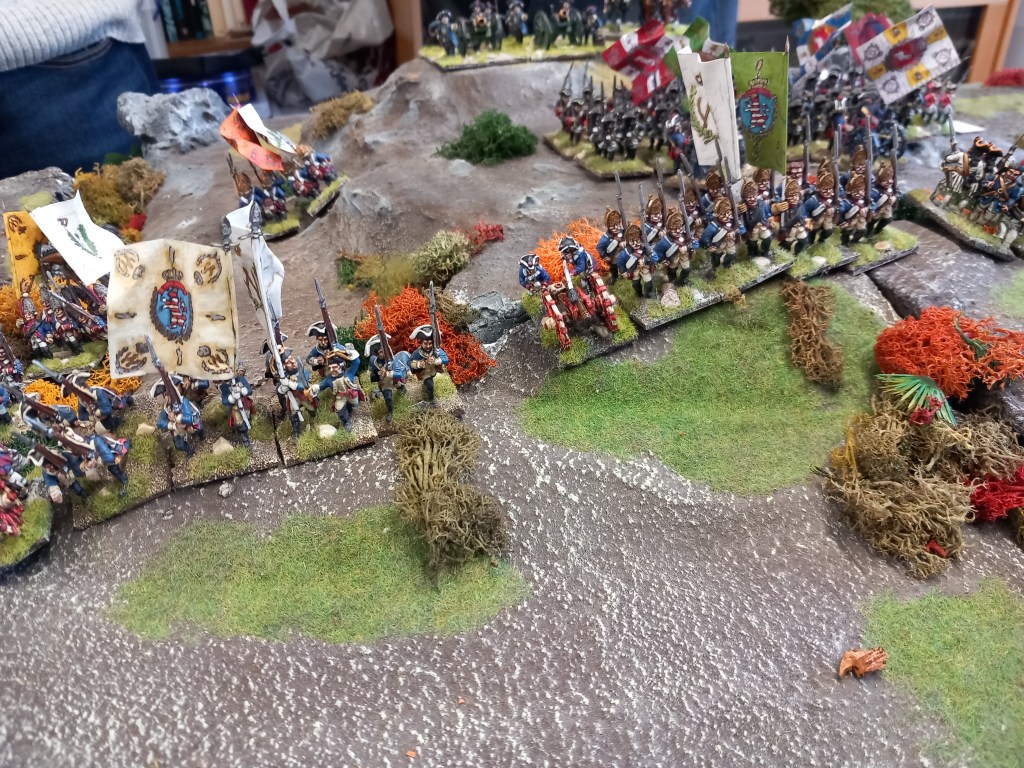
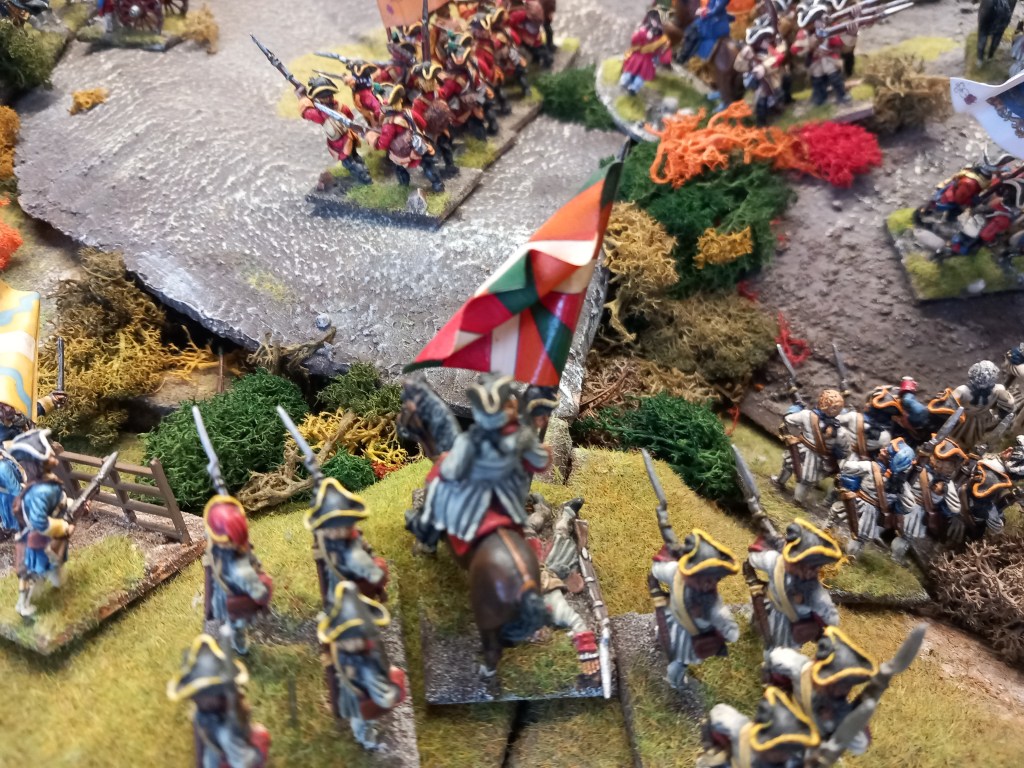
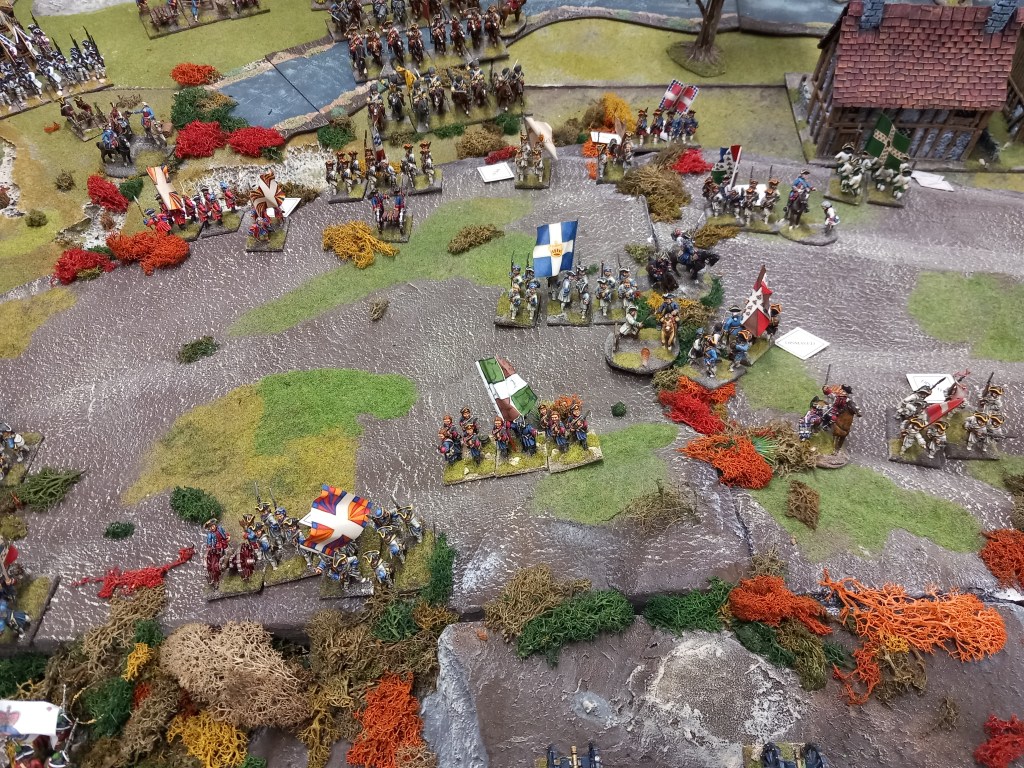
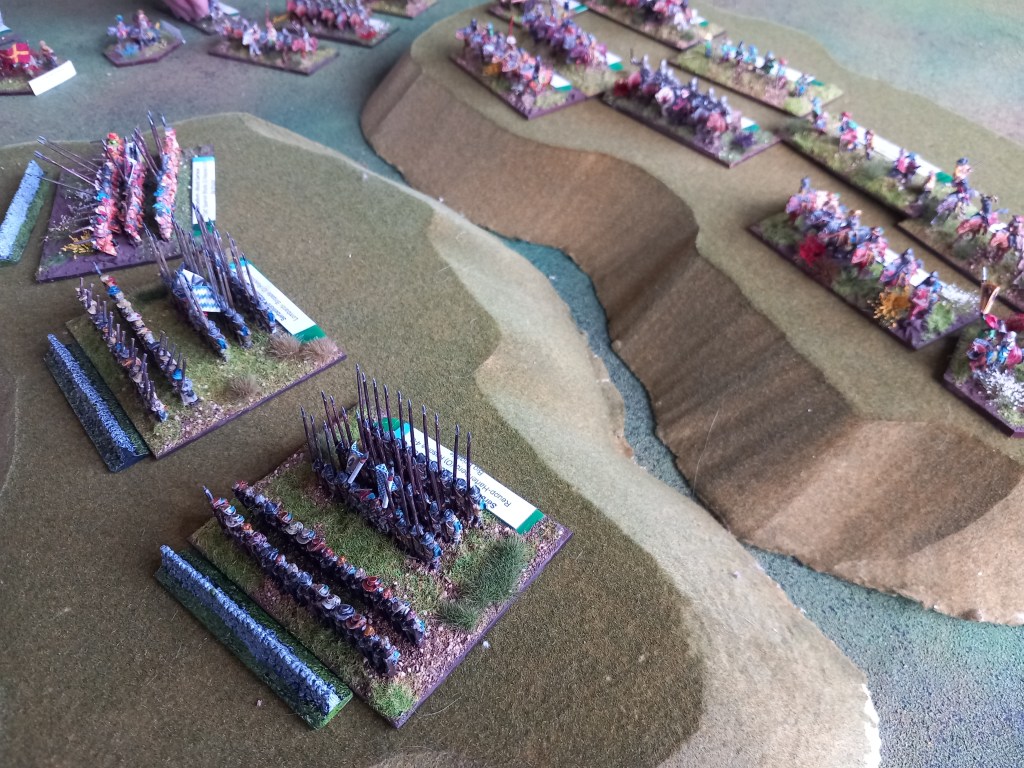
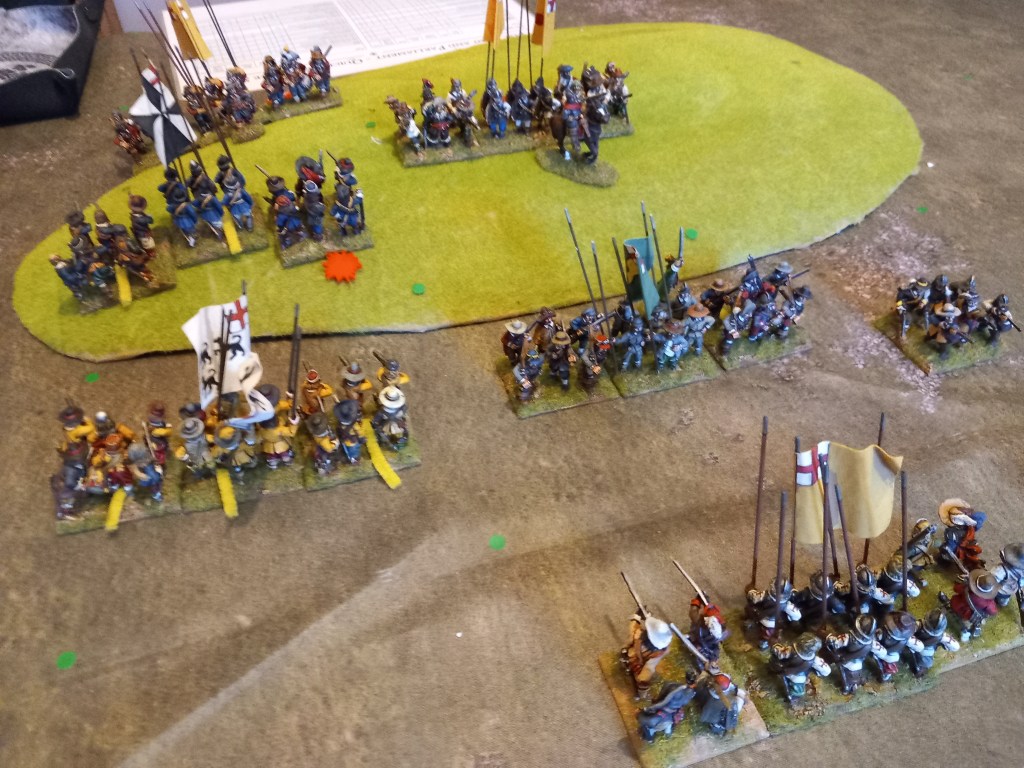
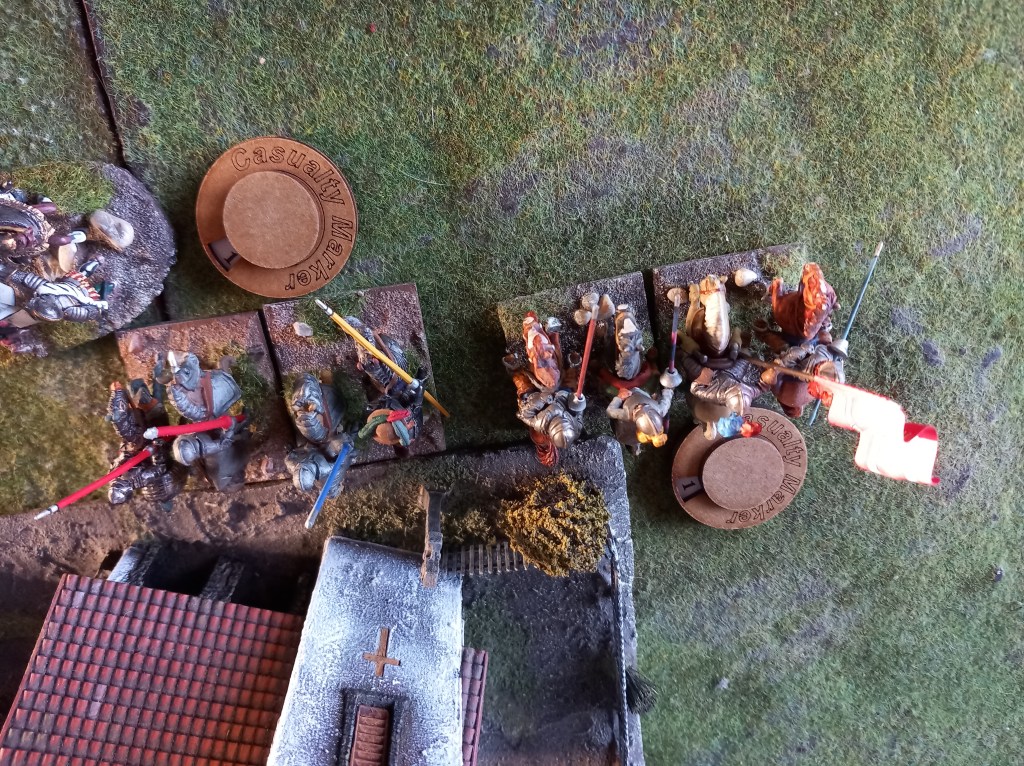
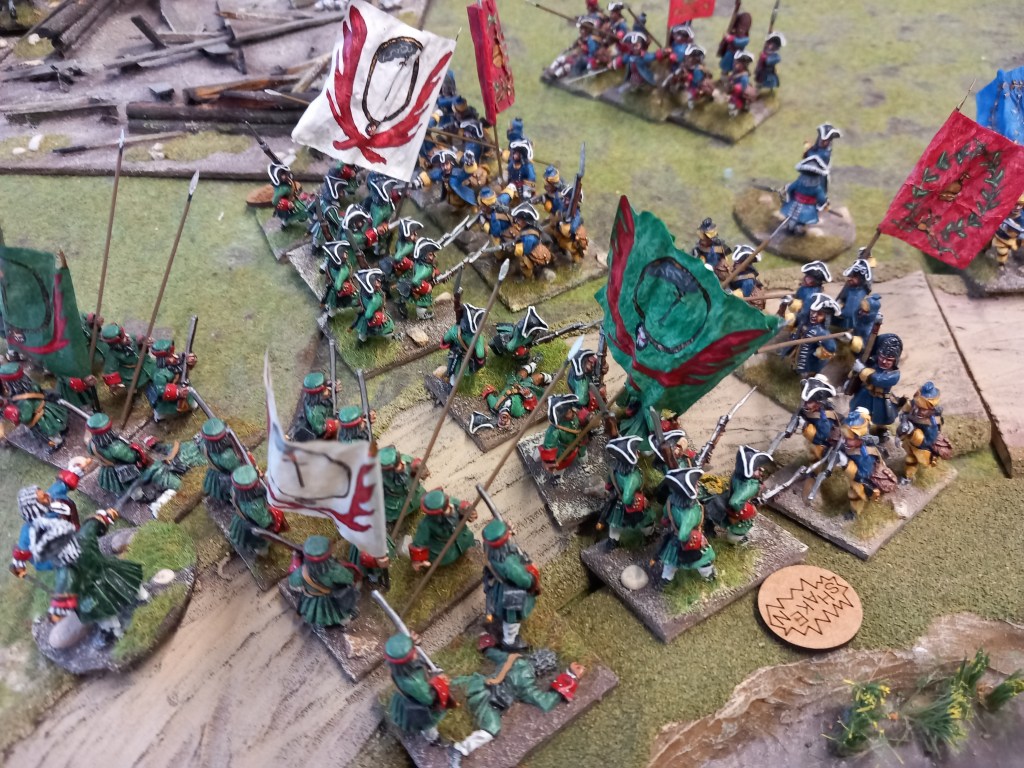
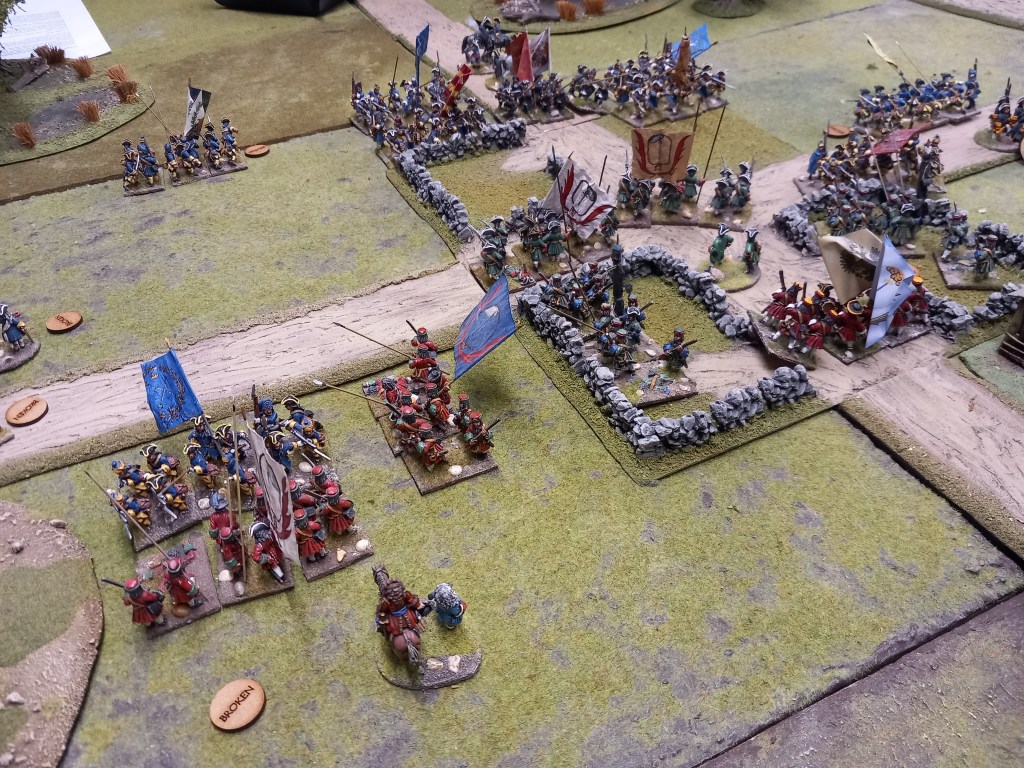
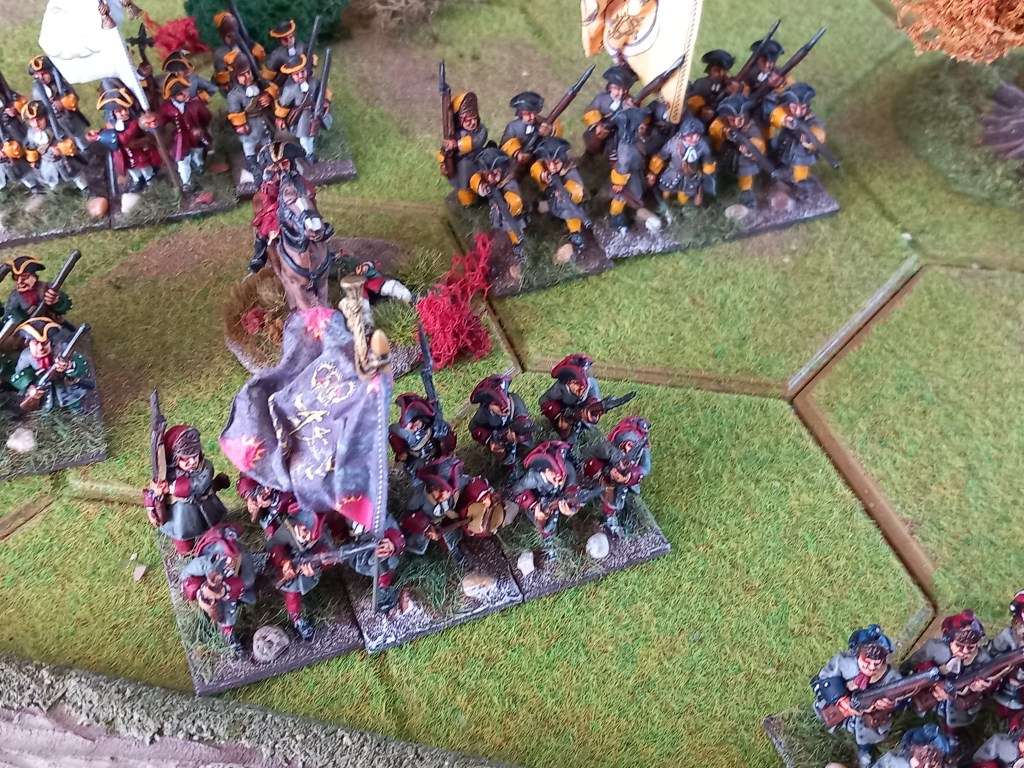
Meanwhile at the village the Lieb and Foot Guards had indeed got there first so were more difficult to hit with musketry and when it came to bayonet work more difficult to winkle out. Just like Blenheim, this village sucked the Swedes into a day long struggle.
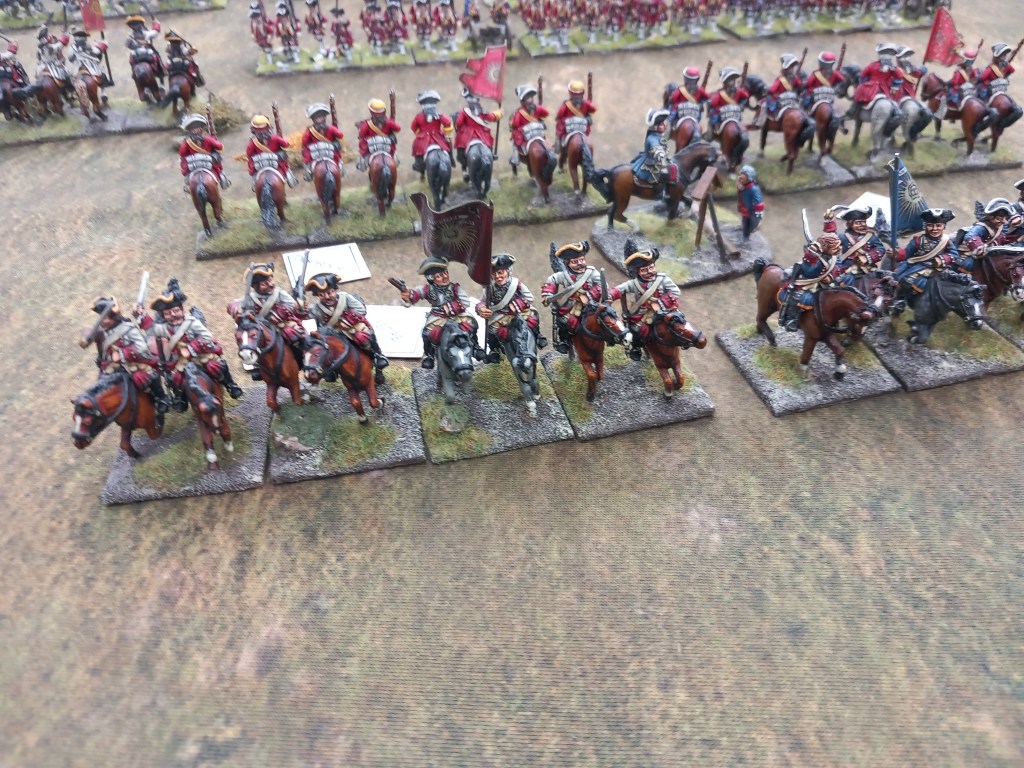
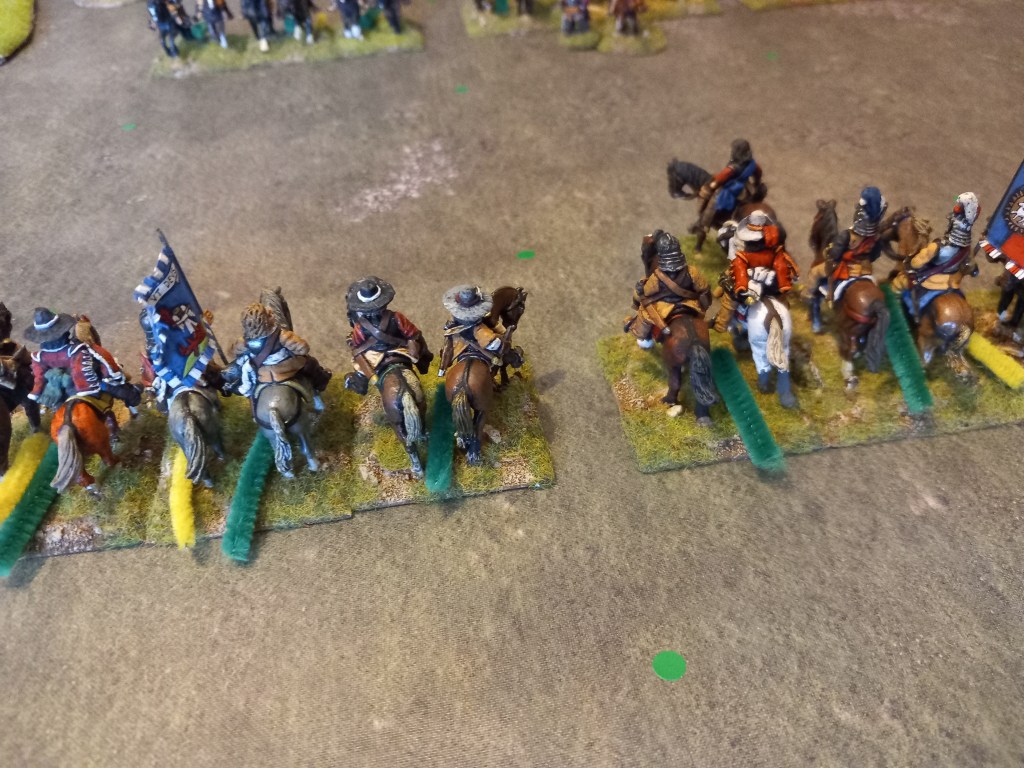
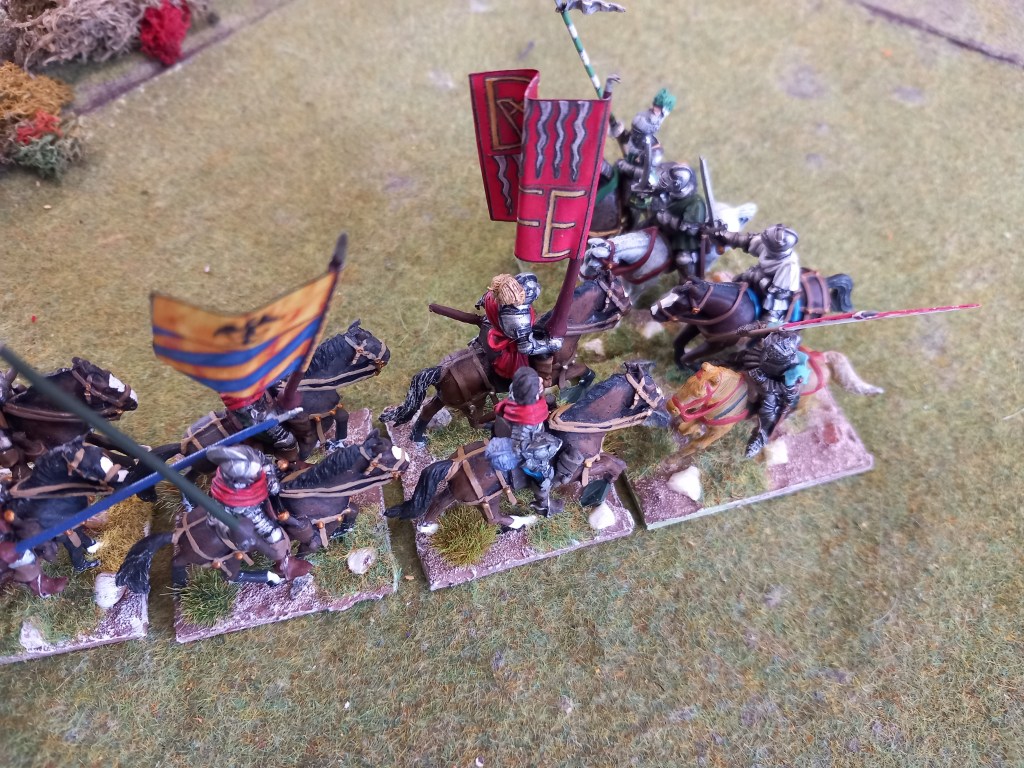
They don’t know anything but attack…..
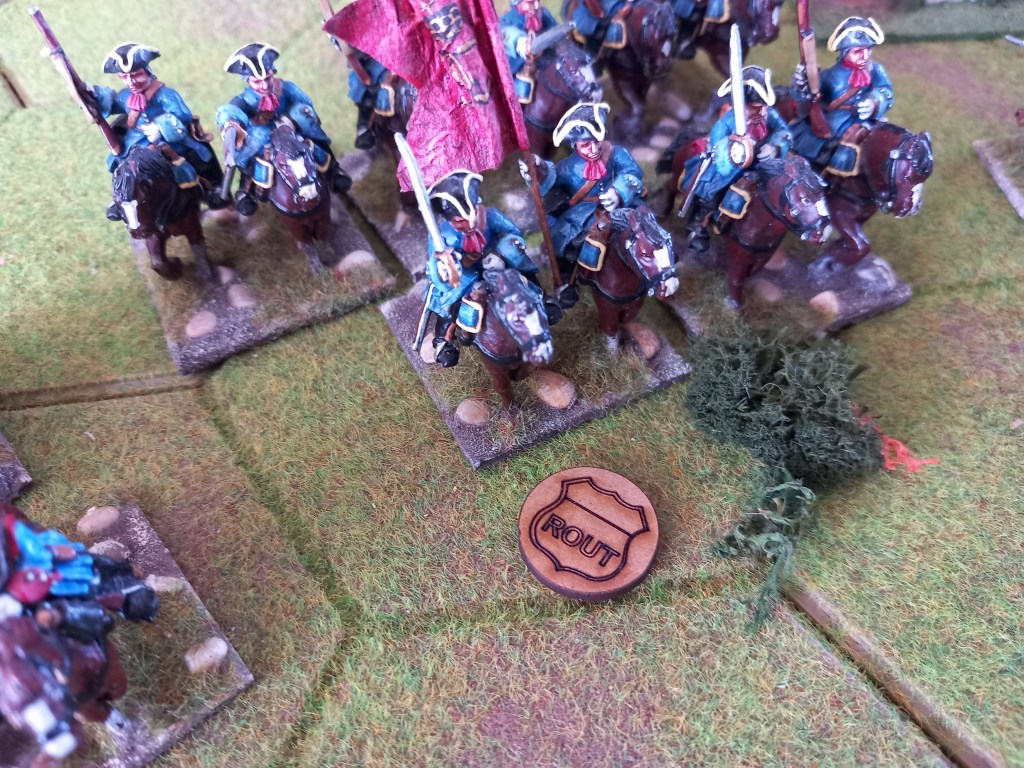
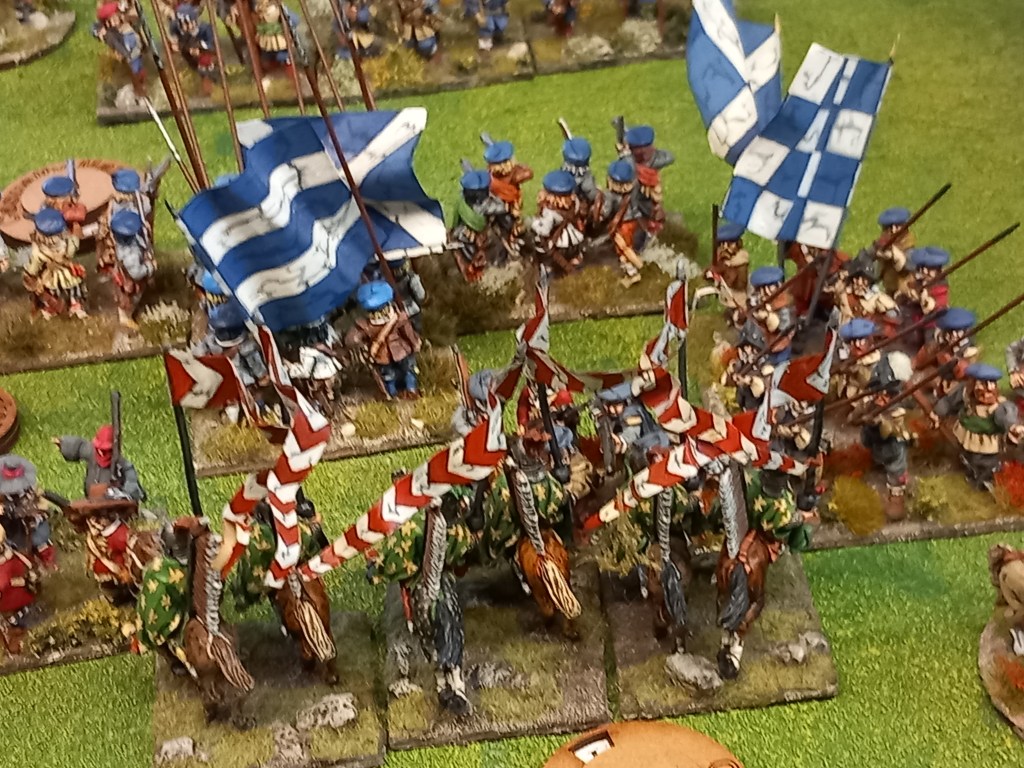
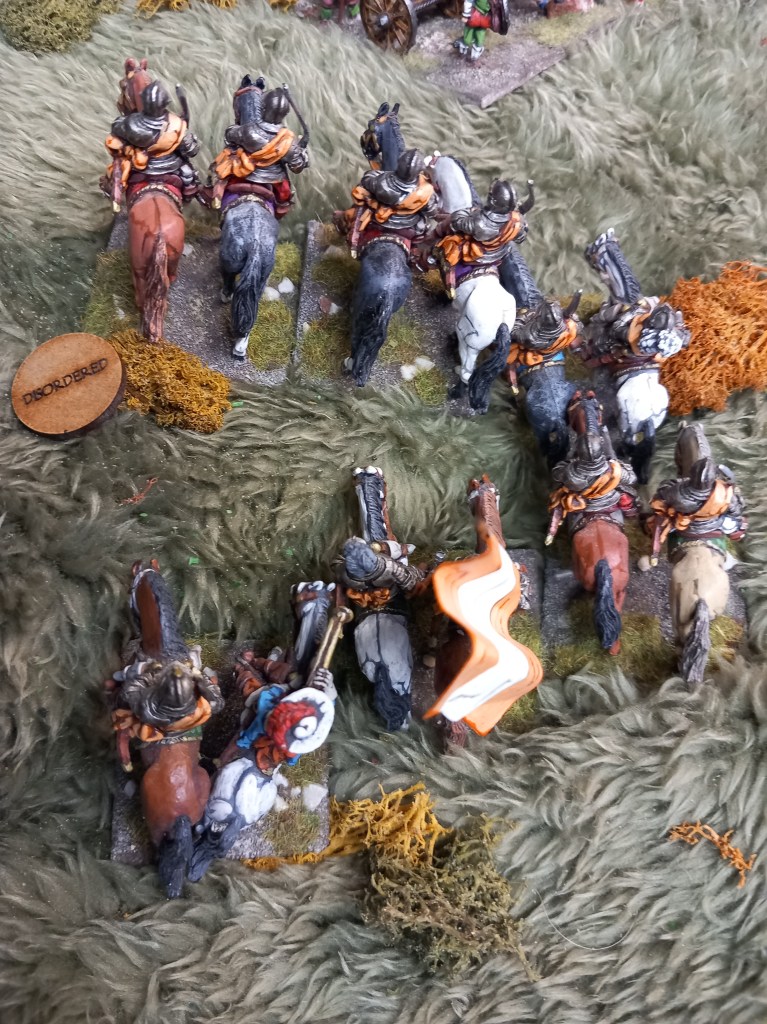
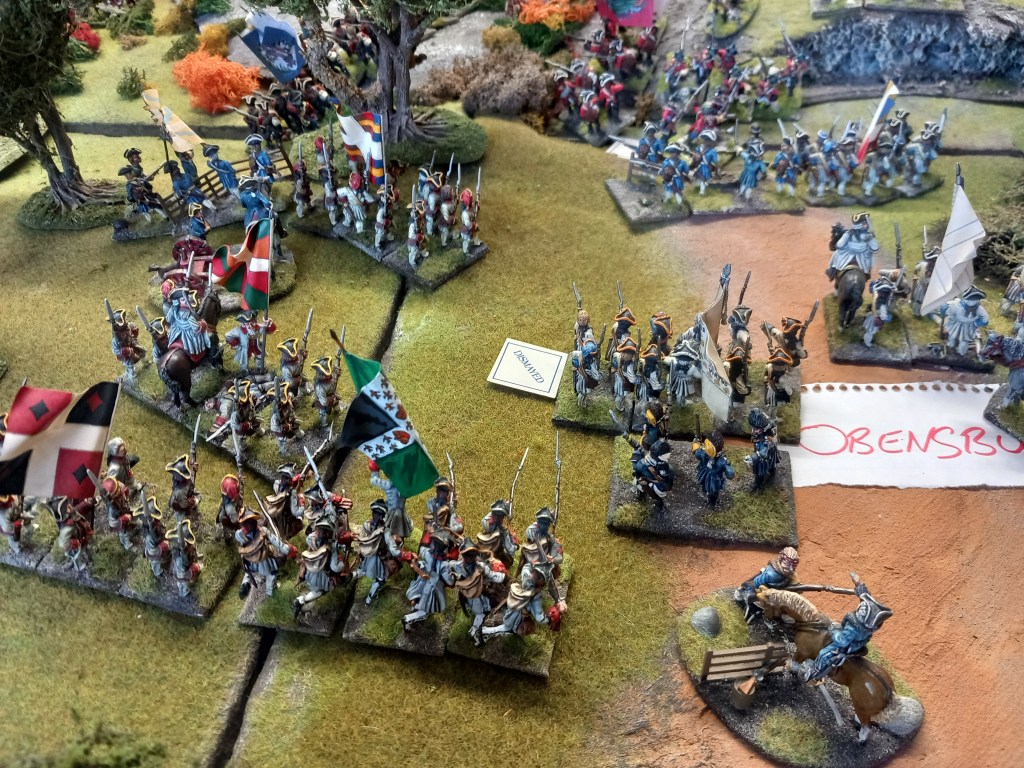
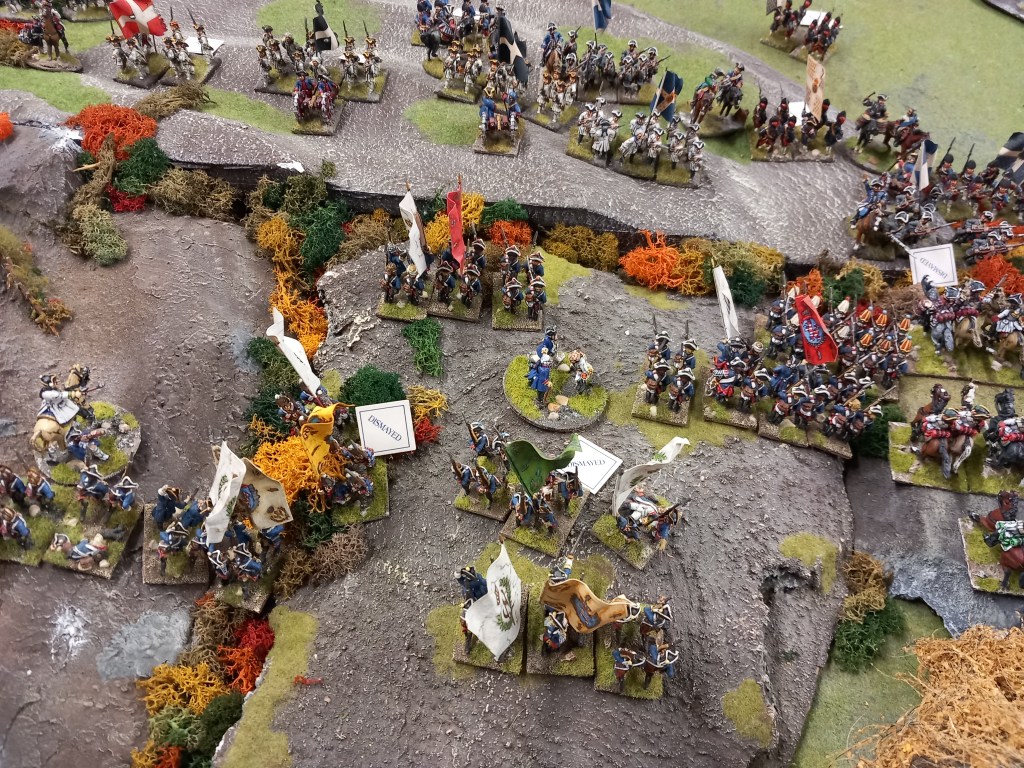
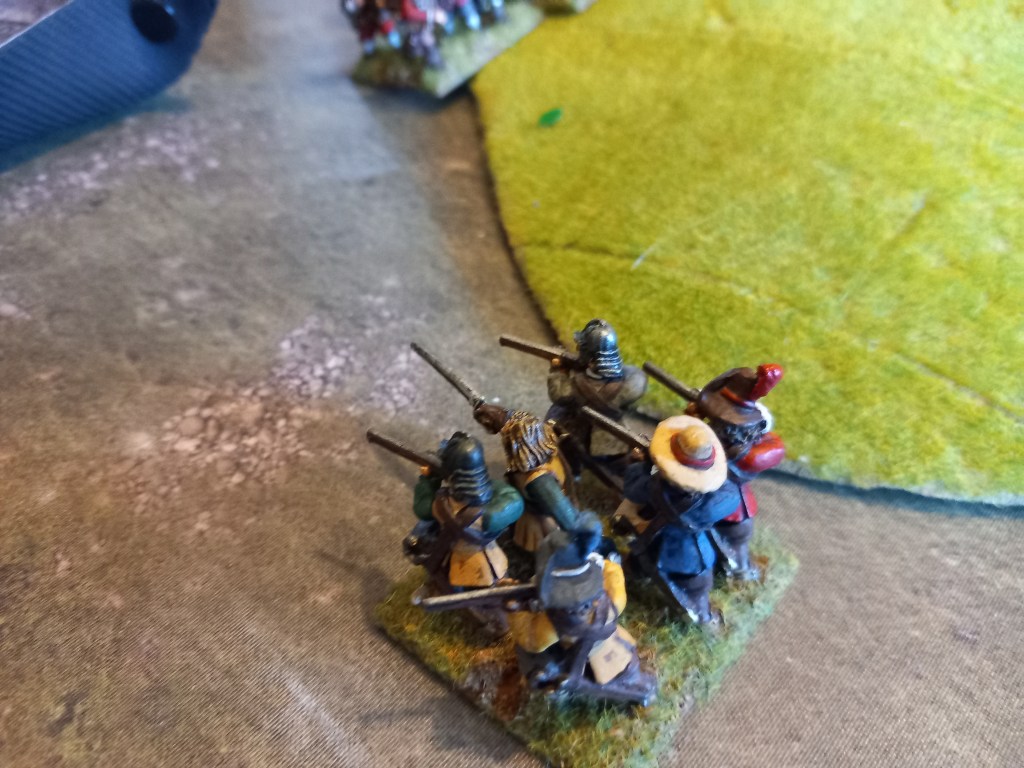
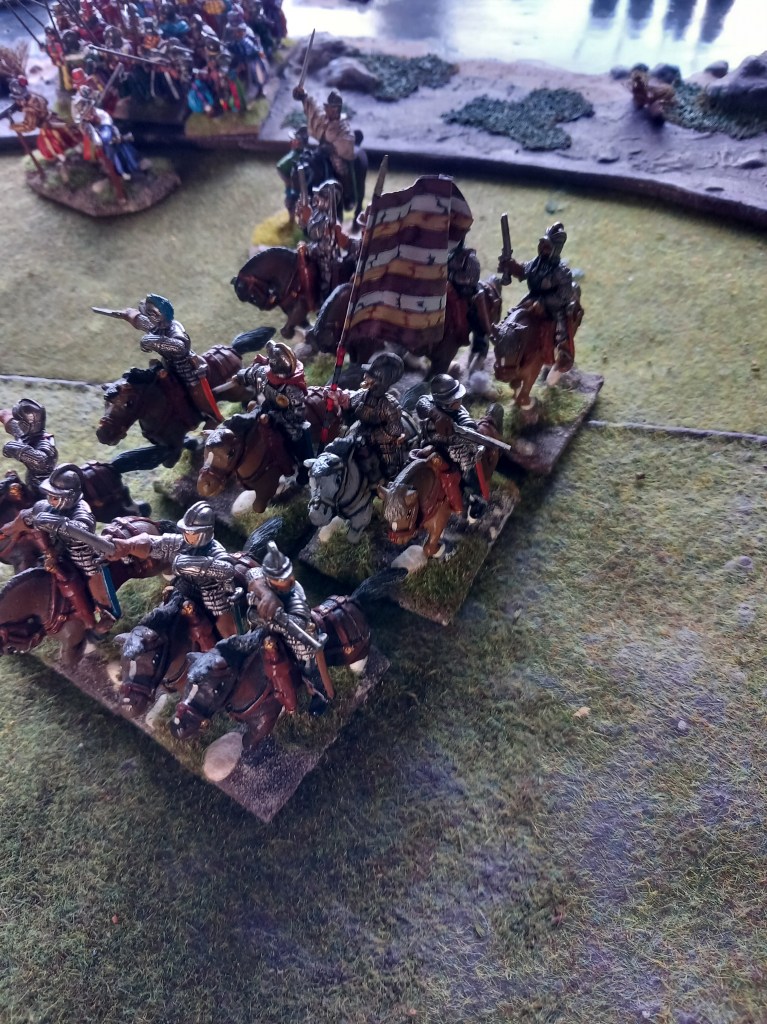
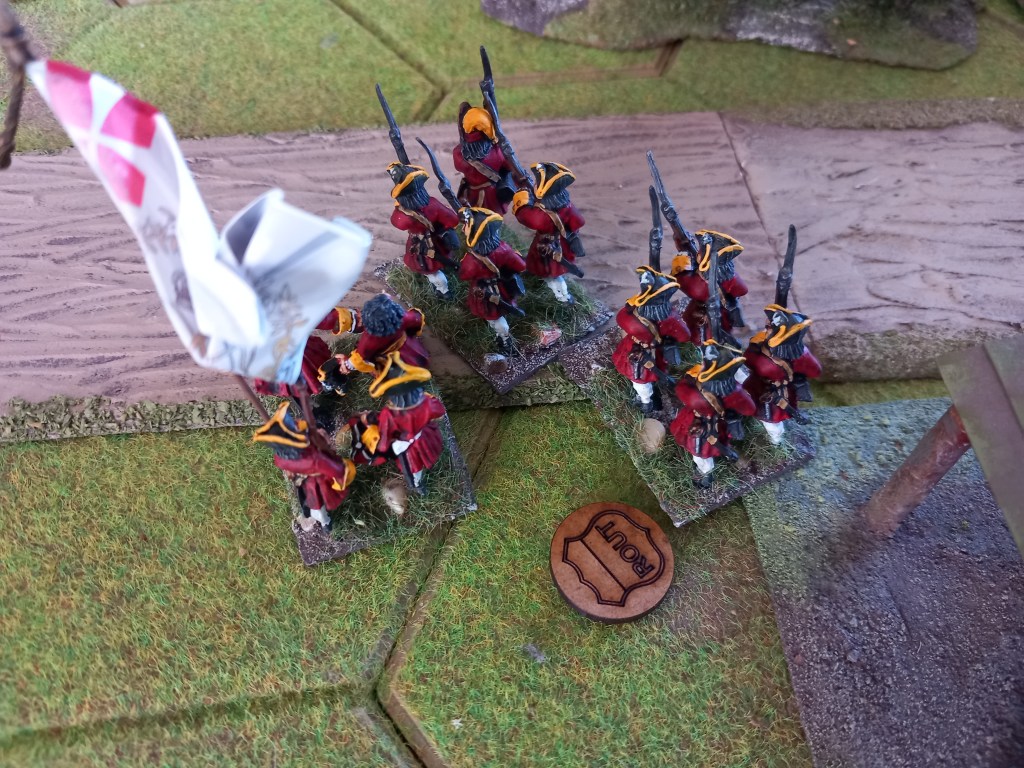
And sometimes it ends in tears 😢 By the end of the game the left flank Swedish cavalry brigade was completely exhausted.
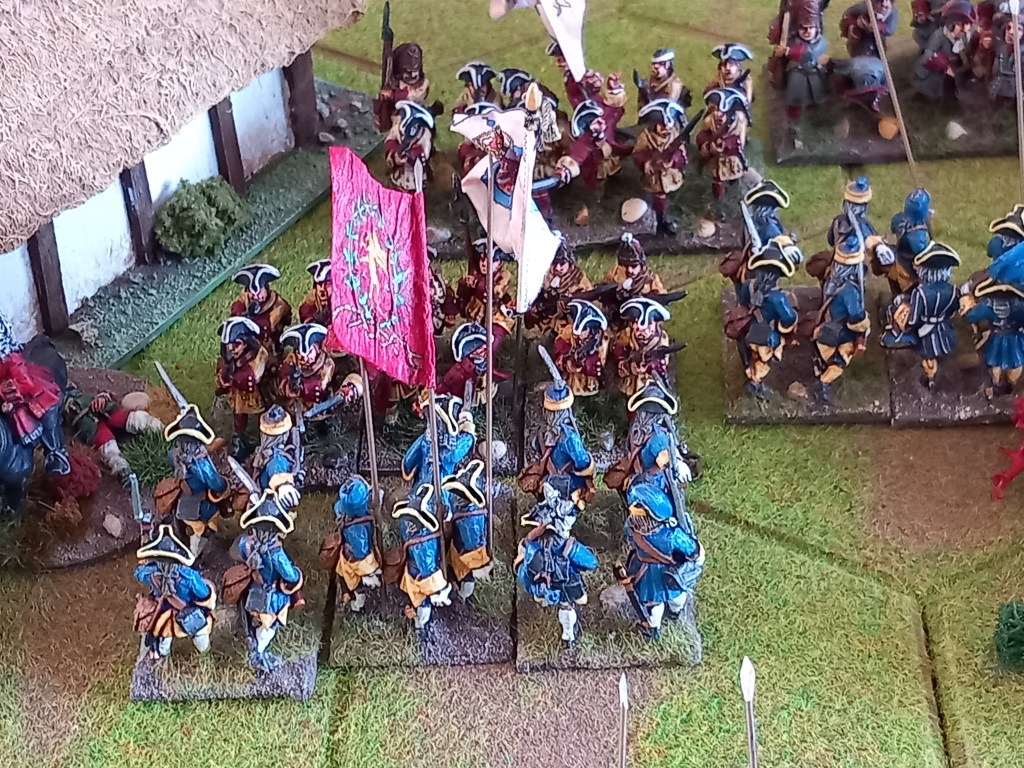
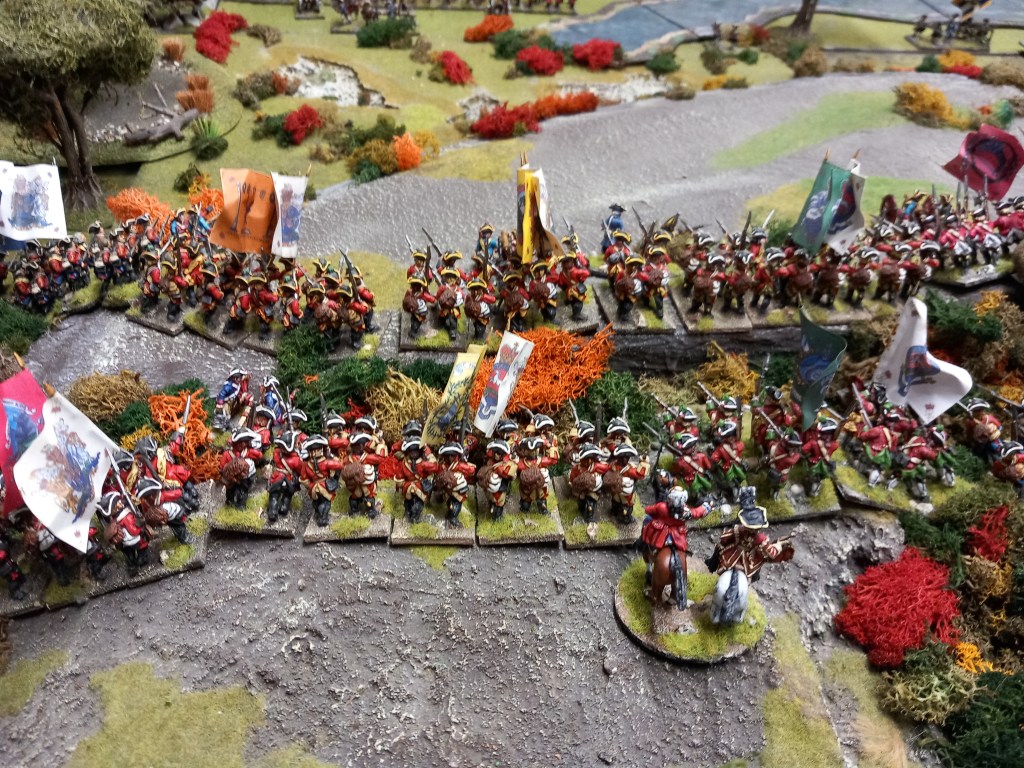
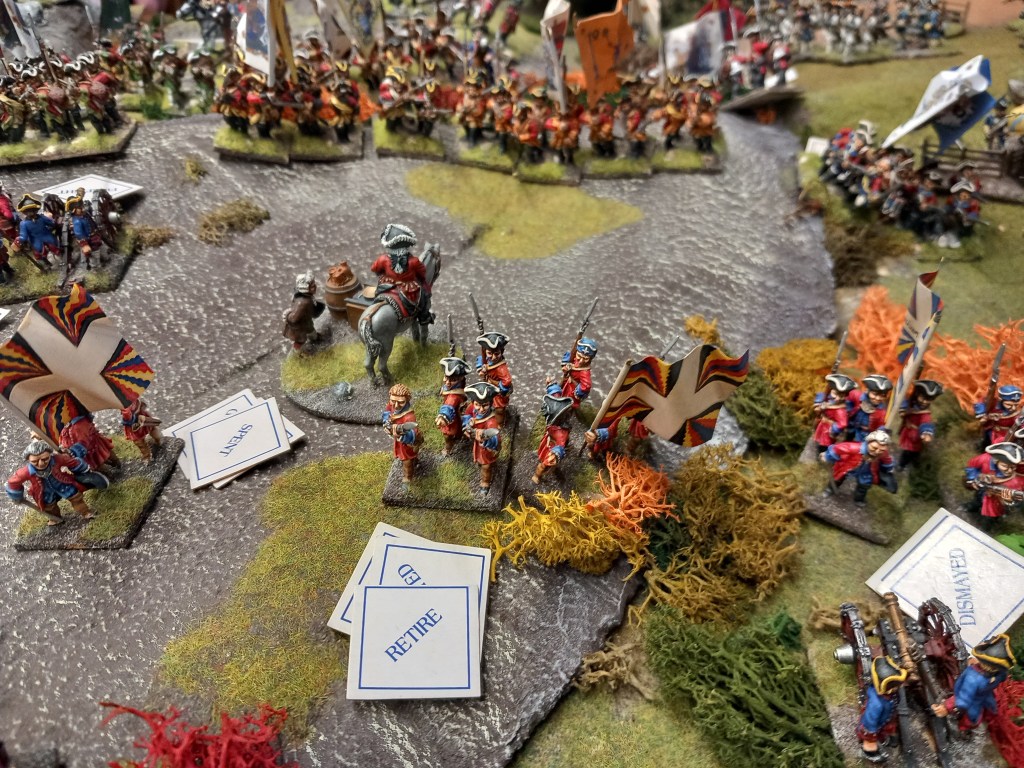
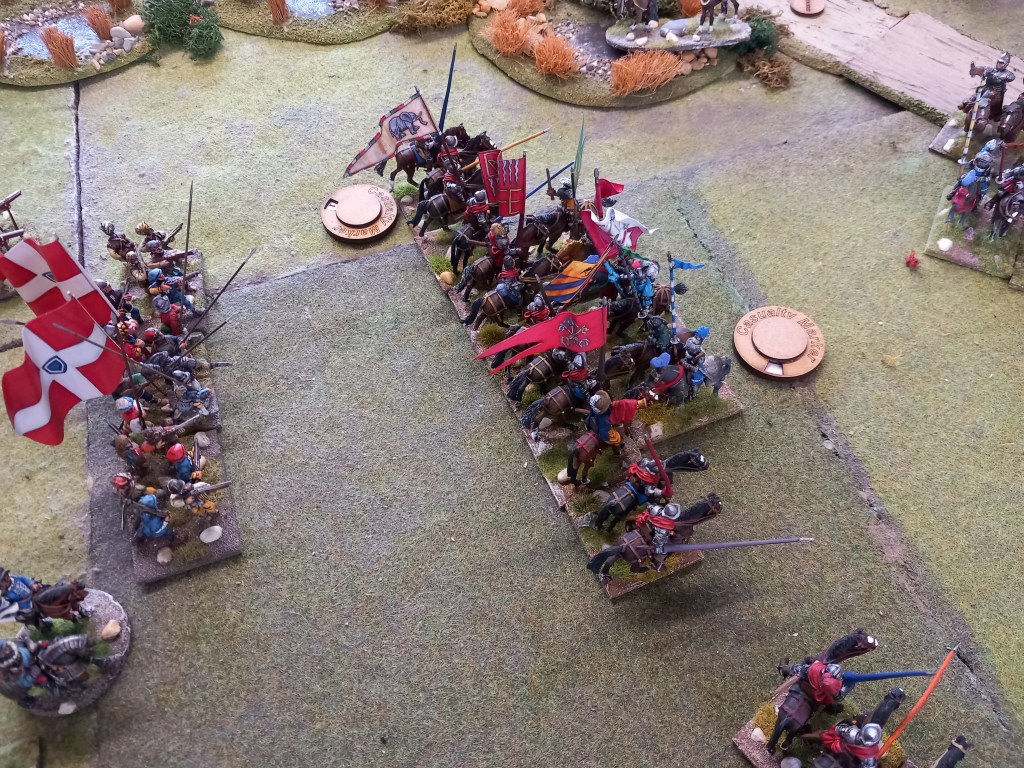
Sensing an opportunity the Foot Guards took on the weakened Swedish first infantry line.
And the results were pretty impressive…..
The Lieb brigade was finally ejected from the village but the Swedish victors were in no state to do anything more than occupy real estate.
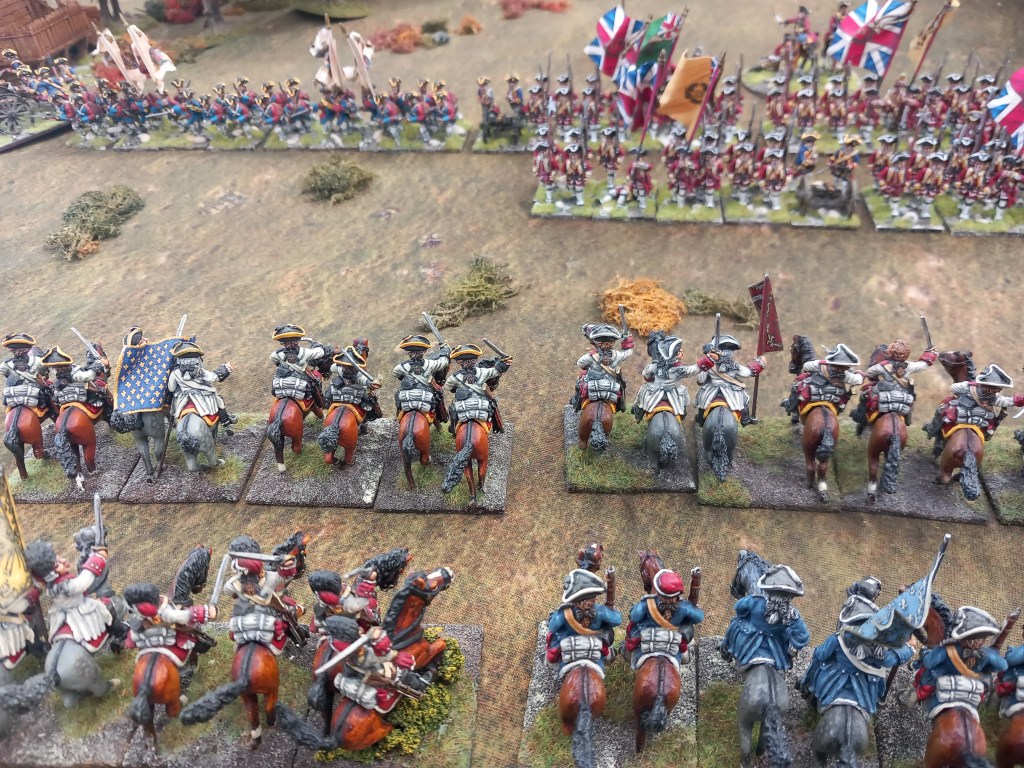
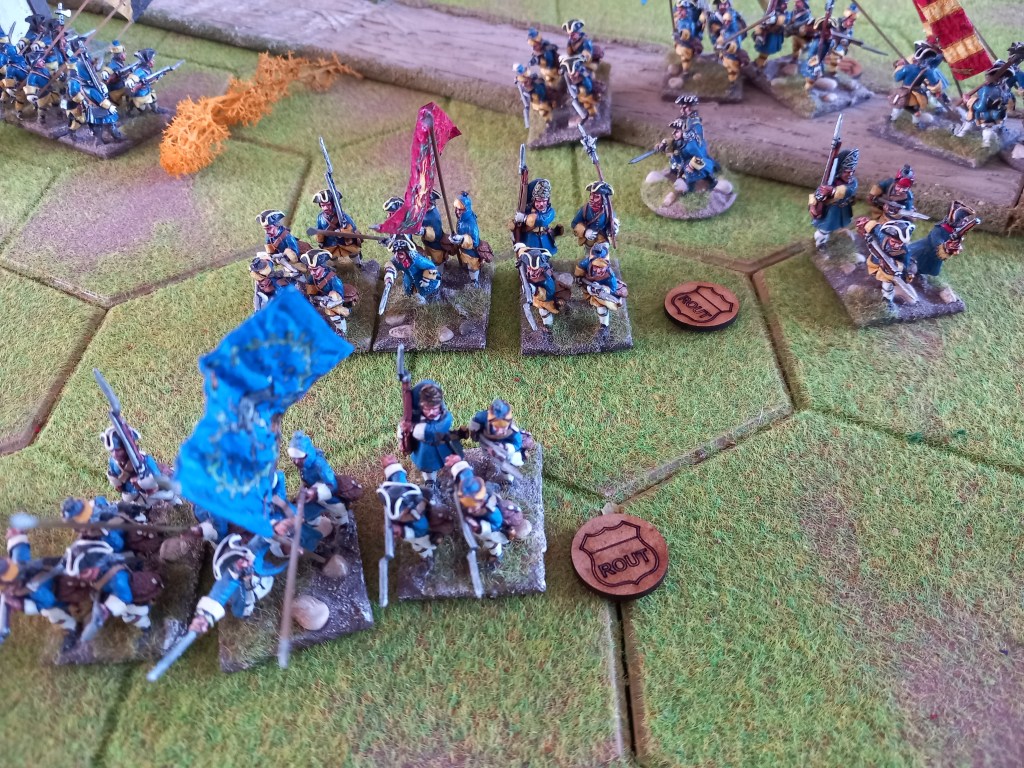
A bad day for the Swedes. One cavalry brigade completely knackered the other making zero progress against the militia – one battalion did rout but the stupid Swedes who charged them took up pursuit and never returned leaving two cavalry regiments to face the firepower of five infantry regiments and the Danish horse brigade now closing on their flank.. On the infantry side the lead brigades of both divisions were done leaving the second line to take on the Danish Foot Guards and the two supporting line battalions. A clear Danish victory.
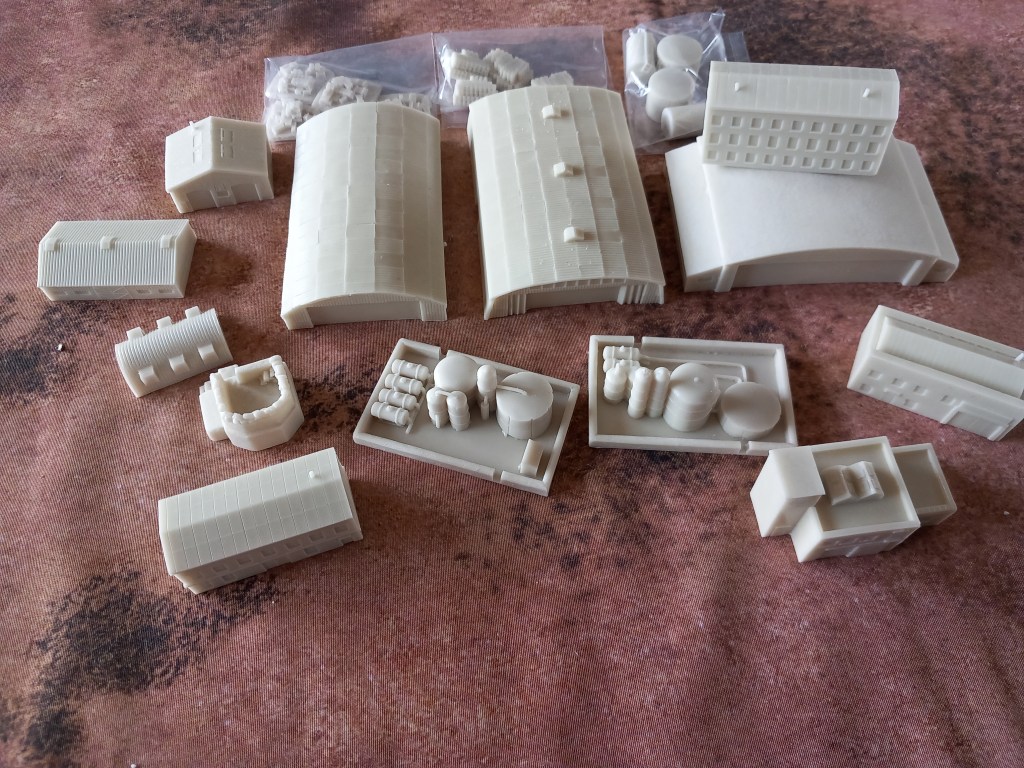
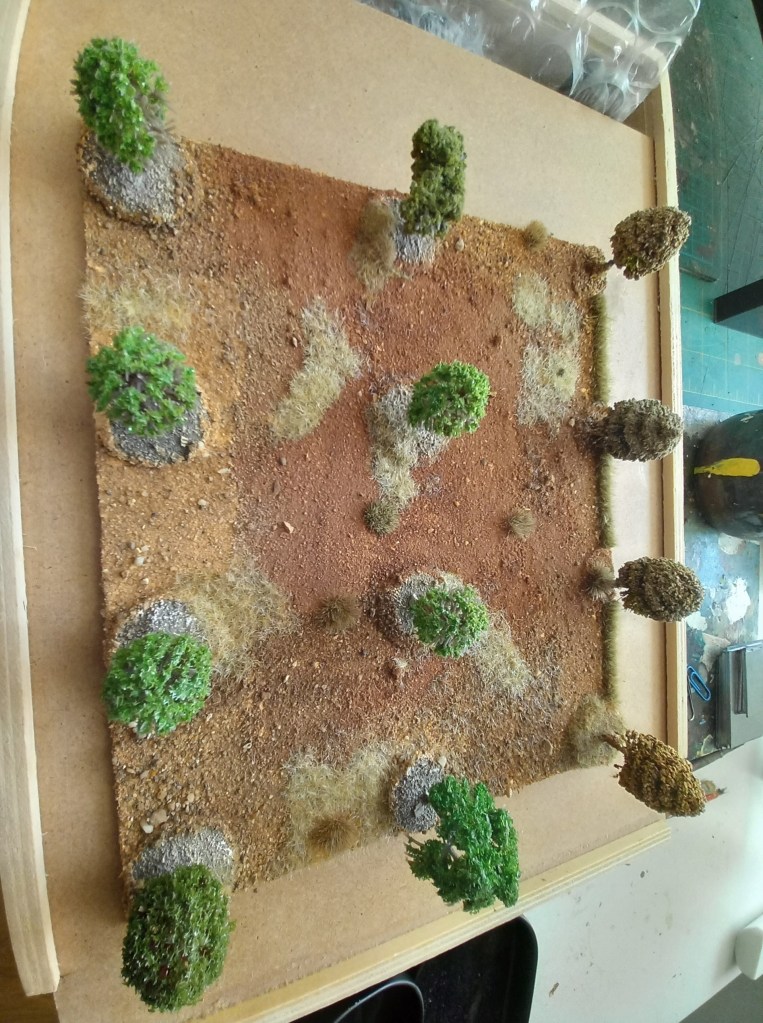
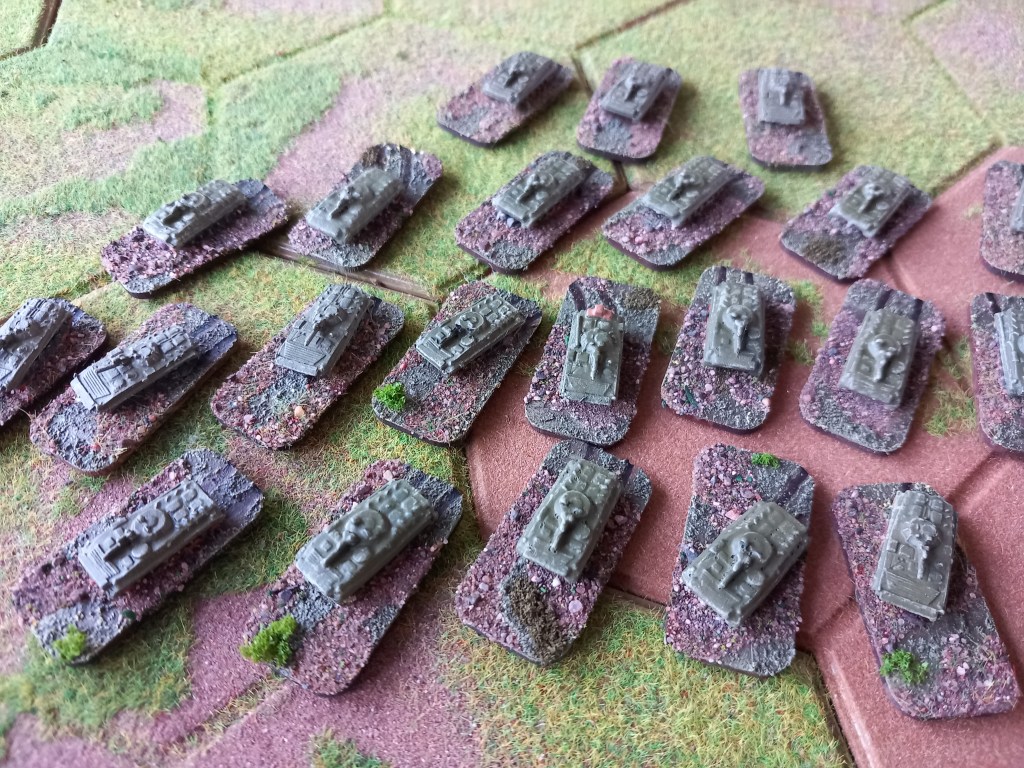
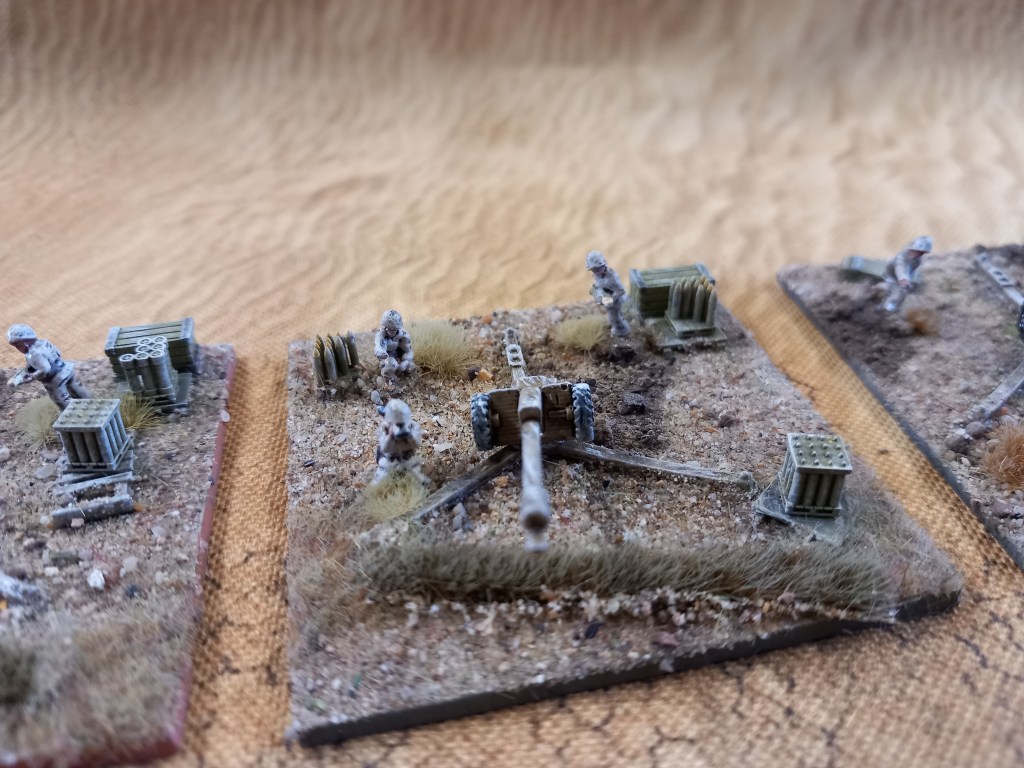
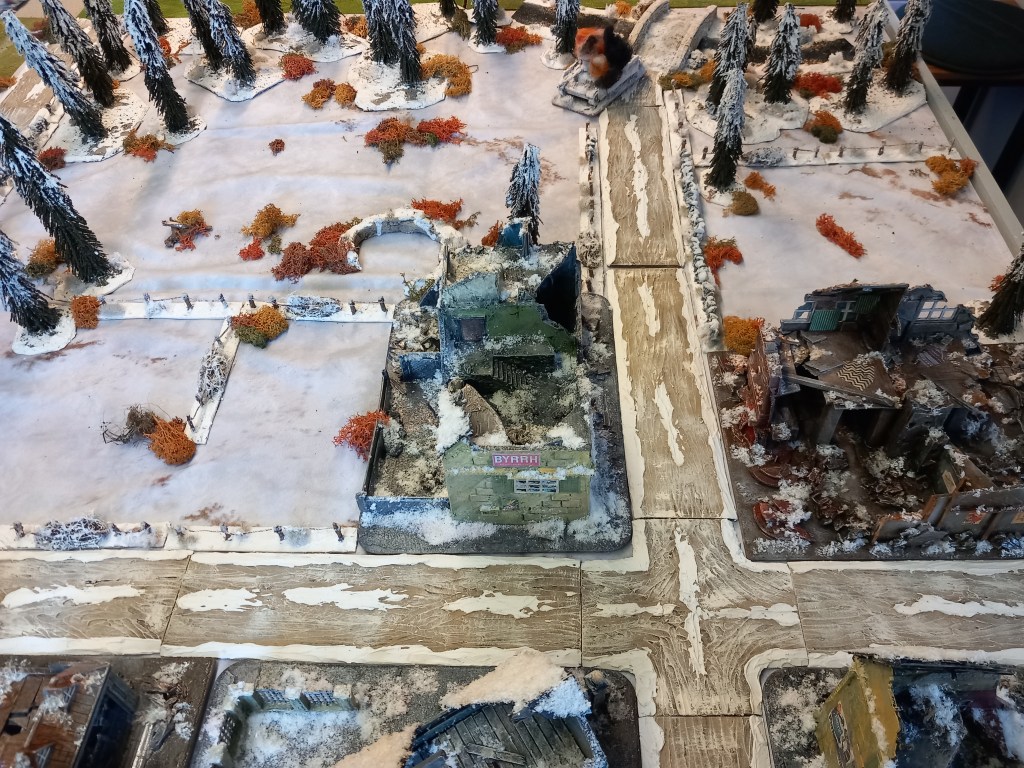
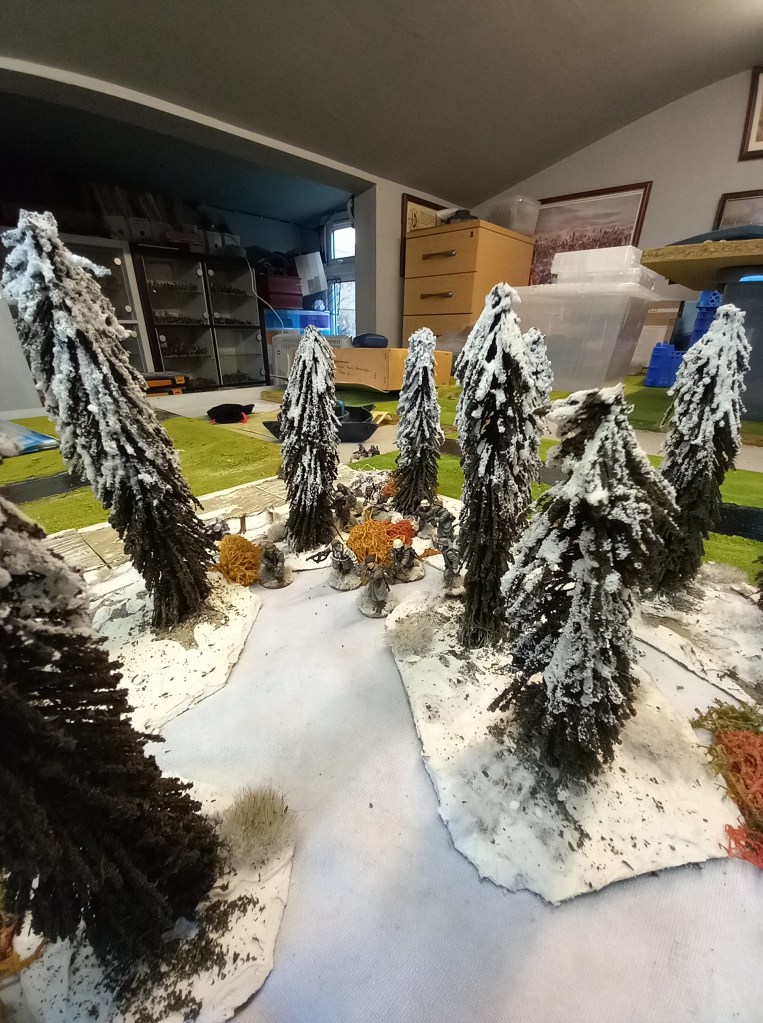
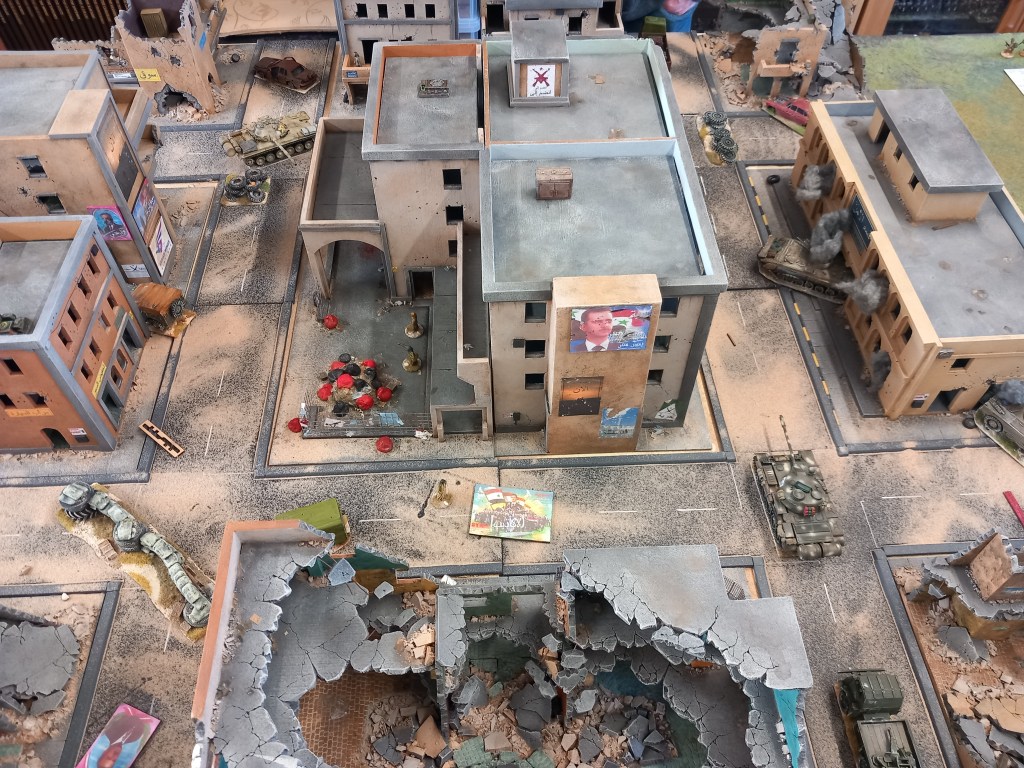
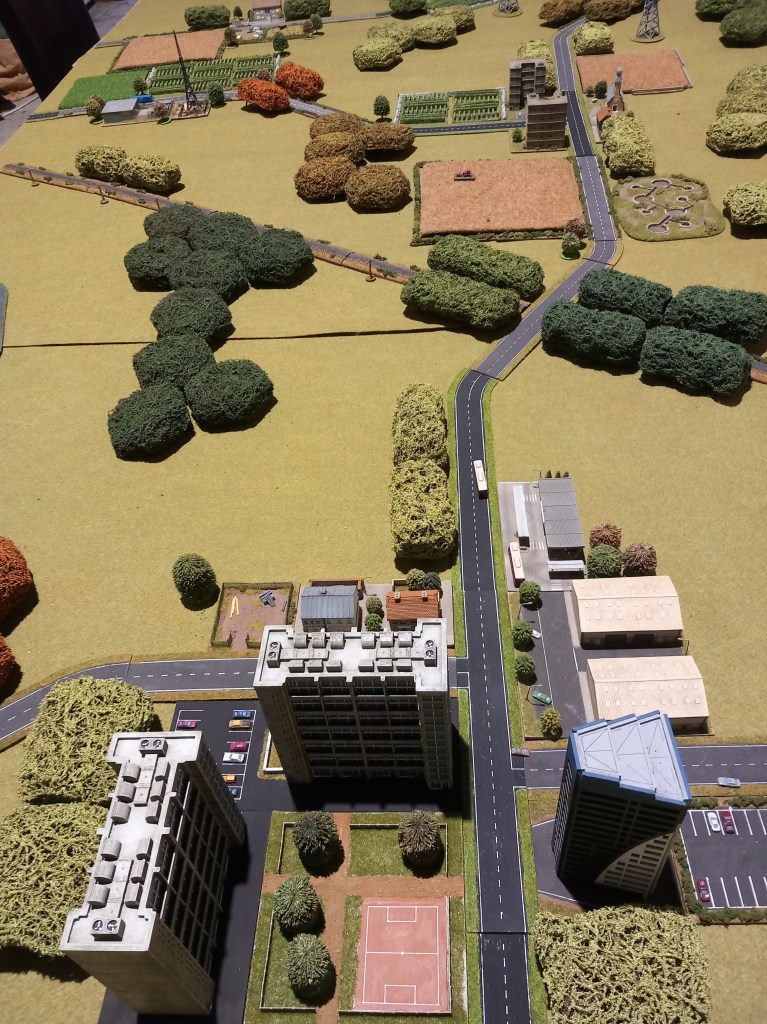
In other news, some additional 6mm buildings were acquired so an industrial park and an airfield are planned for the Cold War games.
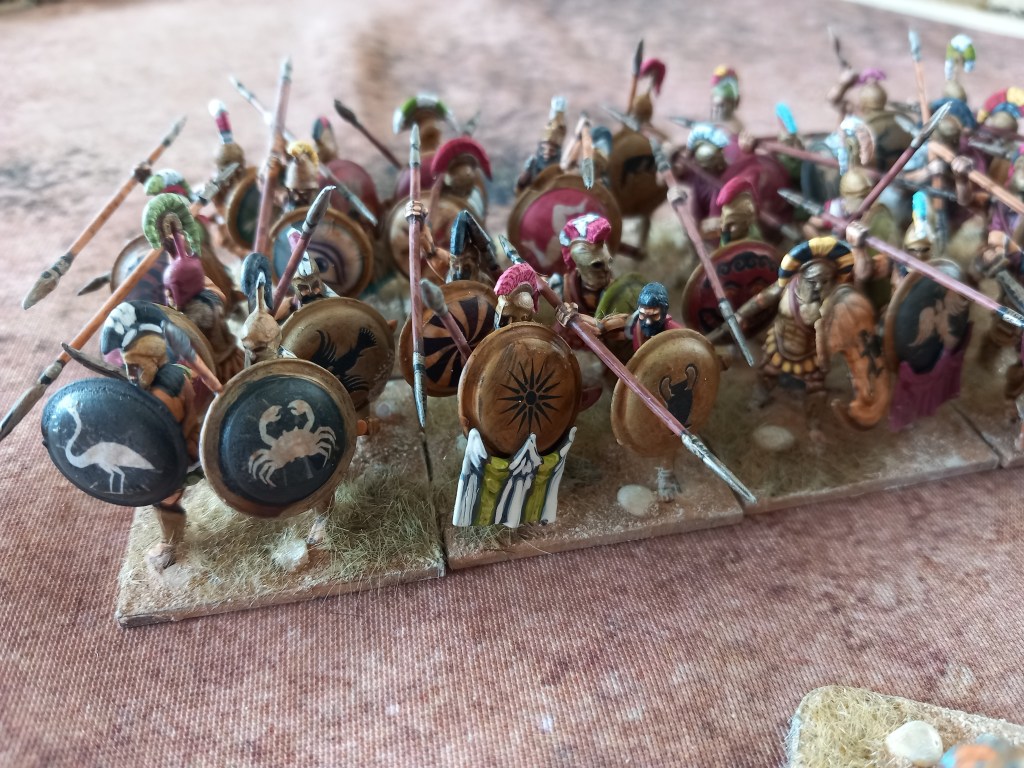
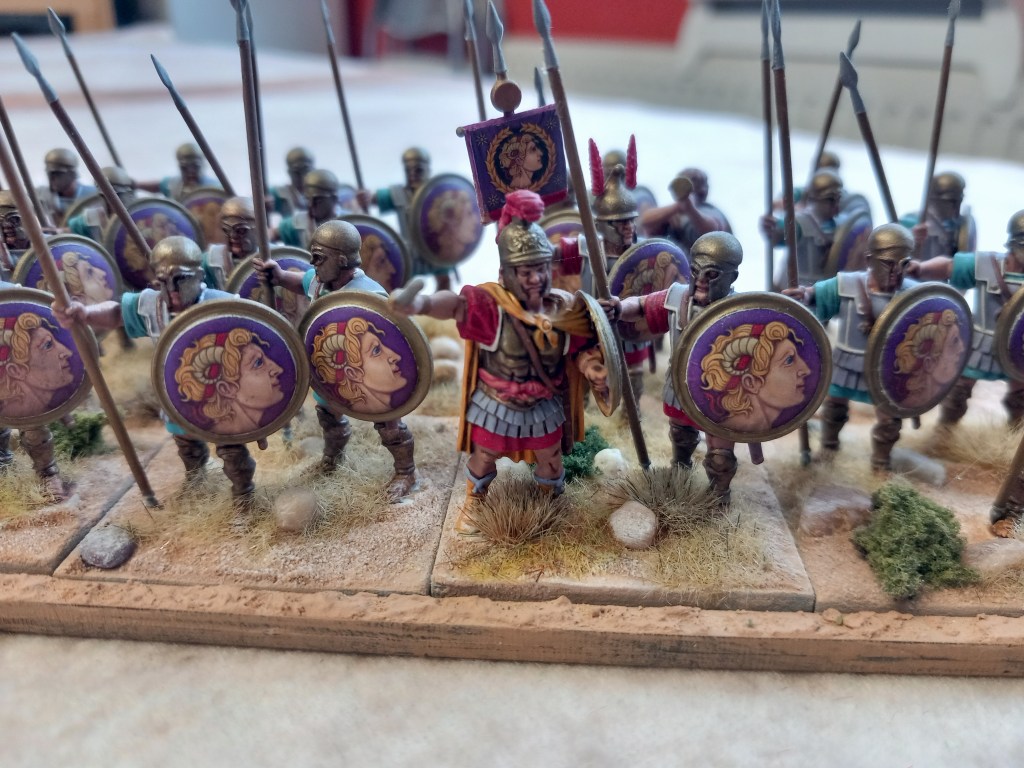
Some more hoplites added to the Successors collection, we probably have enough now for an Achaean League.
Some additional 6mm built up areas for the Cold War games completed.
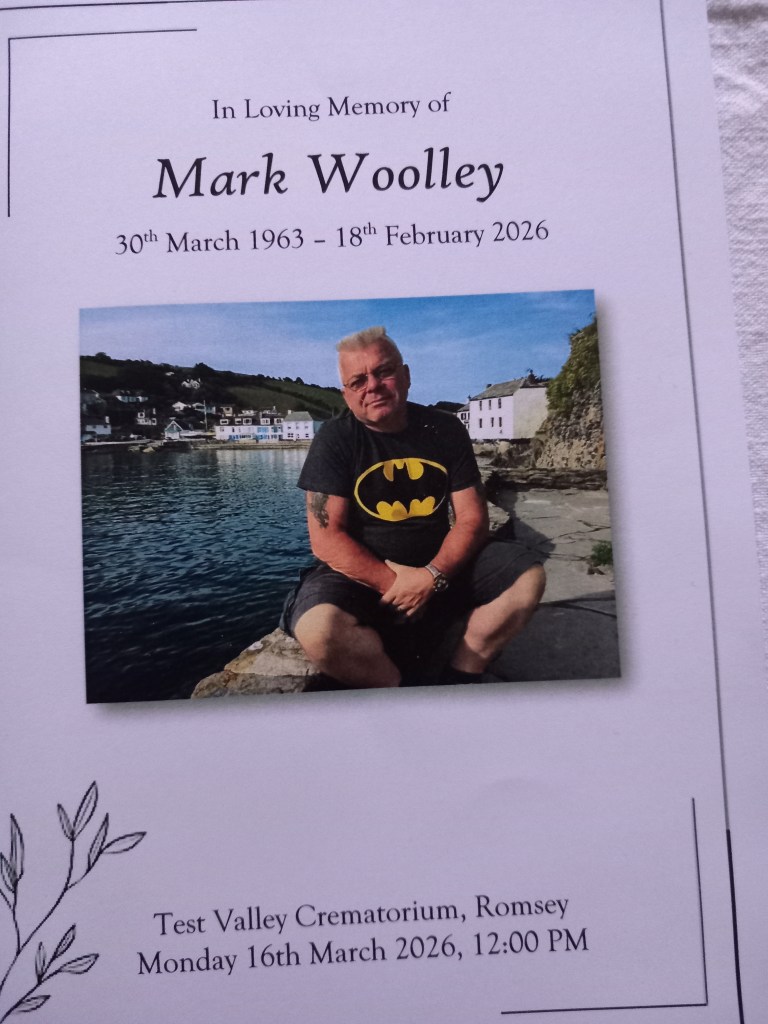
And finally, on a sombre note, we said goodbye to our gaming stalwart, Derek. Always available for a game and super enthusiastic about the group and the hobby, he will be missed.