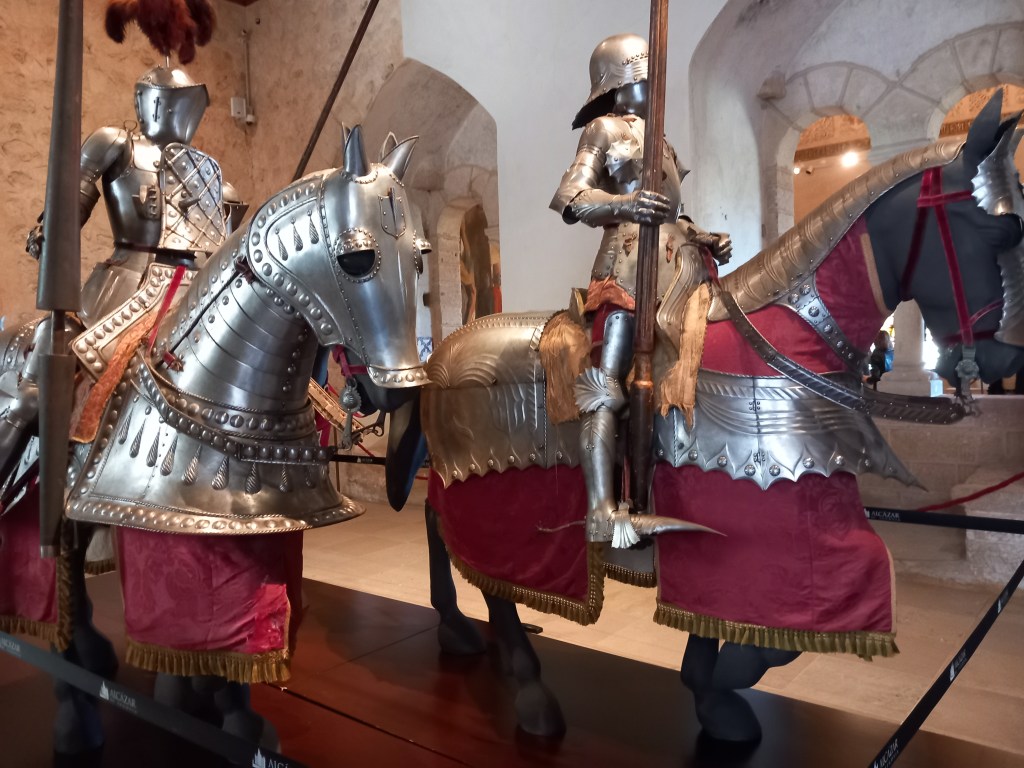
Slightly late going to press due to holiday away in Spain being cultural – I now know the complete ins and outs of Romanesque and Gothic architecture 🤔

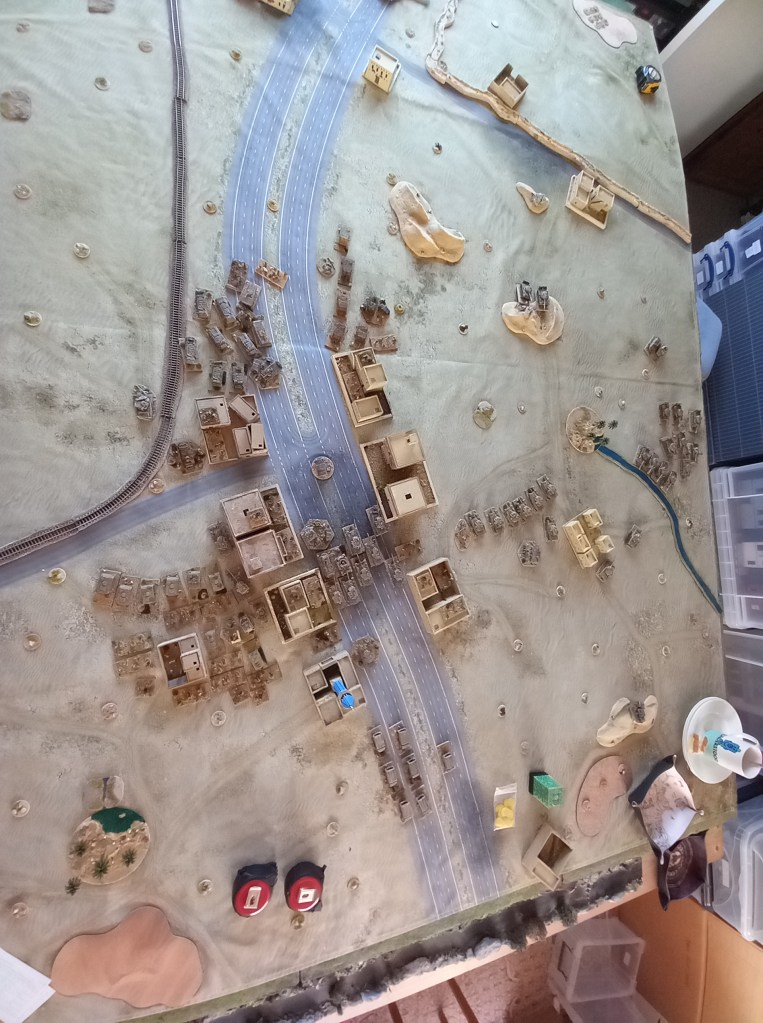
First game of the month was from the Iran Iraq collection, another scripted scenario. This one was set in June 1982 in the Central Front and involved a brigade level clash around the town of Chananeh with both sides tasked with securing the town and its rail link. As with previous games both sides were given an orbat of the basic level force and then a series of options to upgrade/reinforce the battlegroup.
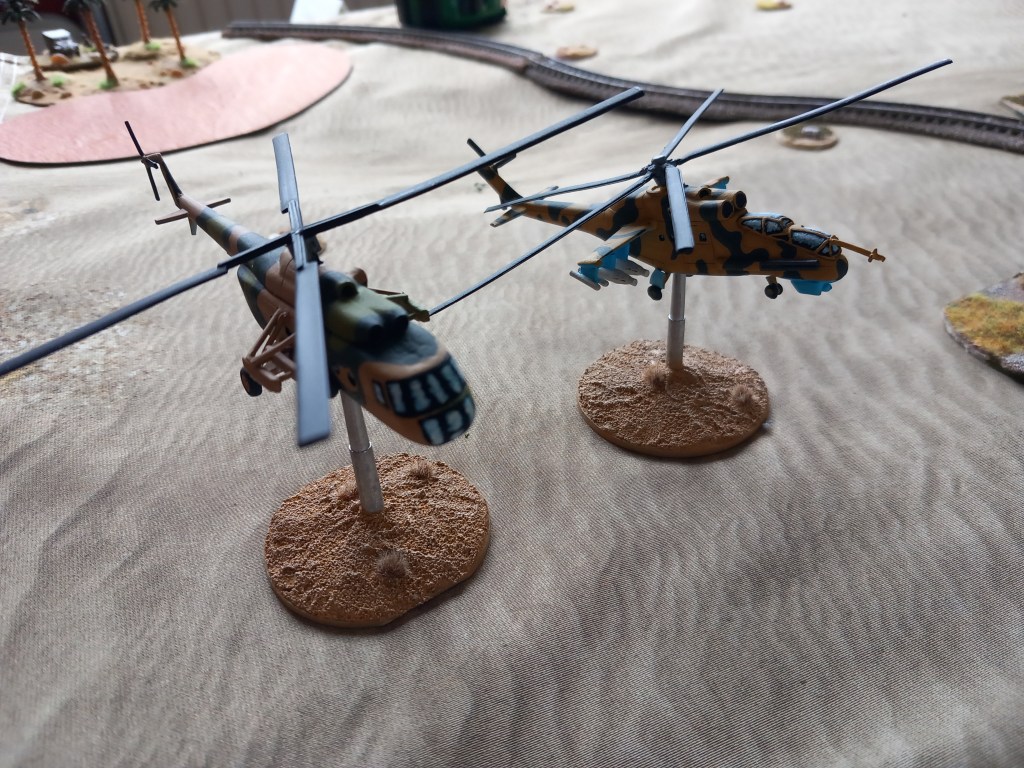
The Iraqi’s chose to insert a commando battalion via helicopter as their option and the Iranians went for additional manpower in the guise of a motorised Pasdaran battalion.

The perennial problem of getting troops to deploy first time (or second time, or third time 😂) was no different in this game than in any other but the Pasdaran were game on and roared into town alone.
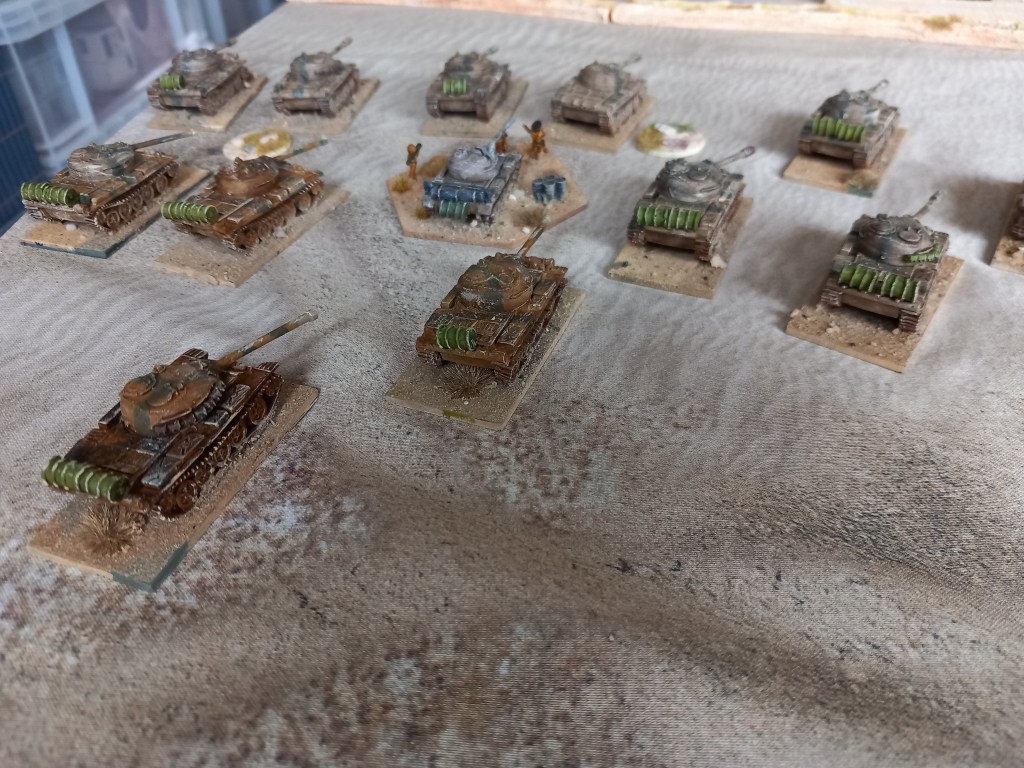
The bulk of the Iraqi mechanised infantry brigade soon deployed to contest the town and in the absence of the dreaded Iranian Chieftains pushed their T554/55s forward. The commando coup de main however was being slow to arrive and a vital opportunity was being lost.

Unfortunately for the Iraqis the Iranian Chieftains did arrive and stared taking long range pot shots at the Iraqi BMPs prior to the infantry debussing 😮

Despite losses from the Chieftains and off table 120mm mortar fire the Iraqis pressed the attack from the west and secured the immediate outskirts.

Finally the commandos arrived and started fighting their way into the town from the railway yards, but was it too late?

The battle for the town intensified with the commitment of the Iranian mechanised infantry supported by close up fire from the Chieftains; it was now two infantry battalions versus three but the Iraqis had already been whittled down.

Rightly scared of the Chieftains the Iraqi armour hung back and offered support fire but it was largely ineffective.
At the pre-programmed final turn neither side had achieved its primary objective but the Iraqis had reached their breakpoint and the subsequent test saw them fail their moral and cede the ground. Another excellent CWC game.

Next was another run at the El Cid project which is in danger of faltering due to a lack of a rule set 😔

Against my natural inclination I agreed to do a rough stripped out version of our Successors rules (mainly because they work and we know them well) and adapted them to suit the unit sizes and base sizes Dave had already gone with 😟
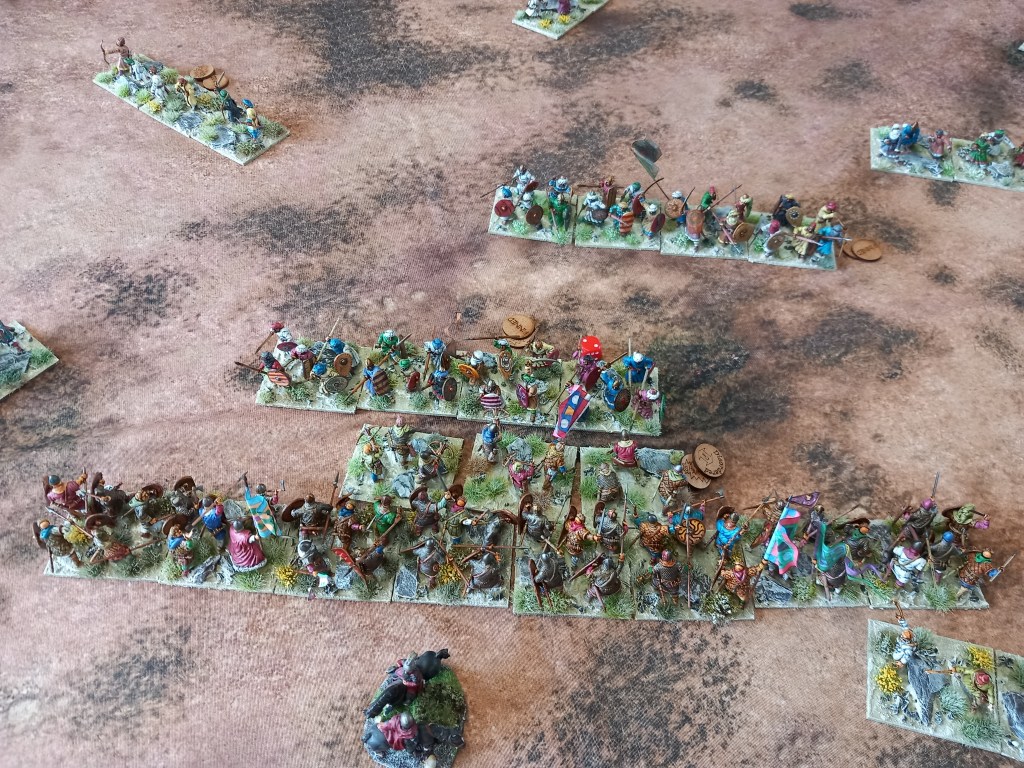
Not surprisingly there were some issues, mainly around unit sizes and numbers of figures to a base, but the overall effect was pleasing and we got ourselves a game. The down side, of course, is that I’ve now got another rule writing job 🙄😂
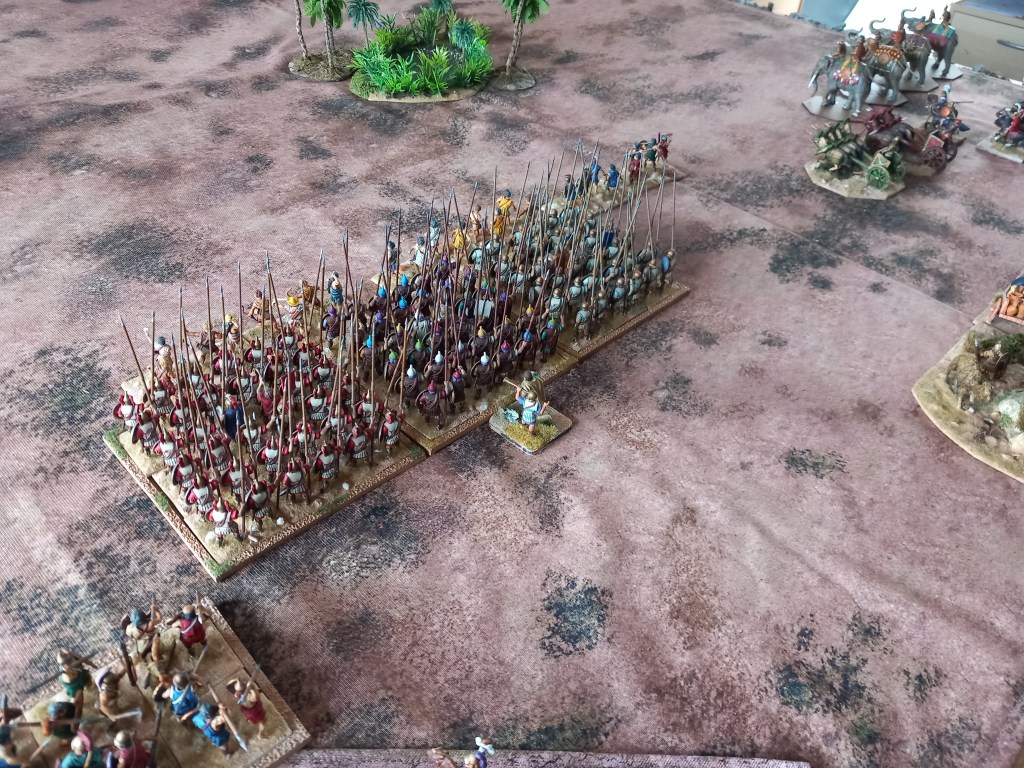
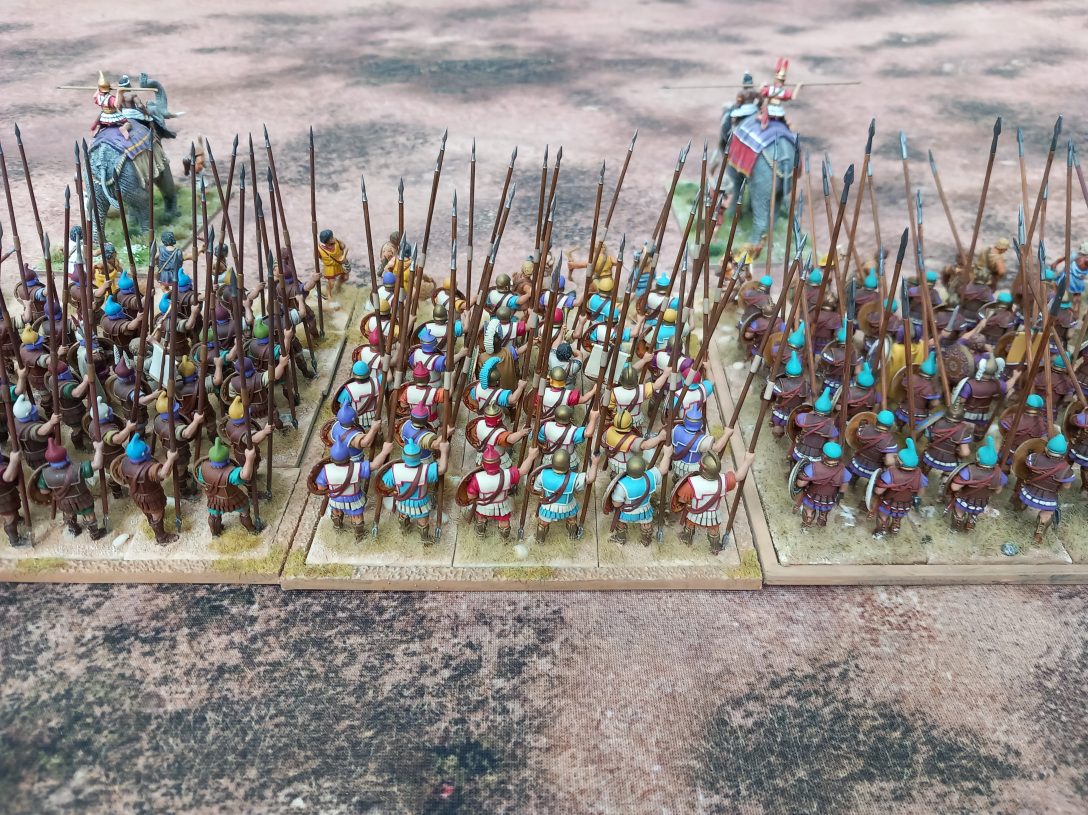
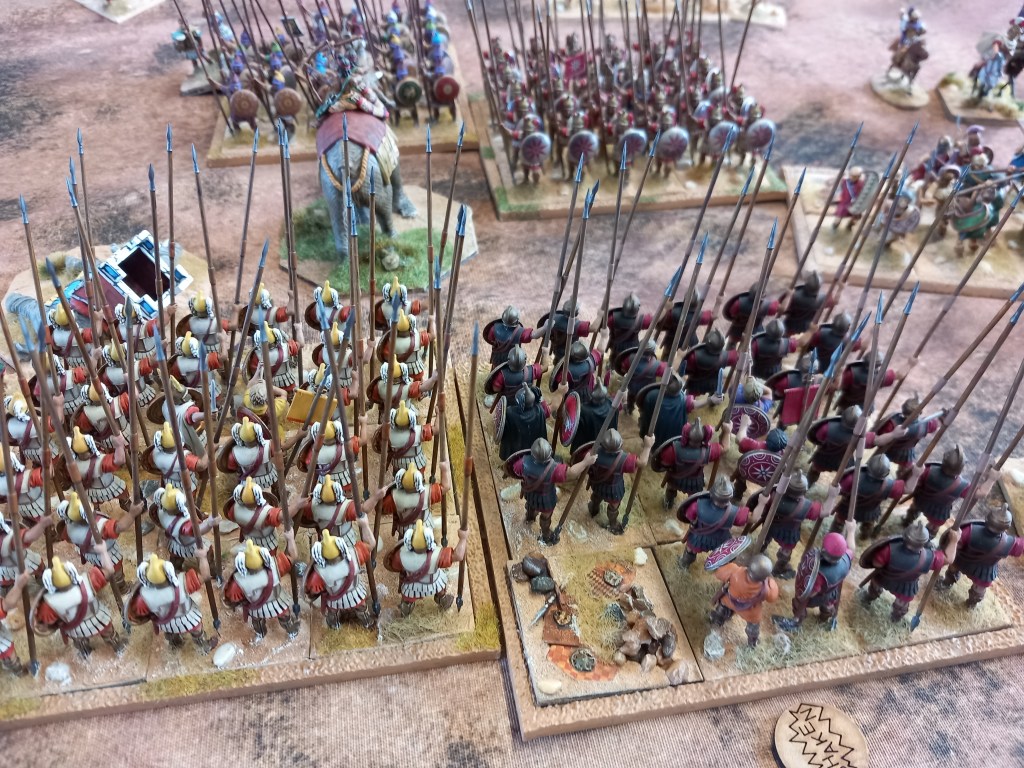
What a coincidence our next game was Successors! Well the mat was out so why not.

For this one we deployed Demetrian Antigonid against Imperial Seleucid – very historical. The army of Demetrius was the more numerous but very diverse in terms of troop types and troop quality, low on pikes but high in terms of Greek allied and mercenary foot an his cavalry were a bit of a mixed bag. Seleucus had the advantage of better shock cavalry and pikes but his lack of numbers might be a problem although he did have the scythed chariots! Both sides fielded elephants.

Demetrius opted to split his army either side of the river that ran diagonally through his deployment area. On the right he placed all of his hoplites screened by levied Persian skirmishers with the intent of advancing on the ford where the road from the enemy side cut the river – the plan seemed to be two fold, 1) prevent a possible Seleucid use of the road to gallop their cavalry up the road and onto the Demetrian flank and 2) to cross the river onto the Seleucid left flank if no such attack manifested itself. The forces on the other side of the river were the pikes flanked by peltasts and screened by elephants & psiloi in the centre and all the cavalry, light & heavy out on the flank to sweep around the Seleucid right.
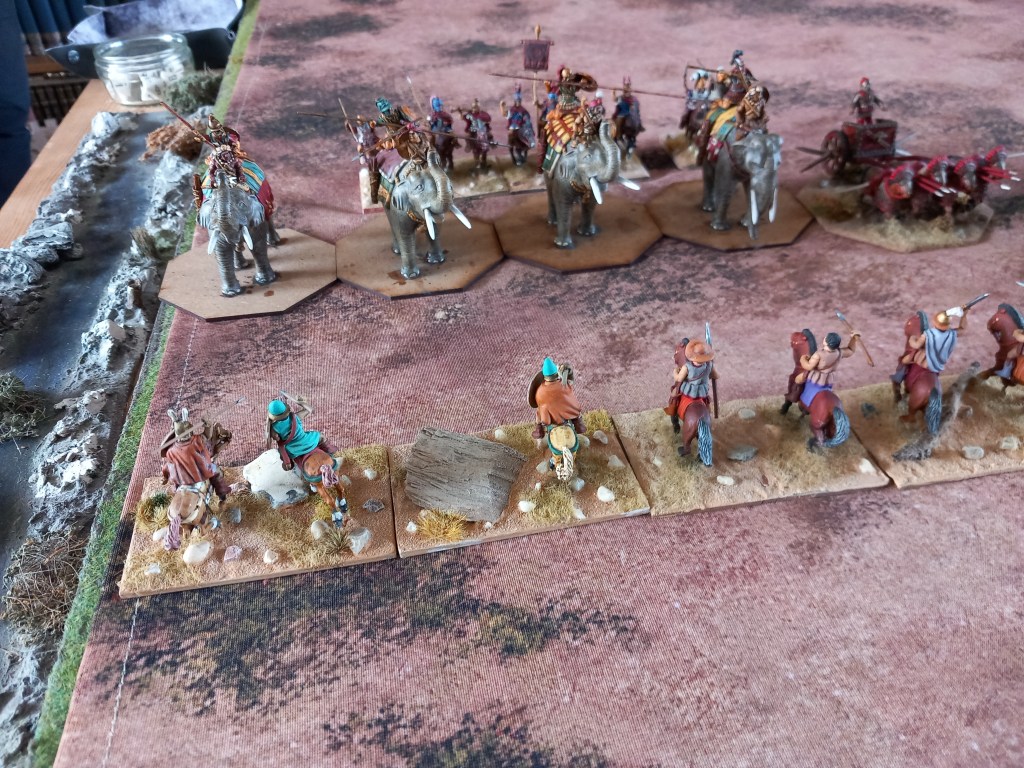
The Seleucids chose to concentrate their elephants & chariots on the right flank supported by a single unit of Median cavalry mainly because this seemed to be the best cavalry ground – they were right 😀. Next to them and in the centre were the pikes, screened by psiloi and flanked by peltasts and out on the left were the Xystophoroi cavalry and on the extreme left an independent command of Tarentines and Hetairoi. Apologies for the non based elephants, a rare oversight.

Once the game got going it became pretty obvious that Demetrius’ allied Greeks were going to have very little to do and were largely reduced to the role of spectators.

The early blows of the battle were struck on the Demetrian left where first the skirmish cavalry and then the formed cavalry fought it out with the elephants and chariots. This contest occupied the bulk of the battle and was hard fought with elephants dying and chariots crashing, in fact quite a mess 😁

While the elephant/cavalry duel rumbled on the infantry centres closed with the elephants being the dammed nuisance they’re meant to be.
Elephants died and men died but no-one could make the breakthrough that was needed and unfortunately for the Seleucids they couldn’t make their strike cavalry count either.

Back on the Seleucid right it was all going a bit wrong and Demetrius was about to get the breakthrough he needed.

But what of the Demetrian right flank I hear you ask? Well, this was all a bit embarrassing. One of the hoplite battalions got itself a bit isolated and after being softened up by some skirmishing Tarentines it fell to a mighty charge by the Hetairoi. It didn’t make any difference to the battle but it did make the Seleucid commander feel good 😁

Ultimately the battle kind of petered out and once the Demetrian cavalry were amongst the Seleucid baggage it was over.

Our next foray was into the ice cold waters of the Pacific and another Victory at Sea with both sides picking their fleet from an umpire generated list.

Once initial dispositions were made this looked like it was going to be a Japanese walkover, the US forces were spread thin and seemed to have no chance of achieving their objectives – I’ll admit to some low level whinging here as a US commander 😳
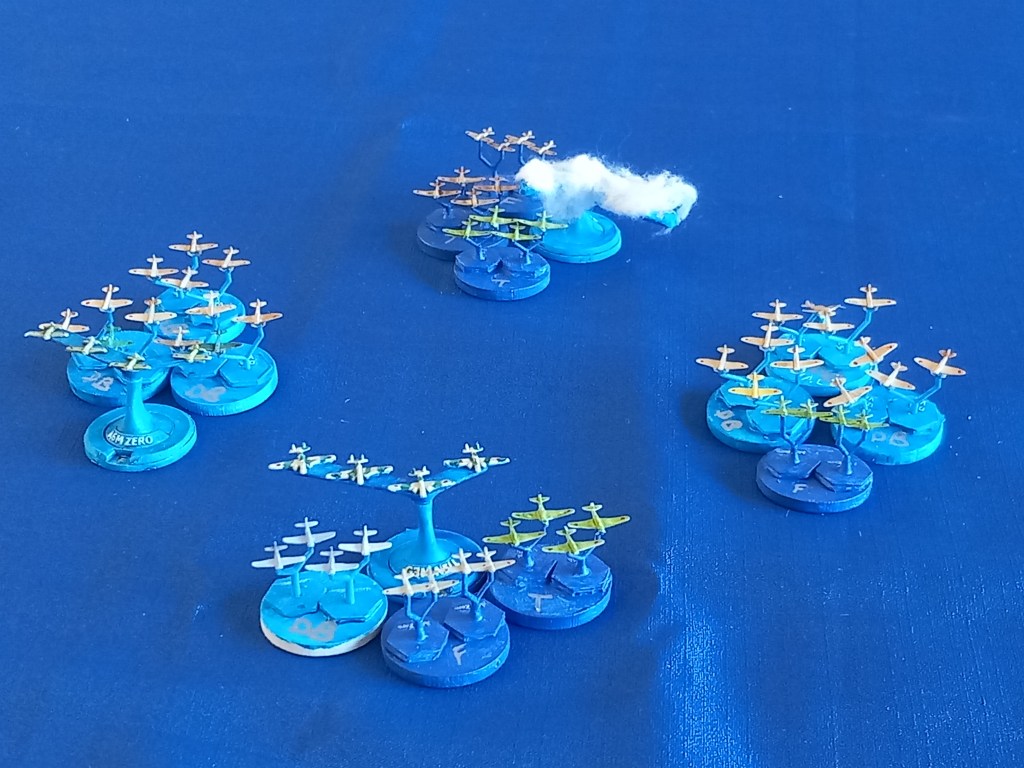
As we are beginning to learn with these rules, aircraft can be crucial – here waves of Japanese aircraft roar into action.

Unless your anti aircraft fire is effective you are going down to the bottom of the ocean.
No further comment required 😏

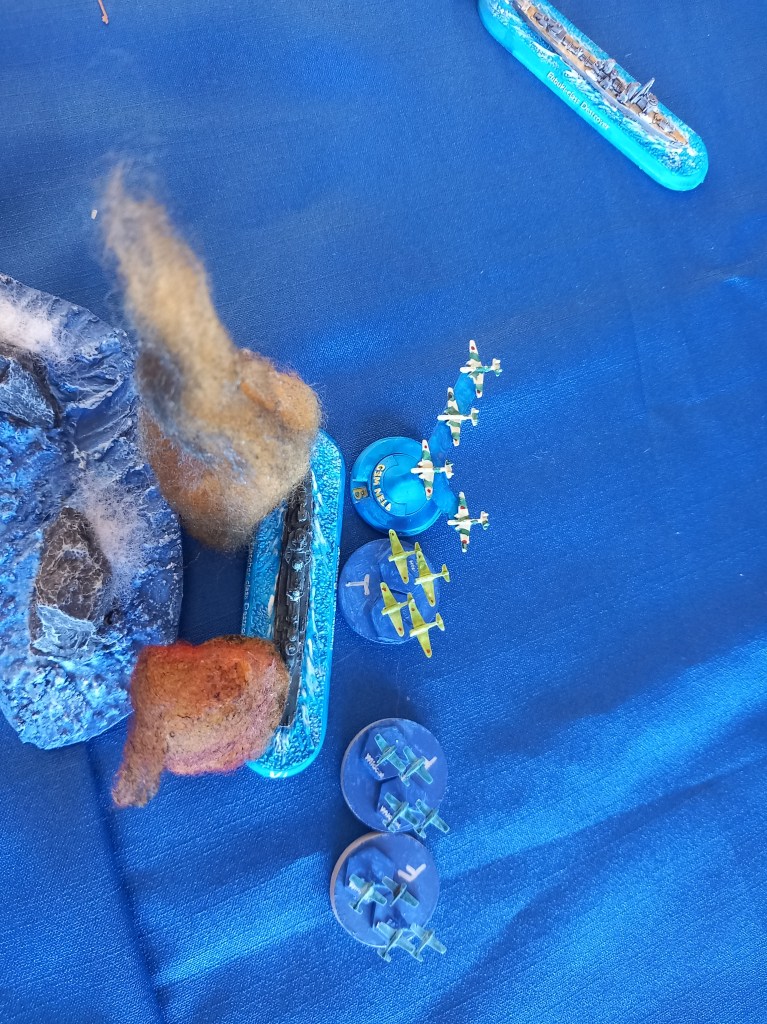
The Missouri goes up in smoke, this was a seriously depressing moment for the American commanders.

But, in a late comeback, the Americans took out the big ass Kongo – what a glorious site!

And then the Mogami got torpedoed. It’s getting better and better!

It was a hard fought engagement and when time was called at the prescribed point the Americans had rallied and won a major victory which they sure as hell didn’t look anywhere near to doing for a good half of the game.

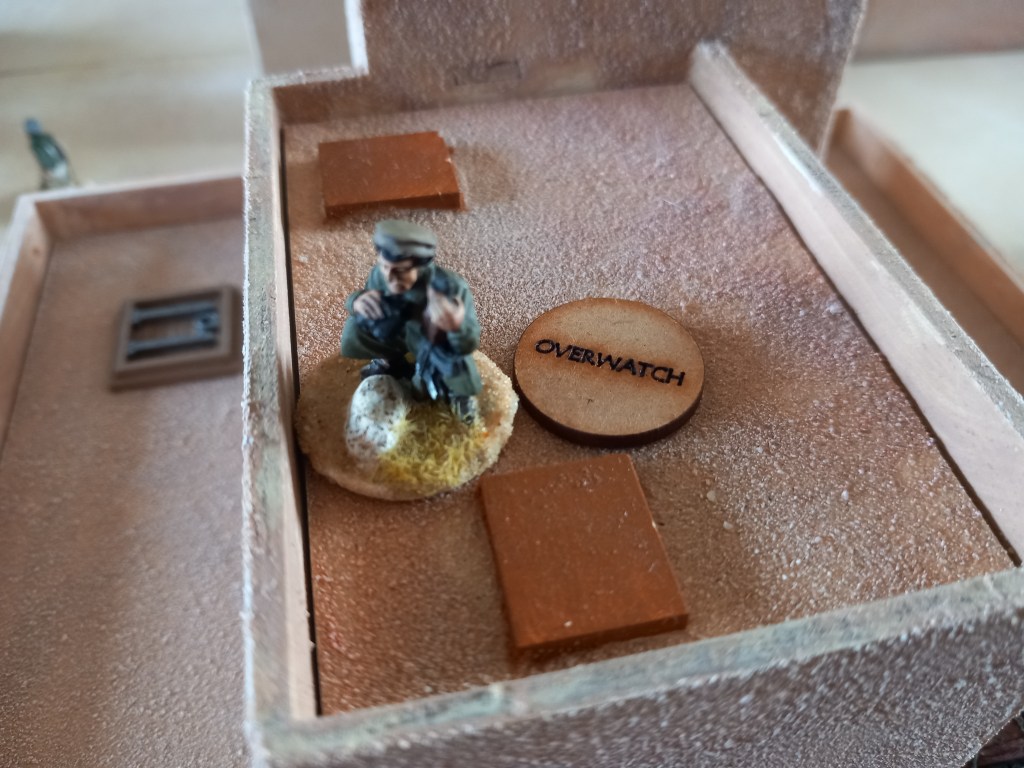
We returned to skirmish gaming for our next effort, Blue and Red teams from the SAS infiltrating a Taliban compound to capture a senior leader – the emphasis being on capture.

All proceeded well for the first few turns, entry into the town was made undetected and overwatch positions were set up. The clever bit would be finding which building the target was in.
Sooner or later someone is going to spot something not quite right and this guy did. Que gunfire.
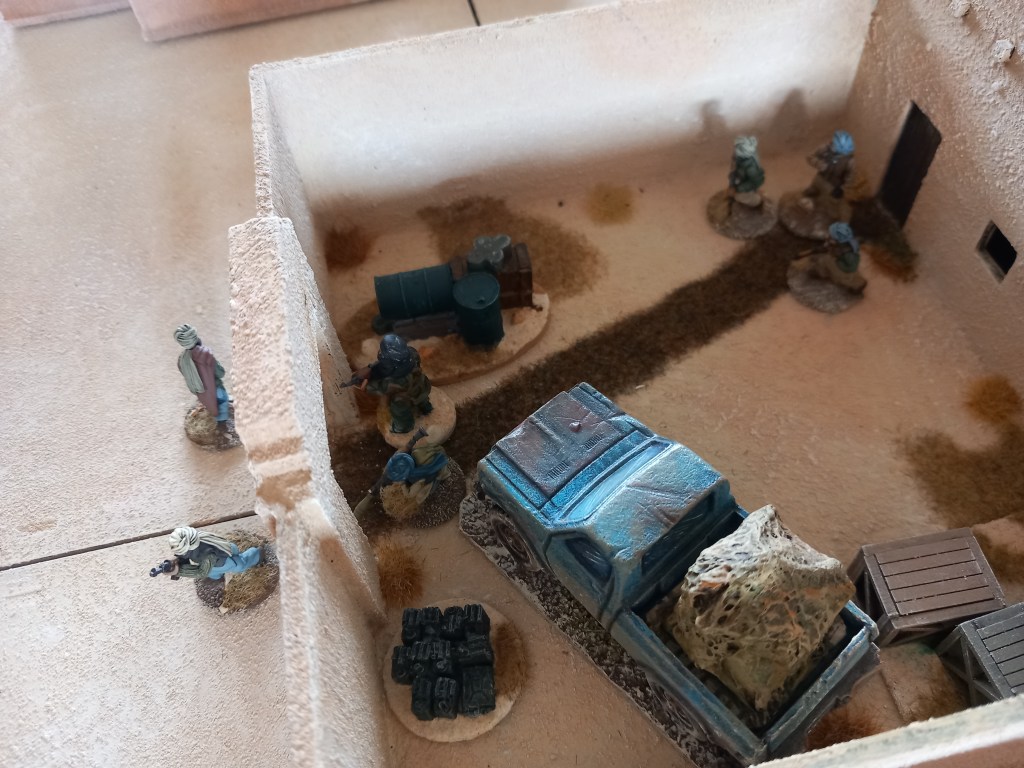
Taliban start charging out of buildings – might be a good indicator of which buildings might house our man.
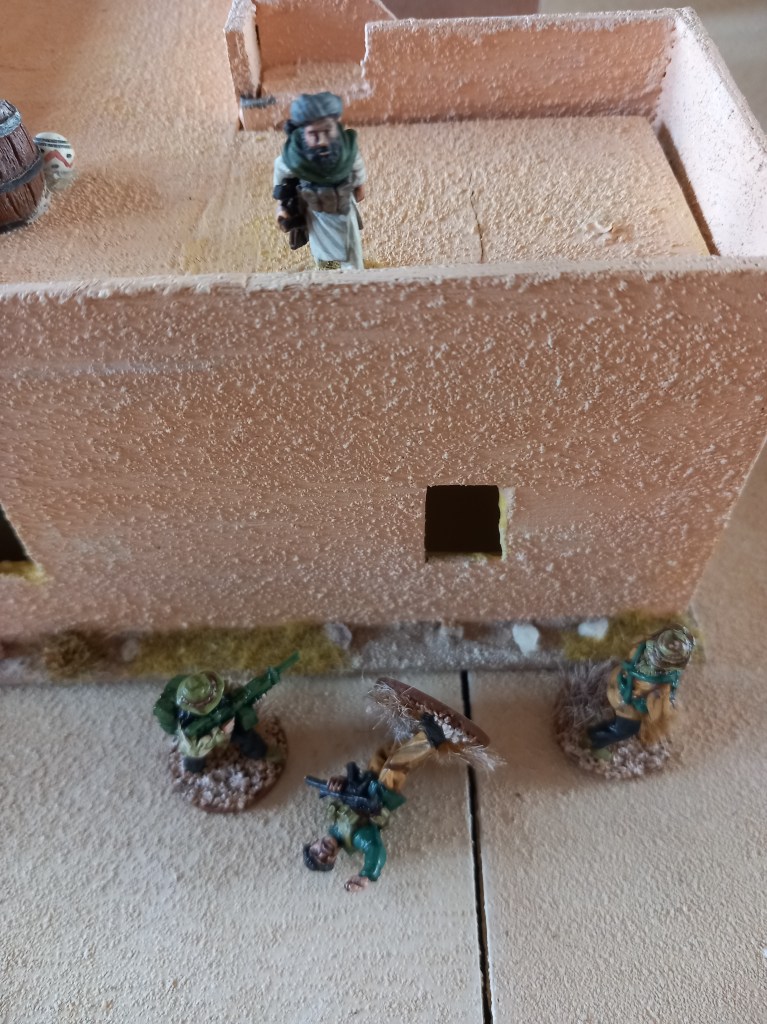
Grenades are your friend 😊

In these games (Spectre Operations V2) the advantage definitely sit with the elite tier troops – more accurate rates of fire, better resilience, but they can still die.

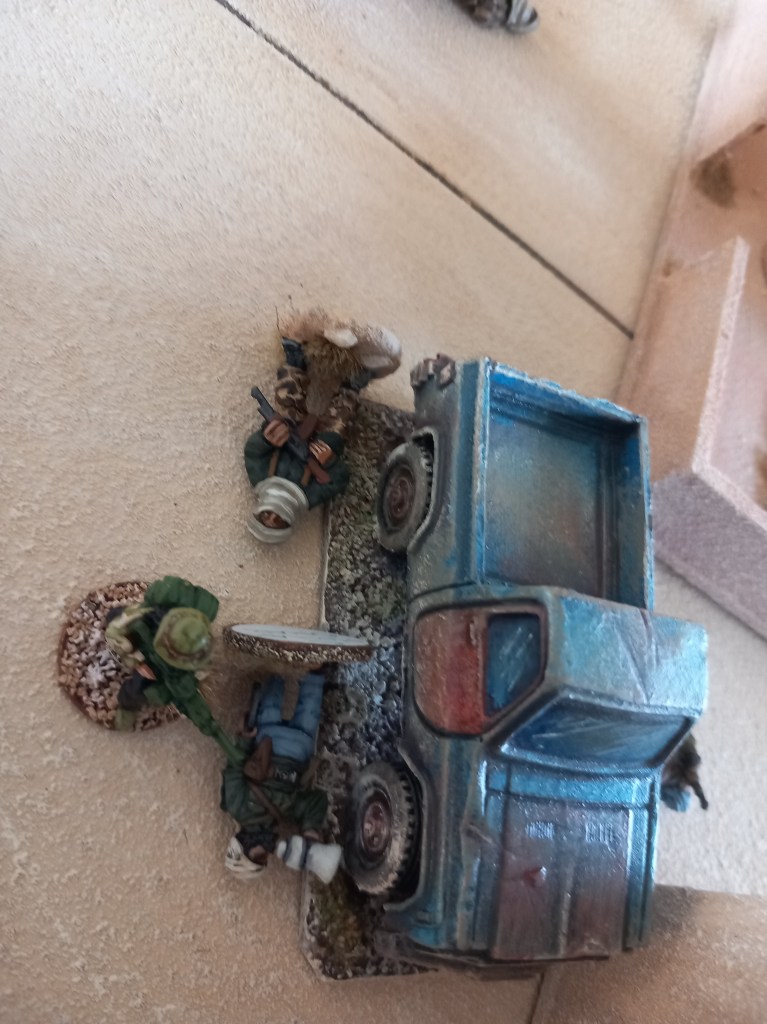
With bullets flying and his men dying the target made a break for it with his bodyguards.
Sometimes there are just too many of them – ultimately the SAS teams suffered 50% losses.

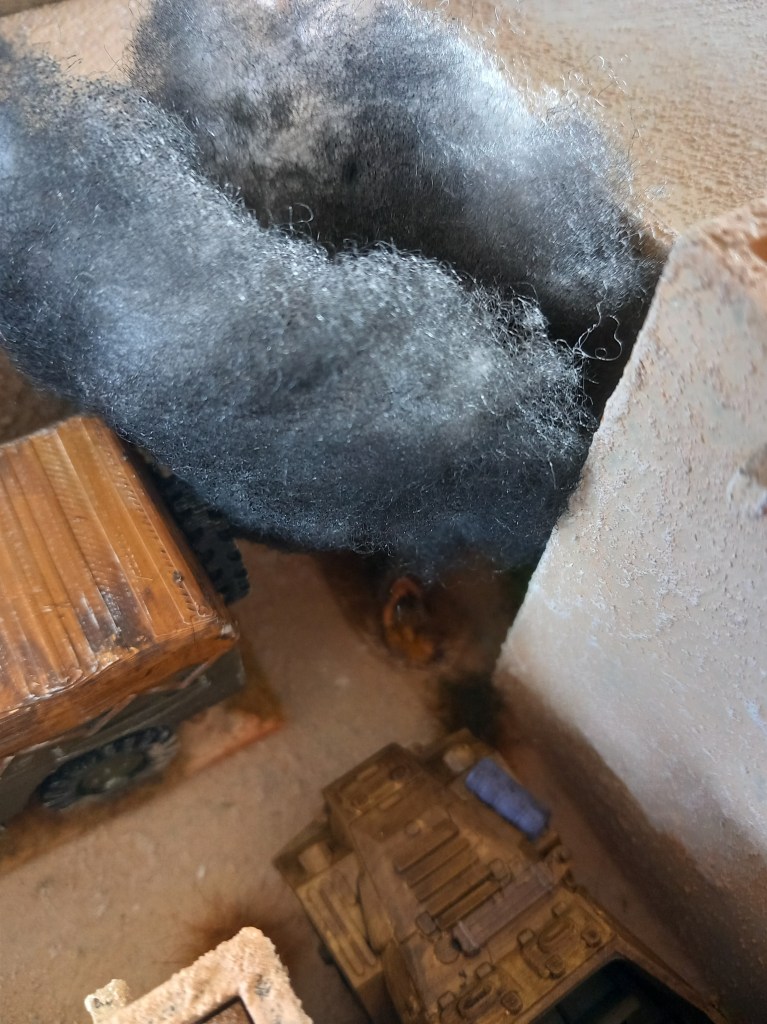
The target looks like he’s getting away. Can they cripple the vehicle and not the man?
Nope. The hail of bullets that bought the vehicle to a halt caught the target and he died as the SAS reached the crash site. Technically a failed mission particularly given the SAS casualties but there was a lot of dead Taliban and we did have a great game.
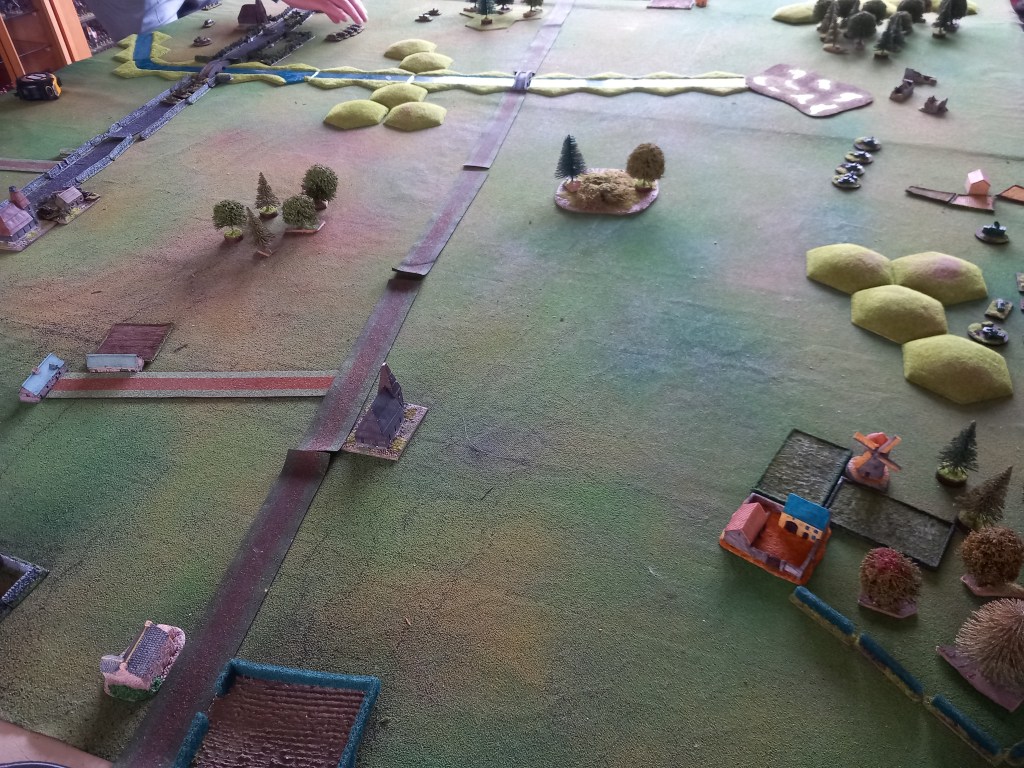
Our final game was our first game with our newly done 6mm Cold War Gone Hot collection again using Cold War Commander. The forces were an understrength Bundeswehr panzer brigade v a Soviet tank regiment.

We got so involved in this that the time just whizzed by and not enough photos were take, better luck next time.

Essentially the Bundeswehr were defending a main road route over a river and the bridge was the critical objective but in accordance with their historical tactical the Germans decided to attack and blunt the Soviet advance.

Soviet mechanised infantry on the move.
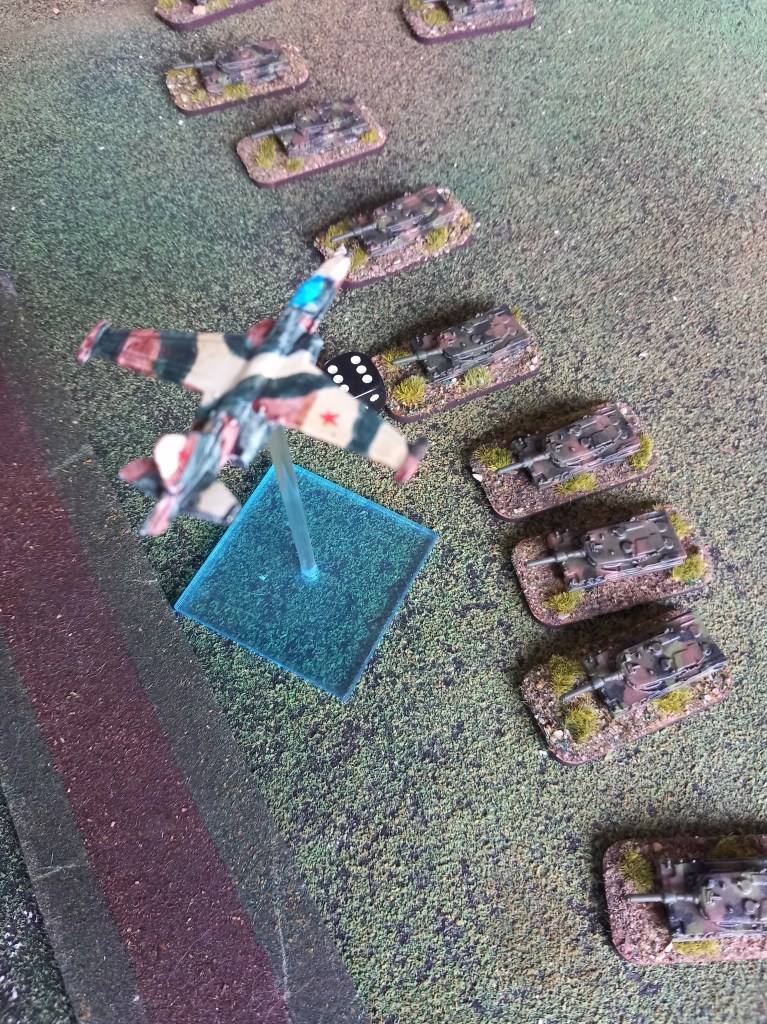
Soviet air cover was largely ineffective much to the relief of the dangerously exposed Leopards.
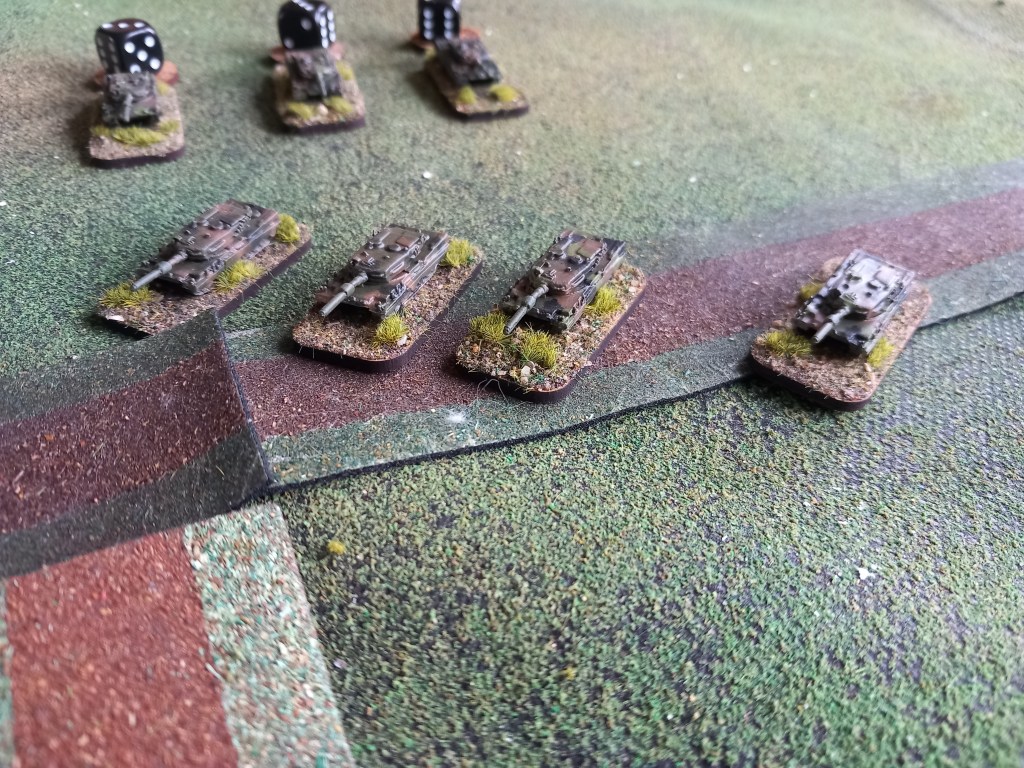
The Leopards were very effective against their Soviet counterparts and importantly could shrug off most damage.
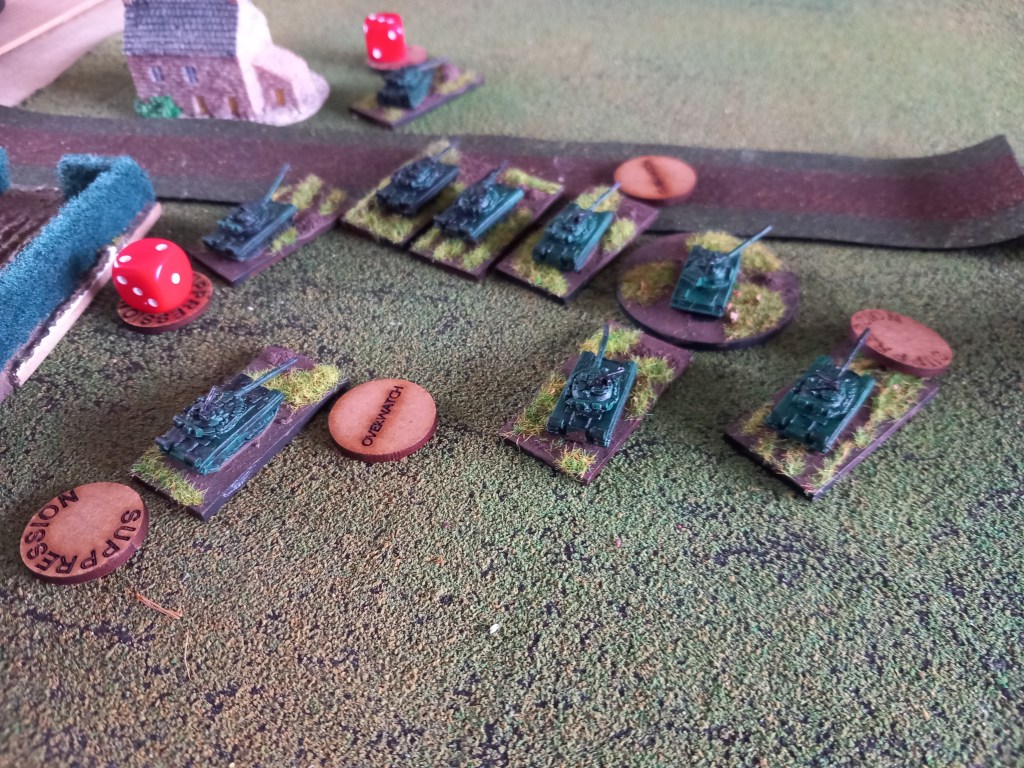
Soviet T80’s taking some pressure – we ran out of suppression markers 😂

For reasons I cannot explain a whole load of photos of a Hind getting serious with ATGM’s have gone missing 😥 but suffice to say they were very effective.

This played as a very different game to the Iran Iraq affairs despite being the same rule set. First off the smaller scale means more stuff can deploy on the same square footage but move and shoot at the same ranges which has both it’s positives and it’s negatives. Secondly the kit is a lot better (and I mean a LOT better) despite the same time frame and that offers a real challenge to both sides. Thirdly terrain is key, we already knew this from Iran Iraq but here it is really important and we need to do some work both in terms of quantity and quality.
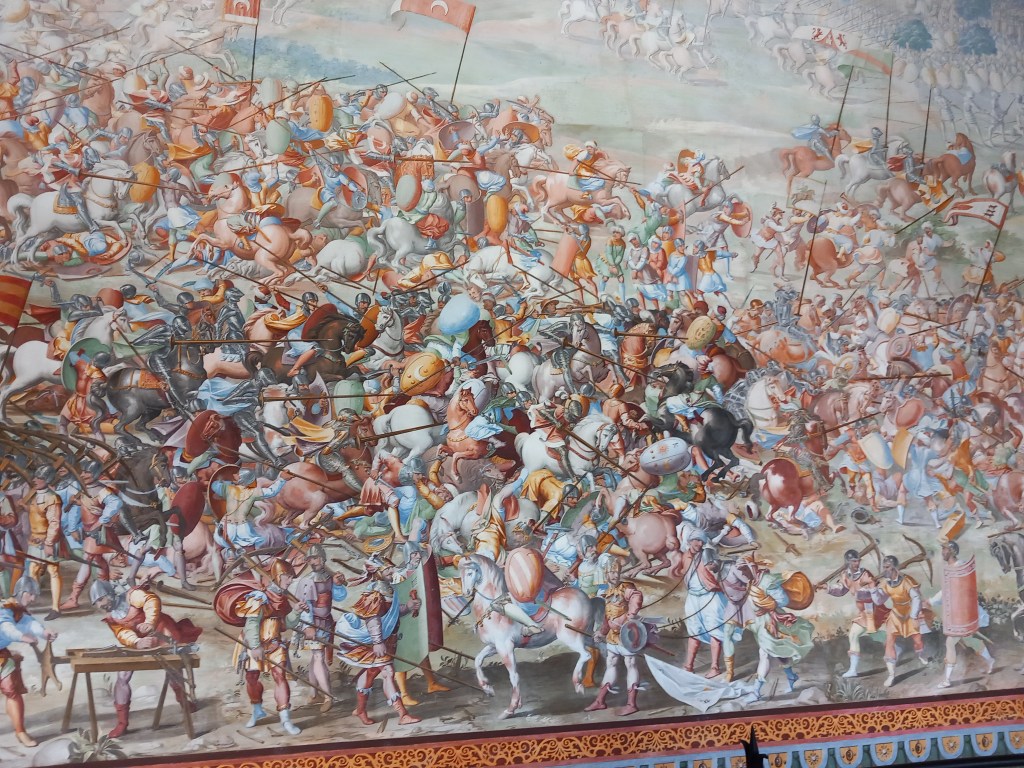
Anyway that’s it for the month, I leave you with a random battle painting from my holiday in Spain. See you next month.

excellent report again, thank you.
LikeLike
Thanks
LikeLike