
The choice for our 2nd historical re-fight of 2021 was this Carlist War encounter of June 2nd 1837 using Dave’s lovely collection.

In the historical encounter, the Isabelinos (also known as the legitimate government) under General Oraa attacked the Royal Expedition army, notionally under Don Carlos but most likely commanded by General Moreno. The Carlists were positioned amongst olive groves on gently rising ground to the west of the town, with their left flank resting on the river Cinca and the right on some high ground and comprised 4 infantry divisions and 1 fairly large cavalry division; the Isabelinos were in 3 larger divisions and 1 cavalry division, although 1 division did have it’s own attached cavalry. Both sides were comprised of battle experienced troops, although the idea that both were comprised solely of veterans is probably a bit of a stretch. In terms of noteworthy units the Isabelinos had, 2 battalions of Guard Grenadiers, the French Foreign Legion battalion and the cavalry division included, 1 squadron of Guard Horse Grenadiers, 1 squadron of Guard Cuirassiers, 2 squadrons of Guard Lancers, 3 squadrons of Princess Hussars and 1 squadron of Polish Lancers; the Carlists had their own Foreign Legion – the Argelinos battalion, essentially deserters from the other side and the Grenaderos de Ejercito. The main Zaragoza – Barbastro road pierced the centre of the Carlist line but had no significance in the battle.

The Isabelinos did all the attacking and spent most of the day doing so, generally to no avail. The Carlist centre gave ground early on but was reinforced and regained it’s ground sending the government troops back to where they came from. On the Carlist left both sets of Foreign Legion clashed and blazed away at each other for most of the day resulting in the effective destruction of both units. The Carlist right withstood a mass attack led in person by the frustrated Oraa but Moreno threw in his last cavalry to outflank the attack and then led a counter attack to force the whole government force back to it’s lines. Both sides of course claimed a victory and losses were about even but the Isabelinos had failed to dislodge the Carlists who were free to cross the river a couple of days later unmolested and continue their campaign.
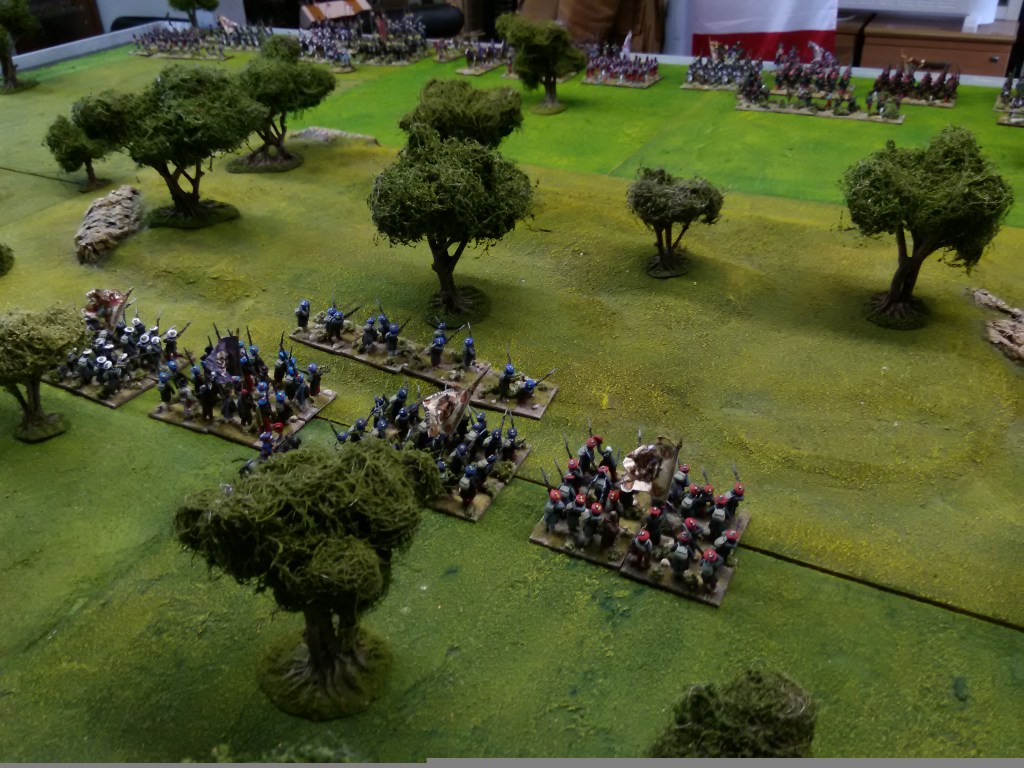
For our refight we had the bulk of the units required and where we didn’t have the specific units we had another rather like it – let’s face it, one guy in a beret is much like another guy in a beret! We most certainly had both the Foreign Legion battalions plus all the noteworthy units mentioned above. Terrain wise we played on the 11′ x 6′ foot table in The Bunker (the big shed, because that way we could kid ourselves we were ‘outside’) with a large low ridge in the centre with an open space at either end and then two smaller low hills stretching away to the board edge at one end and a river section at the other end, trees were dotted around to simulate the groves but were not deemed to be an impediment. Like the historical antagonists we had 3/4 infantry divisions and 1 cavalry division each with the option to split the cavalry into smaller brigades if desired – the government certainly seemed to have allocated a number of squadrons to each division but it must be said that the information is sketchy and in some cases downright contradictory so we did the best we could to be as close to the history as possible. The Carlists were deployed on the rearward slopes of the ridges, with the option to move up and occupy the top once we got started, placing 1 division (which included the deserters & Ejercito) behind the left hill, one division behind the centre low ridge, 1 division astride the road and 1 division on the right hill – although referred to as divisions the Carlists were in reality brigades; the cavalry were kept in reserve to the centre rear. The Isabelinos deployed on the plain in front of the rising ground, placing 1 division/brigade on the left backed by by some mountain guns, 1 division of 2 brigades continuing the line up to around the point facing the centre of the ridge and were supported by some of the cavalry and then the other division, again of 2 brigades (the right one including the Legion) plus artillery running from the other half of the ridge to the river but split at the centre by the cavalry of the Guard & Princess Hussars – this was a slight cheat to enable the Foreign Legion battalions to be in the same part of the battlefield from the off.
Victory conditions were quite simple; the Isabelinos had to drive the Carlists from their positions and hold all the high ground by the end of the game, the Carlists had to hold on (not surprisingly) and suffer fewer casualties, anything else was a draw which would actually count as a marginal Carlist victory, so no pressure Isabelinos!

The first couple of turns saw both sides order a general advance which allowed the Carlists to crest the central ridge and their cavalry division to move off to the right flank where the road was but this later turned into a bit of a traffic jam as they tried to get round their own infantry. On the left and right rising ground the Carlists also established their positions; the Carlists now owned the whole ridge line but were not quite in the right shape to defend it.

Turn 3 saw government skirmish fire and artillery fire drive off the Carlist light troops on the ridge and a squadron of the government Borbon lancers managed to work their way up onto the ridge to threaten the Carlist line infantry who duly went into square. On the Carlist left hill their skirmish troops exchanged shots with their opposite numbers but both commanders hung back with their Foreign Legion troops which rather favoured the Isabelinos who started to filter their cavalry between the gap of the hill and the ridge.

Turn 4 saw the action hot up as both sides launched their initial cavalry attacks; on the government side this didn’t go so well as the Carlist square on the ridge stood firm and eventually saw off it’s attackers; on the Carlist right the first attacks of it’s cavalry division saw it’s one Hussar regiment get pretty badly mauled and retire but one of the Navarra lancer regiments saw off it’s opponent and opened up a gap for the rest of the division.

Turn 5 and on the ridge line the Carlists generally stood firm (this was when the cavalry attacking the square left the fight) under artillery and musket fire although one unit (1st Navarre) did retreat but rallied on the lower slopes. More interestingly the government Princess Hussars launched themselves into the Grenaderos de Ejercito who opted to stay in their attack column and empty and few saddles with musketry fire before being contacted in what became quite a murderous melee. On the Carlist right the lancers squadrons started to get organised in the space that was opening up, mainly because their infantry got the message about “stay out of our way!”. On the extreme Carlist right the one brigade was facing off to it’s opponents and frankly nothing much happened here for the whole battle – the poorer quality government troops eventually fell back after a single melee, but this did mean that the brigade astride the road could manoeuvre unmolested behind the lancers.


Turn 6 saw the Isabelinos charge their Guard infantry into contact on the ridge where the Carlists stood their ground in what would be a bit of a slog for a couple of turns, elsewhere along the ridge both sides exchanged fire – the government artillery fire gave the Isabelinos the advantage here. On the Carlist right centre the cavalry started to make some in roads as two regiments launched attacks, one hit a line regiment that elected to stay in line and the other drove off a skirmish battalion and ran onto a hastily formed government square.

Turn 7 was the ‘high water mark’ of the Isabelino attack on the ridge as the Carlist unit facing the Guard retreated from the melee, but crucially didn’t rout, the Isabelinos now had most of the ridge but on the Carlist right the Guides de Alva launched a charge which routed their opponents and they pursued down the ridge thus unhinging the government centre from its under pressure left. The Princess Hussars fell back out of their melee having pushed off their opponents but were in no position to do anything else so withdrew to their lines. For the Carlist cavalry the good times now started to roll, the government line who stood the charge now routed and were pursued back towards their lines paralysing the surrounding units, the square beat off the first wave of lancers leaving them bloodied and disordered but an immediate follow up attack by another Navarre lancer regiment broke them immediately and they were pursued off.

Turn 8 saw both sides achieve break throughs between the ridges. On the Carlist right the victorious cavalry division was romping through the gap left by the fleeing government infantry and had started to turn left to move along the base of the centre ridge; importantly they were now being followed by a completely untouched infantry brigade. On the Isabelino right the Guard cavalry had now worked it’s way between the ridges taking fire from the Carlists on the left hill but unlike the Carlists had no infantry support. In the centre the ridge was becoming government real estate as the Carlists retreated. Over by the river the Foreign Legion battalions were finally in action as they blazed away at each other but it was nothing like the battle of annihilation of history.

Turn 9 was decision time for the government, did they continue on down the ridge to try and rout the retreating Carlists or stay on top of the hill? They decided on staying where they were as that was the objective but that rather left the Guard cavalry squadrons with nowhere to go, there was no enemy visible except those in the high ground shooting it out with their government opponents and behind them was another contest of equals, so they stood their ground.

Turn 10 we called it. On both flanks nothing decisive was going to happen and the Foreign Legion battalions had disappointed. The centre was the decisive point; so yes the Carlists had been driven off but now their cavalry (or at least the squadrons not pursuing) and an untouched infantry brigade were between the Isabelinos and their deployment lines so not so good for the government and given the objective for the Isabelinos was to take all the high ground we judged they had failed.

Much like the real thing it was a hard fought battle with honours being about even in wargaming terms but not in objective terms. Talking about it afterward we agreed we probably should have had the Carlists well and truly on the high ground at the beginning in order to minimise time taken in both sides manoeuvring and also enable the Isabelinos a better chance of softening up the Carlists, who had no artillery. The rules were our own and by and large they coped with the larger game size pretty well, no obvious problems and we had fun, so result 🙂
We hope you enjoyed the read, next one in due course.

Looks incredible. I like the figure basing 6 for the infantry and 3 cavalry on a base
LikeLike
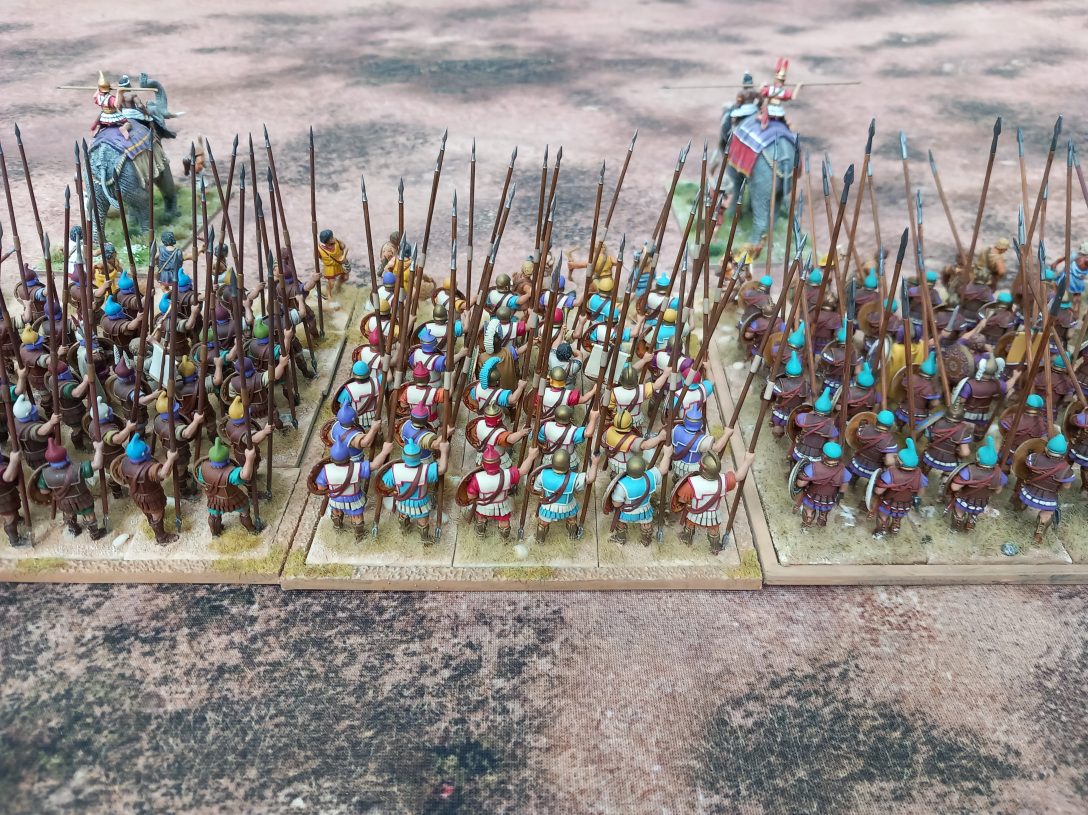
Thanks. The figure ratio is approximately 1:25 so that 4 bases of 6 infantry is a battalion and 2 bases of 3 cavalry is a squadron.
We play with our own rules but the period and our basing can be played with rules like Black Powder
LikeLike