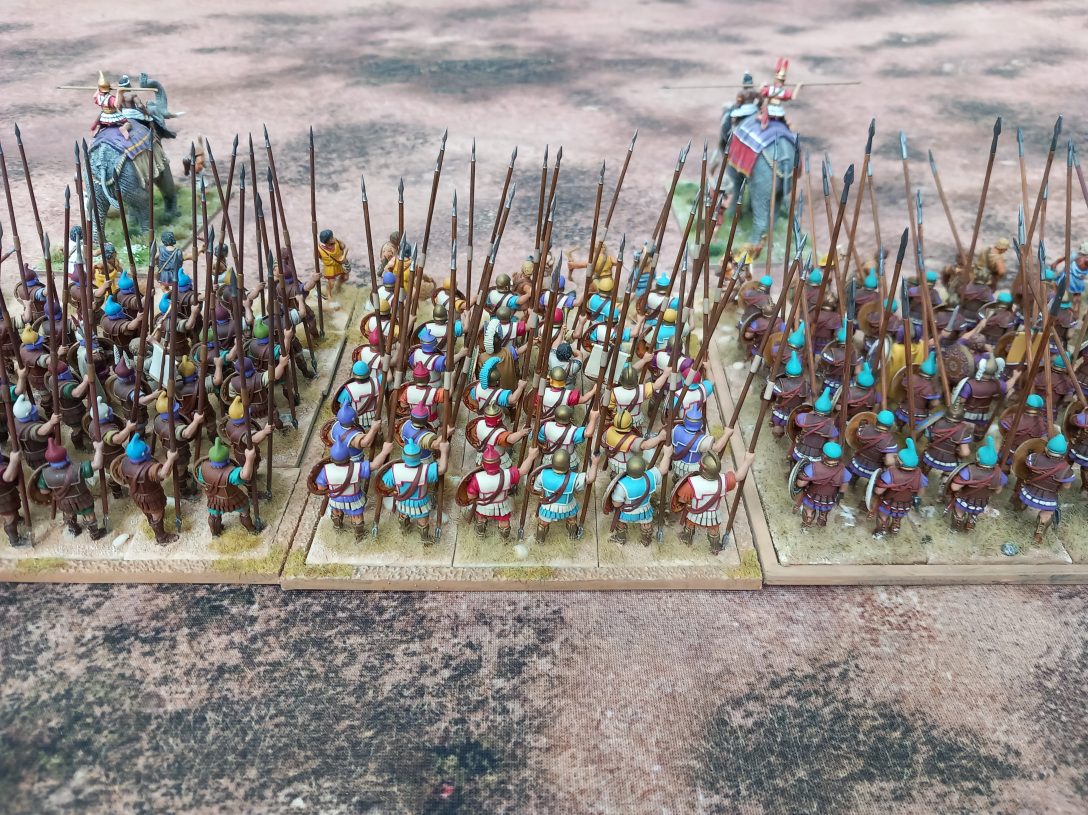
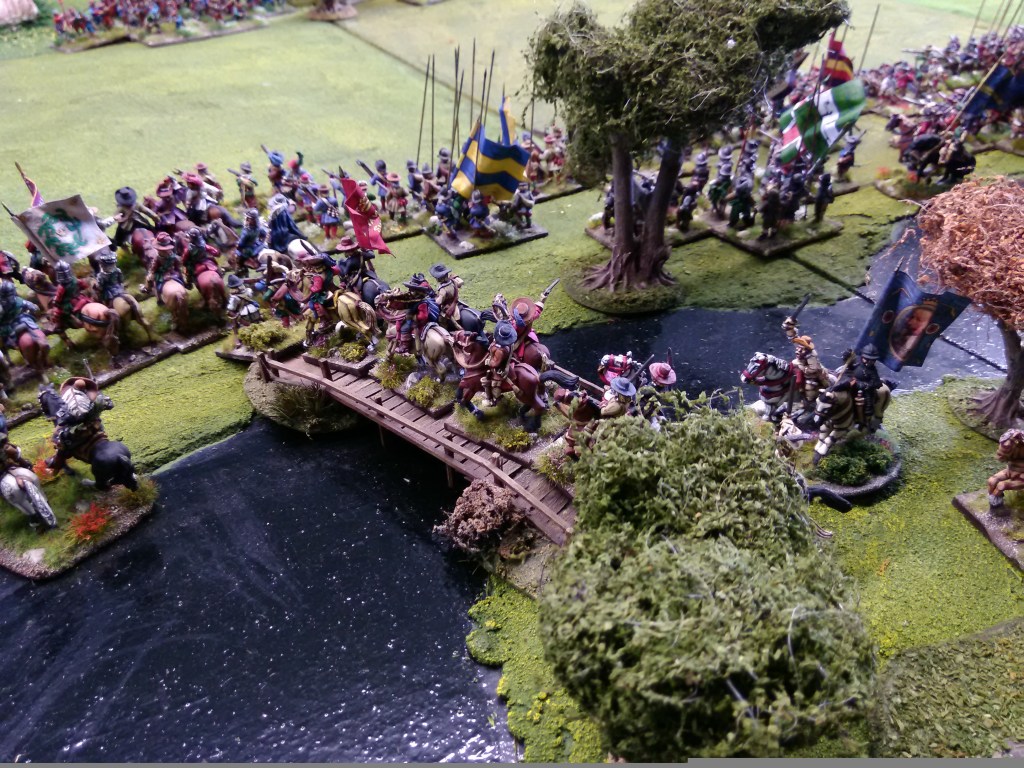
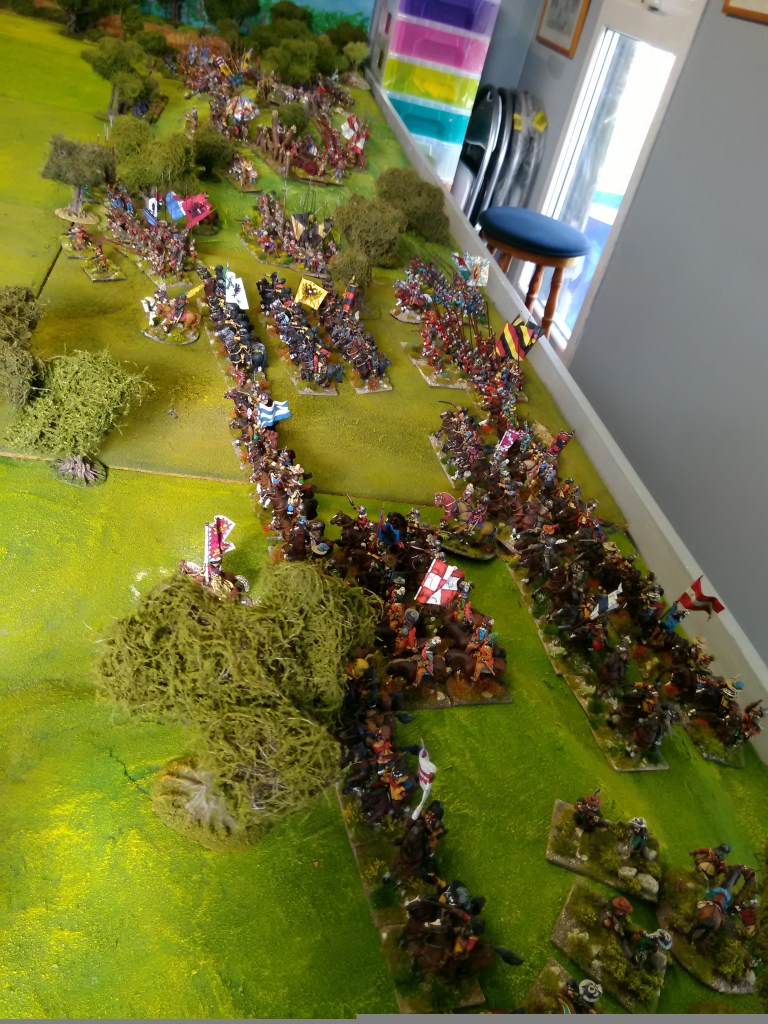
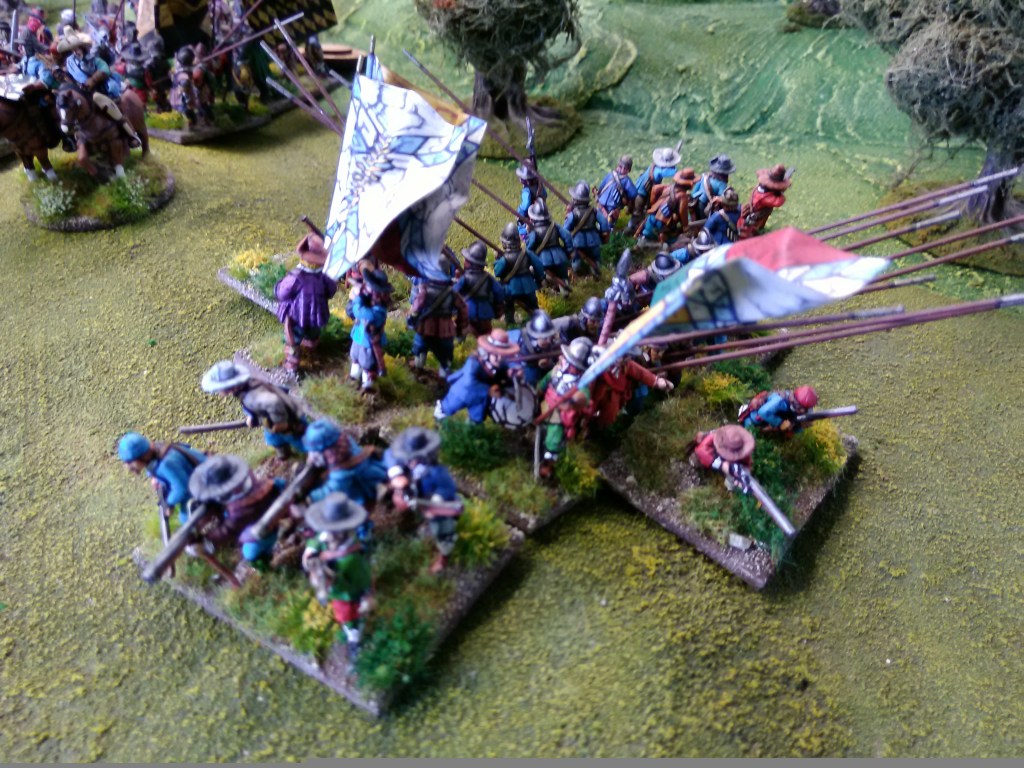
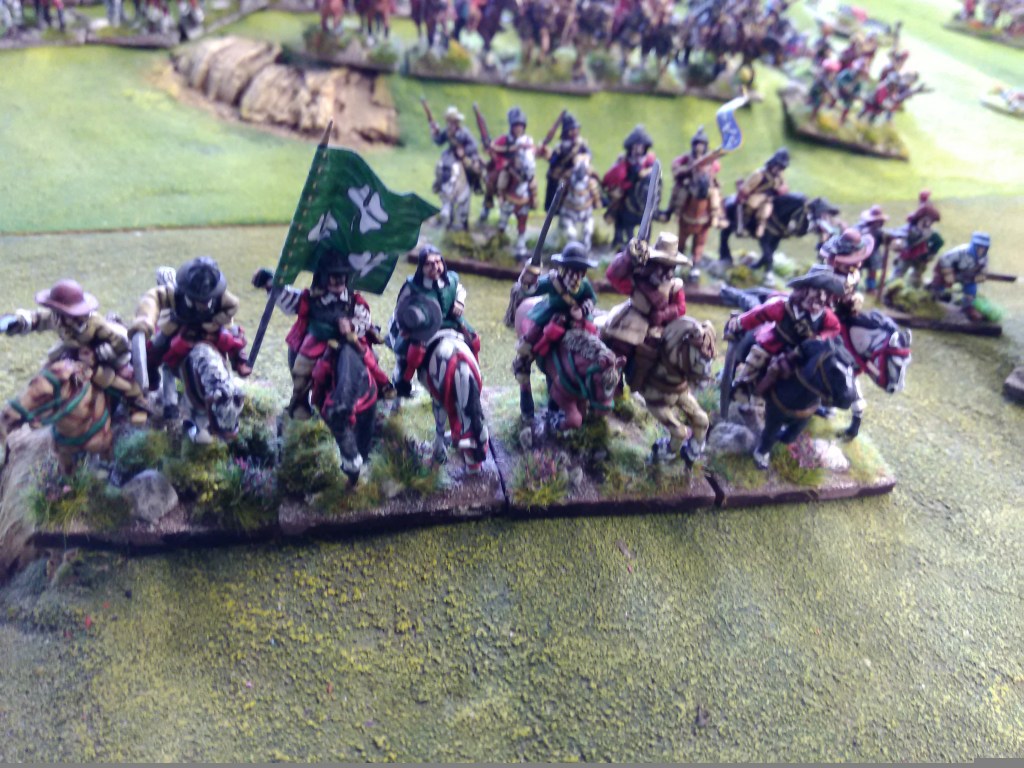
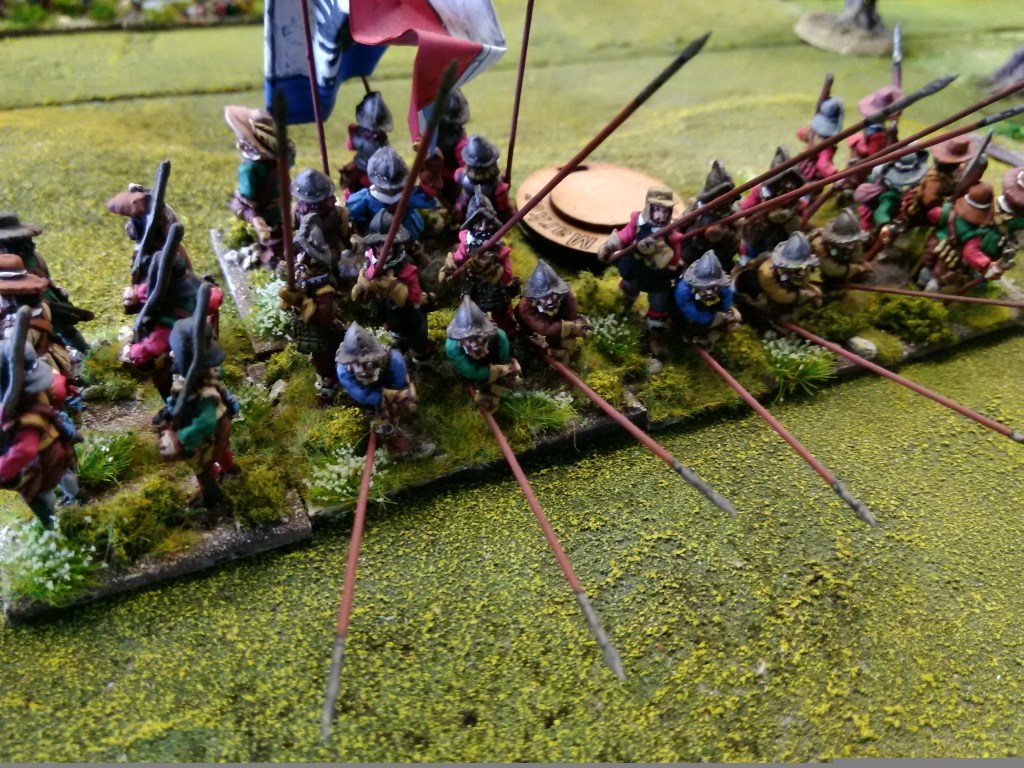
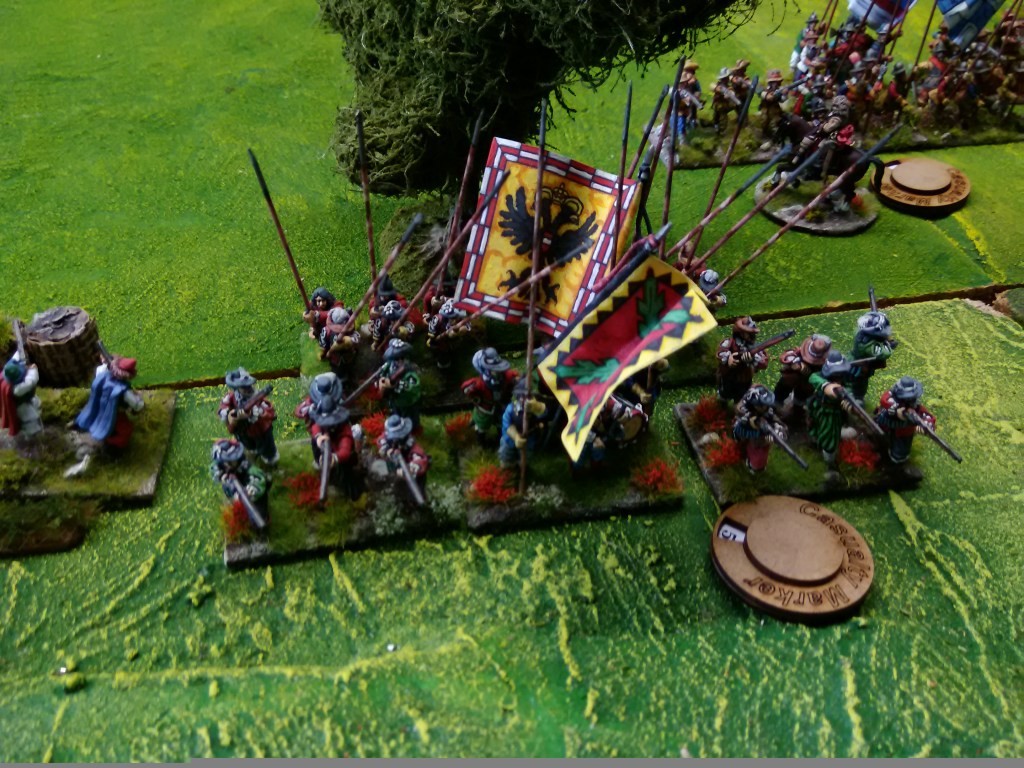
Before we started gaming “outside” again Dave and I agreed that we’d try and do more historical refights and rather than take and tweet photos as we go we’d do a write up of the game as a complete blog post with photos and see how that went; so this is our first attempt.The actual battle, also known as the battle of the Lech, was fought on April 15th, 1632, between 40,000 Swedes under Gustavus Adolphus and 25,000 Imperialists (Catholic League) under Johan Tilly. The Imperialists occupied the high ground in a strong position overlooking the river Lech where the Swedes were forming up on the far bank. Under cover of darkness the Swedes constructed a pontoon bridge across the river and sent an advance party over to construct earthworks for the Swedish guns which once established provided covering fire for the crossing of the main army. At the same time a strong cavalry force was sent south to cross the river 10km south and so outflank the Imperialist position. The Swedes attacked all along the front and during the accompanying cannonade Tilly was mortally wounded and his second in command, Johann von Aldringen, was knocked unconscious; as a result, the leaderless army fell apart and retreated before the flanking cavalry could arrive, effectively saving it from complete annihilation. We set up on the 10 x 6 table at ‘The Bunker’ using Dave’s Swedes & Imperialists and played using my Husaria rules with the Northern War Swedish & Austrian lists locally modified for the TYW; Dave took the Imperialists and I took the Swedes. The Swedes were deemed to be already across the river with the majority of the army and deployed for battle with further troops still crossing the bridge, the arrival of the flanking cavalry brigade was randomly diced for beforehand and the Swedish player wasn’t informed it even existed to create a kind of fog of war effect – it worked! From left to right the Swedes were deployed as follows; 3 German pike regiments under Konigsmark flanked by some dismounted dragoons in the fields, a Swedish brigade of 2 regiments under Baner, a redoubt of heavy guns supported by detached musketeers under Saxe Weimar, a cavalry brigade under Stahlandske comprising Danes & Finns, a large mixed brigade of Swedes & Germans – 5 regiments under Horn, the Scots brigade of 3 regiments under Leslie, a large cavalry brigade of 5 mixed regiments of Swedes, Danes & German under von Brandenberg out on the right flank, while behind them all coming over the bridge were 2 cuirassier regiments under Gustavus himself and 3 German pike regiments under Brunswick; there were also several gun batteries on the rivers edge. The flanking cavalry was 3 Swedish regiments under Wittenberg. The Imperialist deployment, also from left to right, was; two cavalry brigades one behind the other comprising 4 regiments each under von Aldringen & Marazzo supported by dismounted dragoons, 3 cuirassier regiments under Merci, 3 pike regiments under von Fugger supported by 2 pike regiments under Gallas, a heavy gun redoubt supported by detached musketeers, 2 pike regiments under Holzappel, another heavy gun redoubt supported by detached musketeers & Croat infantry and the postion of Tilly’s command post, 2 pike regiments under Montecucoli and behind them 3 cavalry regiments under Haes. Initial turn saw both sides attempting to get their troops moving which in most cases was pretty successful although for the Swedes the Finnish regiment of Stahlandske’s brigade spectacularly failed it’s Initiative roll and retreated! getting in the way of the cuirassiers coming over the bridge, and one of Horn’s German regiments refused to advance and in fact refused for the whole of the game despite Horn himself going to them! The Imperialists were more cautious advancing down the slopes to give their guns a better field of fire but advancing strongly on their right hoping to pen back the numerically superior Swedes. The heavier guns of the Imperialists had the better of the shooting in the opening couple of turns forcing Stahlandske’s regiments back (to join the Finns!) but Horn’s brigade shrugged off their casualties and kept on coming. By turn 3 the Swedish right wing cavalry decided to get stuck in with the better quality Swedish horse leading the charge forcing the dragoons to flee the field and then quickly seeing off their opponents from Aldringen’s brigade and disorganising the rest of the brigade. Behind and to the left of Brandenberg, Leslie’s Scots were heading towards the gap being opened up between the Imperialist left and left centre. Over on the Imperialist right Montecucoli and Baner were exchanging musketry fire with the Imperialists coming off slightly worse, mainly due to the battalion guns attached to the Swedish brigade.With the coming of the afternoon (game time) the Imperialist’s had halted their infantry advance in the centre at the foot of the ridge, theorising that the support fire of the big guns and detached shot on the slopes would thin out the Swedes enough to even out the coming melee’s but the left was looking vulnerable so Merci gambled and threw his cuirassiers into the path of Leslie’s Scots – oh dear 😦 . The Scots barely paused, there was a brief round of combat but the veteran horse were repulsed, never to fully recover, further shooting later in the battle in fact saw them retreat from the field.
As the afternoon wore events took a rather dark turn for the Imperialists; on their left flank, Wittenberg’s cavalry brigade arrived to threaten the already weakened Aldringen and Marazzo – this was a surprise for me never mind them! A far bigger disaster however was the death of Tilly due to a random cannon shot (very historical!) – we had factored in a 5% chance of any general being killed if there was artillery shots hitting units they were near. The resultant morale testing saw Haes’ whole brigade retire from the field, Montecucoli’s brigade retreat back to the lower slopes of the ridge and the crews of the artillery battery supporting them from on top of the ridge abandon the guns along with their supports. No other units reacted quite as adversely but the brigades of Holzappel and Fugger felt the loss when they tested for musketry fire and so also retreated. The real kicker however was the charge of the lead Swedish regiment of Brandenbergs brigade which forced their immediate opponent to retreat through the unit behind which then tested for the still charging Swedish unit and retreated also, revealing a third, and very shaken, Imperial unit which also retreated – drinks all round! The Imperial left was looking very vulnerable; Aldringen was gone, Marazzo was dazed and confused and Merci had suffered serious losses, this left Gallas to swing round his pikes to stem the tide.
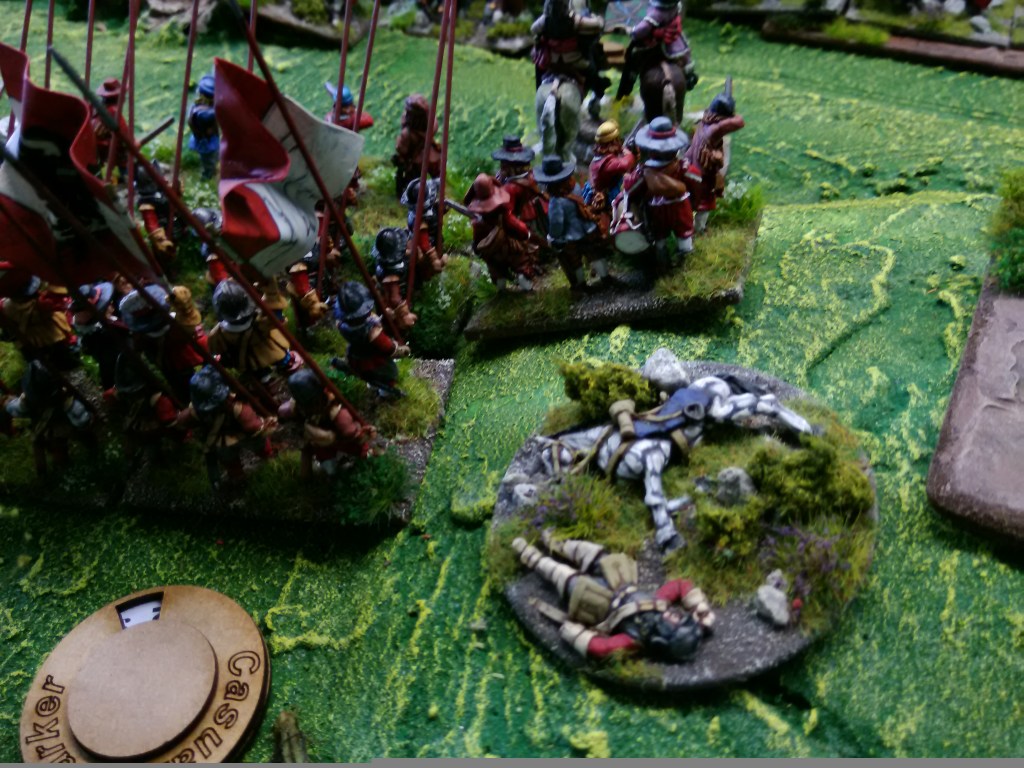
Just when the Imperialists thought it couldn’t get any worse it did. Fugger’s pike who had been slugging it out with Horn’s brigade with close range musketry (next turn would be clash of pike) collapsed under the weight of fire and started to retreat up the ridge accompanied by Merci’s cuirassiers who even as veteran’s just couldn’t take the losses. To top it off, Gallas was the killed by a stray round shot and the resultant test for his brigade saw them both retire from the field; a charge from Wittenberg was all the excuse Marazzo’s remnants needed to also retire. It was late afternoon and the Imperialist left was shattered, 11 regiments of cavalry had routed, retreated or in the case of two been utterly destroyed and 6 regiments of Swedish & Danish cavalry (two of Brandenberg’s horse were now completely blown) had a clear run across the rear of the Imperialist lines. As the afternoon wore on the Imperialists took stock. On their right Montecucoli had fallen back to where he started and was presenting a defiant front now that the gun crews that had retreated had rallied and returned to their pieces along with their supports, but they were 2 regiments facing 5. In the centre Holzappel was holding his position next to the centre redoubt and Fugger’s regiments were rallying on top of the ridge but their options were limited; they could of course form hedgehog and fend off the cavalry pretty easily but while the cavalry pinned them Leslie (3 virtually untouched regiments) & Horn’s (2 battered and 2 hardly touched regiments) brigades would roll up and finish them off leaving Stahlandske and Adolphus’ cavalry to pursue the remnants. With that in mind Dave called it and we wrapped, figuring the guns would be spiked and abandoned and the infantry would high tail it probably not pursued by the tired cavalry.On the Swedish side it was probably a more complete victory than the real thing; they had certainly taken losses, Baner’s brigade had one unit with serious losses, Horn had a couple of units badly damaged but he also had the unit that never got going and another in the front line that were untouched, and of course Brandenberg’s cavalry had suffered. On the plus side however, Kinigsmark and his supporting dragoons were untouched, Gustavus’ cuirassiers were untouched as were Brunswick’s 3 regiments and Leslie & Stahlanske had suffered minor losses. So how did it go? Well it was always going to be a difficult one for the Imperialists they are outnumbered and although defending a fixed position there was very little manoeuvring room on the flanks. The one place they could have made a difference was on their left flank where they outnumbered the Swedes 2:1 but the Swedes were more aggressive and got the drop on them which negated the numbers. A possible tactic, but risky, might have been to bring all the pike straight off the ridge supported by Merci and try to push back Horn & Leslie before Gustavus & Brunswick could get over the river, it would have been 7 against 8 so possible but would have relied on Marazzo & Aldringen doing better but would leave them vulnerable once Wittenberg arrived. How did the rules play? Although designed for eastern europe they played perfectly well and didn’t need any special rules, where we did need to do some work was on the army lists which aren’t designed for the TYW but we managed to put something together that worked and learnt a few lessons – which means I now have to produce some ‘proper’ lists to supplement the main rules!All in all a good couple of days gaming after so long away from the table and we hoped you enjoyed reading about it.
Looks great! I know nothing about this battle (or the TYW) but the Imperialists (in the historical battle you first described) seemed extraordinarily lax in allowing the Swedes to build bridges and send flanking cavalry the long way around without even trying to interrupt their plans. I guess the Swedes deserved to win.


Looks great! I know nothing about this battle (or the TYW) but the Imperialists (in the historical battle you first described) seemed extraordinarily lax in allowing the Swedes to build bridges and send flanking cavalry the long way around without even trying to interrupt their plans. I guess the Swedes deserved to win.
LikeLike