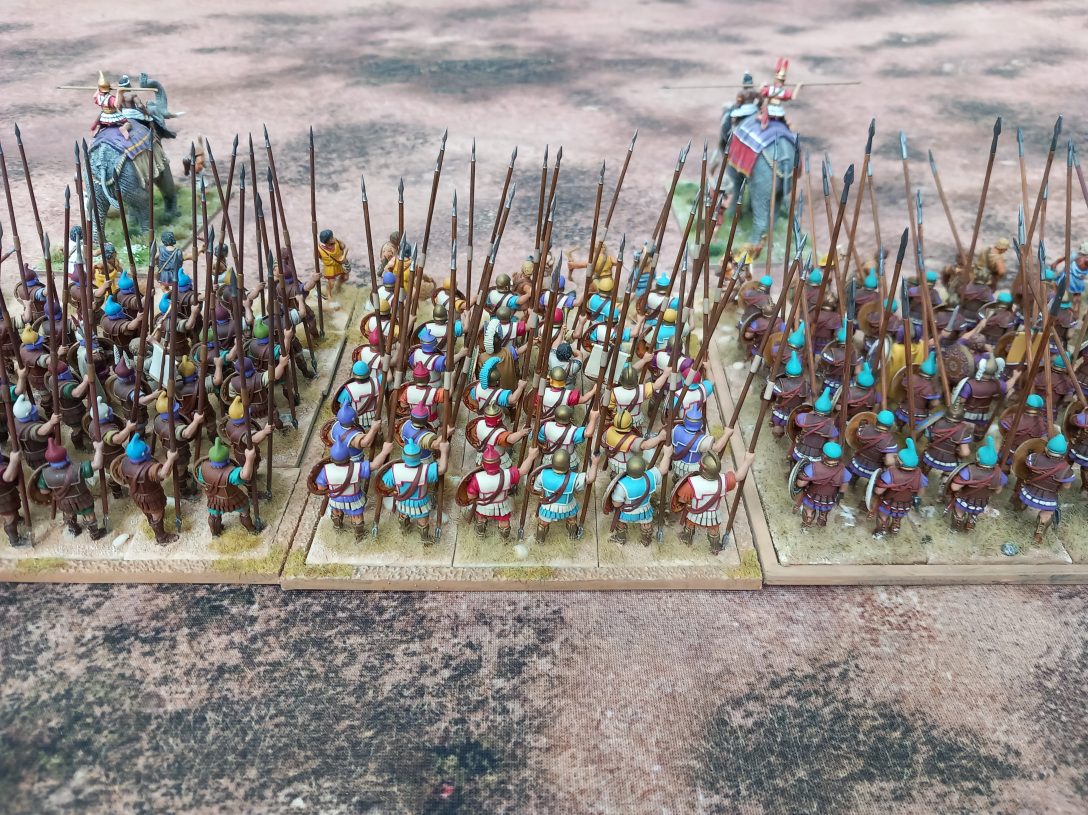
Or, creating a jungle encampment with the help of War World Scenery.

Our Indo China games have come to a bit of a halt recently so I picked up the WWS (or is it WWG? – I can’t quite work out) Jungle Warfare Kit 4….Camp Full Set mainly as a result of my successful purchase and use of their static grass applicator which I tweeted about during the summer. The set is a mix of MDF kit buildings and resin cast items; the kits make up a watch tower, a main hut, a store room, a privy and sundry boxes & pallets while the resin cast items are a hillside tunnel entrance, a couple of hidden tunnel entrances, a pungi pit, some ammo piles and crates, some blasted palm trees and some coconuts.


To borrow from Sergio Leone, this build was The Good, The Bad And The Ugly; the Good was the final product as shown above, the Bad was the putting together of some items and the Ugly was a couple of the products. As seems to always be the case with mdf kits there were no instructions.
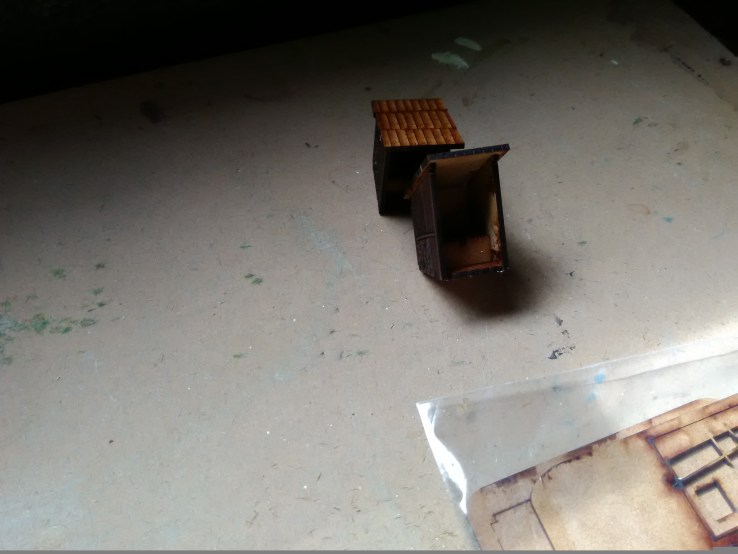
The first item to build was the store or small hut; a basic four wall dwelling with a two piece roof and an exterior frame to support part of the roof. There were three problems with this build. The first was the walls; they are just 4 pieces of mdf with no locating lugs or slots so you have to line them up, apply the wood glue and hold together in what you hope is a square section; this is compounded by there being no mdf floor section to put the walls on to or locate into. The second problem was the outside frame; this is a lovely idea and does give what is quite a plain building a bit of character but it is so flimsy! Getting it off the ‘sprue’ was quite a challenge – I did manage to break part of it and then lining it up to the walls and the separate bit of front fence elicited a fair amount of swearing; it reminded me of all those plastic kits where you end up sticking on small bits of plastic which you can rarely see at the end and seem to serve no purpose because they are part of the undercarriage. Final problem the roof; this is two pieces of square cut mdf which you have to butt together at the right angle to sit on the frame, the only way I could see to do it was to wood glue the two halves together and while tacky put it on the roof to get the angle but take it off the roof before it completely dried so that it didn’t stick to the building. This doesn’t however get away from the obvious problem of the great big gap along the apex because the mdf is square cut and not chamfered.


On the plus side the detailing of the planks on the walls and roof is wonderfully done and when the piece is finished this really helps set it off.
Next up the privy! A six piece set with the two walls and roof lovingly detailed, the walls in fact having five different designs etched into them, and bizarrely having a floor section to slot into.
 Nothing to complain about, even the actual ‘thunderbox’ itself is neatly done in two pieces. One might ask why given that there are several cast versions on the market but there again why not?
The crates and pallets were next and for the life of me I couldn’t see why and then why so complicated? The pallets are one flat base and four supports which have to be glued to it which I did no problem but even as I was doing it a voice in my head was saying “you could have bought some resin cast ones”


The crates nearly got chucked in the bin! As hopefully the photo shows you’ve got five etched pieces of mdf for the planking and then four frames to go round them and be wood glued all in three different crate sizes. This was way over the top in terms of complexity and unlike the small hut above the end product doesn’t stand out anymore than any other blister pack of crates you might buy from Crooked Dice or similar which is a real shame as obviously lots of work went into them.
The large hut was next. The base hut was a breeze, an etched floor section with slots for the bottom support sections to lock into and be glued in place no problem.


Next the front steps, all separate etched planks of course, that located between two outside sections which clipped onto the floor base. Pretty impressed so far.
 Next the walls. All etched planking but like the small hut just butted together to form a square and then plonked on the floor to be glued wherever you like which seemed such a lost opportunity given that the floor already had slots lasered in for the under floor supports, surely lugs on the walls would have made this an easier assembly?
Next was the outside veranda A frame which sits toward the front of the floor section its distance away from the walls being determined by the separate veranda railings which glue to the walls and then the A frame which now has a position, two further pieces of railing form the entrance to the front steps. This is all free hand positioning and if you get it slightly out of true it effects the roof position later. Guess what?


The roof is just a longer version of the small hut so no further comment.

Finally the watch tower. A four piece frame that slots and glues together giving the impression of a sturdily built piece of imperial dominance, an etched floor section with access hole for a separate ladder which clicks on top of the frame via slots & lugs and then four etched walls with lugs that fit into slots in the floor. Topped off with the signature two piece roof. 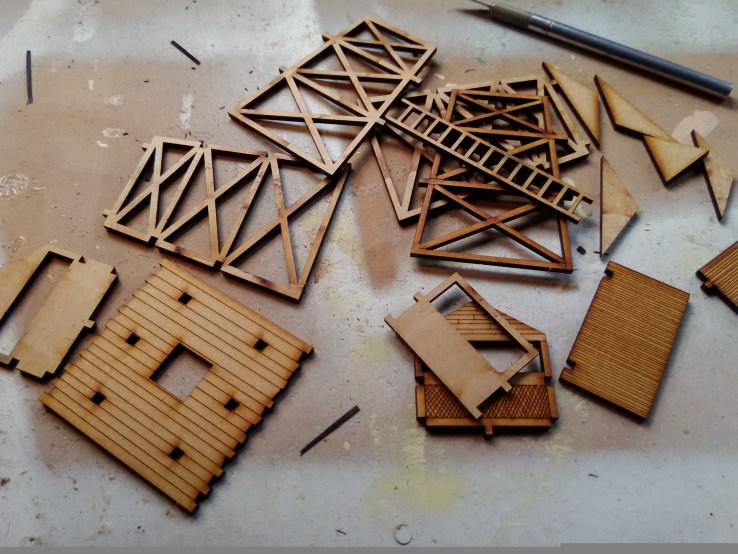 I liked making this, it went together well and looks the part, I’ve left my ladder separate which I think I might regret but you could glue it in place once you’ve decided whether to place it on a scenery board or not.


After that it was a question of painting and basing. I guess in theory you could leave the whole thing in the brown of the mdf and get away with it no problem but I’d rather apply a wash and a bit of detailing. The roofs where the biggest problem; I filled the gaps to the best of my ability and repainted to try and hide the join and then washed in a green to try and get the damp effect of the jungle which I’m not sure was a great success.


Originally we were going to have these as separate buildings but given the fragile nature of the small hut we decided to go for a fixed encampment, you’ve still got to find a box to house them in whatever you do. For this kind of arrangement we’ve found old place setting mats to be just the job, they are sturdy, they don’t warp and there is no cutting to do. A few trial layouts and then it was mark the positions and wood glue in place. Note here, paint the area under where the tower is going first because its very difficult to get the paint brush between the frame later!


Realising that this was meant to be a defended camp we added a few sand bag positions from Crooked Dice which we’d bought for something else but what the hell!


Then it was time for a bit of the house brown to go round the edges where the tetrion might not get later and drill in some holes for random aquatic jungle terrain to be pushed into place and glued.


Finally the terion coloured in the house brown dusted with fine sand then dry brushed and static grass applied.


Now they’re complete we’re happy with them and think they’ll enhance the games which is the whole point of doing them. The finished buildings look nice and the fine detail is commendable which is to be applauded – the Good. Putting together some of the pieces was overly awkward and in some cases unnecessary (the crates) but could easily be overcome by some lasered slots and corresponding lugs – the Bad. The resin cast blasted palm trees – the Ugly.
I haven’t mentioned the resin cast pieces particularly because they are what they are, a quick wash in warm soapy water and on with the paint. I’m not completely convinced of the usefulness of all of the items unless you are doing a very specific game; the tunnel entrances are a good example of this but that having been said the two smaller ones would make good concealed sniper positions which is what we’ll probably use them as and the larger one could be used for any underground bunker of any period, Fallout comes to mind.

The punji pit piece makes a change from a coloured marker for revealed hazards and the ammo piles plus coconuts have a use for a myriad of games but the blasted palm trees just don’t work I’m sorry and I’m not going to show a photo of ours because we just could not get them to look anything like.
So that’s it for now. Starting work on our future wars/sci fi terrain over the next moth or so aiming for an Arakis/Tatooine look for the Pig Iron figures we’ve had done.
Happy gaming!
