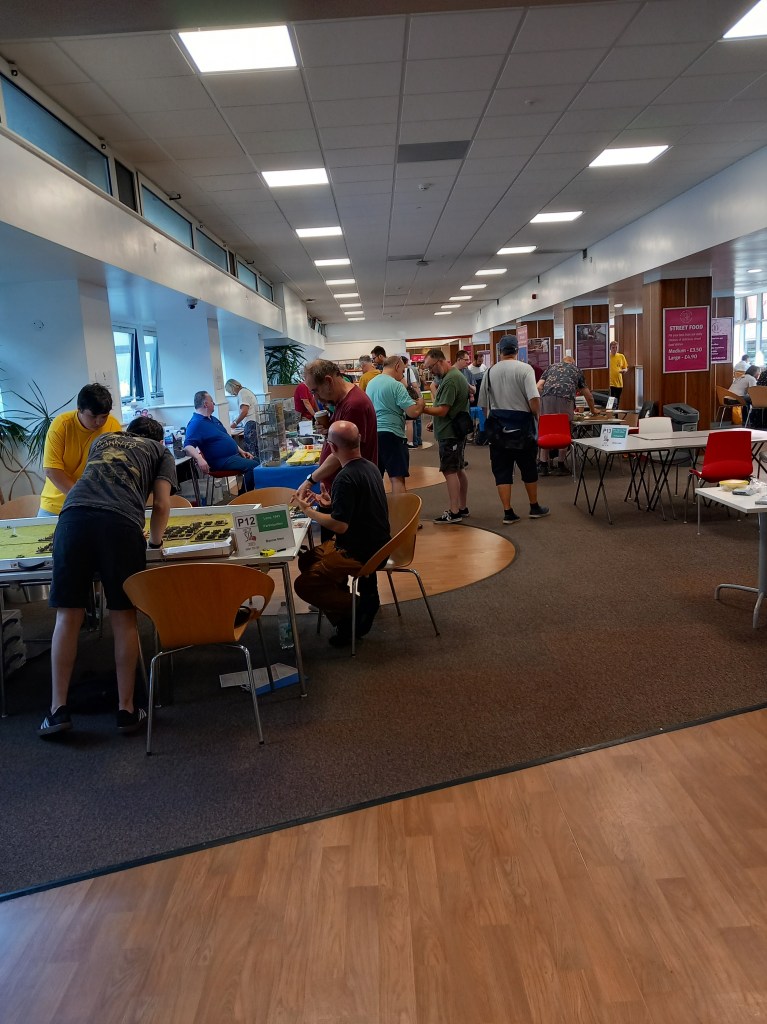

Summer is drawing to a close but the gaming keeps on going 😀 Seven games this month, a tidy number.

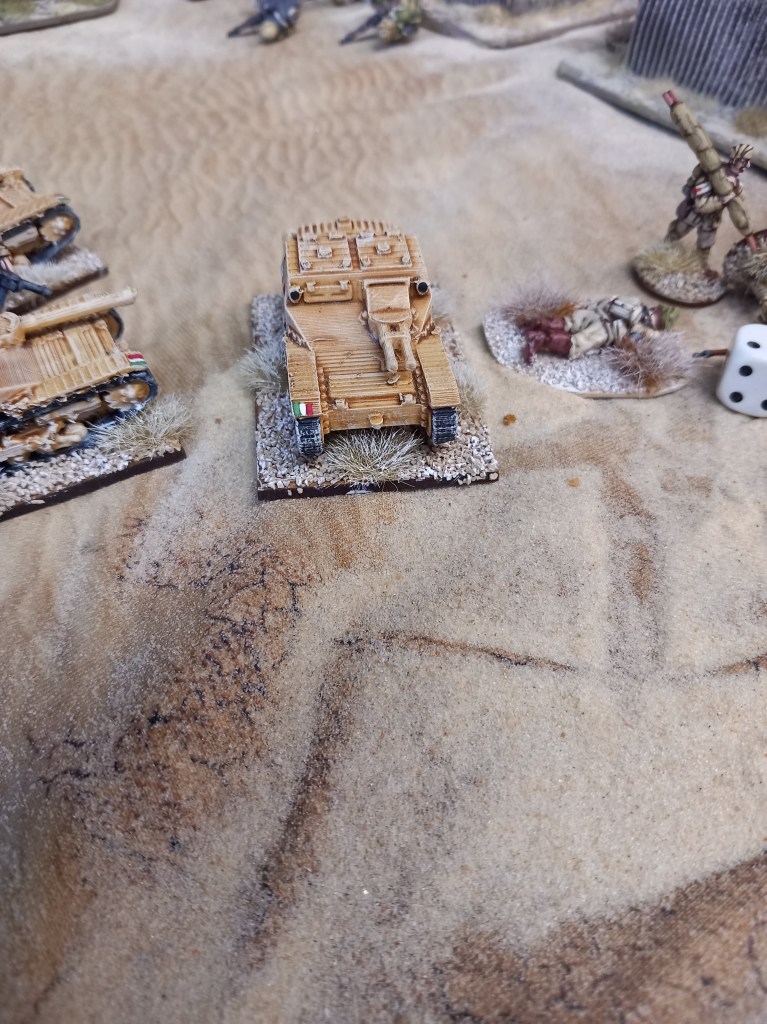
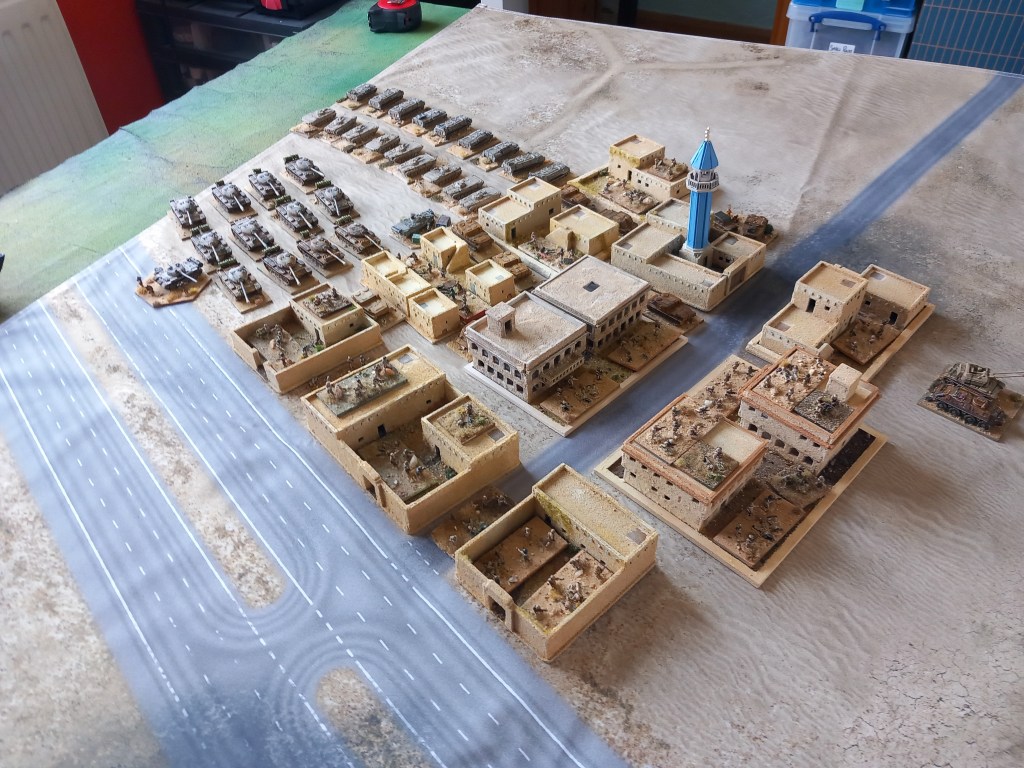
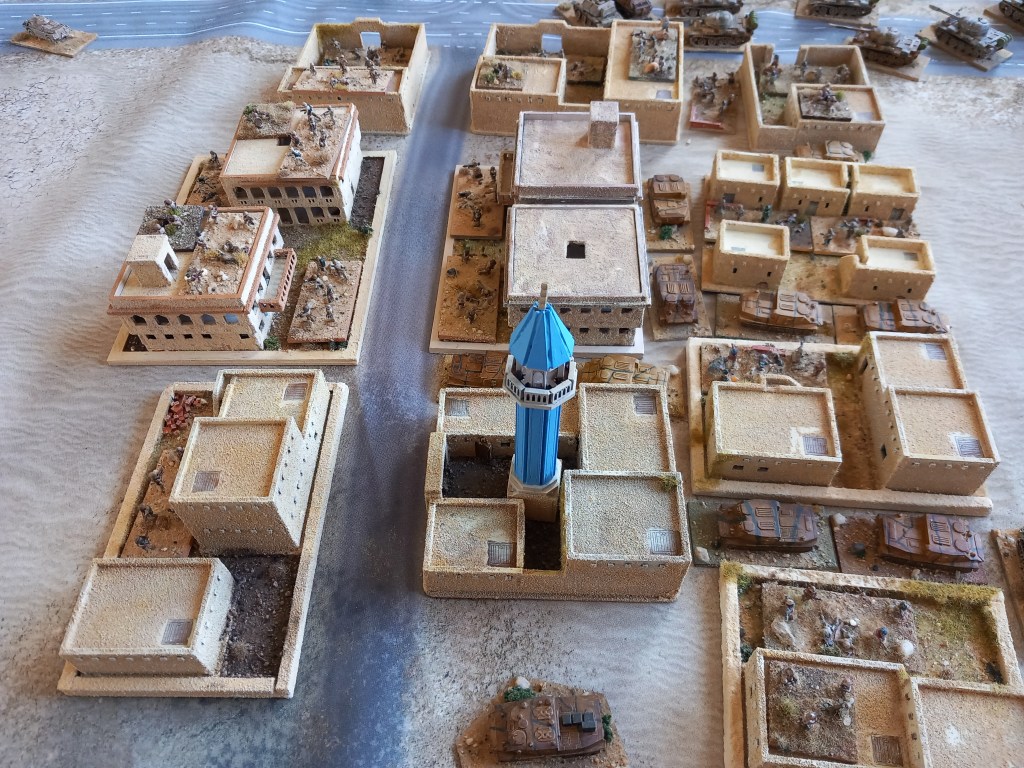
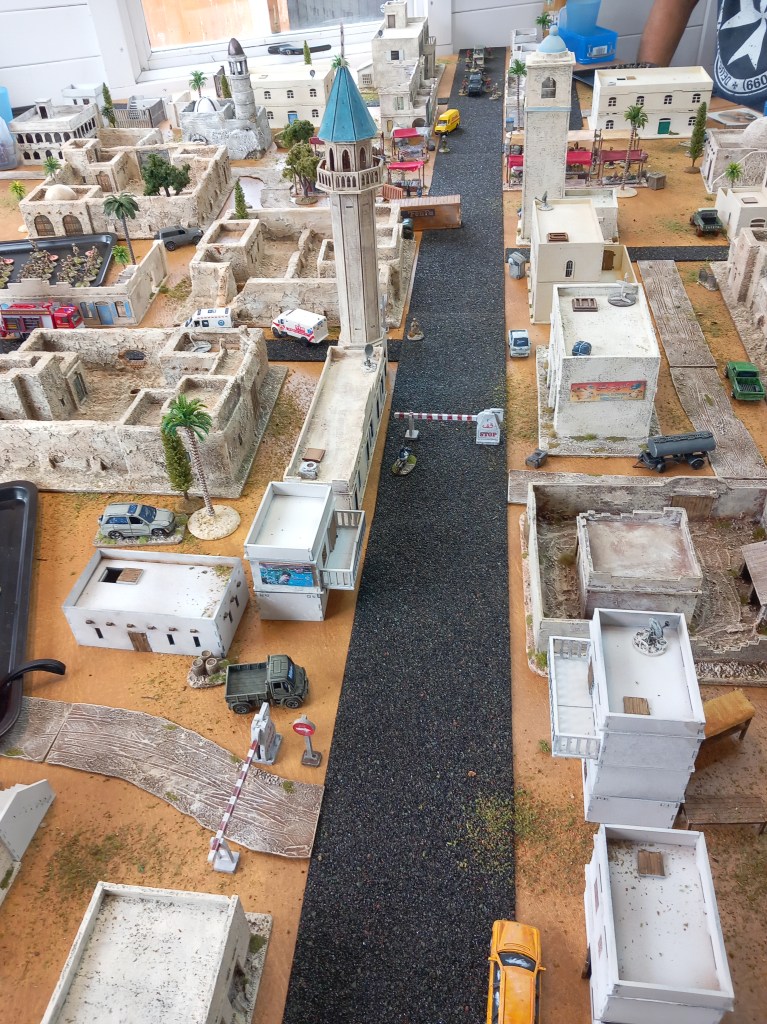
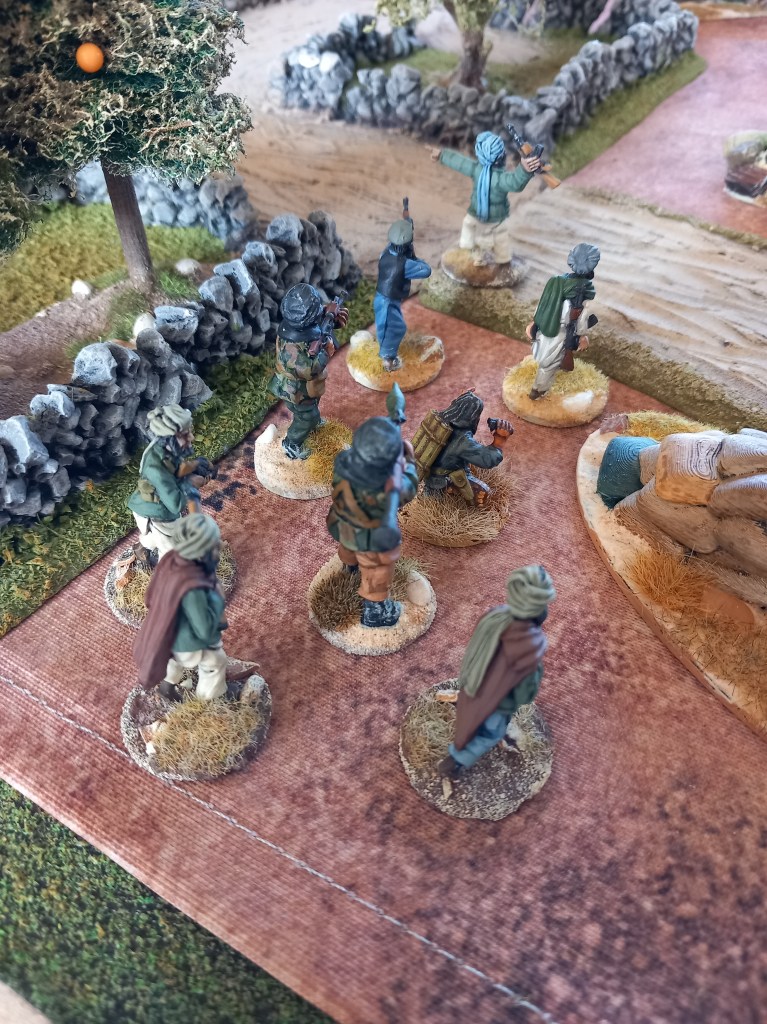
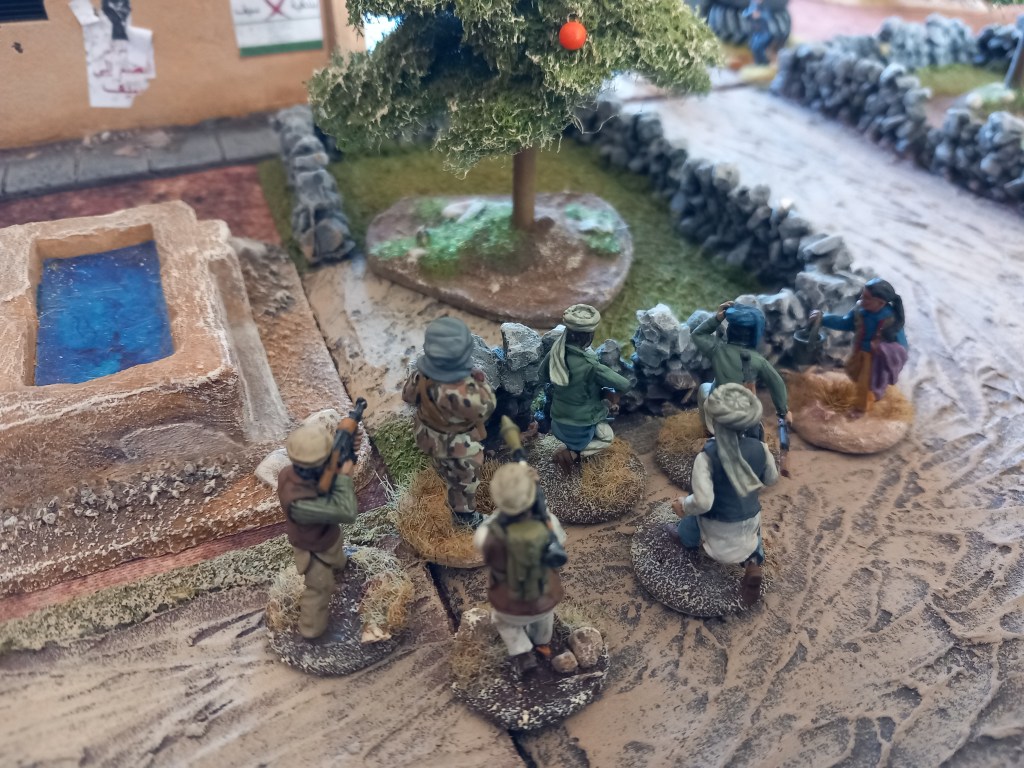
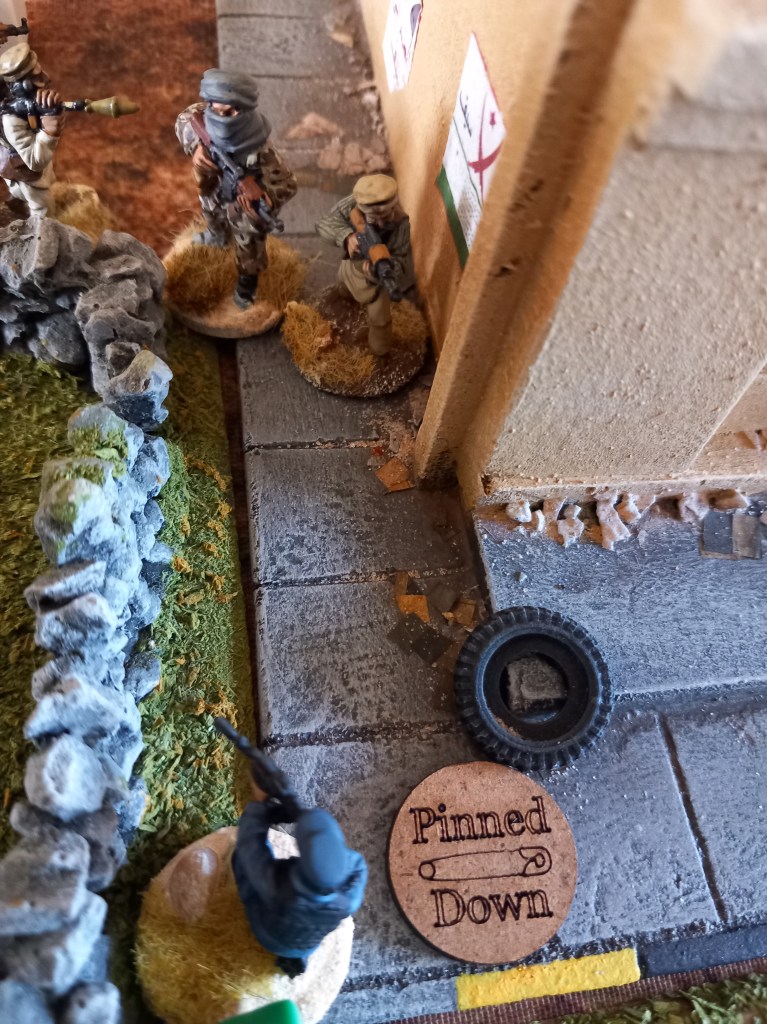
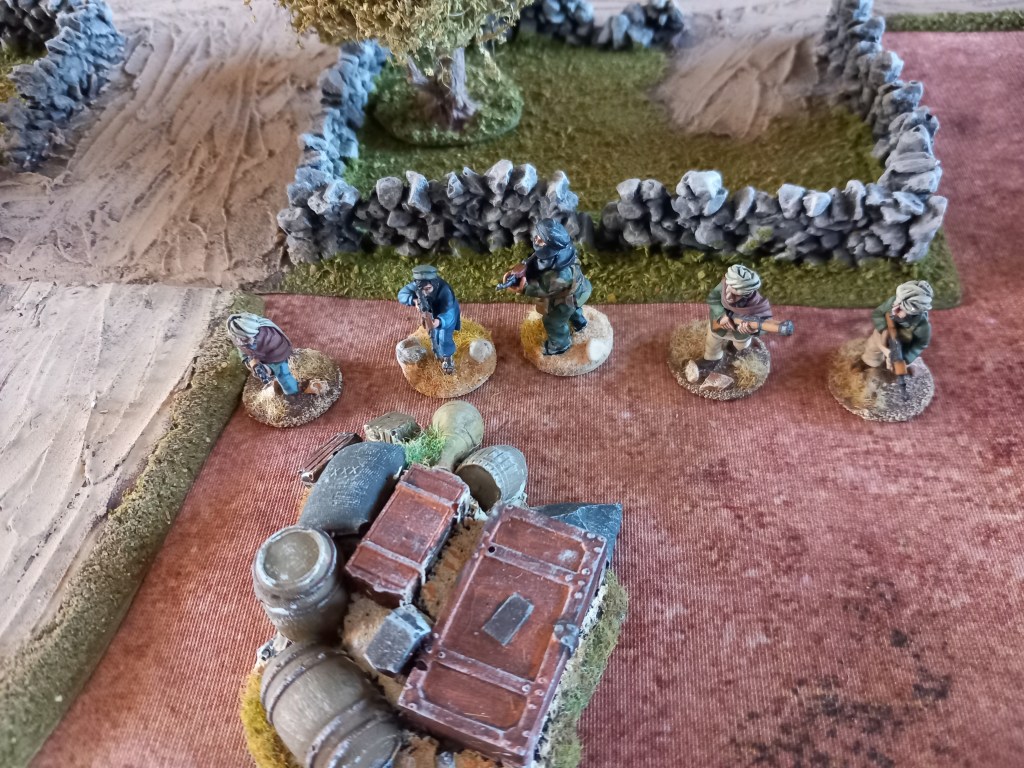
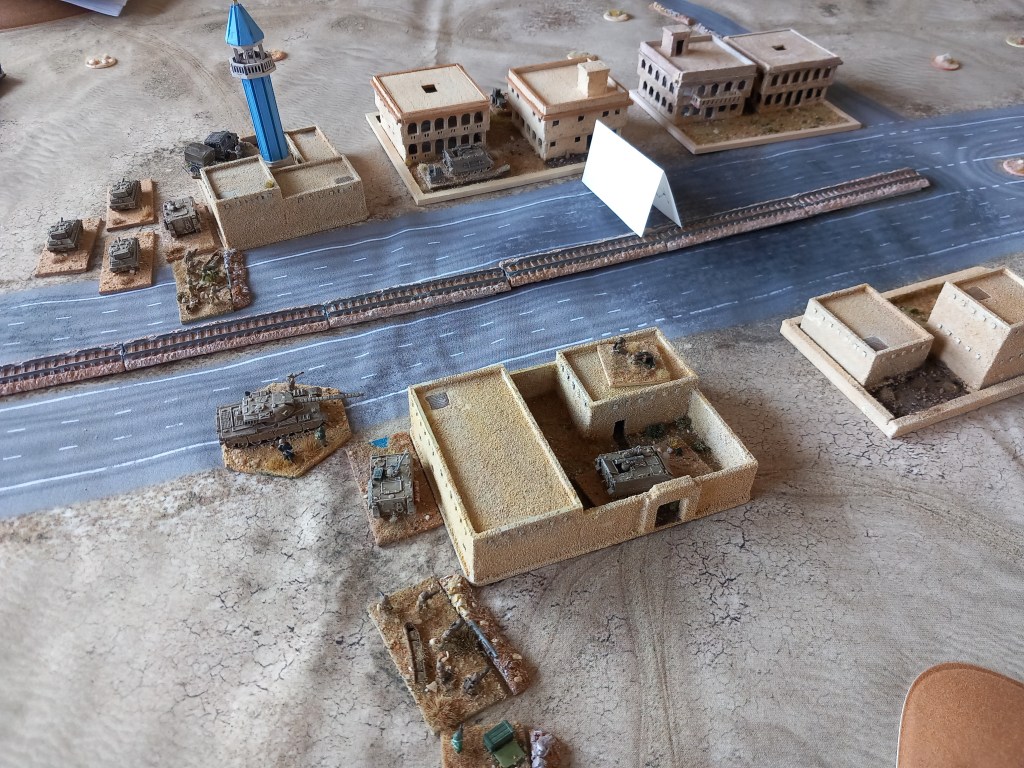
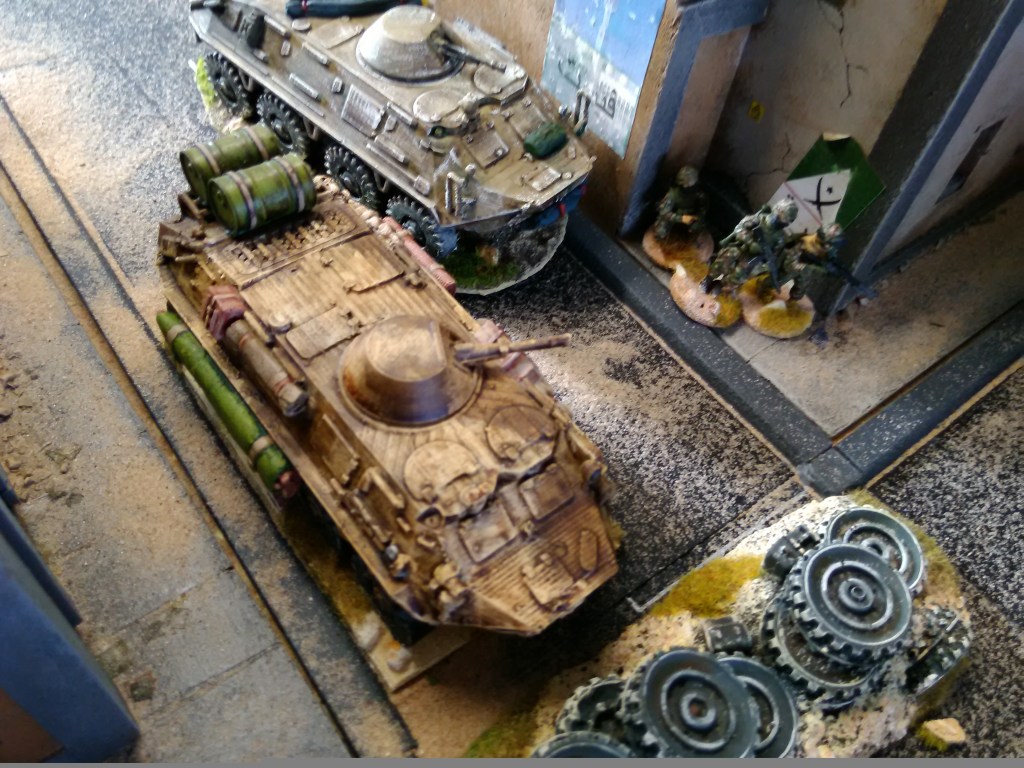
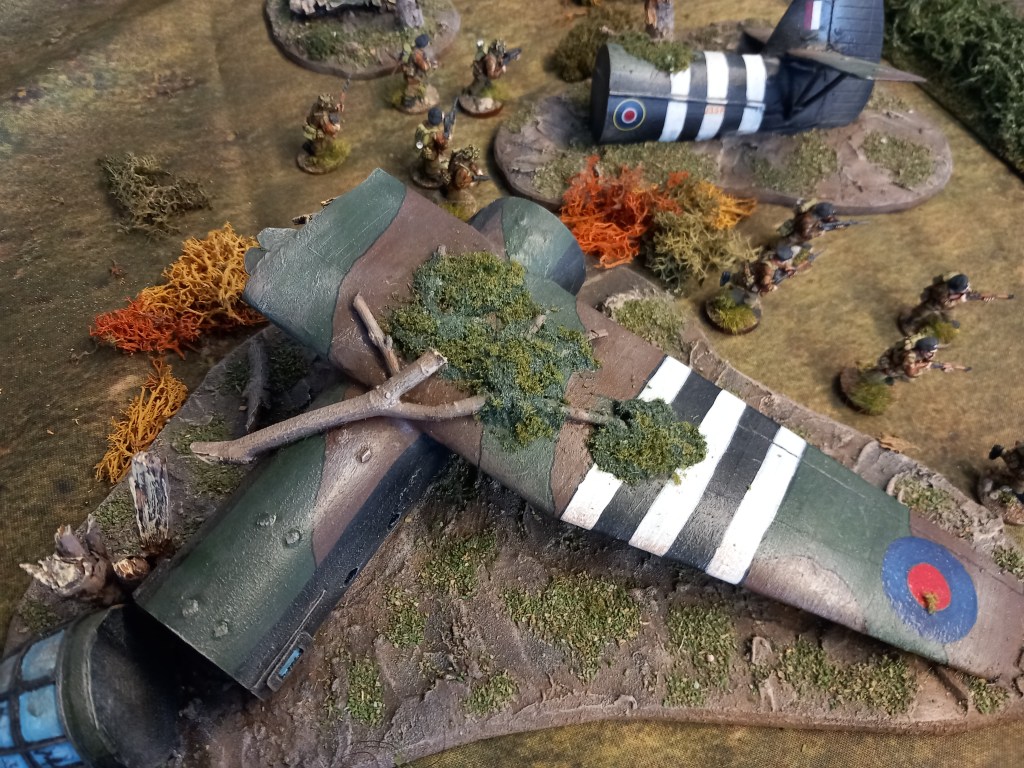
First outing was an away day game of DAK Attack! with some local gamers not of the group. I’d call the rules ‘Heroic History’, just enough history to make the game immersive enough but at the same time deeds of daring do is the general vibe.
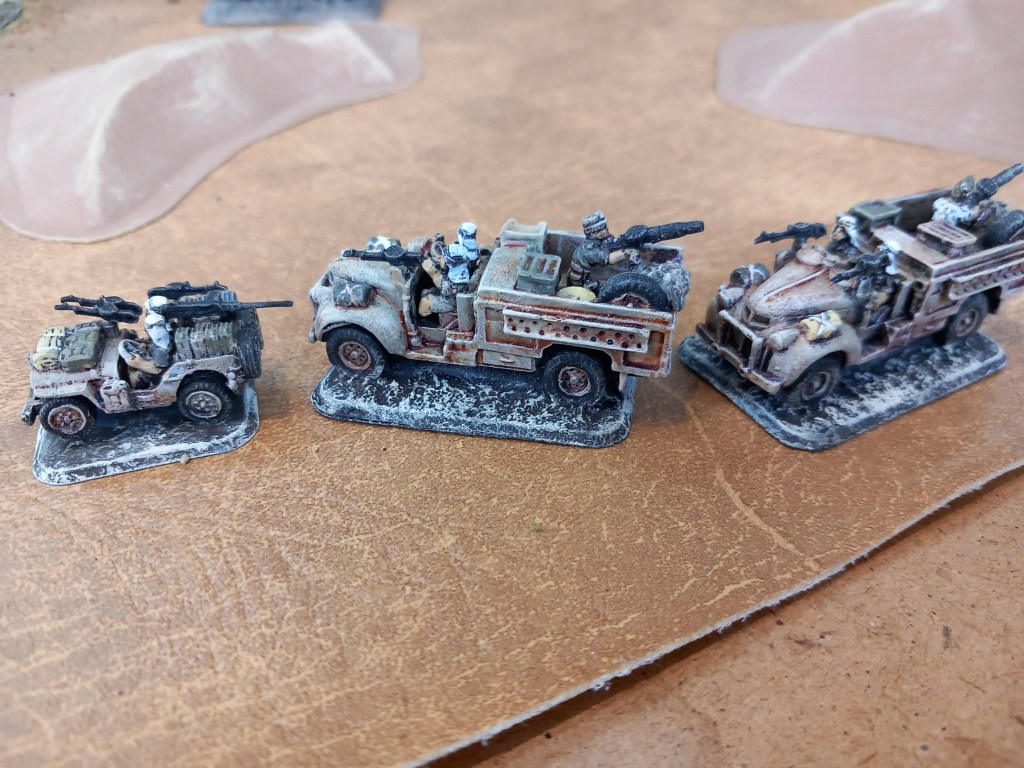
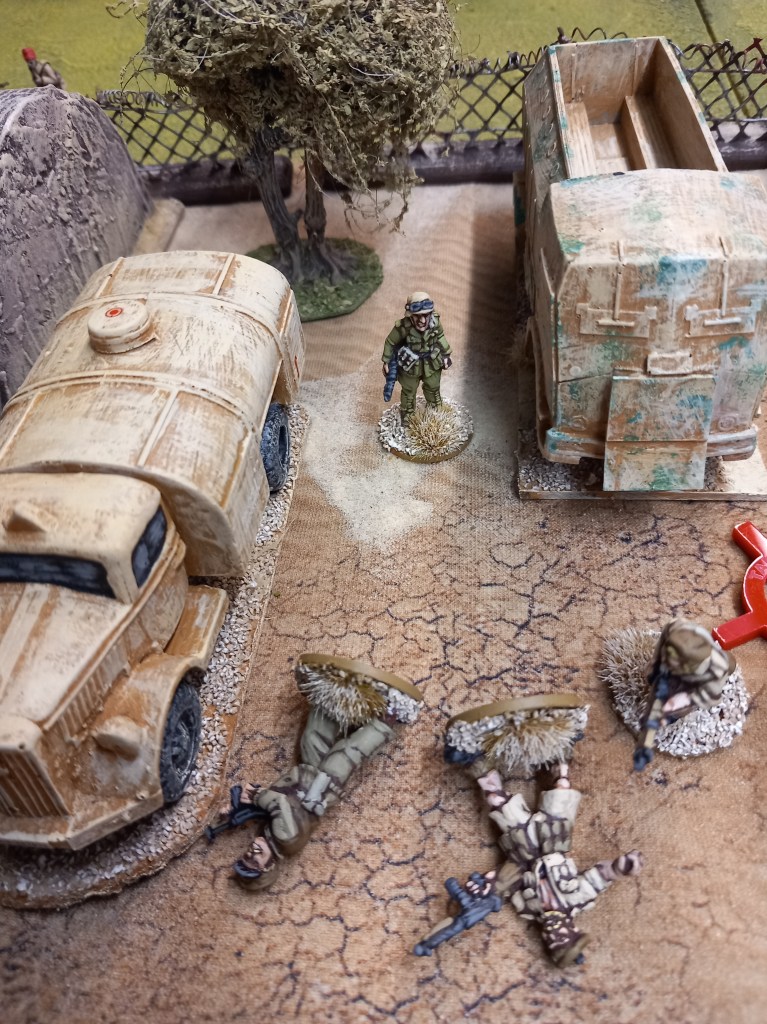
In keeping with the above the players were assigned an LRDG group each and a sector of the German town and airfield to shoot up, get in and get out in one piece. The Germans were controlled by the umpire via a card system but were very much in reactive mode.
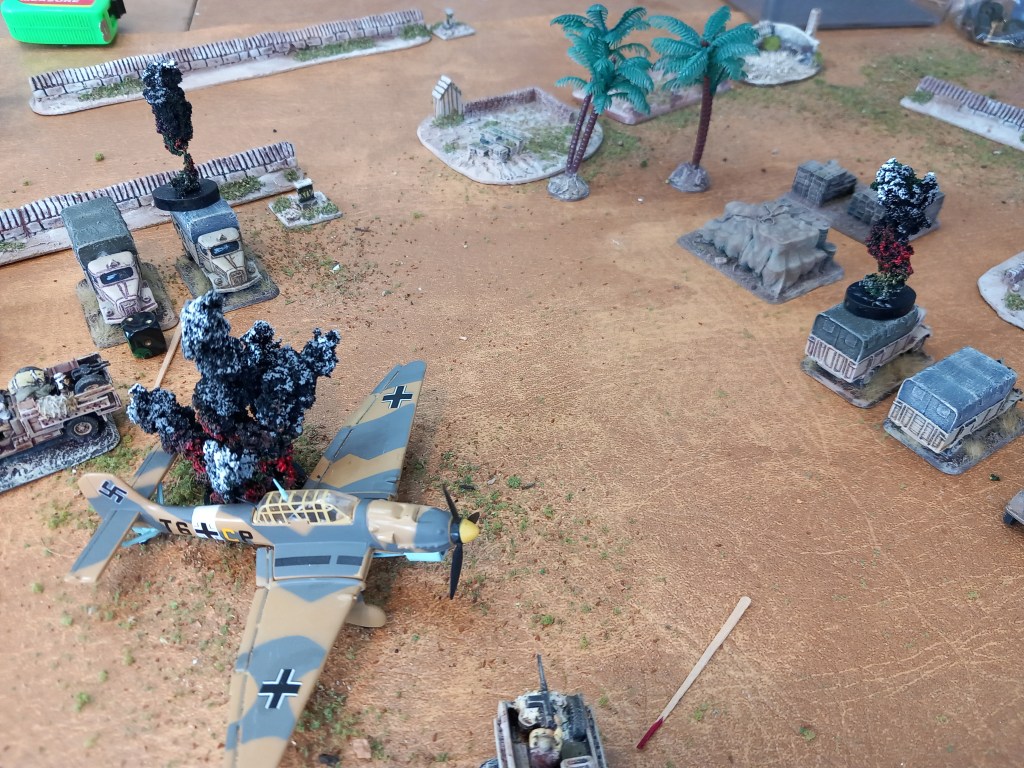
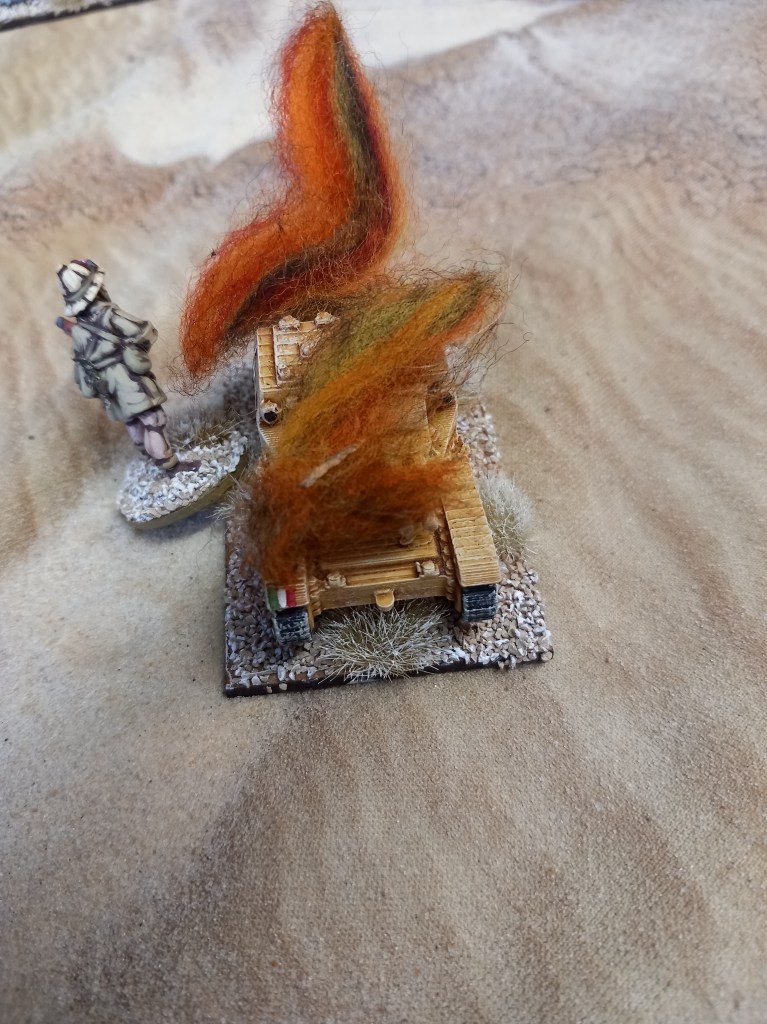
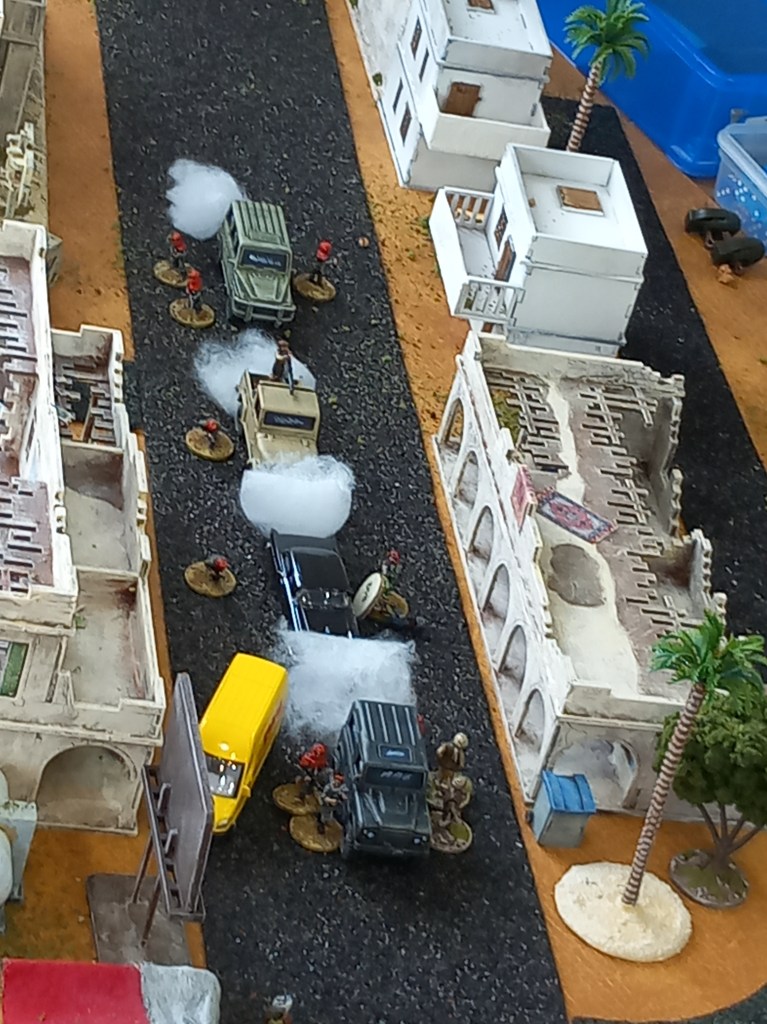
So, jeeps rolled in, shots were fired (a lot!), charges were planted and jeeps rolled out again.
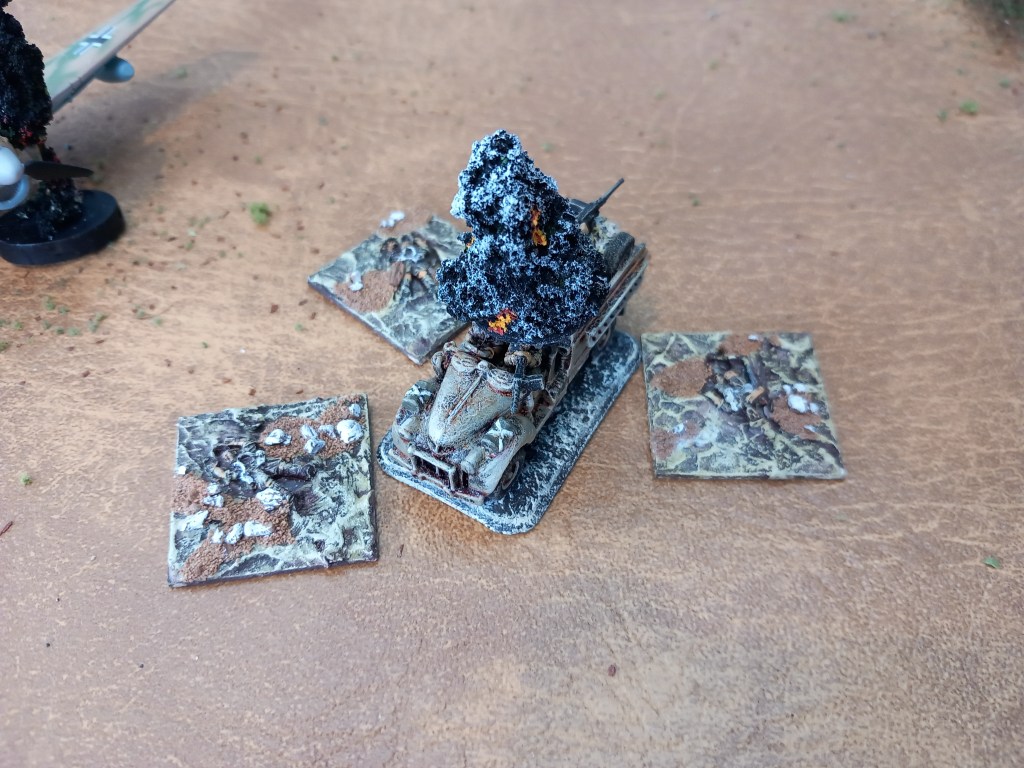
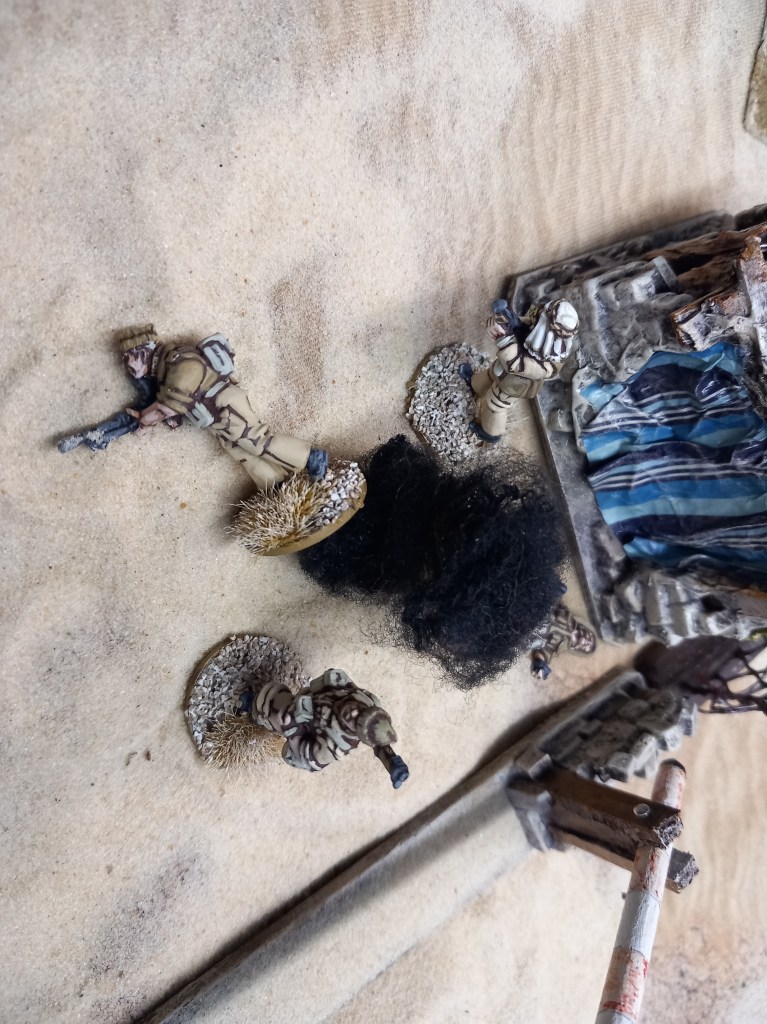
Well some of the jeeps rolled out again 🤣 Losses were taken by the Brits but plenty of German kit was blown up so a very successful mission.

As a set of rules they worked very well and delivered exactly what they set out to do, I’d certainly play them again.

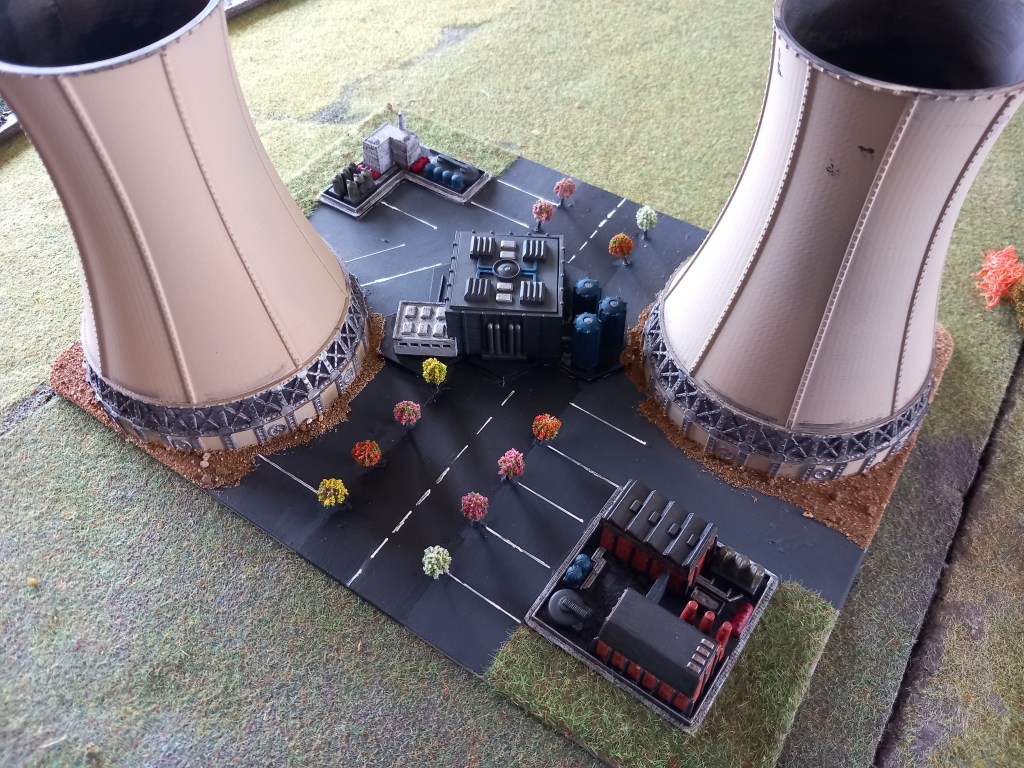
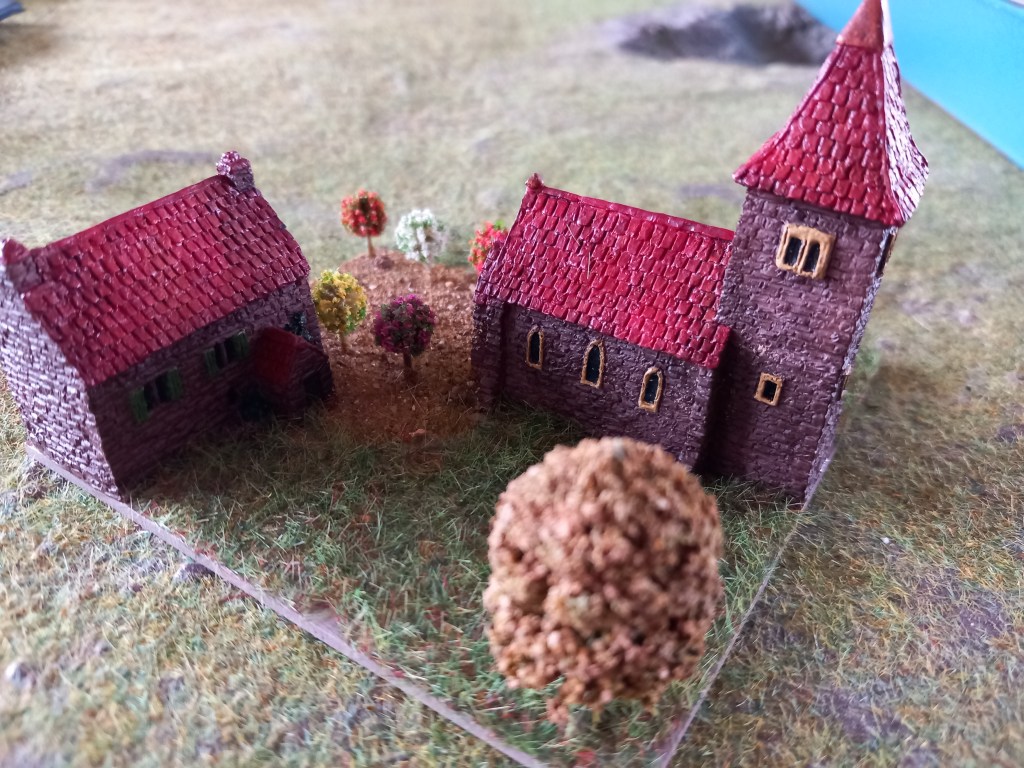
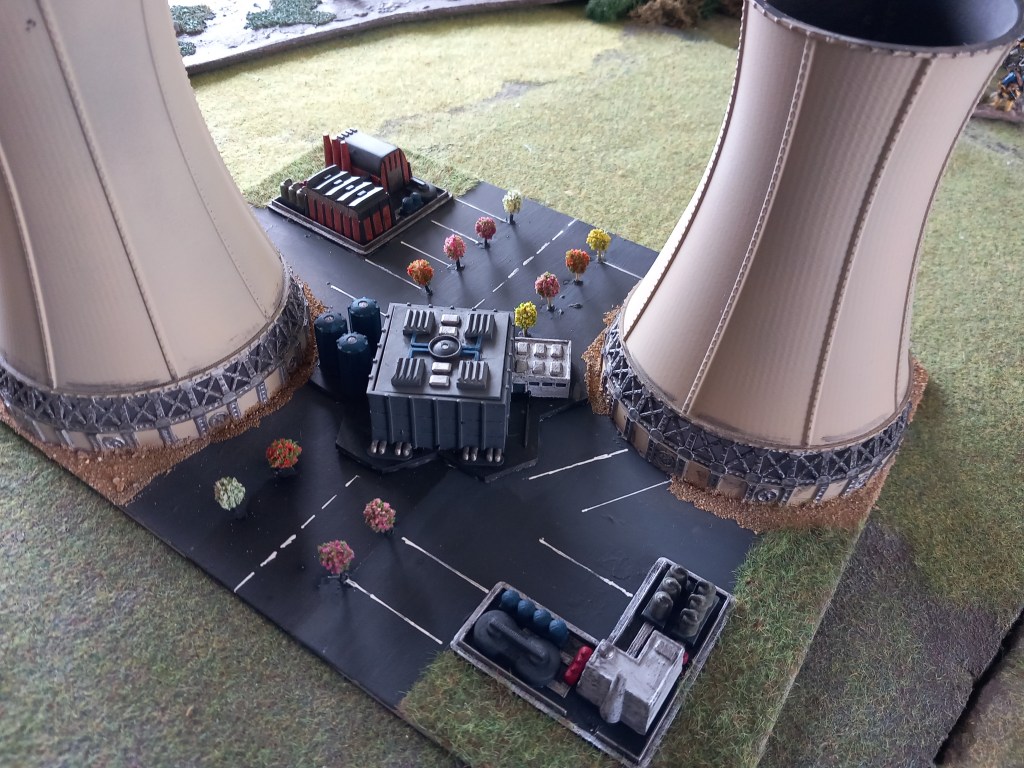
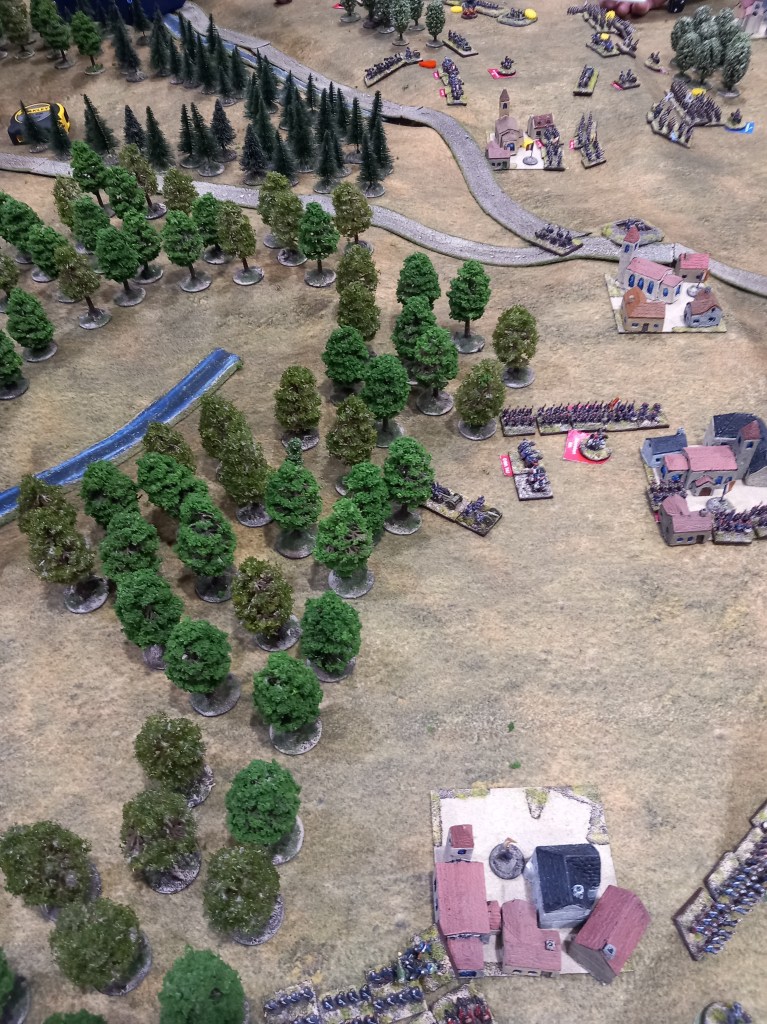
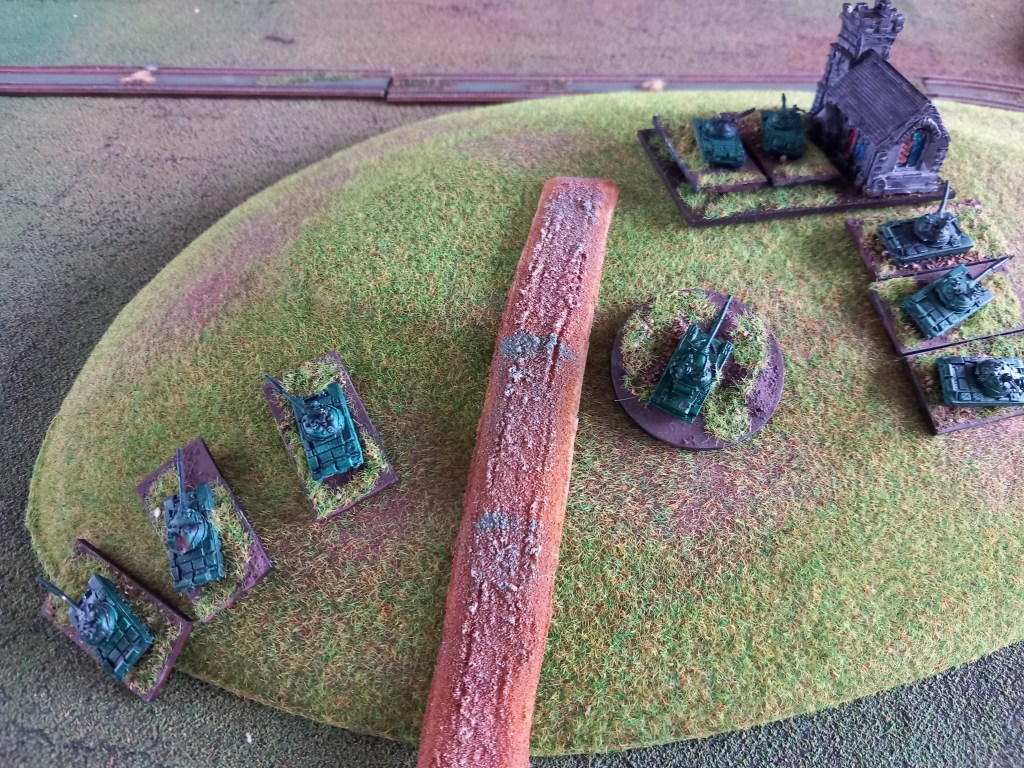
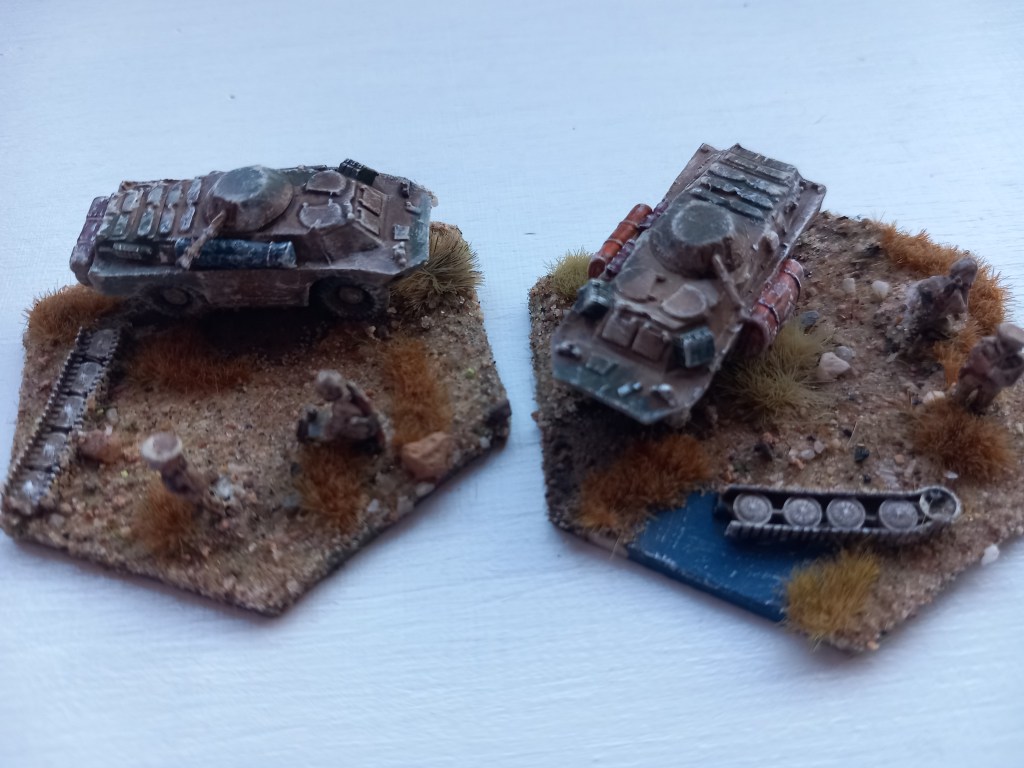
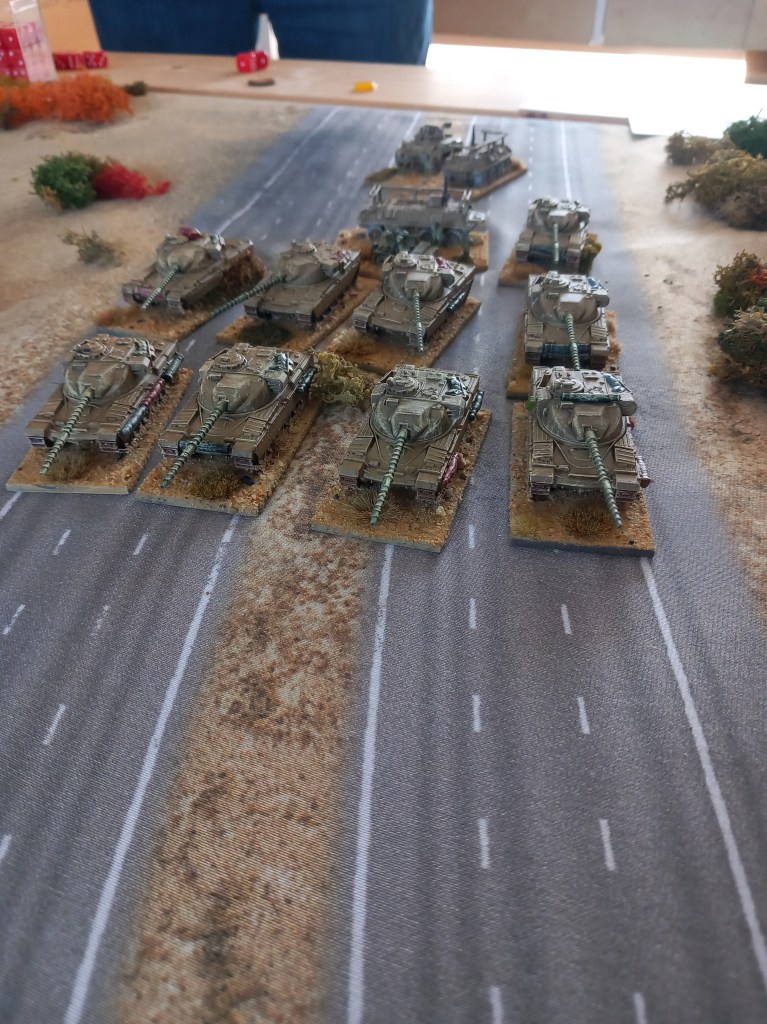
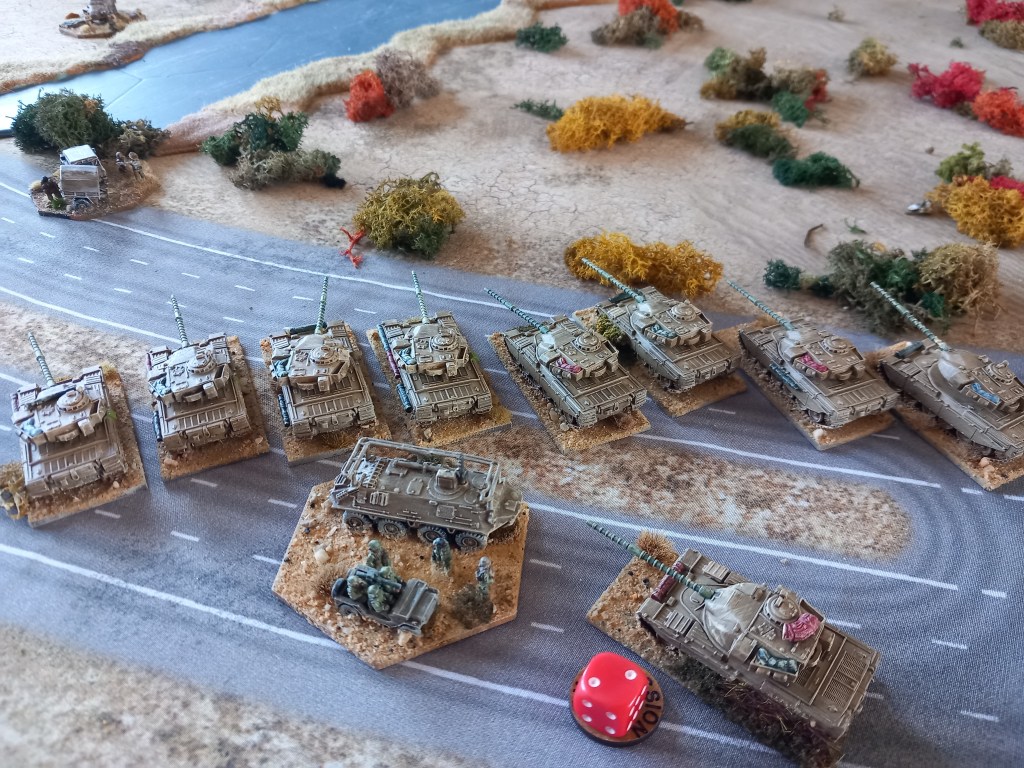
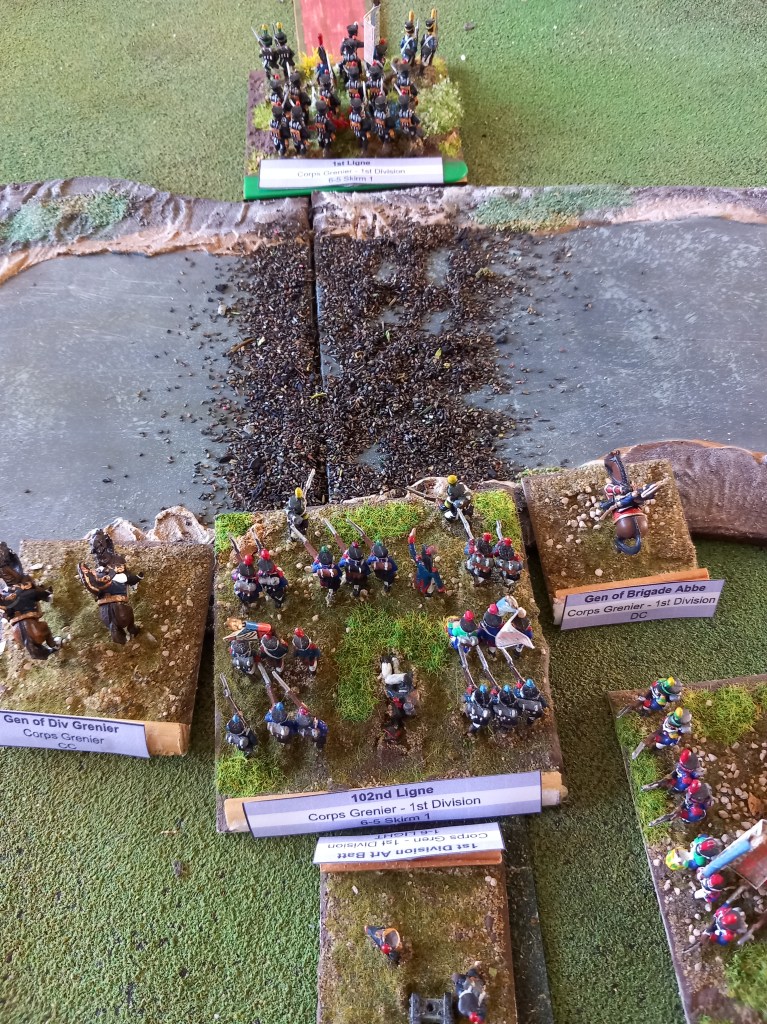
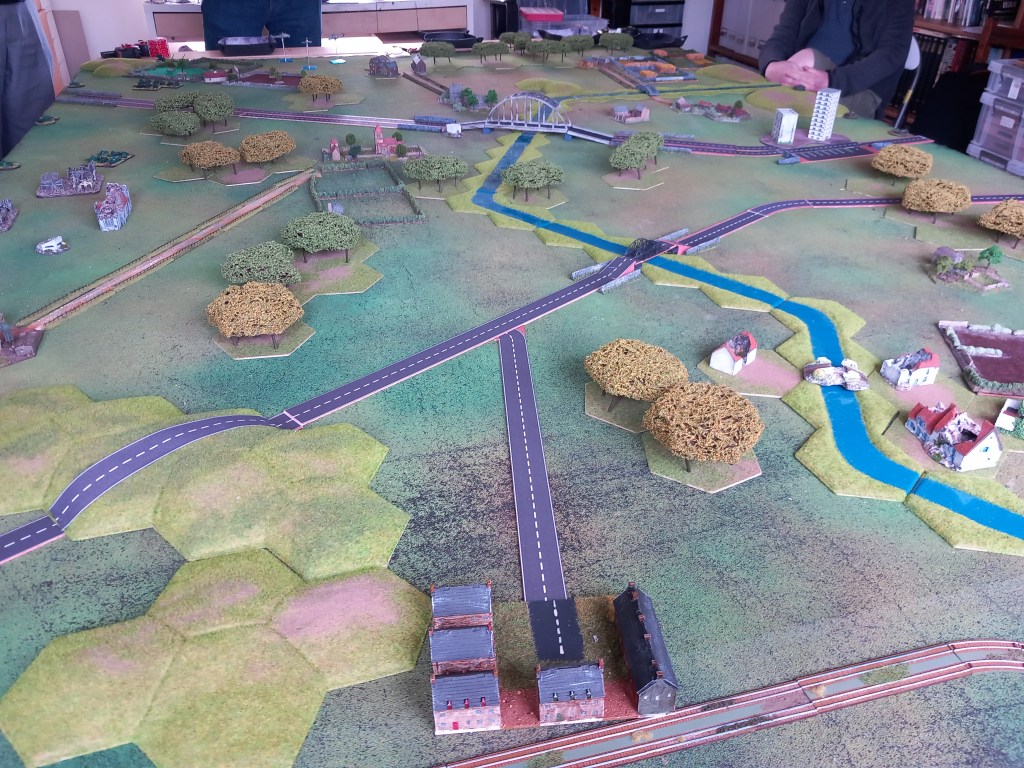
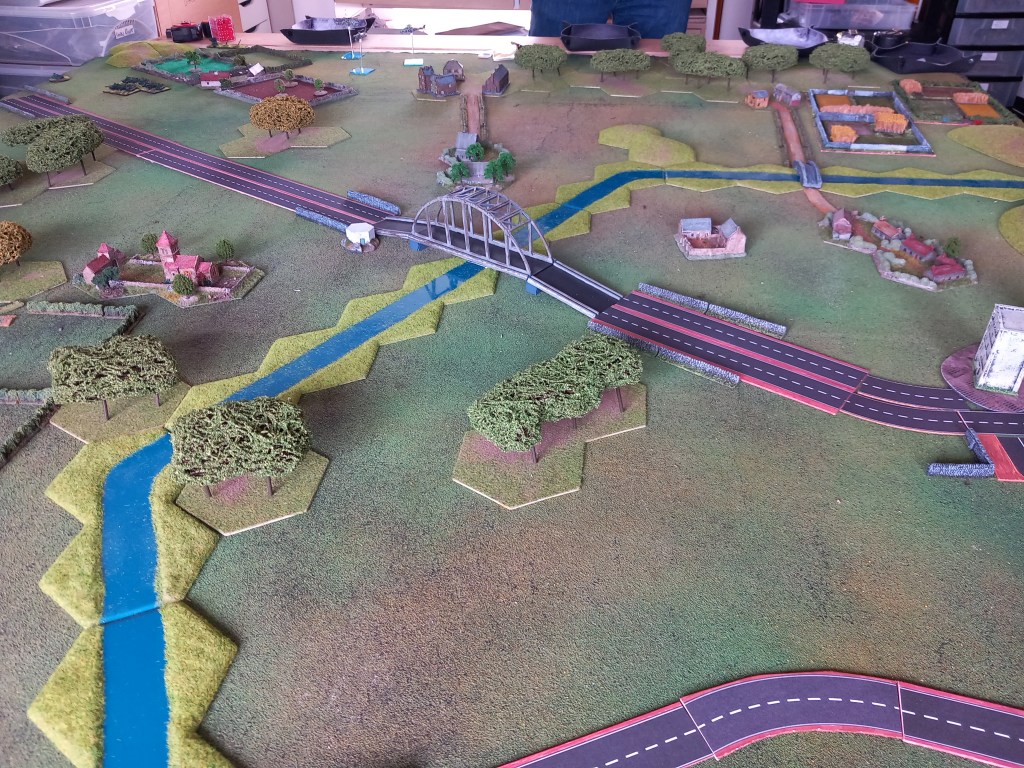
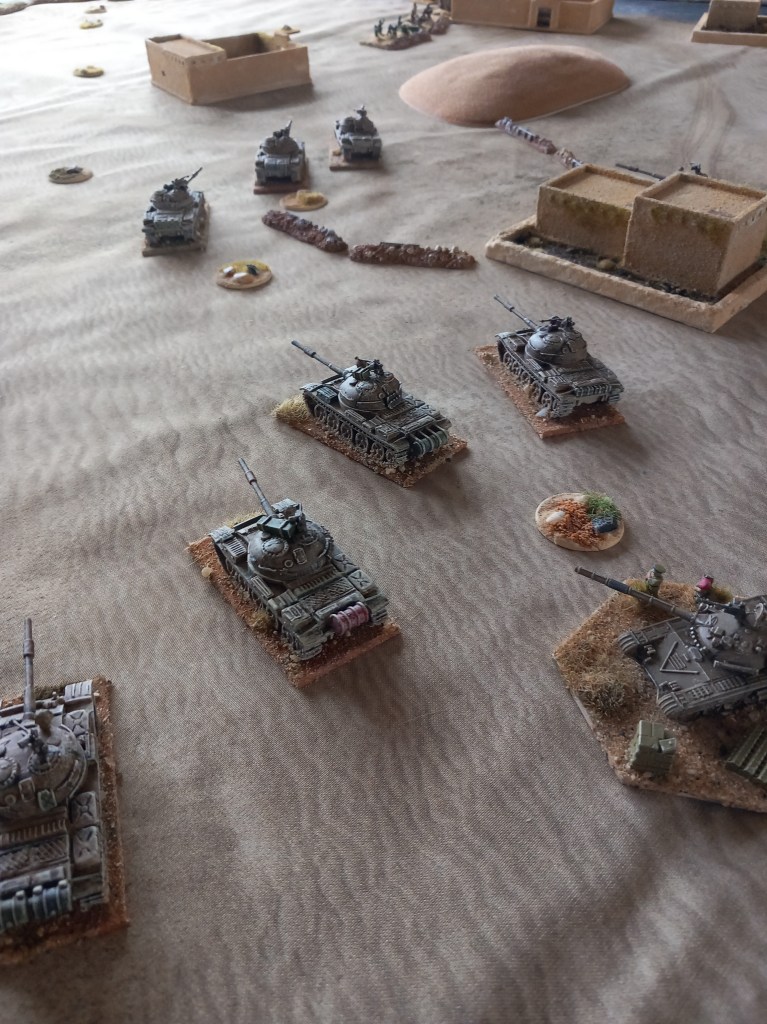
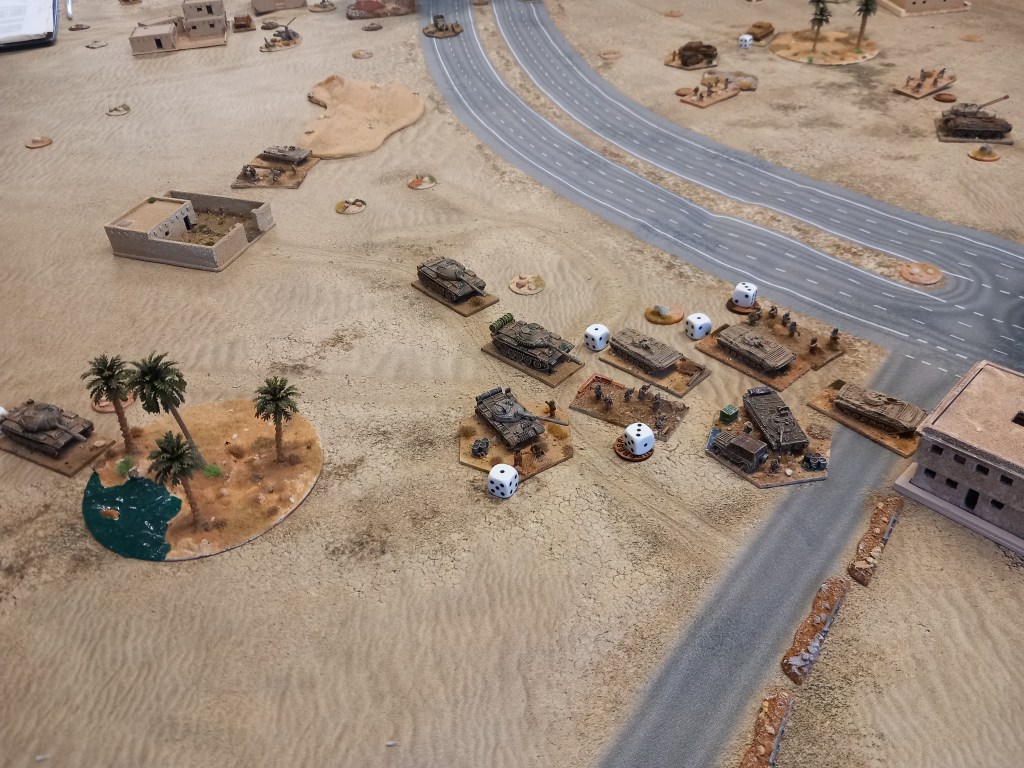
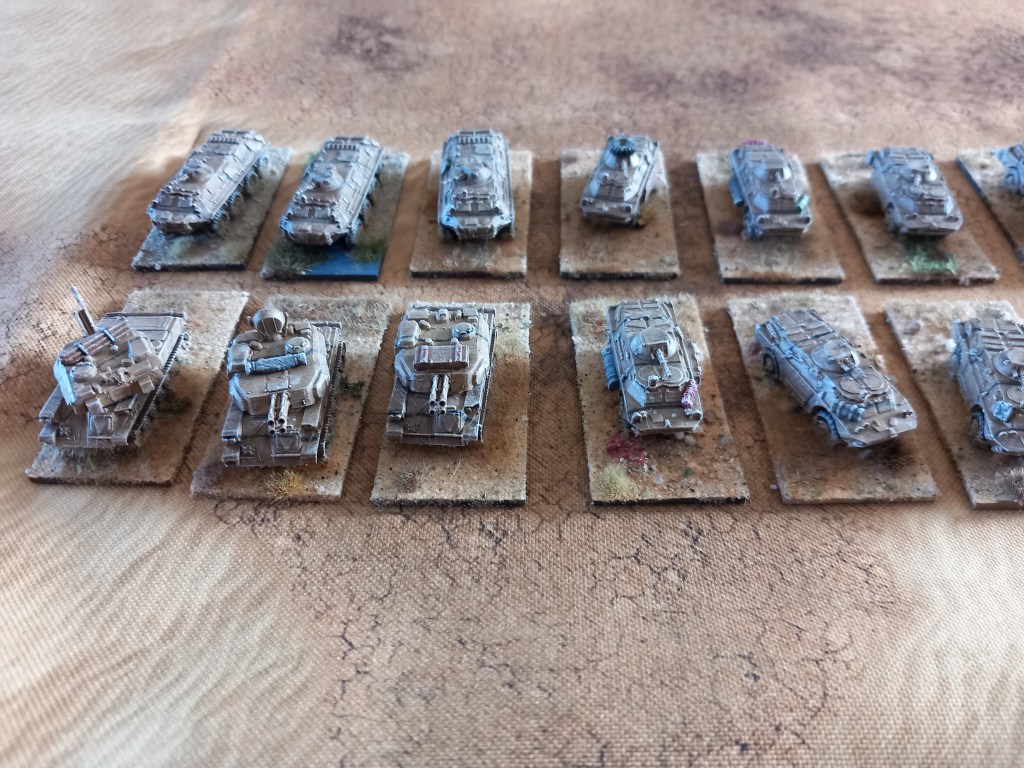
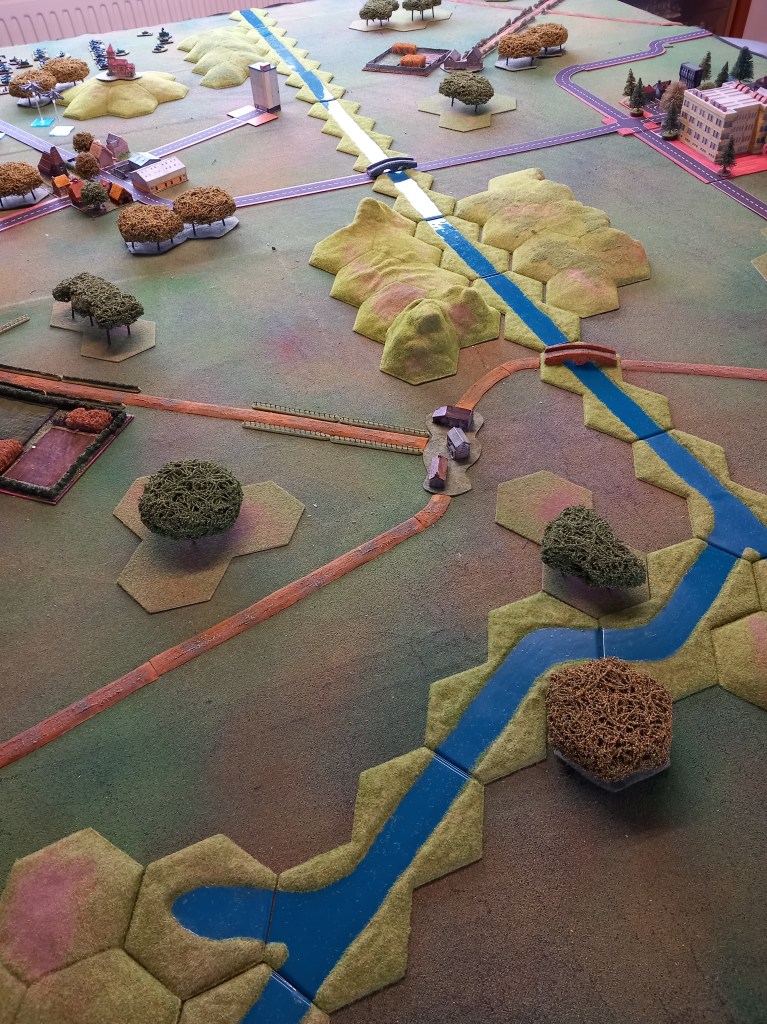
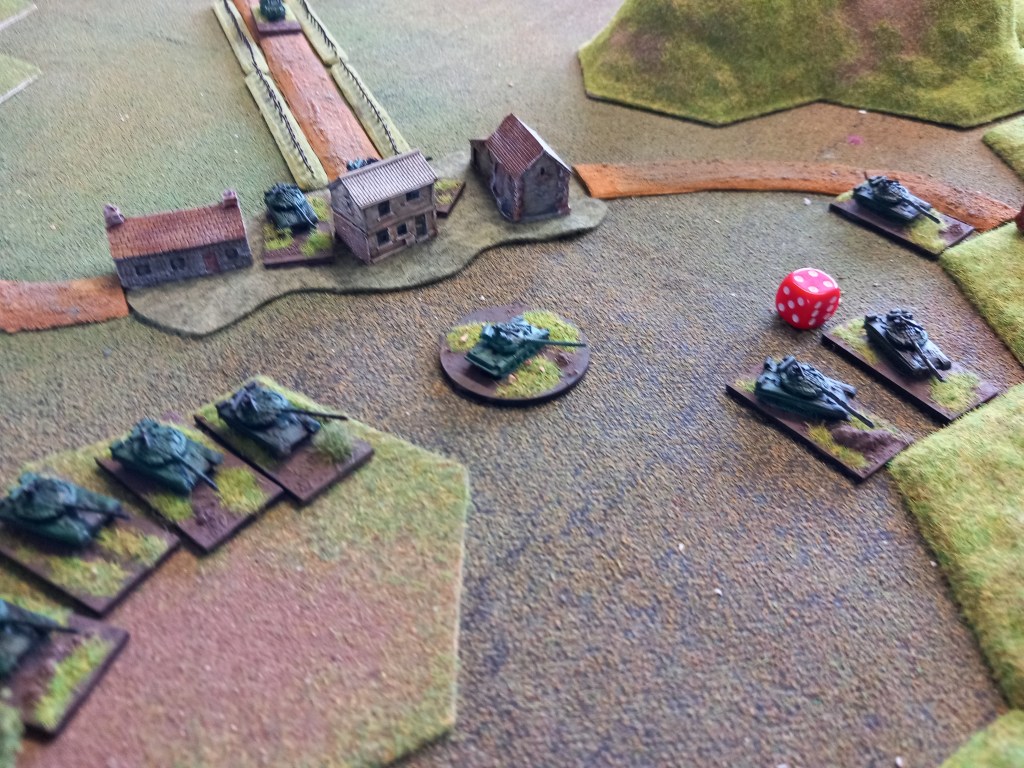
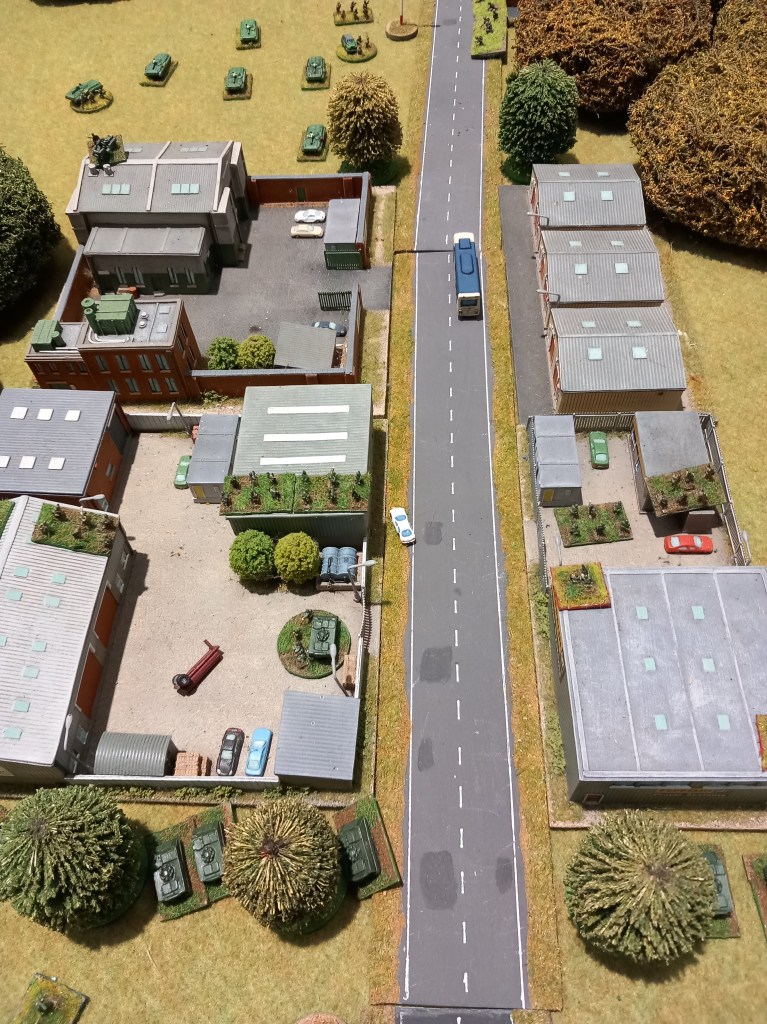
Back at base our next game was another of our 1980’s Cold War encounters, this time, Bundeswehr v DDR. Our narrative was that the Warsaw Pact invasion had commenced and in the opening days the BAOR had been displaced north by the Soviets and now the second echelon DDR troops were sweeping forward from the southeast aiming for a power station positioned in the northwest corner of the board, The Bundeswehr had hastily assembled a combat group in the southwest and were scrambling to cut off the enemy advance.

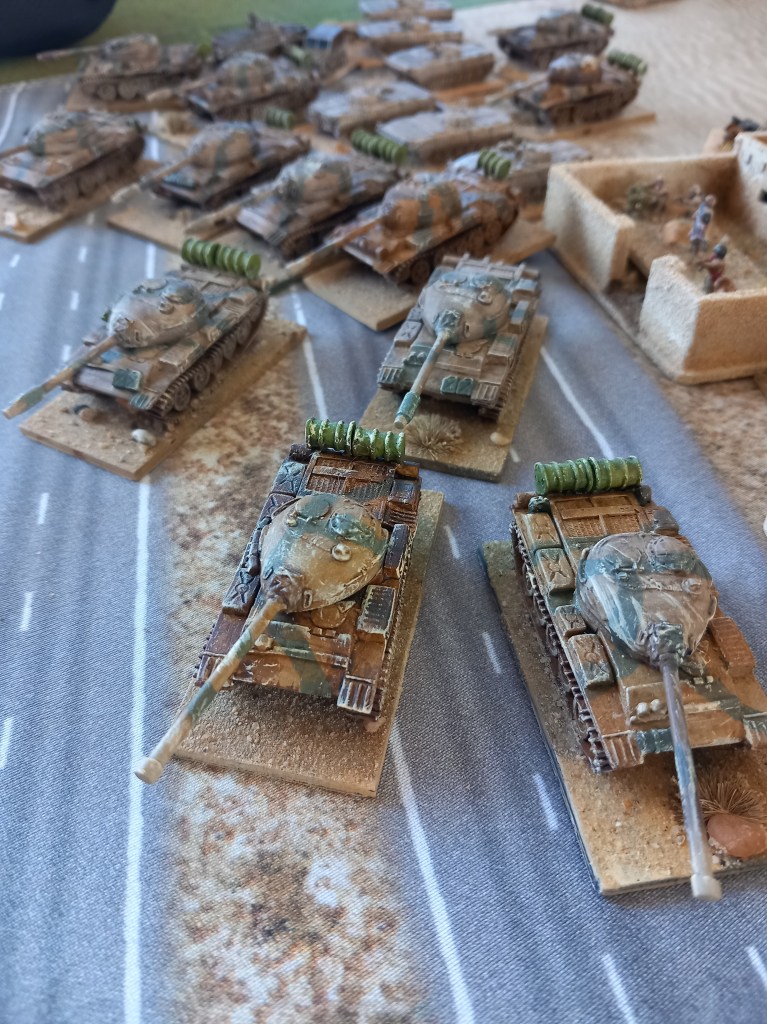
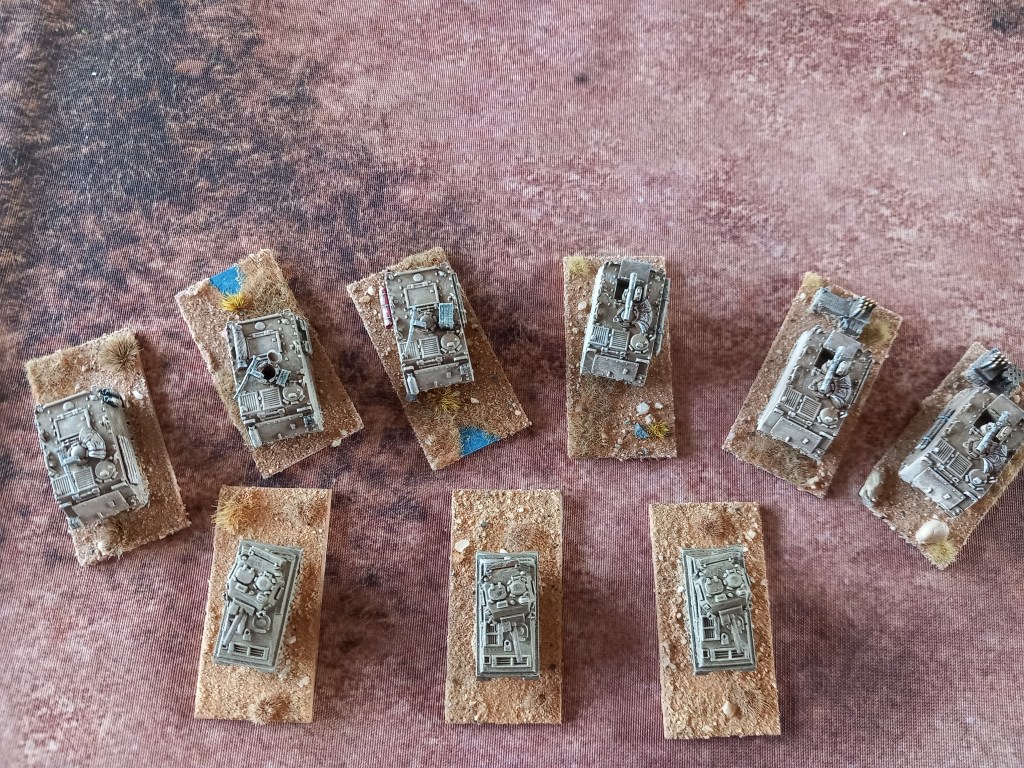
The game was designed as an 8 turn encounter game using mobile deployment in specific areas of the southern end of the board. Both sides had off table artillery but no air cover; the DDR had a full tank regiment – 3 x 9T72M tank battalions and a motorised infantry battalion in BMP1-1P’s, the Bundeswehr had 2 x mixed battalion of 8 x Leopard 2’s and 4 x Marder with attached infantry. The rules were Cold War Commander.
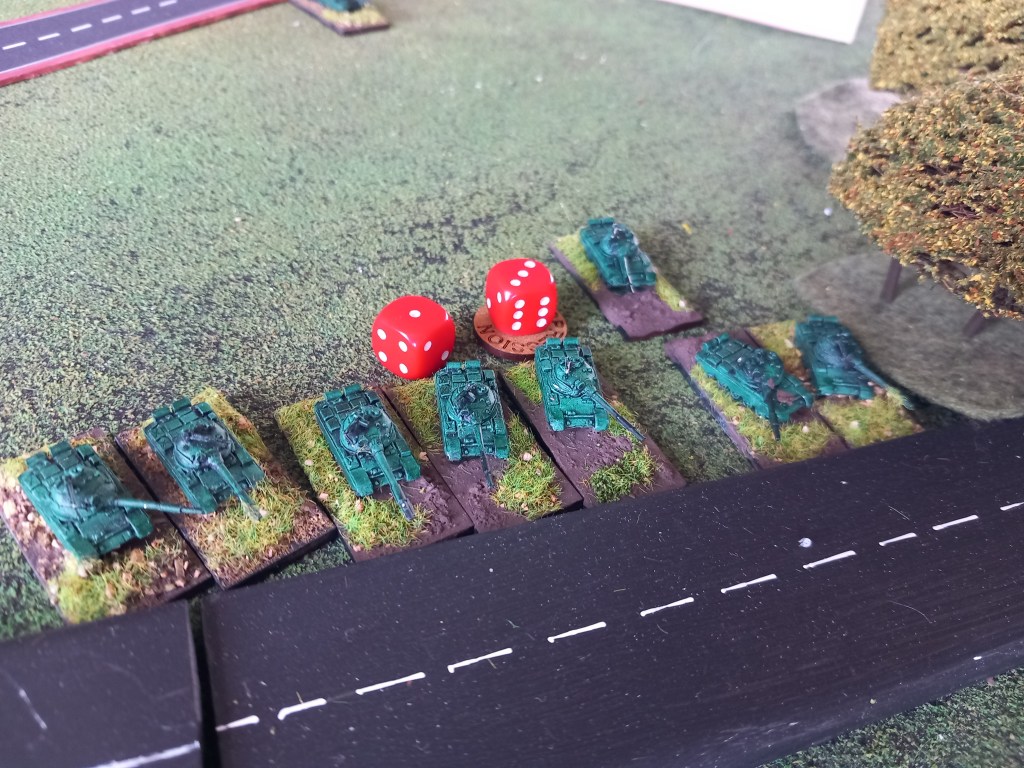
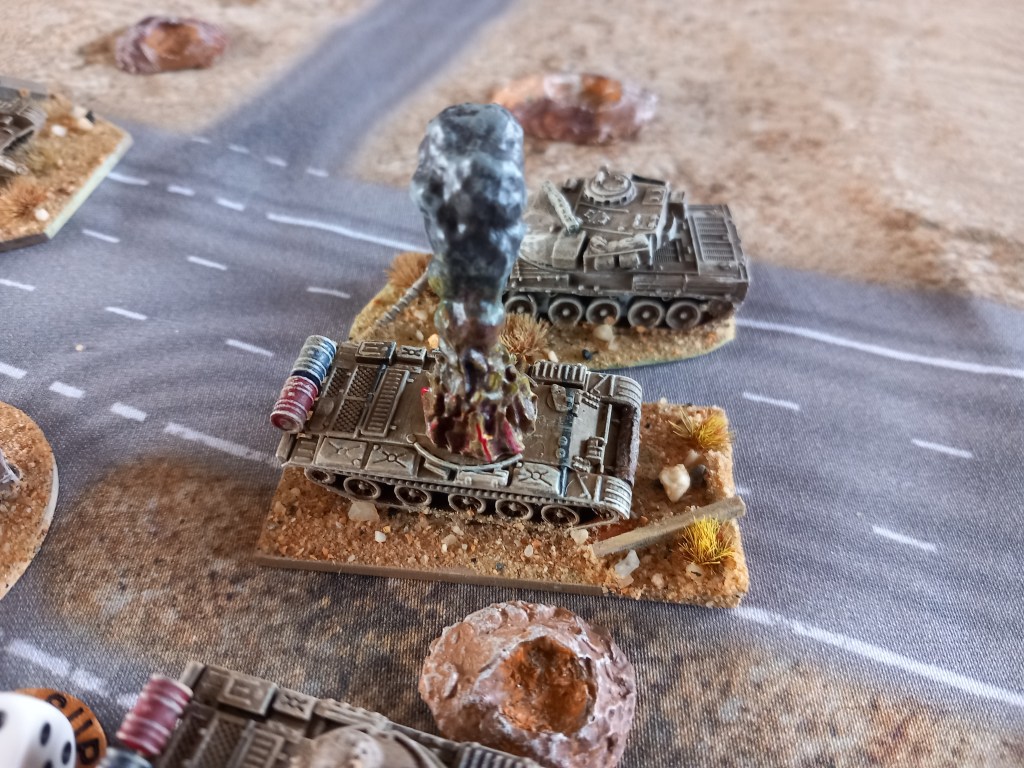
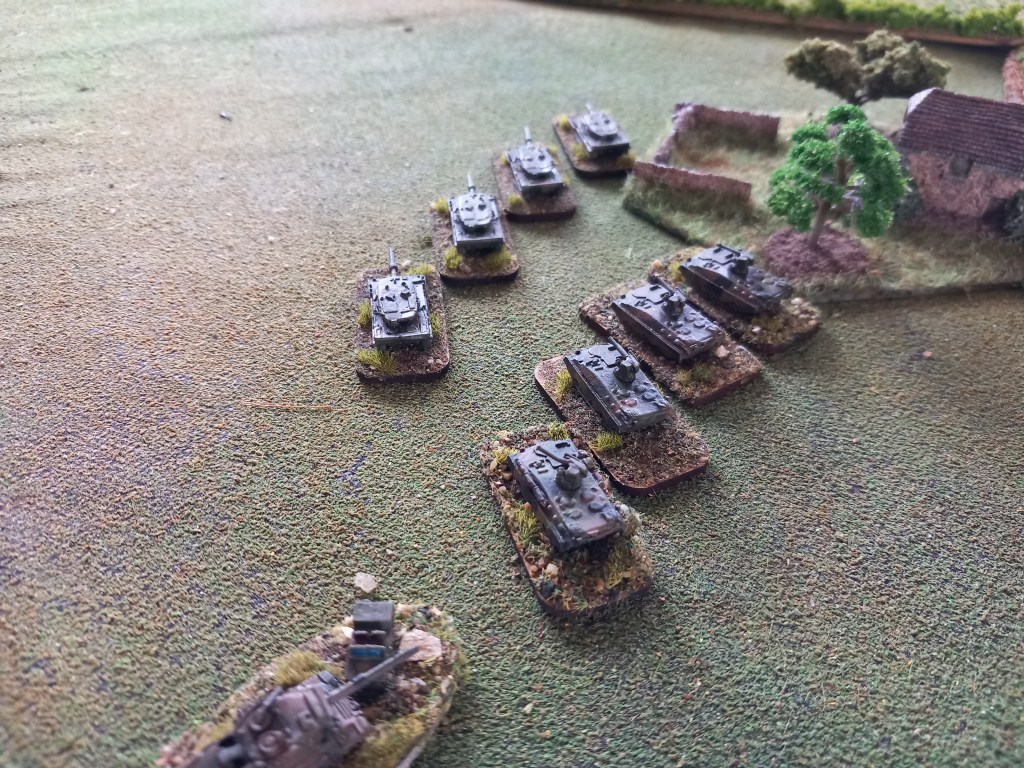
The Bundeswehr got on table straight away – better command values, and positioned the FAO and half a tank battalion on a convenient hill while everyone else headed north utilising the plentiful cover.

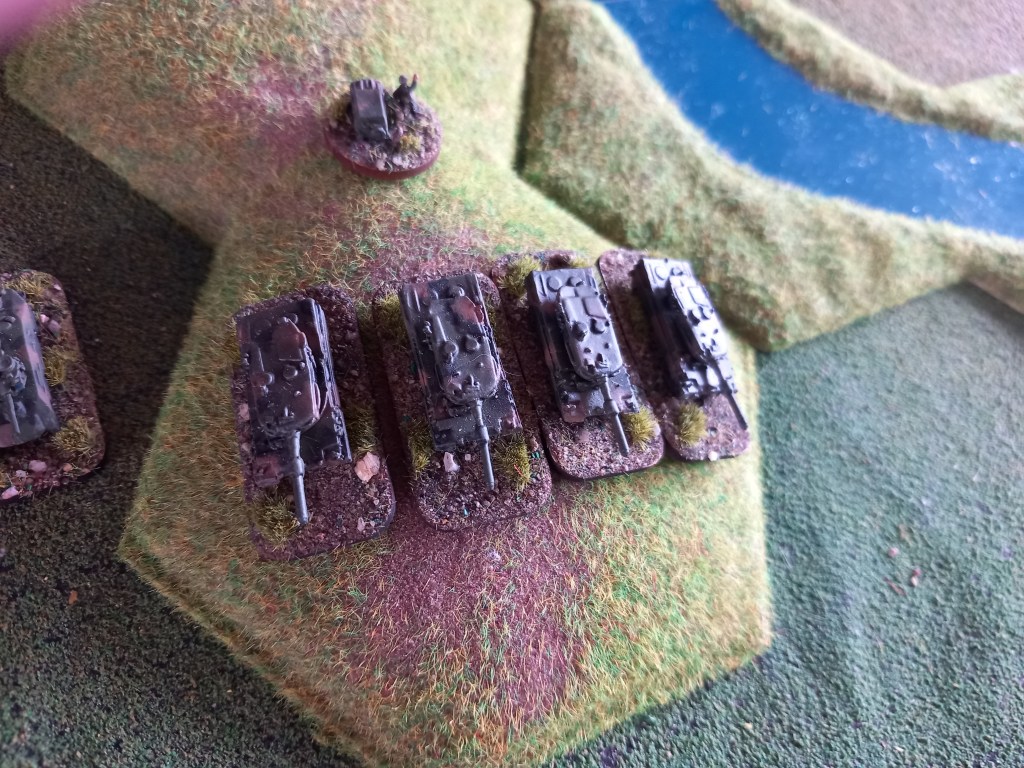
The DDR struggled to get on table and this definitely affected their ability to co-ordinate their efforts. The 1st Panzer roared came on and roared into a field where they got bogged down as the Leopards on the hill zeroed in on them and the FAO bought in M109 fire. Eventually the battalion was wiped out without firing a shot 😢

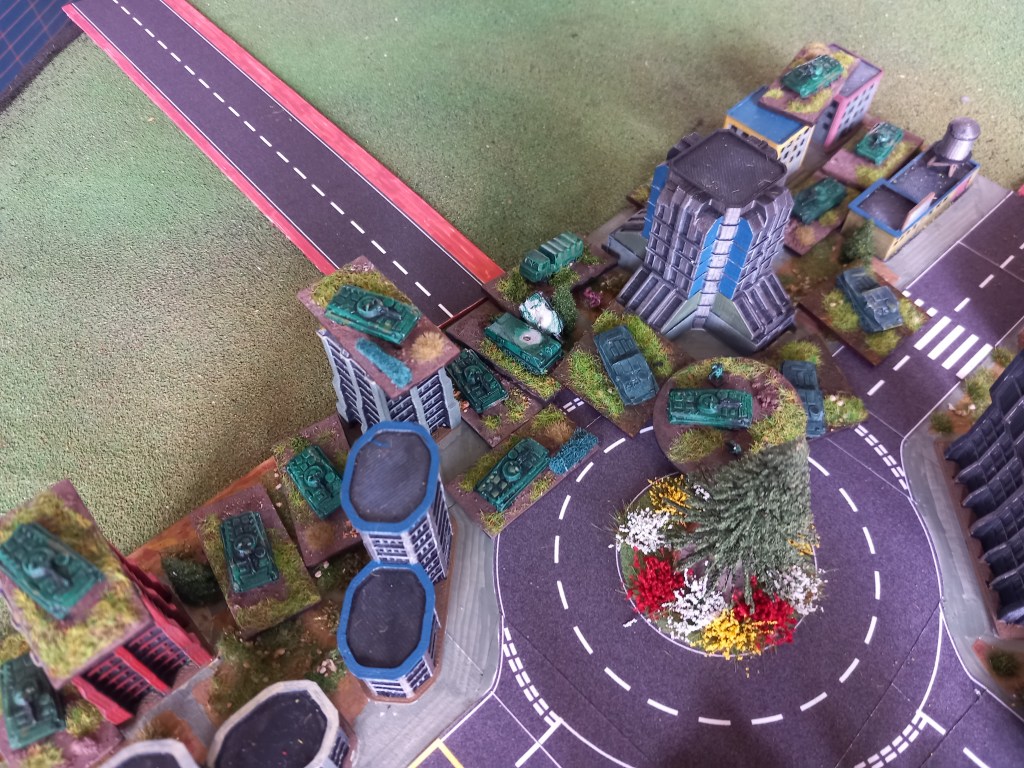
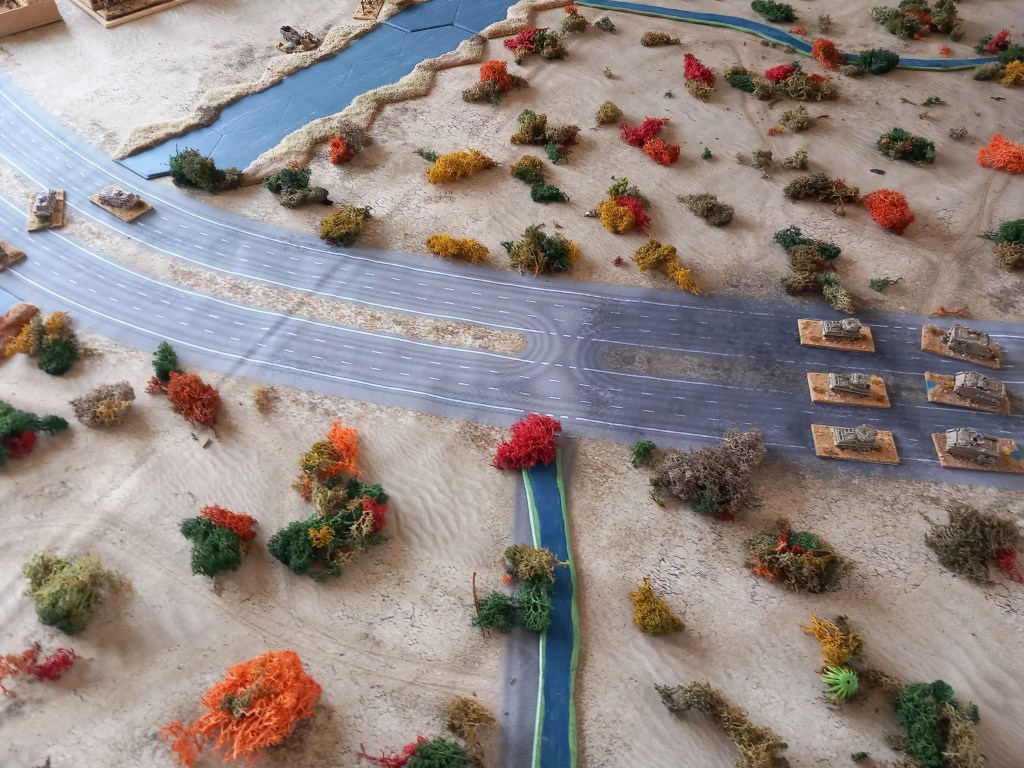
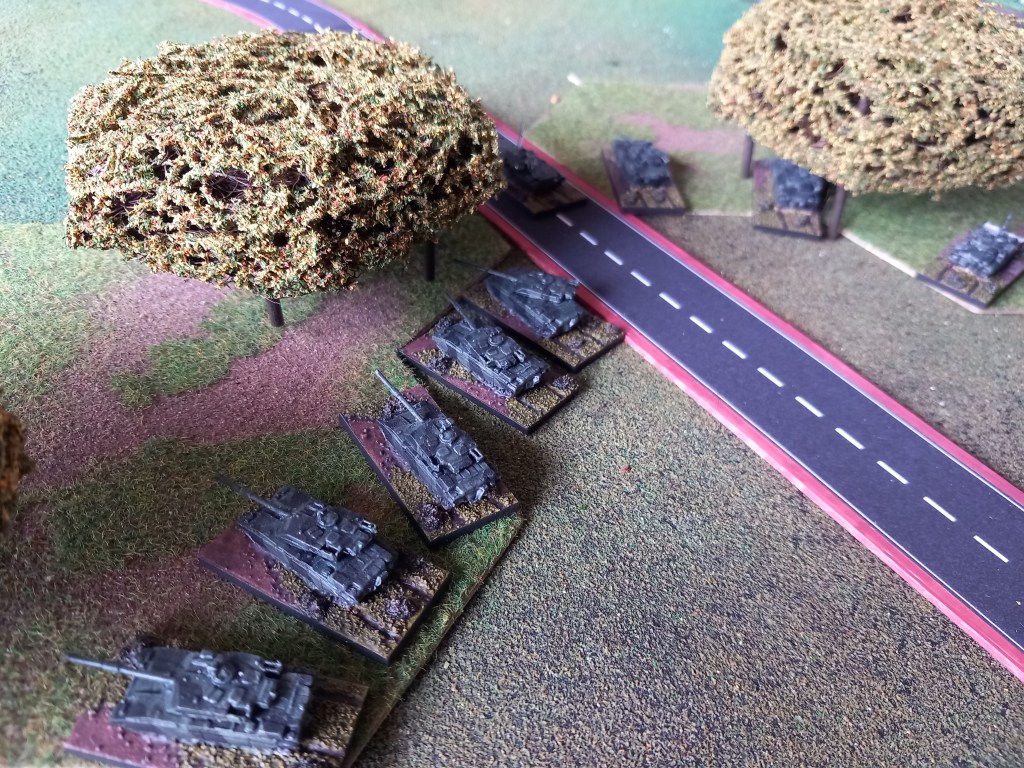
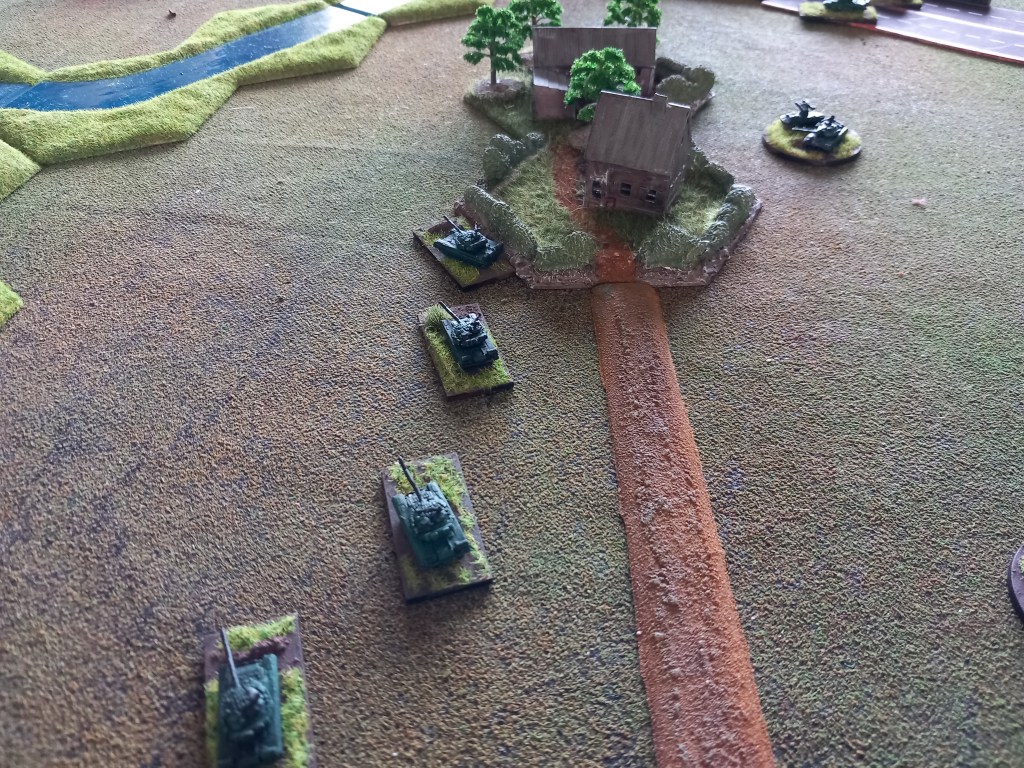
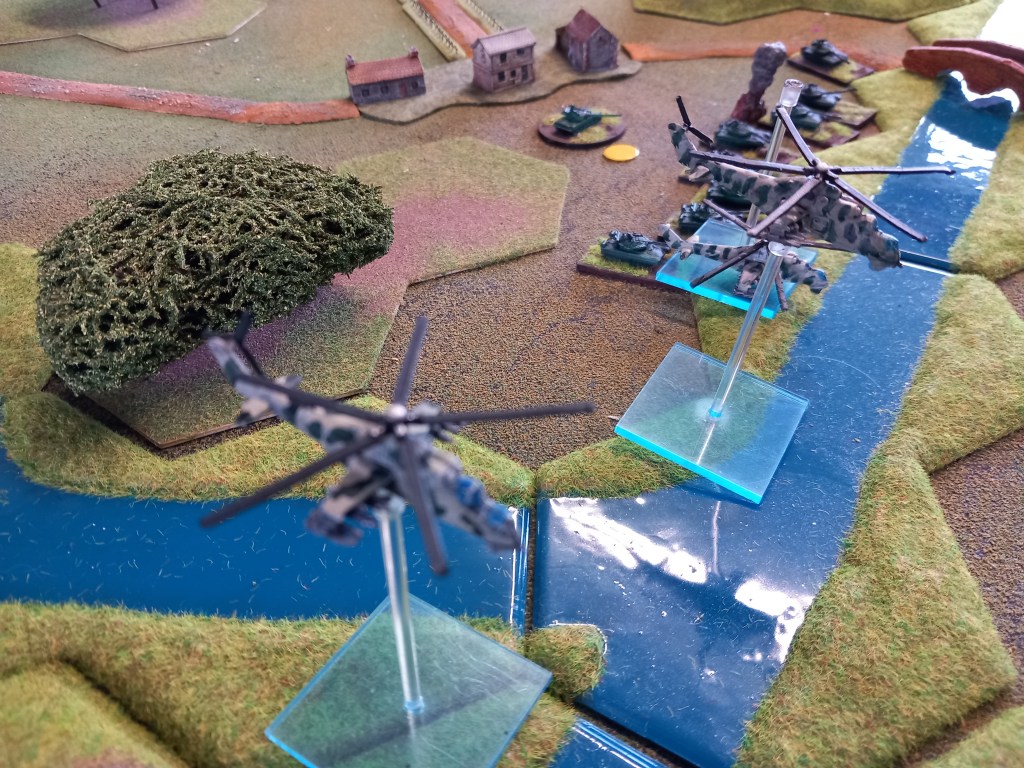
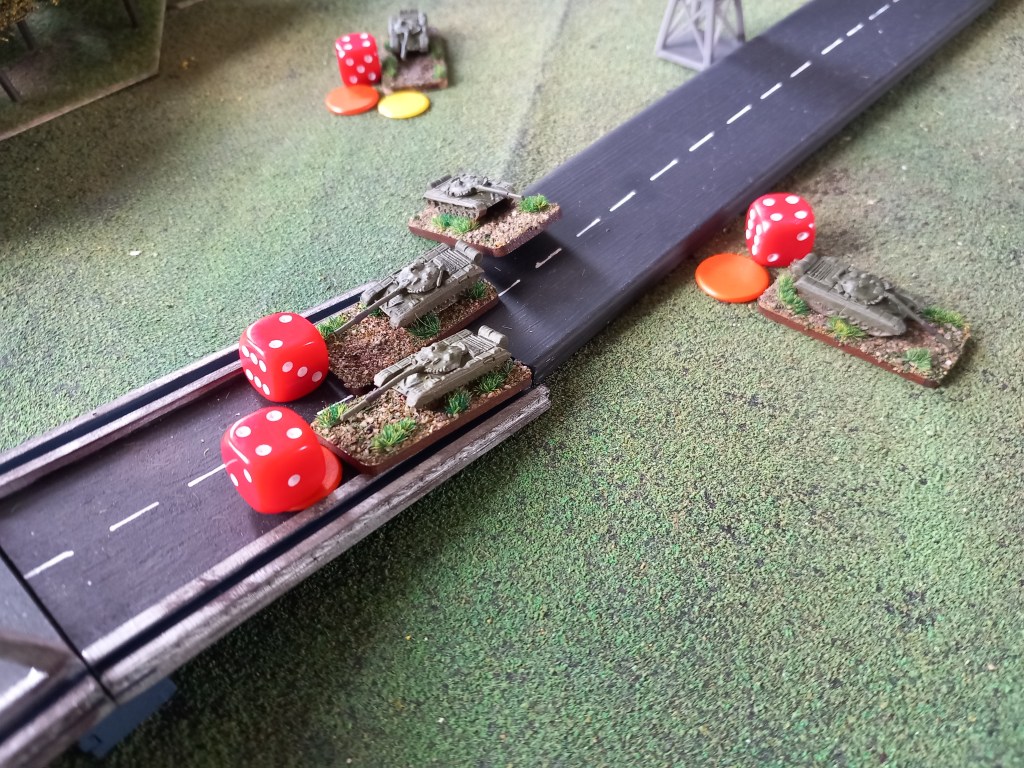
The 3rd Panzer, when they came on, executed a long right hook, utilising as much cover as possible and headed for the road to the power station.

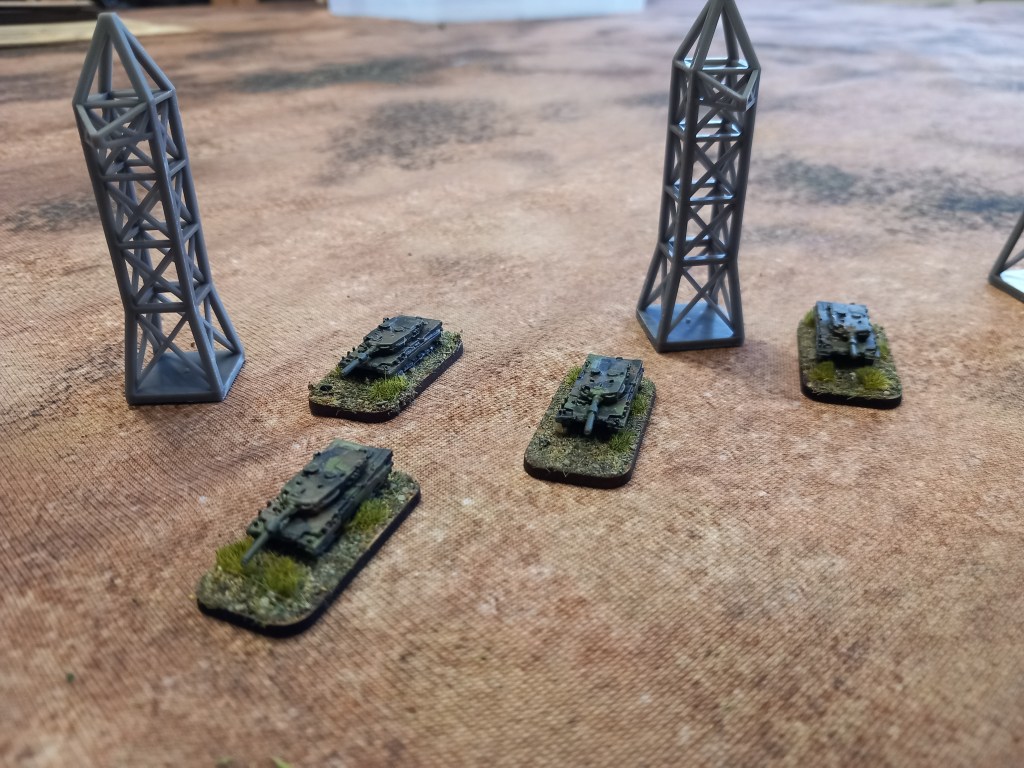
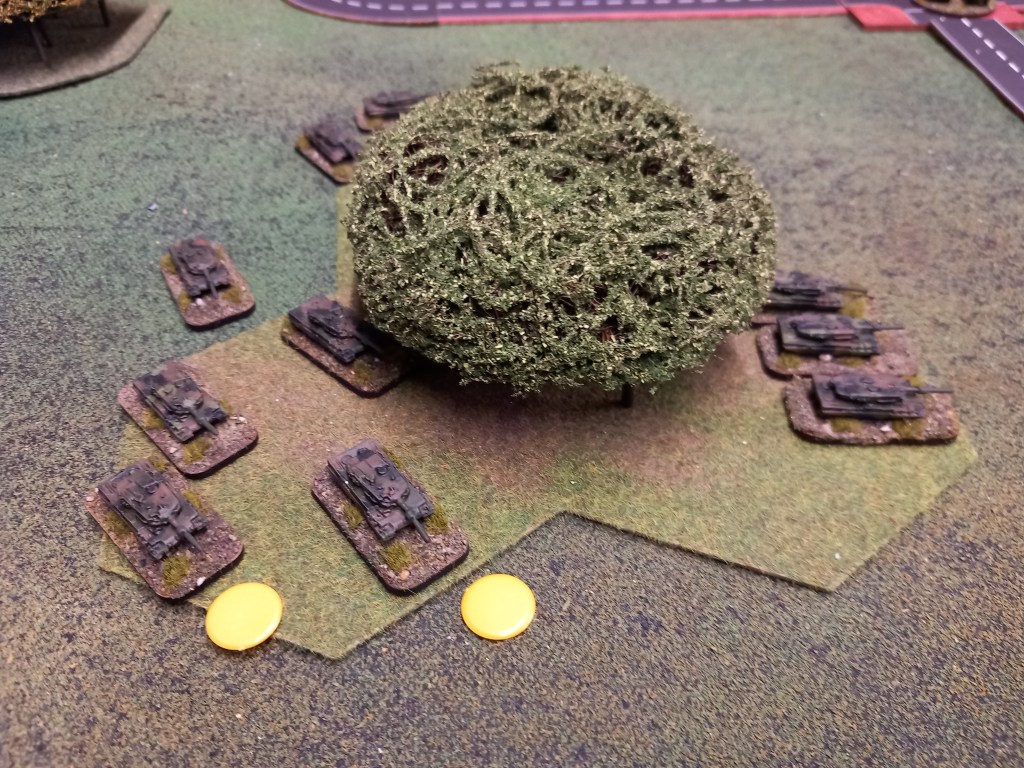
The 2nd Panzer and BMP’s arrived late and were forever playing catch up which wasn’t helped by the panzers failing two first move rolls and rolling two blunders! Needless to say their contribution was minimal. The BMP’s nipped straight into a wood and kept out of the way but their ATGW advantage was negated by the electricity pylons stretching up the board. The pylons also affected the Marders but with their longer range tank guns this was less of a problem for the Bundeswehr.

The DDR did manage to get their off table into action but with zero effect.

And counter battery fire soon took them out anyway.
The exciting part of the game however was the actions of 3rd Panzer whose right hook had caught the Bundeswehr slightly off guard – they were too busy shooting the shit out of the rest of the opposition 🤣
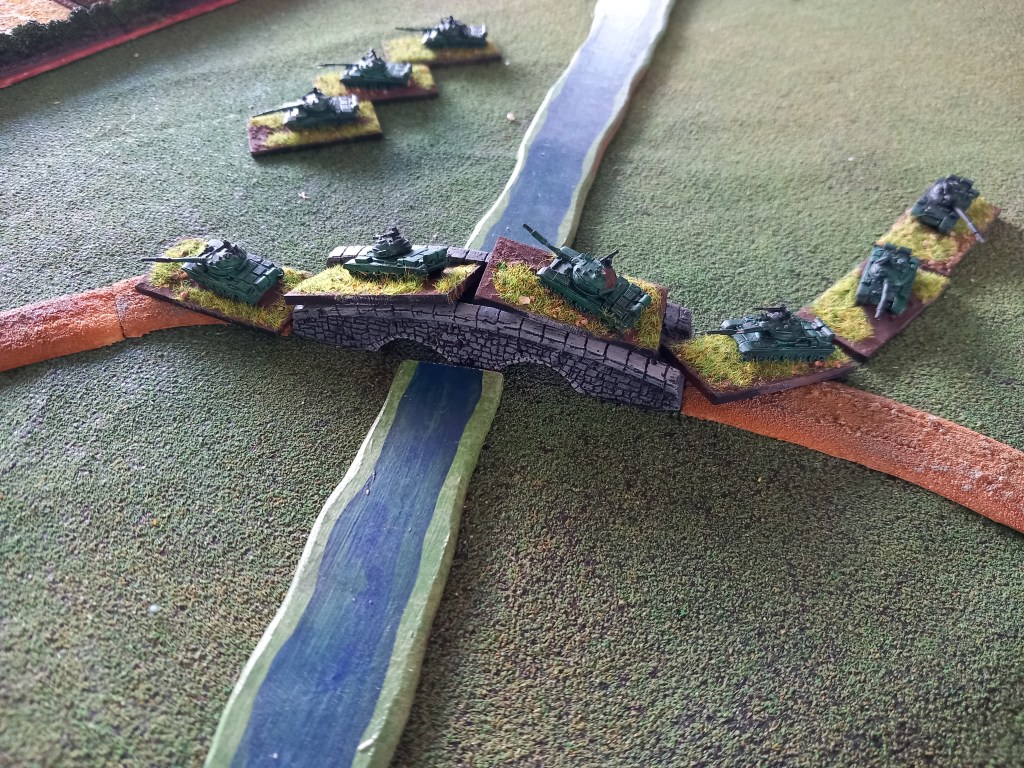
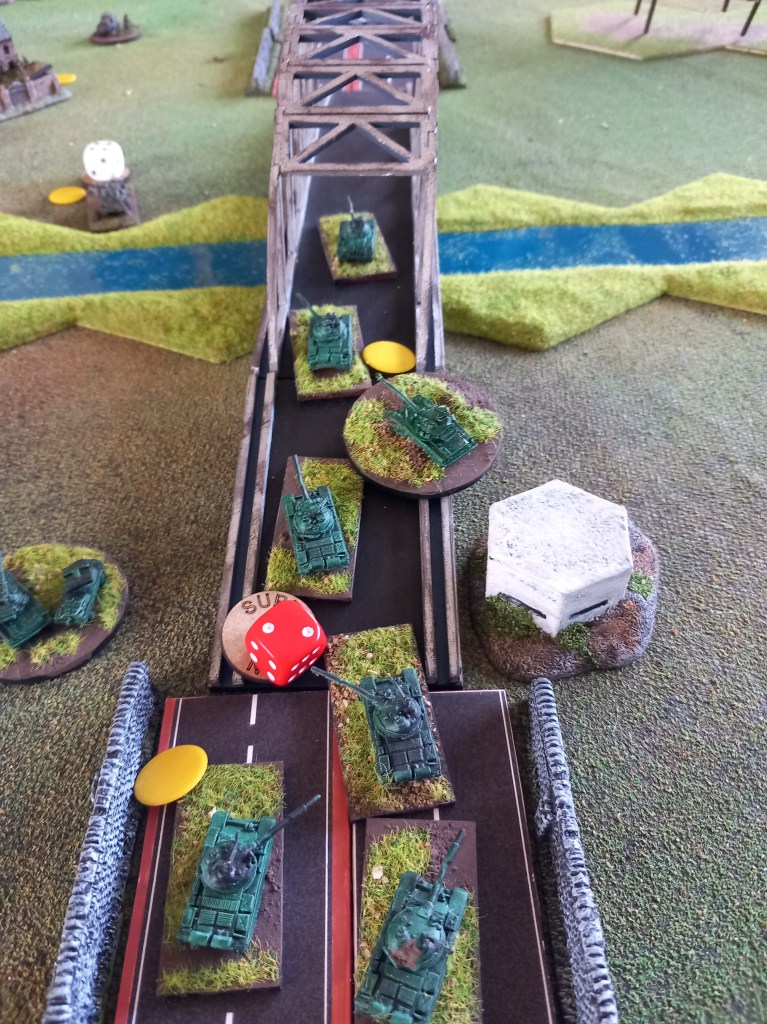
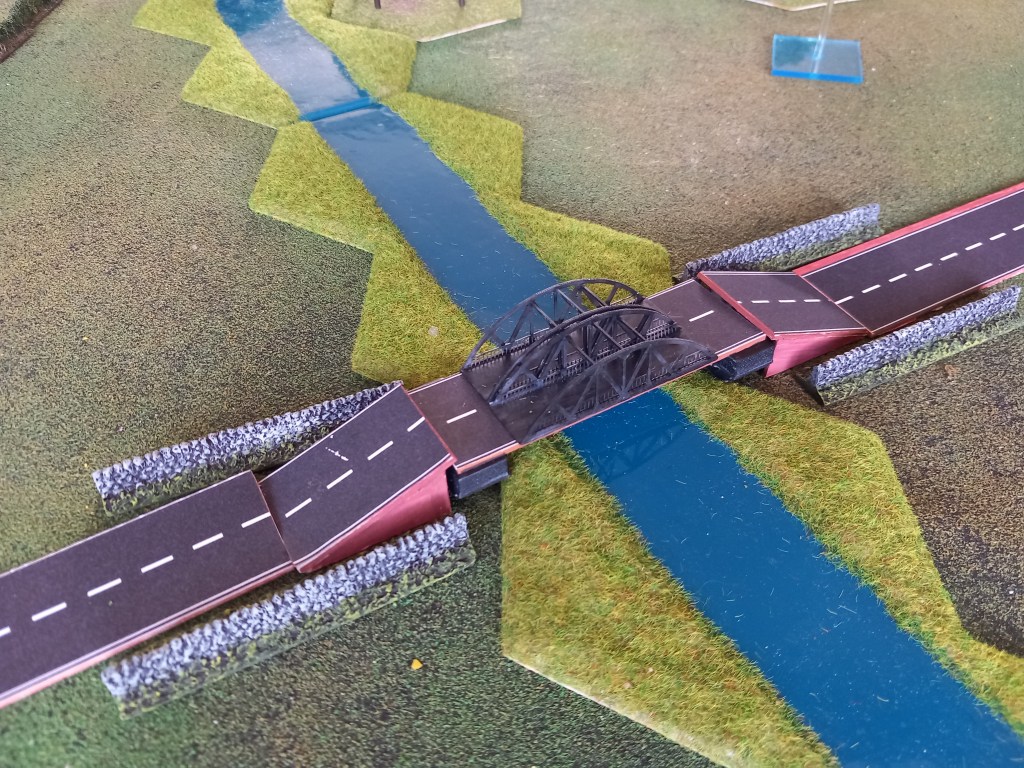
And so it became a race for the bridge……..

The Bundeswehr threw everything they had at 3rd Panzer as turn 8 loomed.

But eventually 3rd Panzer were swept away and with the end of turn 7 the Leopards were on the bridge and the lights over West Germany could remain on 😁
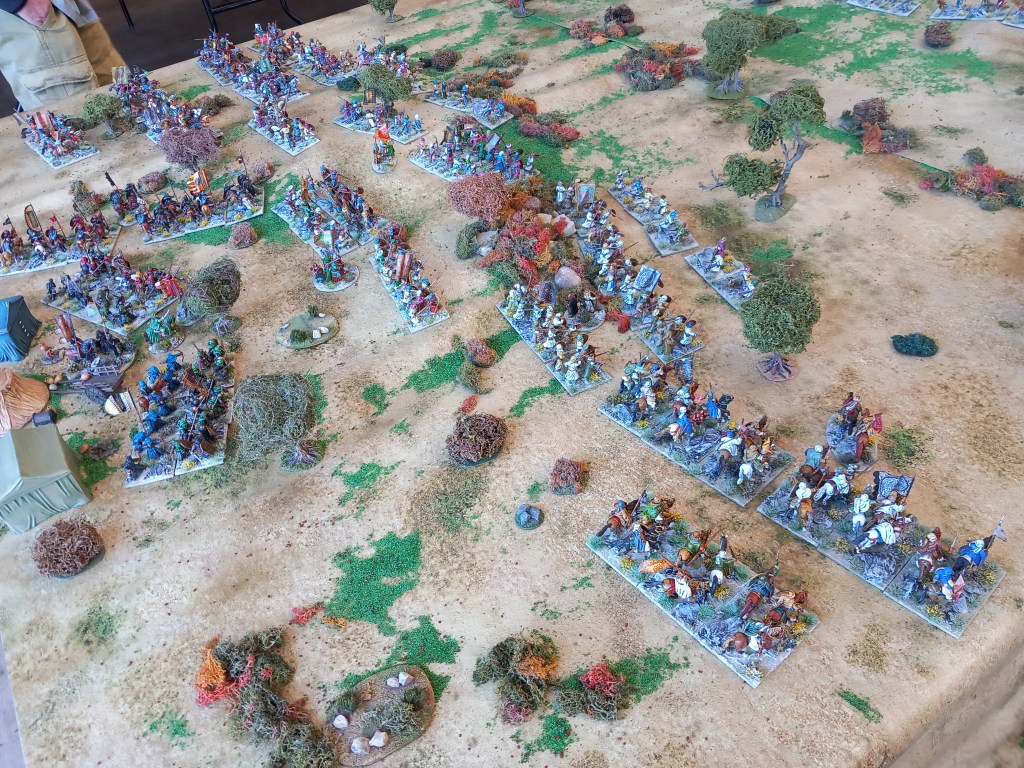
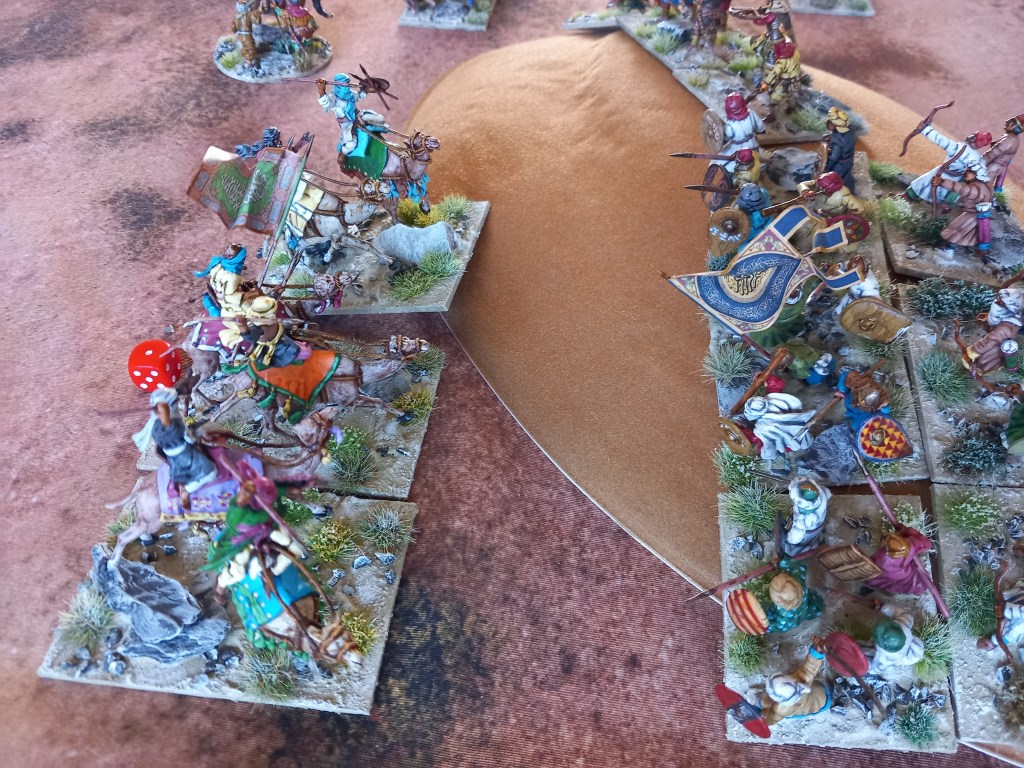
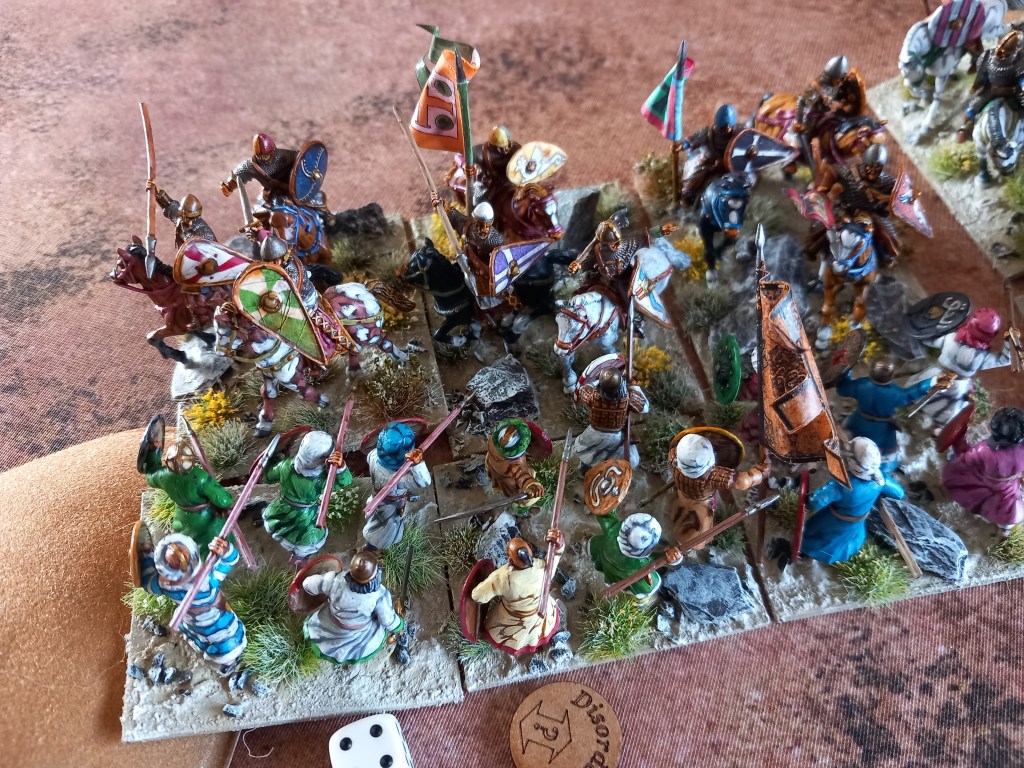
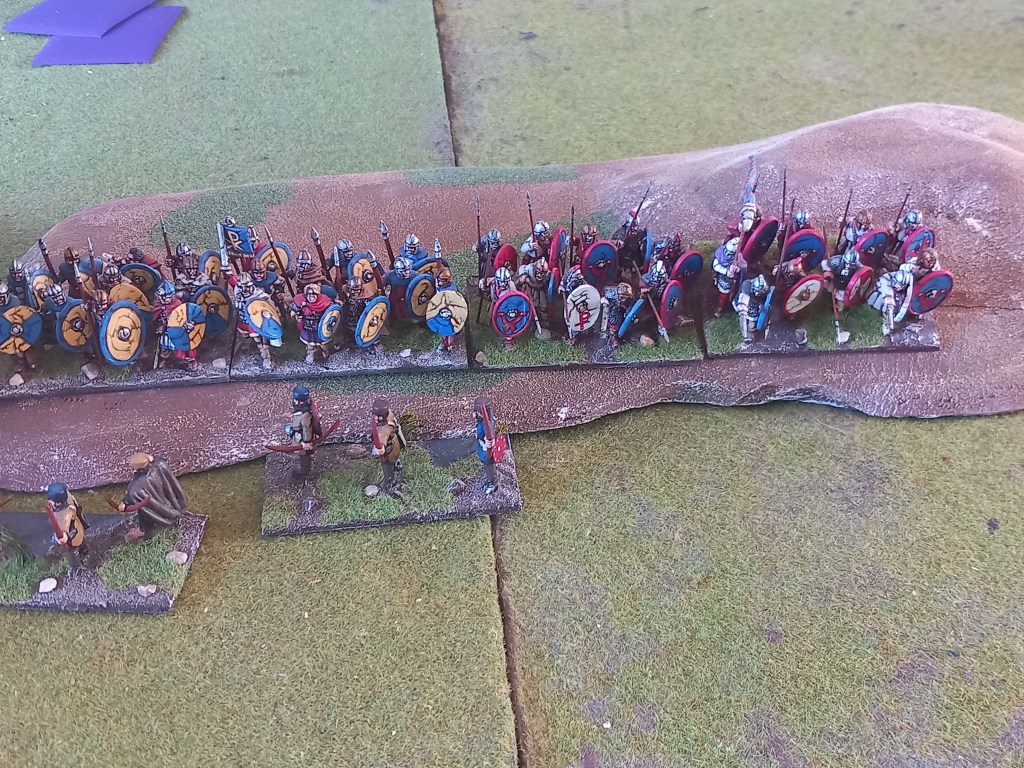
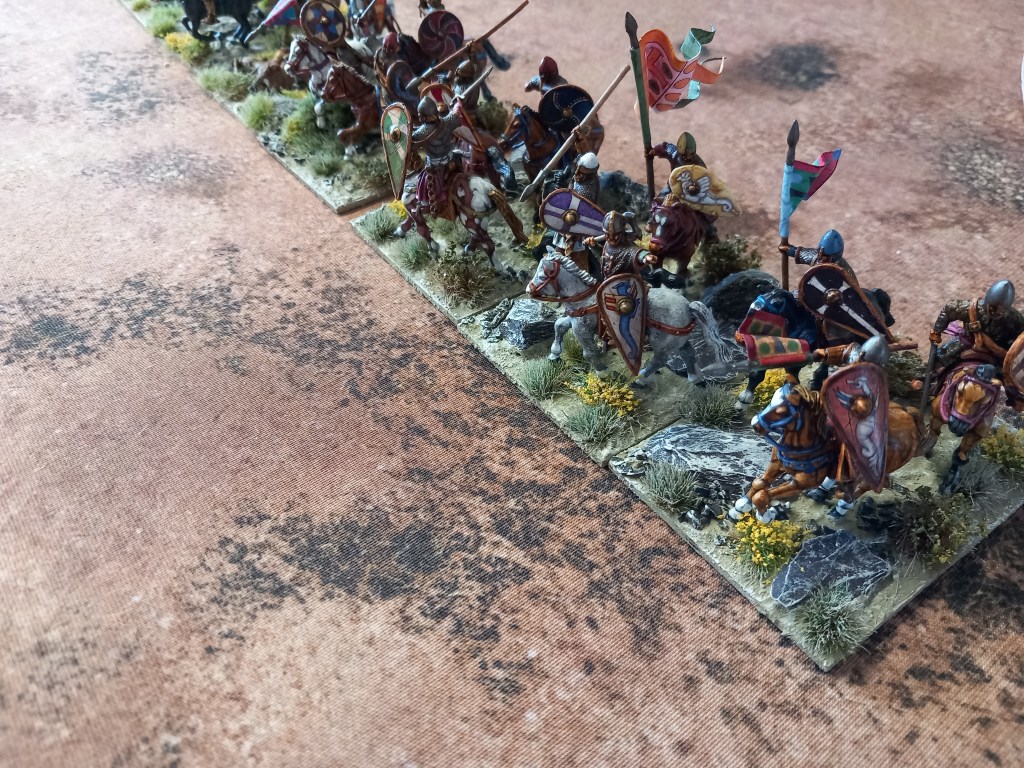
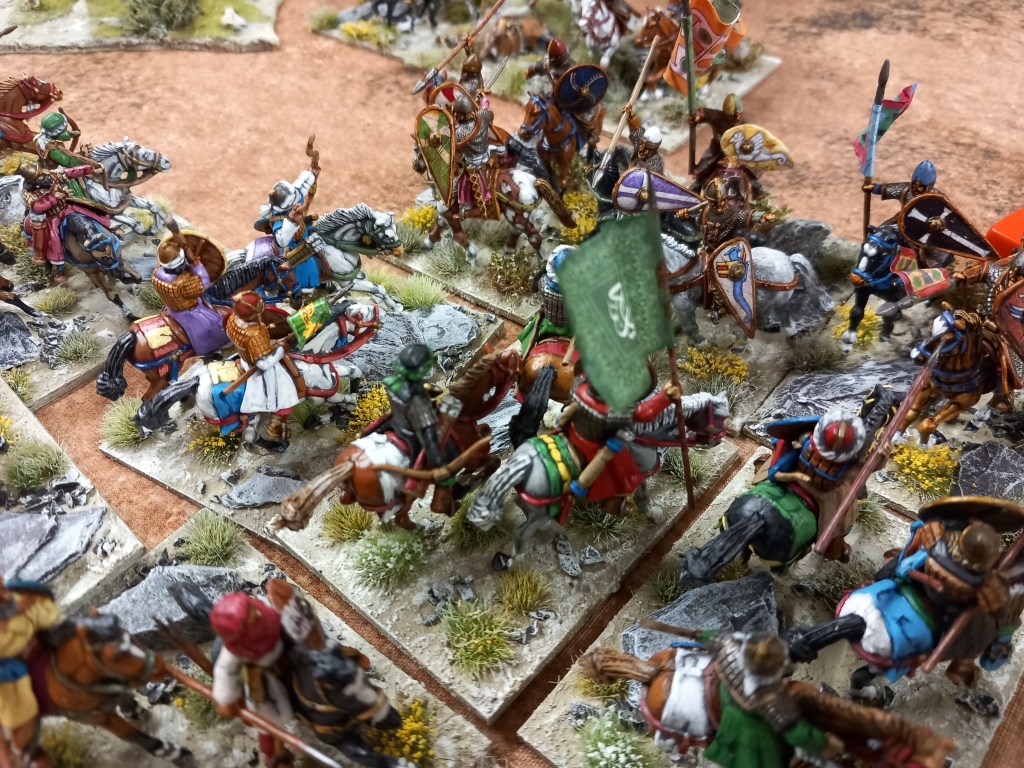
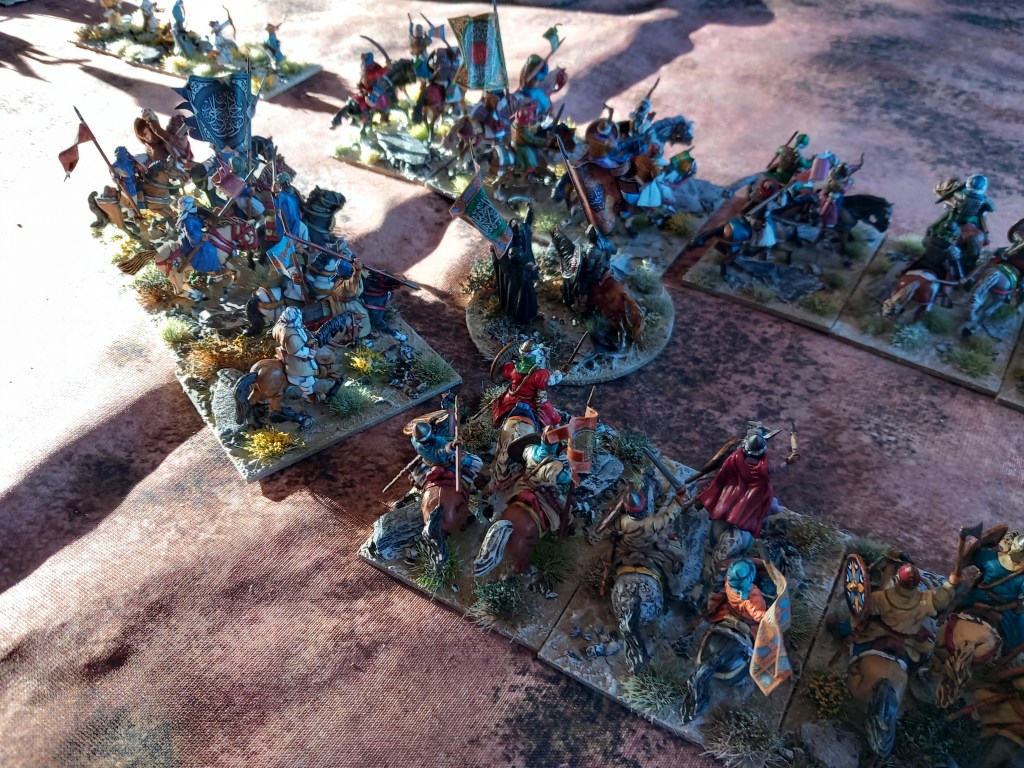
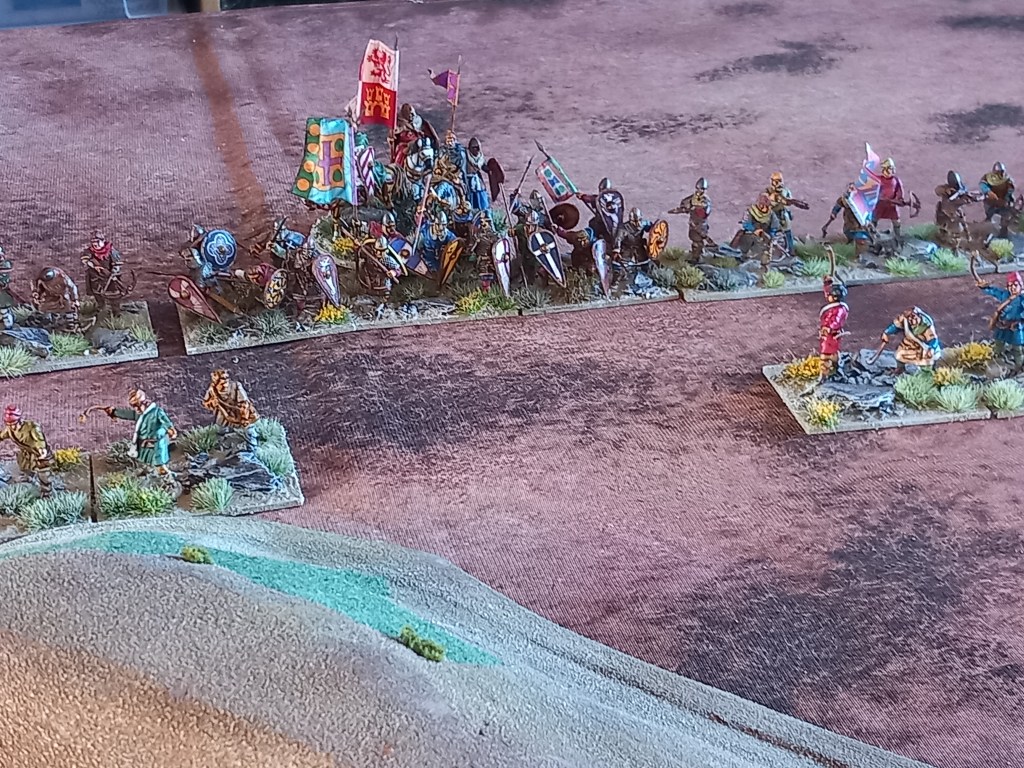
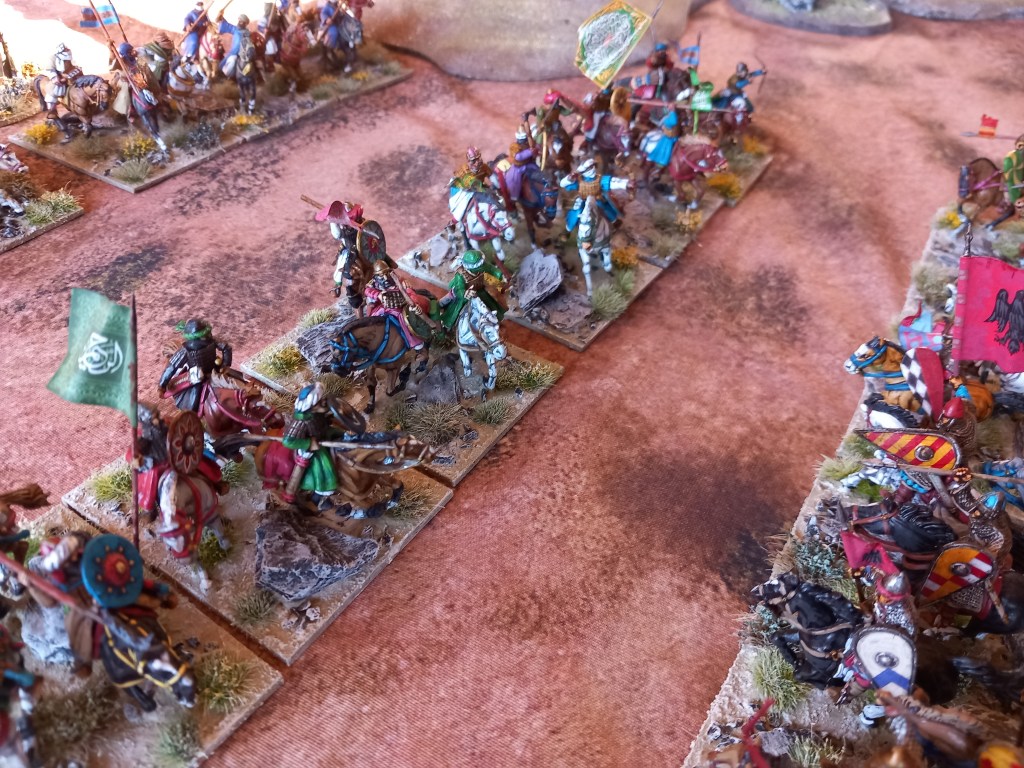
Next up was a Reconquista game on the arid Spanish hillsides, Spanish Christian v Moslem Andalusian but with both sides having allied contingents from the other faith. Alfonso & El Cid commanded the Christians, co-operating for once.

The Christians had the better cavalry and took the fight to the Andalusians.

The opening skirmishing favoured the Andalusians.

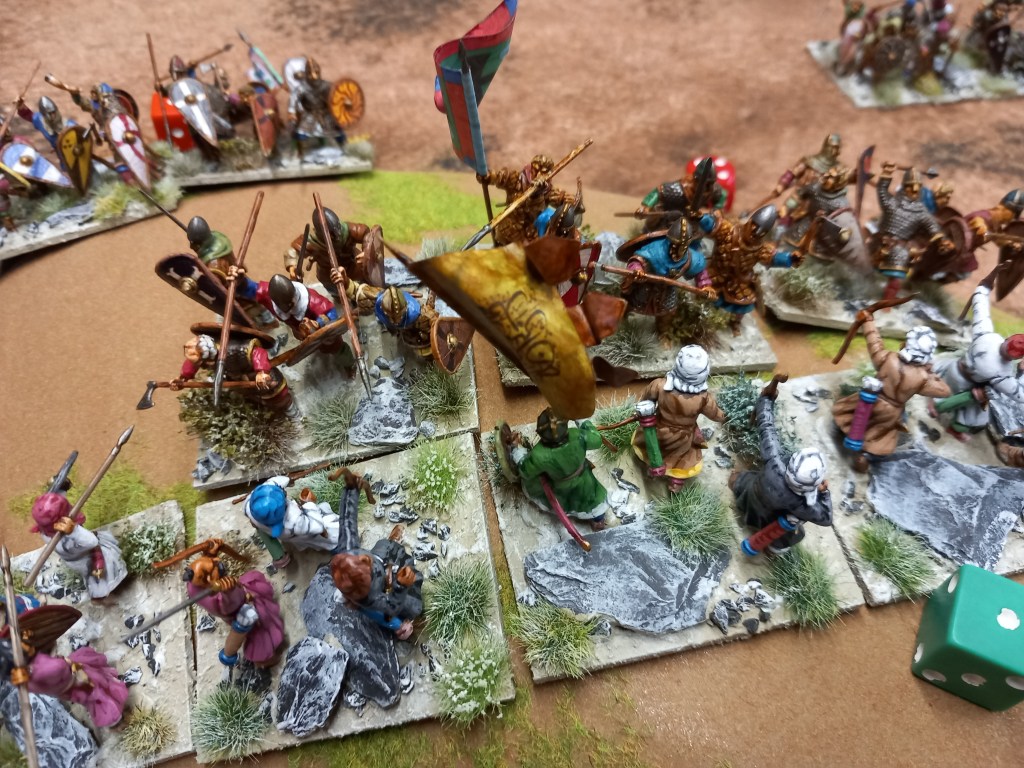
Alfonso had to do a bit of steadying the infantry and the line held.
Meanwhile the Cid was leading his troops to victory with a sneaky flank attack – not very Christian 🙄
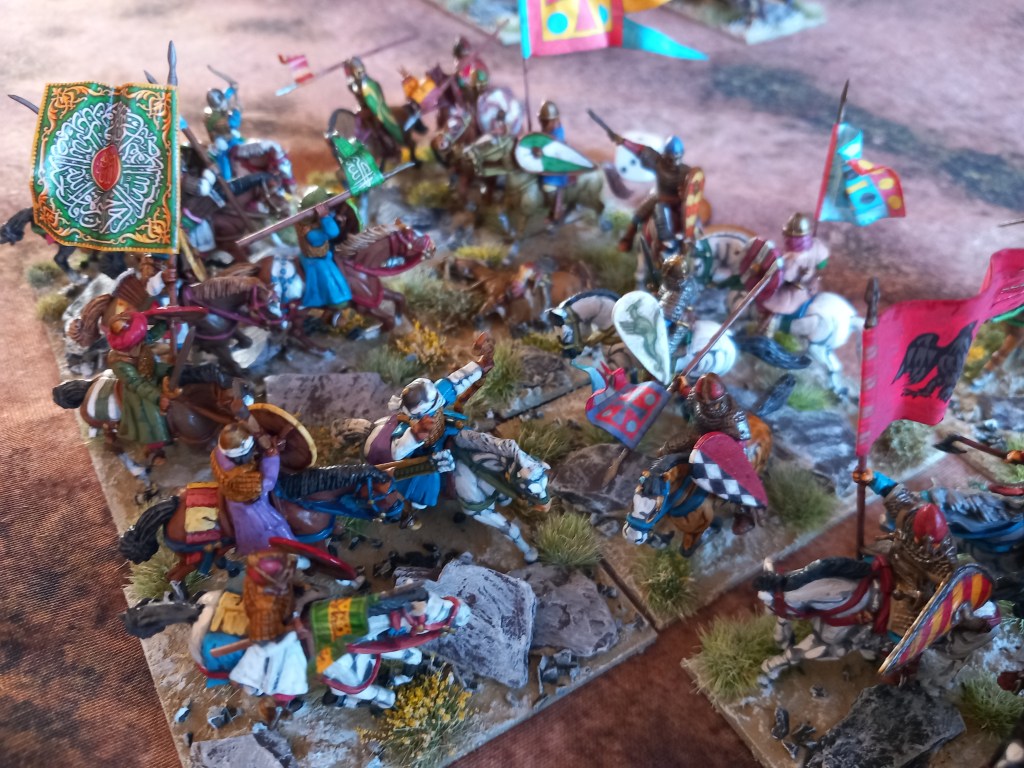
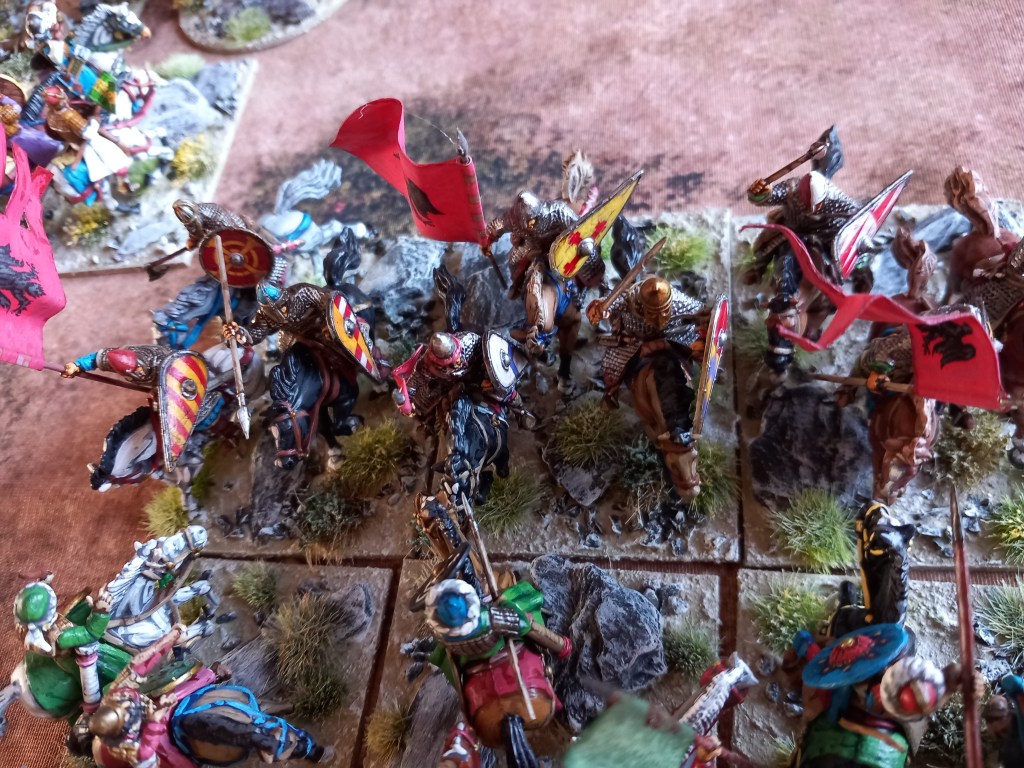
The game became quite the cavalry slog with both sides throwing in units and generals.

Ultimately it became a Christian victory with the Cid casting down his opposite number.
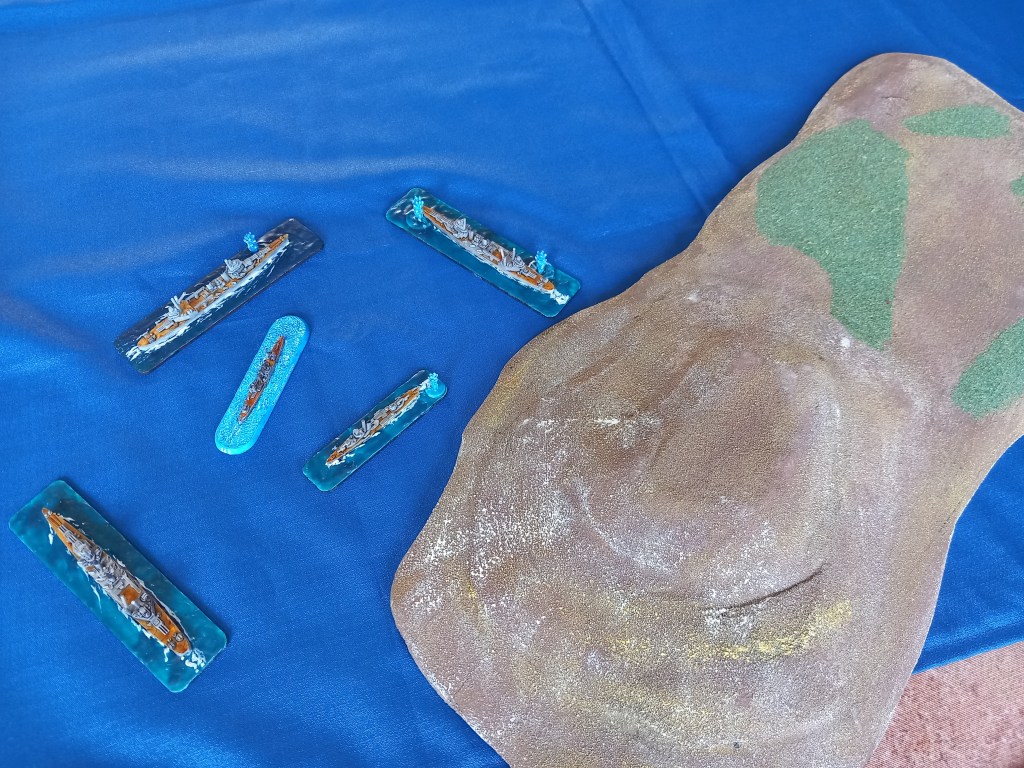
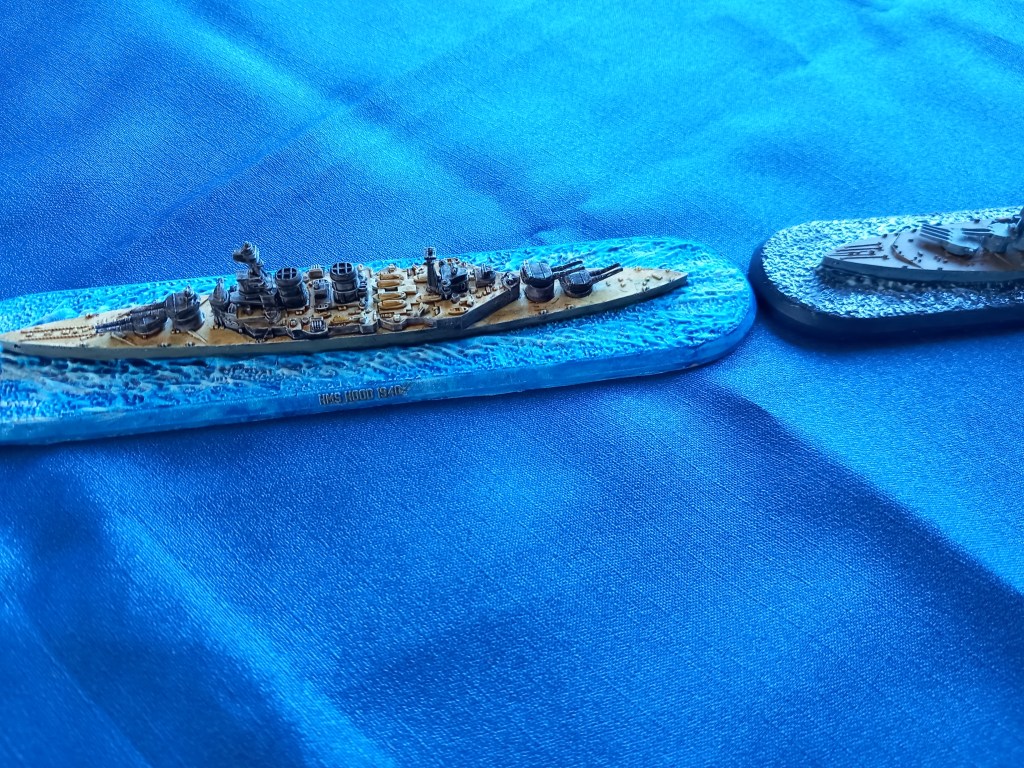
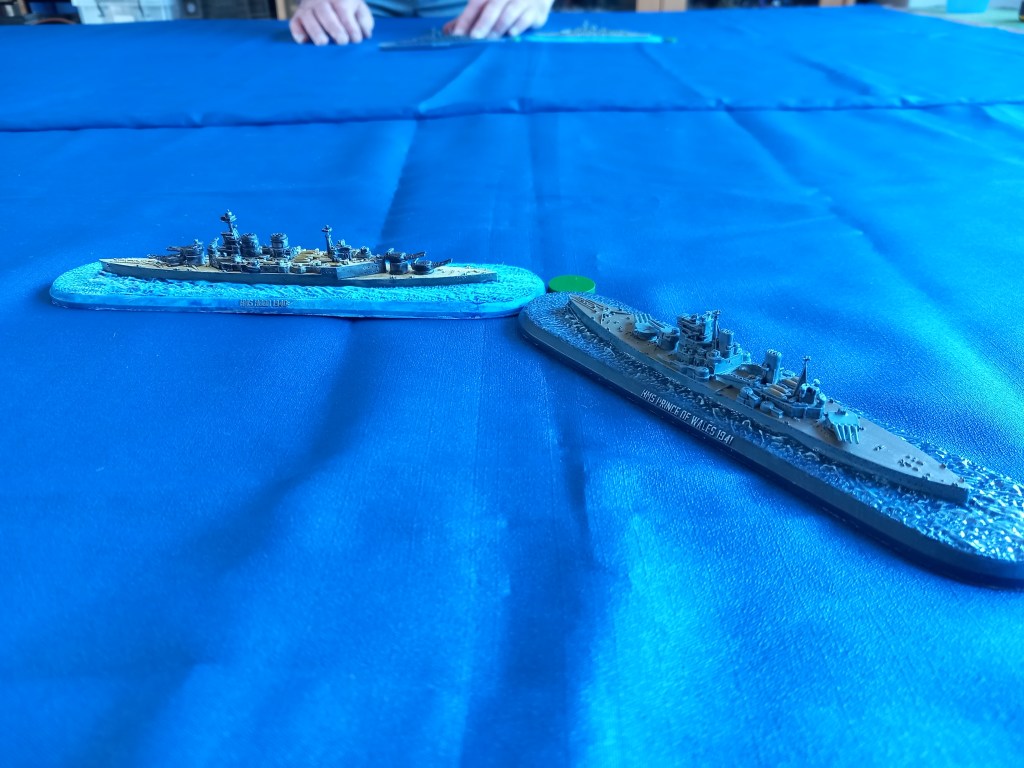
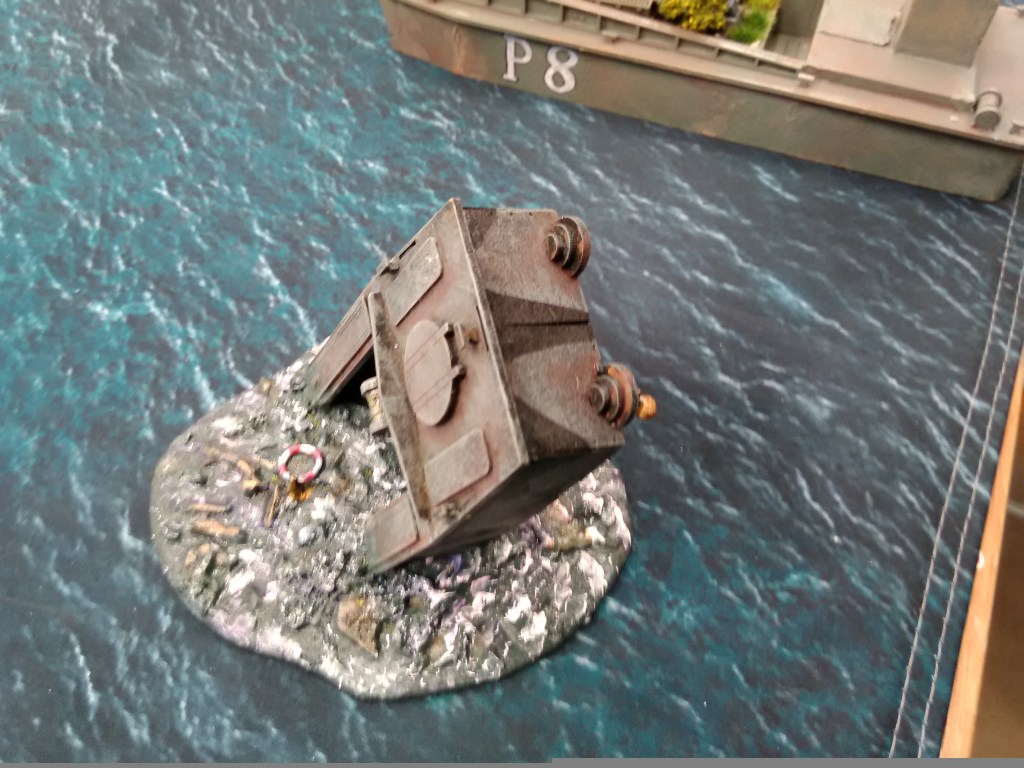
Next was the 2nd in our Guadalcanal mini campaign, this time Cape Esperance, influenced by the fallout from our first game. Again the battle was fought at night.

For this one we hade to think a bit. Our resident expert and umpire, Gerard, had us steaming by map in column – yes they deployed in column! Once visibility was determined the models came on but you still had to spot before you could fire and if a target fell out of spotting distance then it was no longer a target – very challenging.
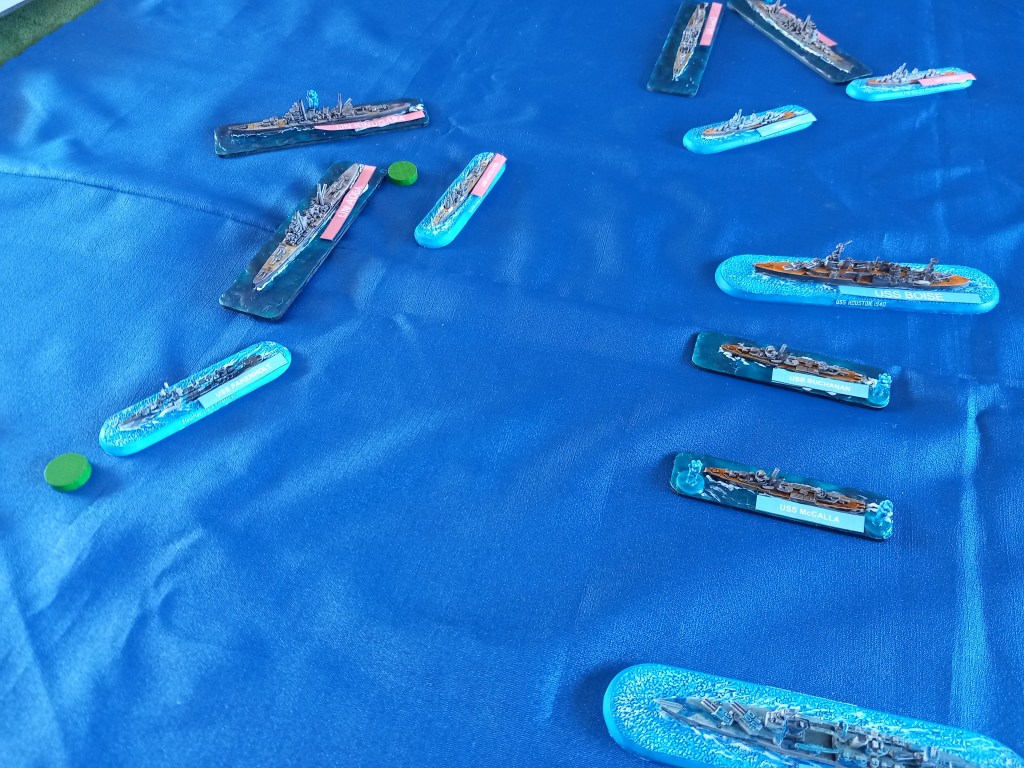
Pretty soon the ships were all over the place and the spotting was a real pain but in a good way.

The Americans used their destroyers very effectively, getting in close to launch torpedoes, even though the early torpedoes were generally useless, but not always 😀
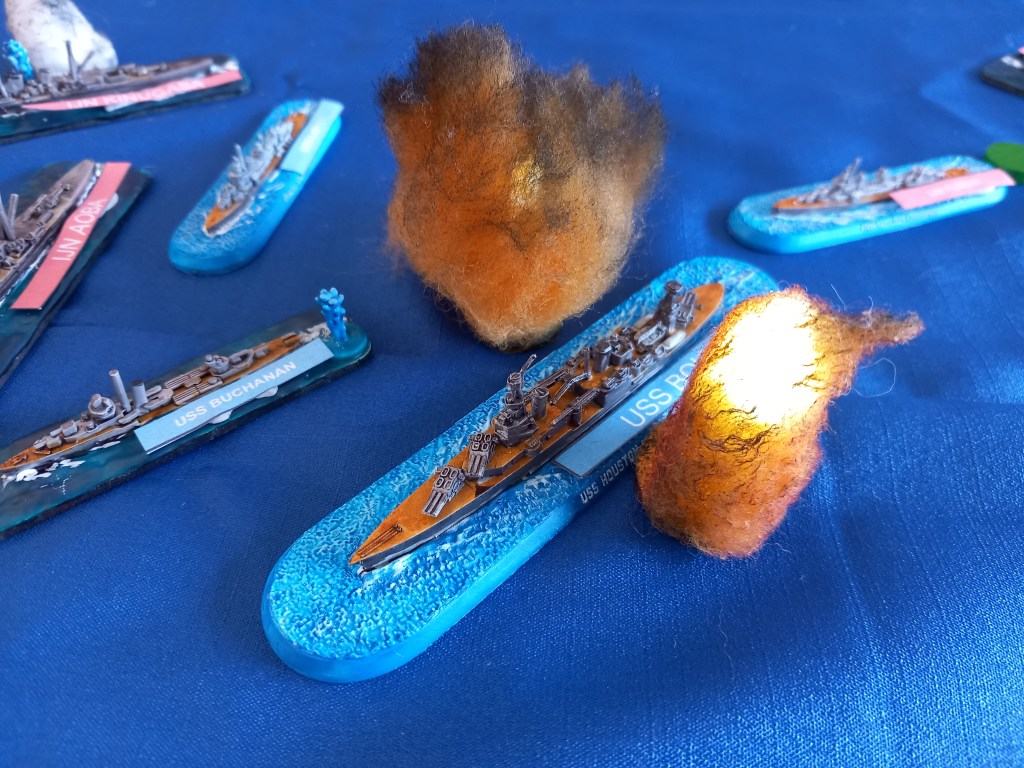
The more effective Japanese torpedoes certainly did their part – here the Boise goes to the bottom.

Followed by the San Francisco.
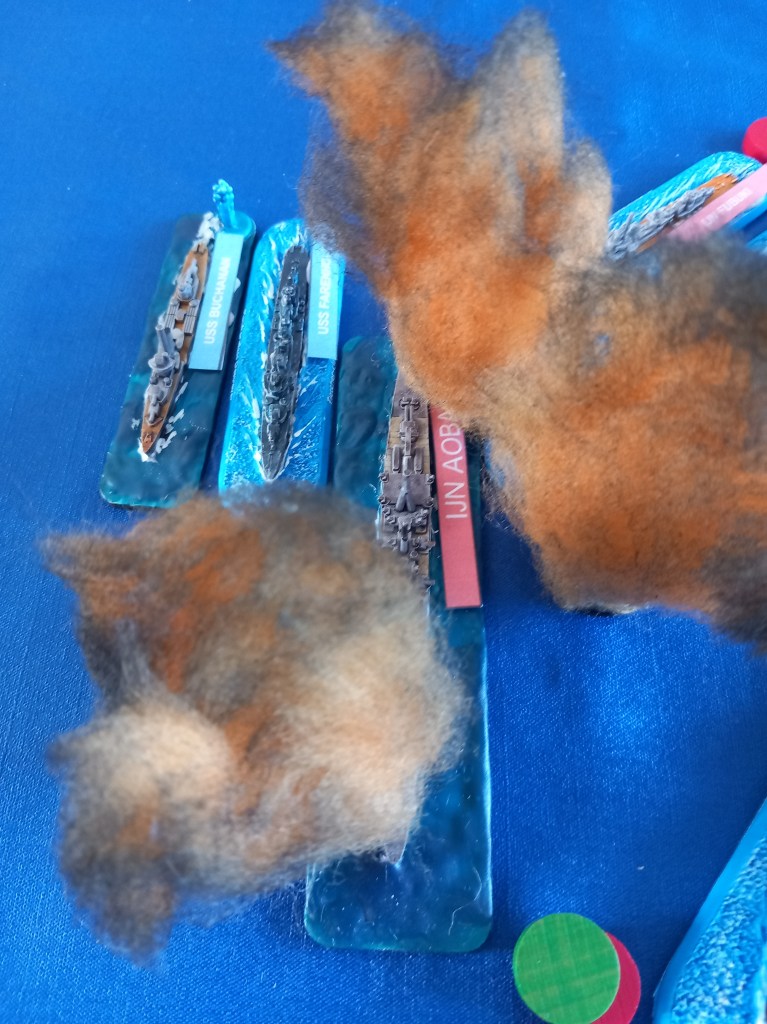
But American numbers (and guns and armour) told and the Japanese beat a retreat. Interestingly both flagships were sunk but the Japanese suffered higher overall losses.

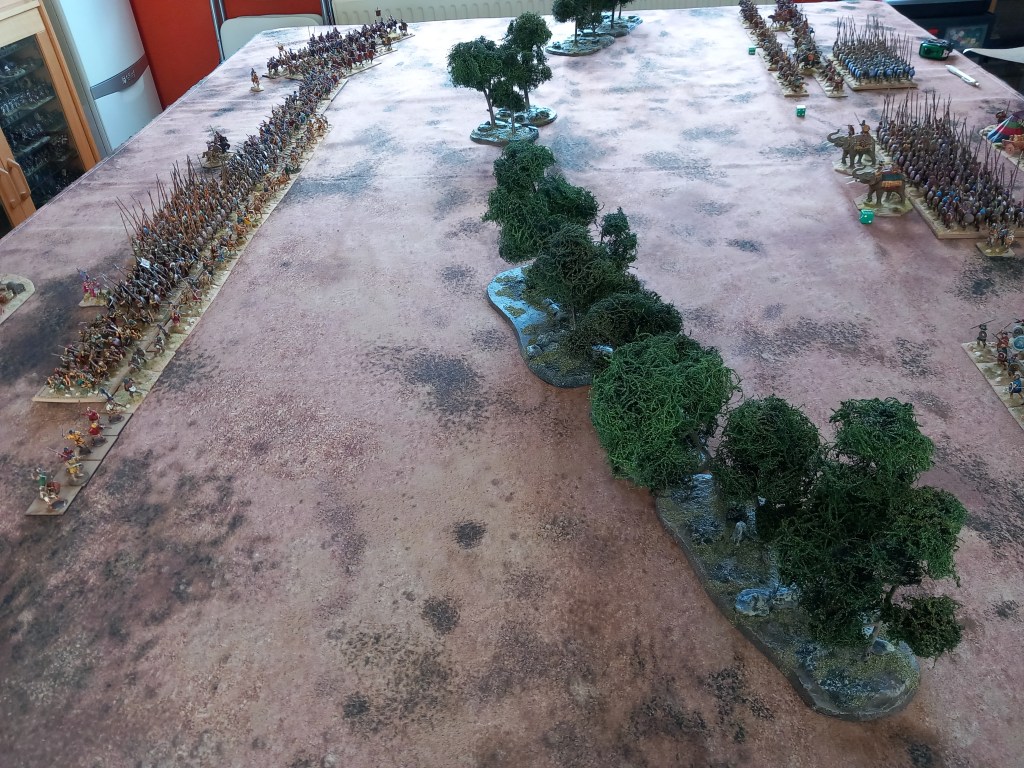
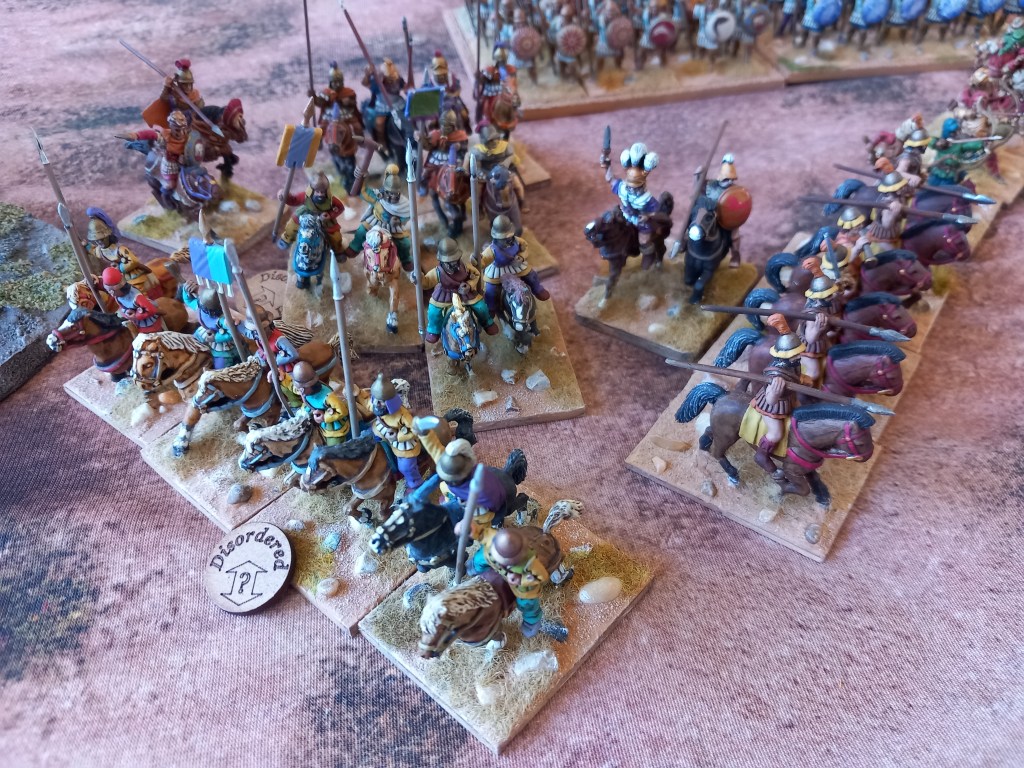
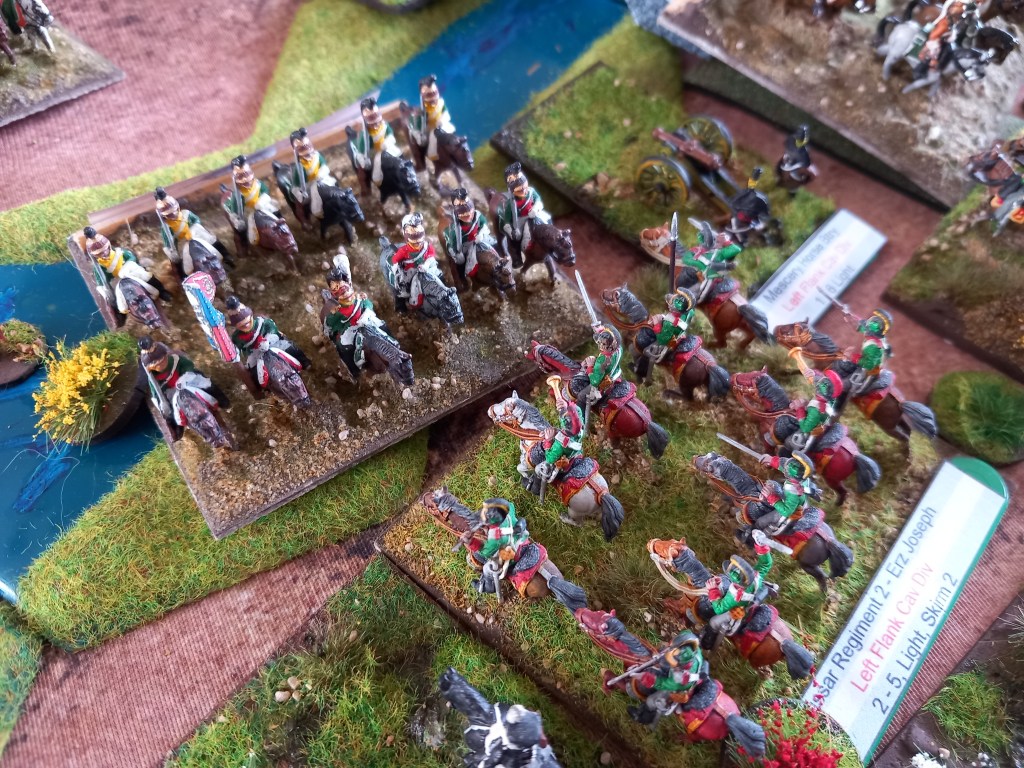
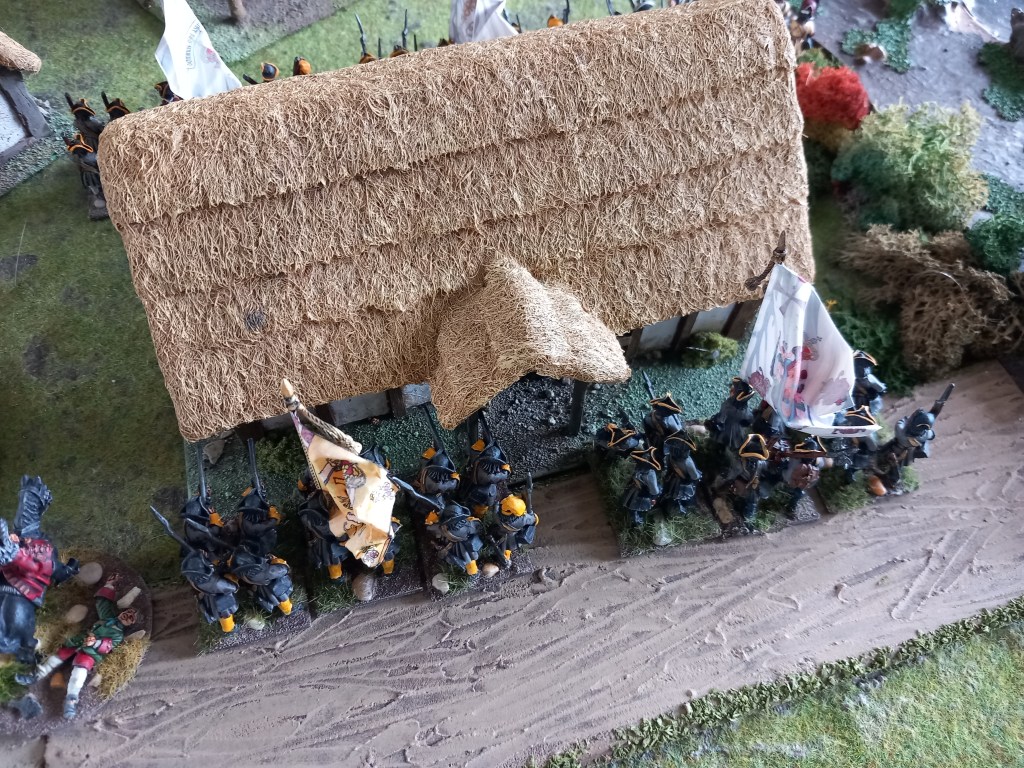
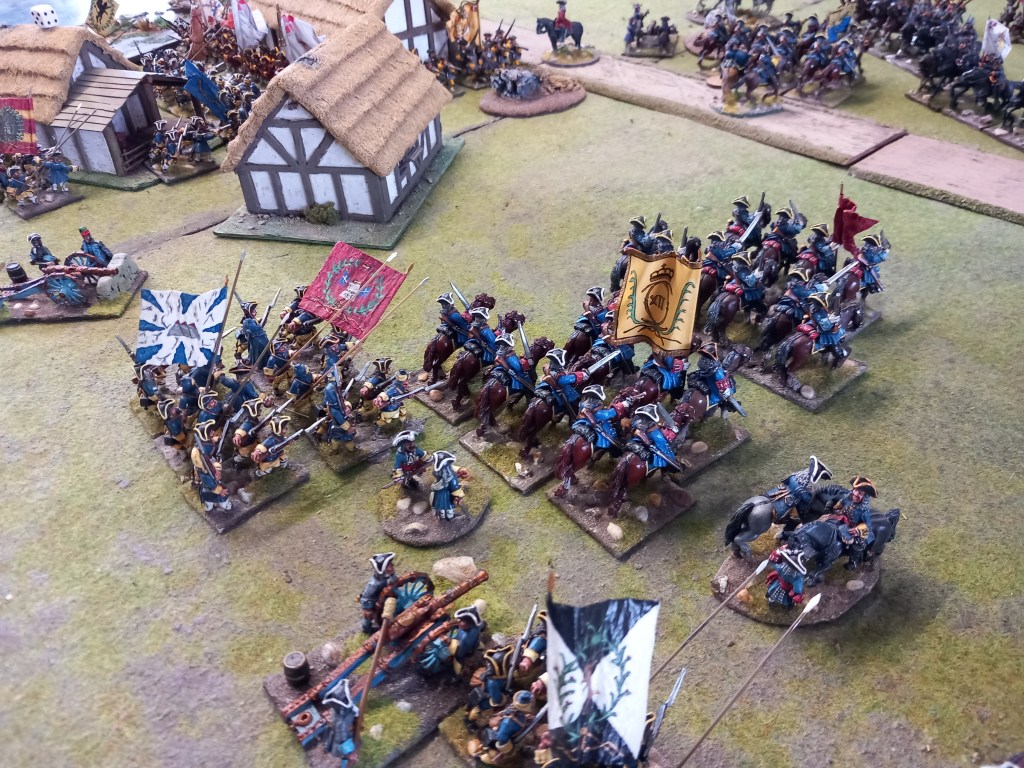
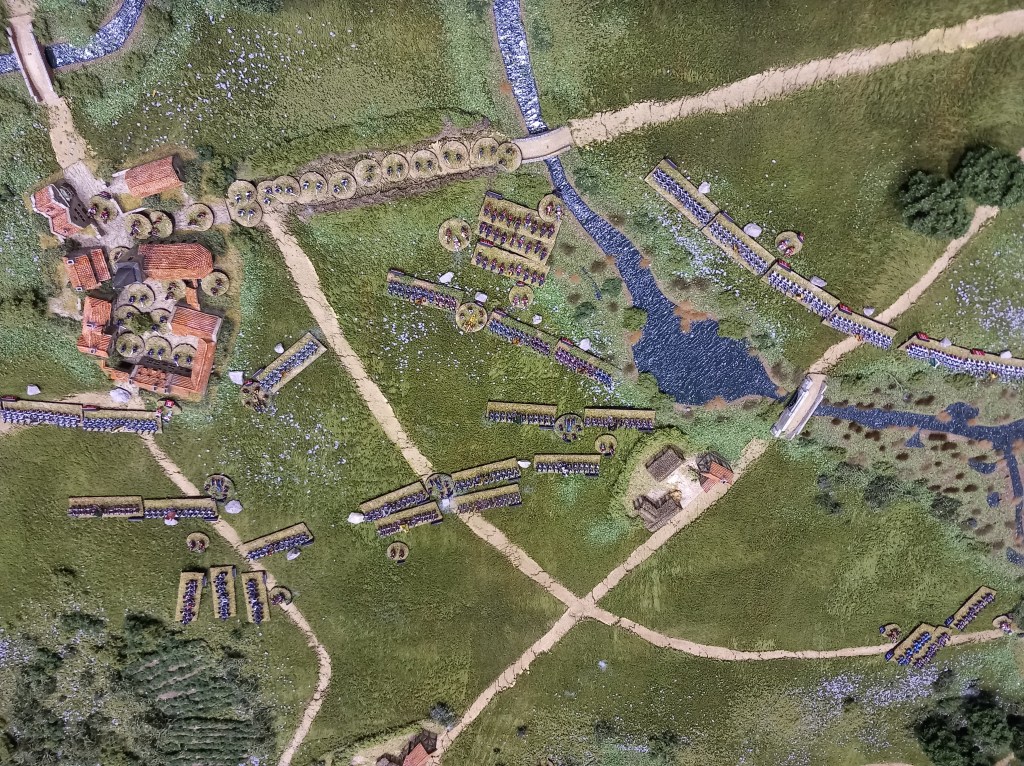
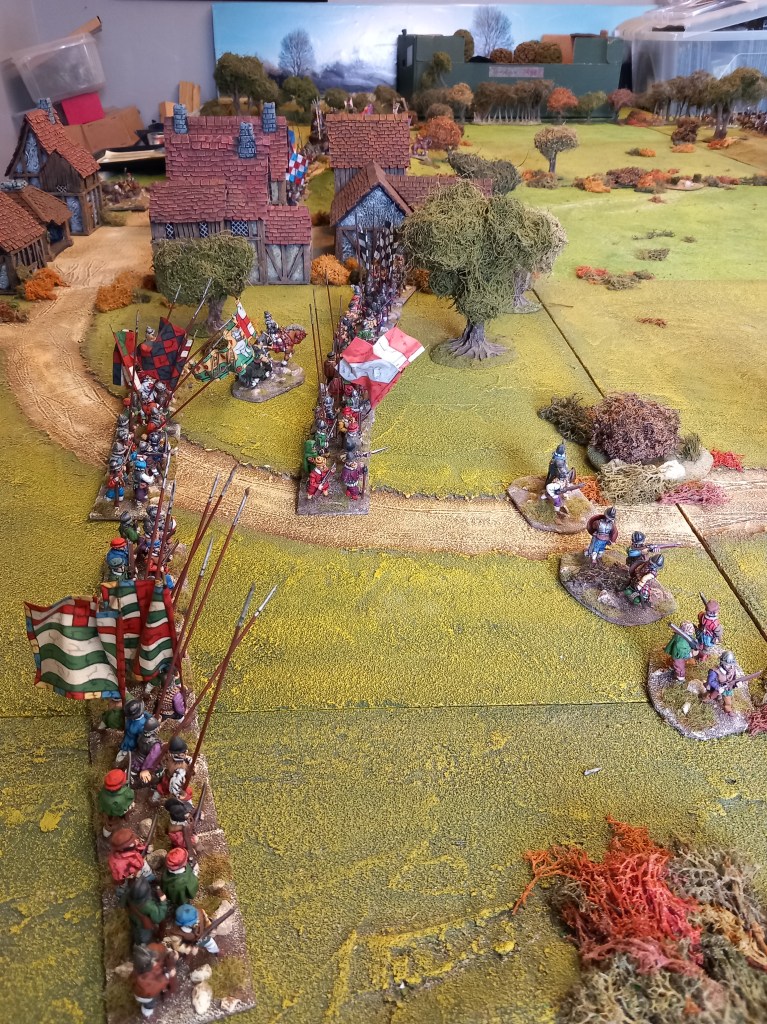
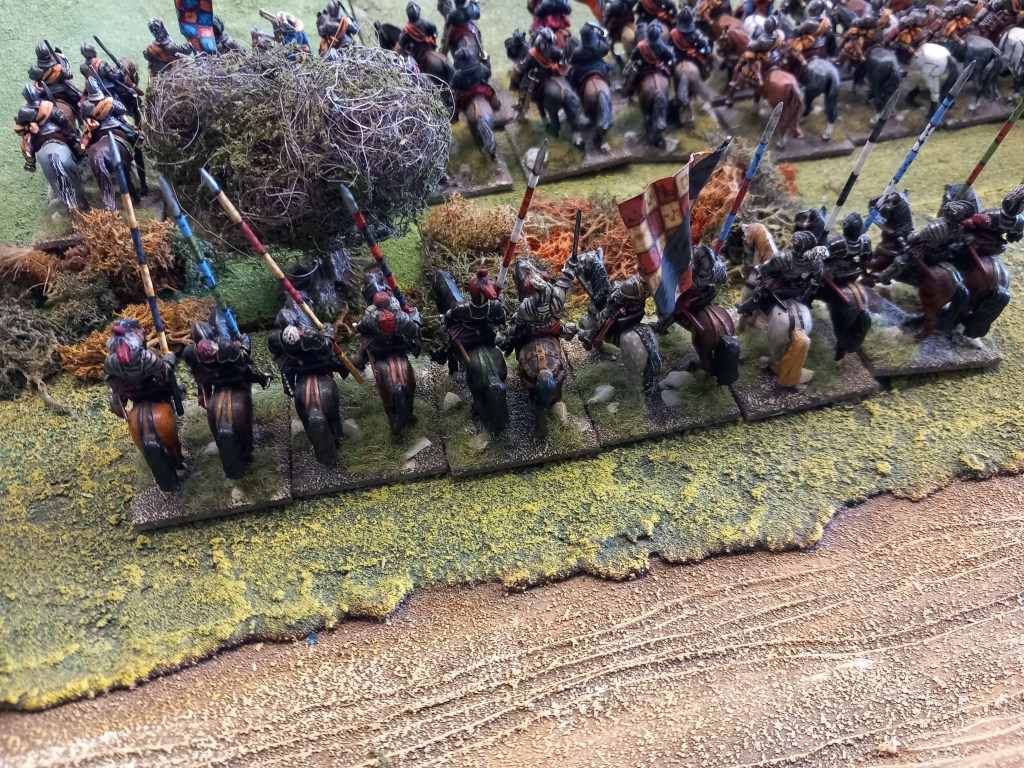
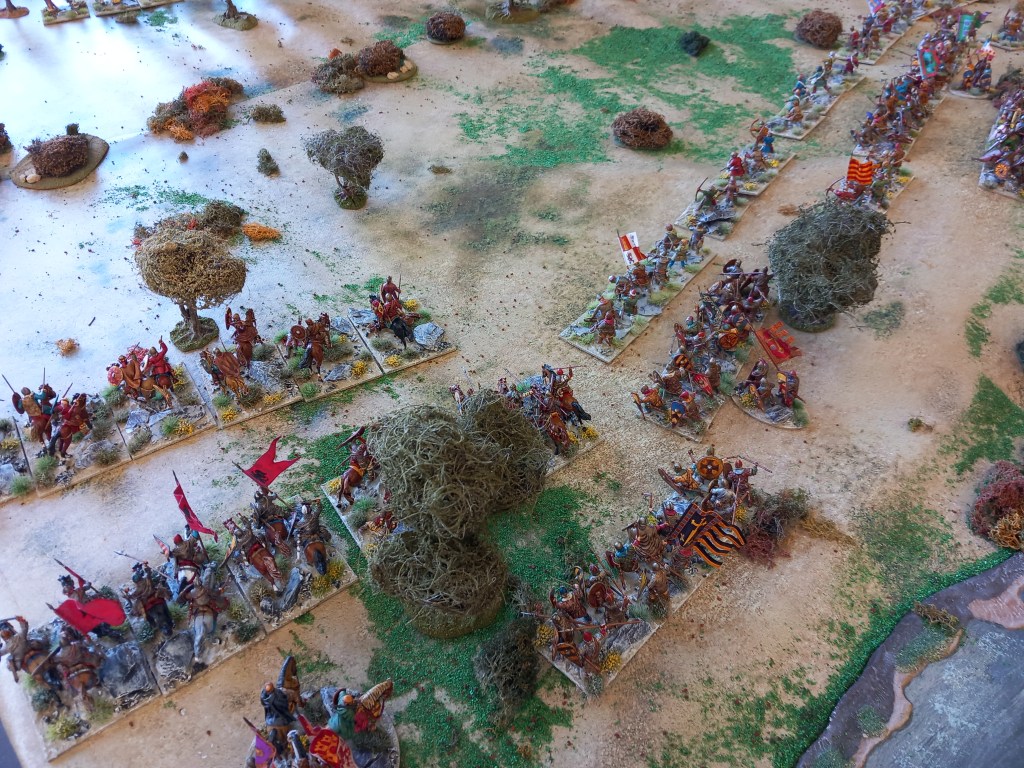
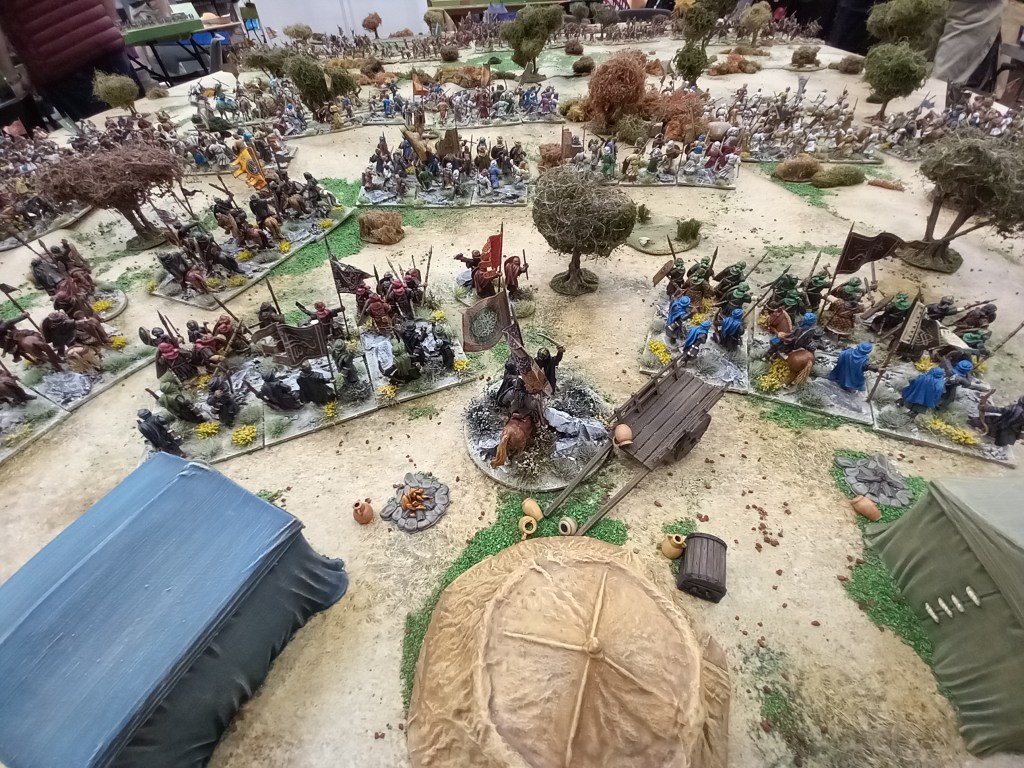
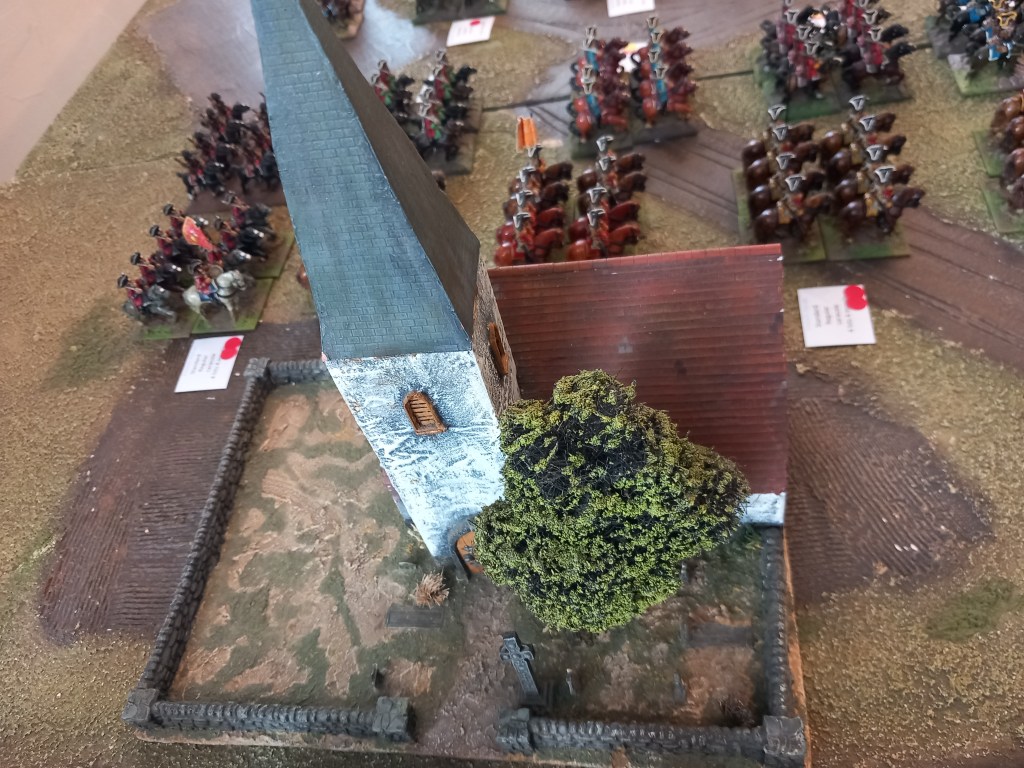
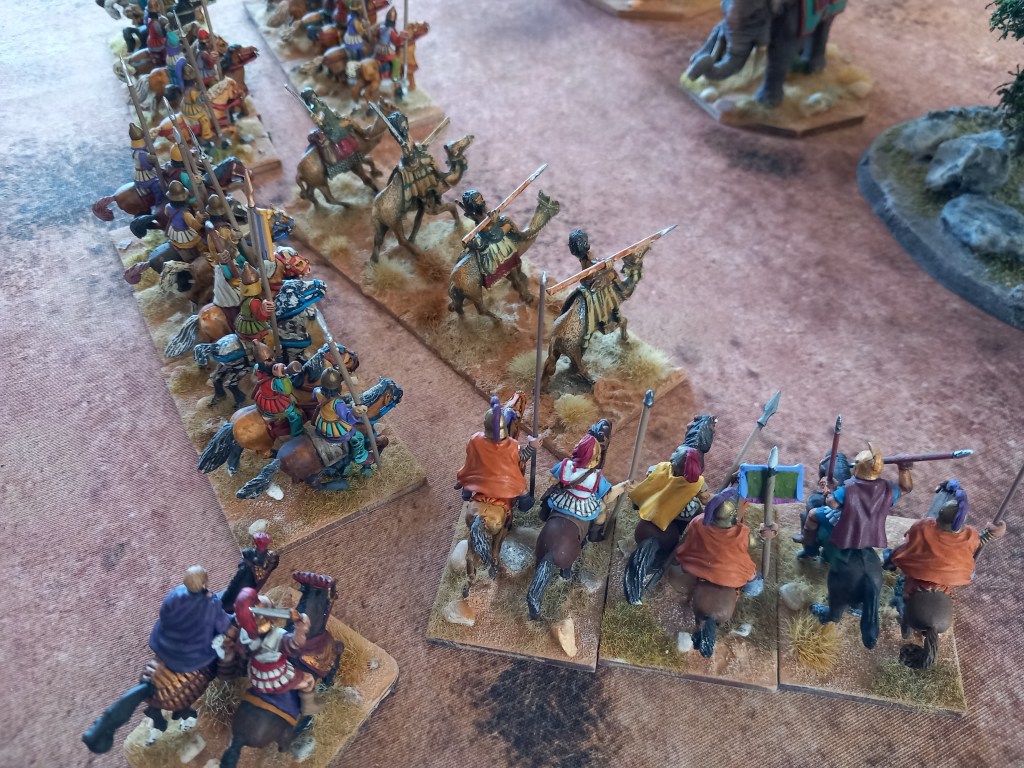
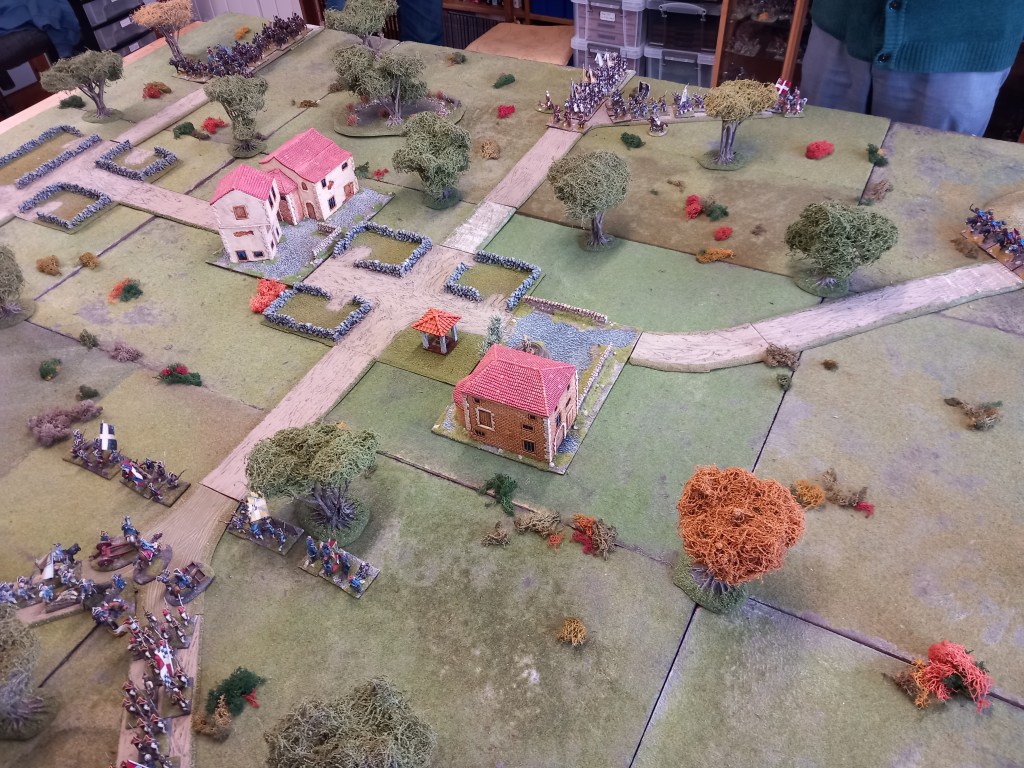
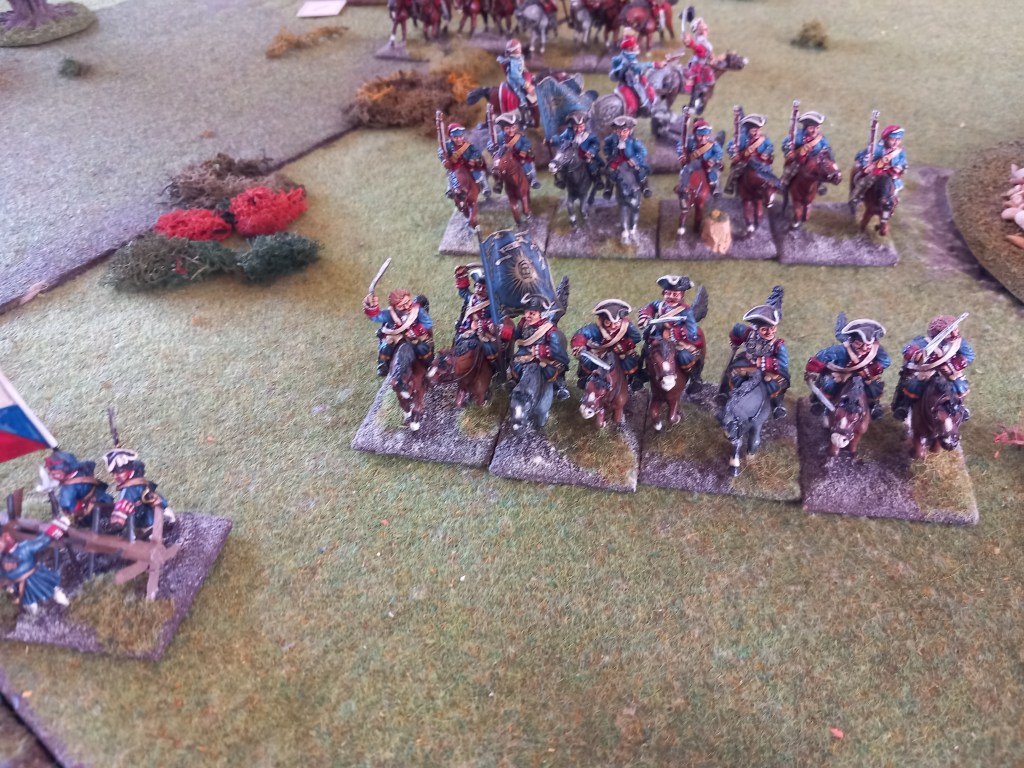
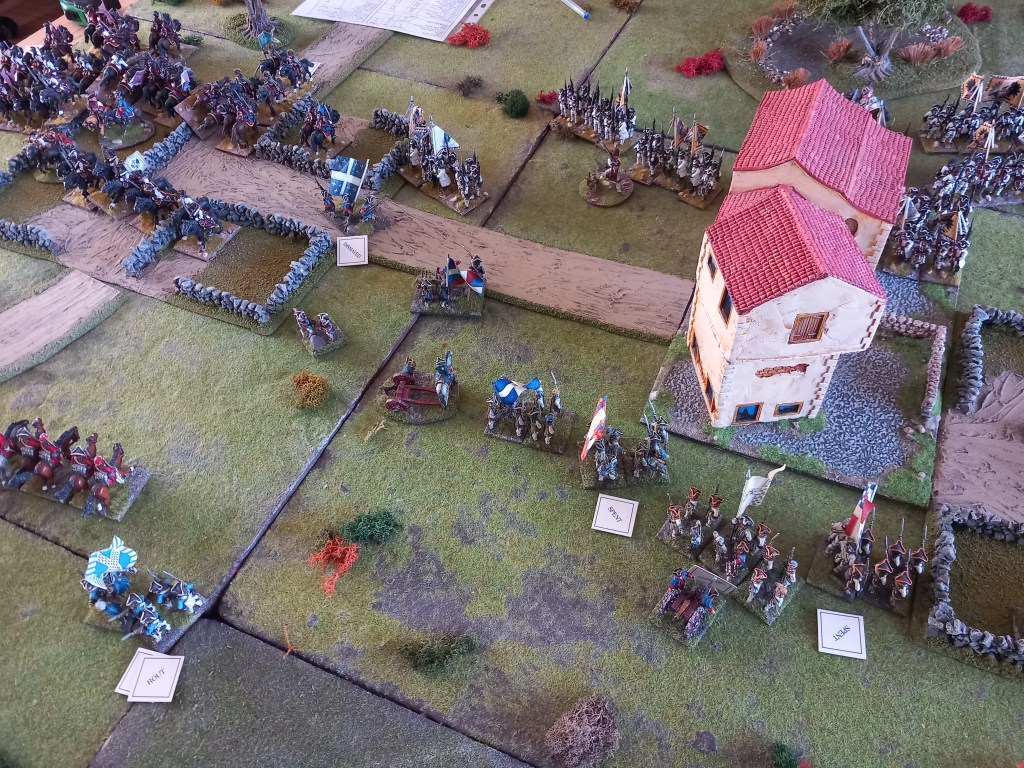
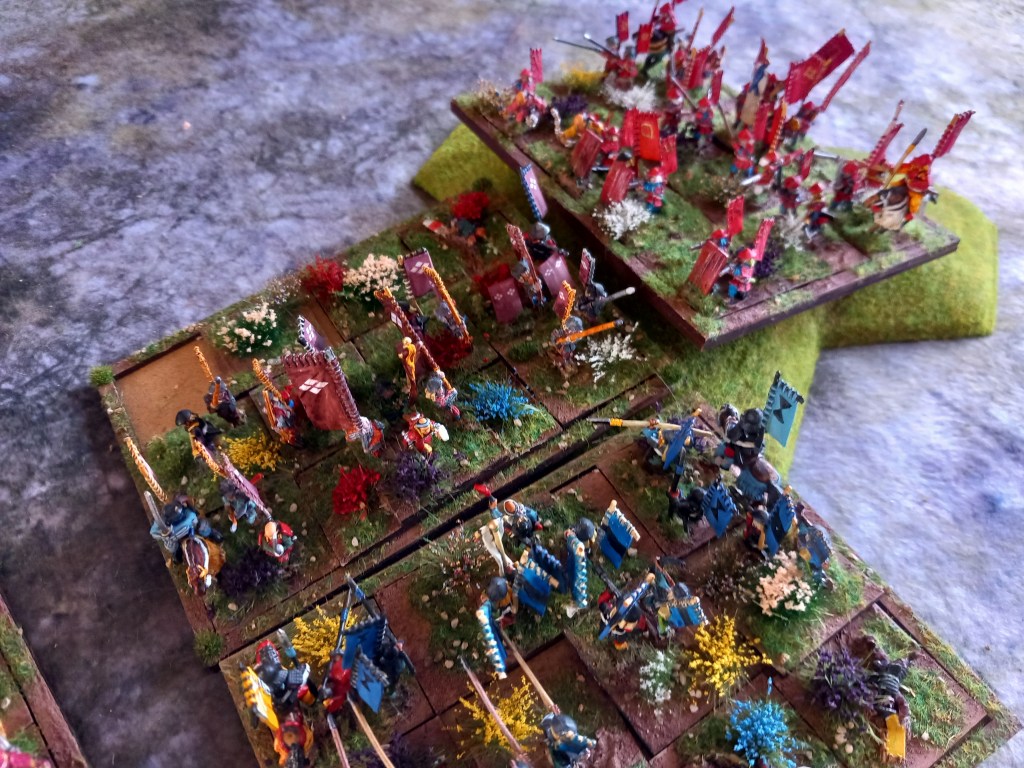
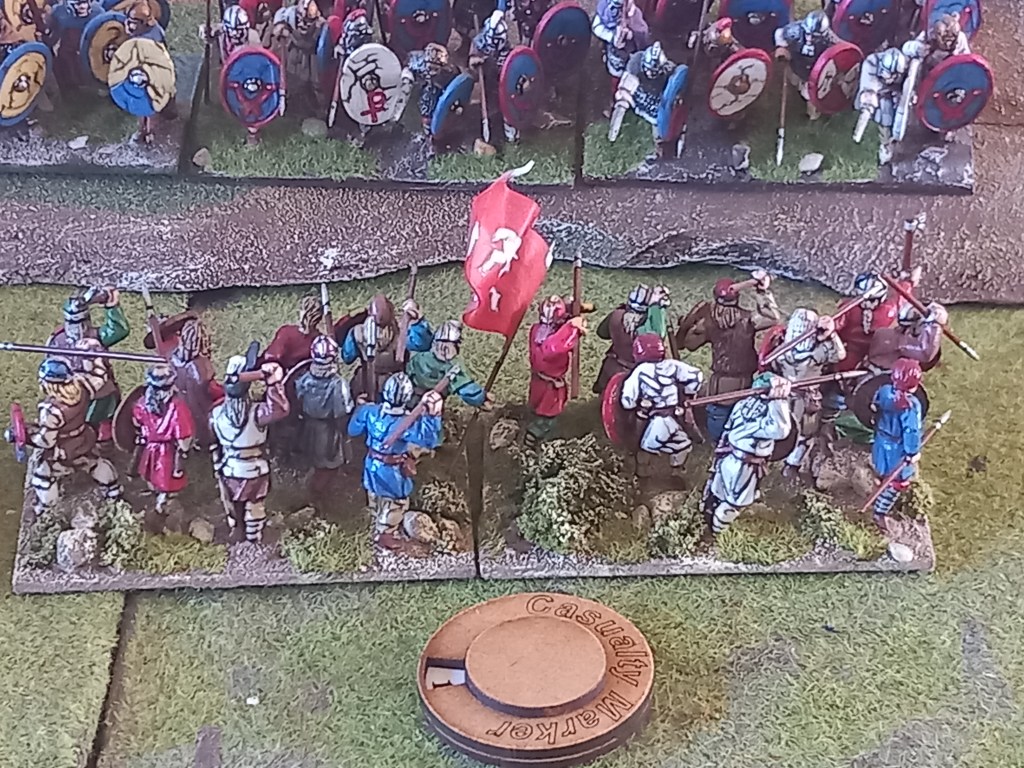
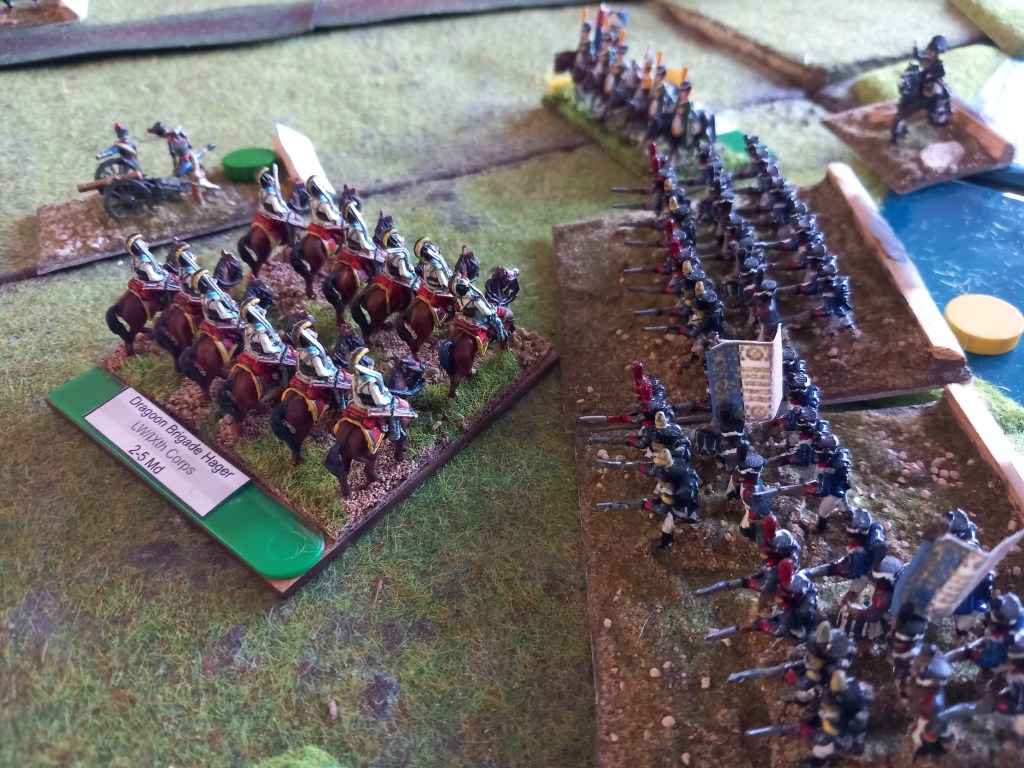
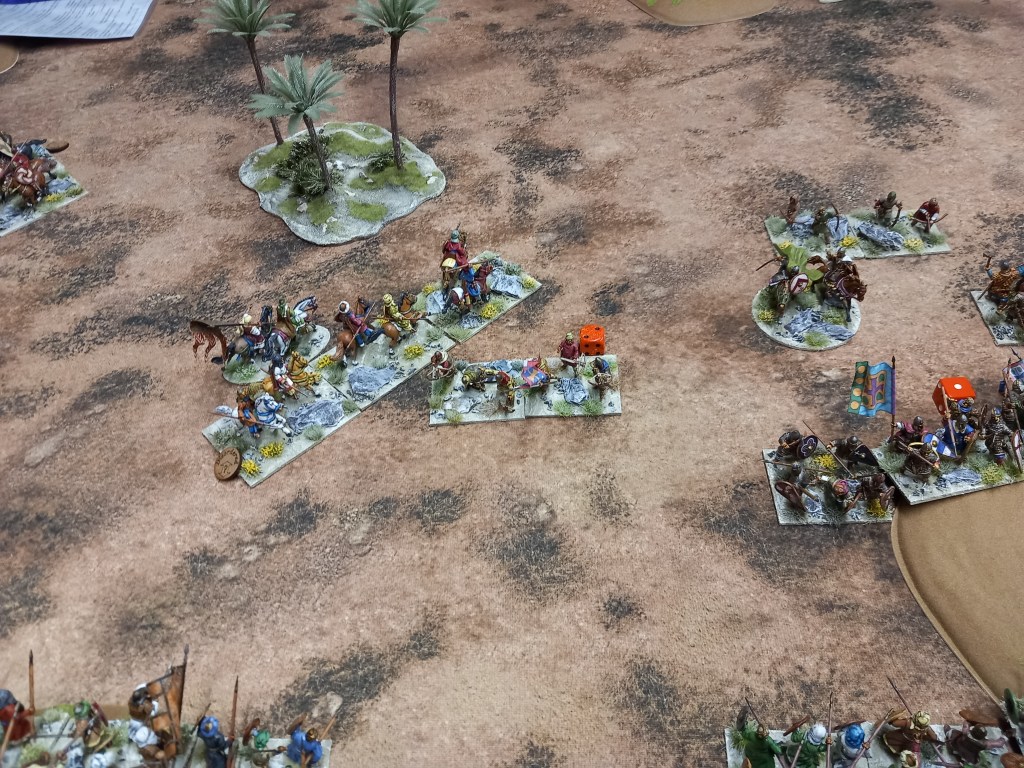
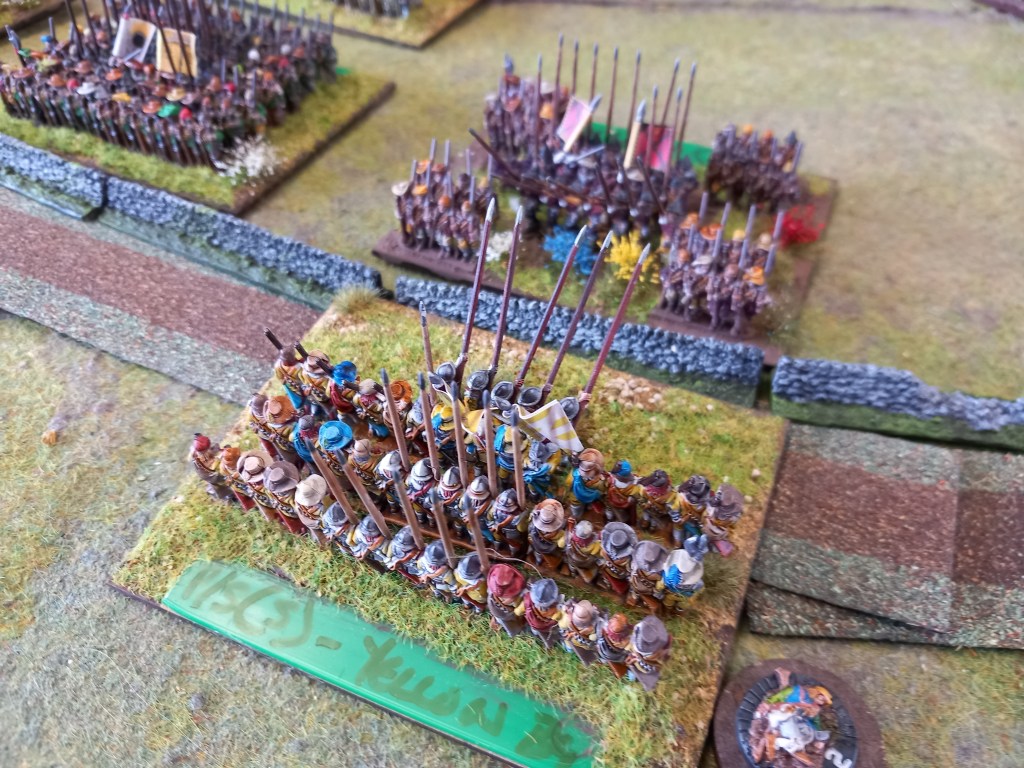
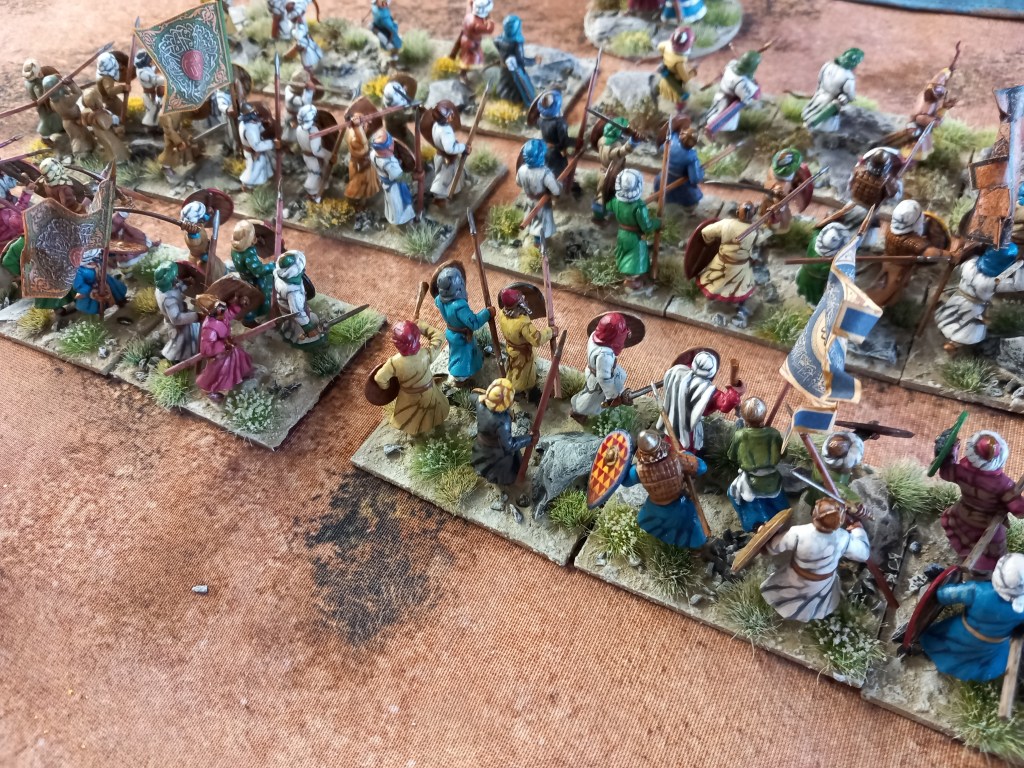
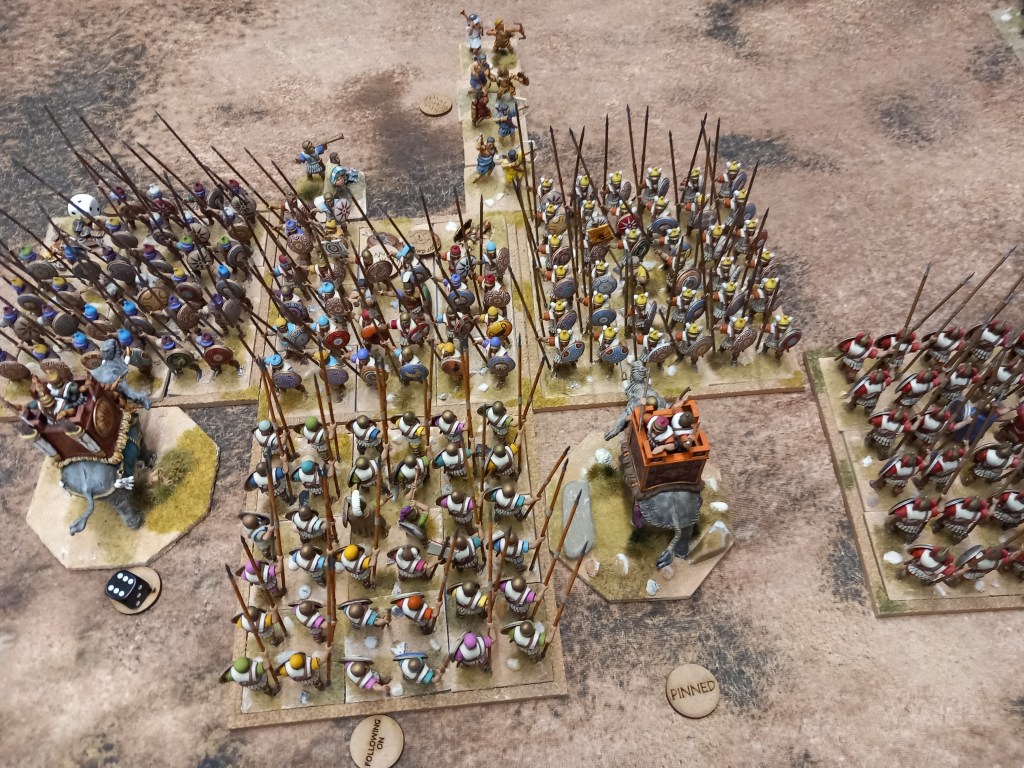
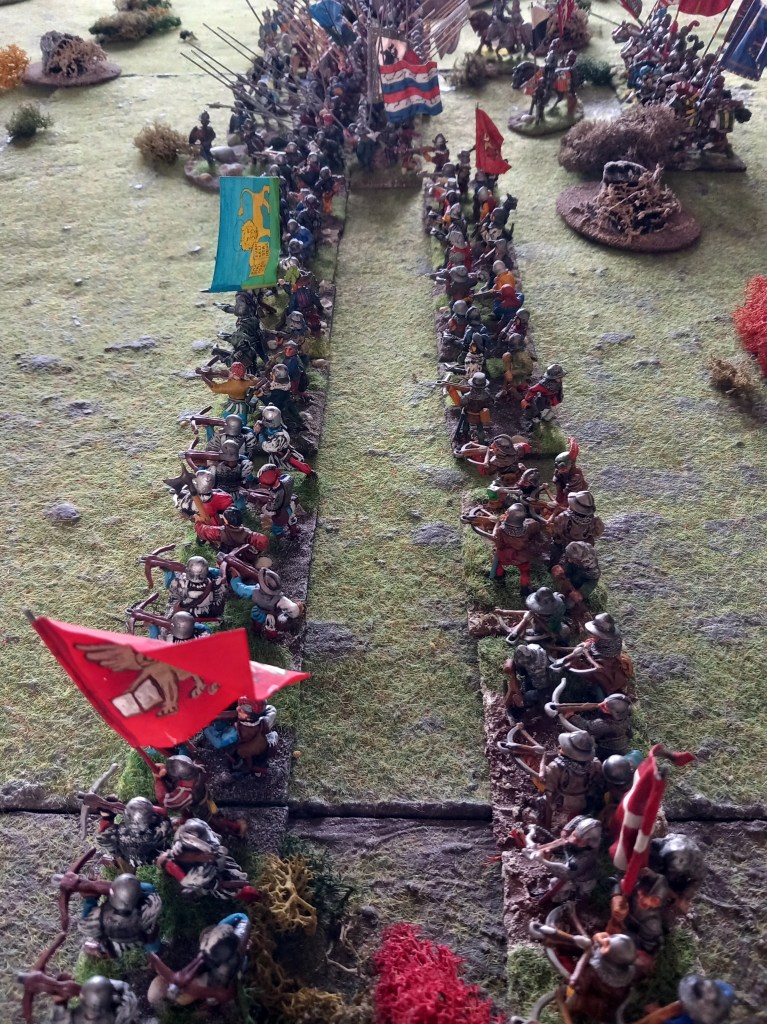
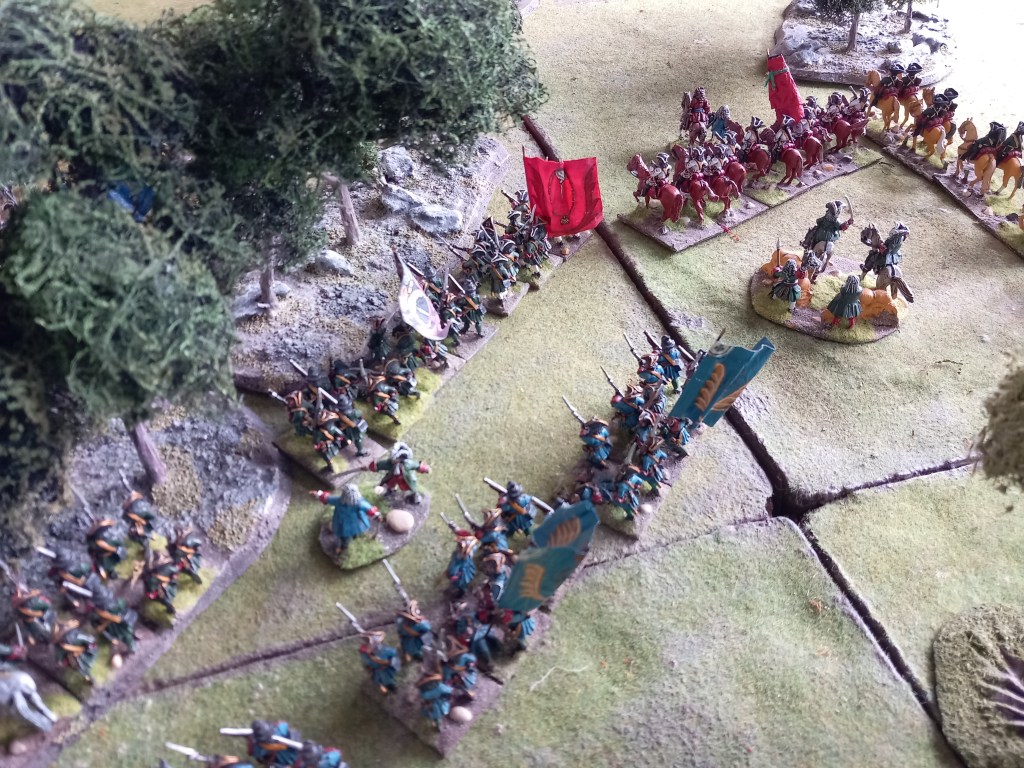
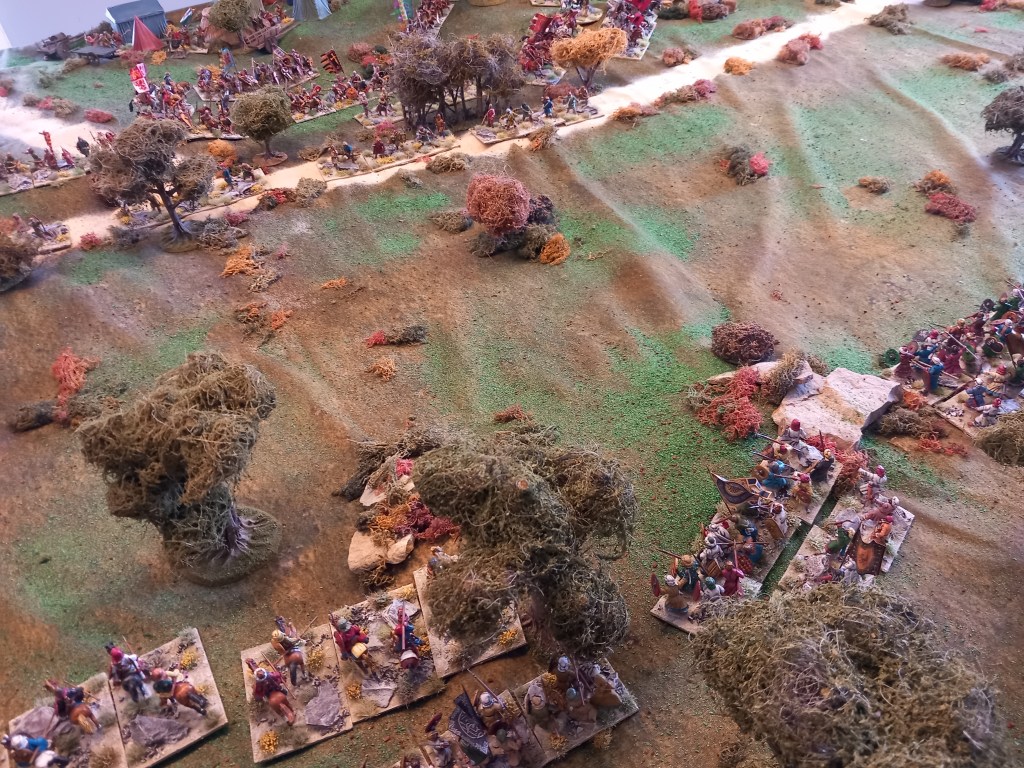
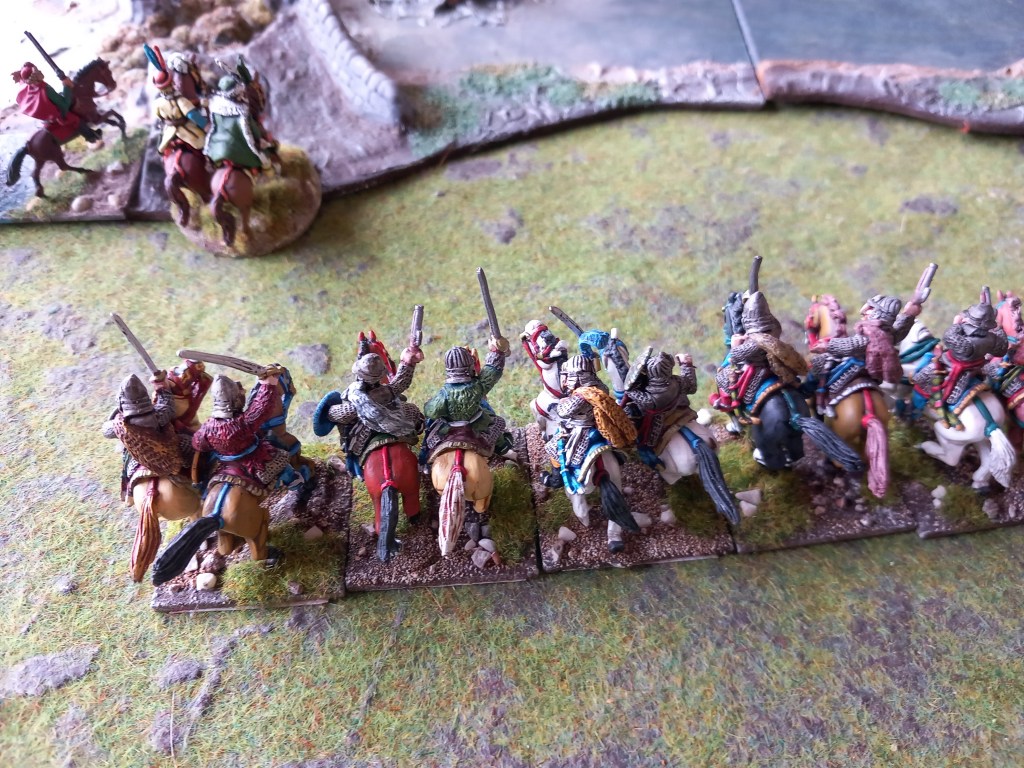
Our next outing was on the plains of eastern Europe where an Ottoman incursion was being opposed by the troops of the Imperial borderlands.

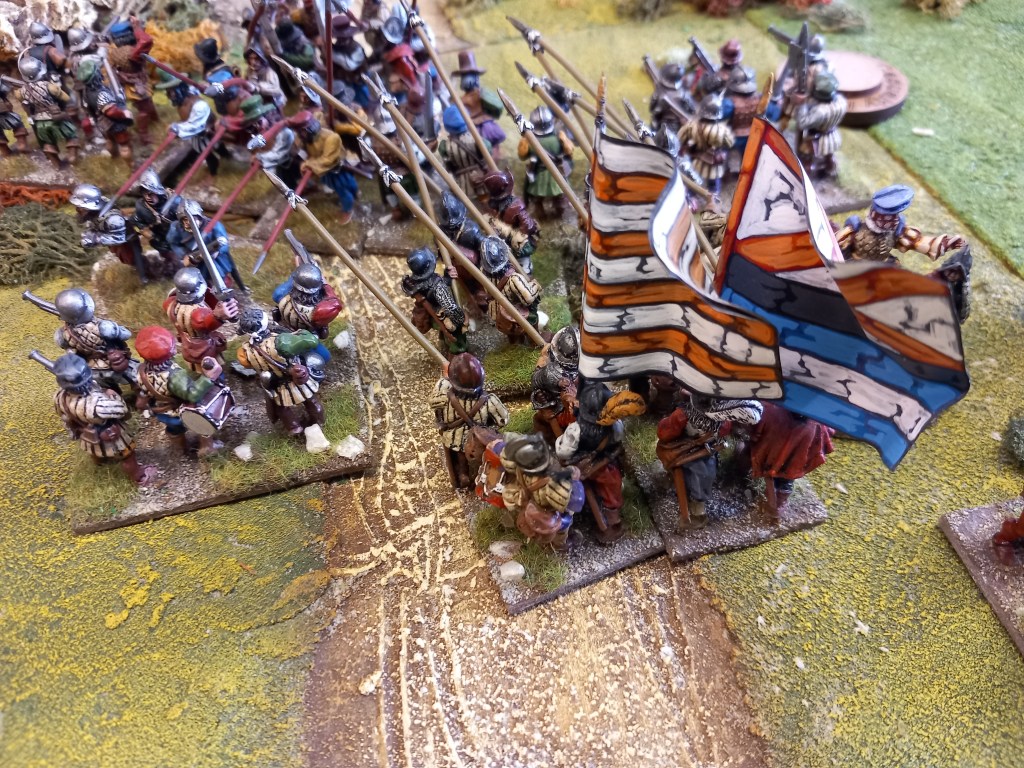
The playing area was bisected by a meandering stream (representing the border) which was close enough to the Imperial left for them to use it to aid the defence by the Croatian horse and close enough in the centre of the line for the levy and mercenary pike to get to and defend the banks. On the Ottoman left their Tartar cavalry & Delis were poised to cross the bridge while across the centre & right were 6 bodies of Spahis screened by Azab foot.
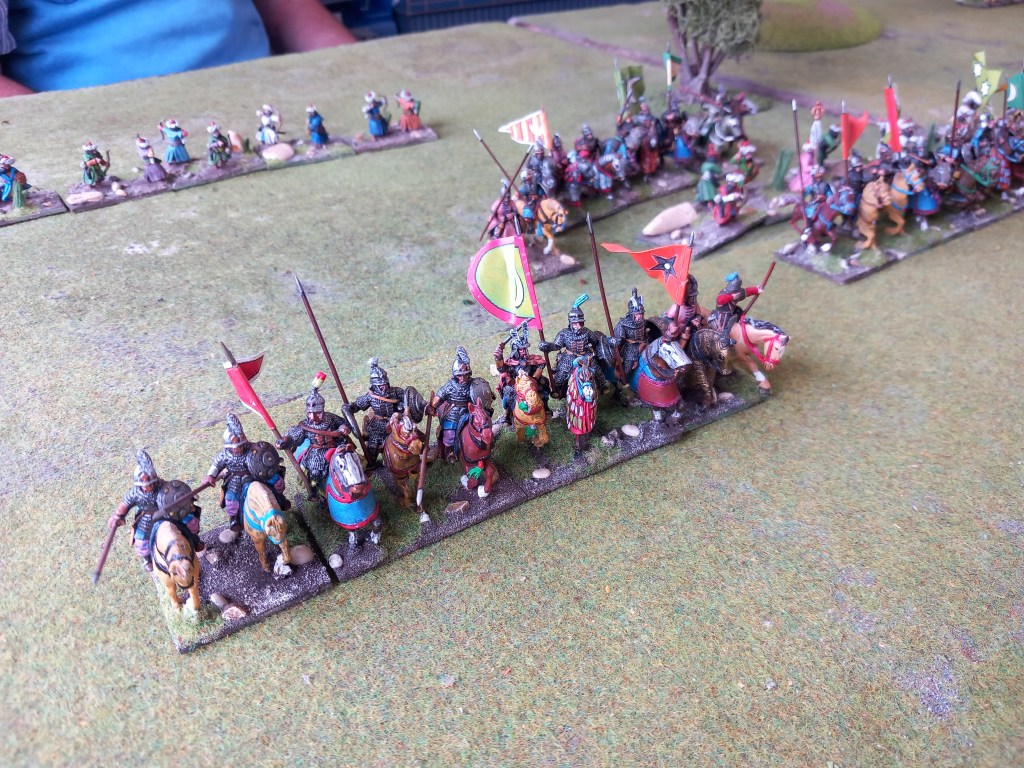
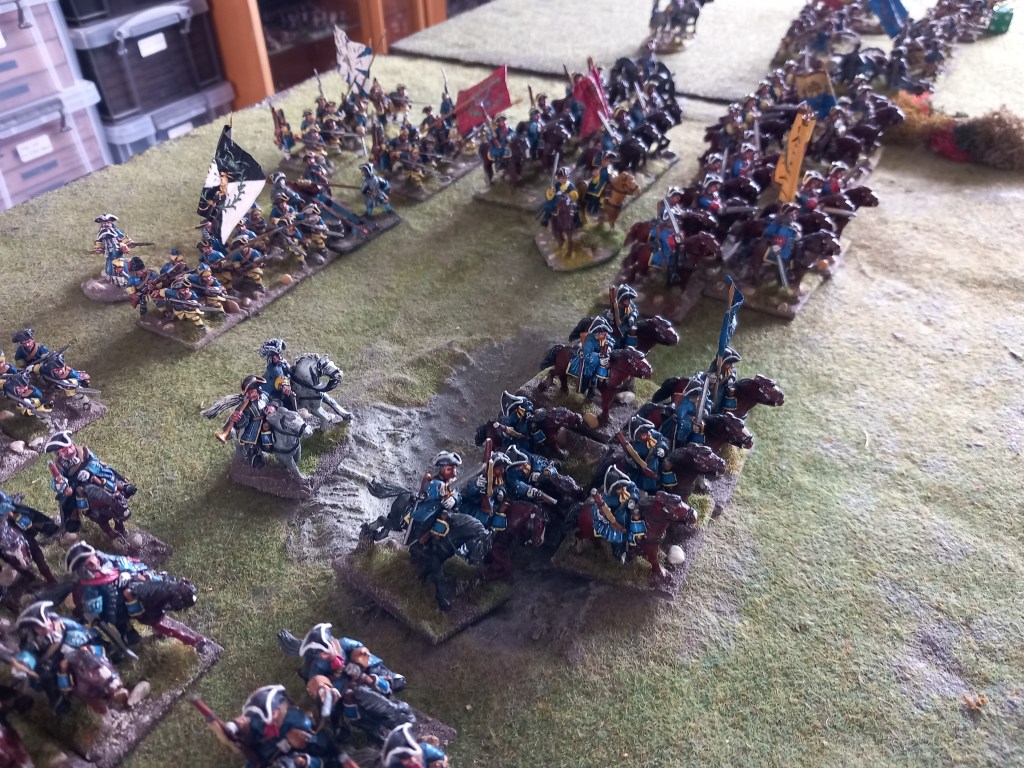
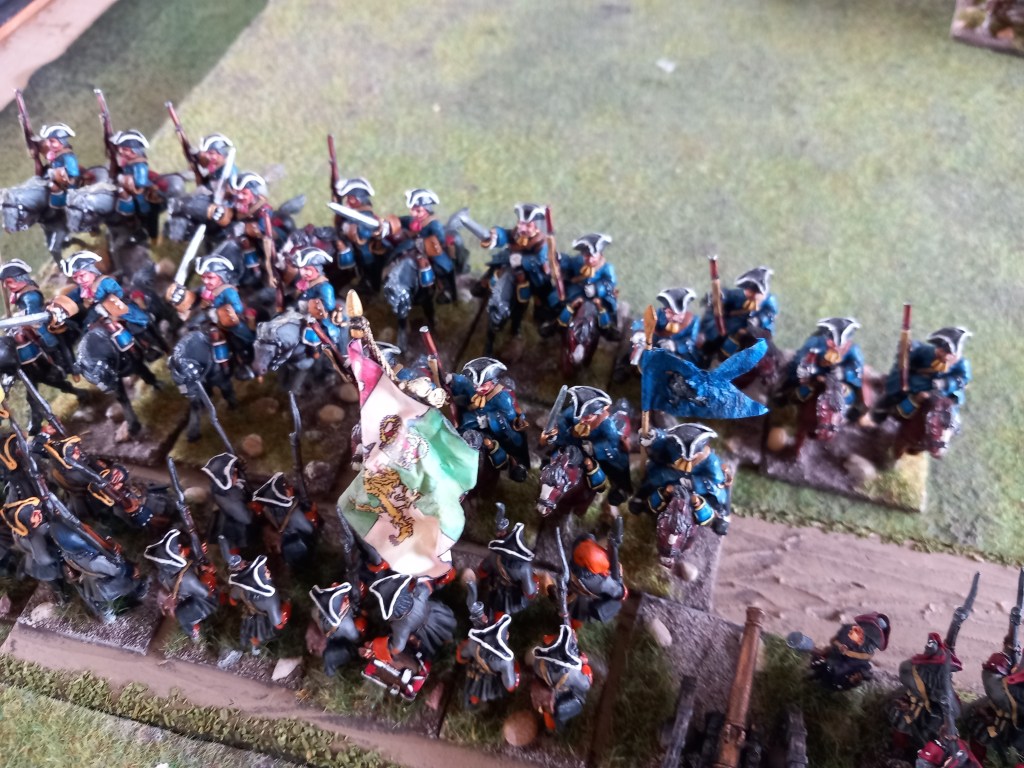
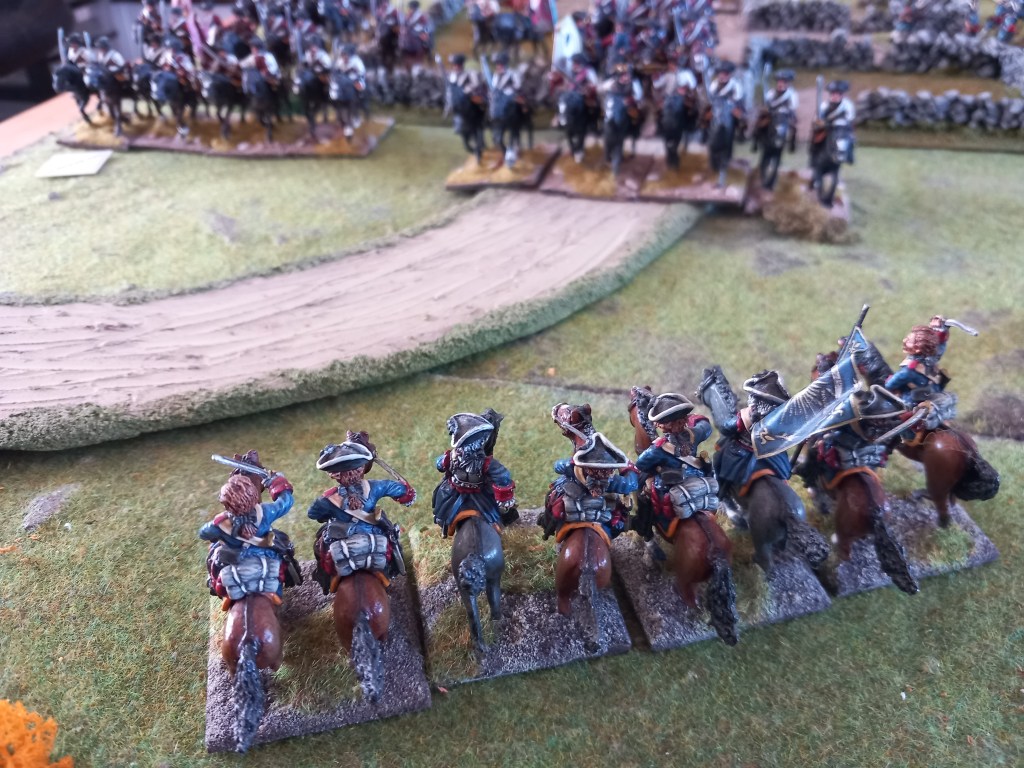
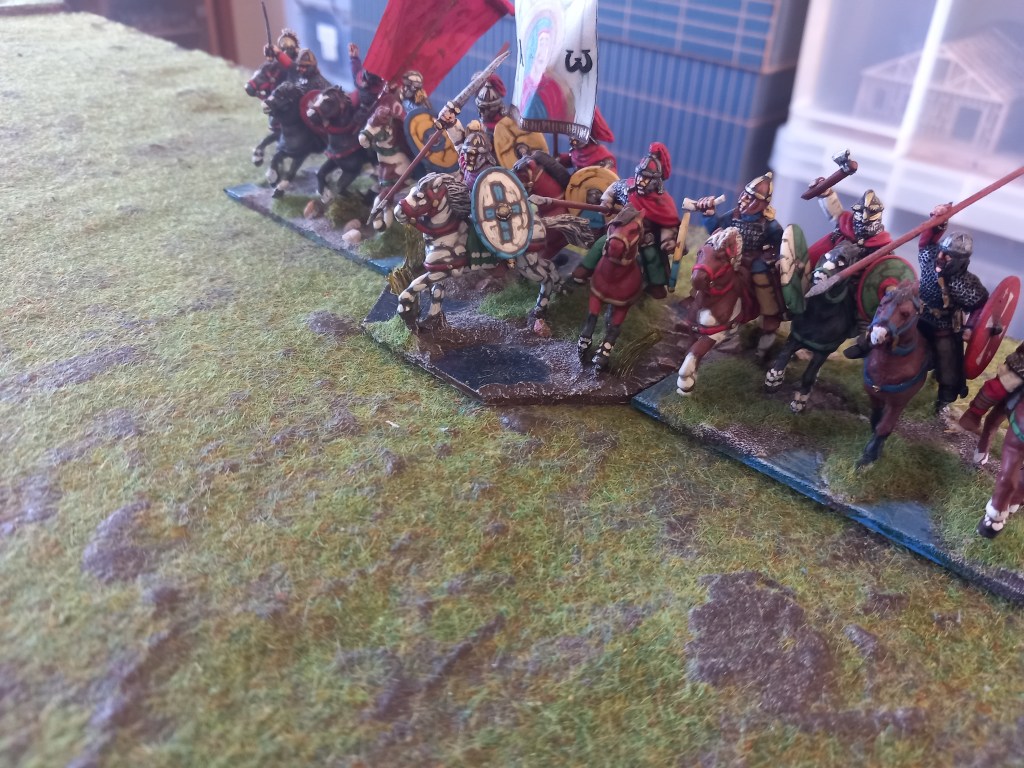
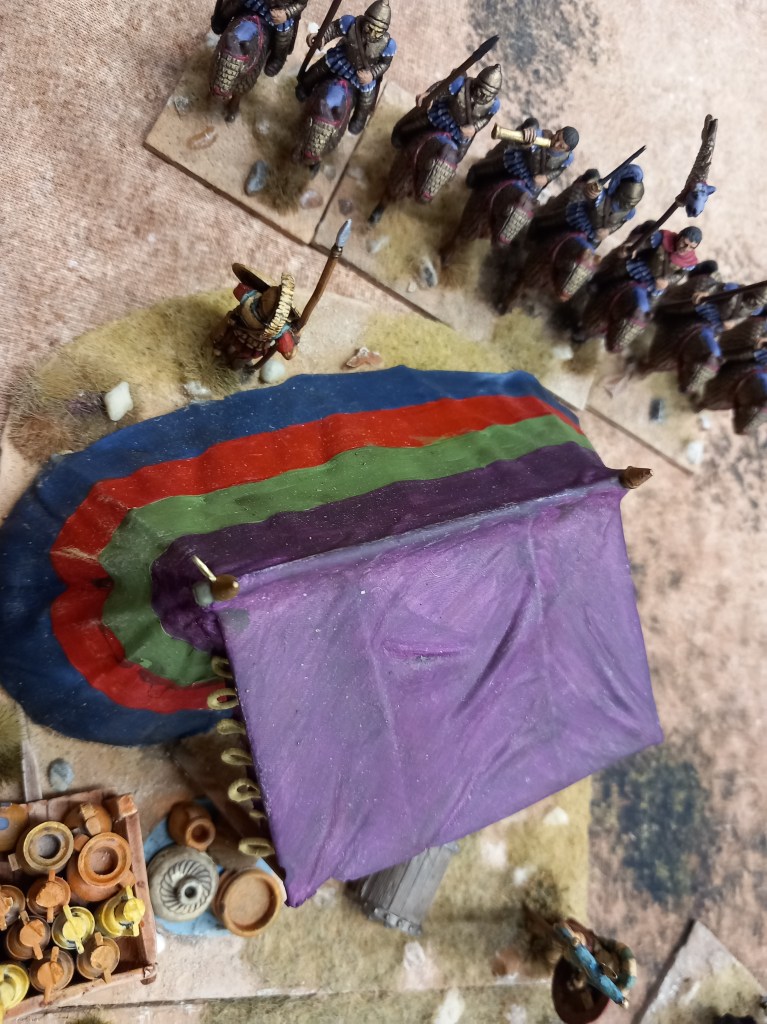
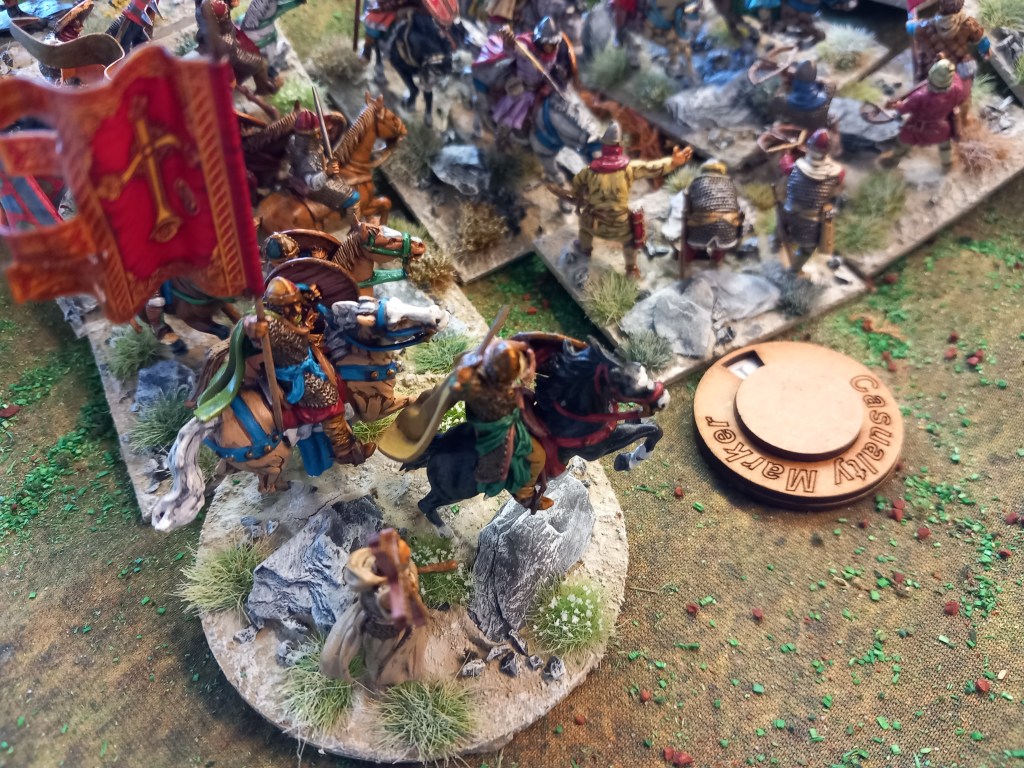
The Ottoman advance was a bit of a mess, the Azabs wouldn’t move so didn’t provide a screen to the Spahis who advanced through them (at least they had bows) while out on the left the Tartars dithered and the Delis went home! The Imperialists were a bit more organised and on the right the Austrian and Hungarian nobles galloped forward.

Here come the nobles!

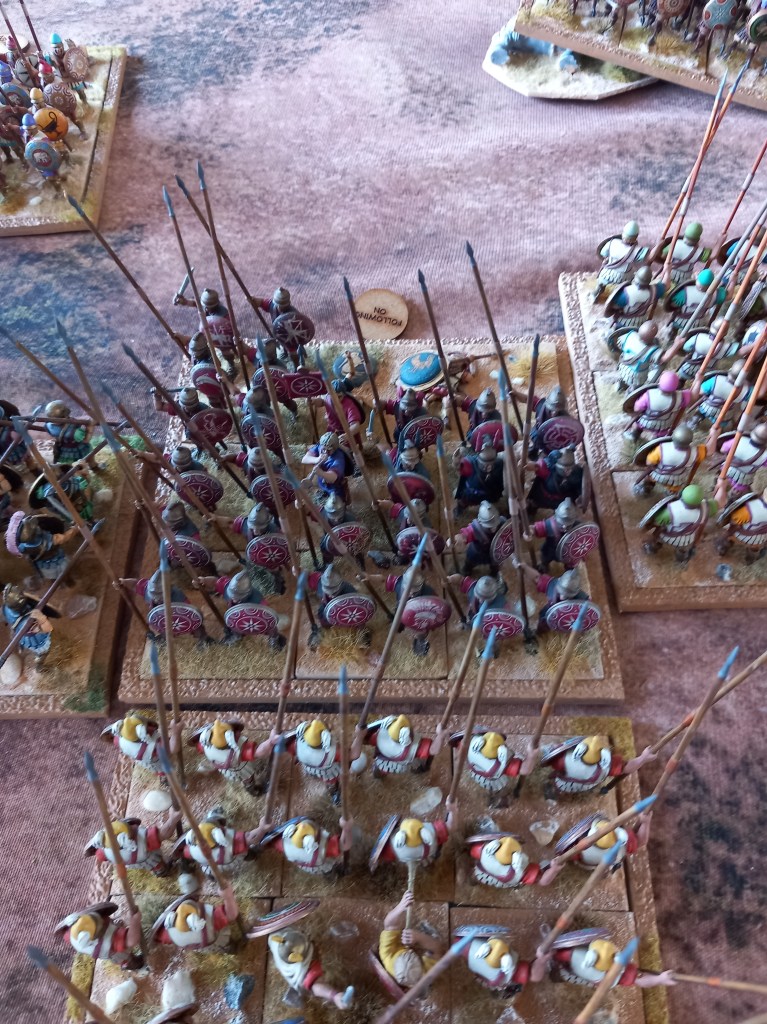
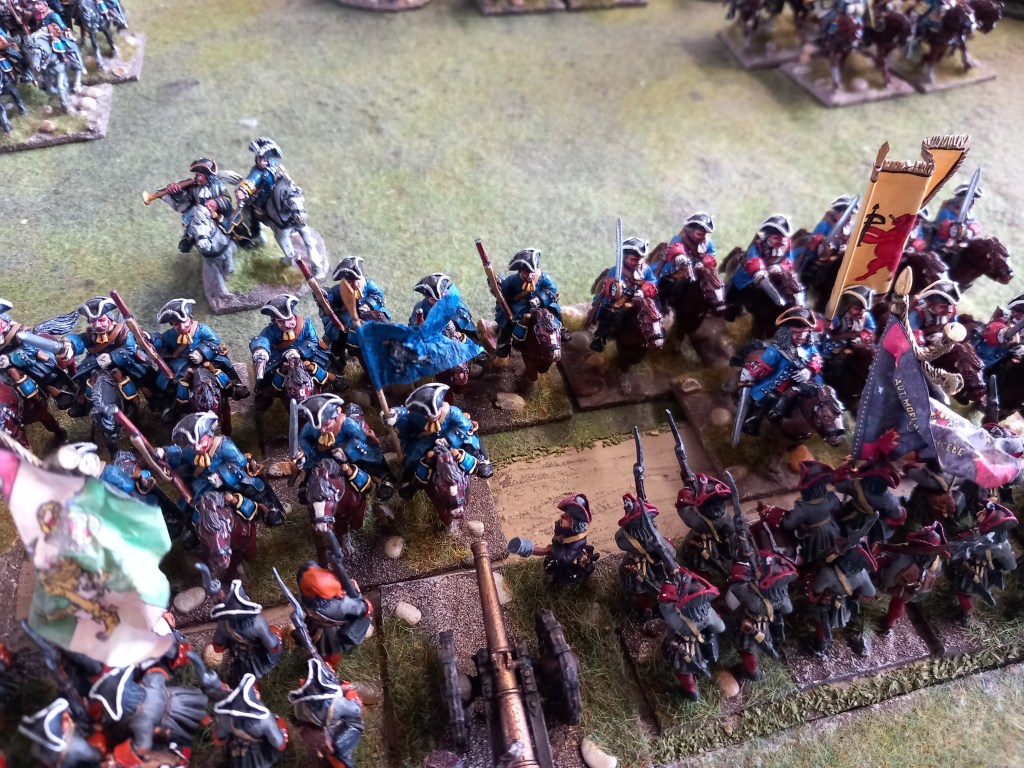
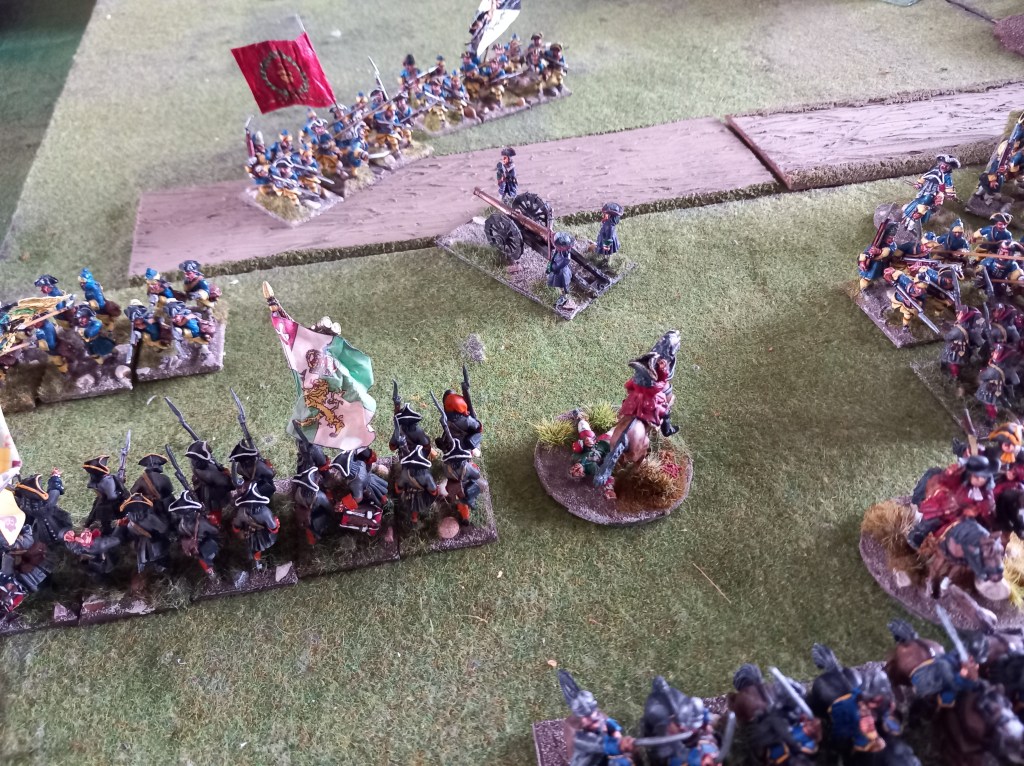
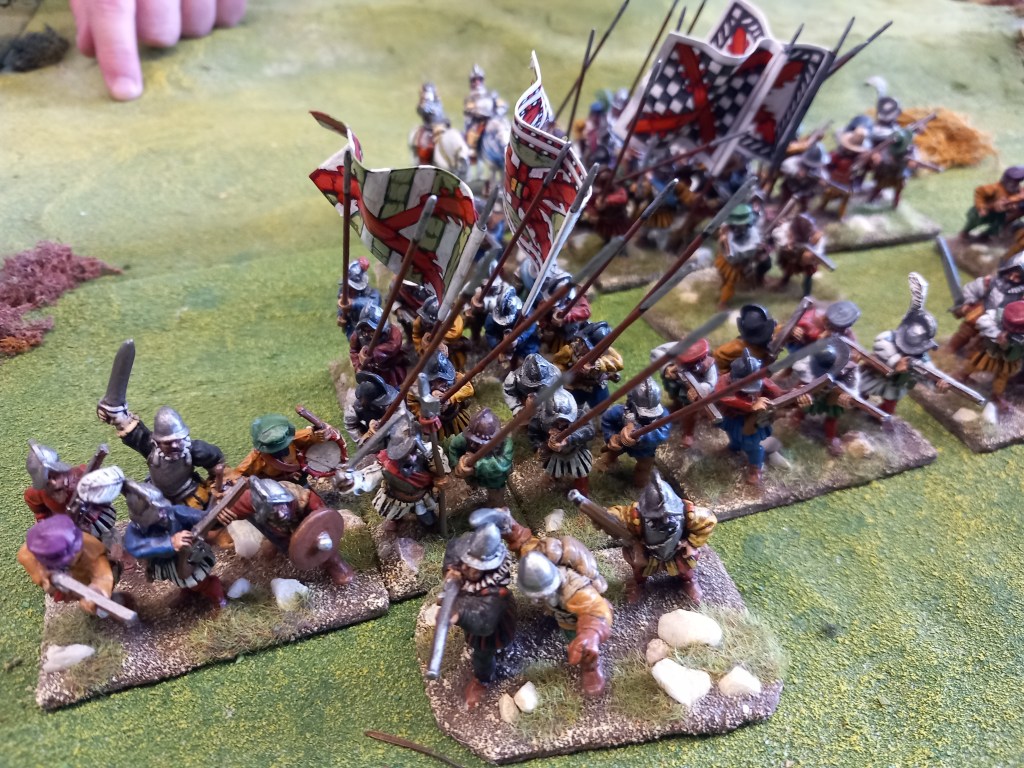
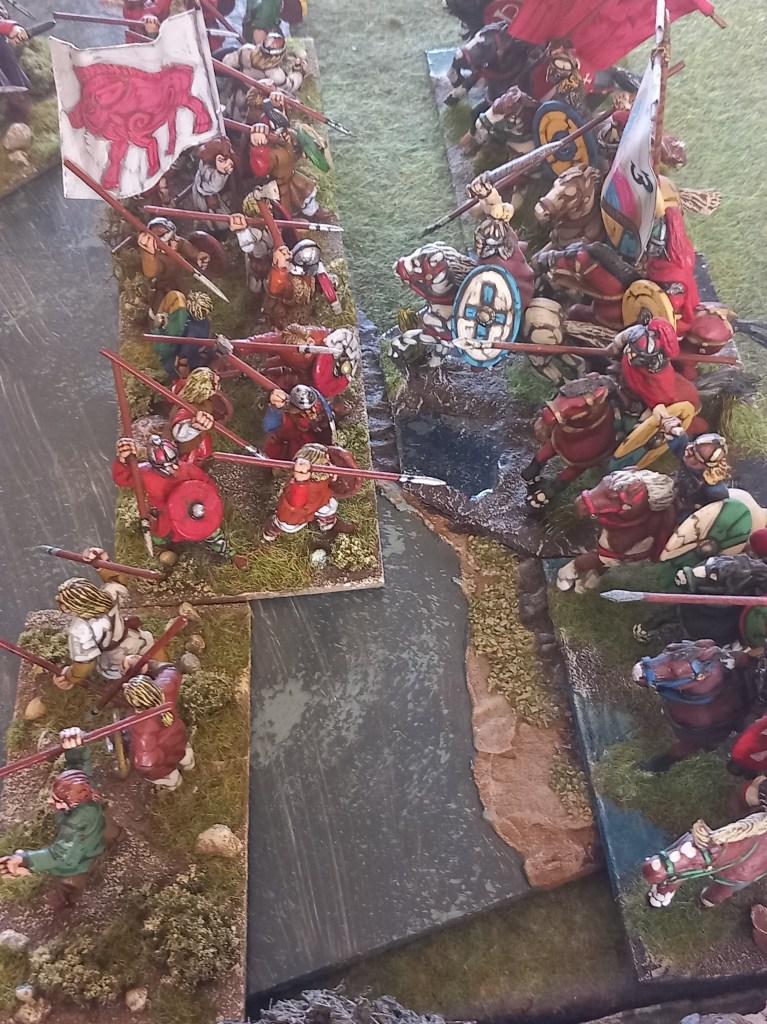
First contact was the Hungarian nobles splashing across the stream and hurtling into some waiting Spahi who were dispatched in short order.
Out on the Imperial left the Croatian contingents were doing nice work with their carbines.


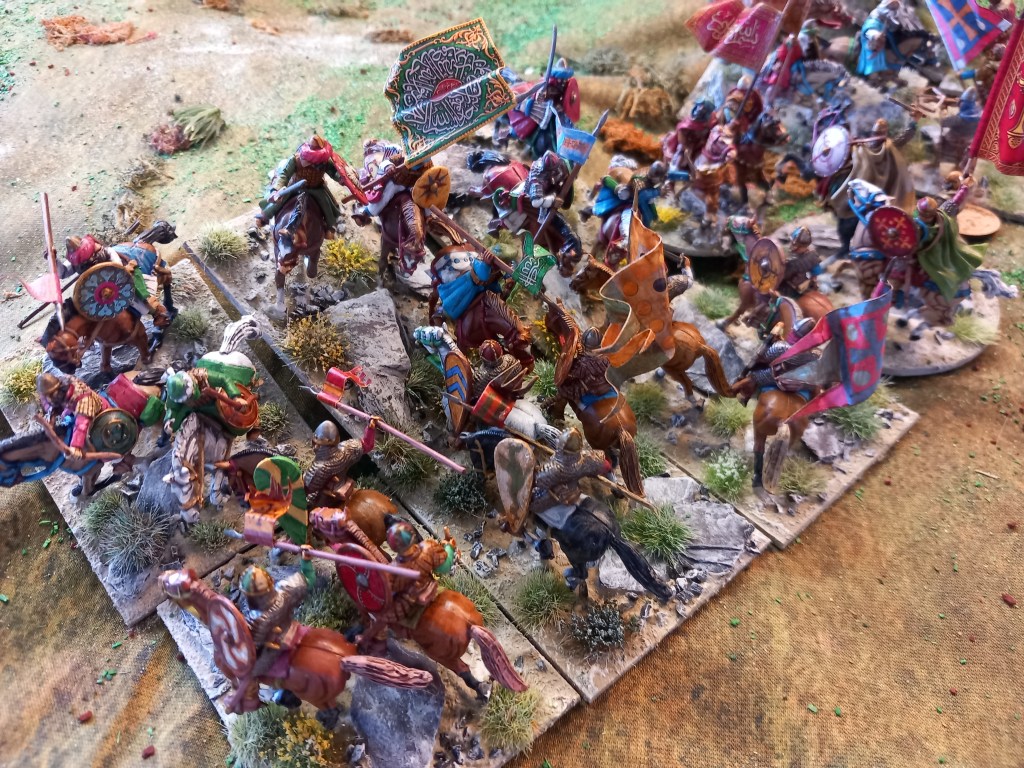
On the Ottoman left the last unit of Tartars is about to run away and that flank will be gone.
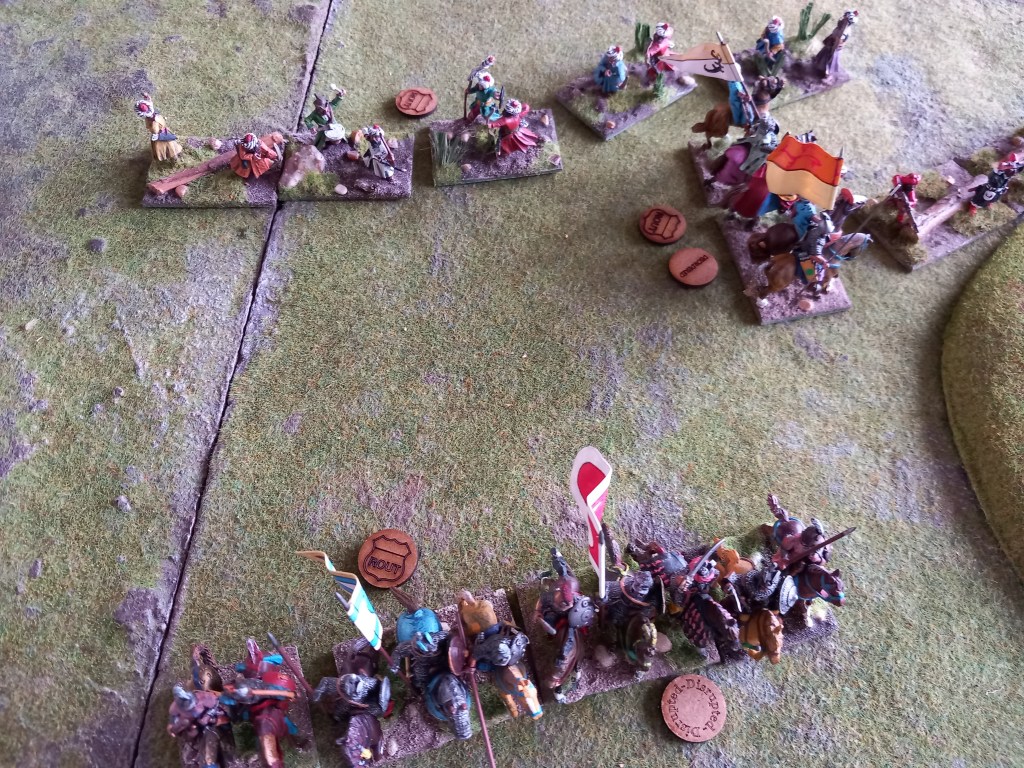
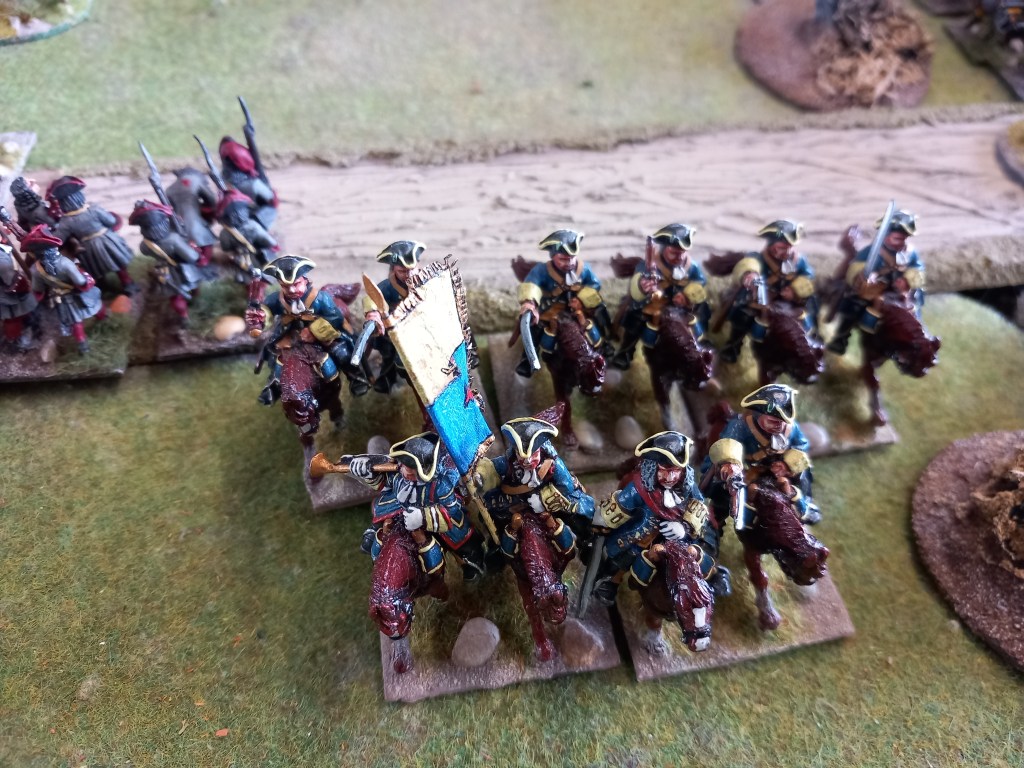
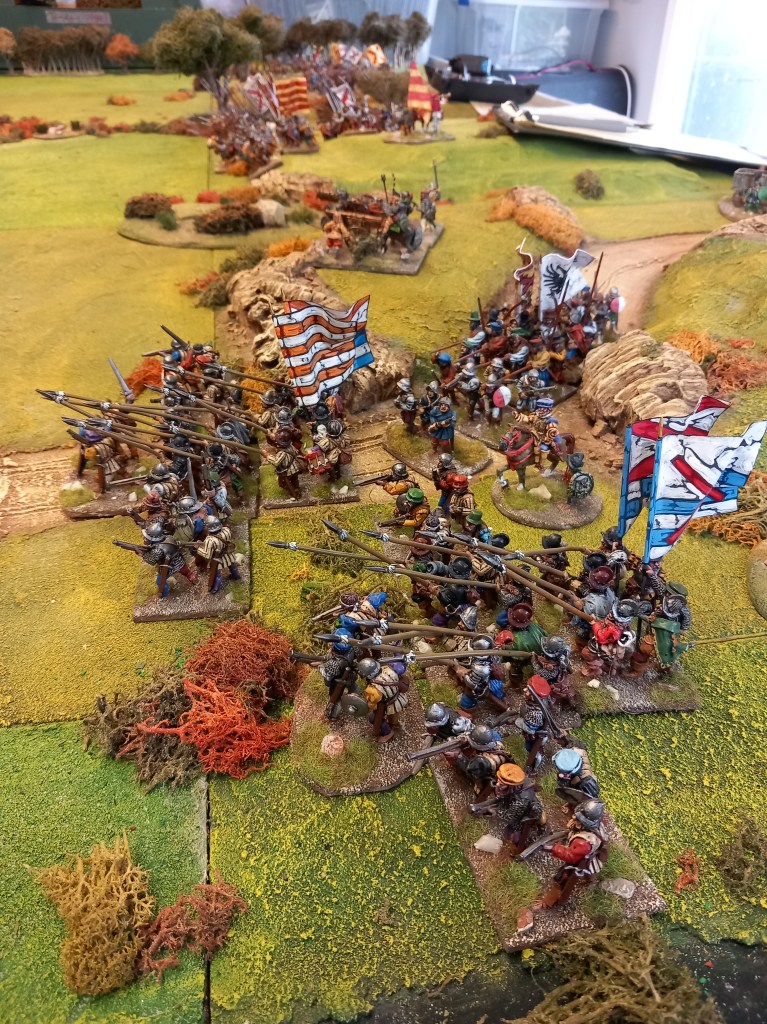
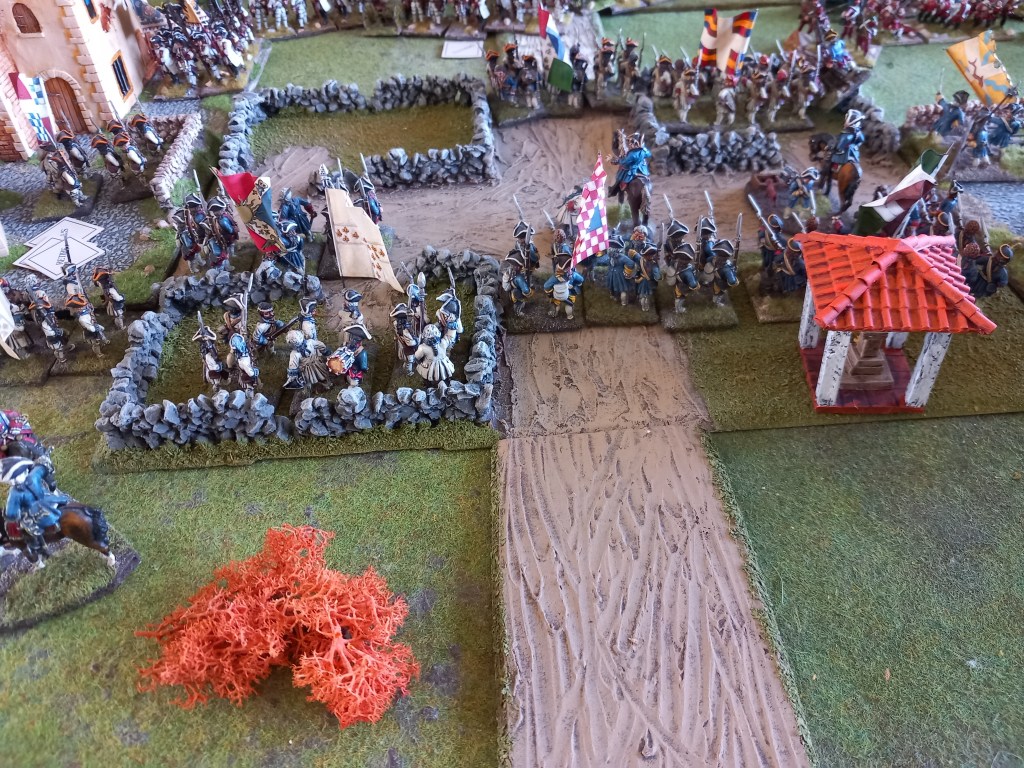
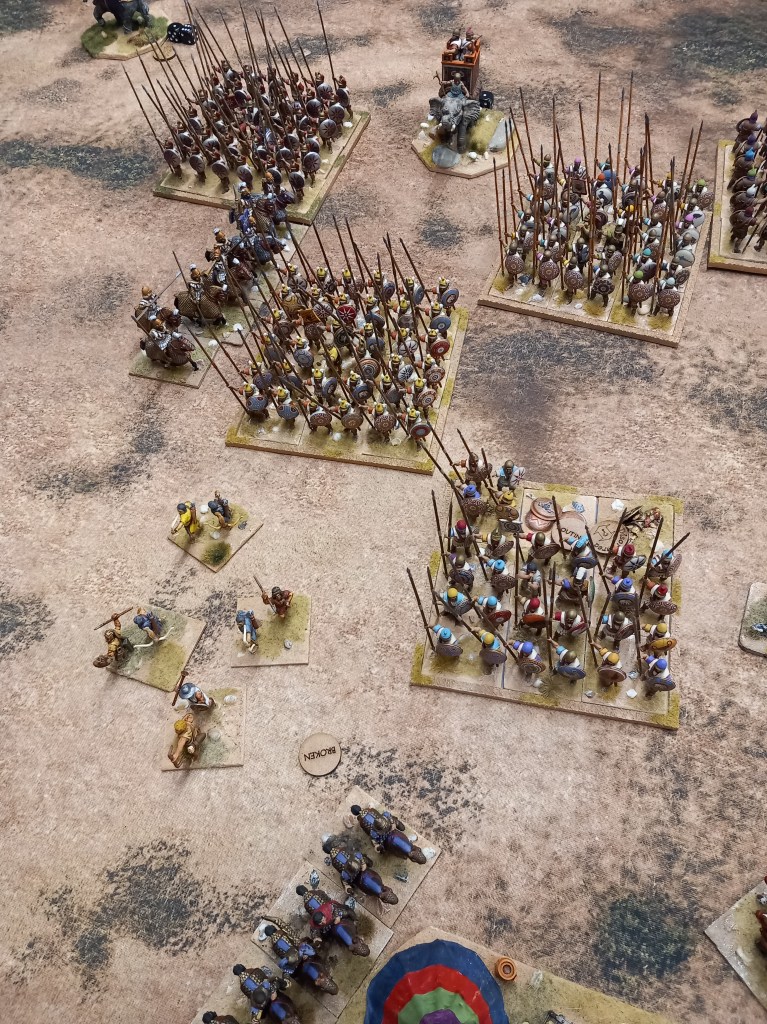
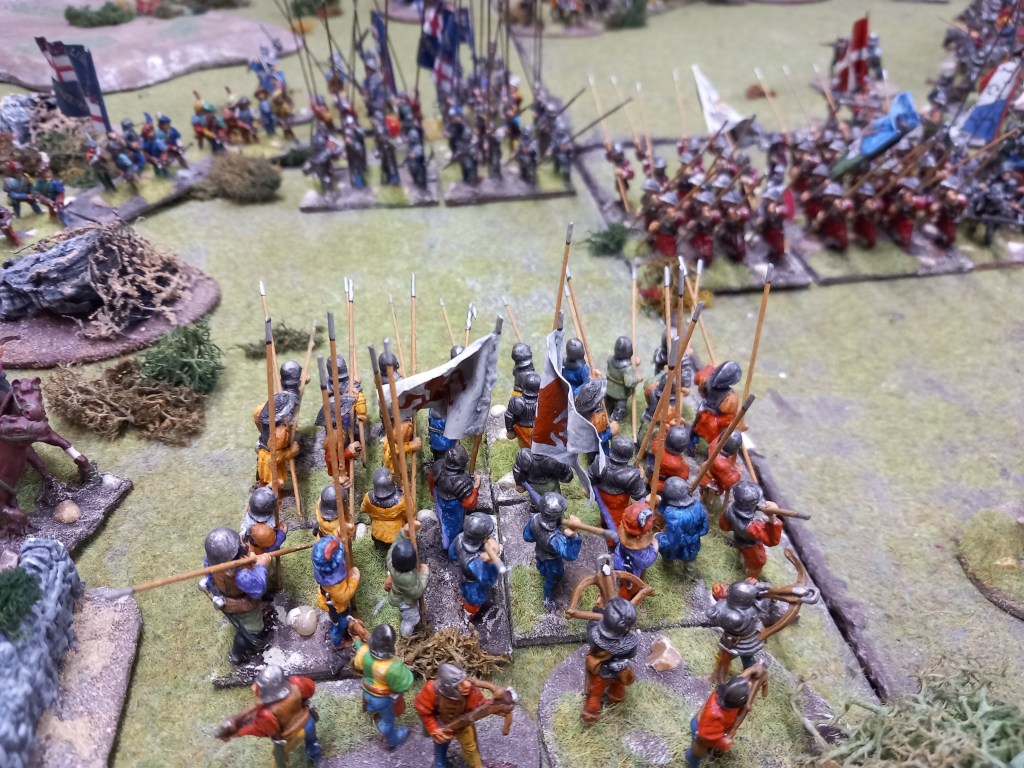
In the Ottoman centre it all starts to go horribly wrong as the German mercenary horse and pike splash across the stream (out of shot) and start shooting up the Spahis.

Terror is infectious and the Ottoman centre dissolves. The Imperialists are not without casualties but no morale collapses were suffered which was a rot that set in amongst the Ottomans.
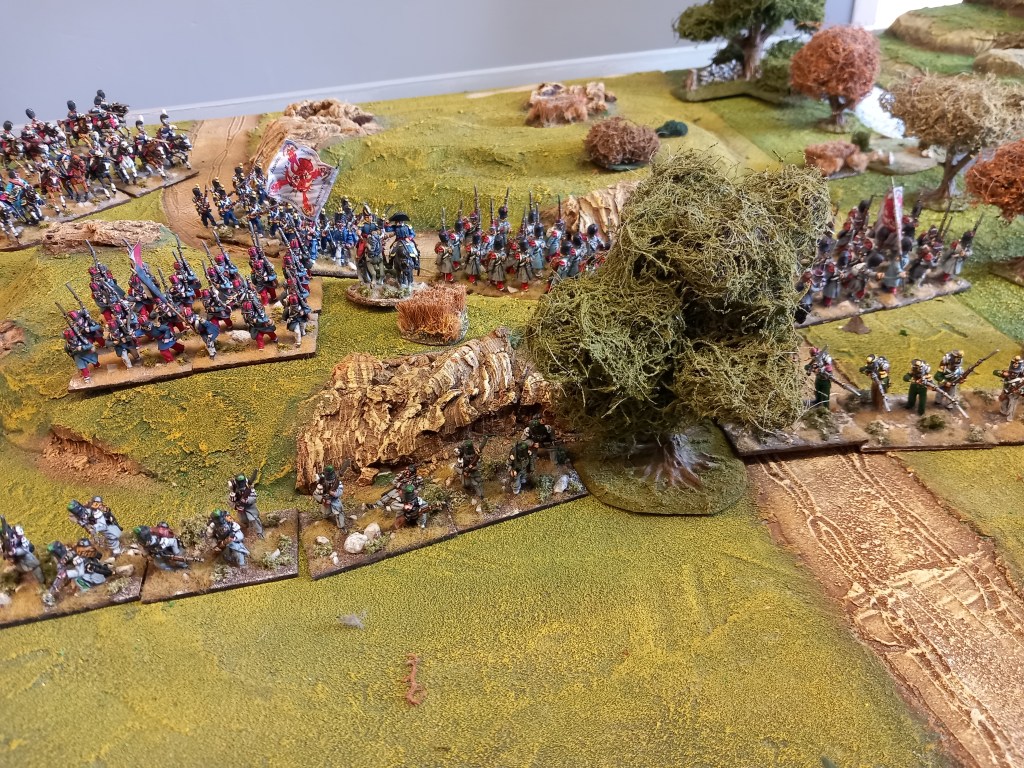
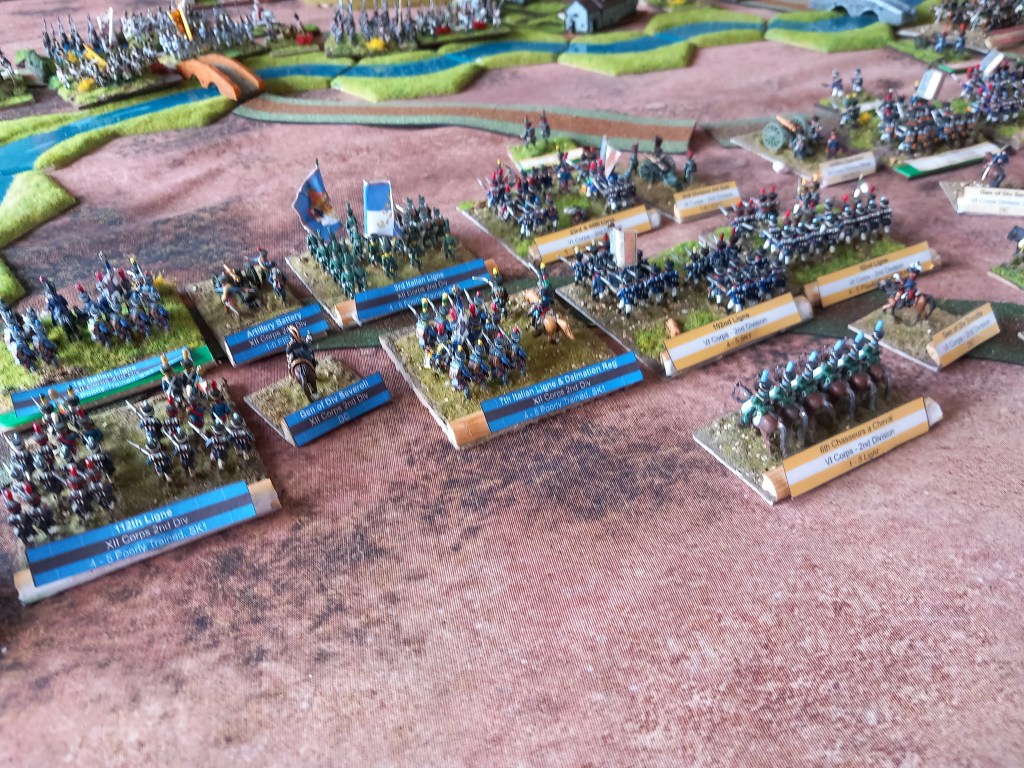
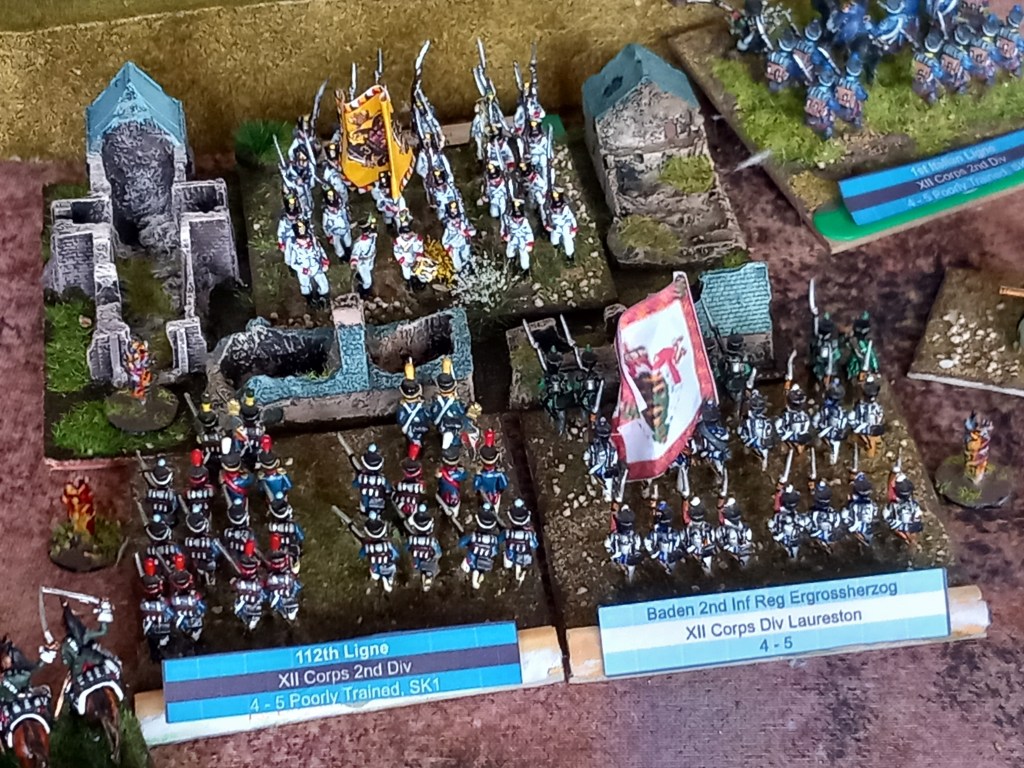
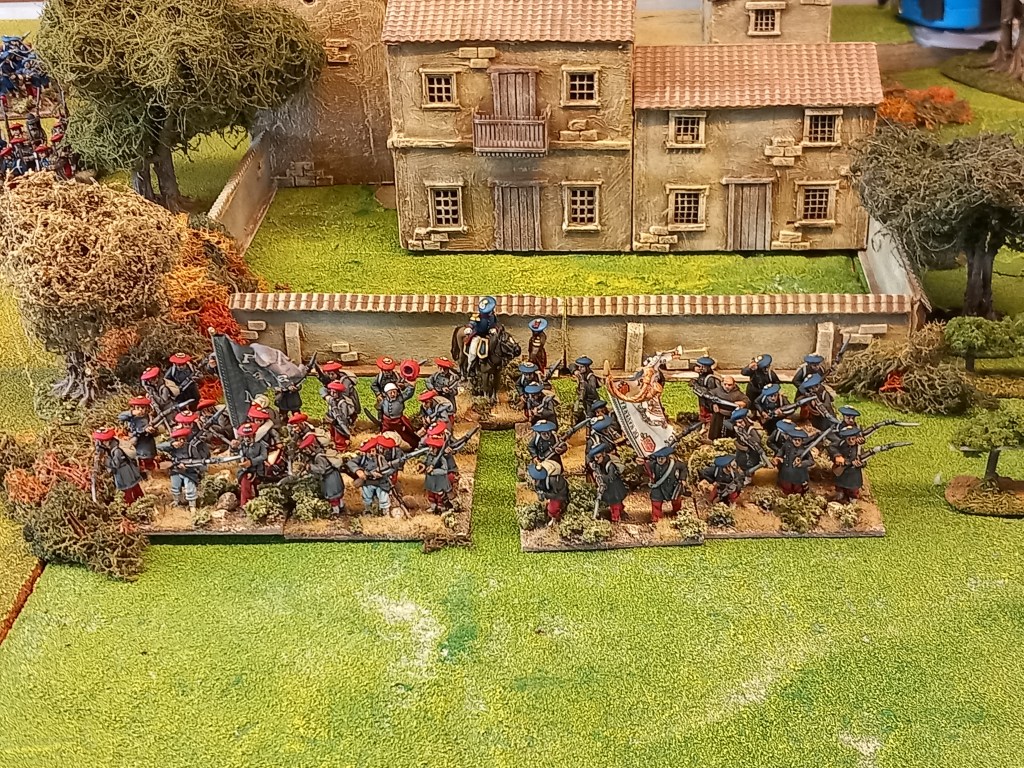
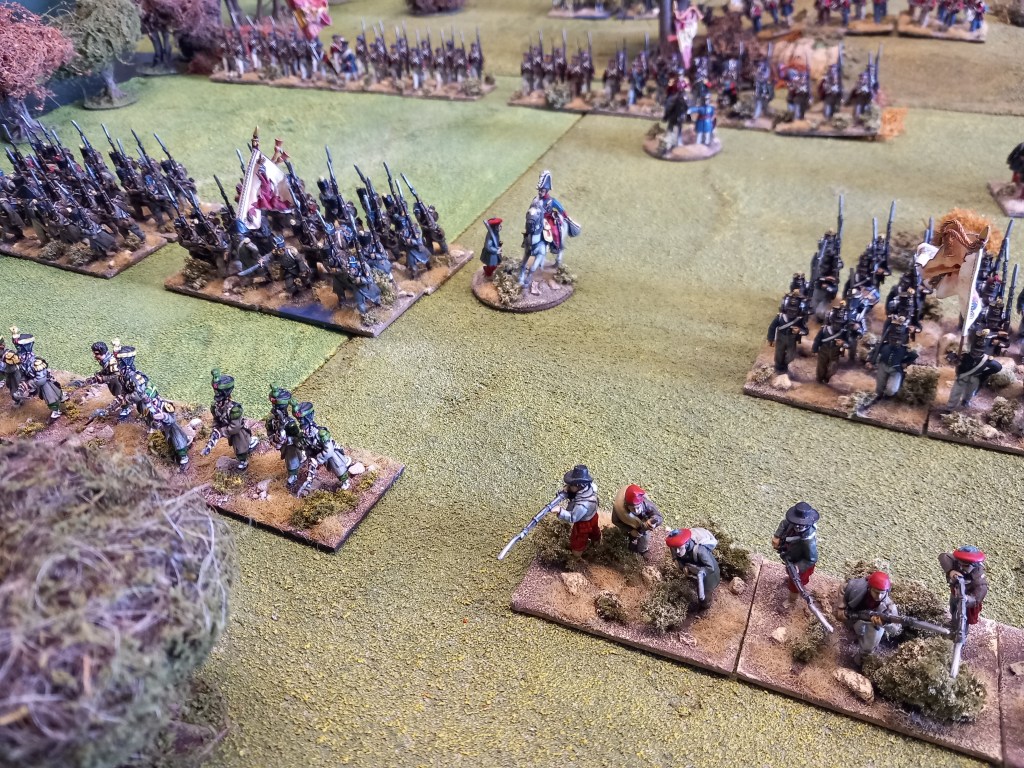
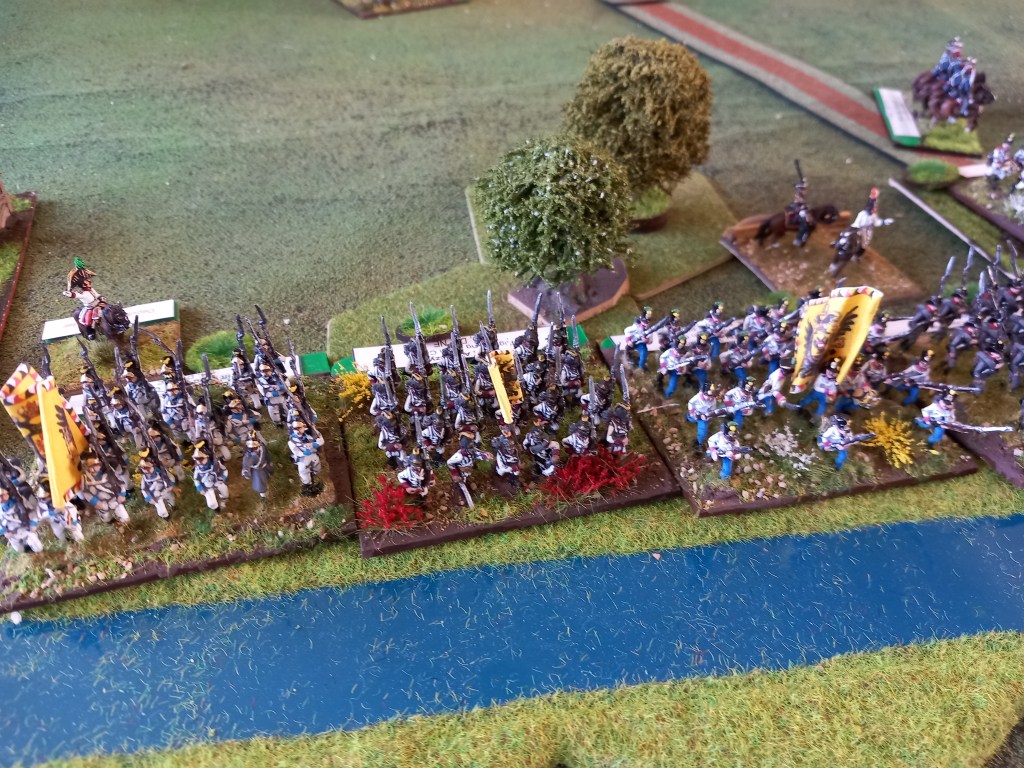
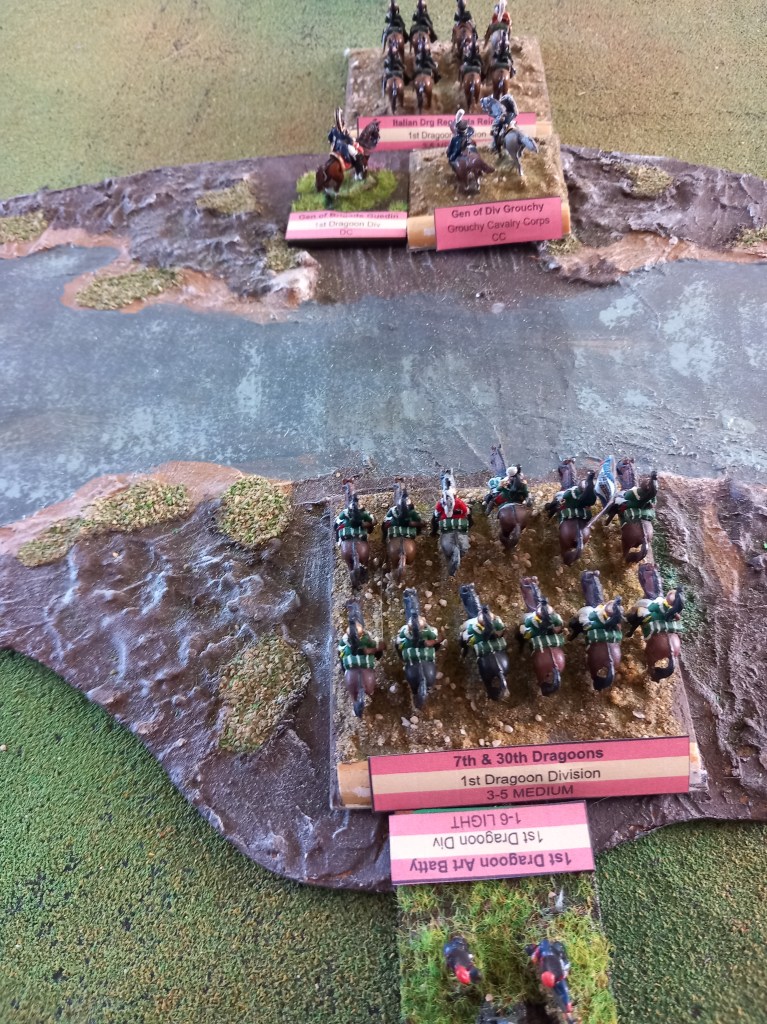
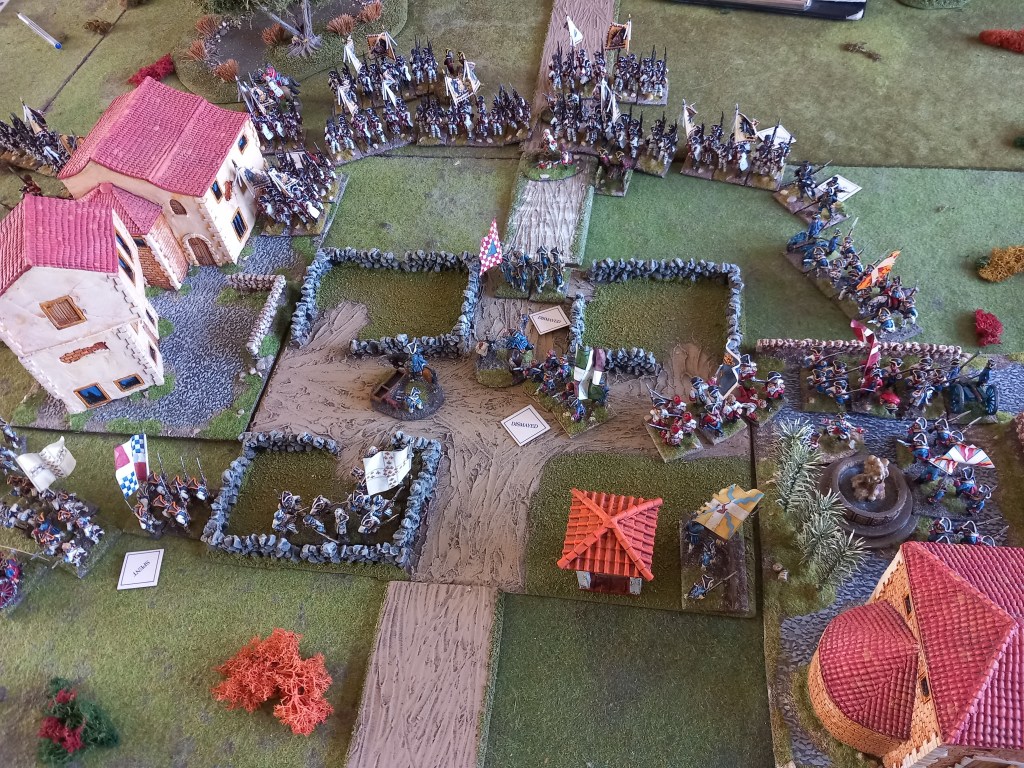
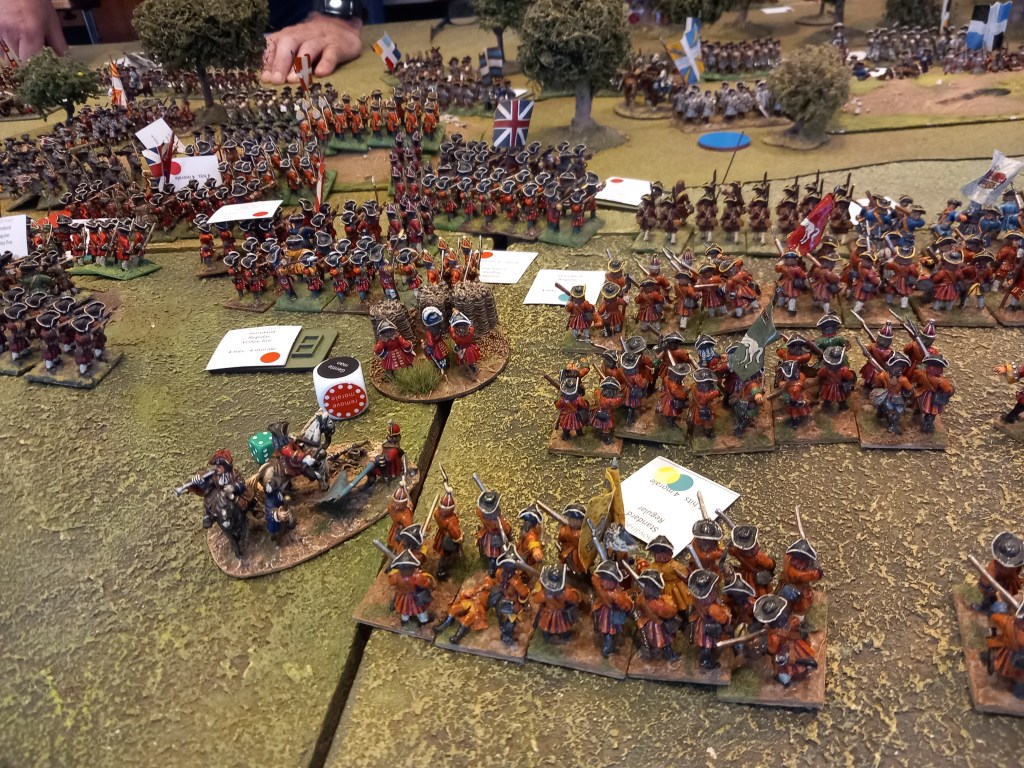
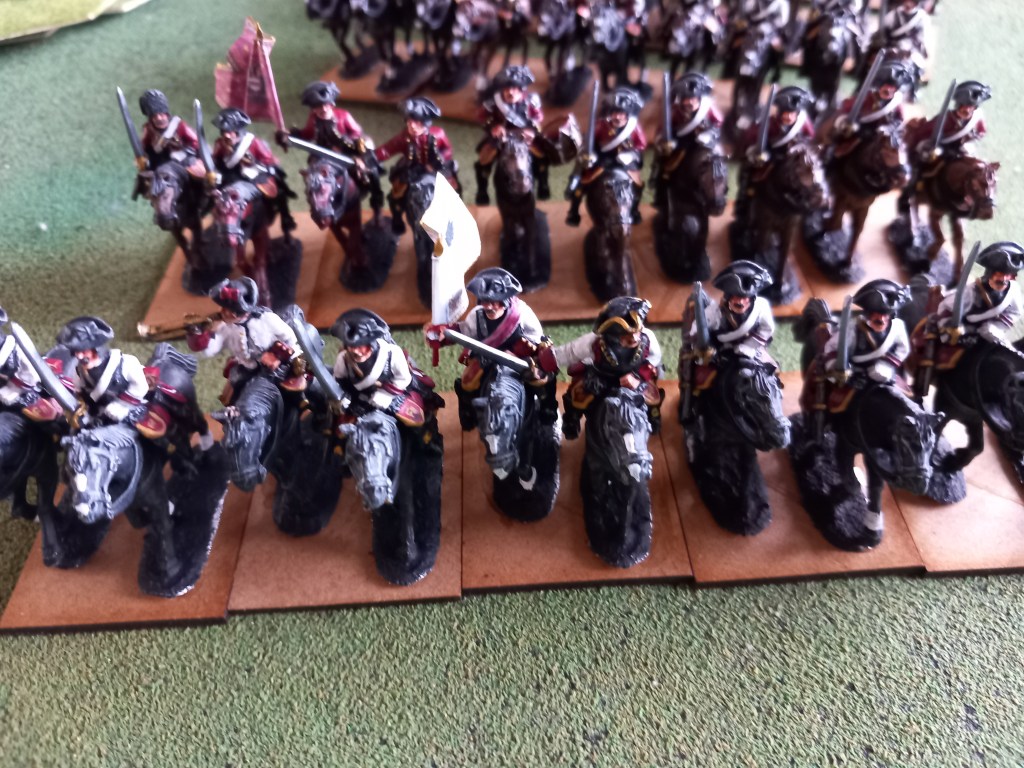
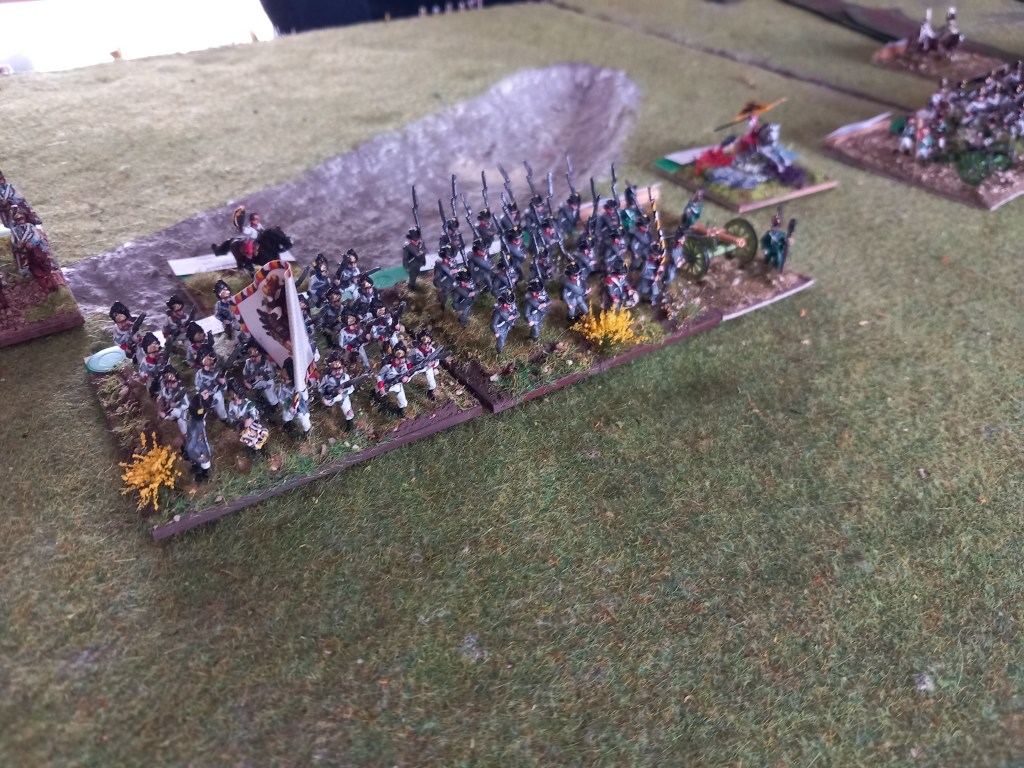
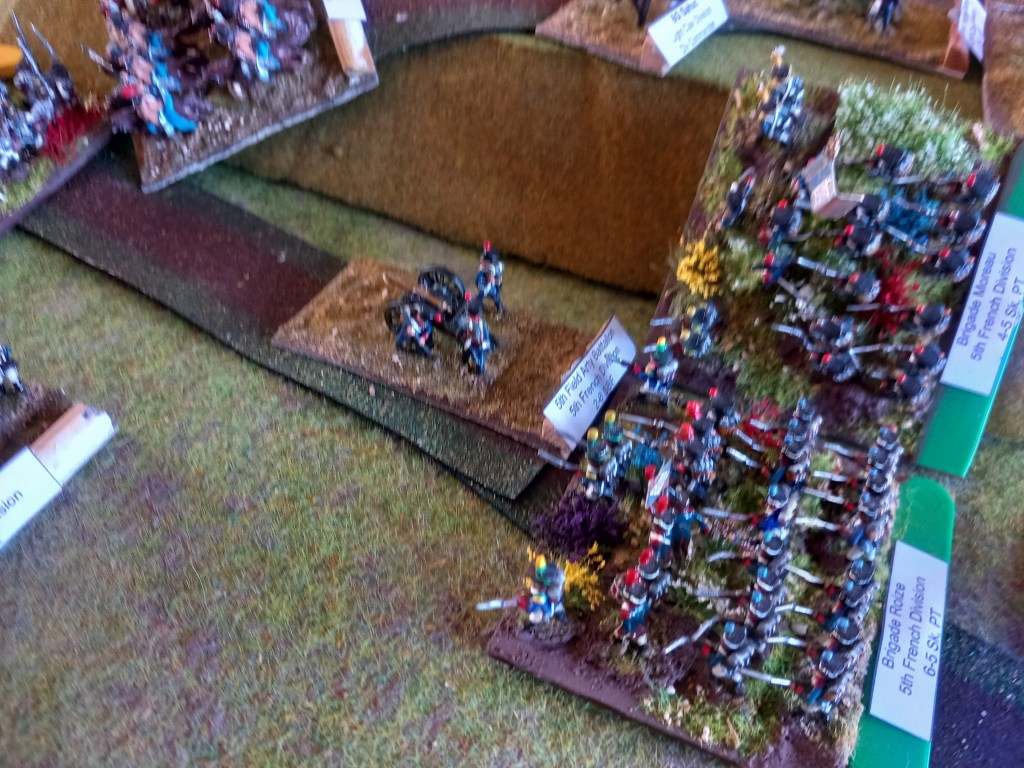
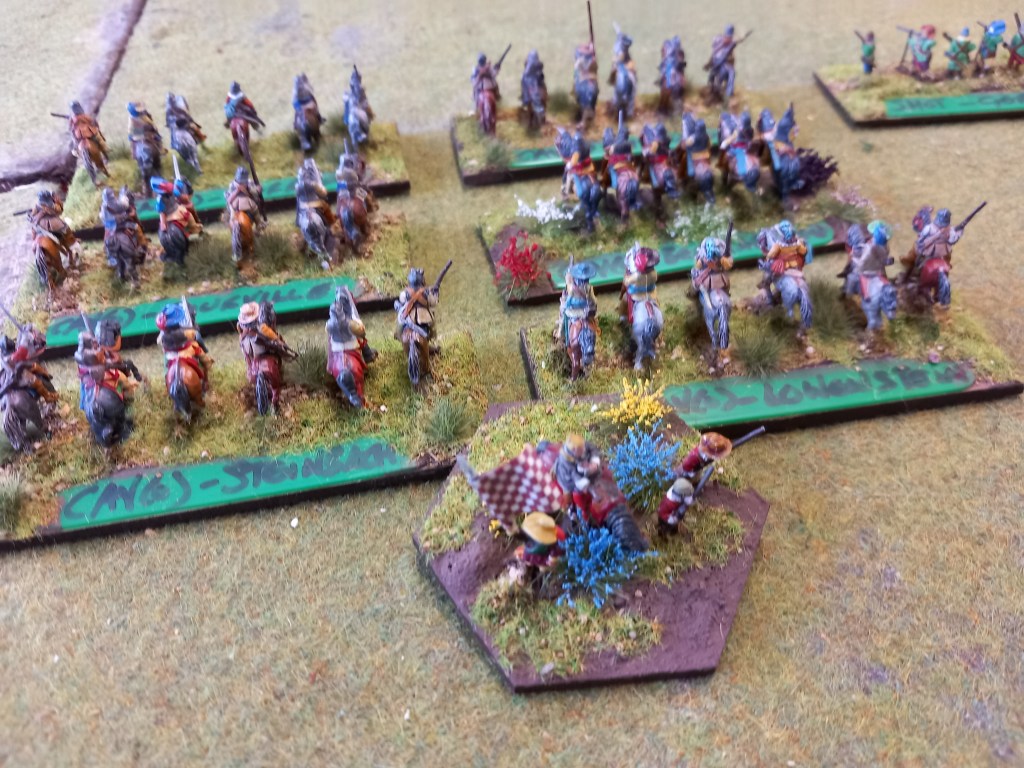
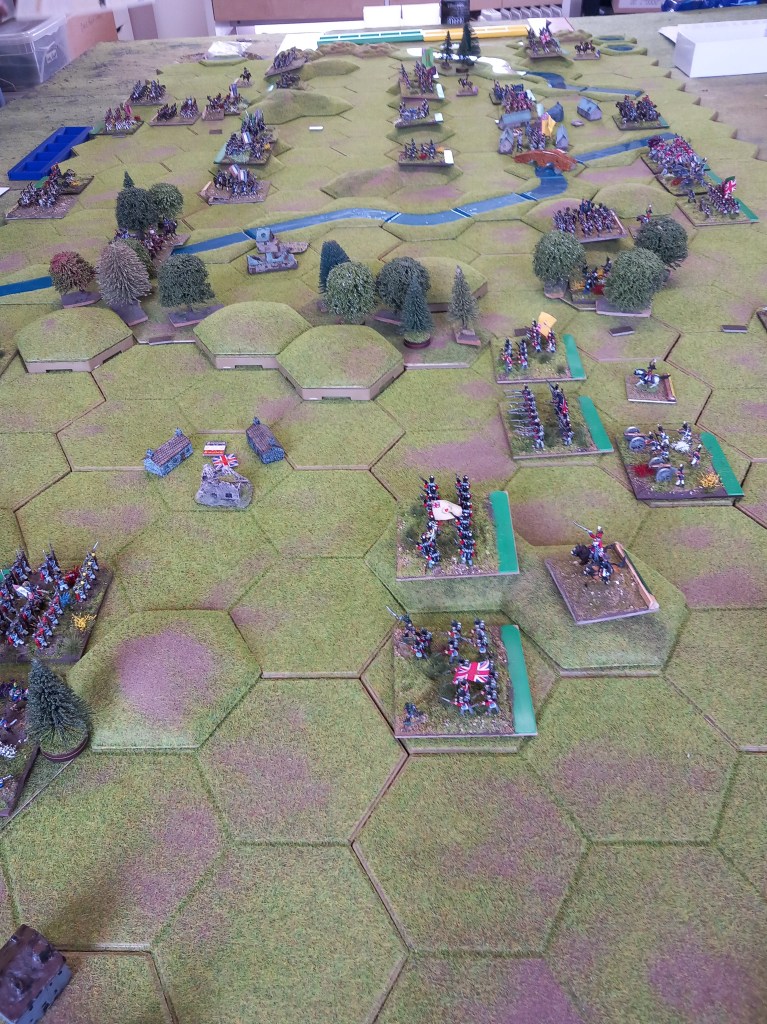
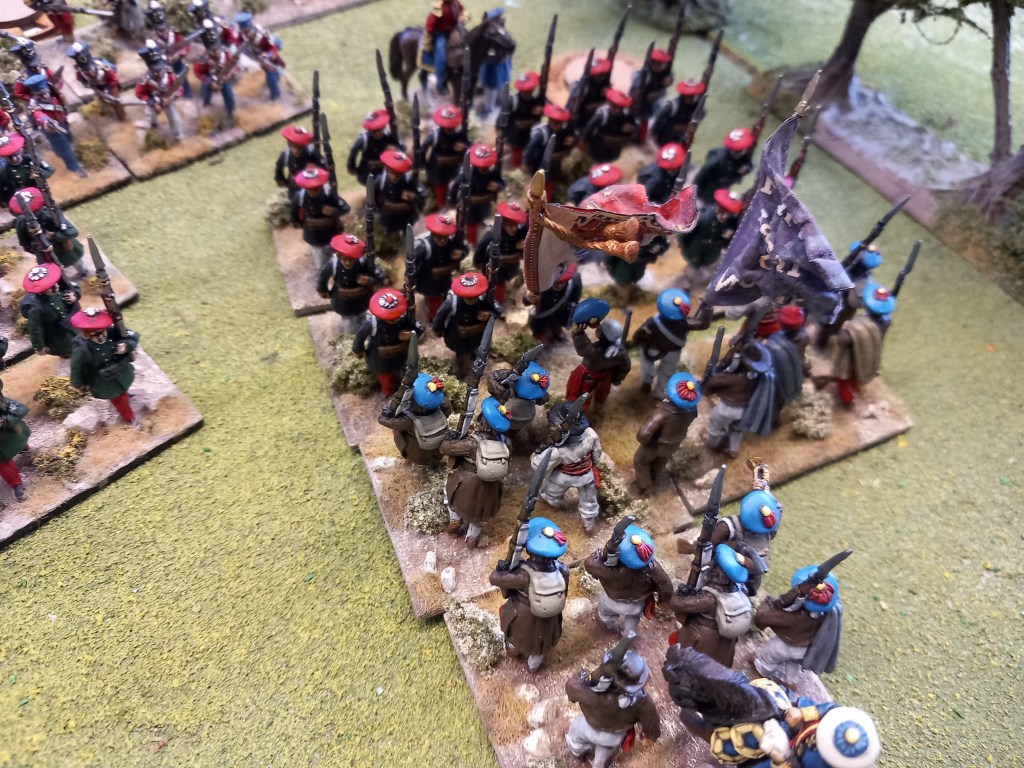
Our next foray was a Carlist War encounter. Government troops, being mainly the British Legion plus the Guards battalions, seeking to turf the Carlists out of a reinforced position.
Skirmishing was very much the order of the day for the opening moves with the Carlists having the better of it, particularly on their right wing.

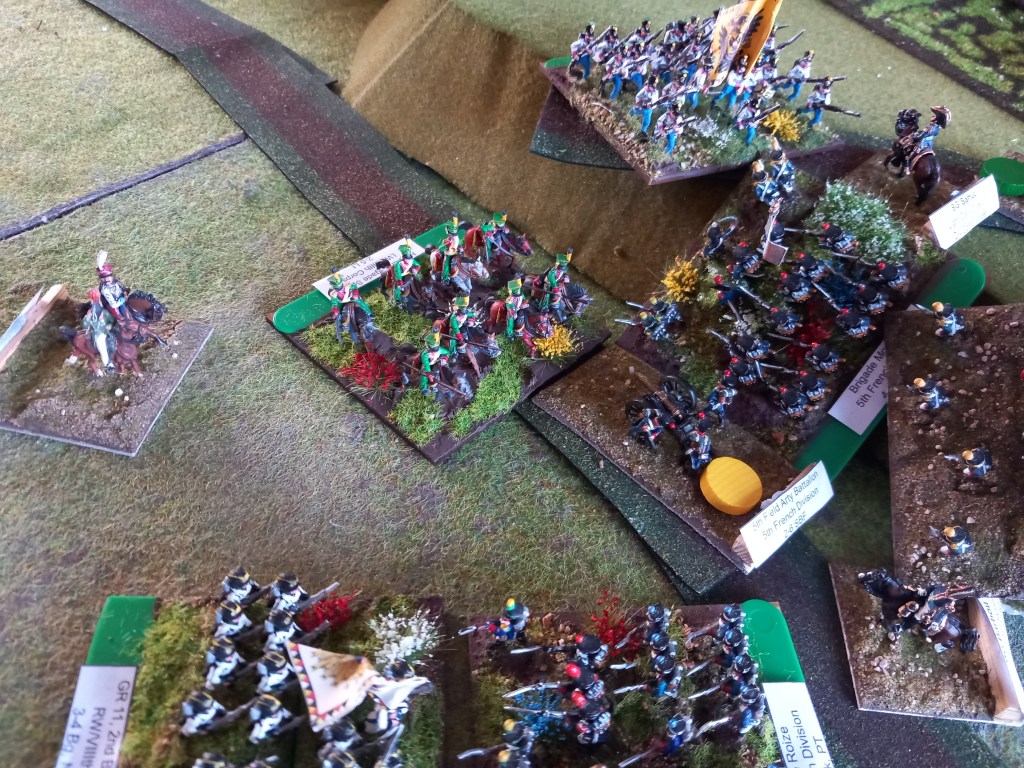
Attempting to force the issue on the Carlist right the Government lost patience and rolled out the cavalry, perhaps a little bit too early…..

In went the Princess Hussars with plenty of “Huzzah!”

So much for “Huzzah!” 😂🤣😭

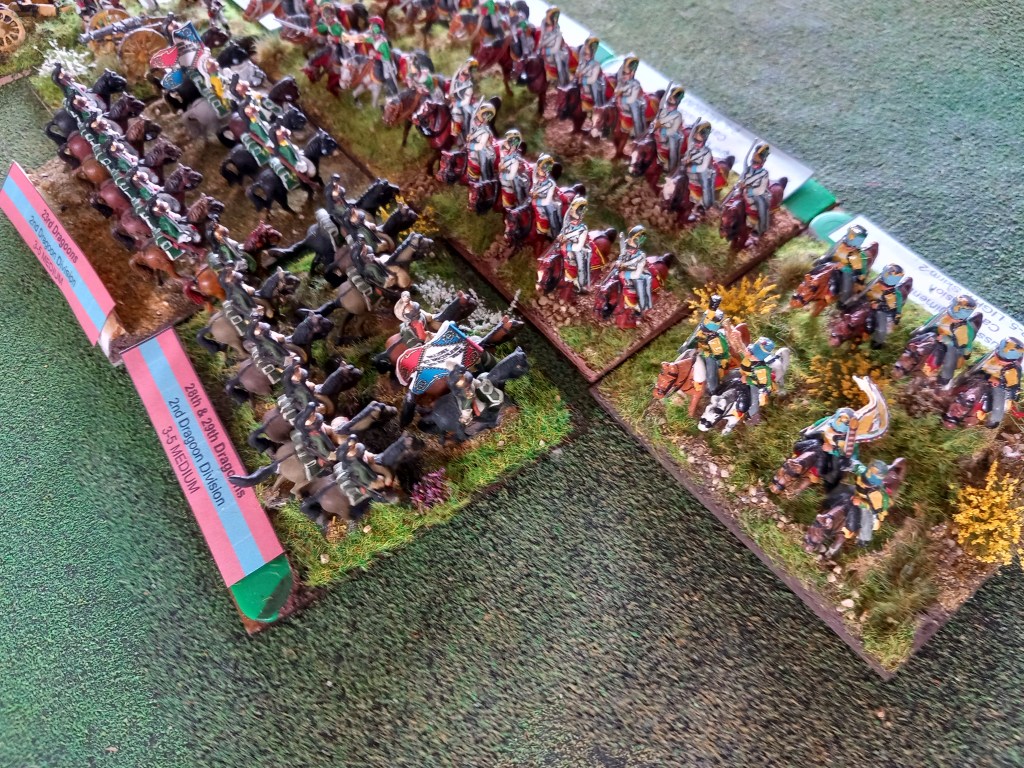
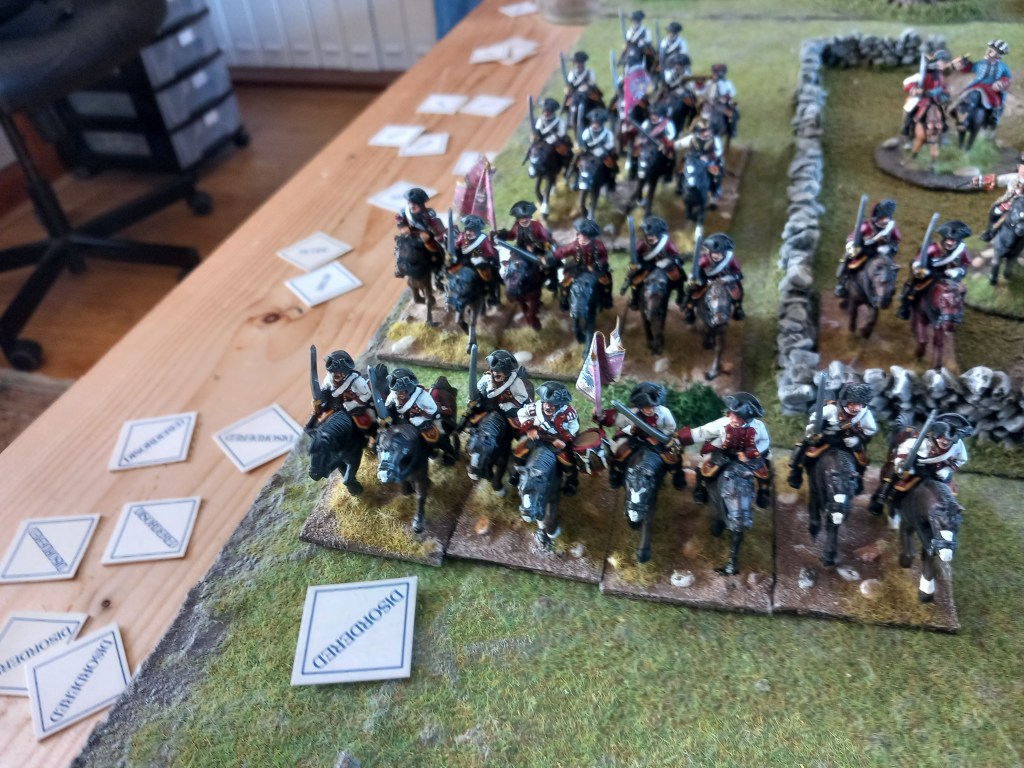
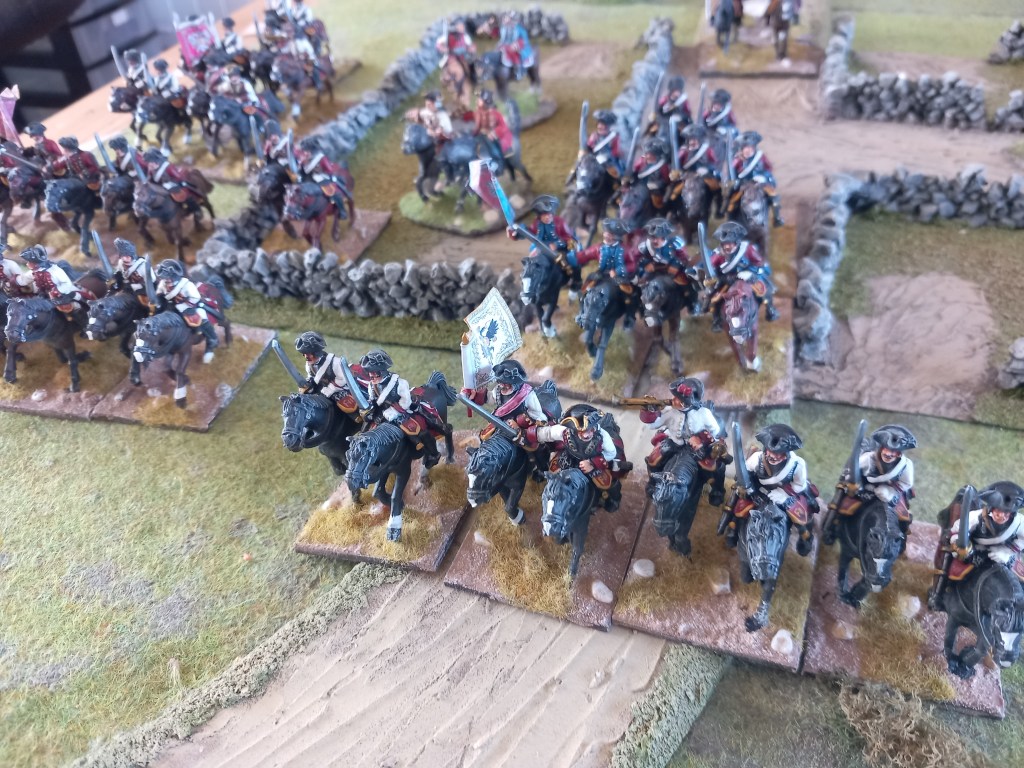
And then came the cuirassiers, who did a little better but had to fall back hurt.
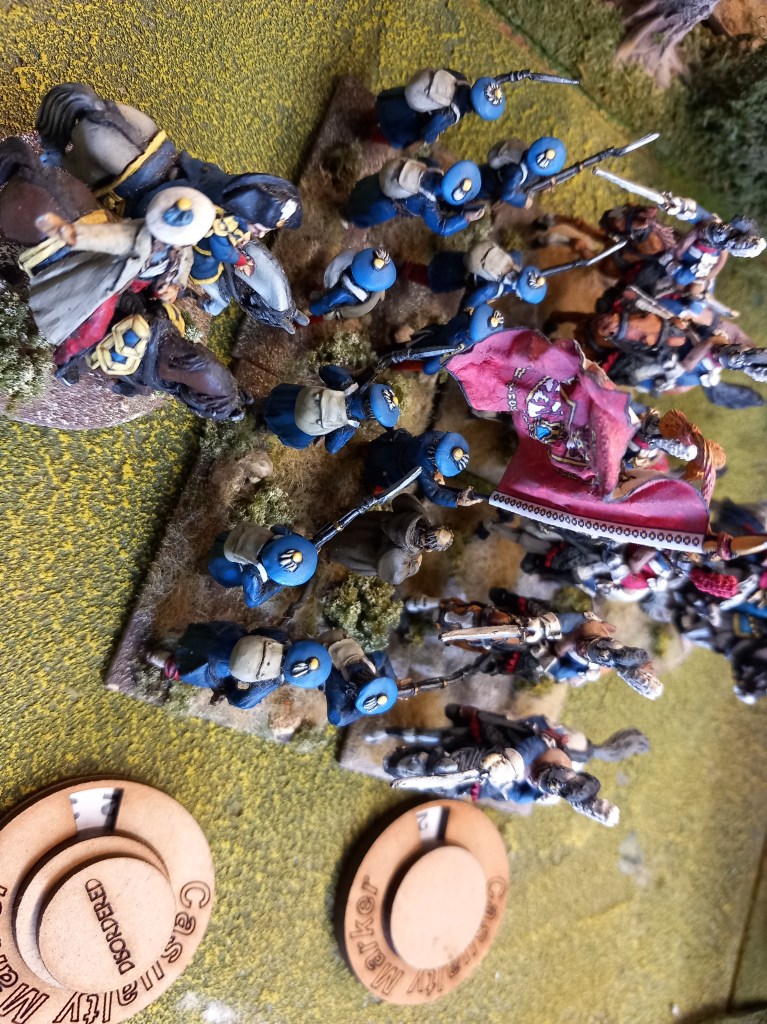
But they came back for more and a Carlist general died trying to hold his troops together.

The cuirassiers finally chopped their way through and this part of the Carlist line was unhinged.

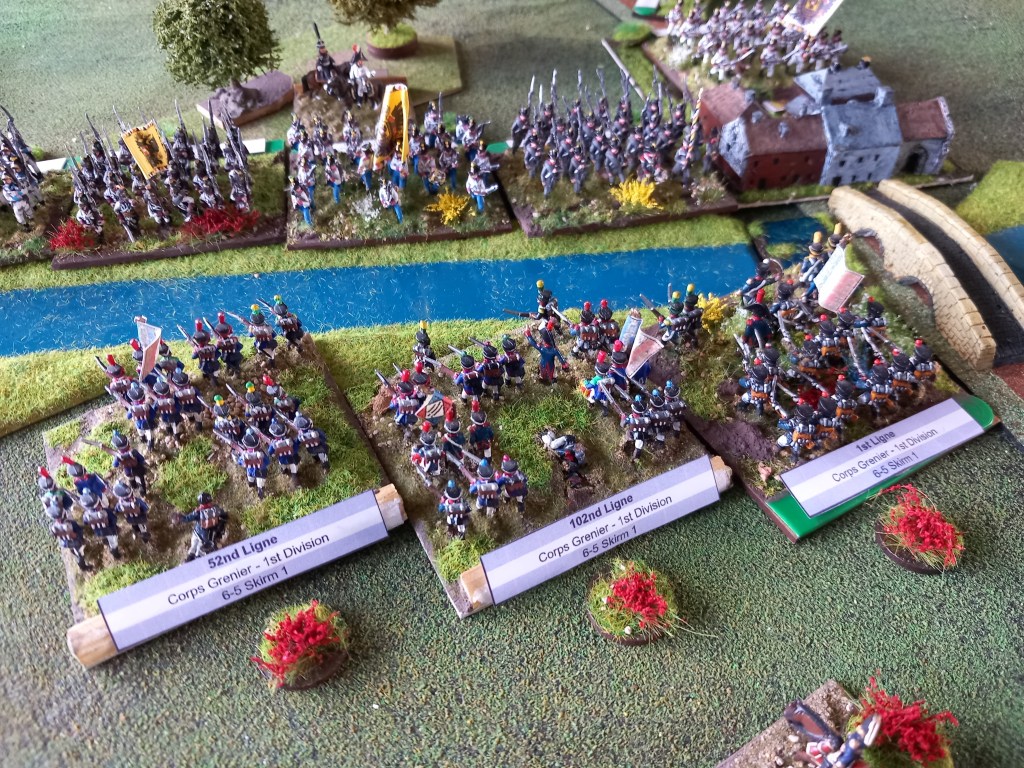
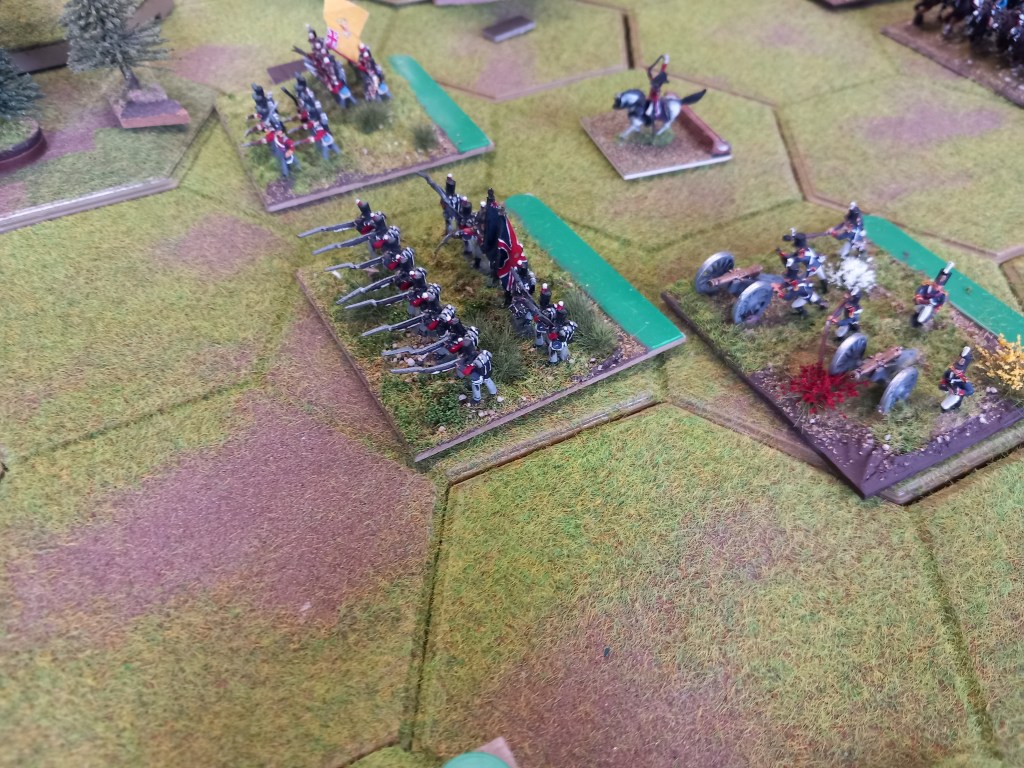
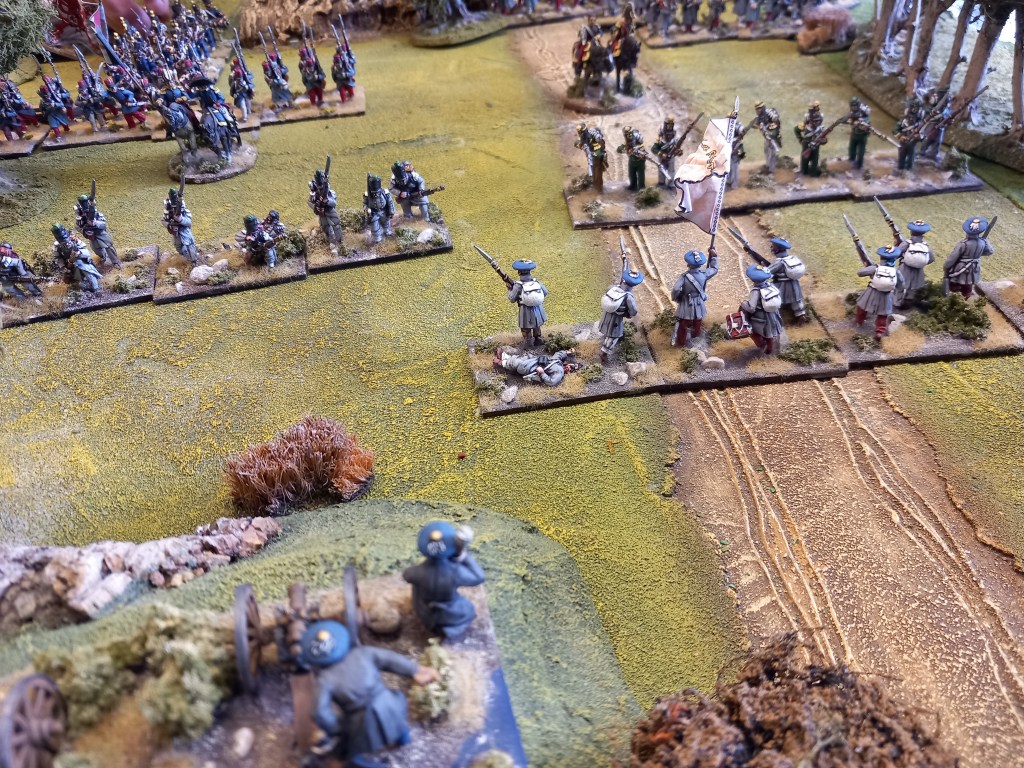
Out on the government right the lancers from the British Legion hurled themselves into the Carlist line.
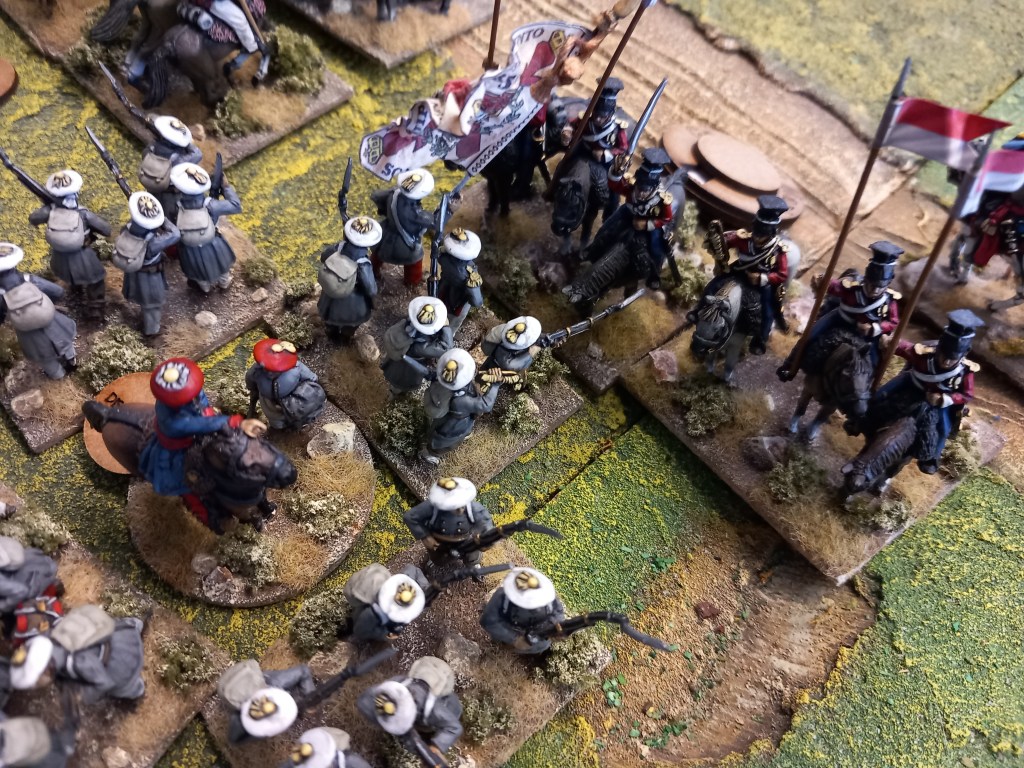
And desperate squares are formed as the first line falls.
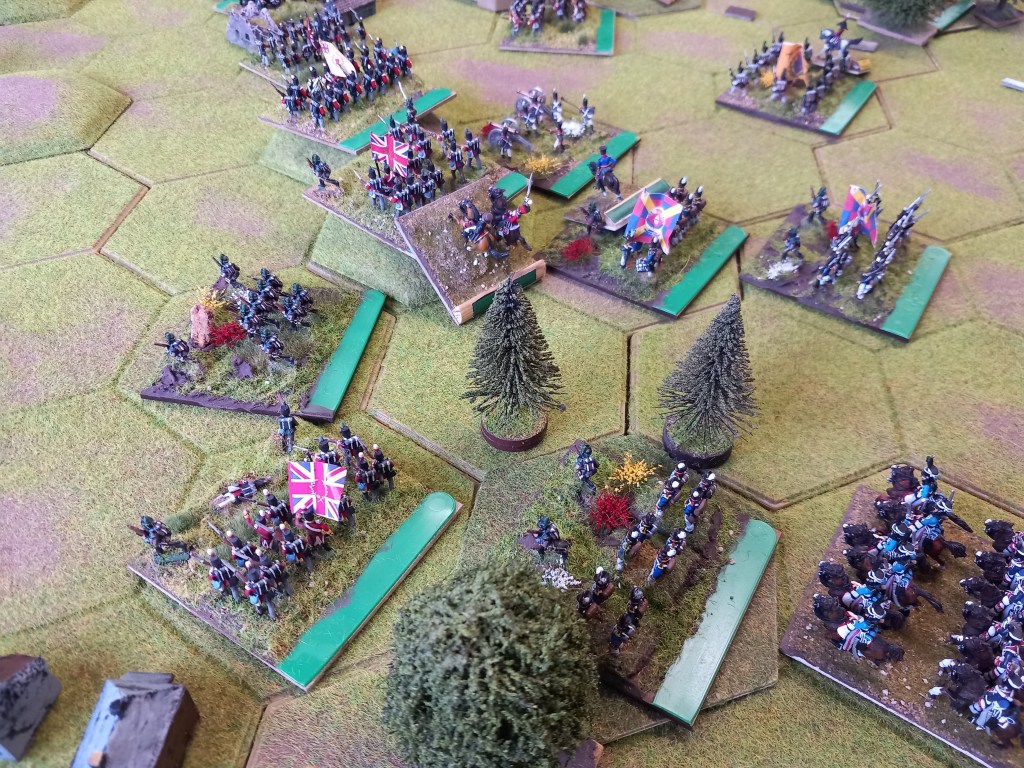
At them with the bayonet as opposing attack columns close.

Casualties on both sides mount but the Carlists now have three divisional generals dead on the field and so yield the ground. A bloody and pointless affair.
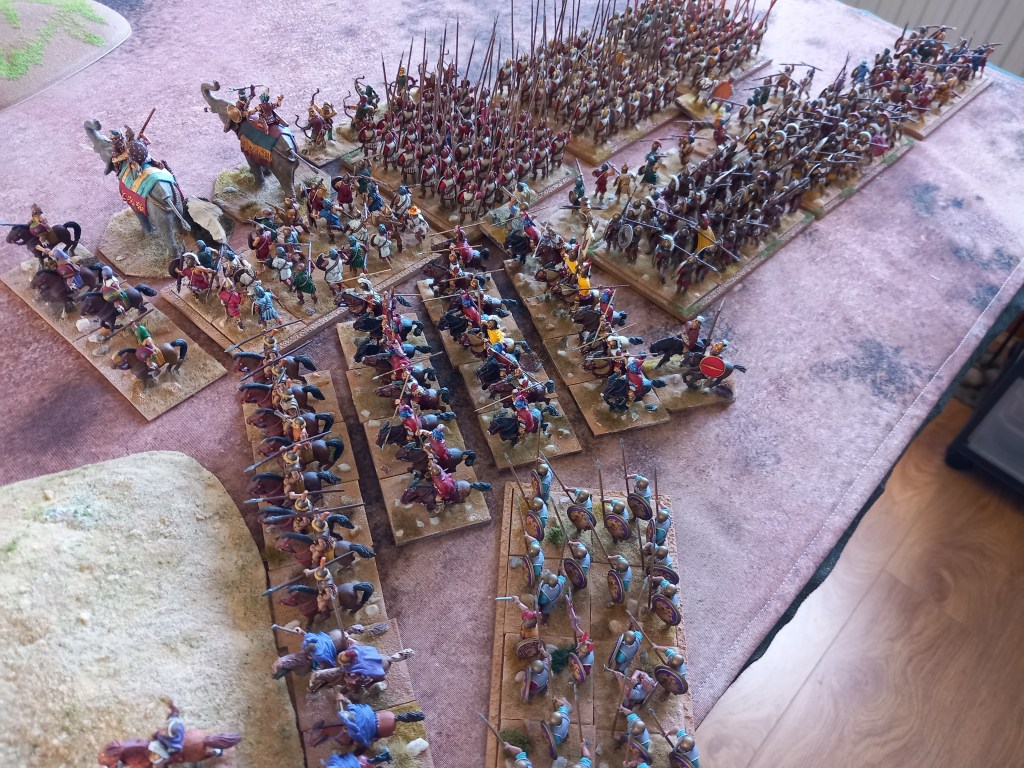
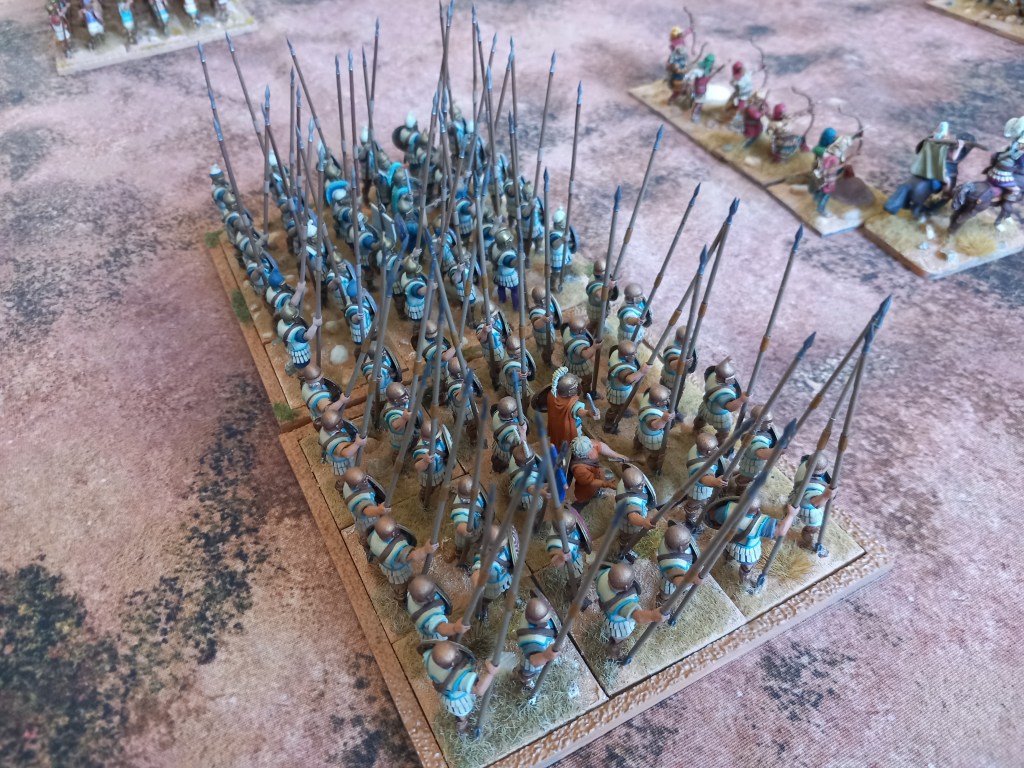
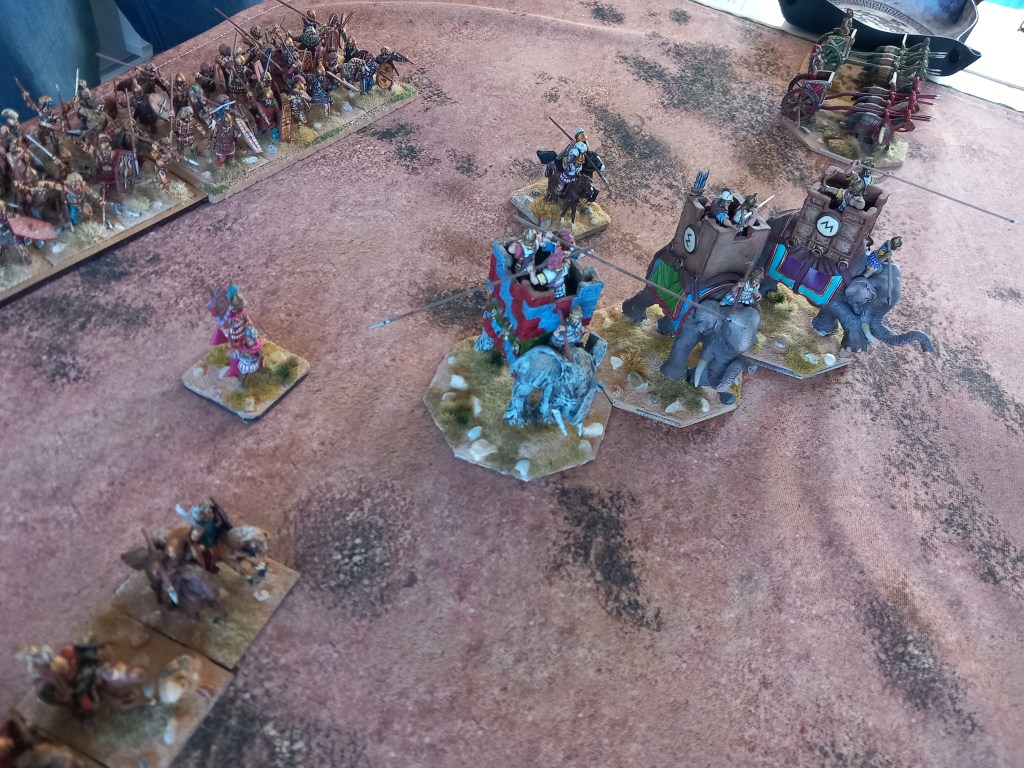
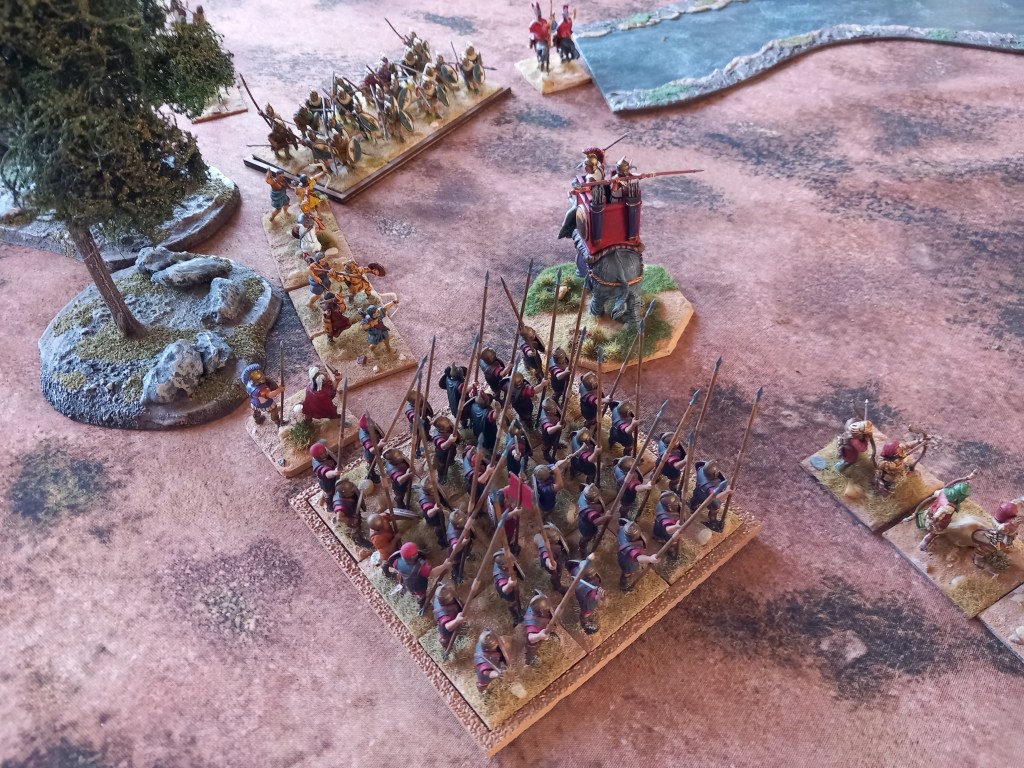
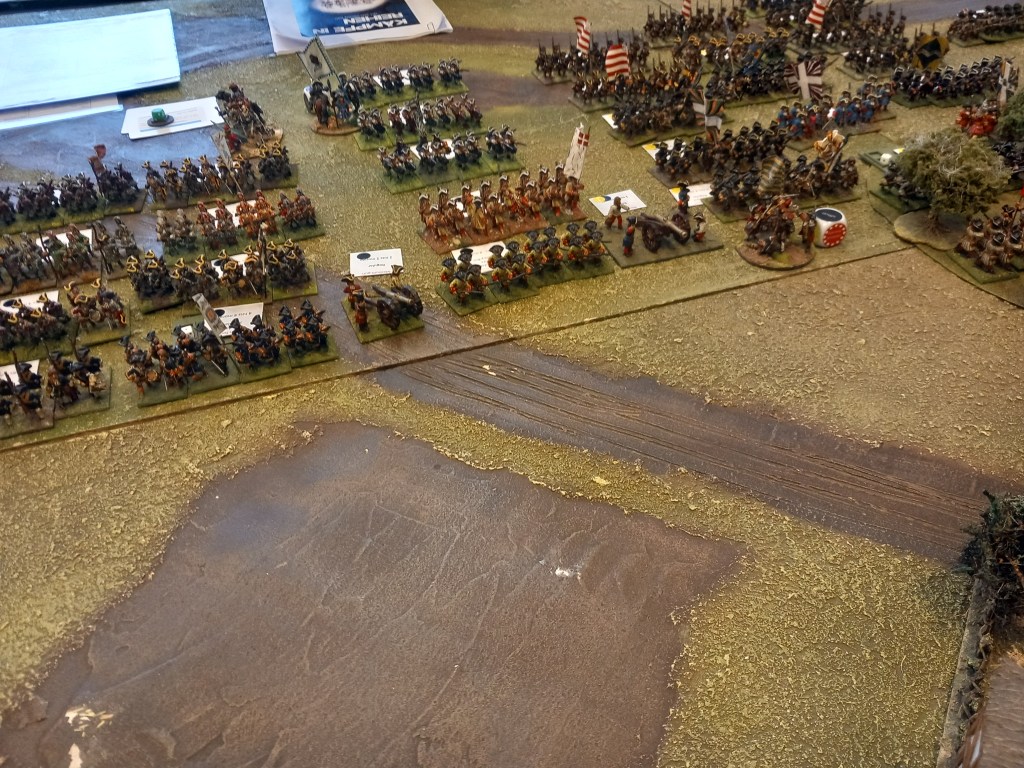
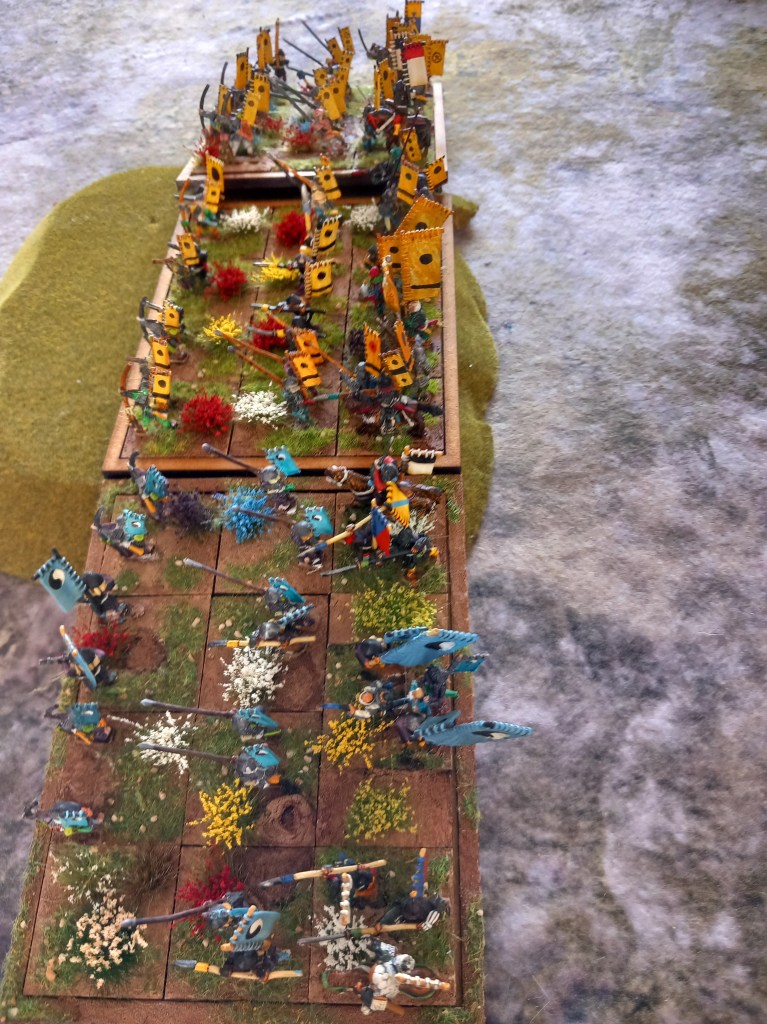
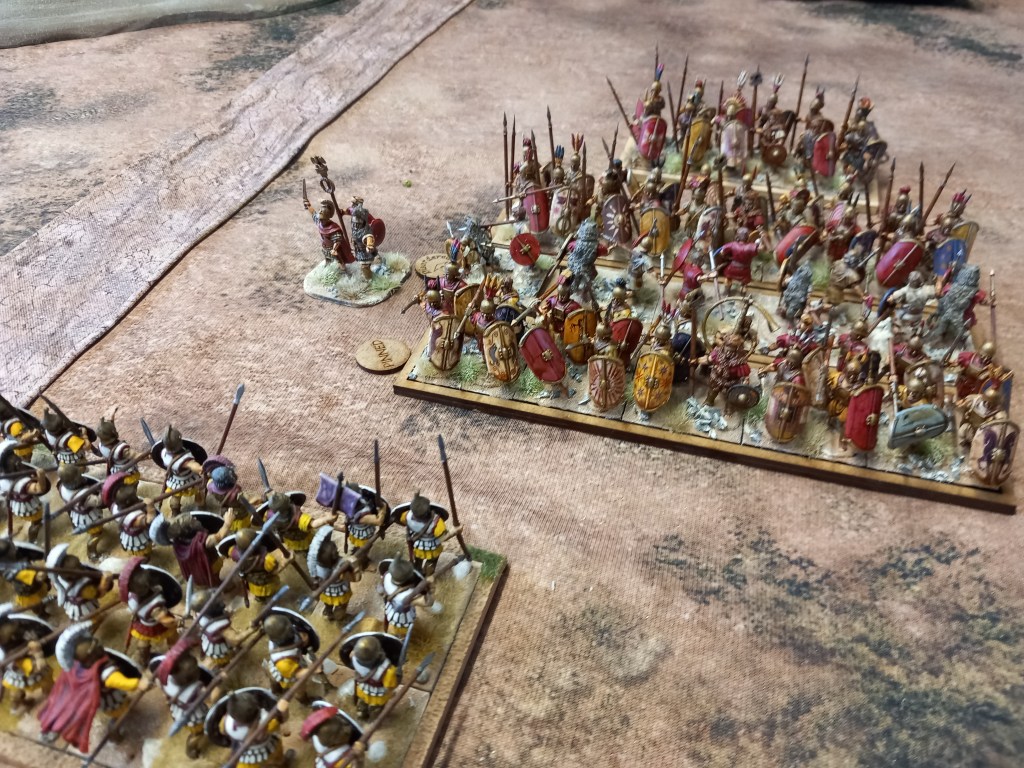
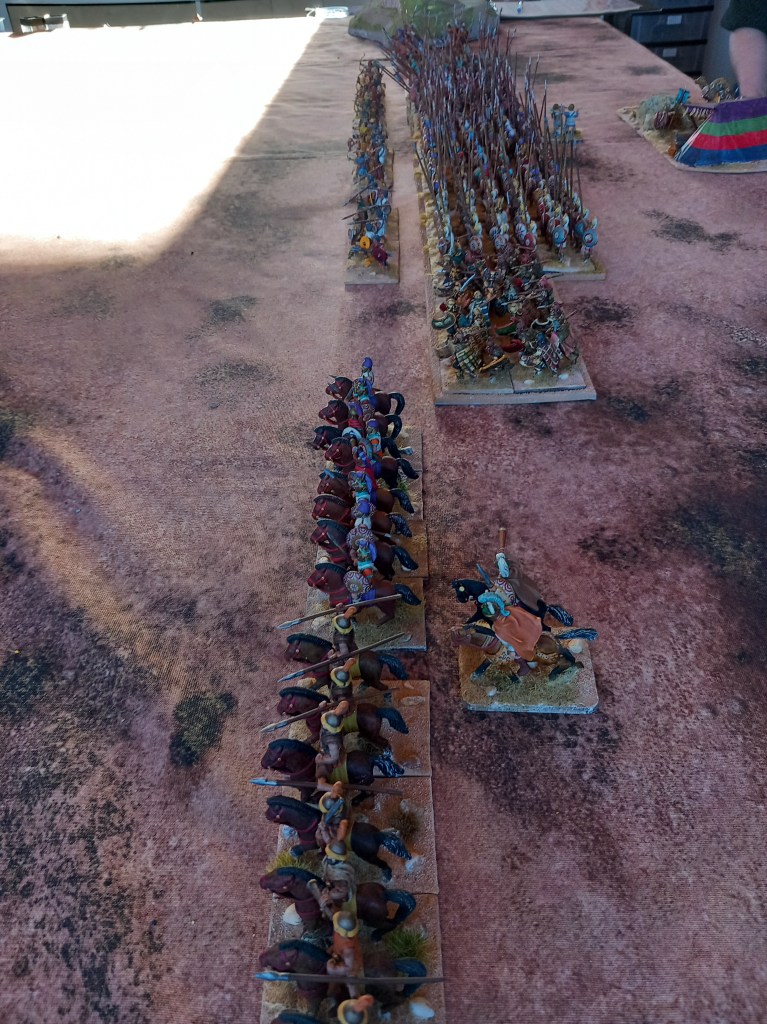
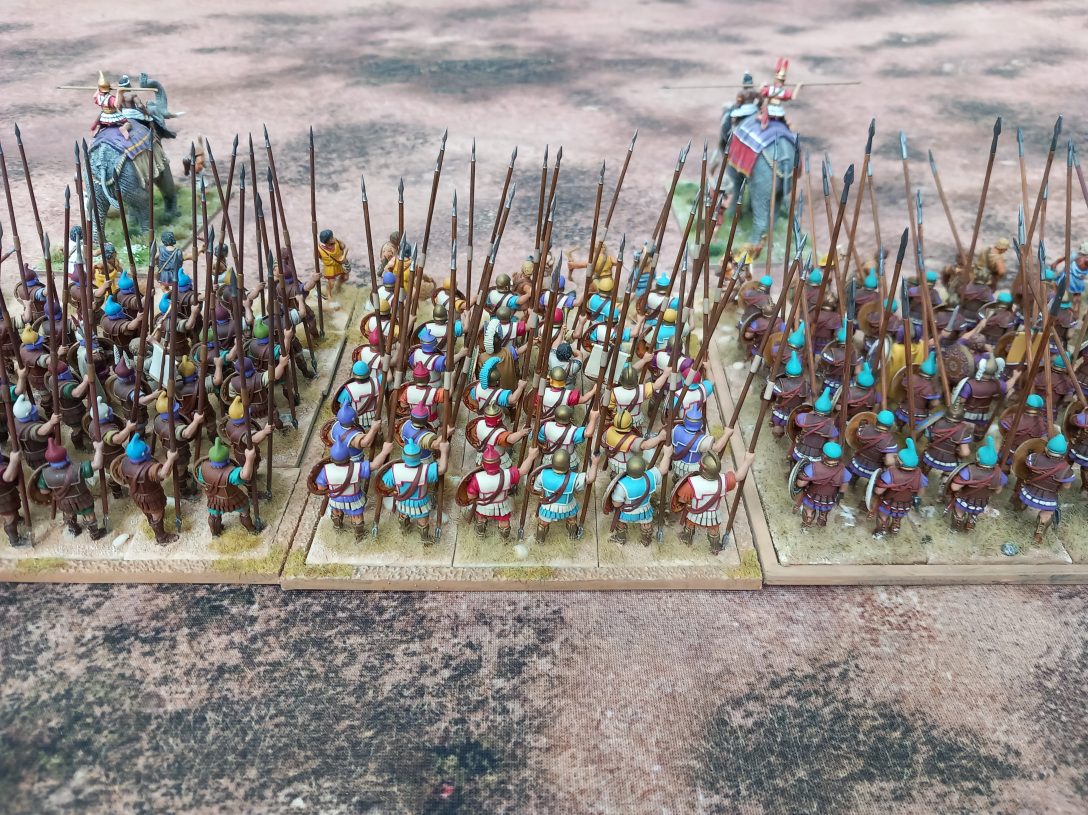
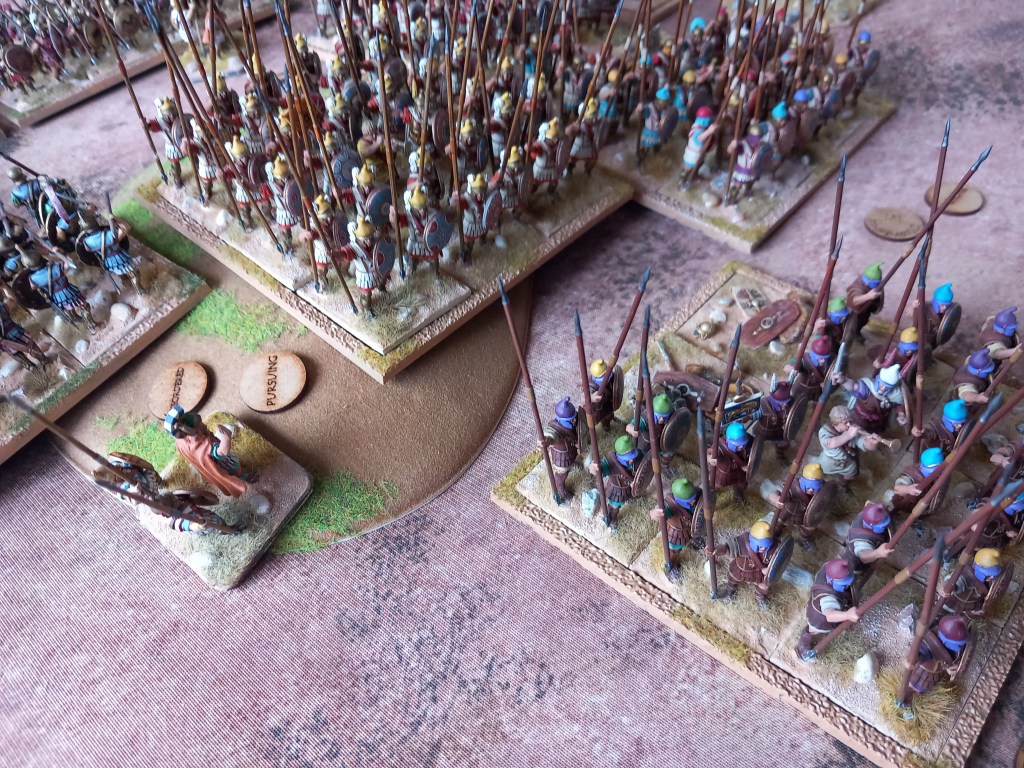
Our final effort was good old Successors, Antigonus v Eumenes.

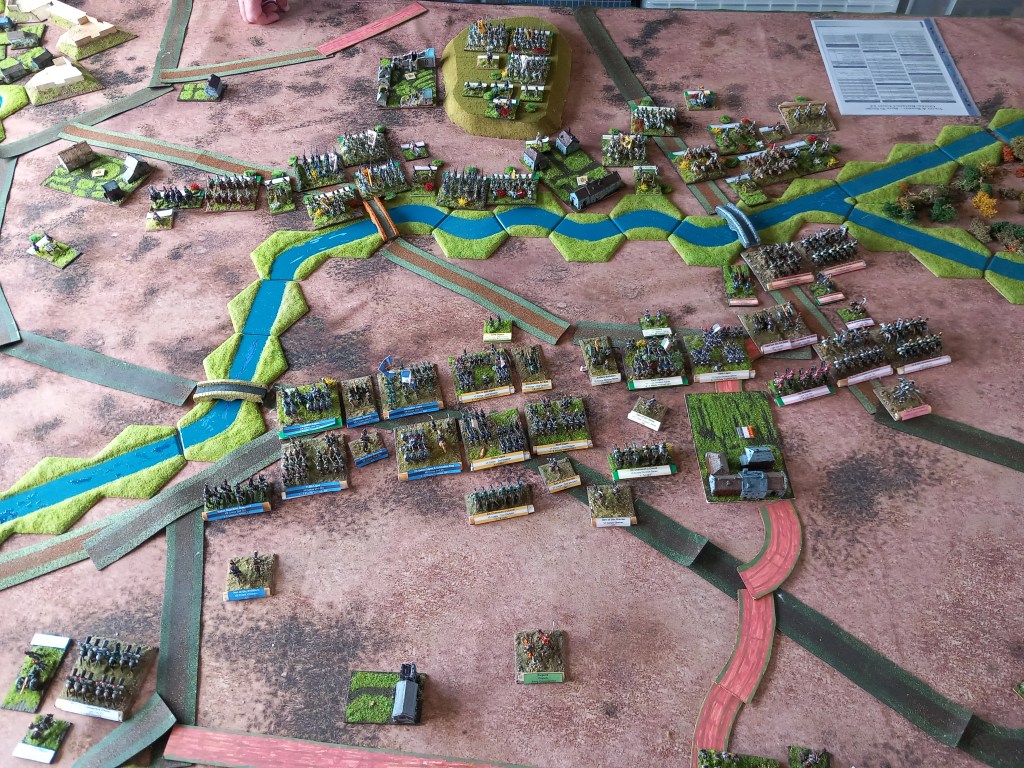
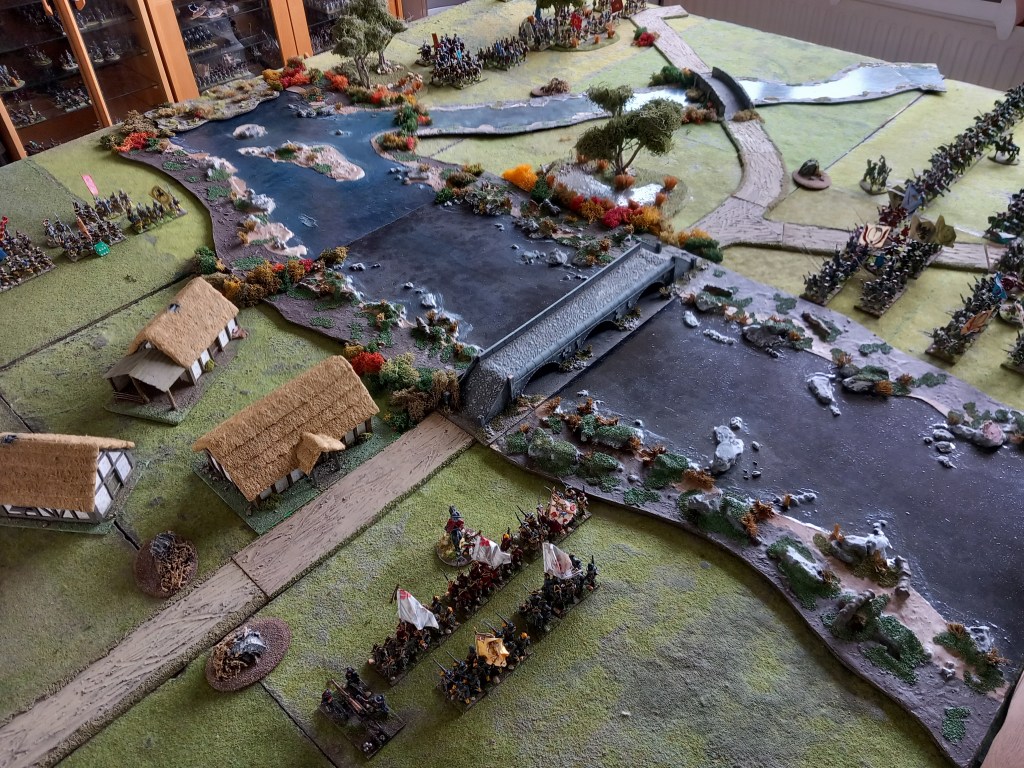
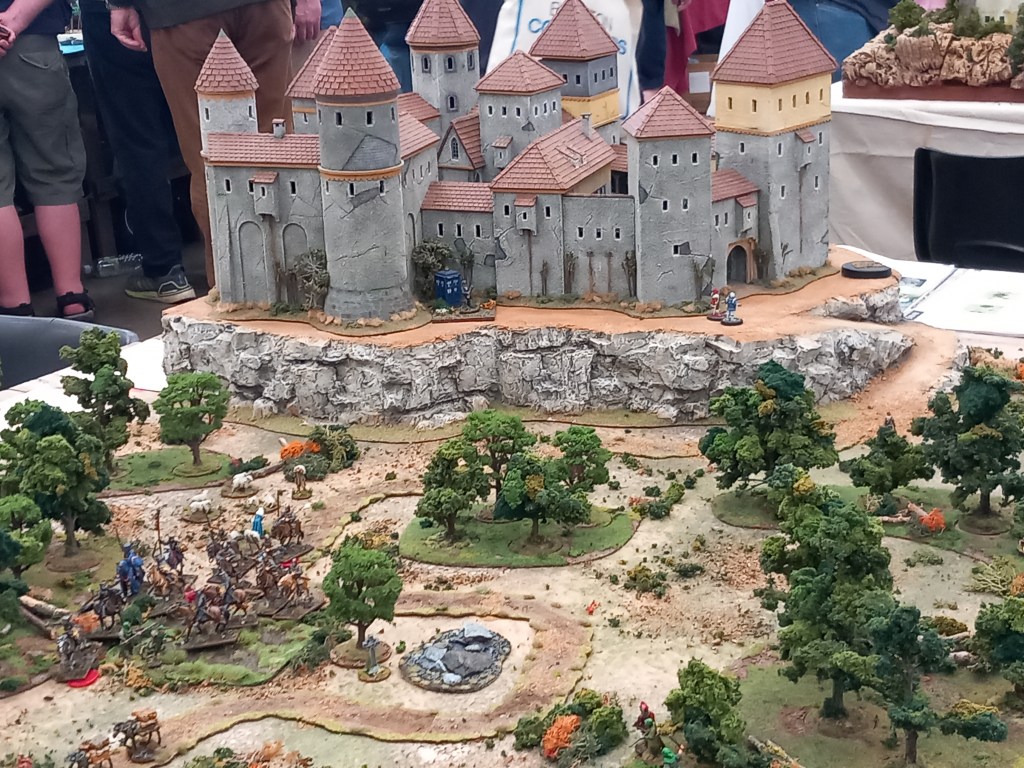
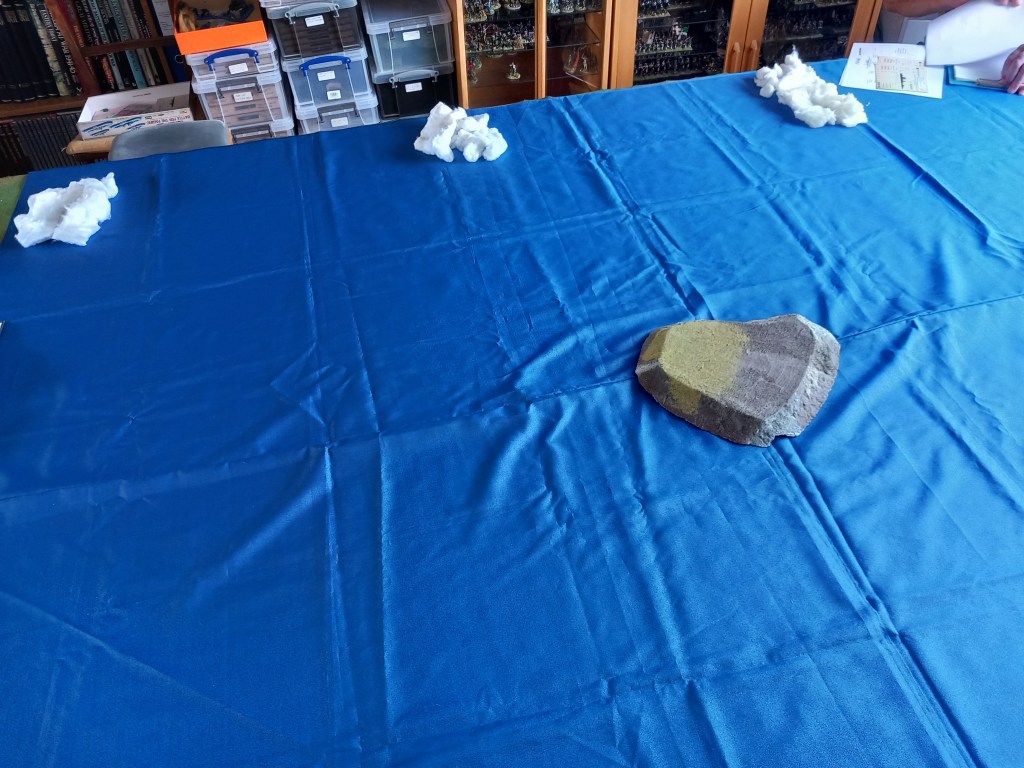
To try and get away from the usual slog across the open field, historical though it undoubtedly is, a more narrative approach was tried. In this, Eumenes is marching for his camp, placed beyond a fast flowing stream and approachable by a single bridge. Antigonus and his son Demetrious have split their forces in an attempt to out manoeuvre their old enemy and have ended up on the opposite side of the table in two constrained areas, Demetrious upstream from the bridge and Antigonus separated from Eumenes by several low hills. Both sides had constraints about which troops (and Generals) could be where and then drew disposition maps.

Demetrious had all the good cavalry plus a single elephant backed by two pike battalions, which soon got left behind in the rush for the bridge.
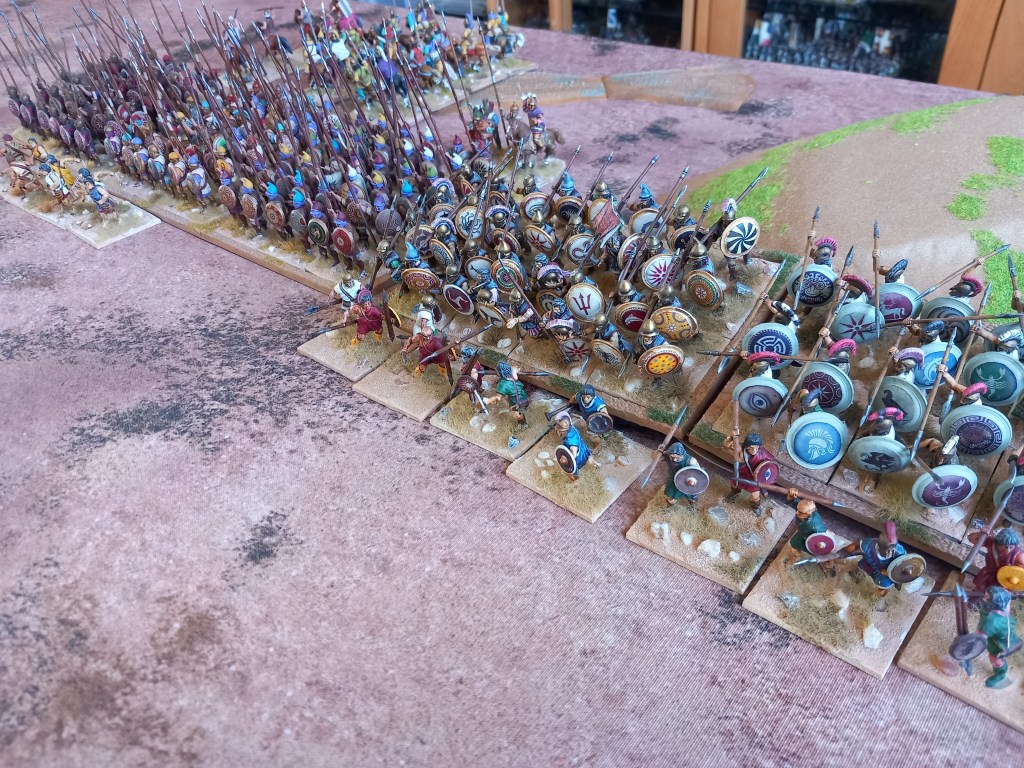
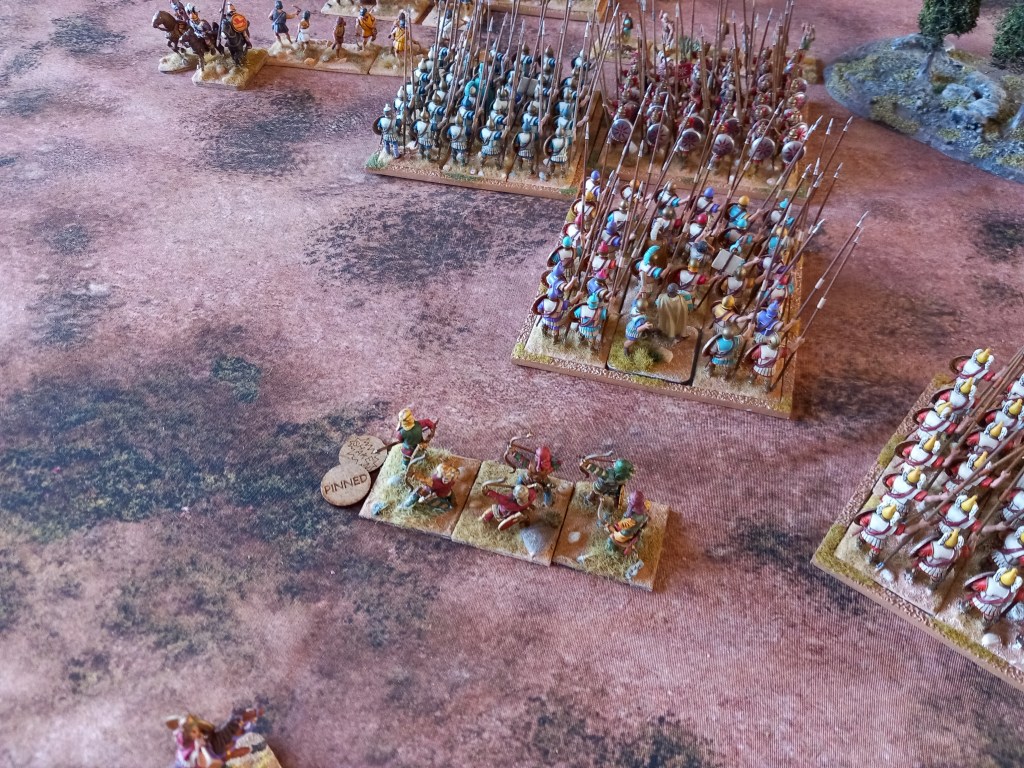
Antigonus had the main body of the infantry backed by some satrap cavalry.

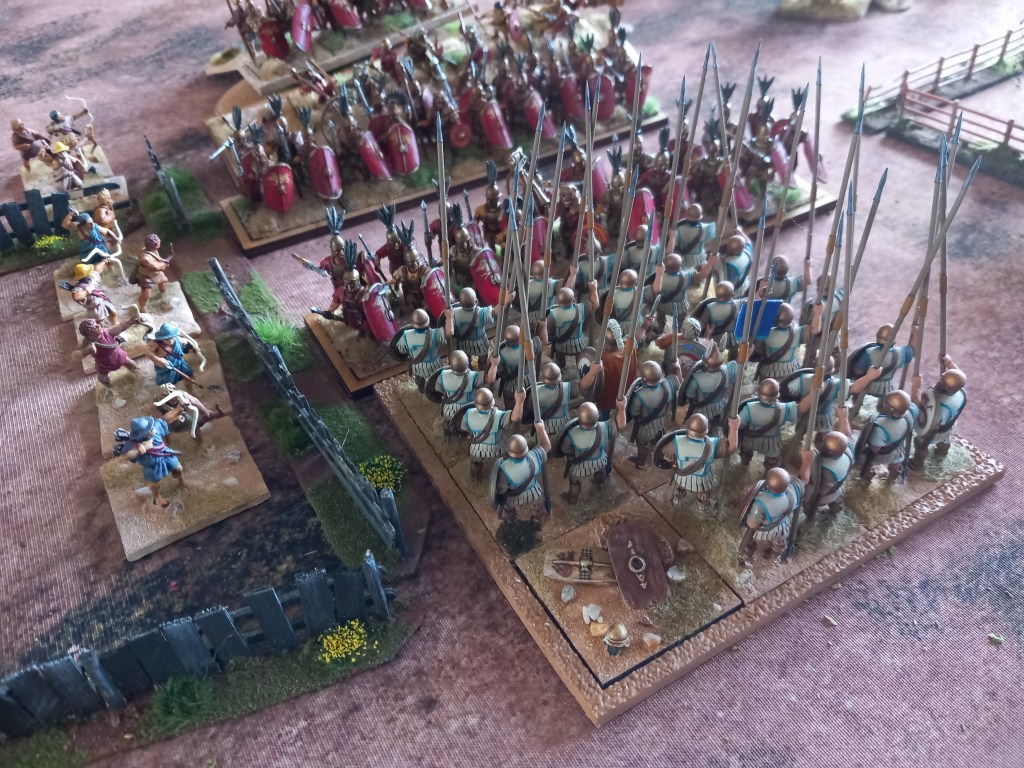
Eumenes opted to send his cavalry, backed by the Hypaspists, past the bridge to take on Demetrious and thus create a funnel behind them for the rest of the army to access the camp. But first those infantry were going to take on the host of Antigonus and see if they could do enough to make them pull back.
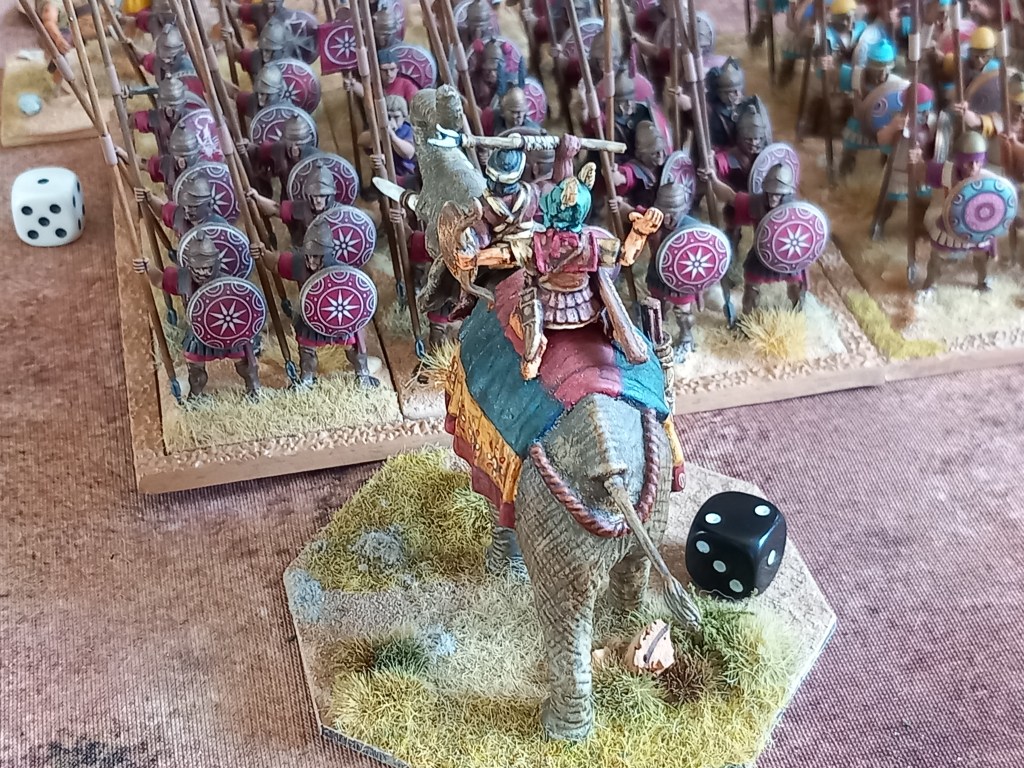
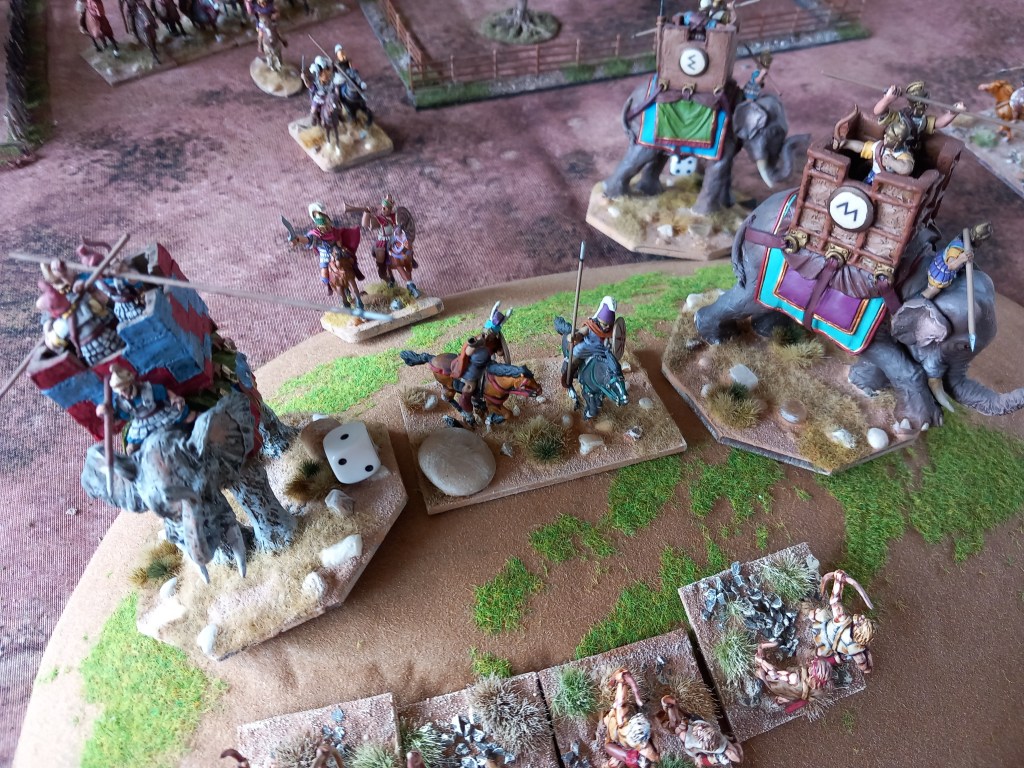
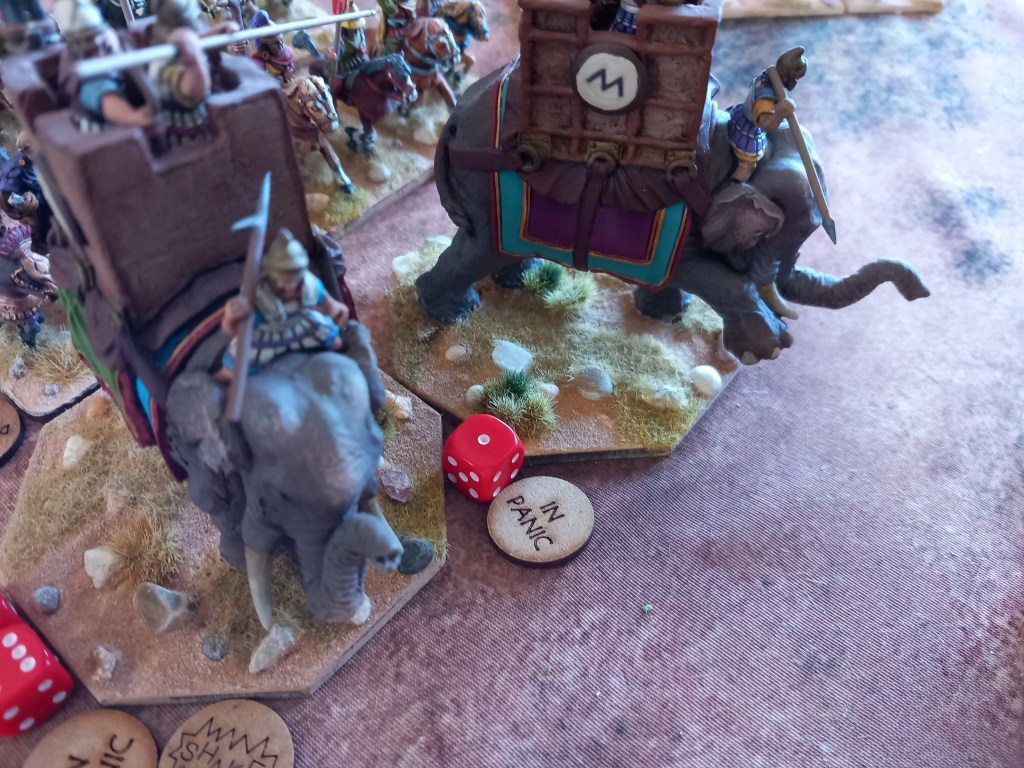
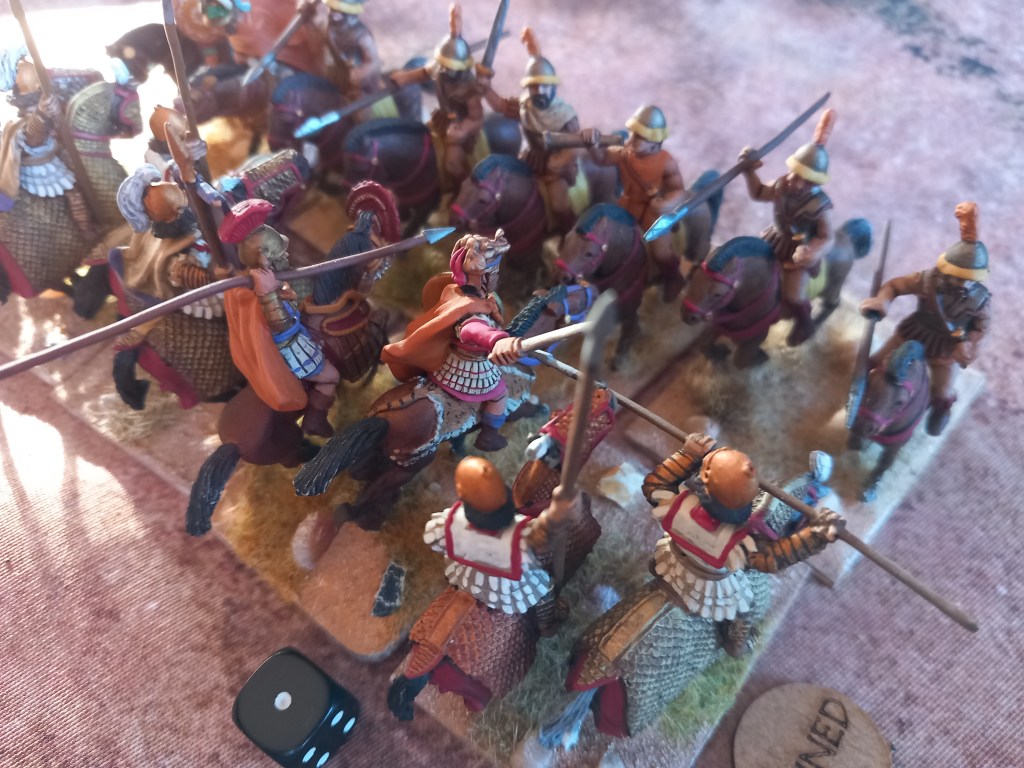
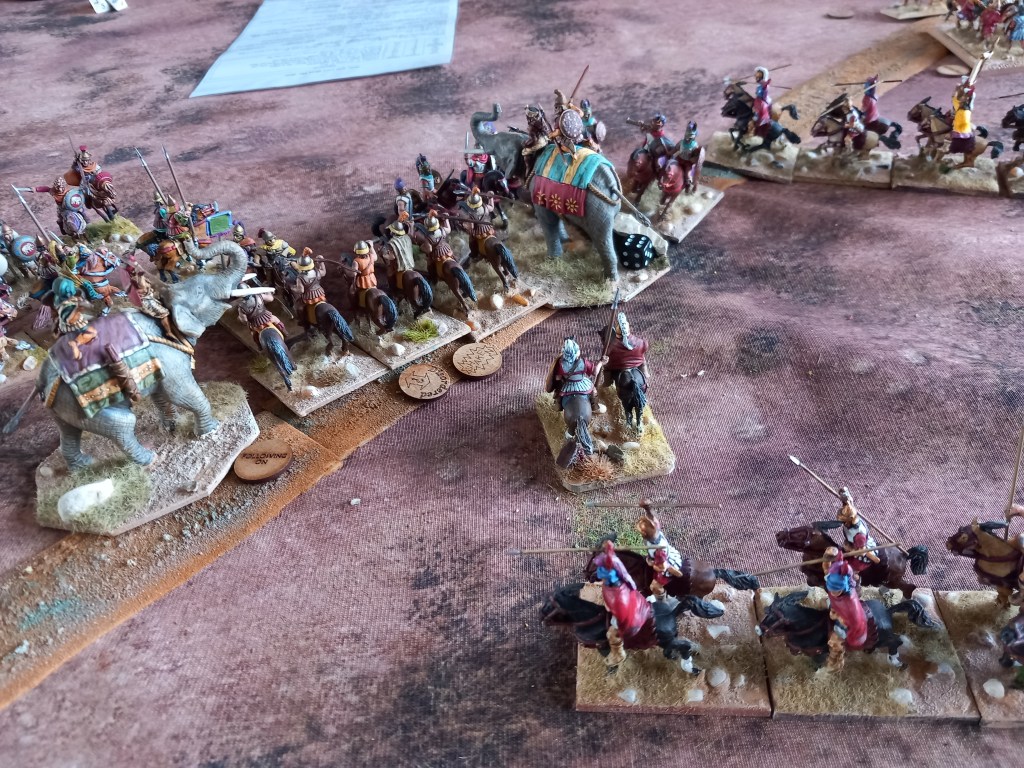
Eumenes had two elephant squadrons to the Antigonids one and so tried to use them as blockers. Here one crashes into the Antigonid veterans.
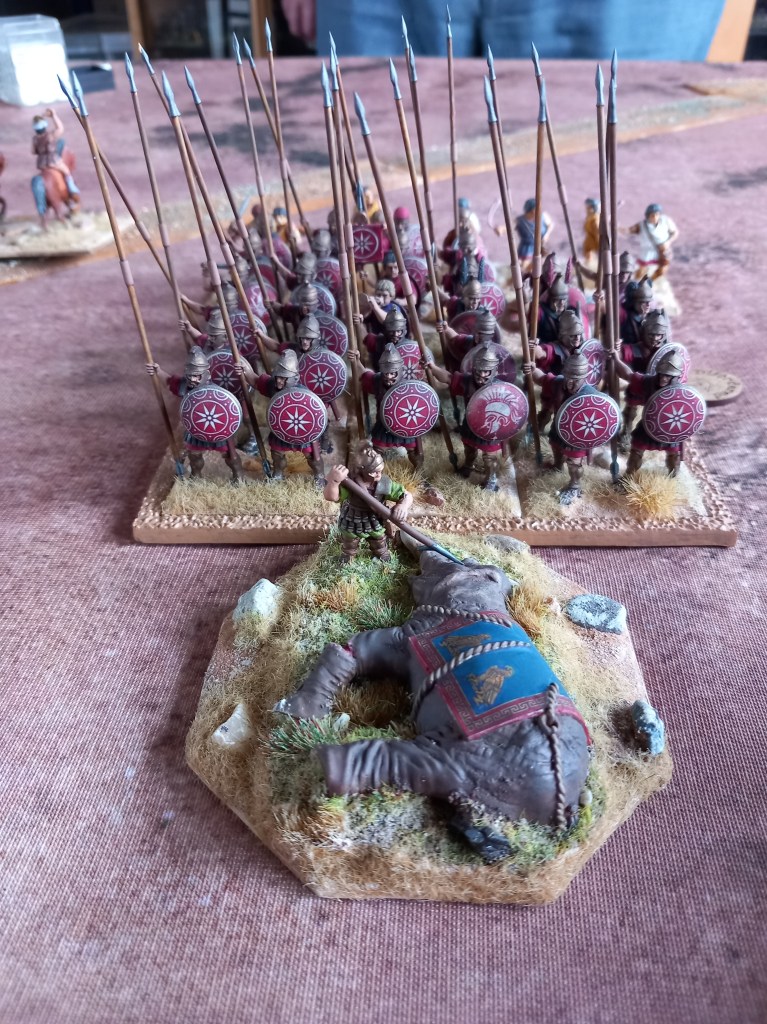
The result was inevitable but it did keep the veterans out of the pike clash which was about develop.
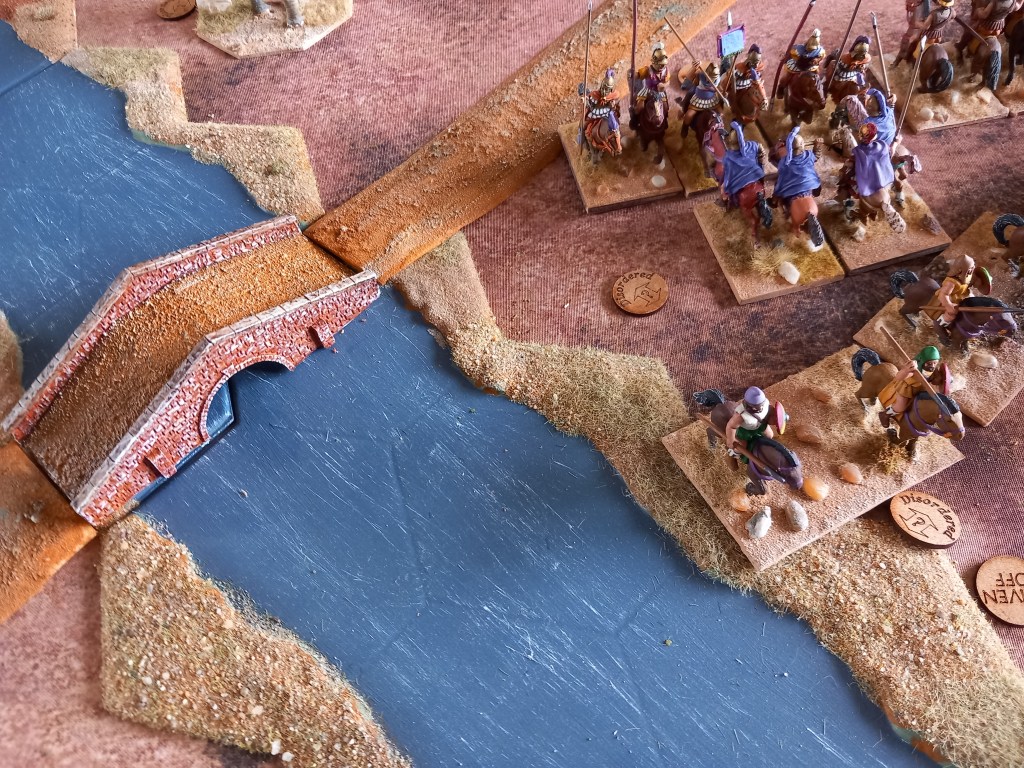
At the bridge, Demetrious just about won the race and the cavalry melees set in.

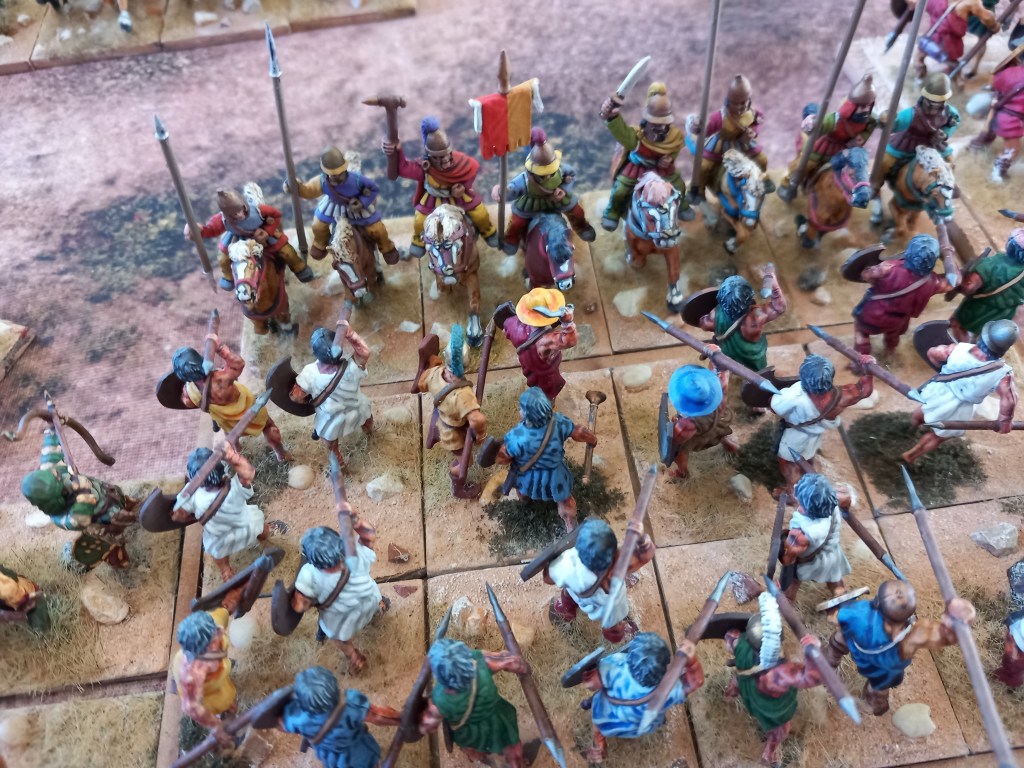
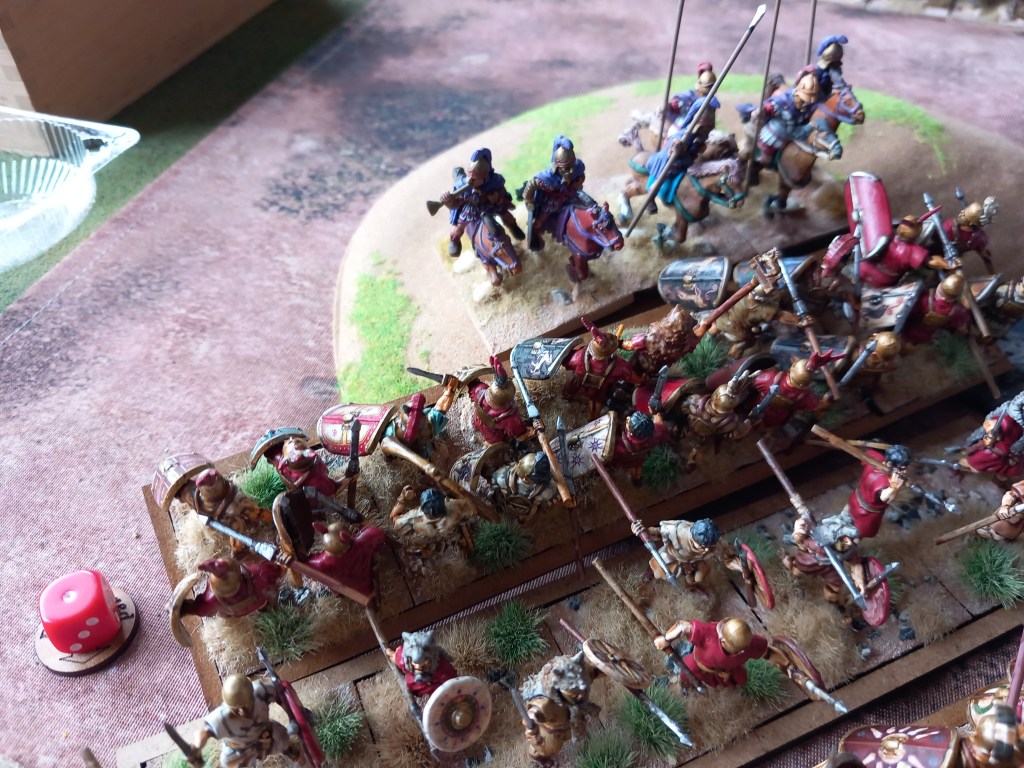
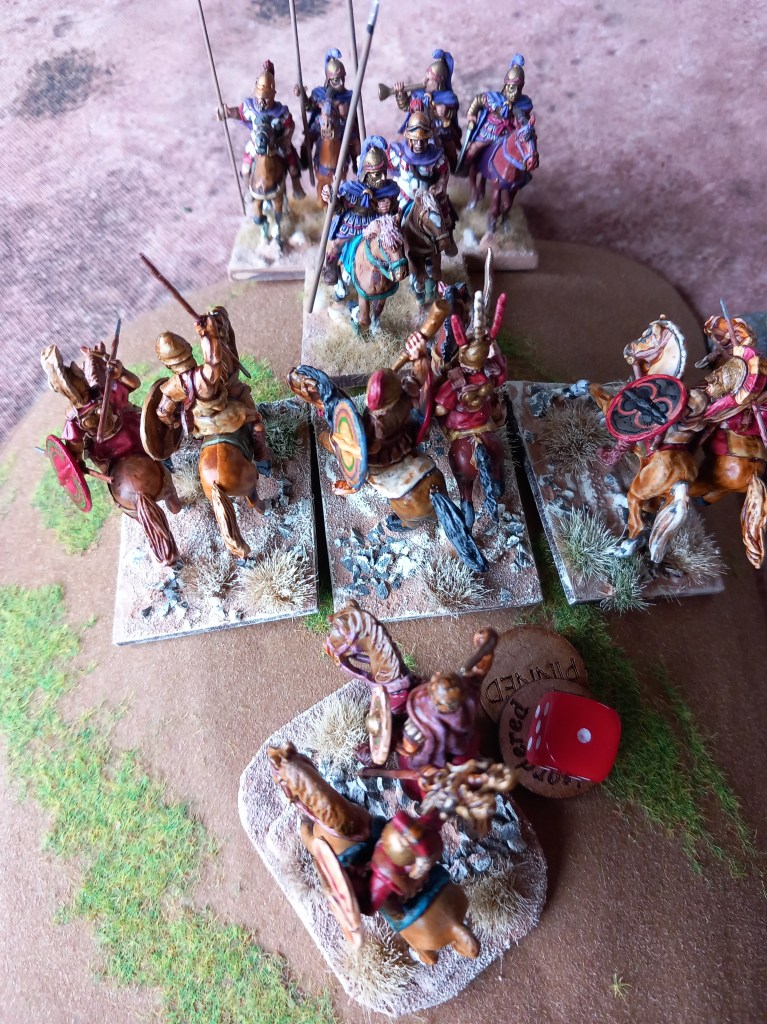
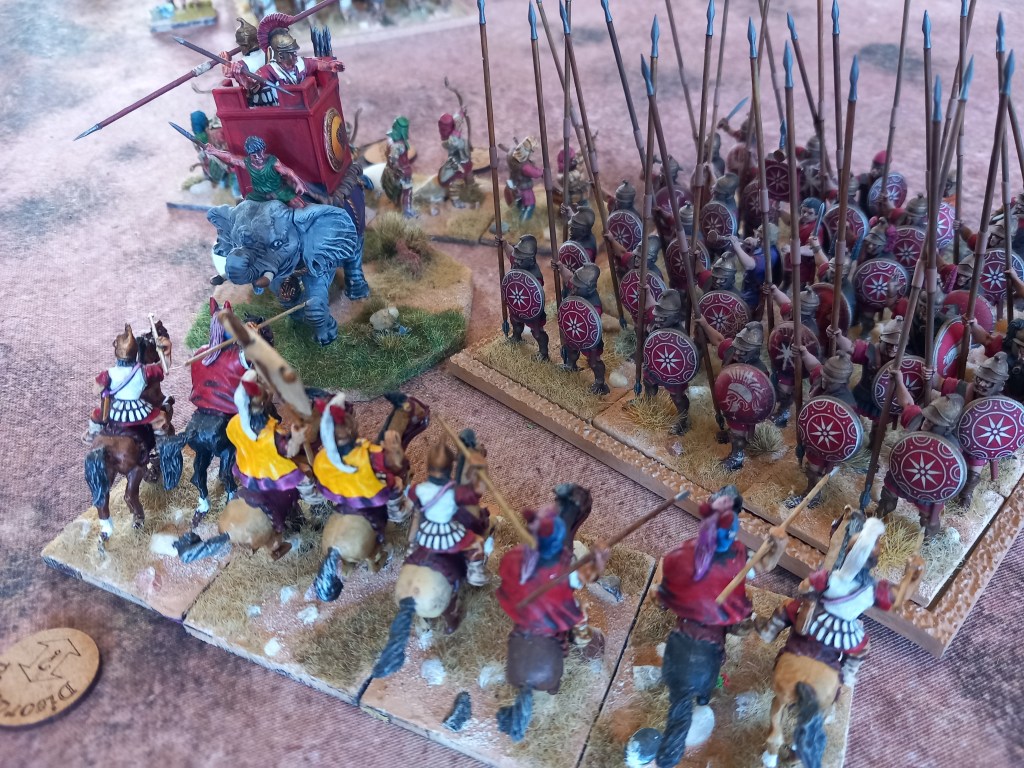
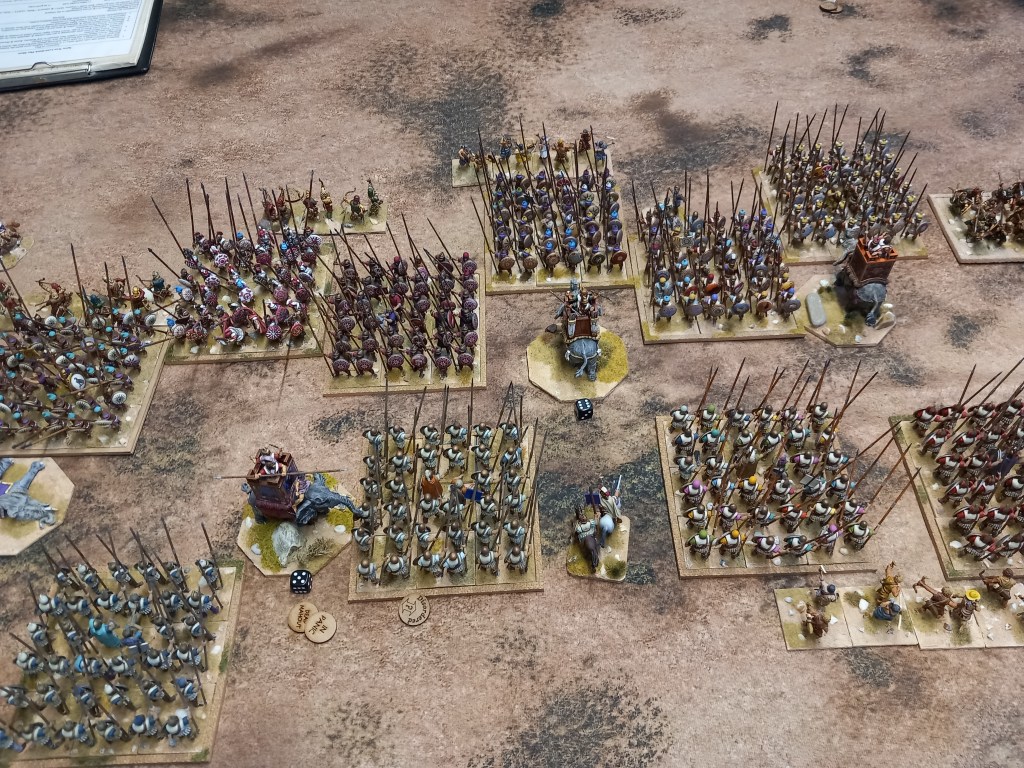
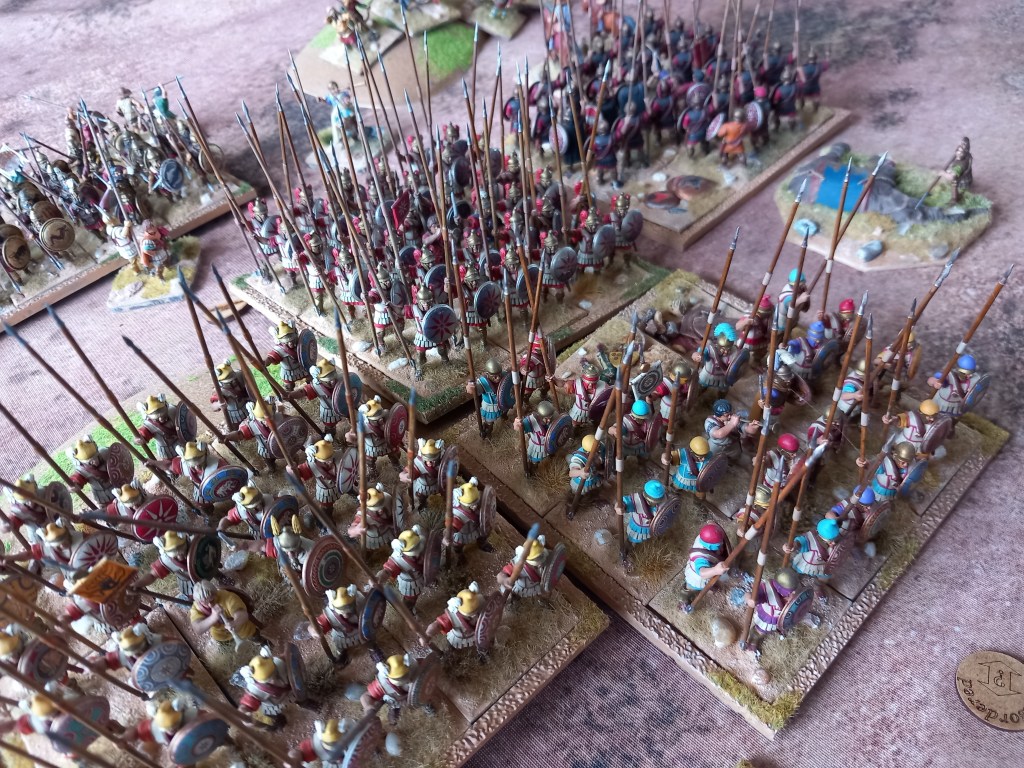
Out on the Eumenid right the big fight was about to happen and as can be seen the Antigonid veterans (top left) are delayed. in the foreground both of Eumenes infantry commanders have joined a battalion, Antigenes with the Silver Shields on the left and Teutamus in the centre. Antigonus himself, seen on the hill to the rear, didn’t commit himself and that would prove problematic.

After a couple of turns of bluster (also known as failure to charge rolls on both sides) it was the Eumenids who surged forward and the fight was on!

Back at the bridge the fight was in full swing as both sides fed horse and elephants into the fray. The action was favouring Demetrious but the killer blow was yet to be delivered.
On the hills the killer blow had been struck and the central Antigonid pike battalions collapsed and fled. The presence of Antigenes & Teutamus had kept the Eumenids in the fight at the critical moments.
There was still some fighting to do. The third Eumenid pike battalion was making hard work of finishing some hoplites but the inevitable would not be long and the Antigonid veterans were free and clear but alone.
At the bridge Demetrious was still battling away as Eumenes fed more troops into the fray but with his dad’s forces on the run we concluded discretion would be the better part of valour. The great Antigonous/Eumenes contest would continue for another season.
And that was the month, another fine one. Not much on the painting/modelling front, spare time has been spent on completing the rules for my Timurid forces and rebasing for the third (and last) time, hopefully they will see the table in a trial run next month. Until then, play nice and enjoy the weather.