The summer is spluttering to an end but it’s been a good month for gaming.
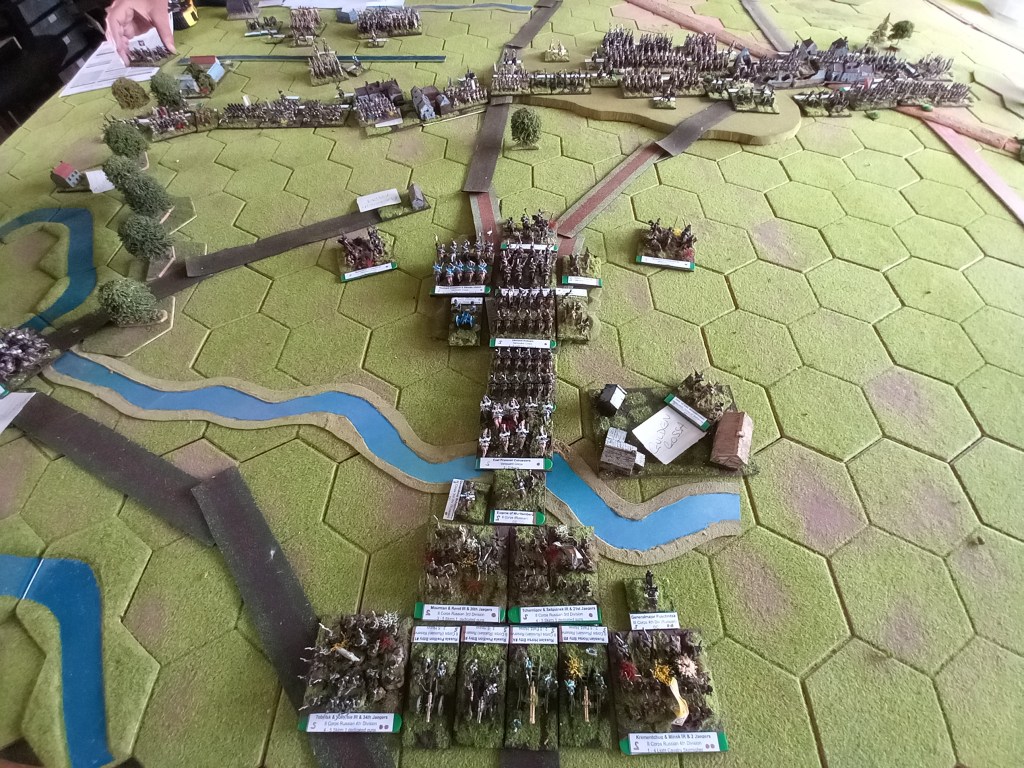
Our first outing of the month was a refight of the Battle of Liebertwolkwitz, 14th October 1813 using the 15mm Napoleonic collection.
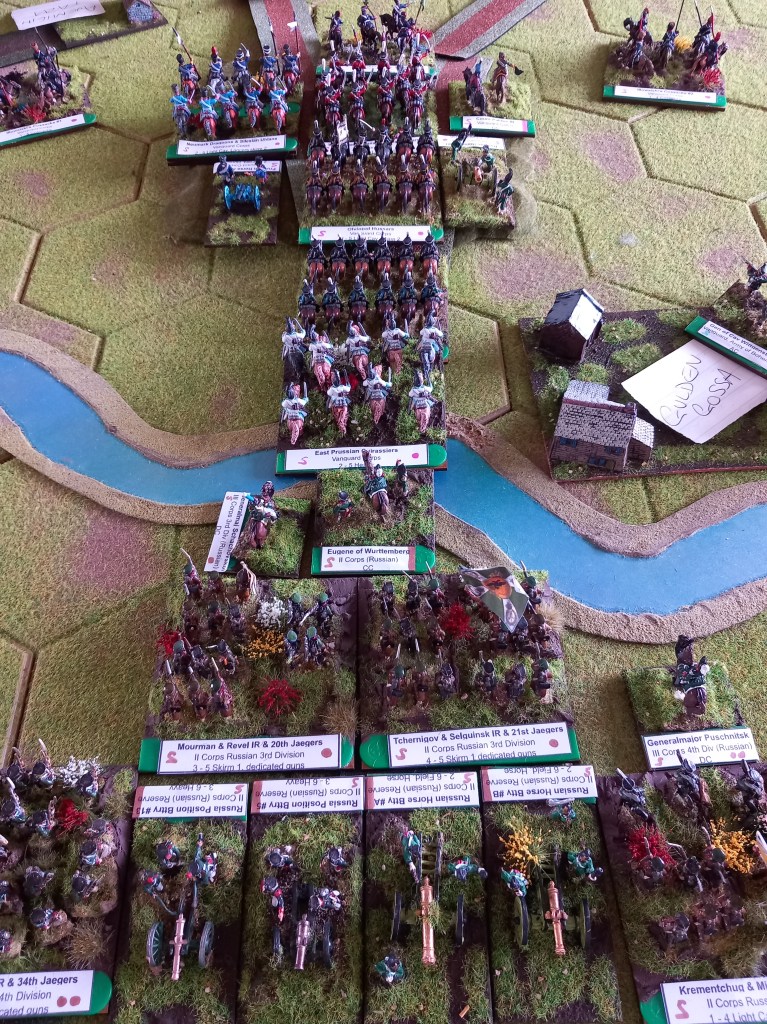
For those interested in the history, this was a prelude to Leipzig two days later and is known to history as the largest cavalry battle of the wars. With all the manoeuvring post 1812 Napoleon was initially hoping to deal first with Blucher’s Army of Silesia, but decided to join Murat against Schwarzenberg’s Army of Bohemia. He ordered Murat to make a stand south of Leipzig, along the line Mark-Kleeberg – Wachau – Liebertwolkwitz, with the intention of holding off the Army of Bohemia until he could bring his reserves to bear. Under no circumstances was he to become over-engaged in heavy combat. But Murat being Murat he committed himself to the attack and both sides got sucked into an ever growing battle that should never have been. The combat swayed back and forth but by the late afternoon both sides were essentially back where they started but the French cavalry losses were something that could be ill afforded.
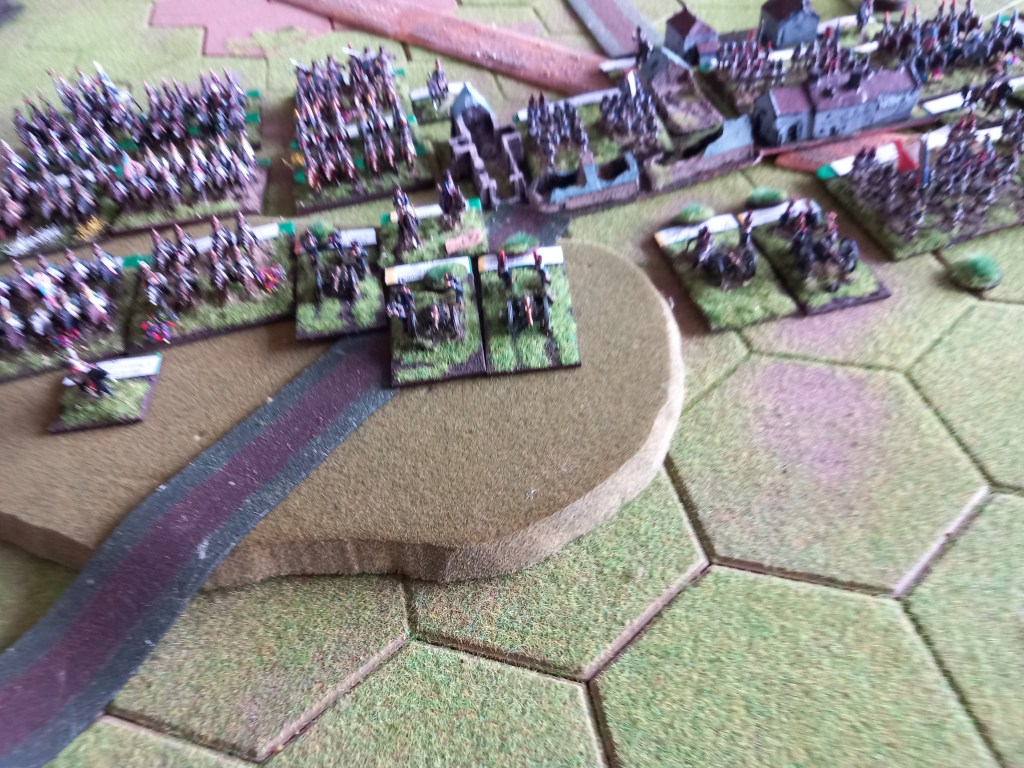
In our battle the French were deployed in their historical positions along the Mark-Kleeberg, Wachau, Liebertwolkwitz, Holzhausen, Zuckelhausen line we heavily borrowed from https://www.jemimafawr.co.uk/2026/02/07/the-leipzig-overture-the-cavalry-battle-of-liebertwolkwitz-14th-october-1813-a-scenario-for-napoleons-battles/ and the Allies with Pahlen’s light cavalry vanguard on table as well as the infantry divisions of Baumgarten and Mohr, everything else was marching on from turn 2 to 7 in a notionally 10 turn game.
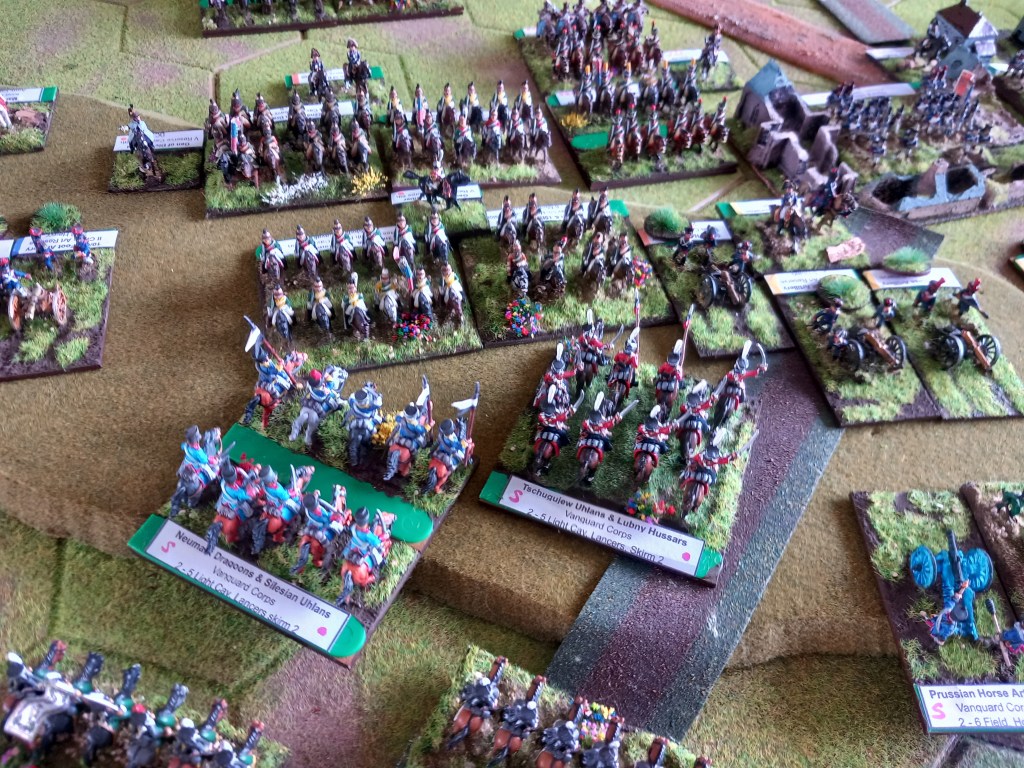
Our battle opened with Pahlen throwing his hussars against the main French positions on the Galgenberg, not with any real hope of success but with the hope of pinning back any French advance. The lack of success certainly played out and Pahlen’s vanguard collapsed in pretty short order.
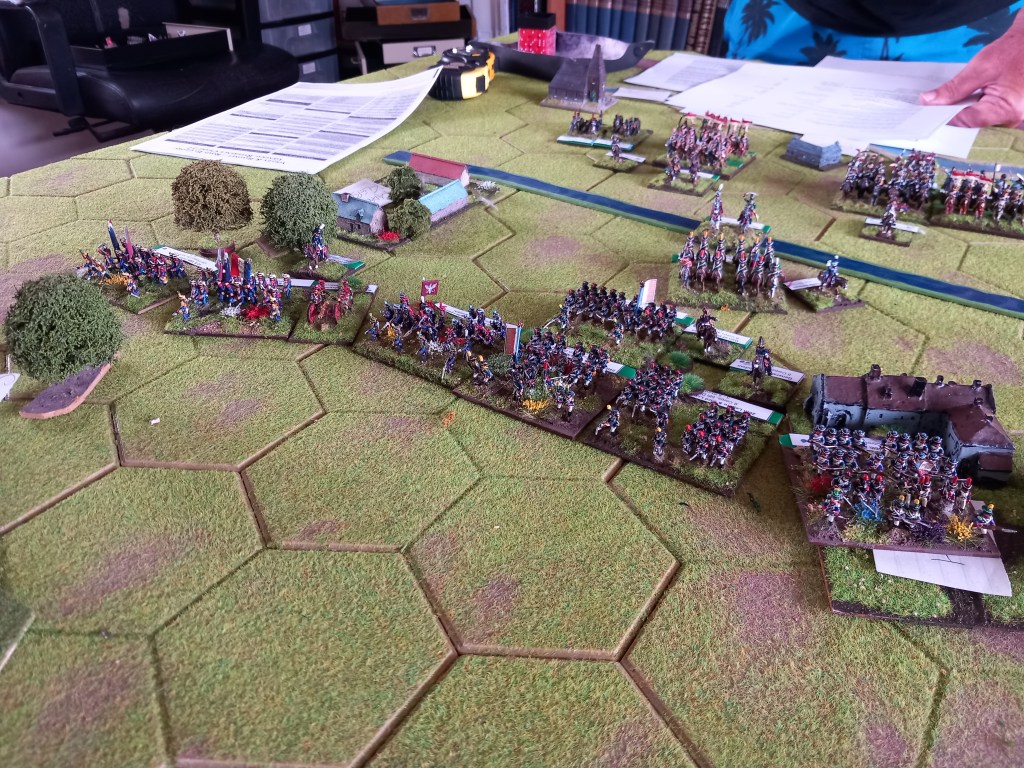
Much like the real thing the battle did develop a momentum of it’s own as the Allies arrived piecemeal and attacked piecemeal rather than developing a consolidated front. On the French side Murat behaved himself and concentrated on preserving his cavalry wherever he could.
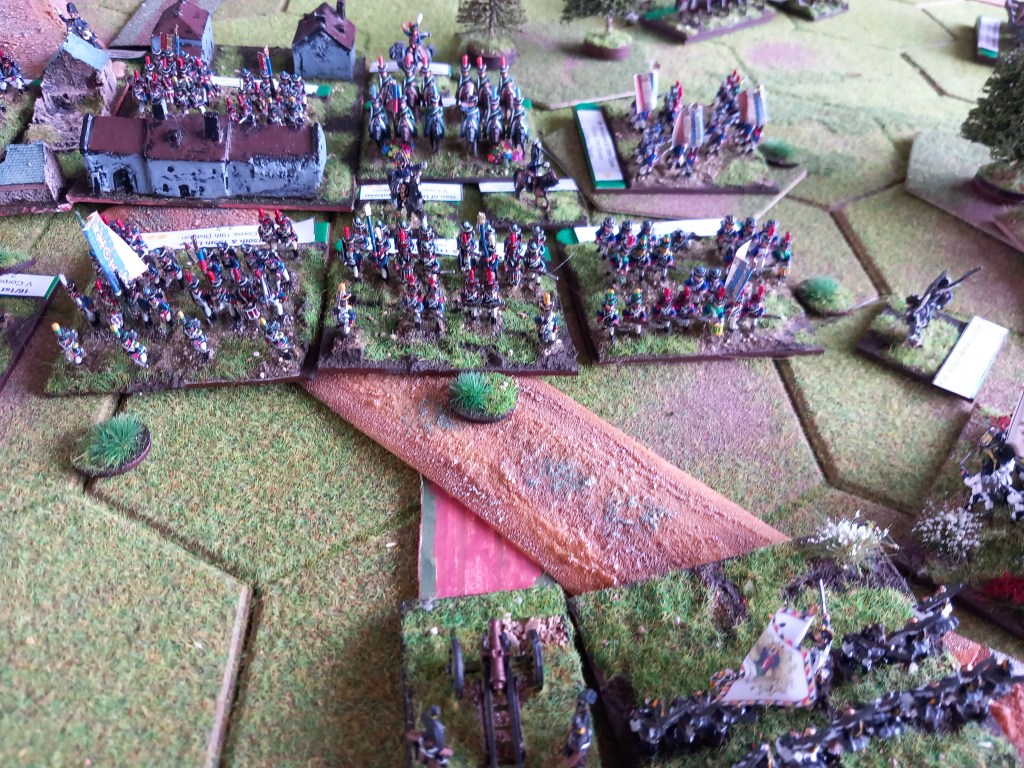
The next big push was the infantry of Mohr and Baumgarten towards Liebertwolkwitz itself which equally came unstuck and collapsed ultimately engulfing the whole of Klenau’s Corps, Baumgarten’s division and the 1st, 2nd & 3rd Divisions virtually ceasing to exist.
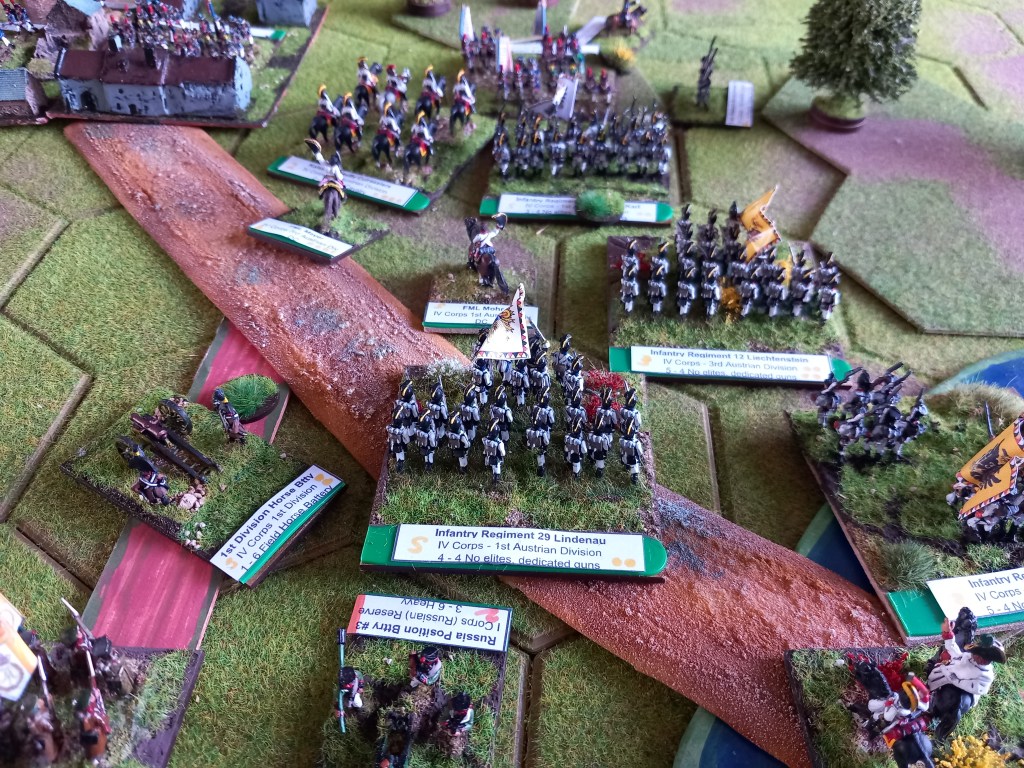
Mohr certainly gave the French something to think about but not enough.
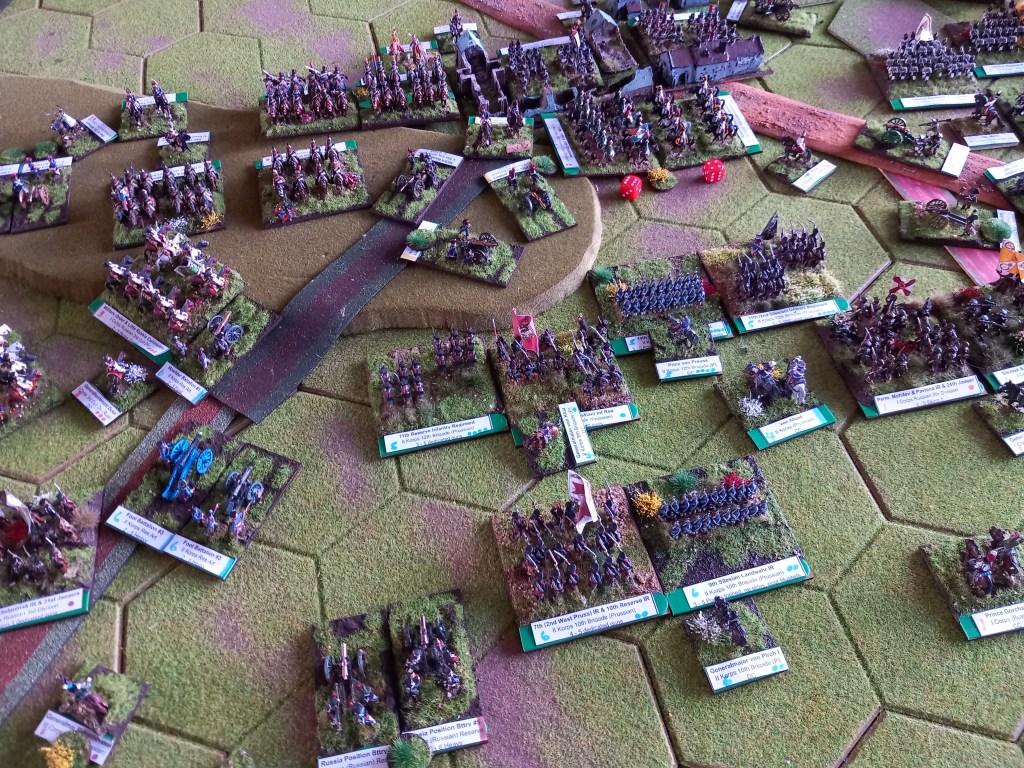
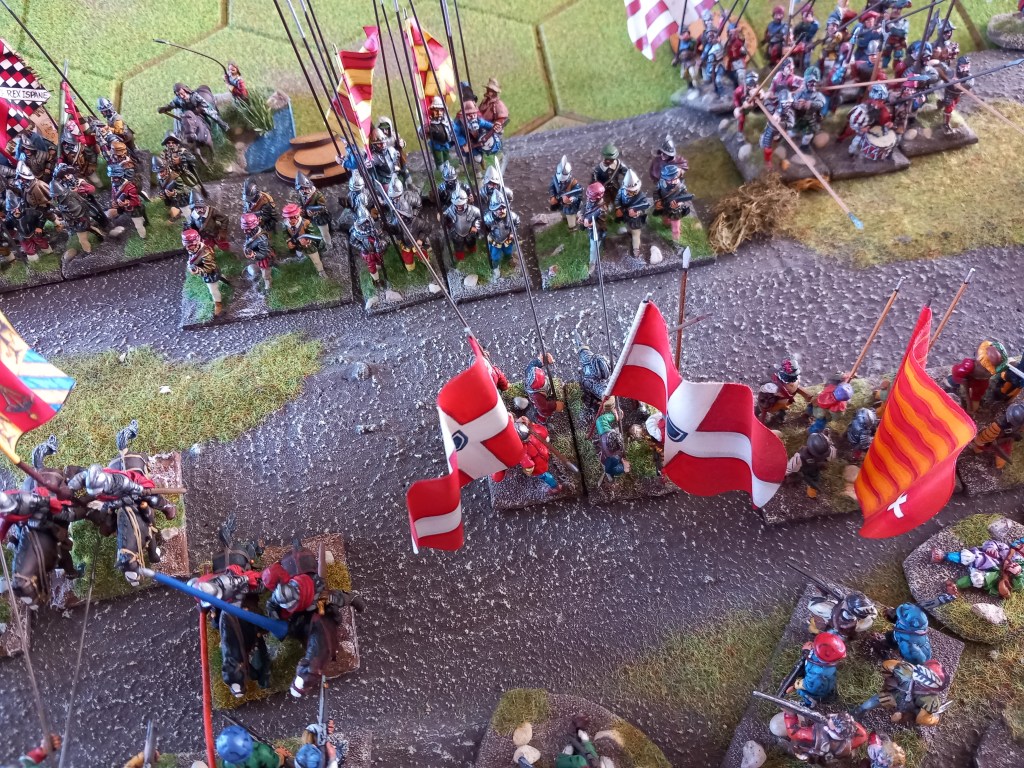
We did have a storming of Liebertwolkwitz and the heights and you’ll have to admit it does look dammed impressive.
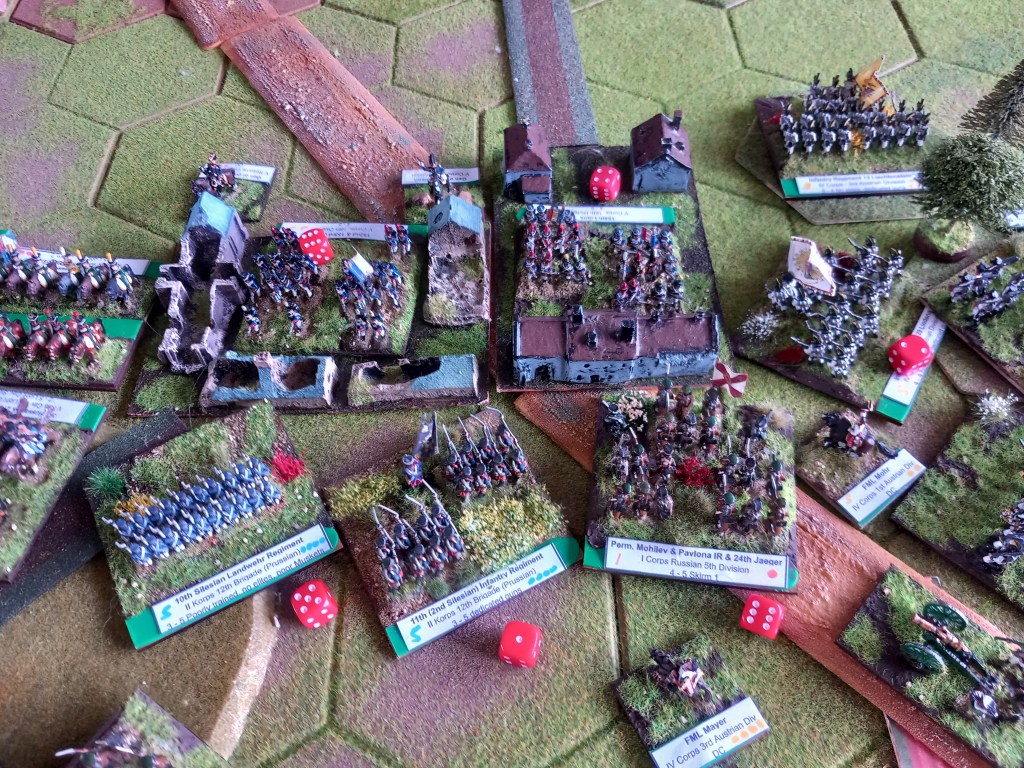
And it was close.
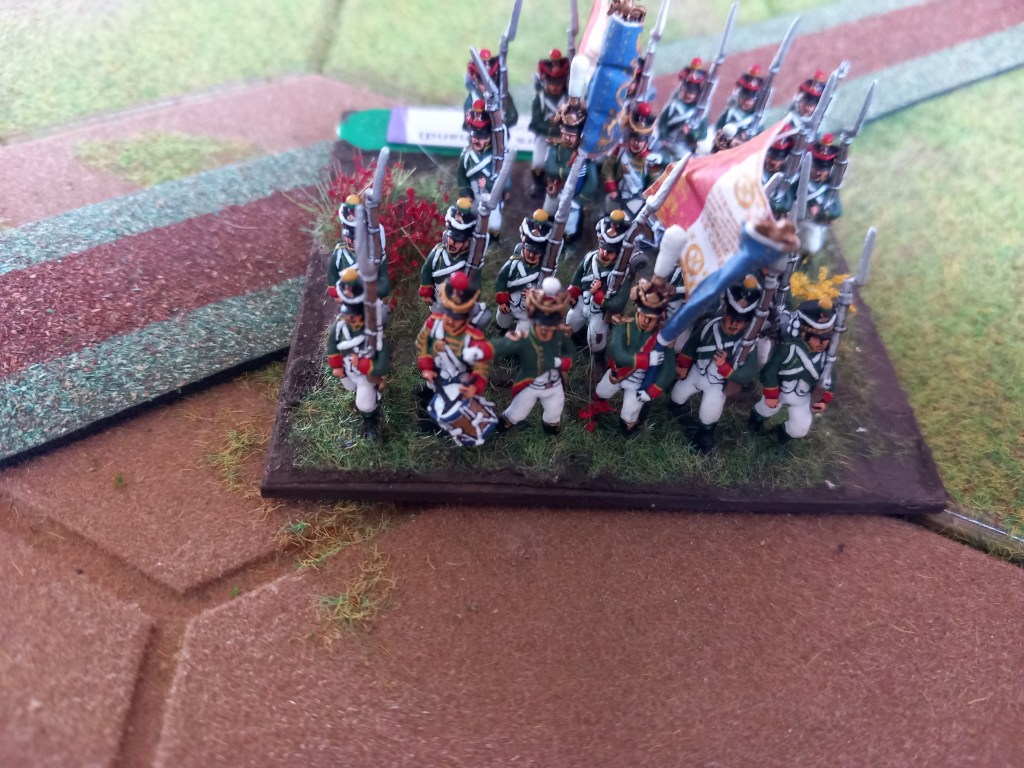
The French even had to commit the Young Guard!
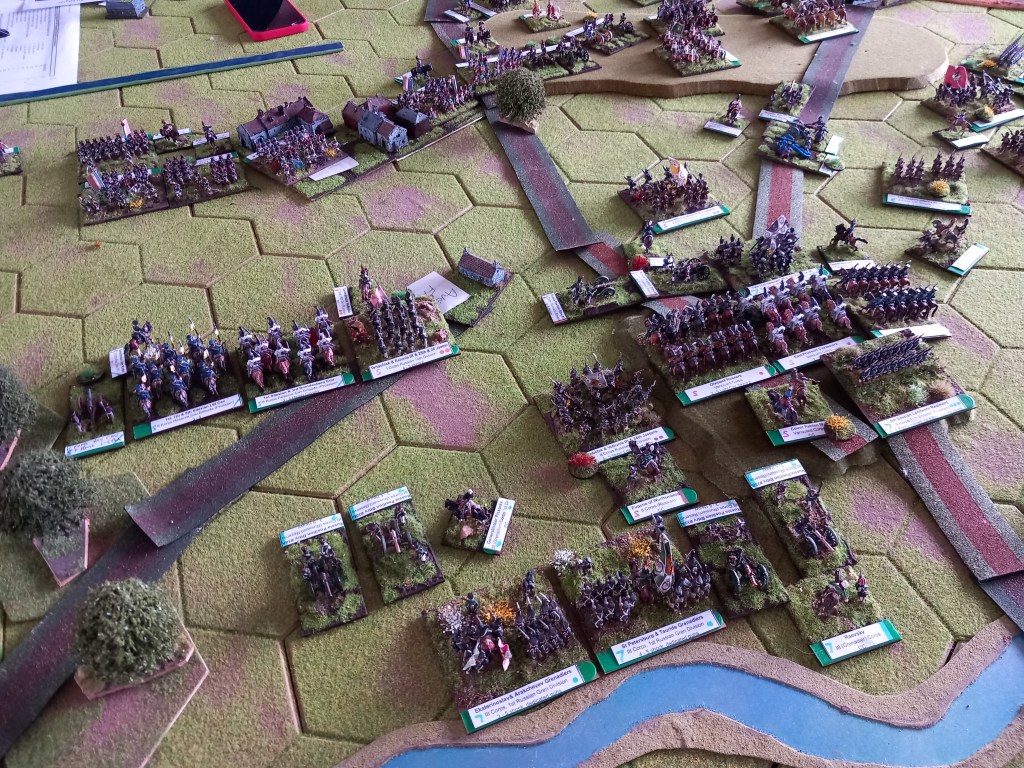
Time was called at the end of turn 8 – it was a big affair with a lot of troops and we were as tired as the miniature recreations 😂
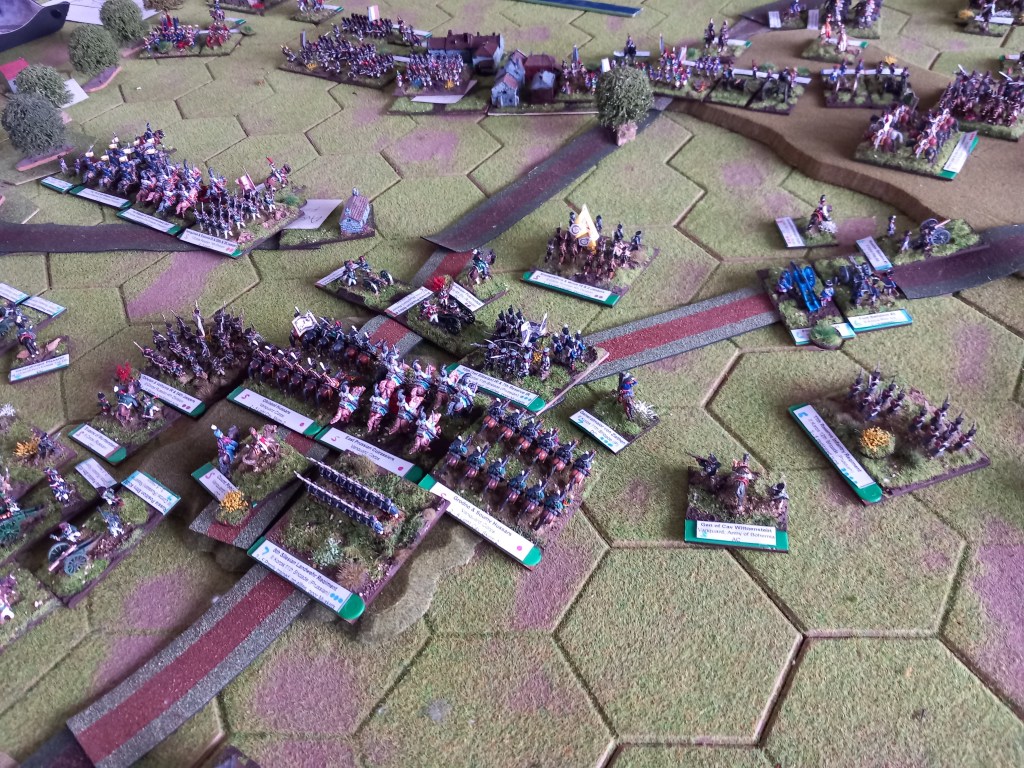
Looked at dispassionately, the French had done what they needed to do and hadn’t wasted their cavalry. Well done Murat!
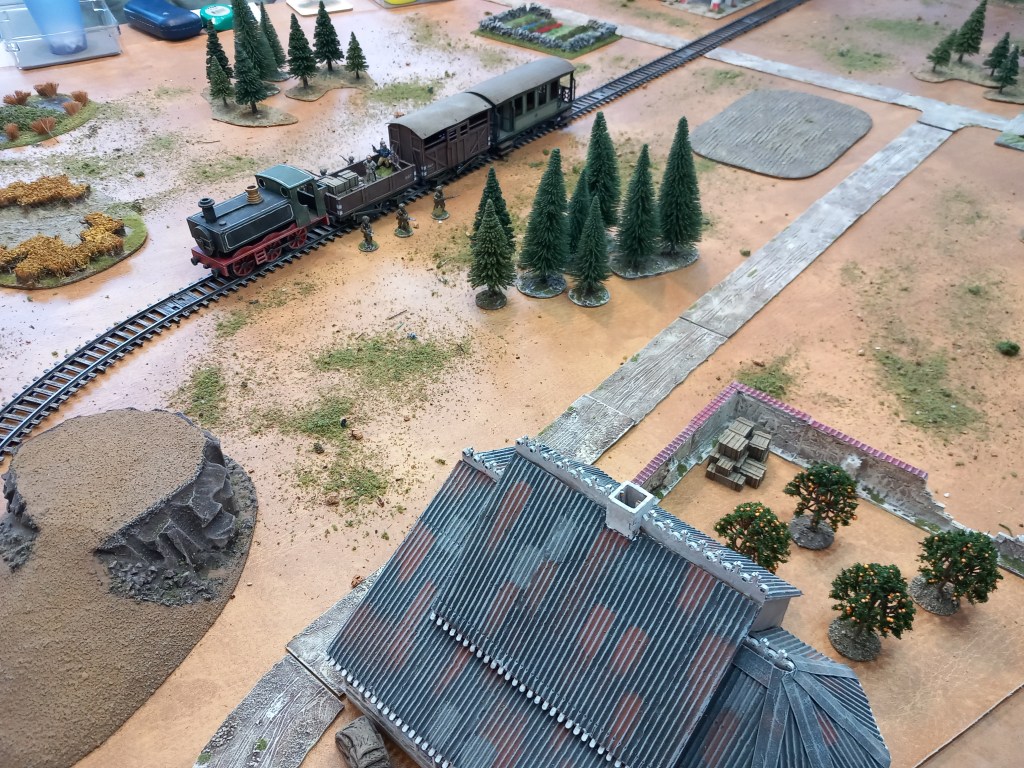
Our next effort was an away game set in the semi fictional world of the ‘Back of Beyond’ where Imperial Russians, British, Germans and Afghans fight and die gloriously for no particular reason.
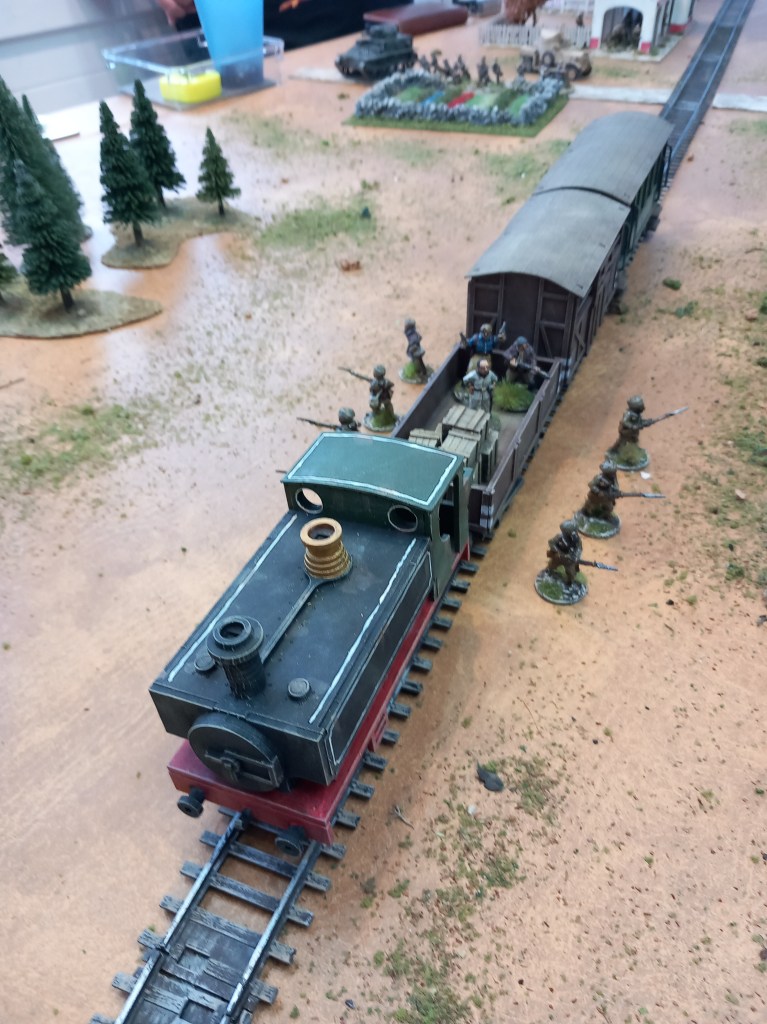
In this particular scenario the focal point was the British Ambassador aboard a train progressing up the playing area and being closed upon by Russians & Germans – notionally allied, and Afghan tribesmen. Also in the mix was a British contingent heavily up gunned with a couple of armoured cars a contingent from the Army of Indian expecting support from the British – it didn’t happen 😂
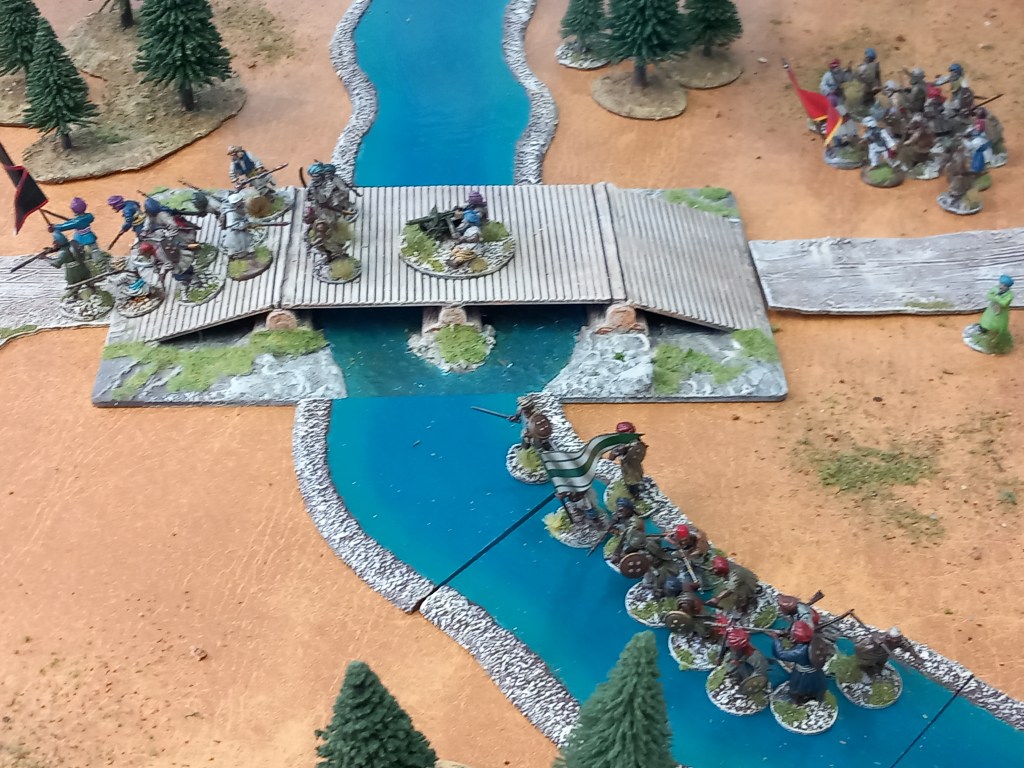
There is no real coherence to these games although they are undoubtedly fun.
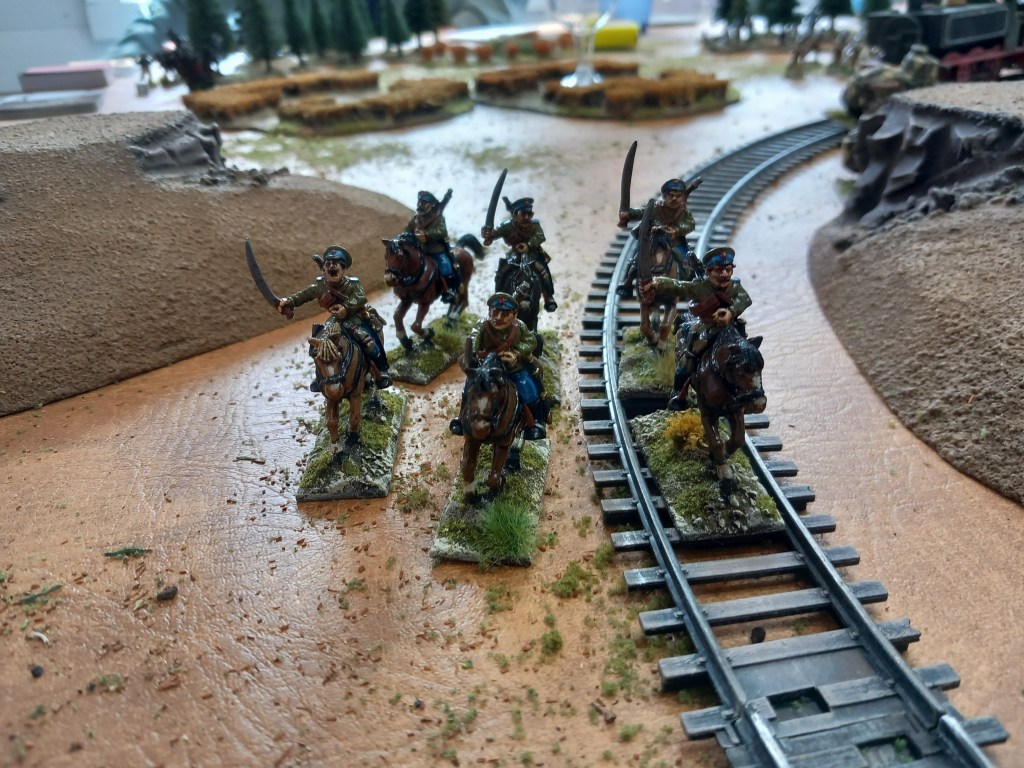
In short, the Russians were so close to grabbing the Ambassador (who in fact had been killed by stray bullets earlier 😮) but were sent packing by the Indian Army contingent, the Germans forgot they were allied to the Russians, the Afghans were shot to pieces and the British used their armour to sit tight and shoot anybody up who got in range.
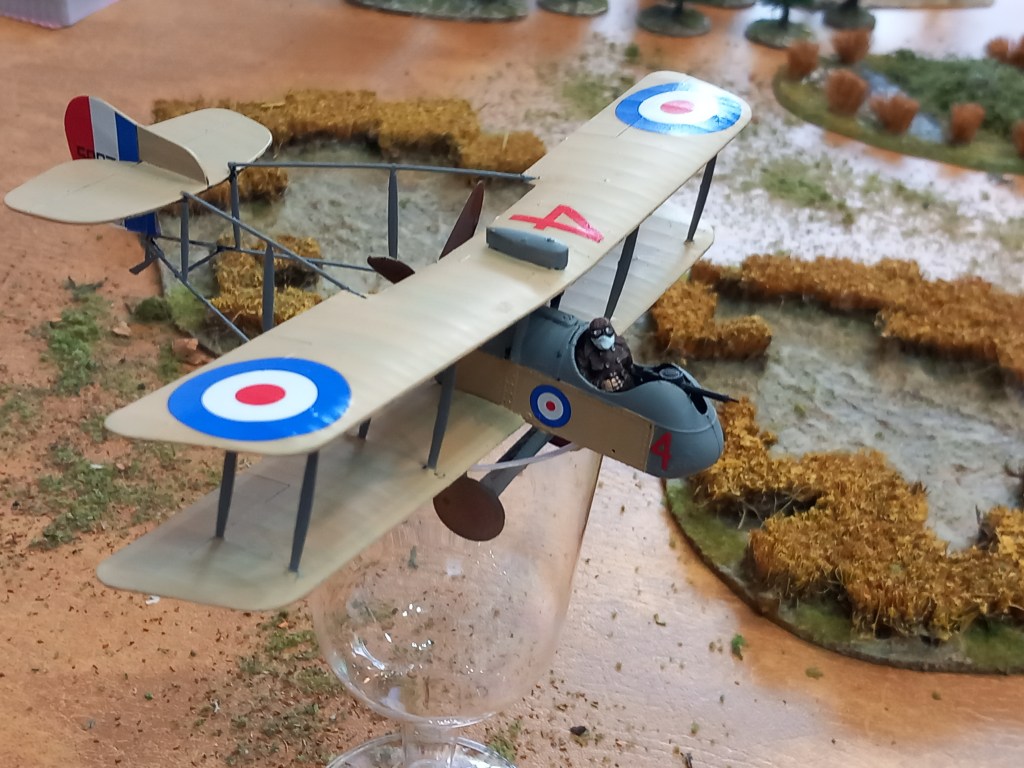
These games have nothing to do with history which is reinforced by the ‘quirks’ of the Fistful of Lead for Bigger Battles rules but they do serve as a humorous social get together, a bit like going down the pub.
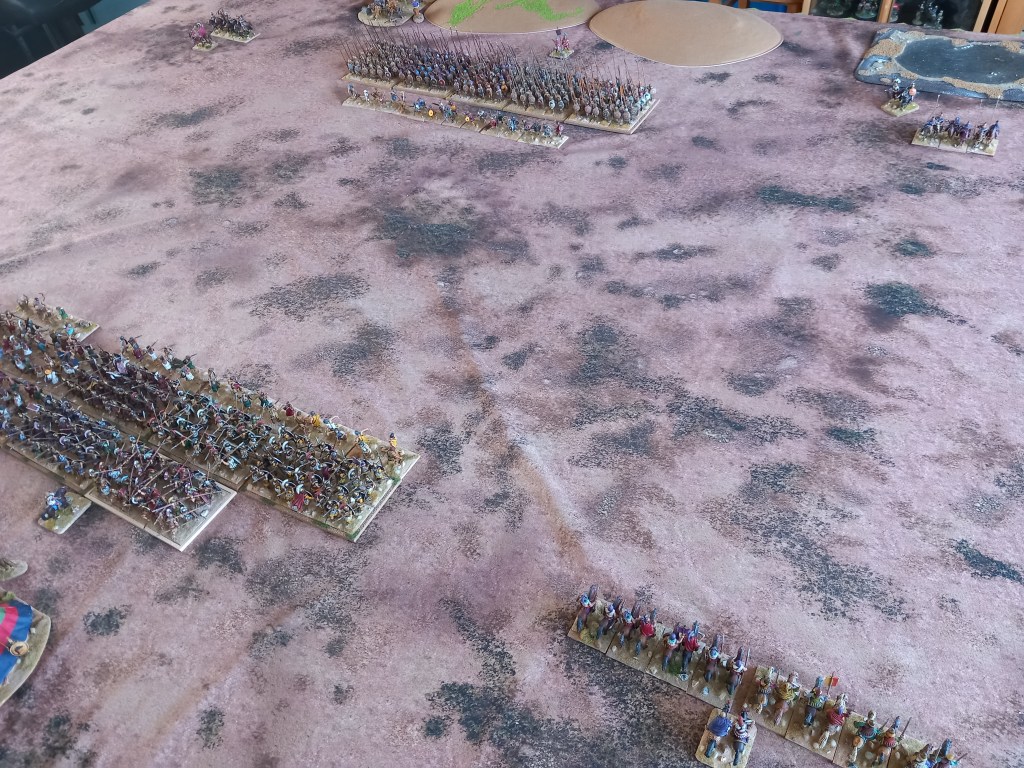
Our next game was Successors, this time a recreation of the first battle of the Lamian War 322BC between the Aetolian League and Antipatrid Macedon.
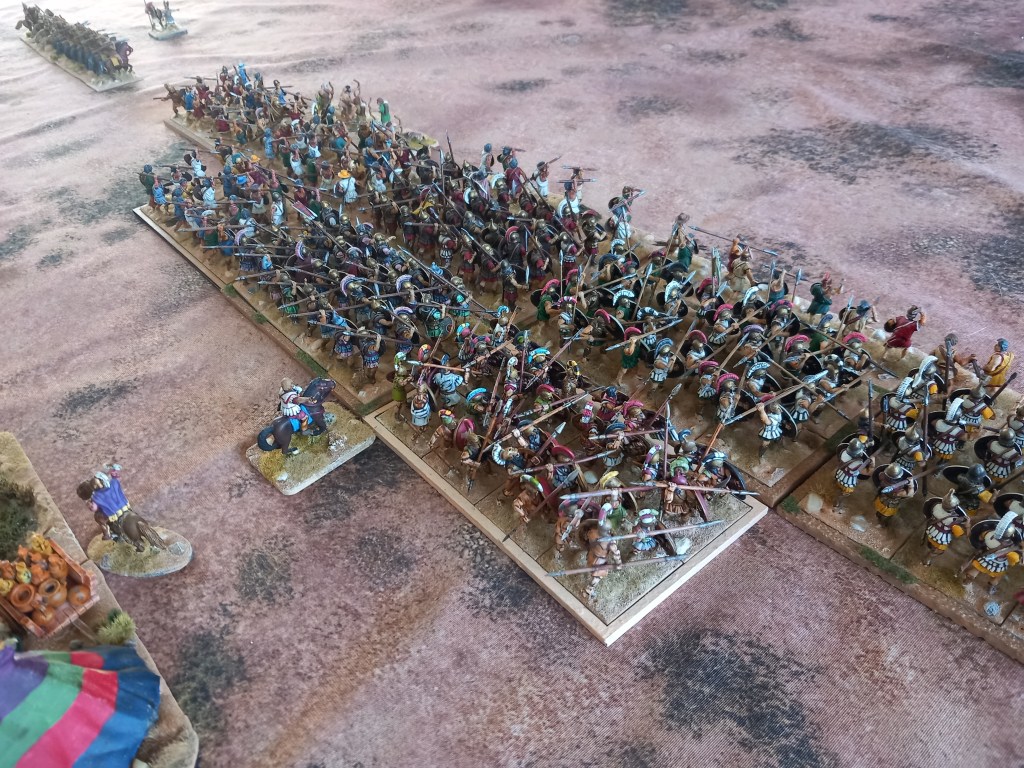
The sources are limited for this battle but what we do know is that the Macedonians were significantly outnumbered in cavalry while infantry numbers were roughly the same. As to the battle, the Macedonian cavalry were routed on both wings and the overall commander Leonnatus killed in the fighting; the Macedonian infantry refused to fight (probably because many were recent recruits) and fell back onto the hills behind them where they saw off the half hearted attacks of the League.
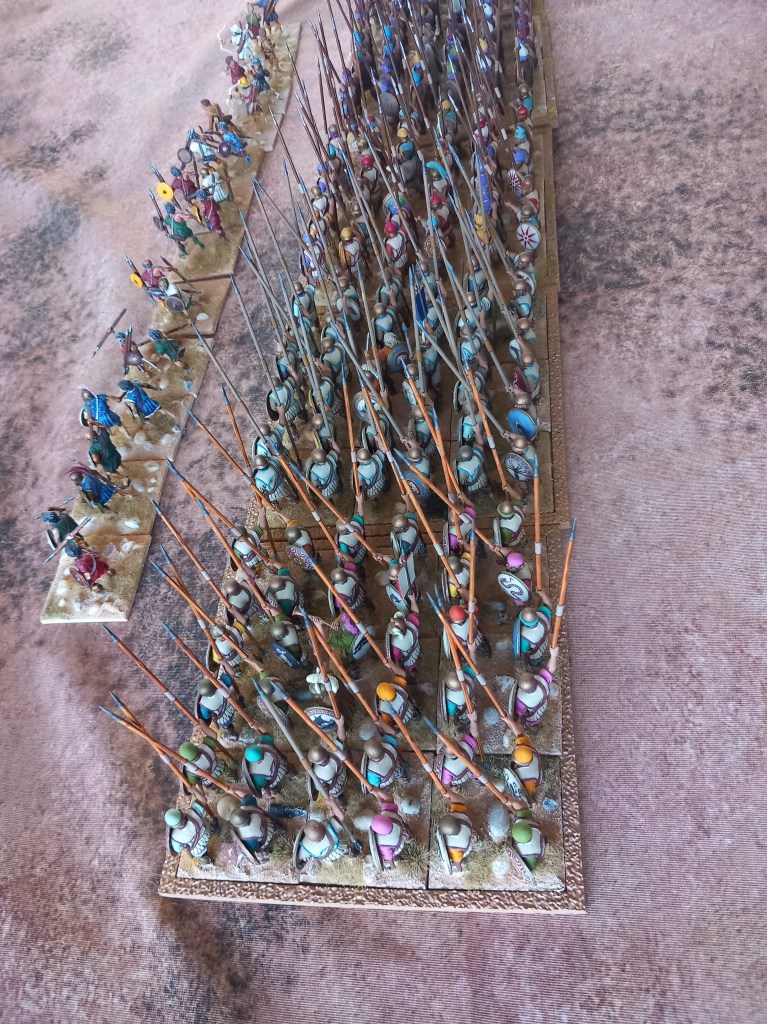
For our fight the League constituted a centre of 5 hoplite battalions (2 of which were unreliable allies) and 3 peltast, screened by psiloi, commanded by Antiphilus. The right wing veteran Thessalian cavalry were 2 bodies under Menon and the left 2 units of Greek horse under an unknown commander. The Macedonian infantry centre comprised 5 pike battalions (3 of which were levy) screened by psiloi and a single body of Hetairoi cavalry on each wing one under the command of Leonnatus.
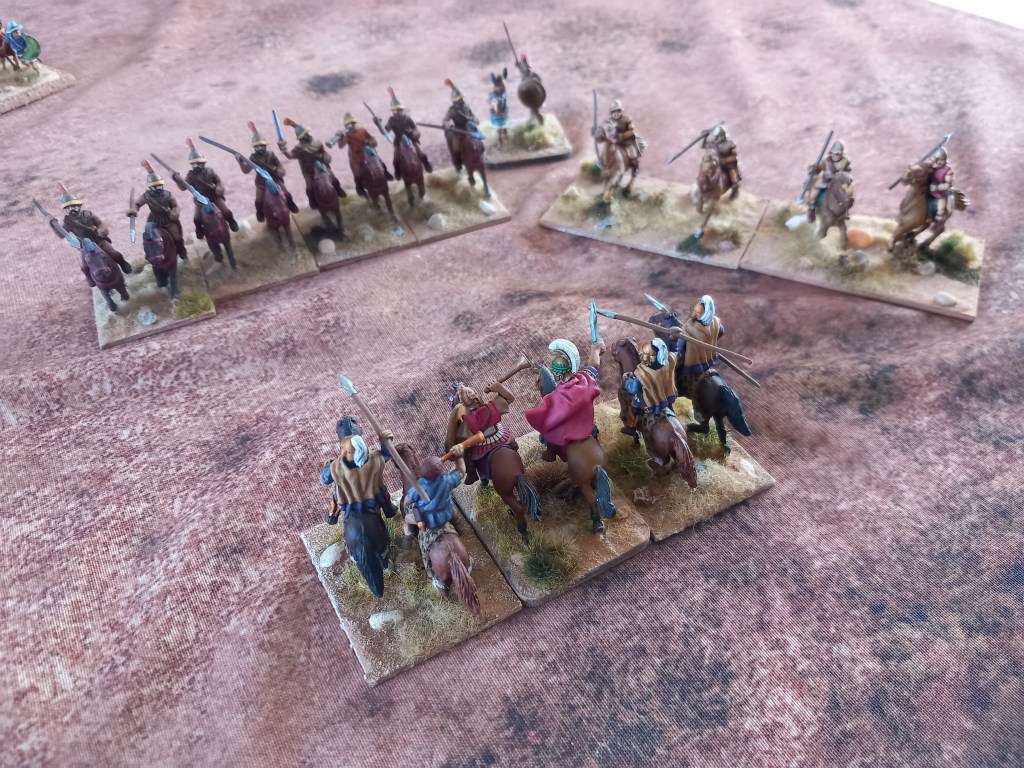
As is almost invariably the case with these games (and history) the cavalry encounters were the first part of the game as the infantry trundled along. For the League the aim was to finish off the opposition quickly and then swing round behind the pikes, for the Macedonians it was delay the enemy long enough for the pikes to get stuck in.
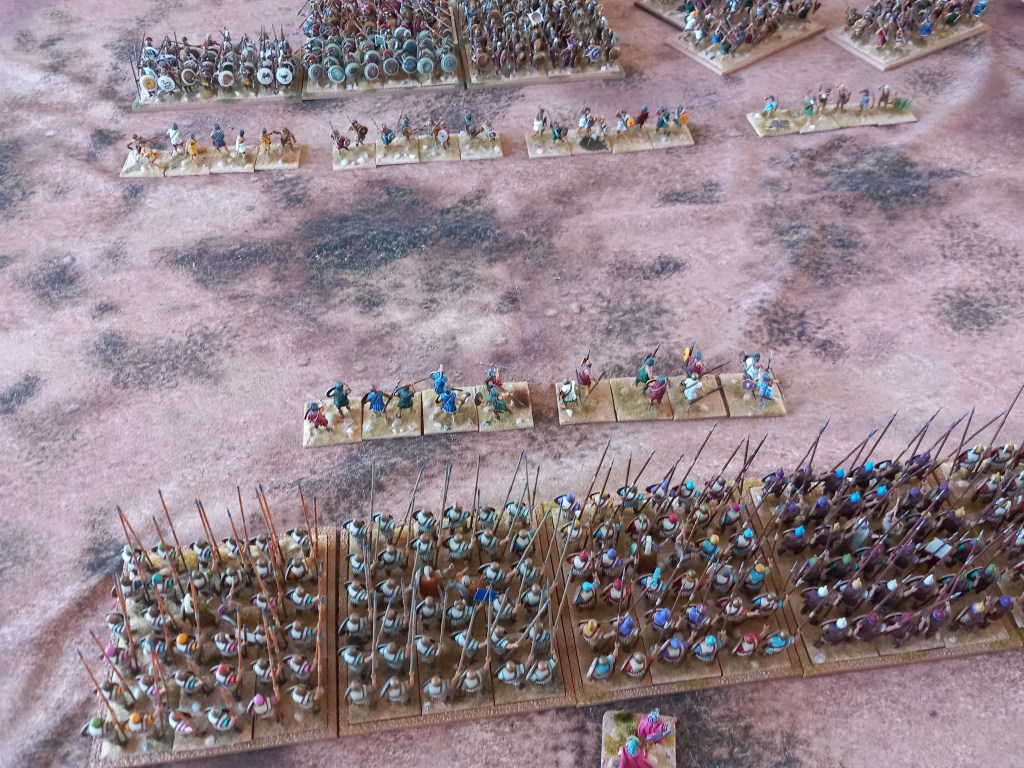
The infantry lines closing. Looks impressive 😁
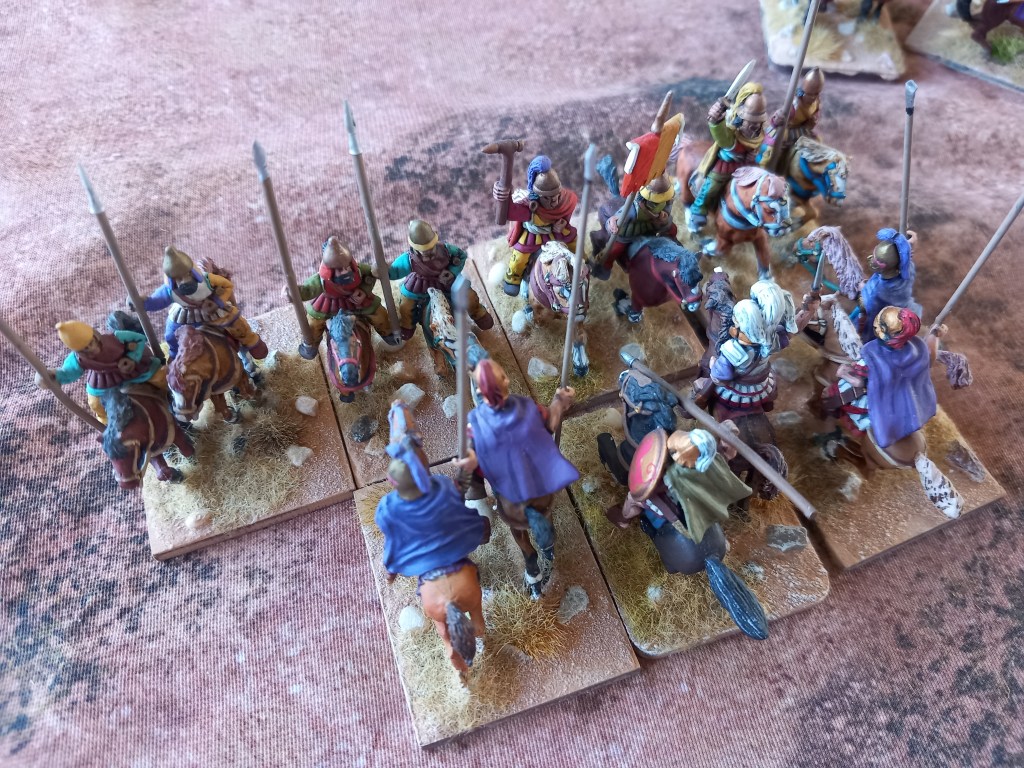
On the cavalry wings history repeated itself. Both Macedonian leaders were killed and their units destroyed or routed.
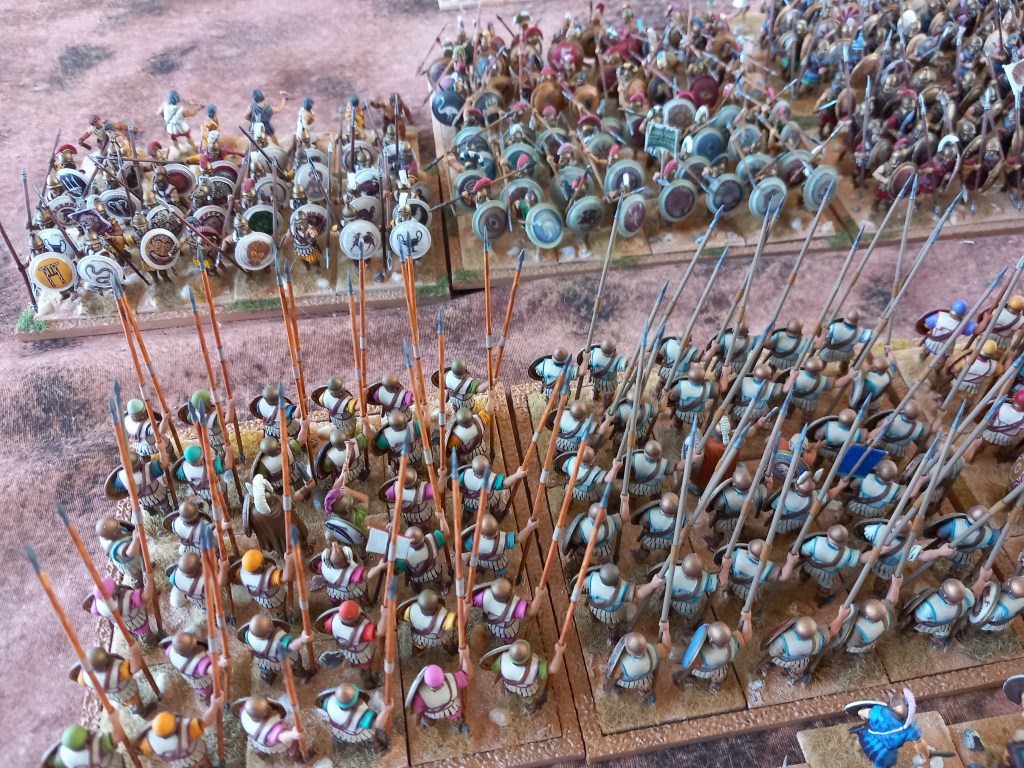
In the centre both sides readied for the big push although whether everyone would be brave enough to close was yet to be seen. It was at this point that the flaw in the League plan became apparent, by advancing to meet the Macedonians they hadn’t given their cavalry the time and space to get round behind. Would it matter?
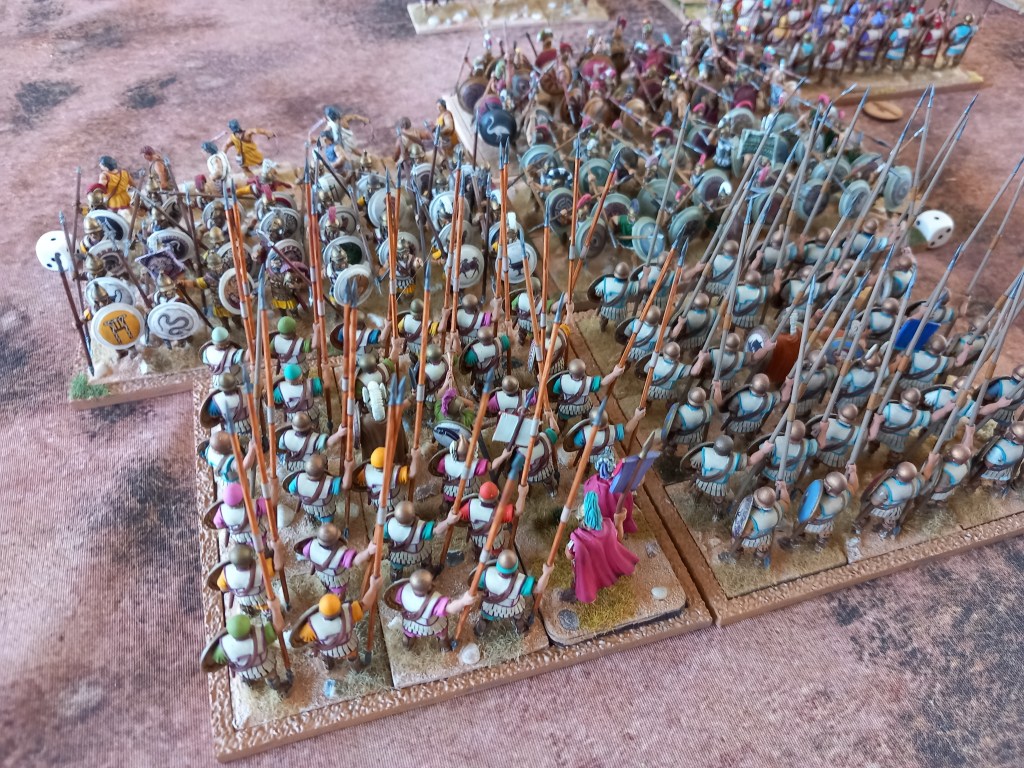
Battle is joined, will the big long pointy sticks be the decider?
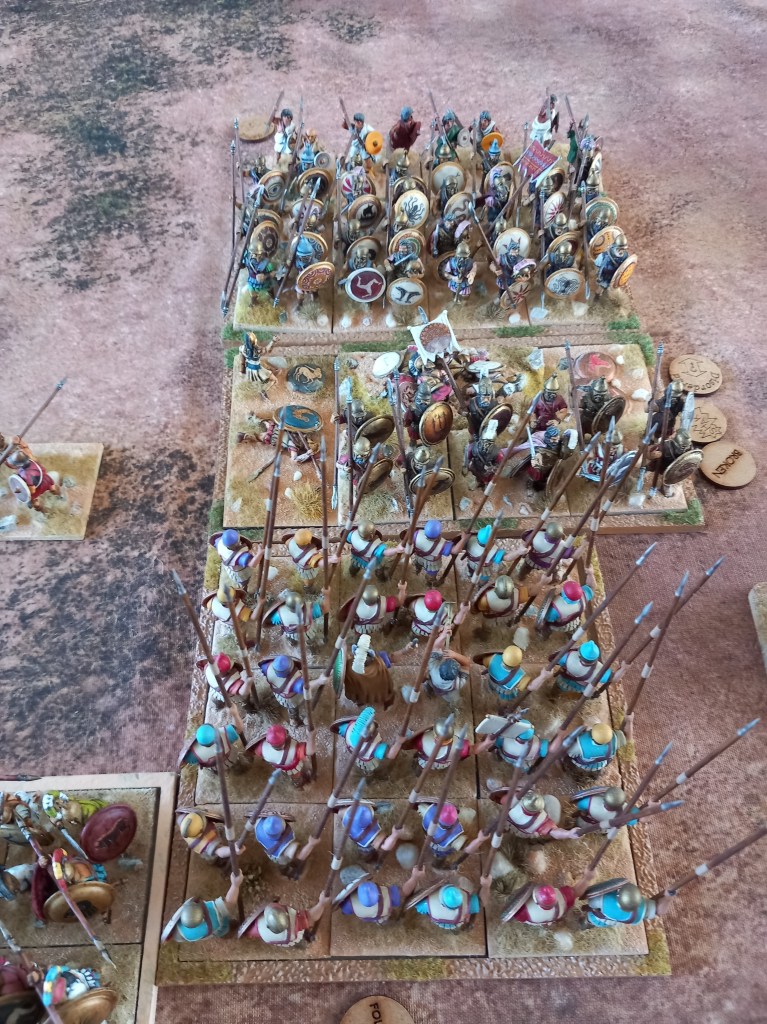
The hoplites on the right of the line take serious losses and rout.
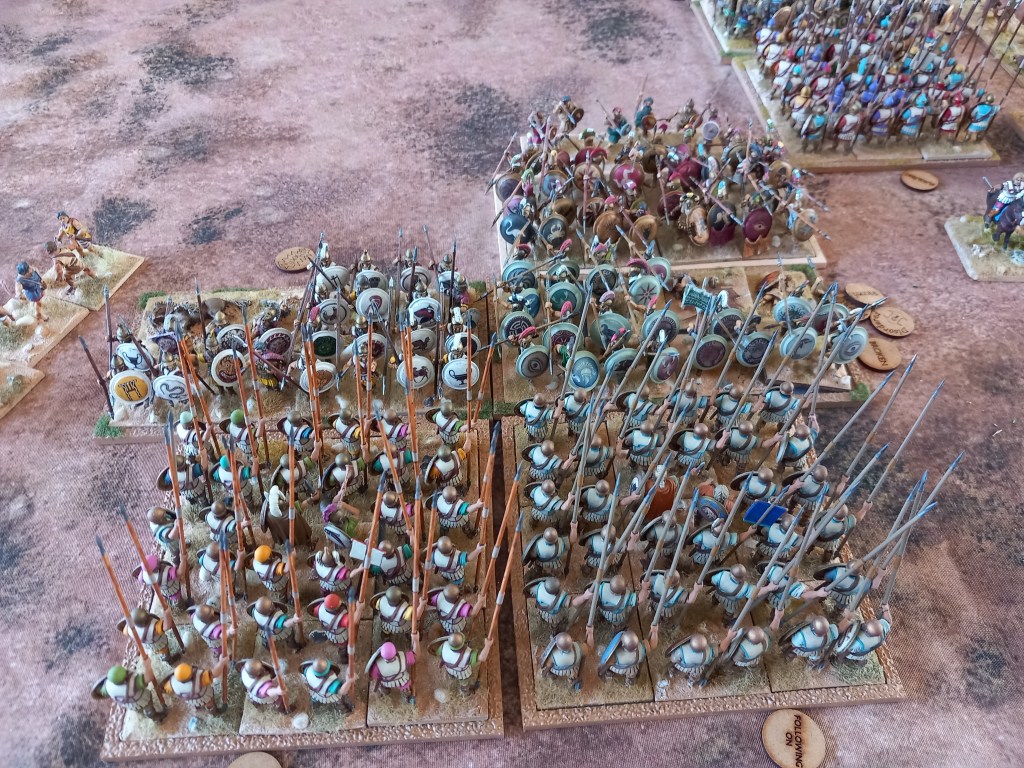
The League centre goes down.
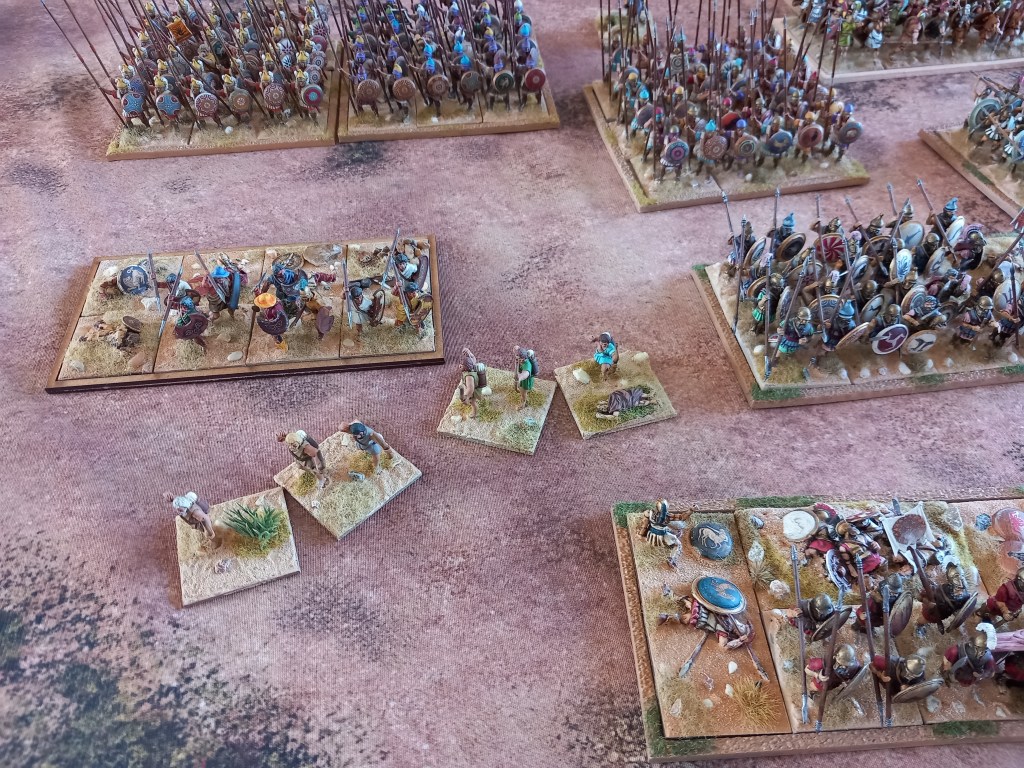
It’s over. Decisive Macedonian victory.
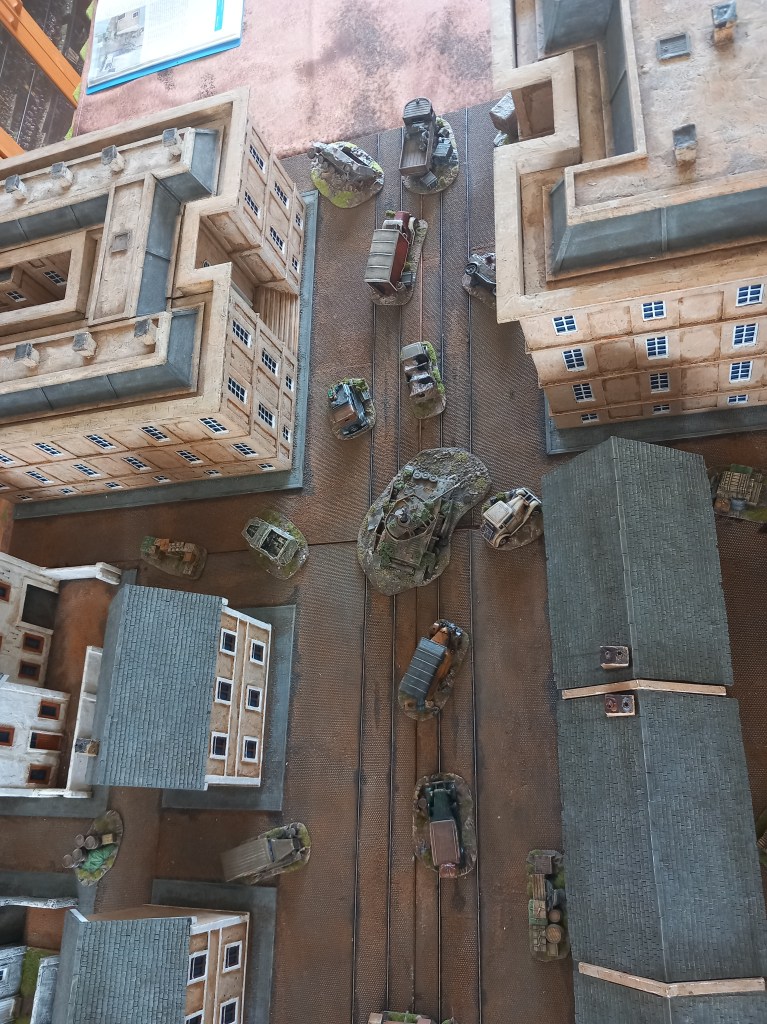
Next up was a return to our once loved 28mm WWII skirmish period. We dusted off our Dave Marshal TM Terrain German town and set a reinforced Soviet platoon to clearing the streets of a German rear-guard.
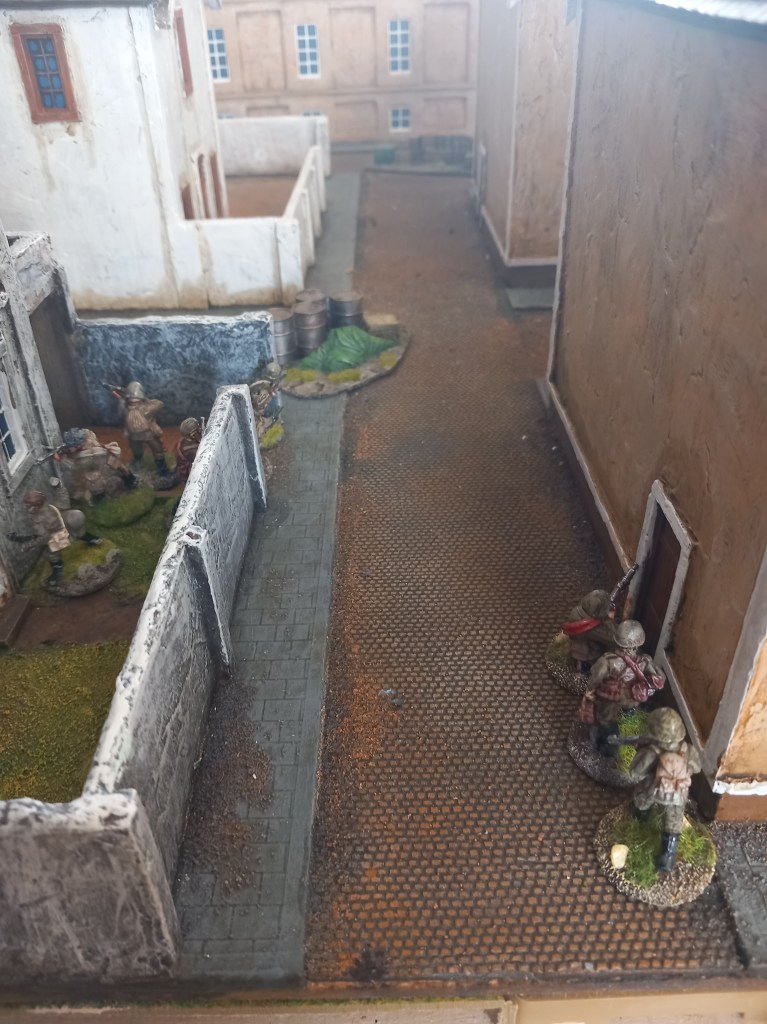
The Soviets proceeded cautiously.
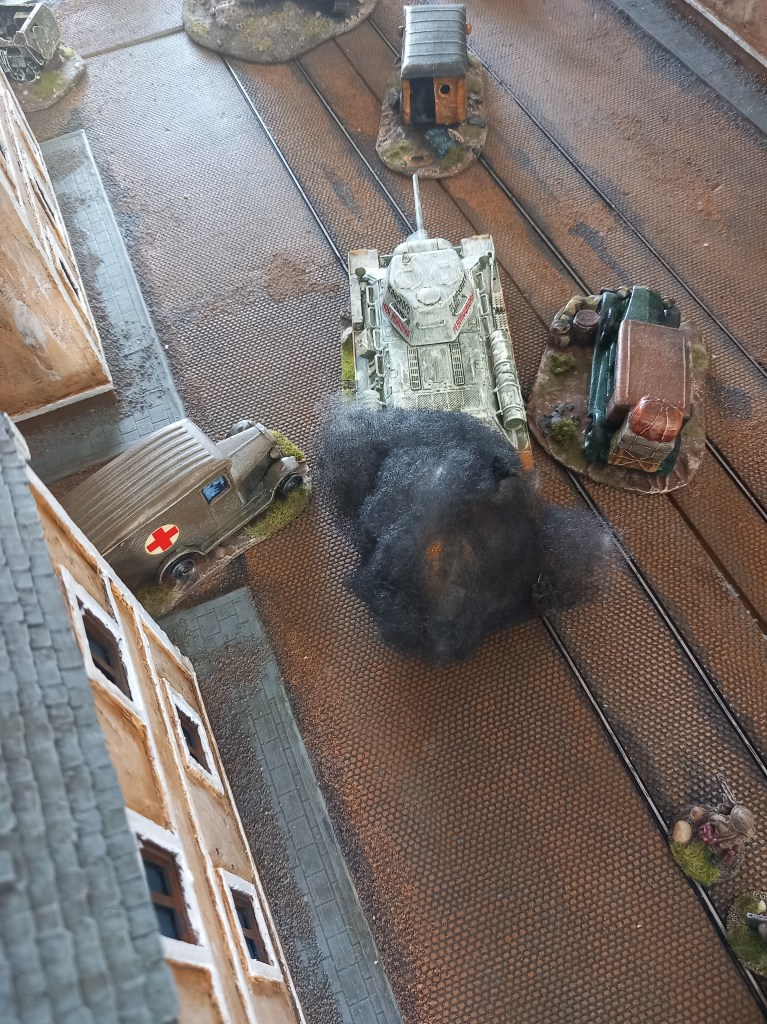
A panzerfaust shoots from an upstairs window and the T34 is damaged but not critically.
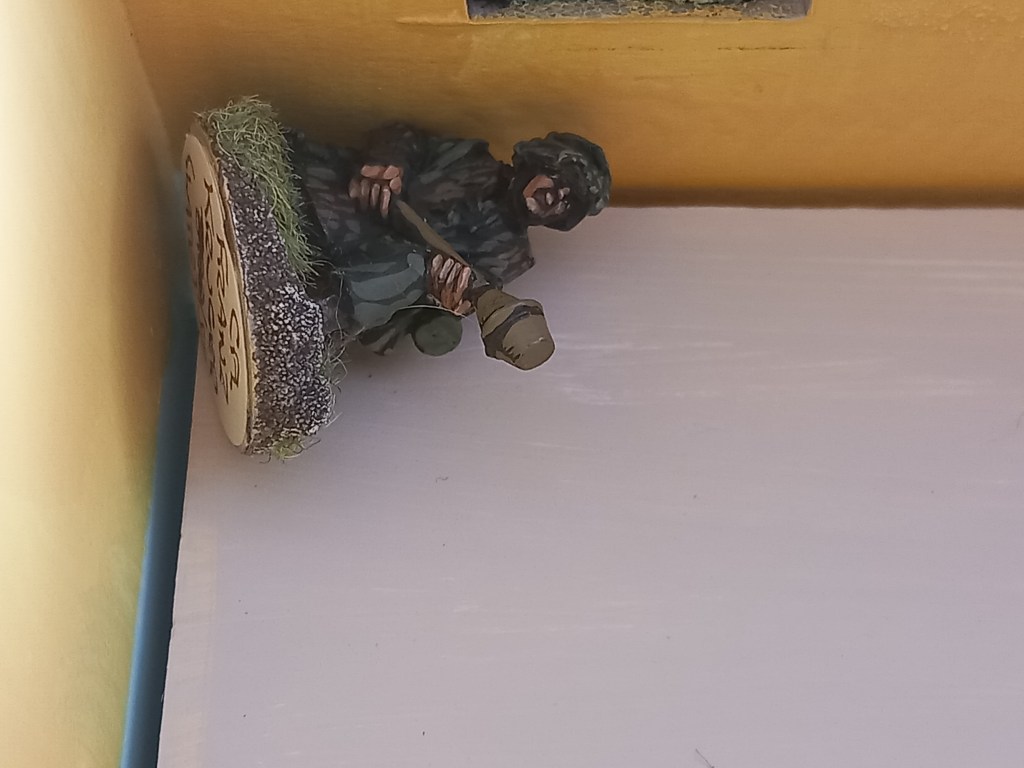
The firer of the panzerfaust is gunned down in a hail of bullets.
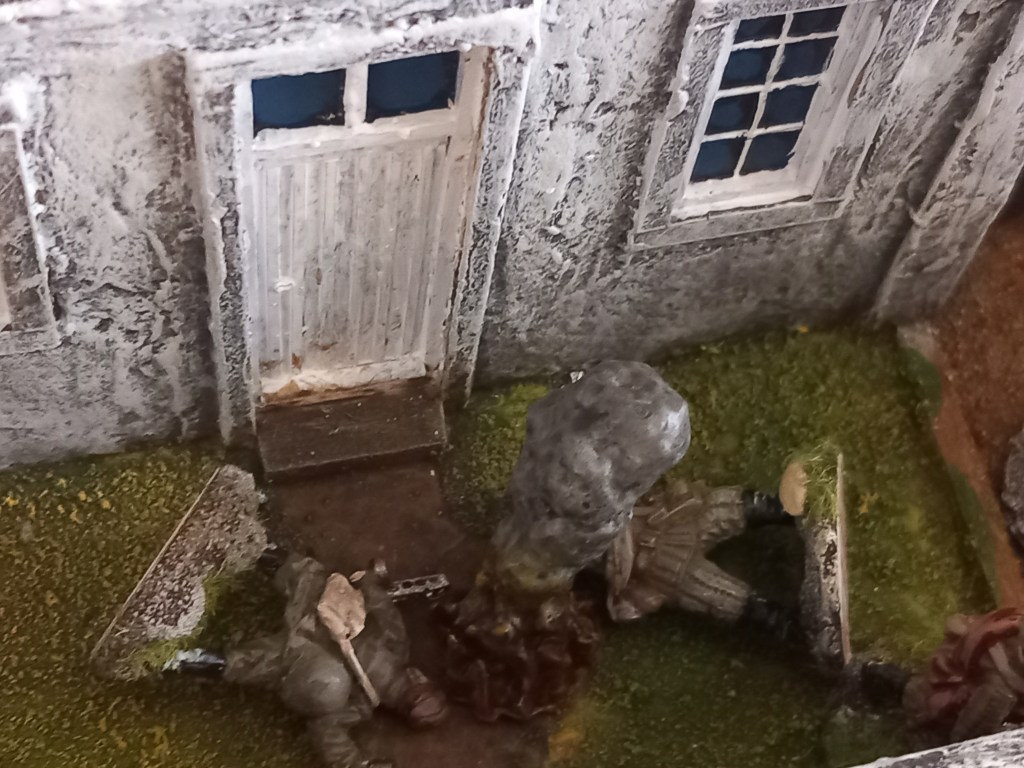
Things are getting serious as a grenade from a window takes out two soldiers.
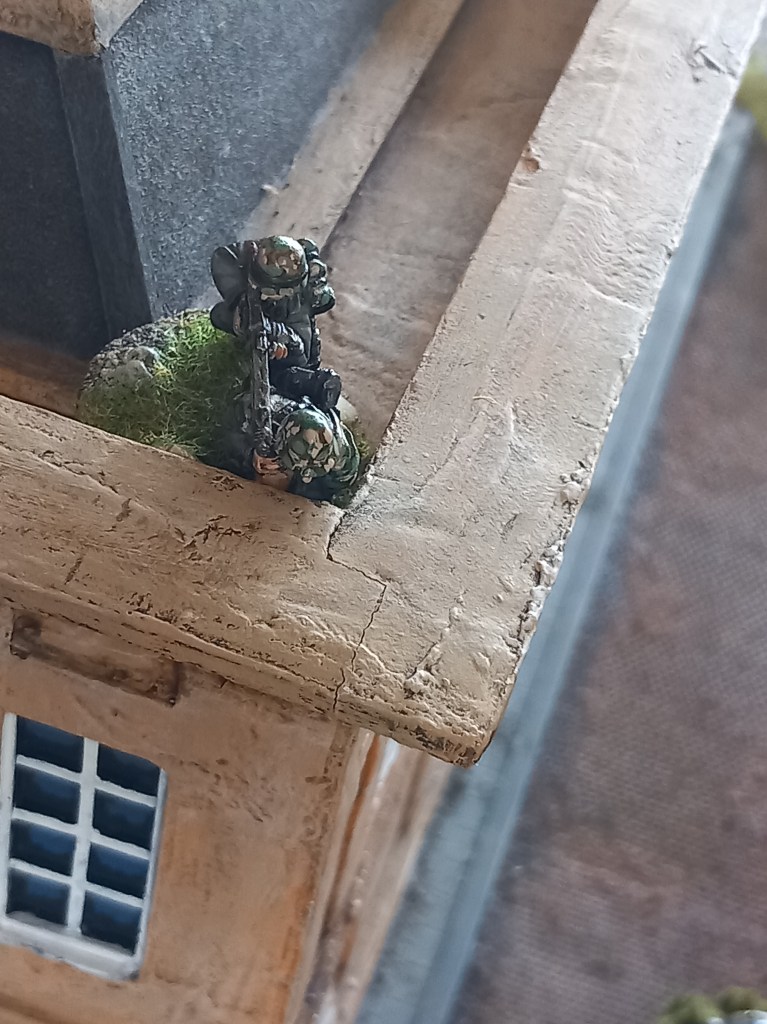
A roof top lmg opens up.
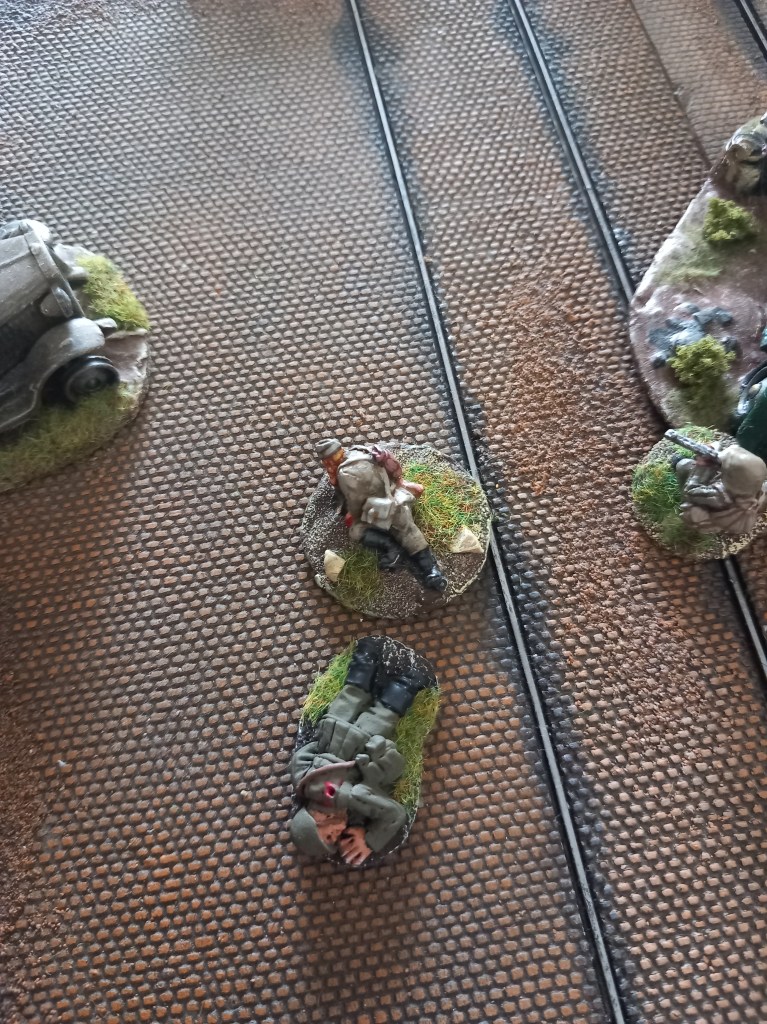
Every inch of ground is bought with blood.
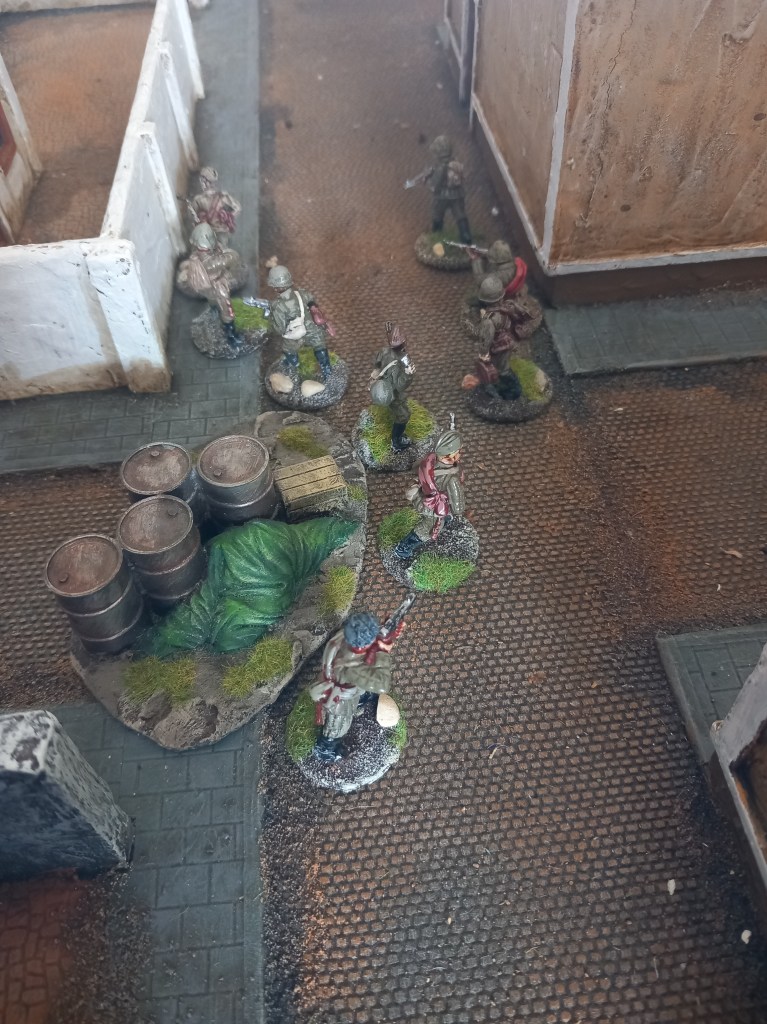
The advance continues. Where the hell are those Nazis!
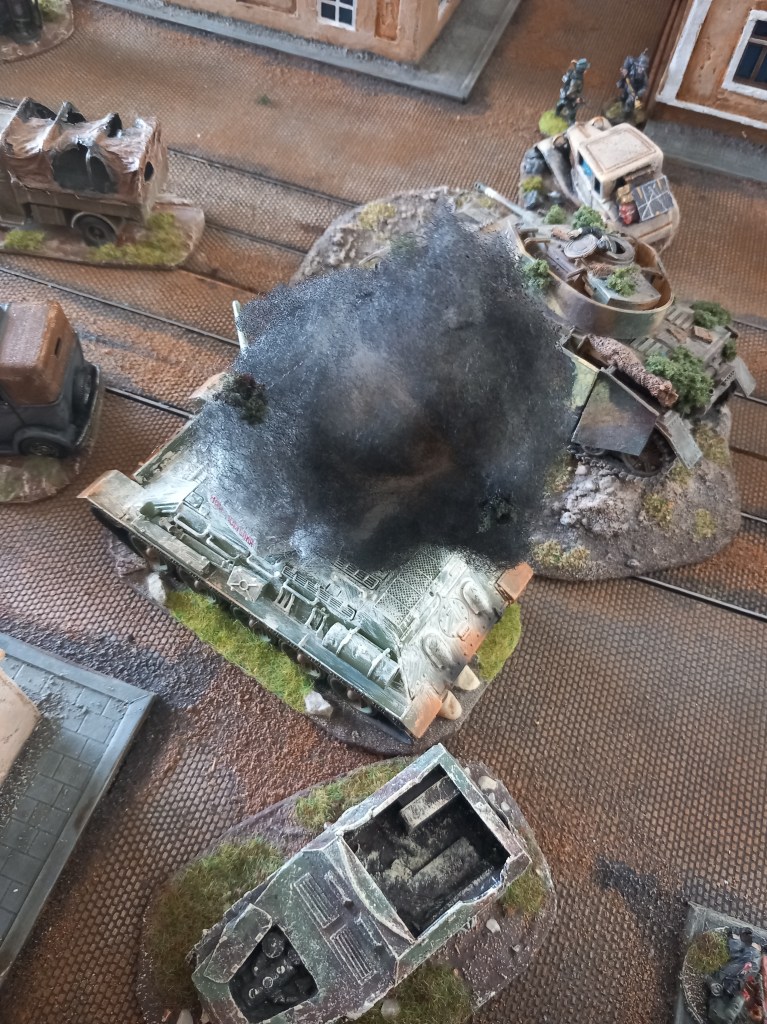
Off table mortars cripple the tank and the crew bail out.
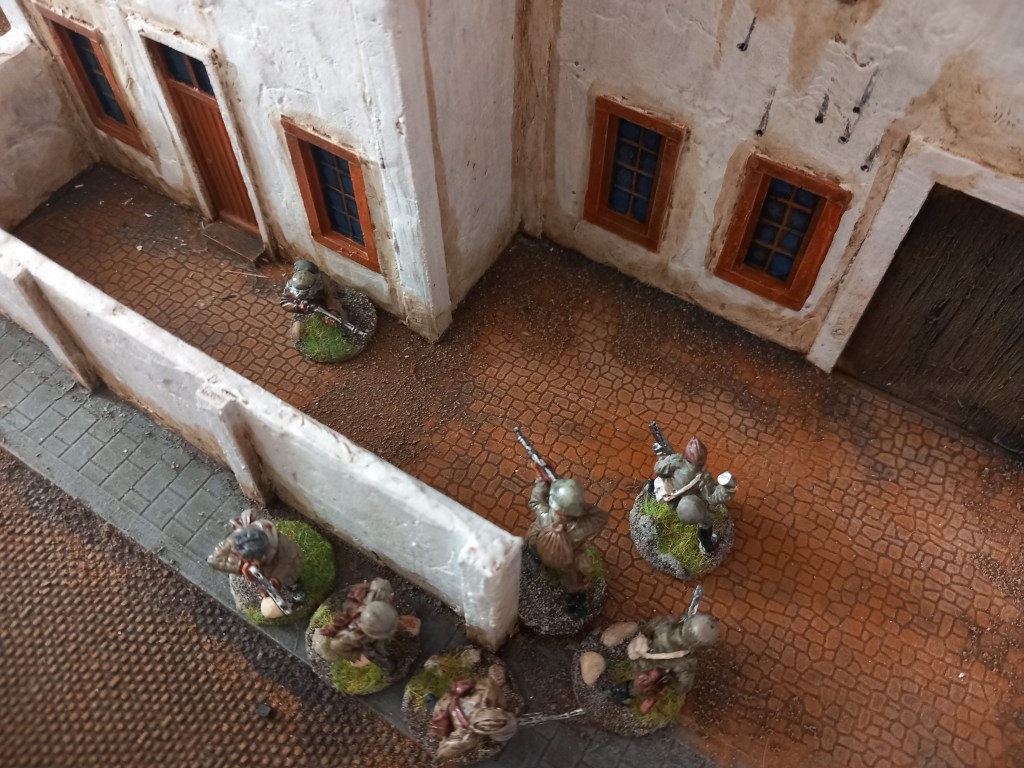
Cornered like a rat in a trap.
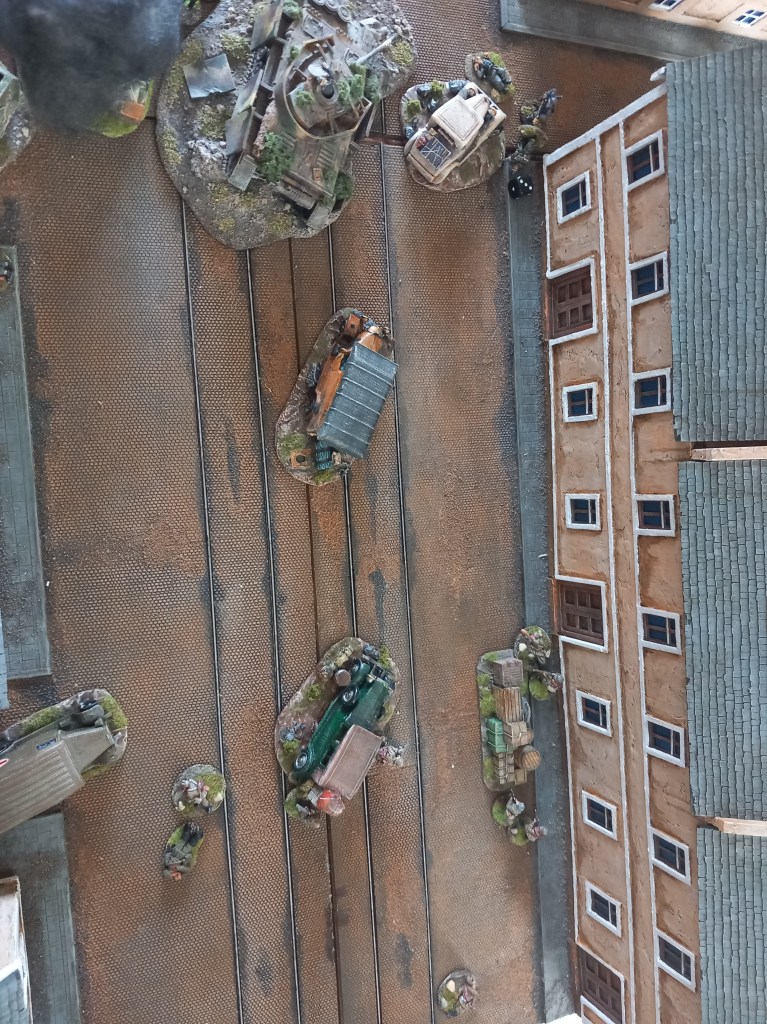
Despite their losses the Soviets eventually cleared the houses and the German remnants fell back.
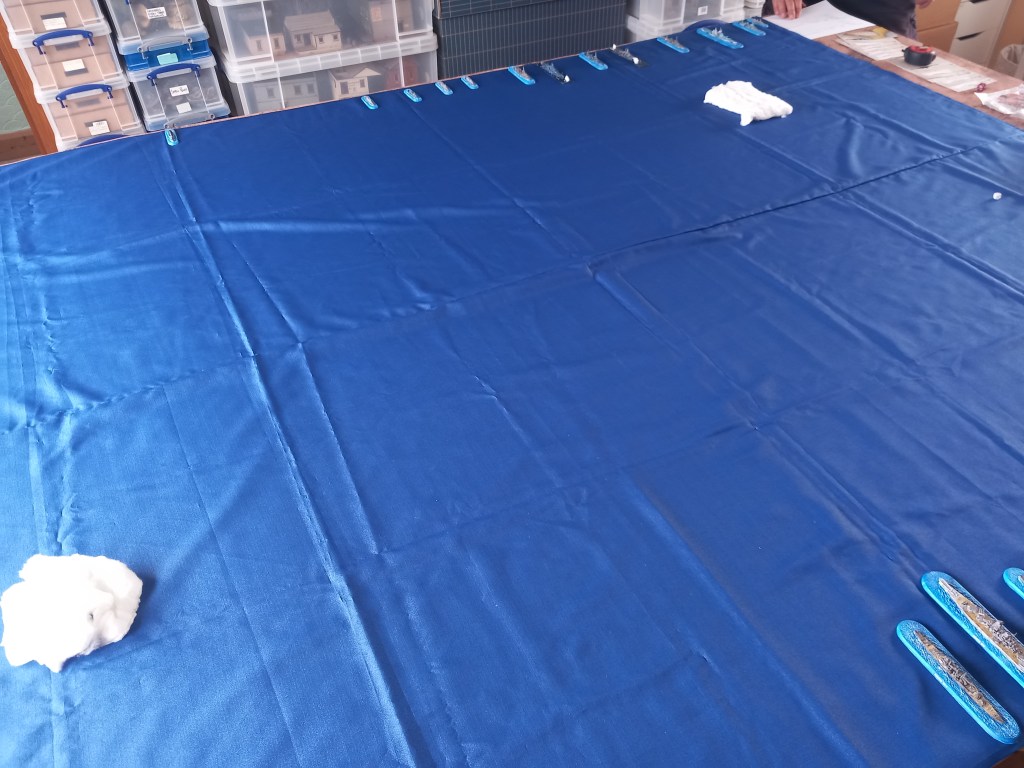
Next on the play list was a ‘what if’ from the Leyte Gulf battle, WWII Pacific. In this the Yamato and several heavy cruisers plus destroyers took on a slightly superior US naval force.
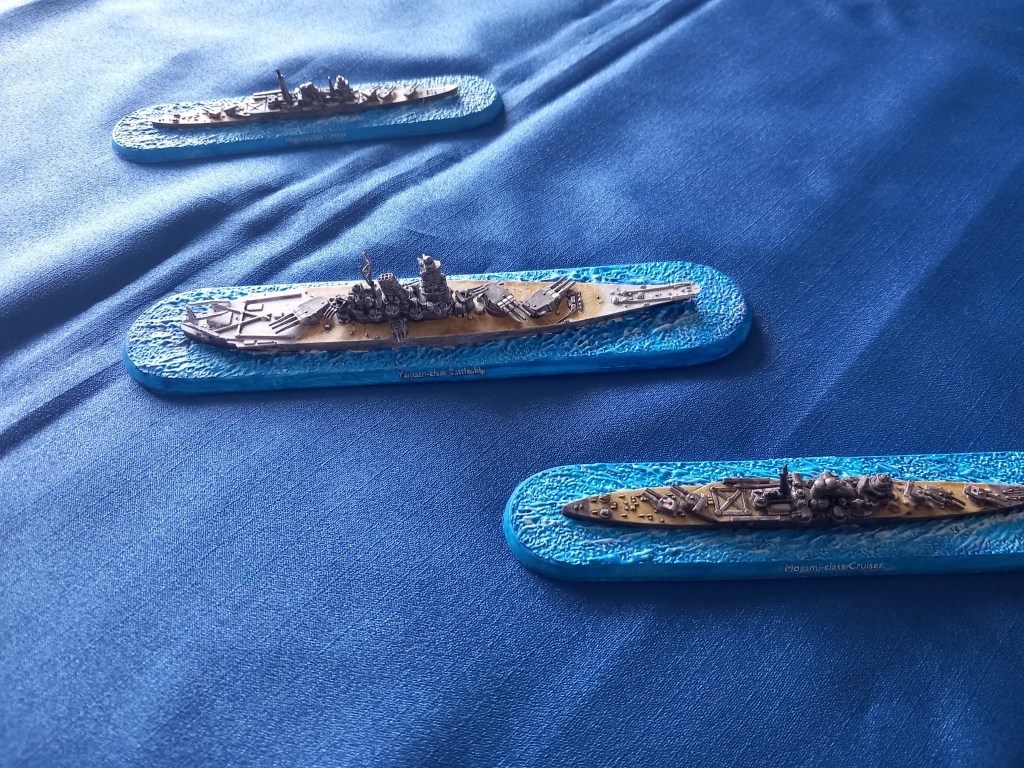
Quite a lot of manoeuvring in the opening moves as the Japanese tried to stay out of the way of the USN bigger guns and keep the Yamato afloat.
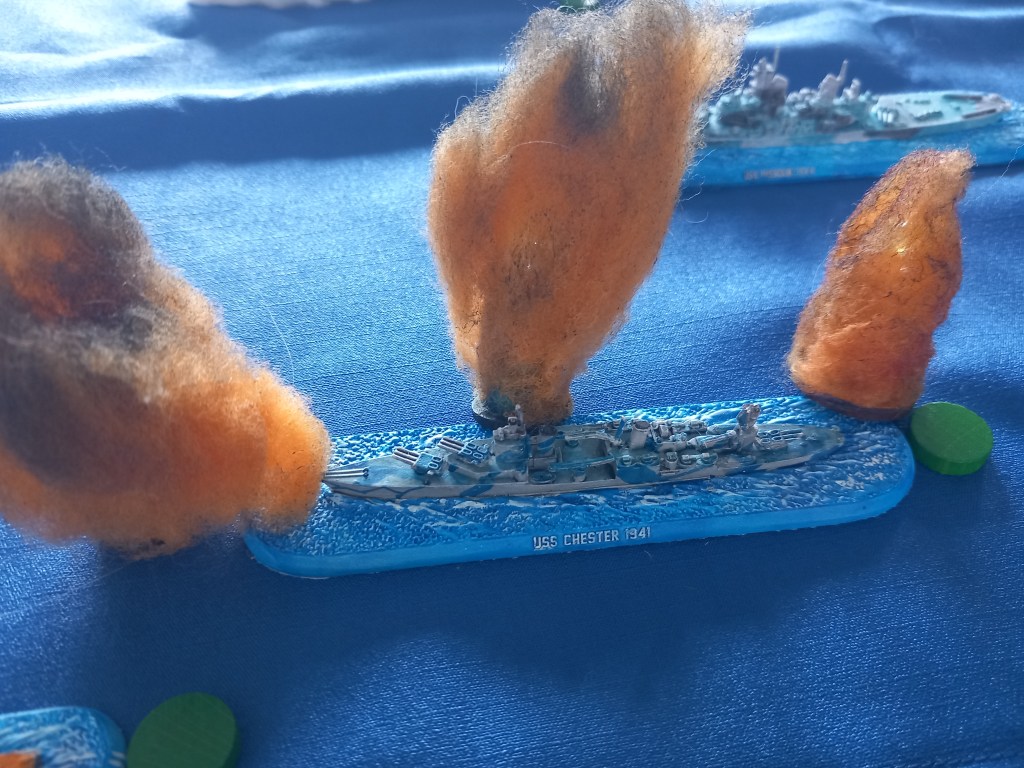
What soon became a feature of the Japanese play book was as soon as a ship had taken damage and was not likely to sustain another round of fire was to launch all it’s long lance torpedoes at extreme/long range with a slim chance of hitting but maybe get lucky. The Chester was the first victim of this attack style.
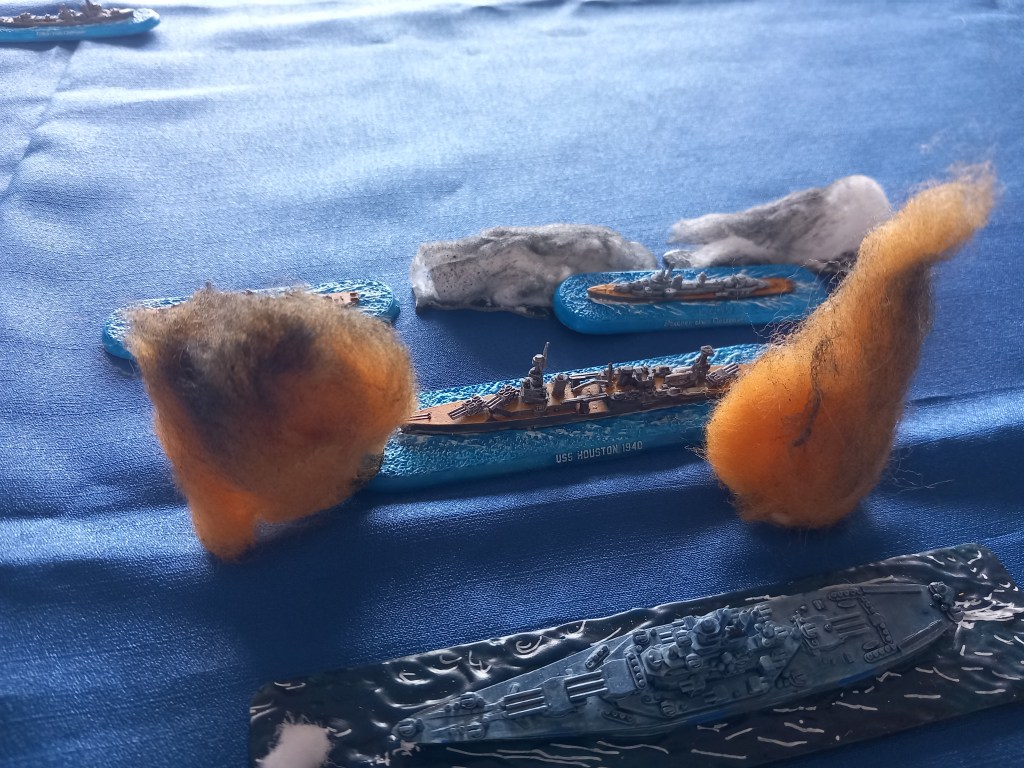
And the Houston.
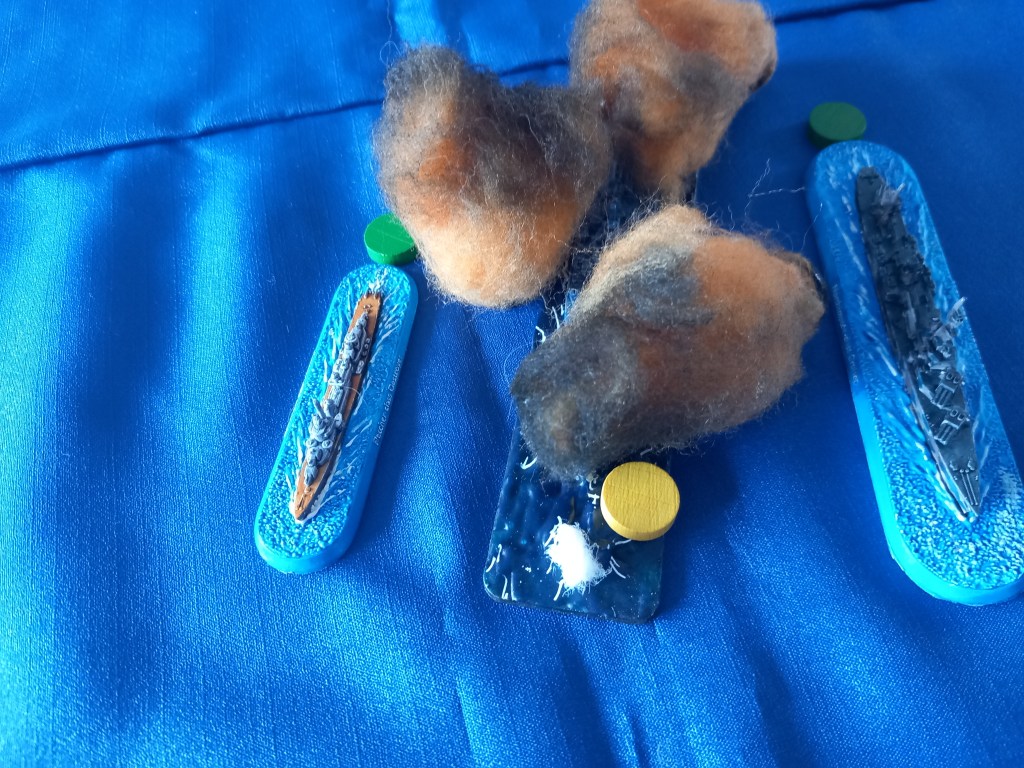
And most rewardingly, the Washington.
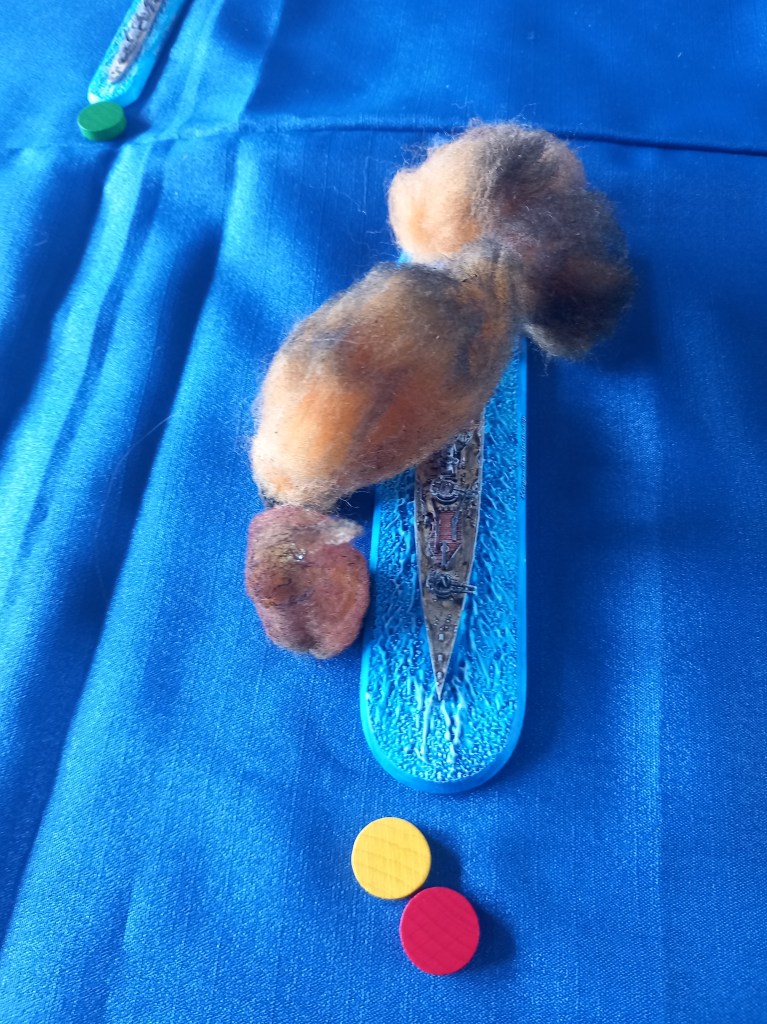
However, it didn’t all go in Japans favour as the USN bought its bigger guns into range and the first to go was the Kirishima.
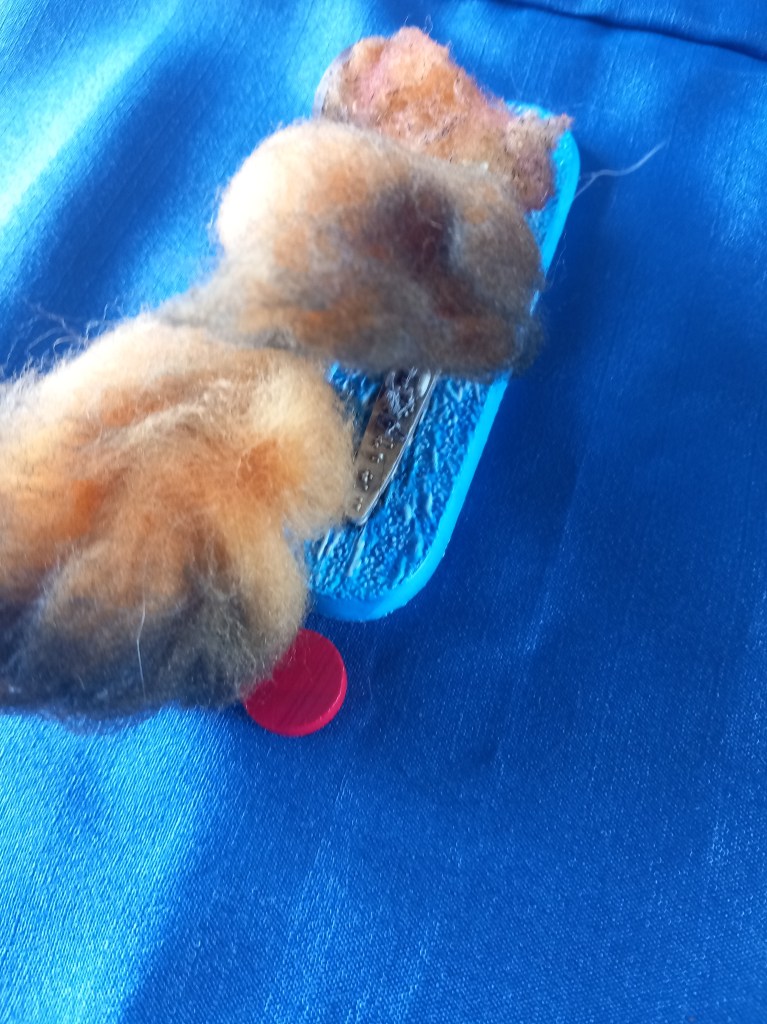
Then the Yahagi.
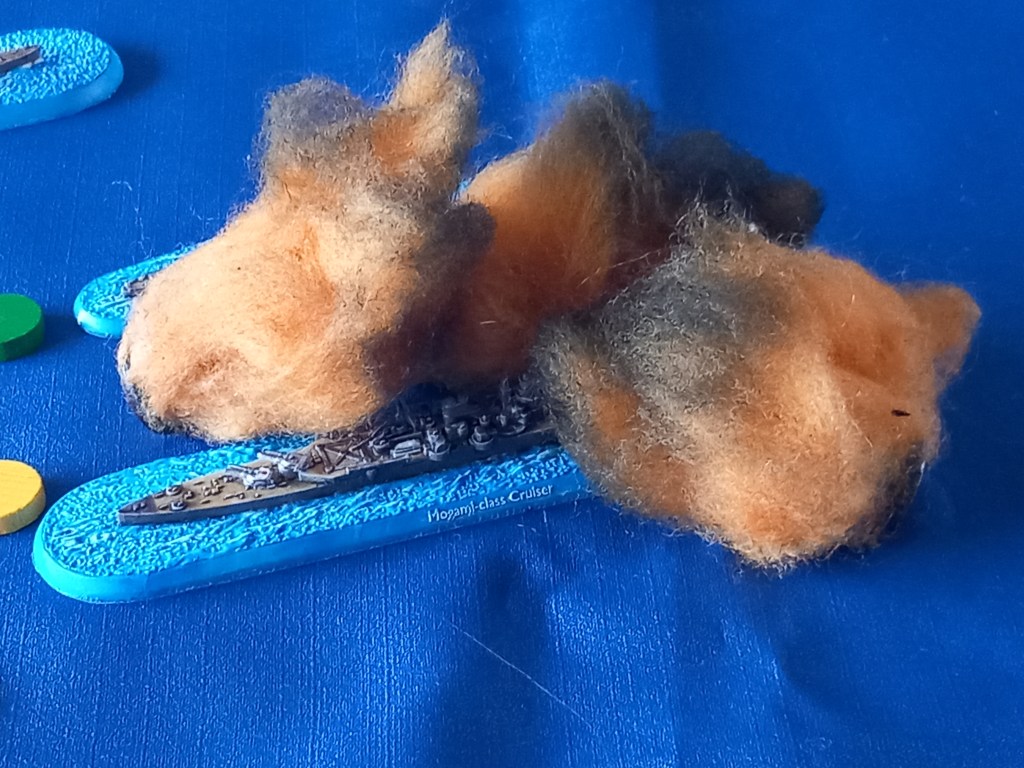
And the Suzuya.
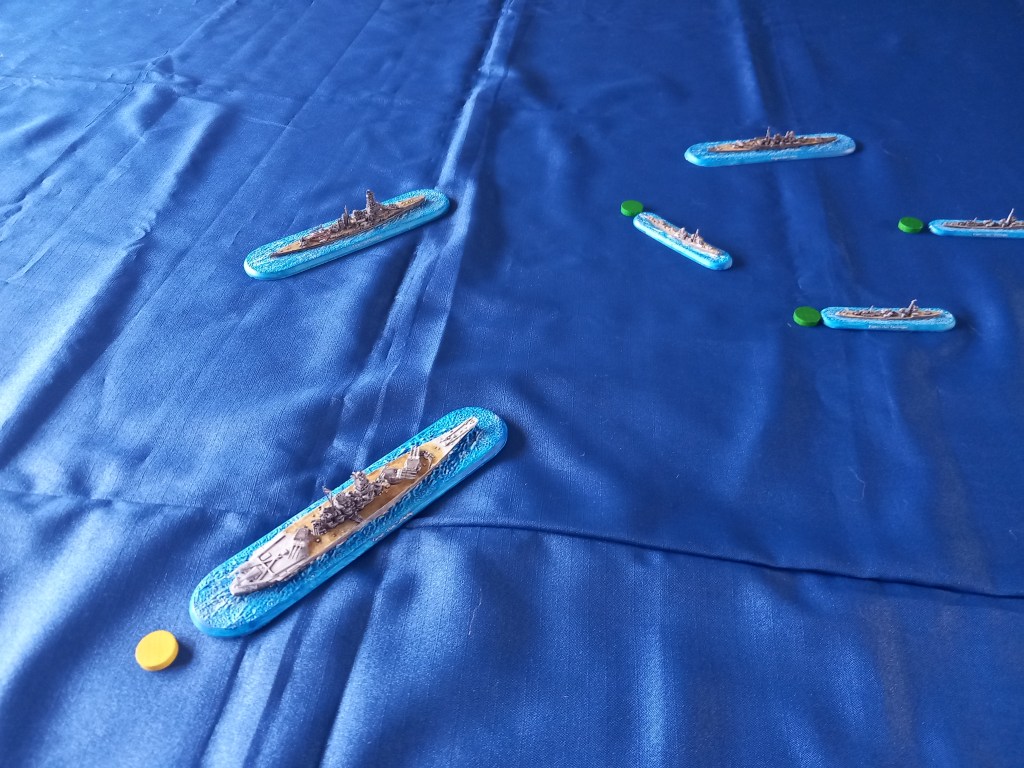
As darkness fell the Japanese could claim a minor tactical victory as the Yamato had survived with minimal damage. Reality of course was very different.
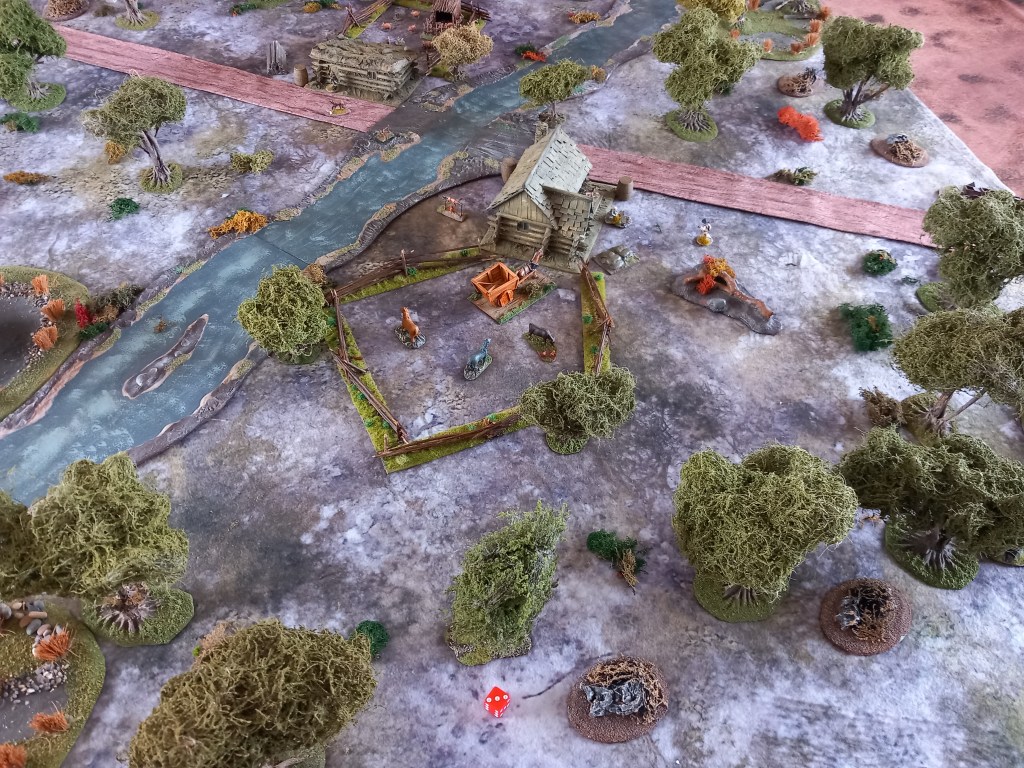
Next was another neglected skirmish period, this time French Indian Wars.
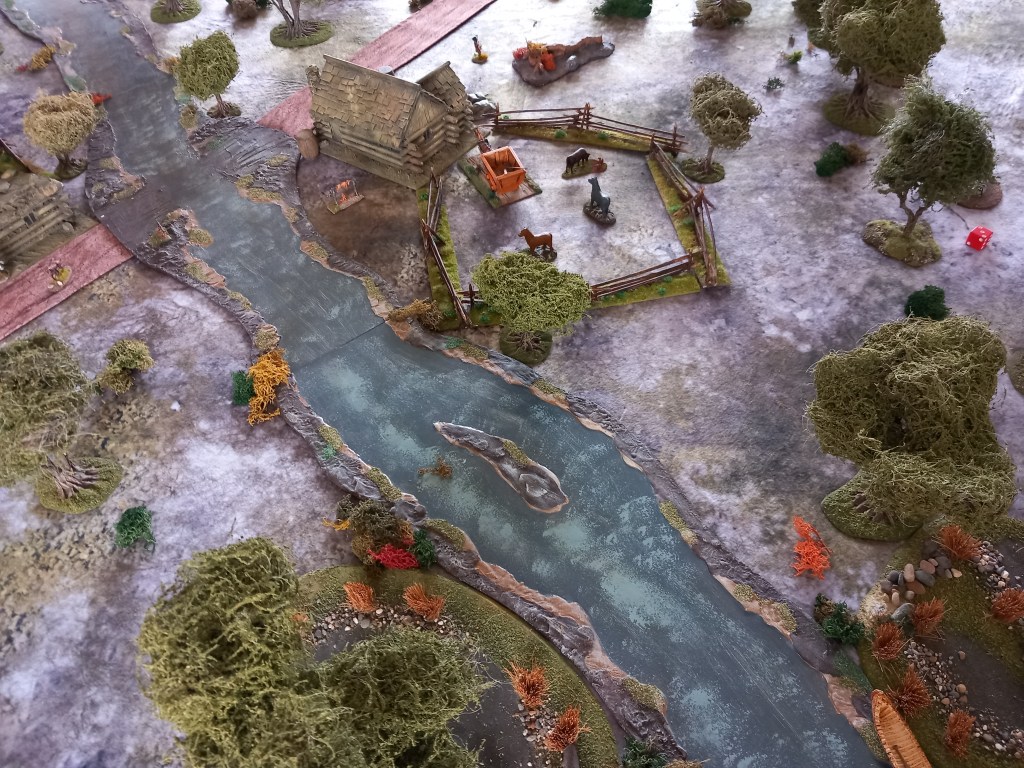
In this scenario, ‘the action at Brookes Ford’ opposing scouting groups – Rogers Rangers for the British and assorted Coureur de Bois & Indians for the French are tasked with securing the ford for their respective main columns. The Brookes family have managed to avoid taking sides so far in the conflict.
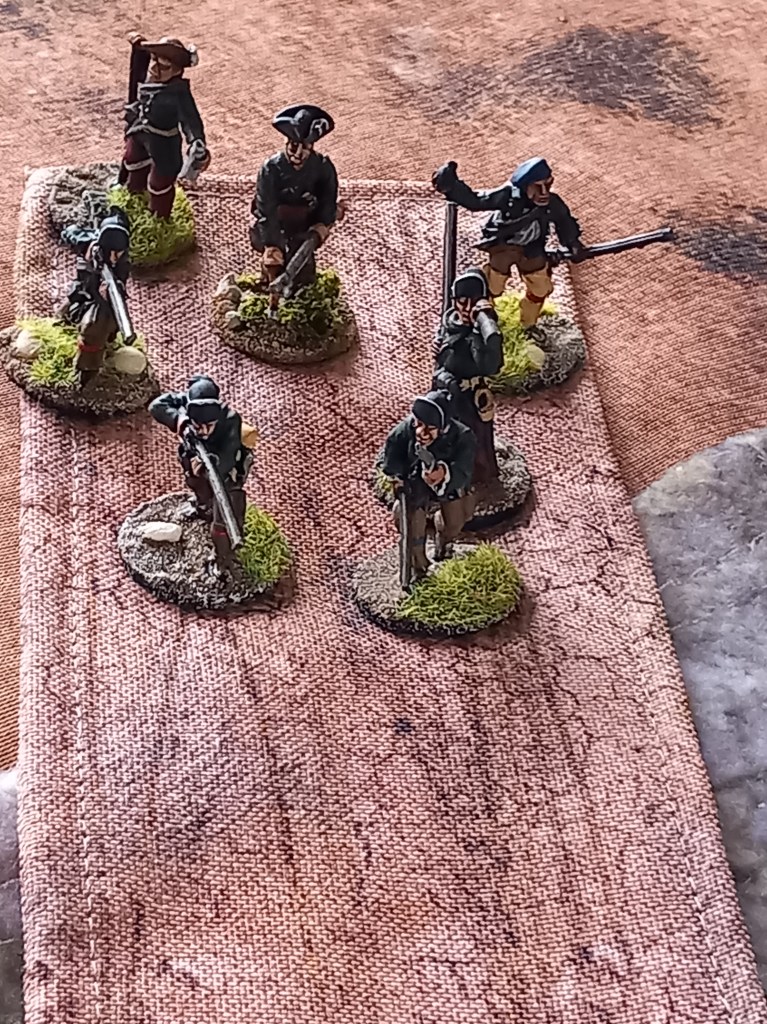
As if to emphasize the oft quoted “no plan survives contact with the enemy” the careful placing of terrain and start points – a couple were next to canoes at either end of the river, others were in deep cover, the two start points at either end of the open road that ran through the table were where the players randomly diced to arrive at – the Rangers had one group of 7, the opposition had two groups, one of 5 on the road and another of 4 just off the road. Oh well, so much for plans 😂
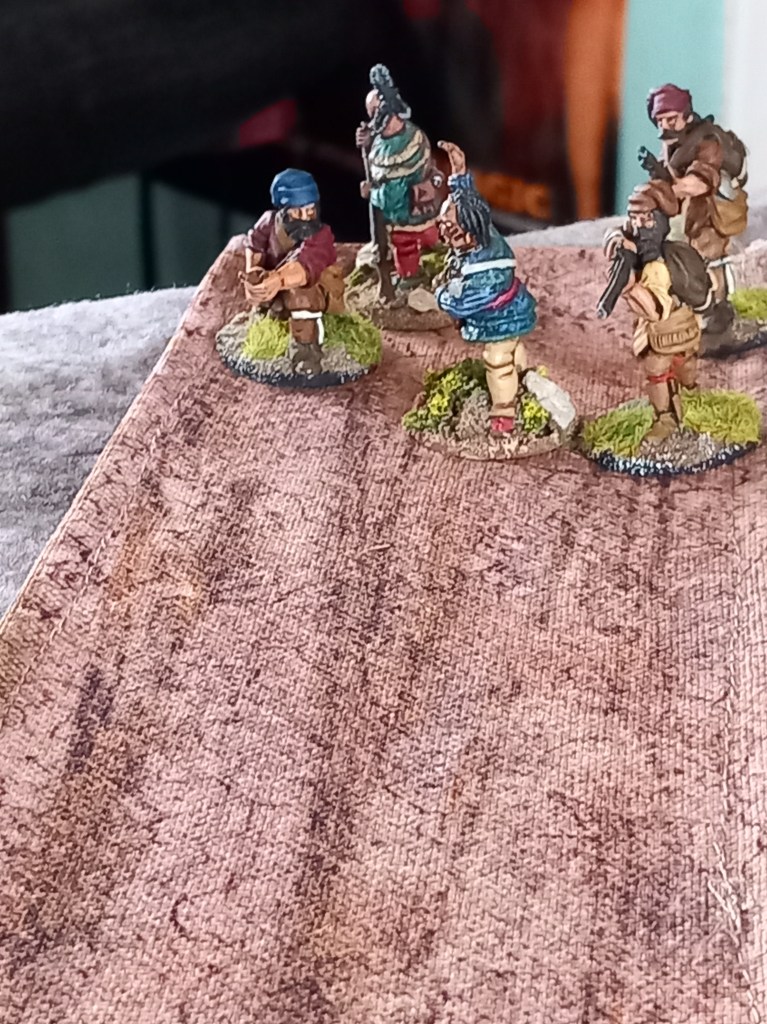
Although the players could see the enemy the figures could only see shapes and would need to get closer to be able to spot and therefore fire.
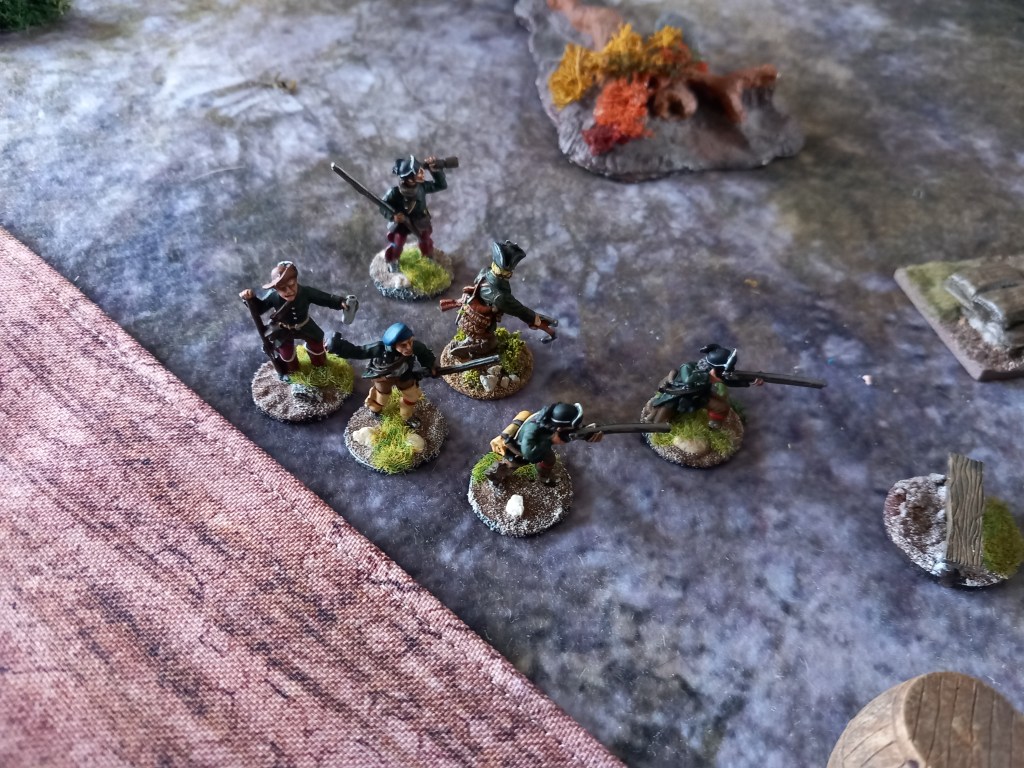
At their end of the map the Rangers scared old man Brookes into running for the woods and his wife into scuttling into the cabin and bolting the door whilst they themselves headed for his large yard/corral.
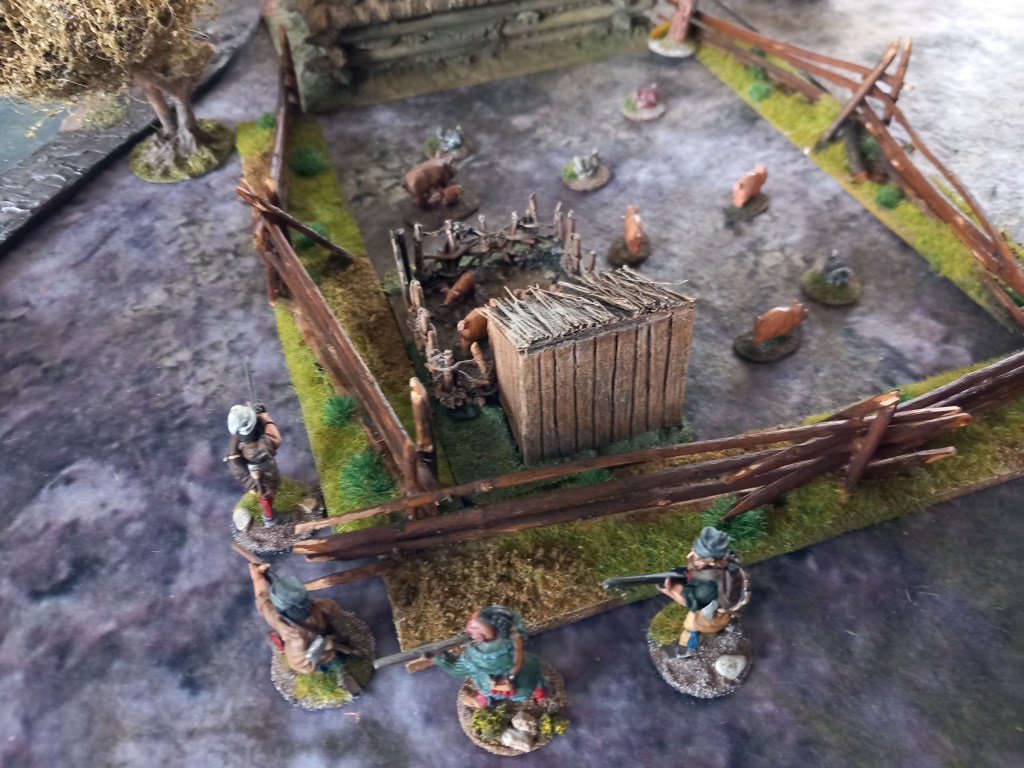
The Coureur de Bois and Indians skirted young Brookes cabin wary of the wife and her threatening attitude and loaded musket.
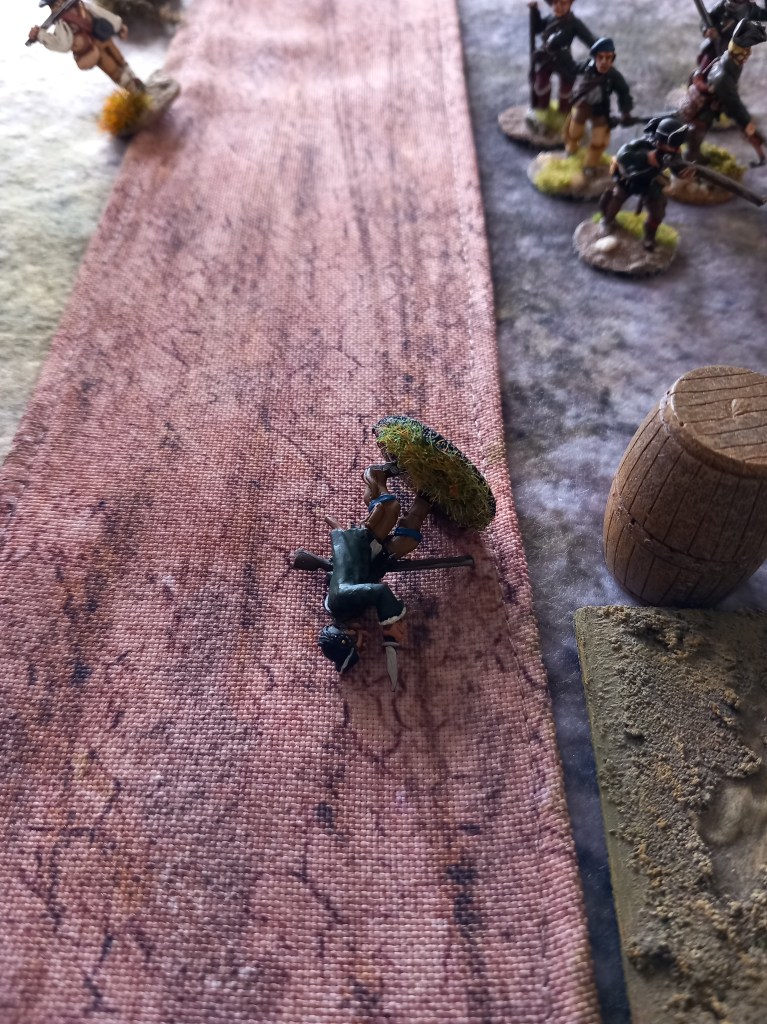
Soon both sides were spotting each other and the musket balls started to fly with a Ranger being the first to fall.
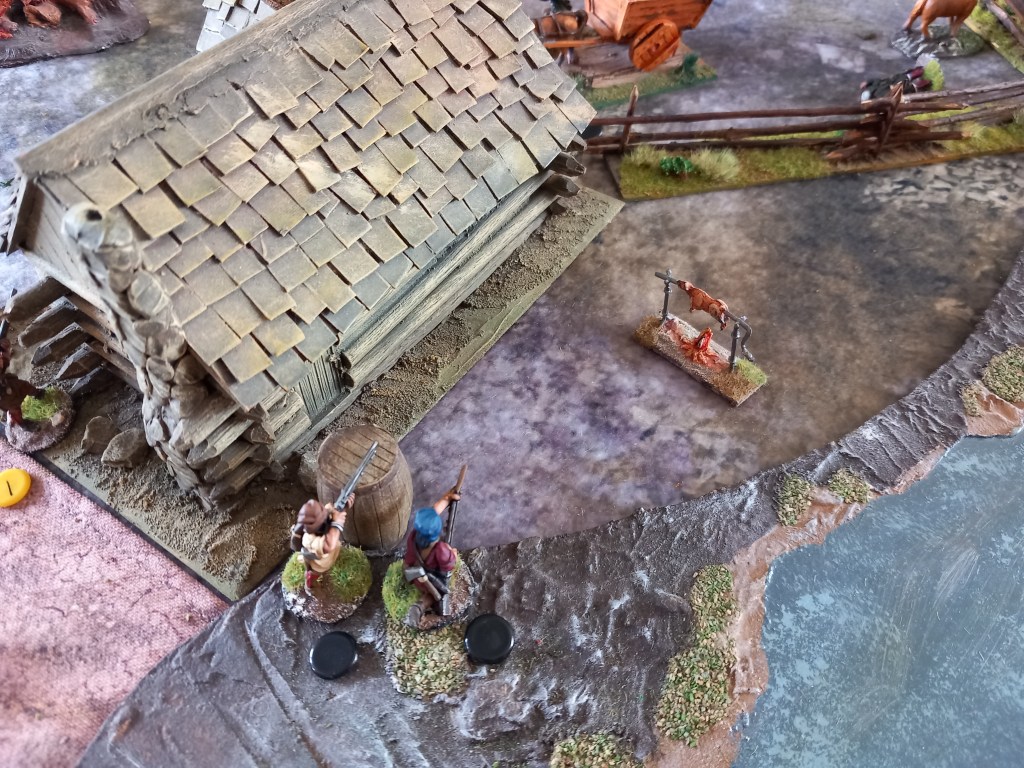
The Coureur de Bois had secured the ford pretty easily but the Rangers were now ‘forted up’ in the coral and were giving a good account of themselves.
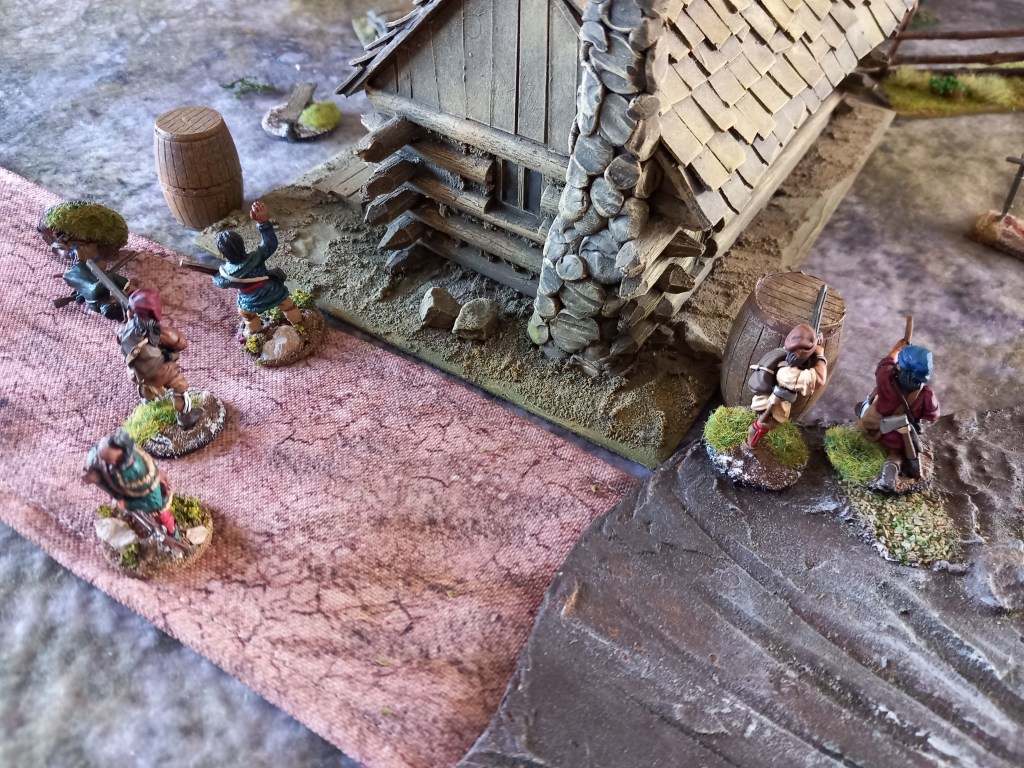
The musket balls were flying but apart from a couple of wounds it was a bit of a stalemate.
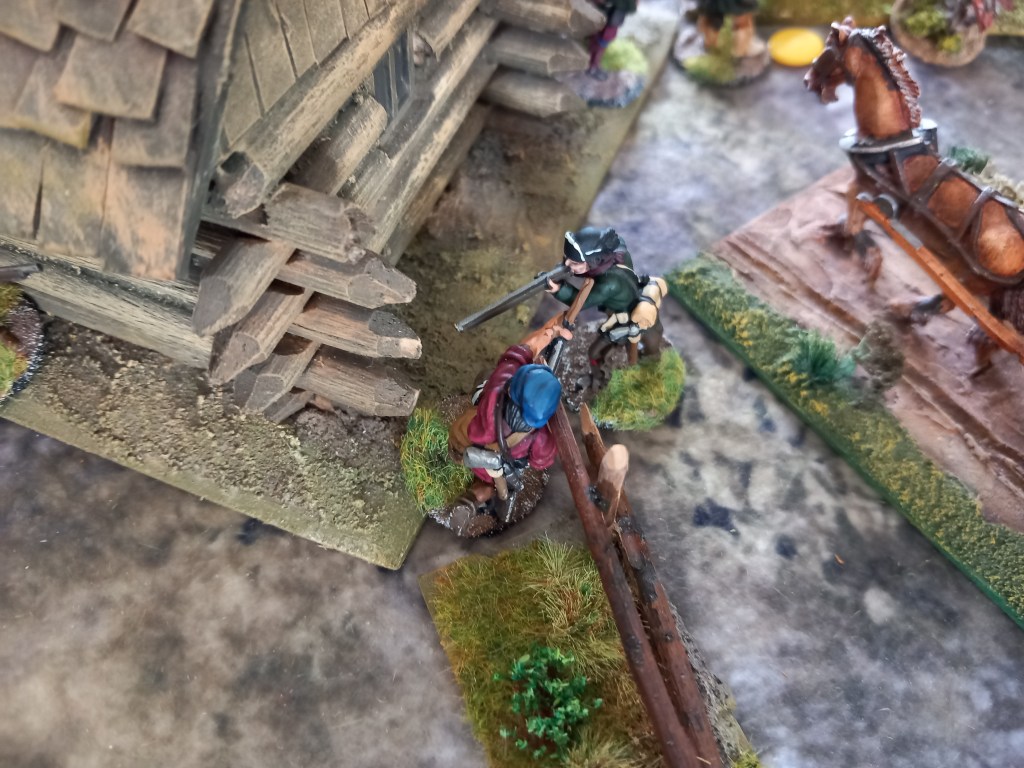
It was the Coureur de Bois who lost patience first and closed for hand to hand action. Unfortunately they lost both fights and one group fled after a morale check.
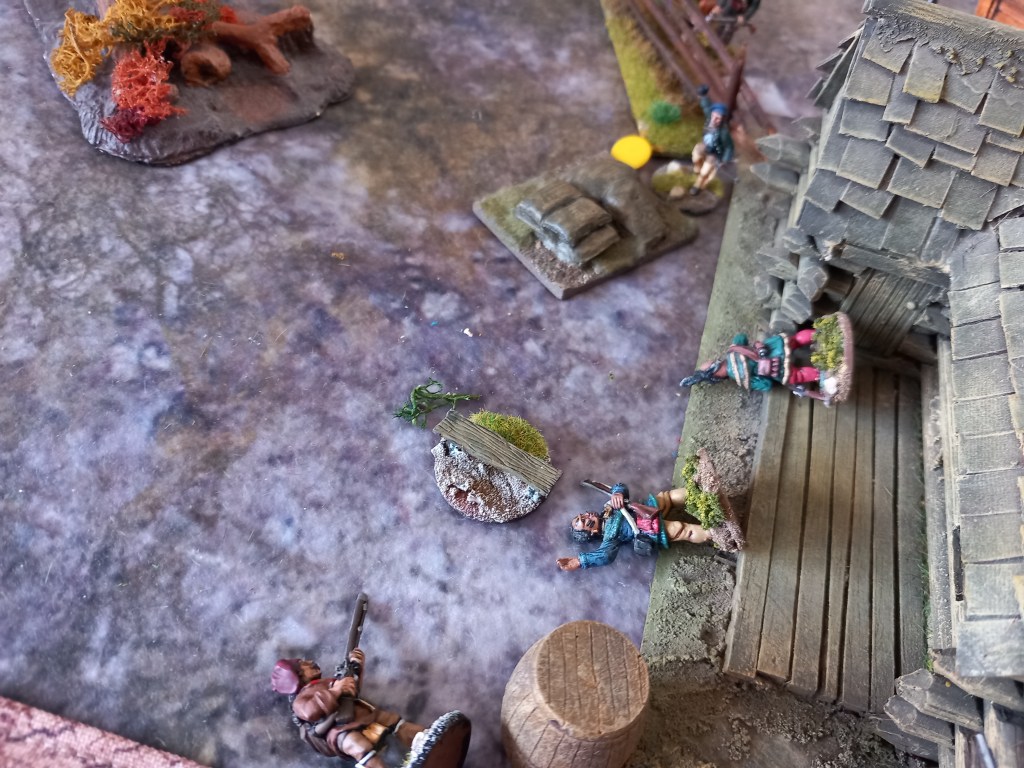
And then it just wouldn’t stop going wrong!
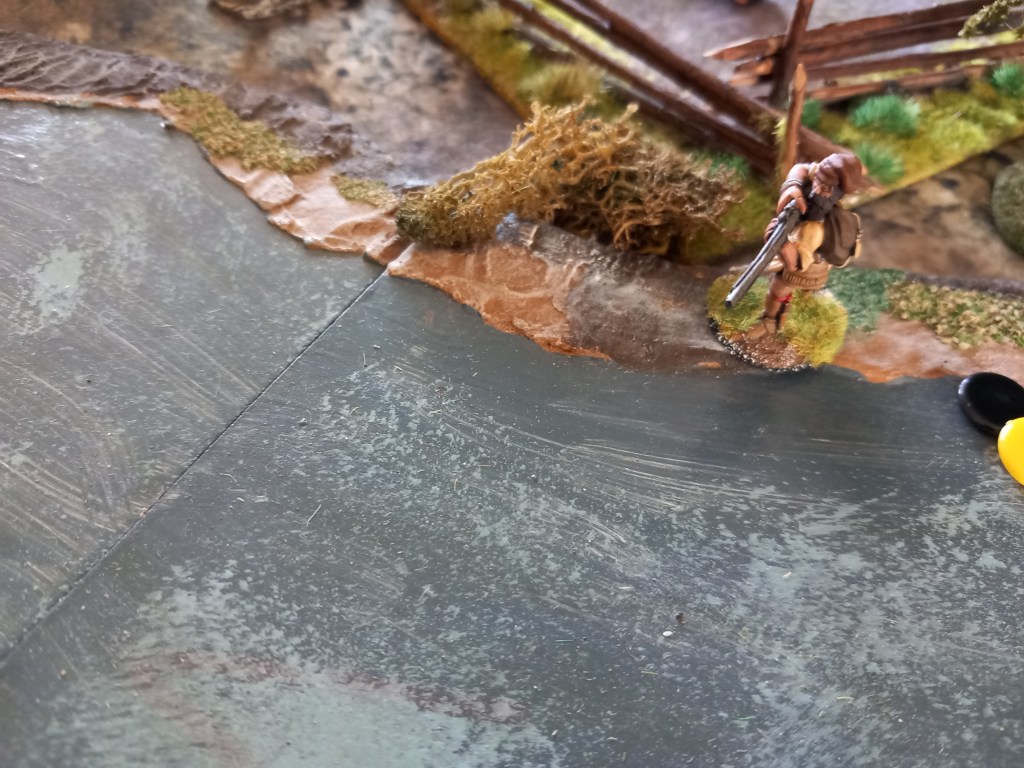
Calling time, the Rangers had lost fewer men and were in a good position, the Coureur de Bois however failed to rally the one group and so the other fell away. There will be another time…..
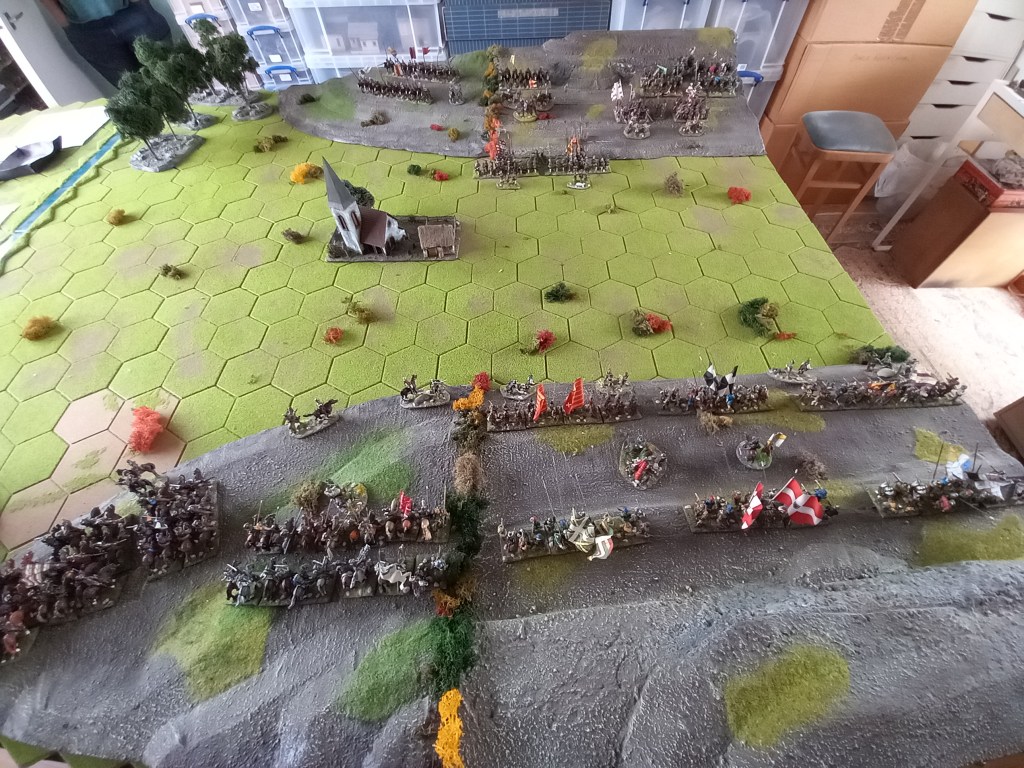
Our next effort was an approximation of the Battle of La Roche l’Abeille, 25th June 1569. I say approximation because in any source you go to there is about 4 lines of text and a woodcut. What we know is that after the battle of Jarnac (previously fought by ourselves) both sides continued to manoeuvre and the Huguenots received significant German reinforcements. They then ended up facing each other across a valley with the village of La Roche l’Abeille at the bottom. The Royalists had placed a ‘division’ of infantry in the valley under Philippe Strozzi who the Huguenots attacked en masse and destroyed, capturing Strozzi, while the rest of the army watched. Our refight was unlikely to be like that 😁
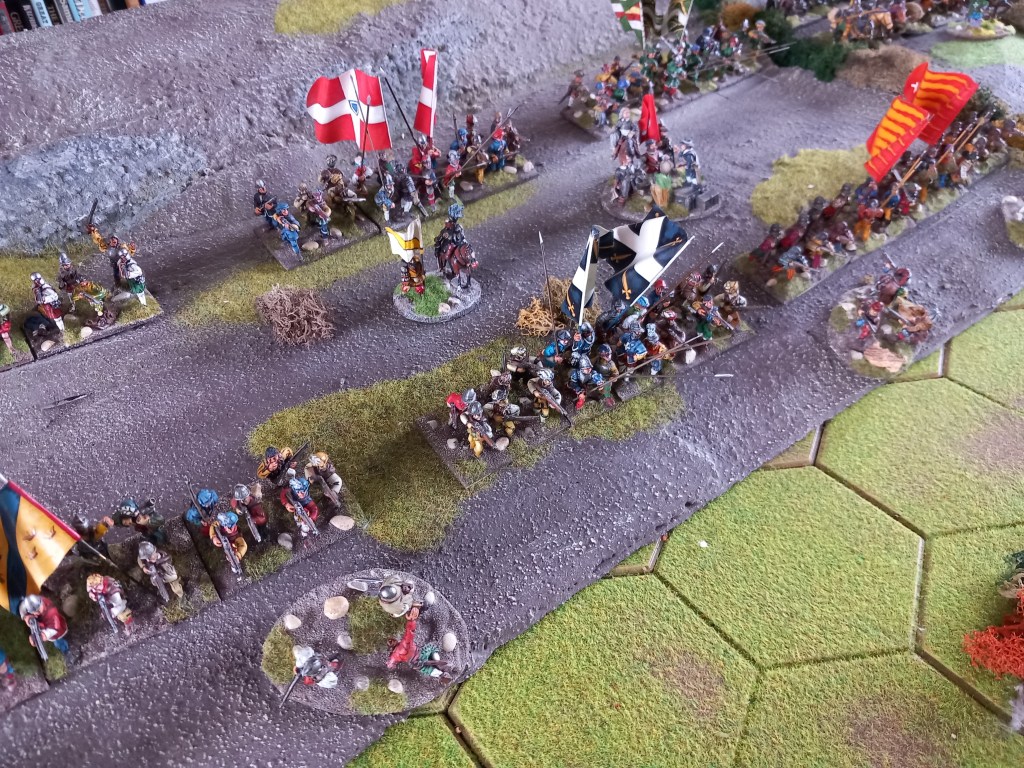
Our forces were based on what we knew had survived Jarnac, what reinforcements had been received and quite frankly what we had in the collection. The Royalists had the better infantry, the Royal Swiss, a unit of Landsknechts and 2 regiments of Spanish under Strozzi placed on the valley floor. The Huguenot infantry was more numerous, 2 ‘legions’ of shot and 4 of pike & shot with enfants perdus scattered across their front on the lower slopes. At this point in the wars both sides noble cavalry were gendarmerie and chevaux legers armed with lance, our Royalists featured 2 double sized gendarme companies and 2 normal sized gendarmes and 2 chevaux legers, plus a unit of Walloon lancers, our Huguenots featured 2 gendarmes and 2 chevaux legers plus 3 units of reiters.
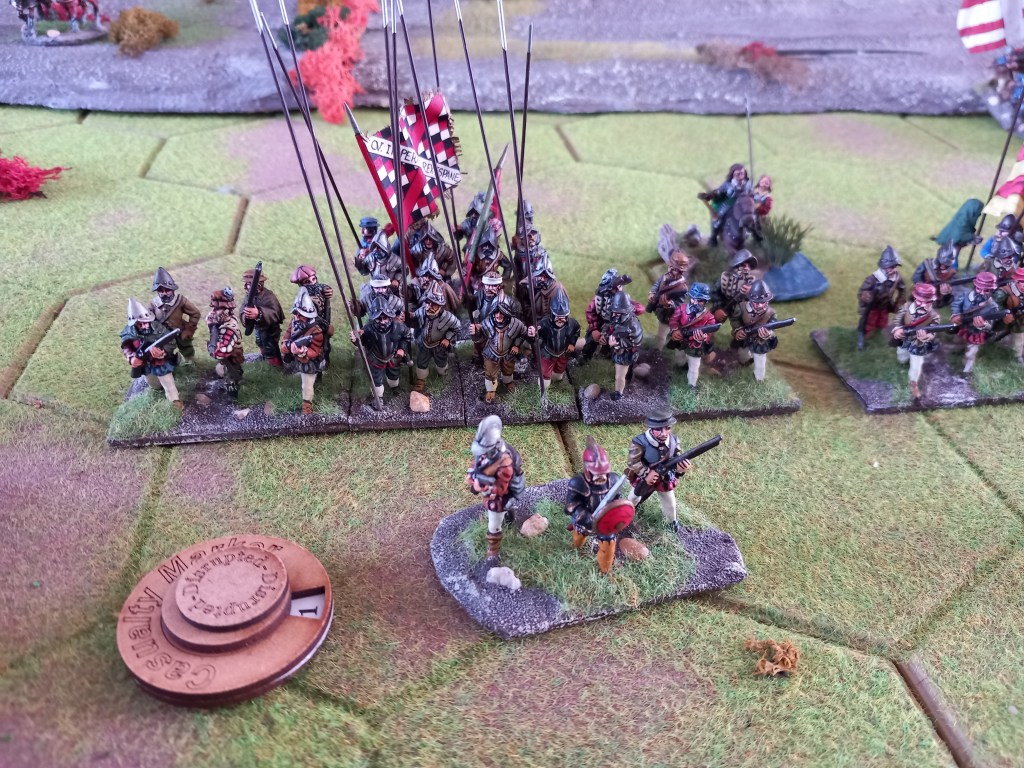
Both sides ordered a general advance – rules note, not all troops could advance in a single turn, this relied on the skill level of the commander so players were faced with a tactical dilemma in each turn.
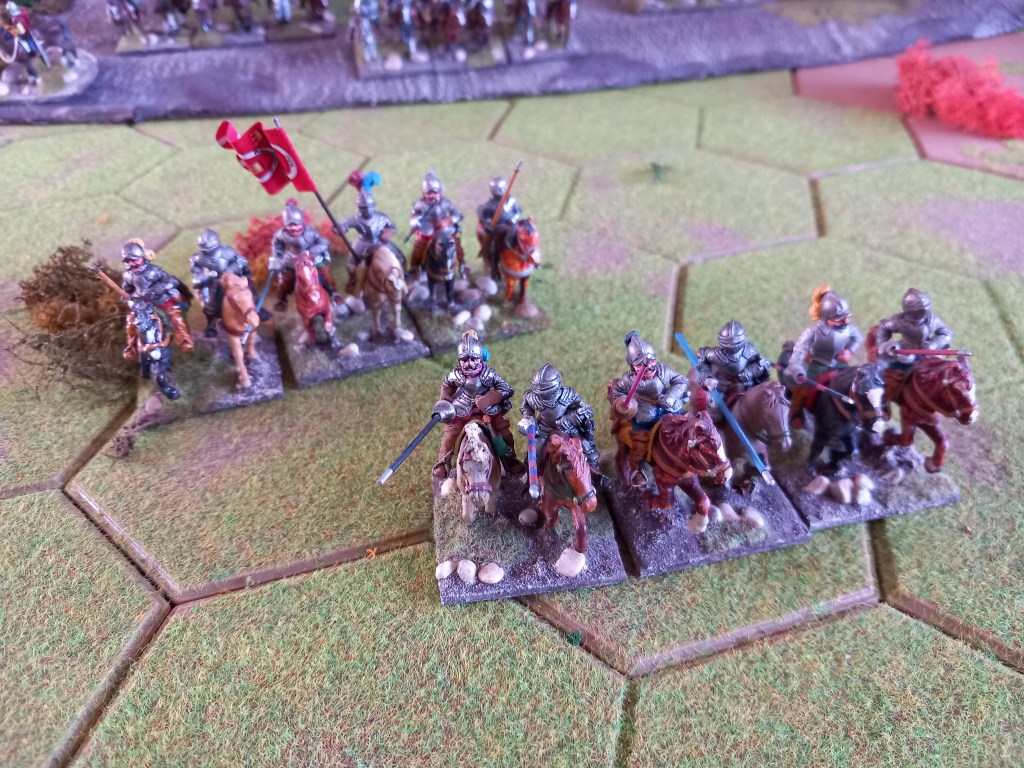
Naturally enough the cavalry of both sides were keen for battle.
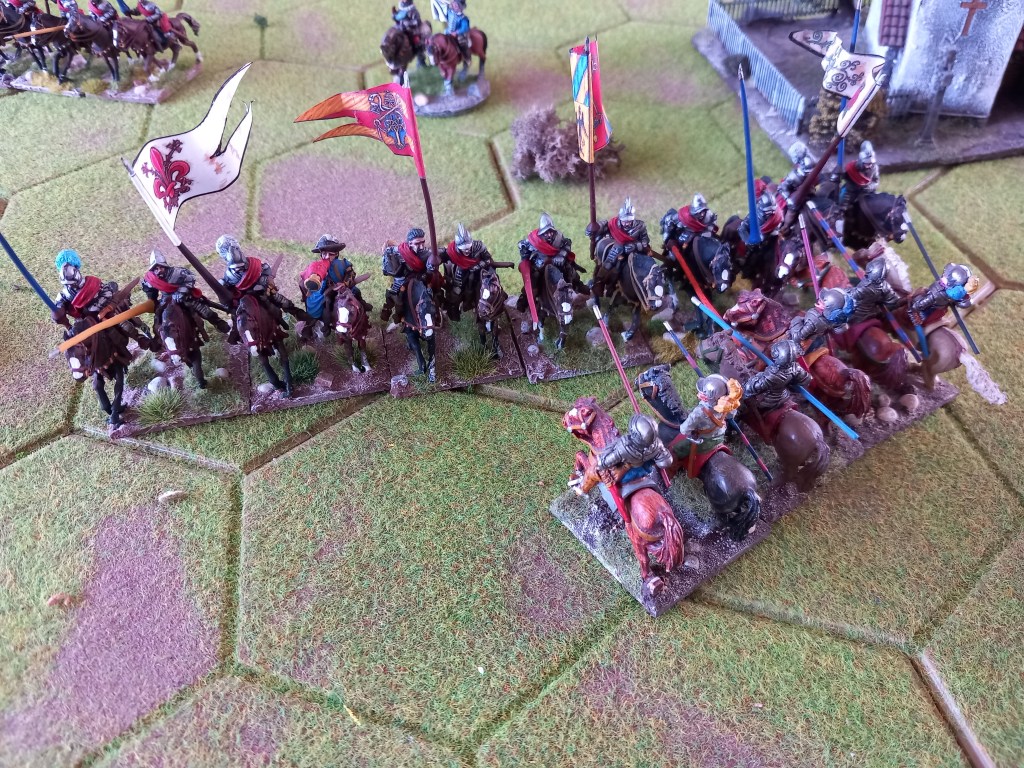
First into contact was the double sized regiment of Nemours who misjudged their charge on the smaller of one of the Admiral Coligny’s horse. Would it matter? Well yes in the short term but once all their numbers were involved they broke through and onto the next target.
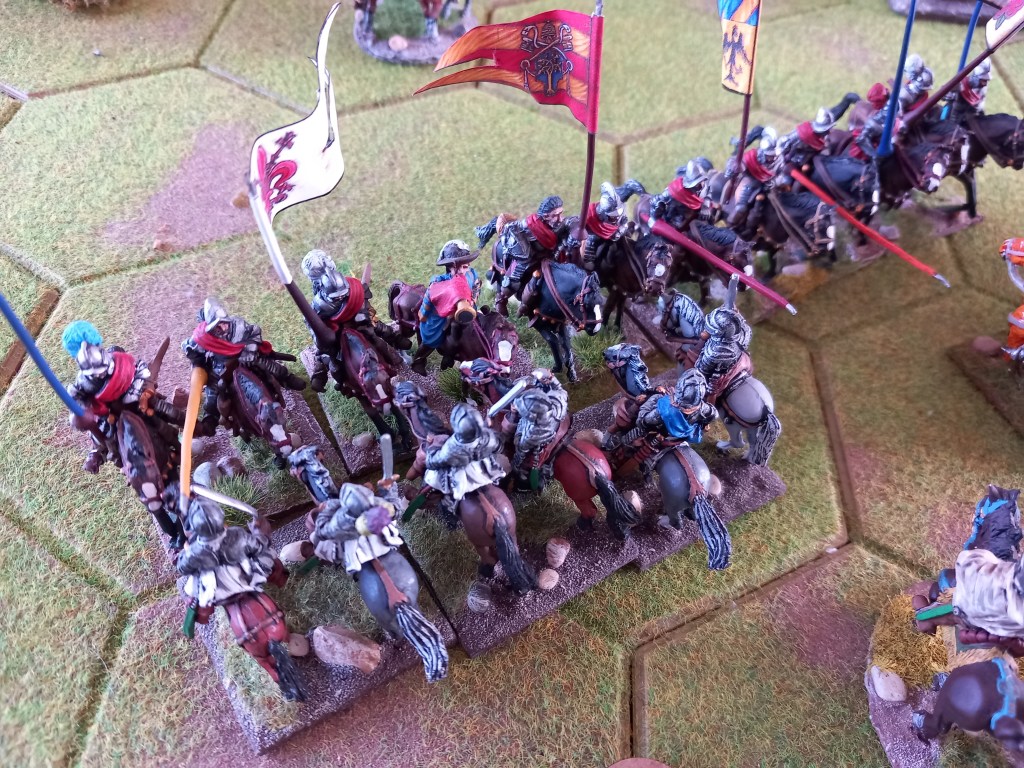
Which was Biron’s chevaux legers who held the line until their second regiment could join the fight.
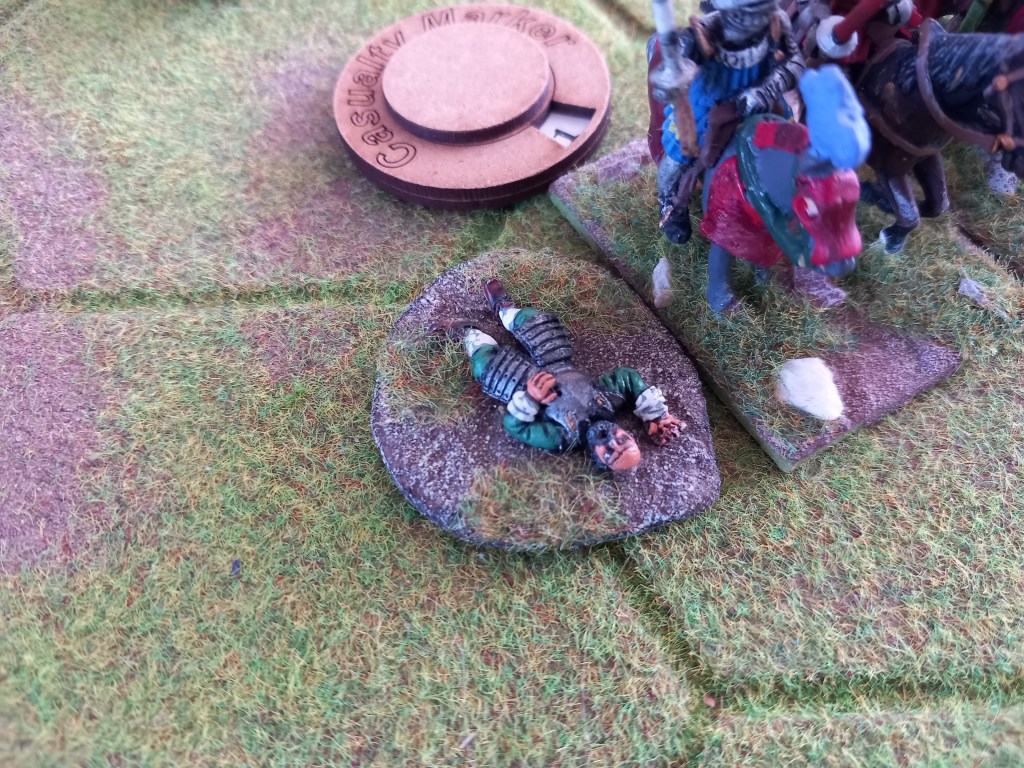
Elsewhere on the field the risk of flying musket balls taking out a regimental colonel could be detrimental, here the Prince de Porcien is felled from his horse. In all we had 5 colonels and 1 general killed.
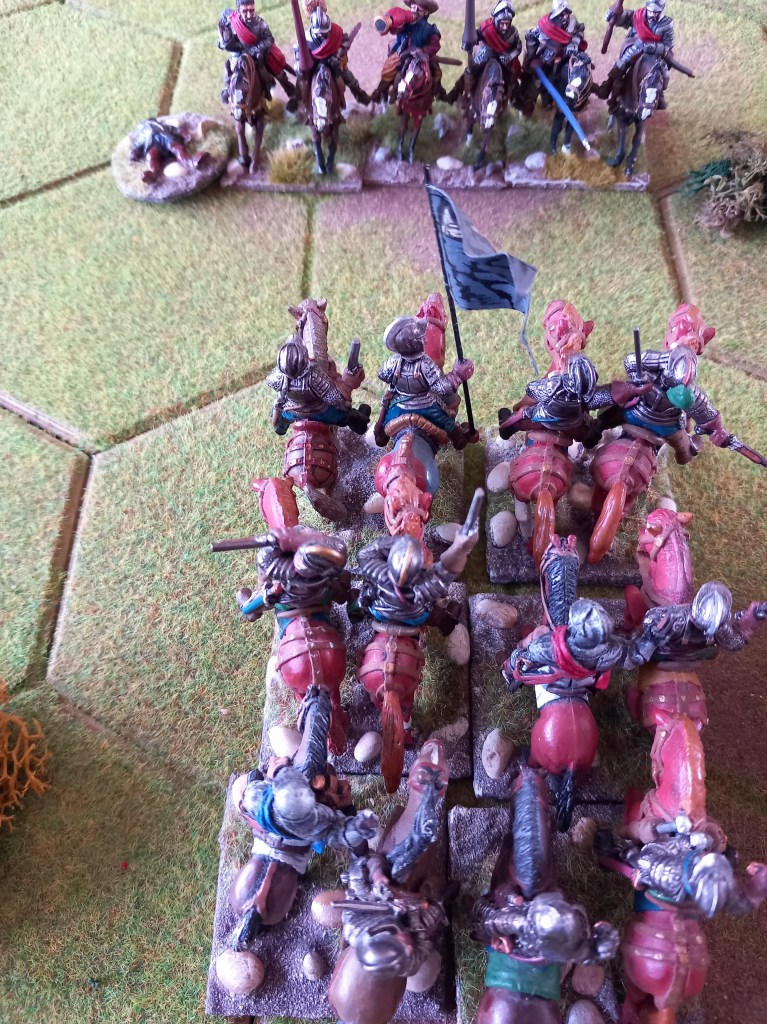
The Huguenot reiters were very slow to get involved – low aggression, mercenaries, poor colonels but once they had been galvanised into action they were worth their price. Here Gabriel de Montmorency commanding Montpensier’s gendarmes is shot dead and his regiment shot to pieces.
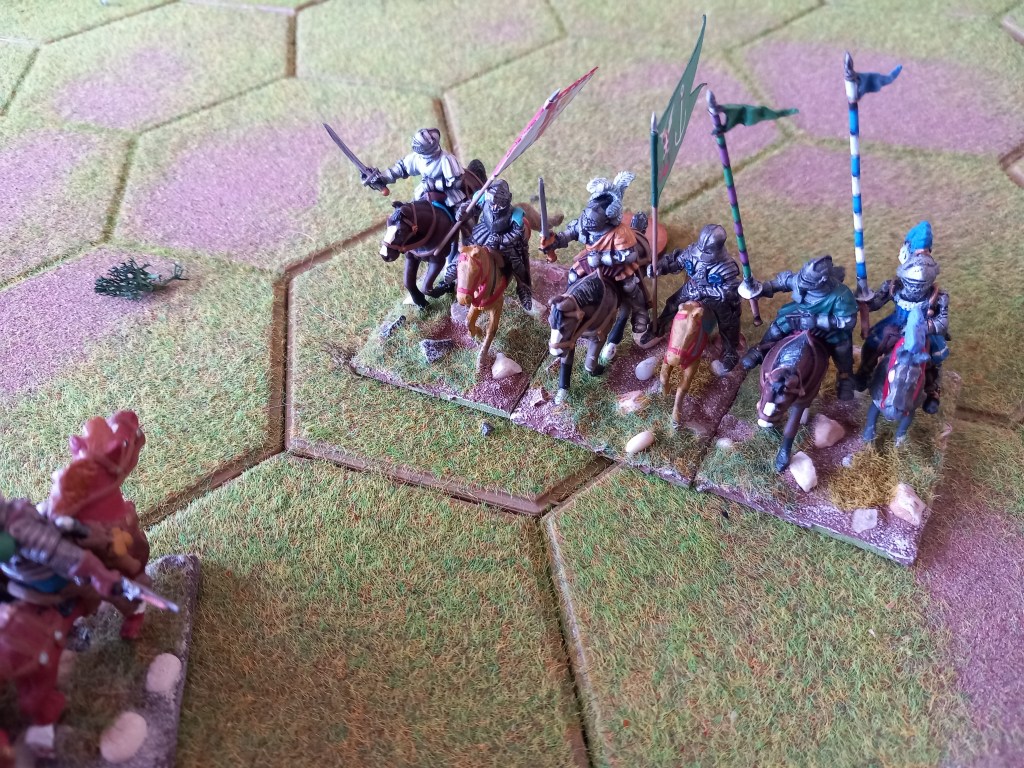
But the reiters didn’t have it all their own way as St Andre’s gendarmes chase them off here.
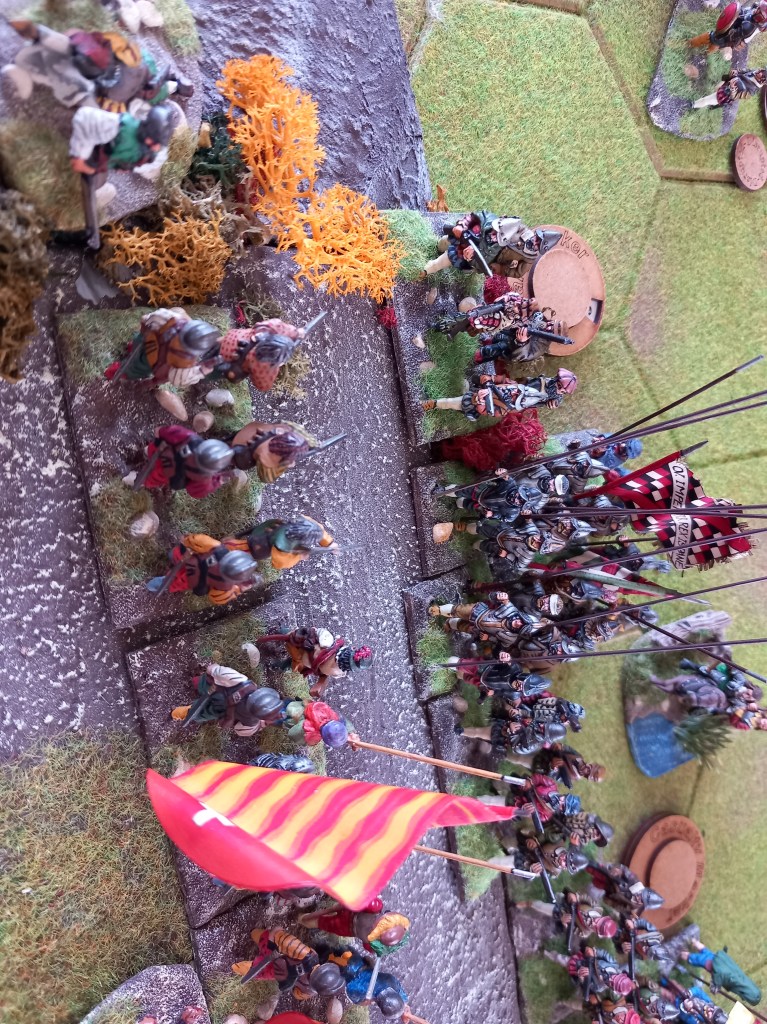
While the horse battle swirled out on the Huguenot left Strozzi and his now slightly battered regiments had reached the Huguenot slopes.
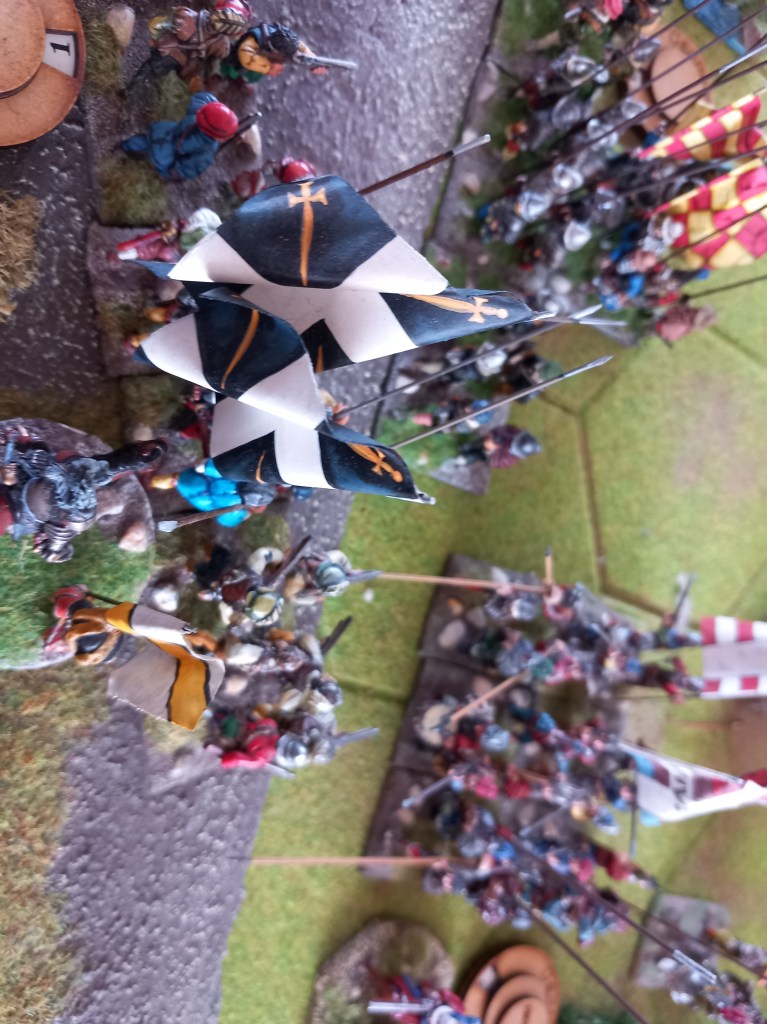
And a hole was duly punched as the Swiss now closed and the Duke d’Andelot tried to steady the second line.
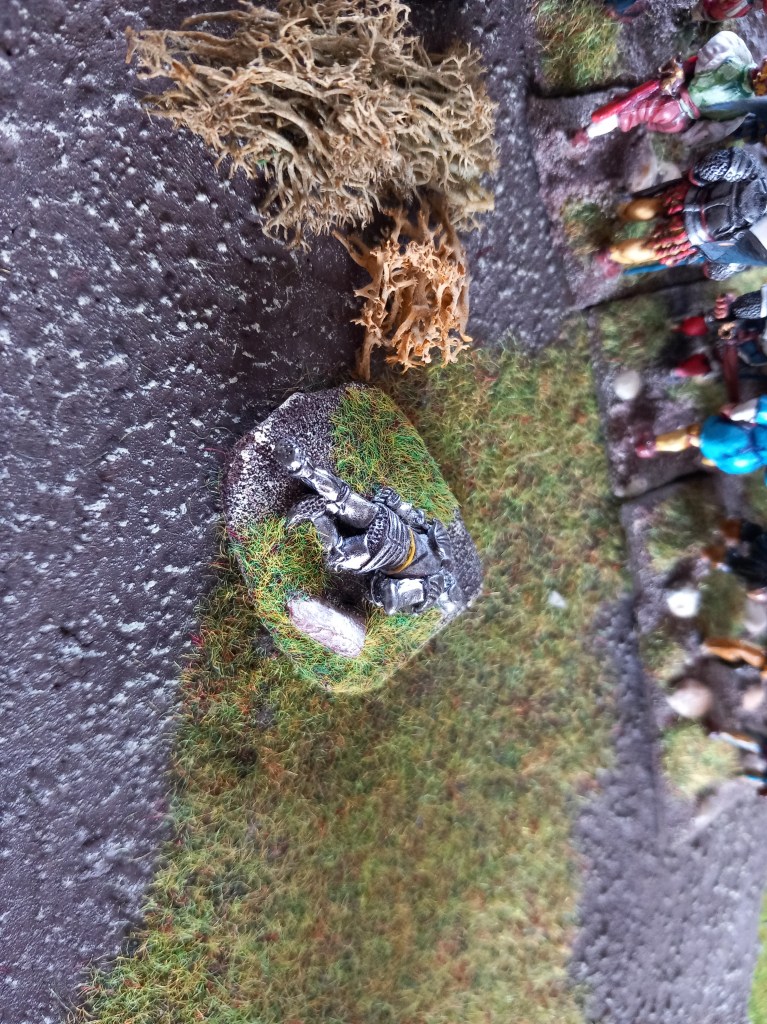
The fall of d’Andelot.
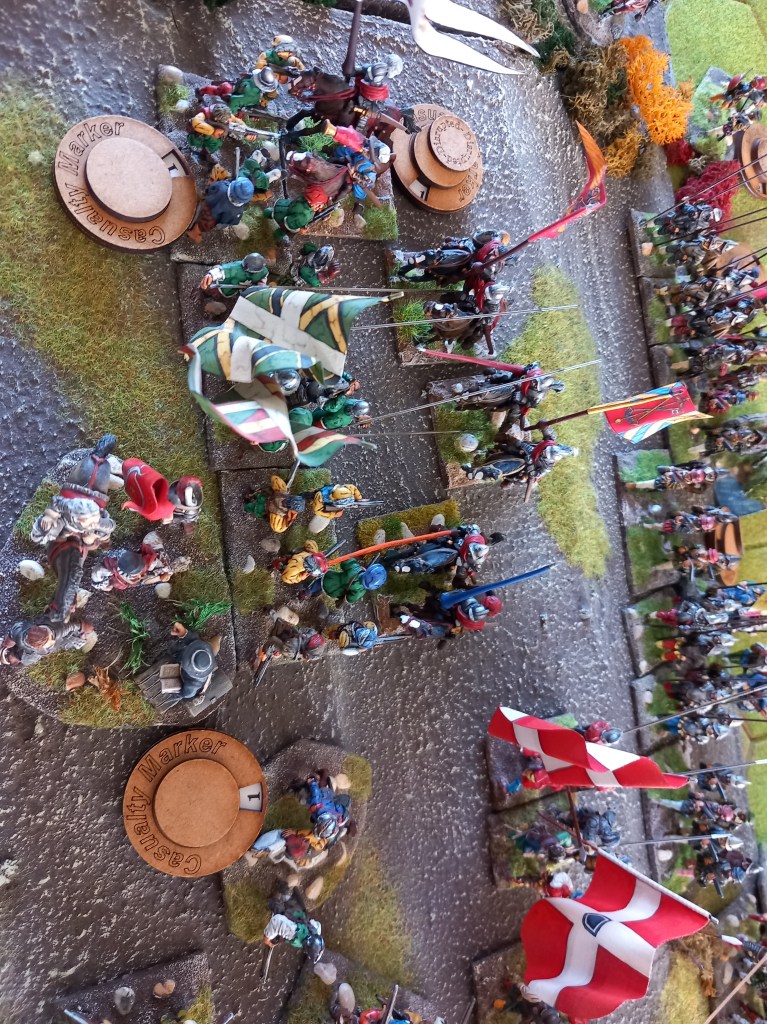
The Admiral himself now rallies the Huguenot second line as both Royalist cavalry and infantry close.
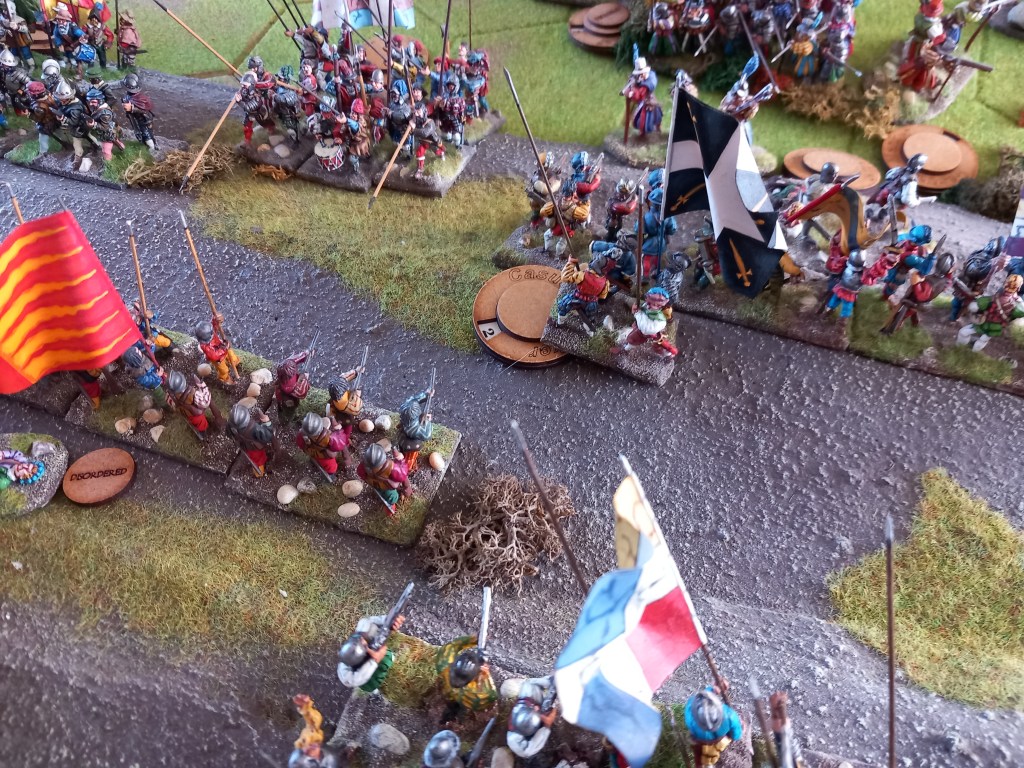
It is desperate but as the light fades the Huguenots are still on the slopes and the Royalists are looking to their rear as the reiters close unhindered – the cavalry fight saw most of the Royalist horse scattered. A close run game, certainly closer than the real thing!
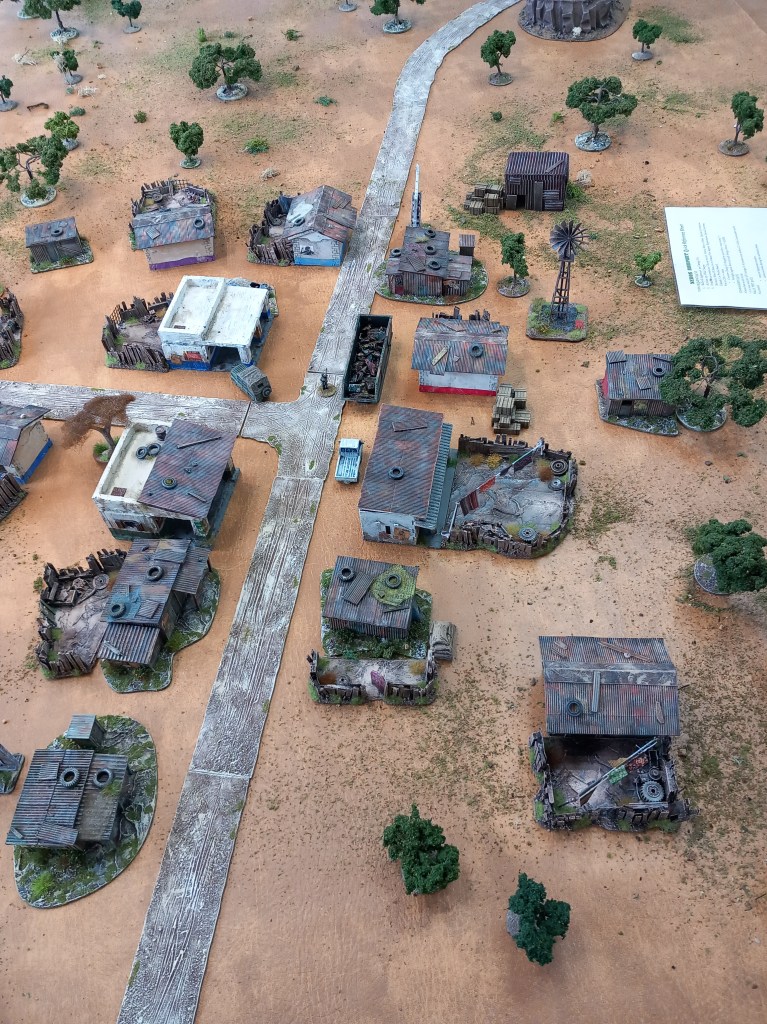
Next was another away game, this time a Rhodesian bush wars game using Xenos Rampant rules.
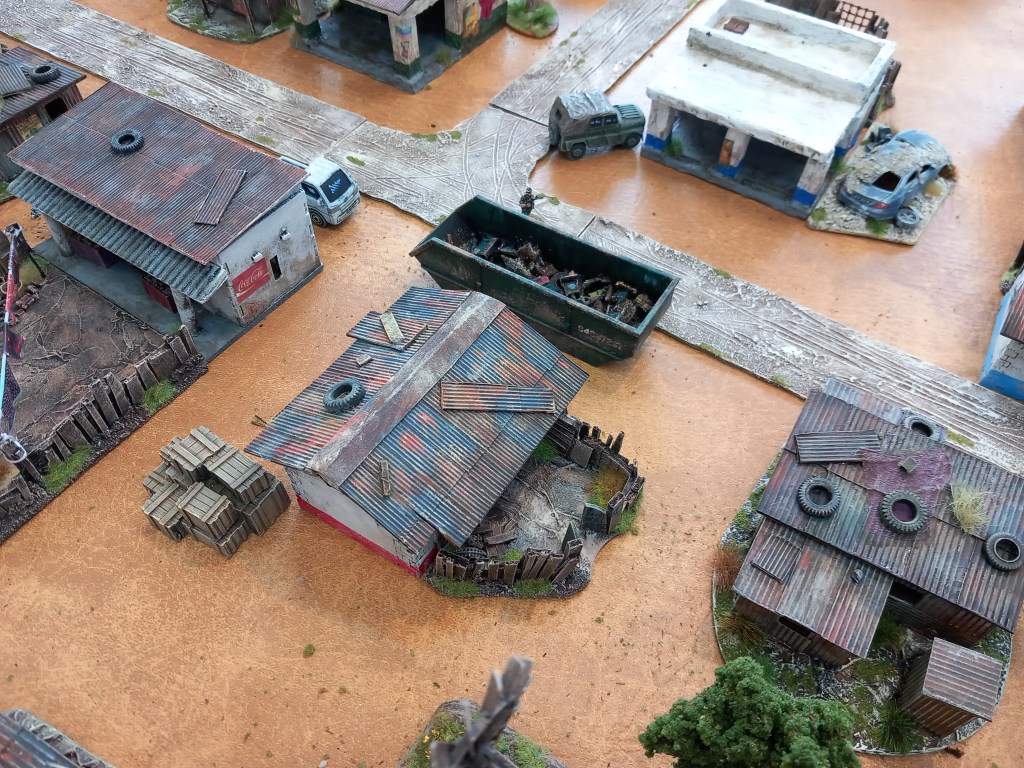
The scenario was simple enough (adapted from the rule book) both sides had to seize/rescue a Cuban asset (seen standing by the skip) and get off table.
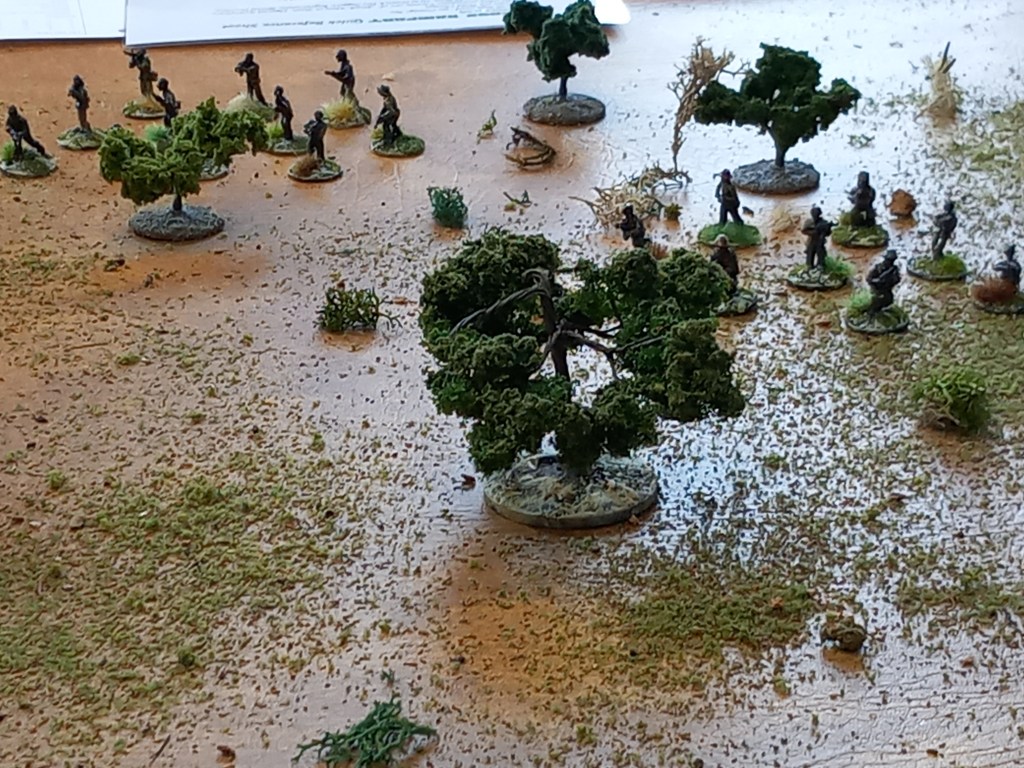
The forces were created from the XR rules book so as to give a ‘balanced game’ and anyone who is familiar with the Dan Mersey school of rule writing will know the drill. Nominate a unit to do one action, dice against a skill level and off you go, one fail is a fail for the whole side and the initiative passes to the other side.
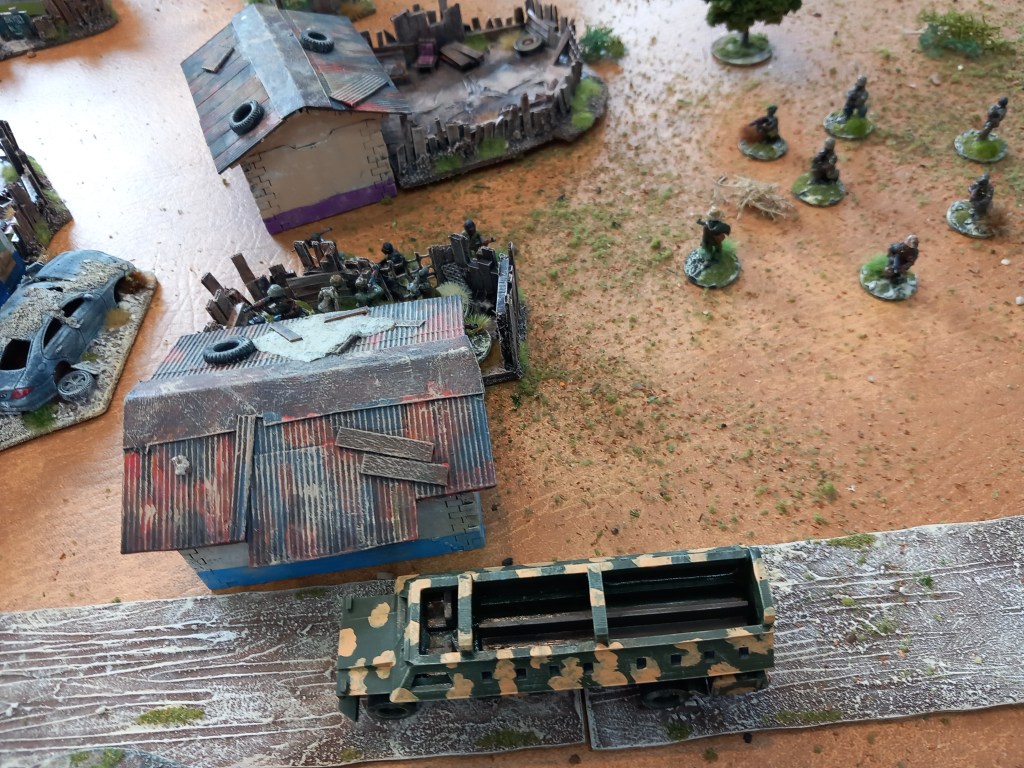
The game played perfectly well and a result was achieved. Was it a reflection of what we know about the 1970’s bush wars? I don’t think so and it had none of the granularity of early modern warfare or at least my perception of such. For me there are some real problems with this school of rules writing, a body of 10 men enters a back yard which has a gap in a fence of the width of one figure yet all 10 figures can fire. This is nonsense and there is no argument about time and space that can cover this.
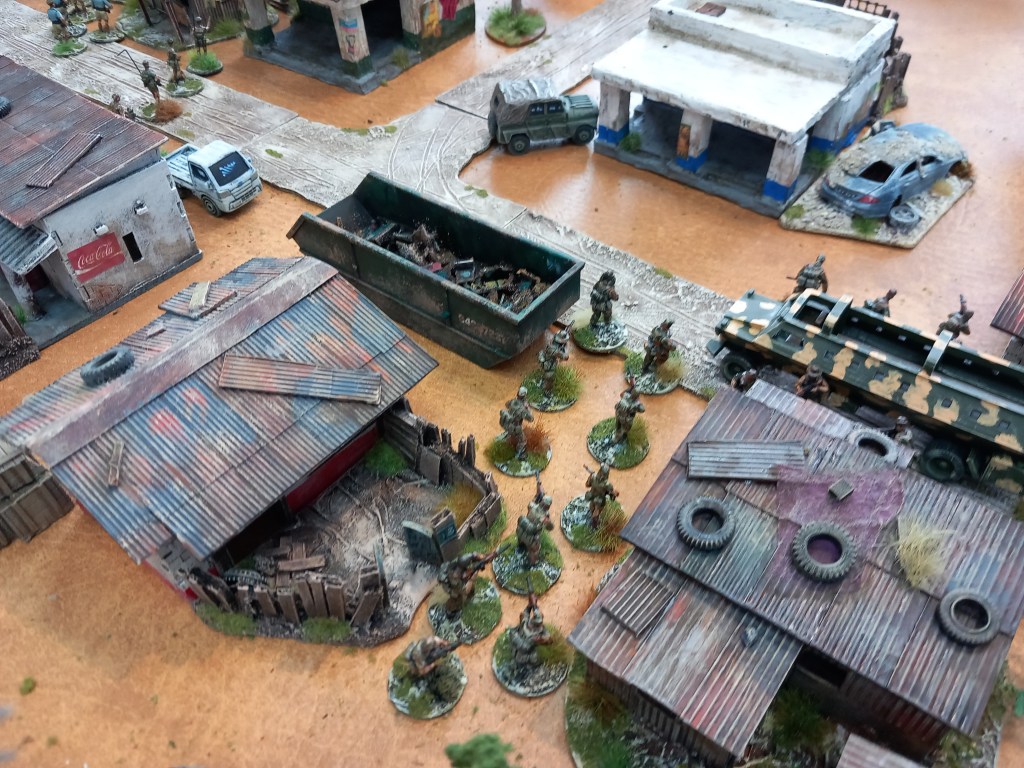
The game looked great and the creator is to be applauded for such a splendid tableaux I just didn’t get any sense of being in the historical time and place.
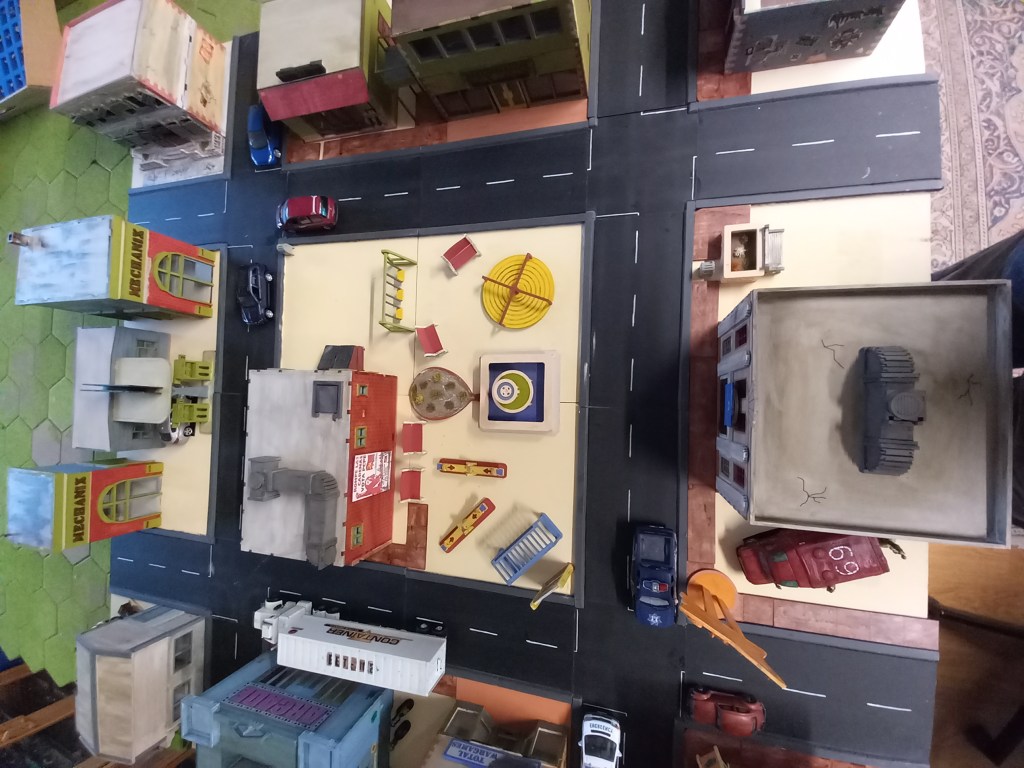
Our final game was another from the vaults of neglect, our cartel set up.
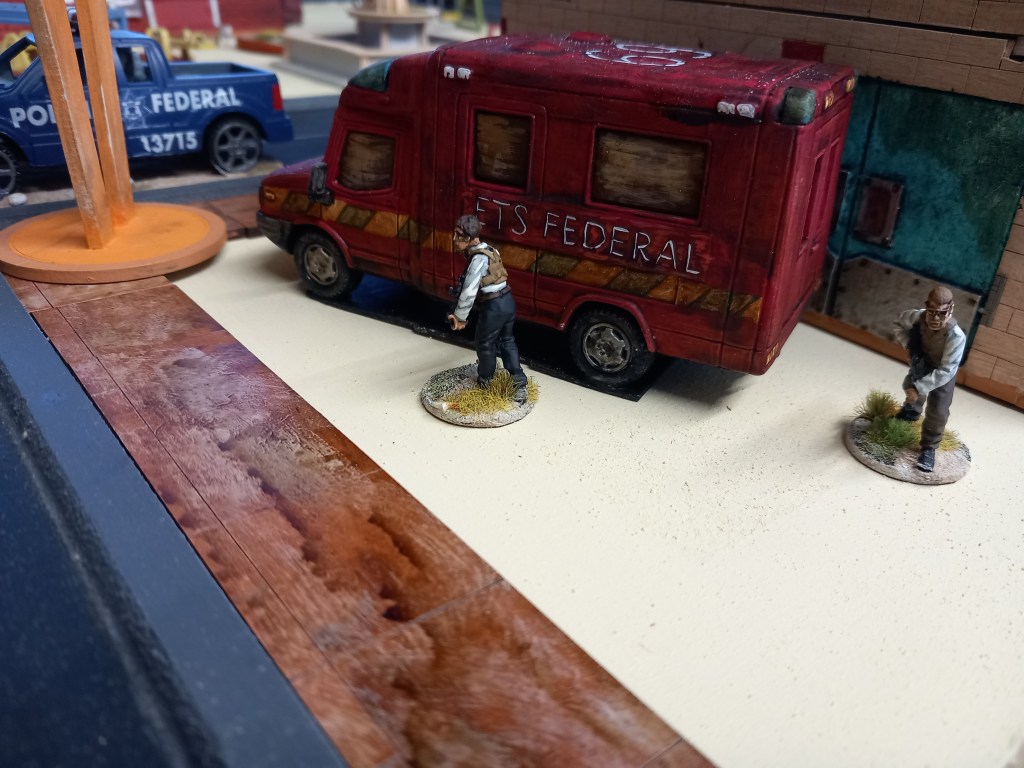
In this scenario a cartel gang low on funds has come up with a half arse plan to raid the money drop at the local bank. Unknown to them the DEA and local Federales are onto them and have set a trap. Unknown to the agents however is that one of the two Federales teams is corrupt and might make it’s own play for the cash – percentage die roll modified by circumstances.
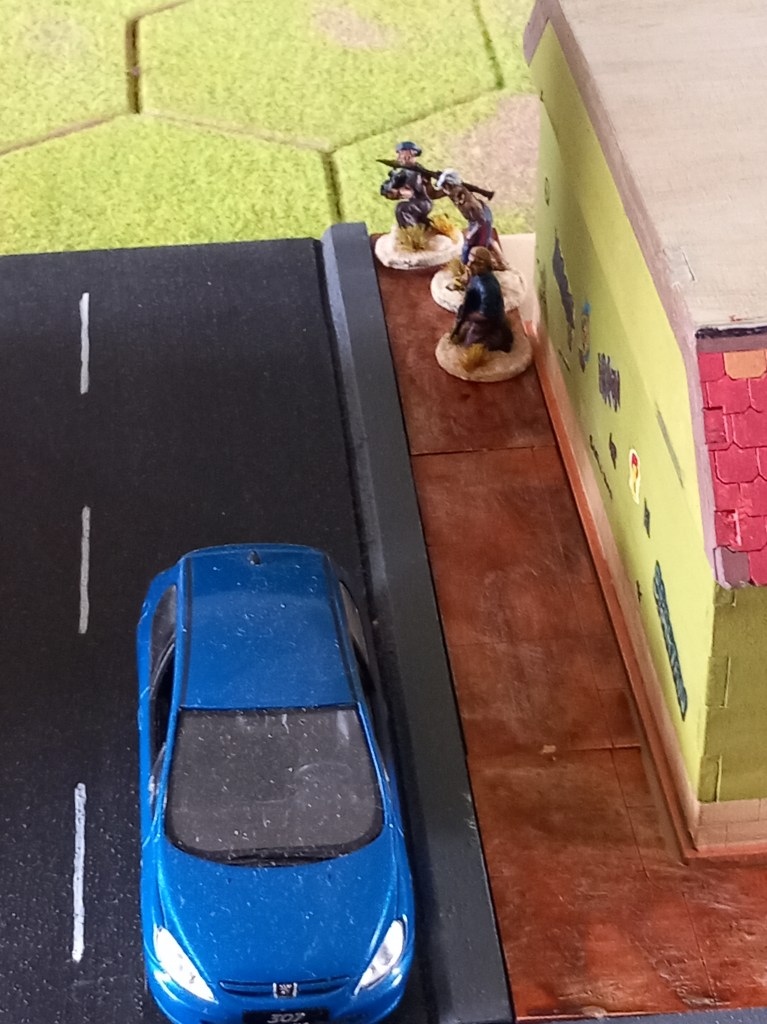
The early moves were quiet as gang members appeared randomly and made their way to the bank. Amazingly no one noticed the guy with the RPG 🤣
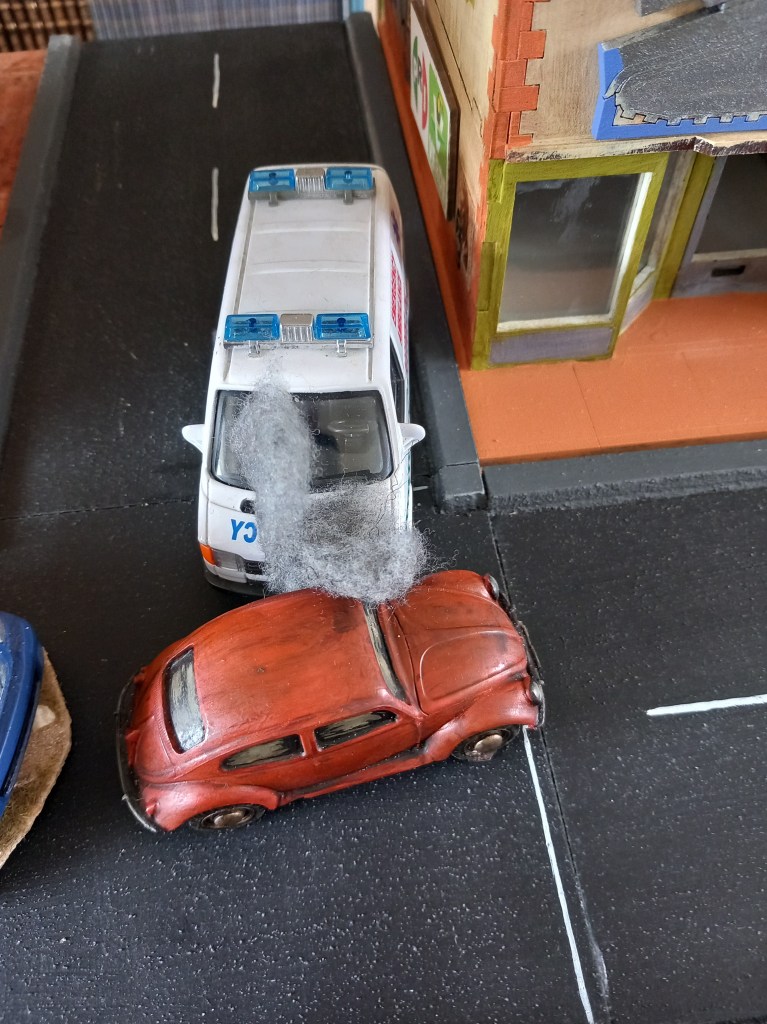
All traffic was controlled by random movement dice and before a shot was fired we had two road accidents, one of which occurred right in front of the police!
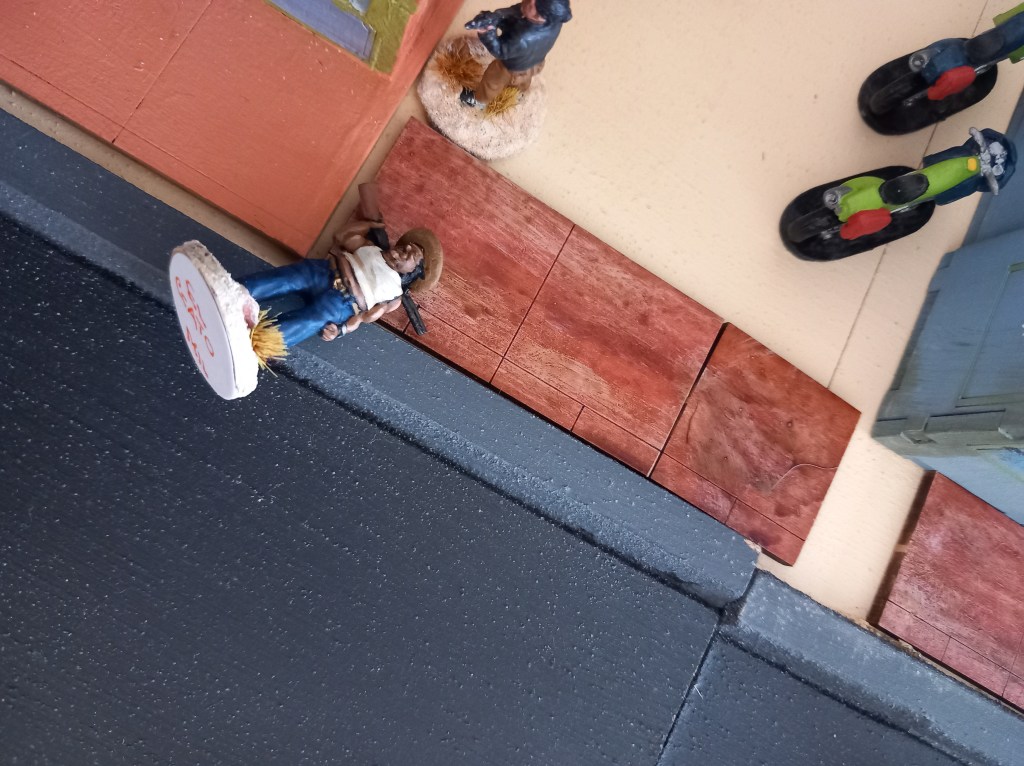
Soon however the day was shattered by gunfire. One of the Federales parked outside the bank spotted El Gato, a sub lieutenant, and opened fire, killing him stone dead. Game on!
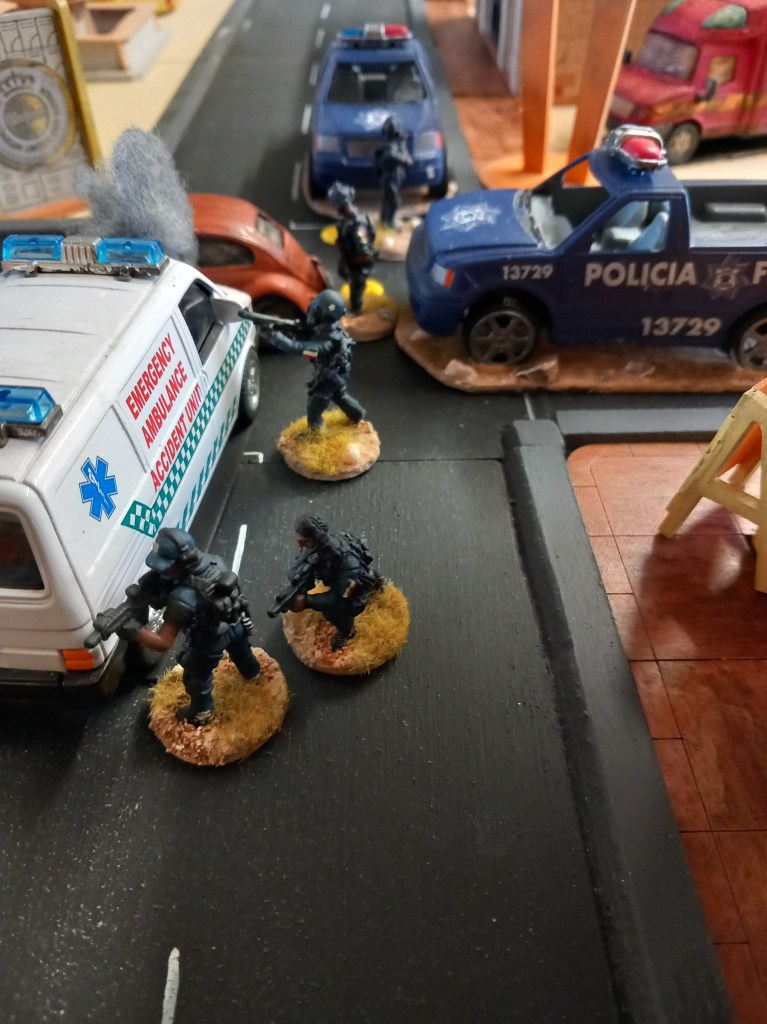
The corrupt police were now forced to deal with an actual policing job and their percentage chance of going rogue dropped accordingly.
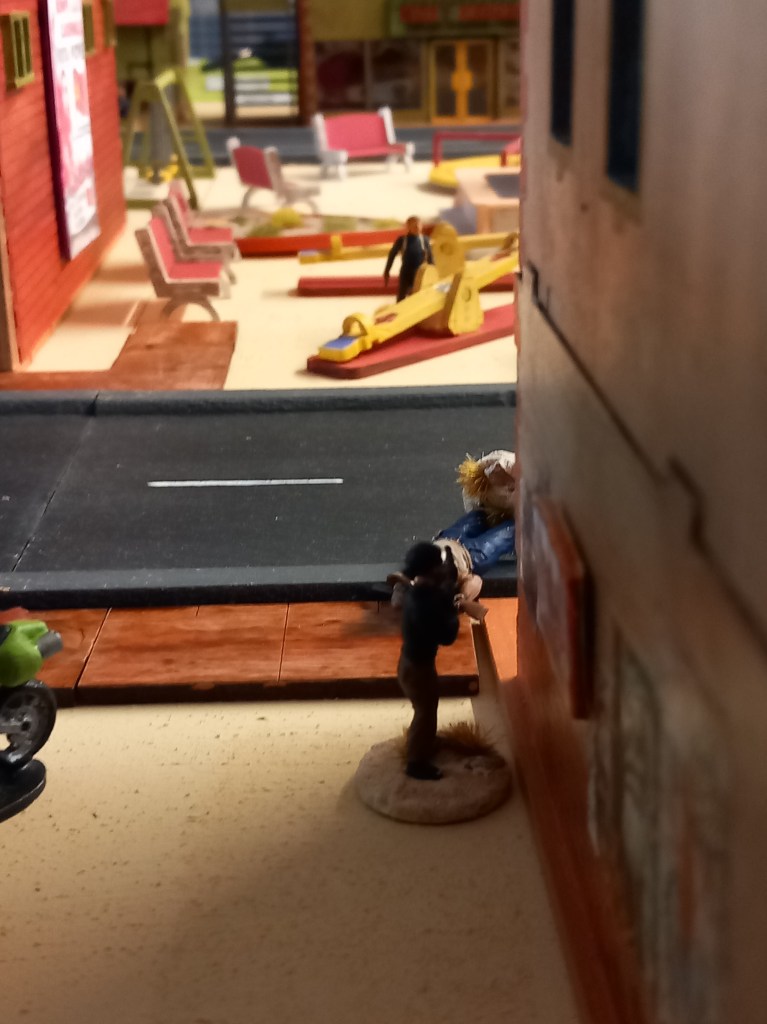
The gang boss (Guzman) spots a DEA agent (Matt Weston) in the park and draws a bead on him.
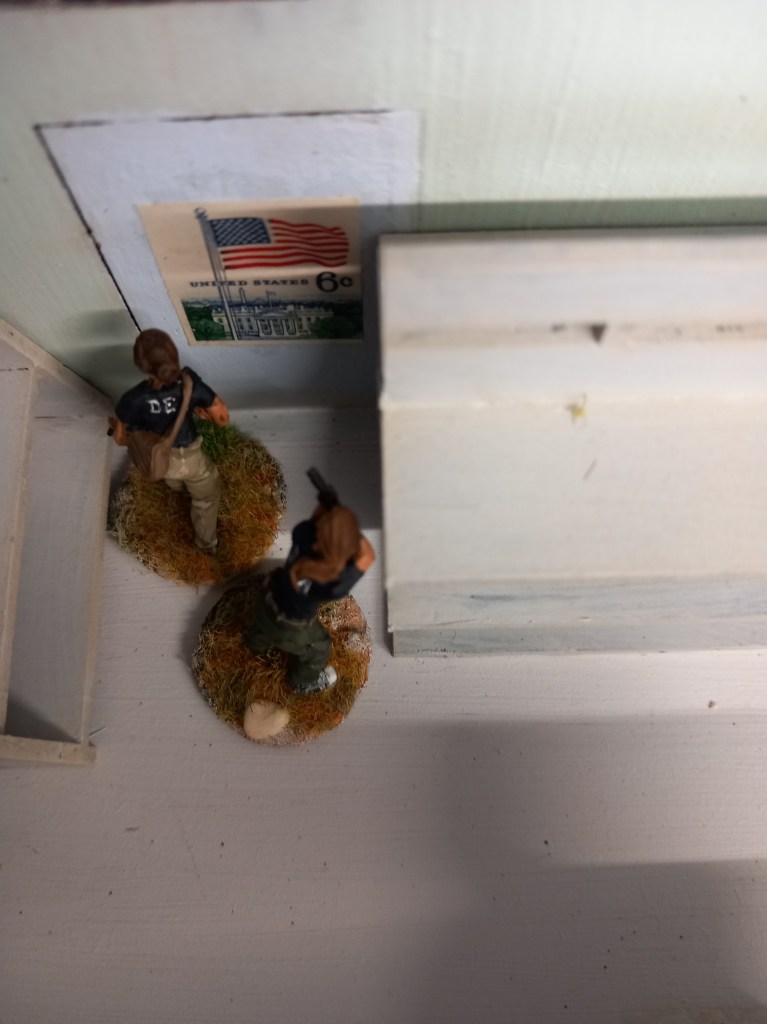
From inside their position looking out on the bank the other two DEA agents (Macer and Calabrese) realise that sprinting out onto the street might make them a bullet magnet so head for the back door. It’s locked! Time to shoot out the lock Miami Vice style.
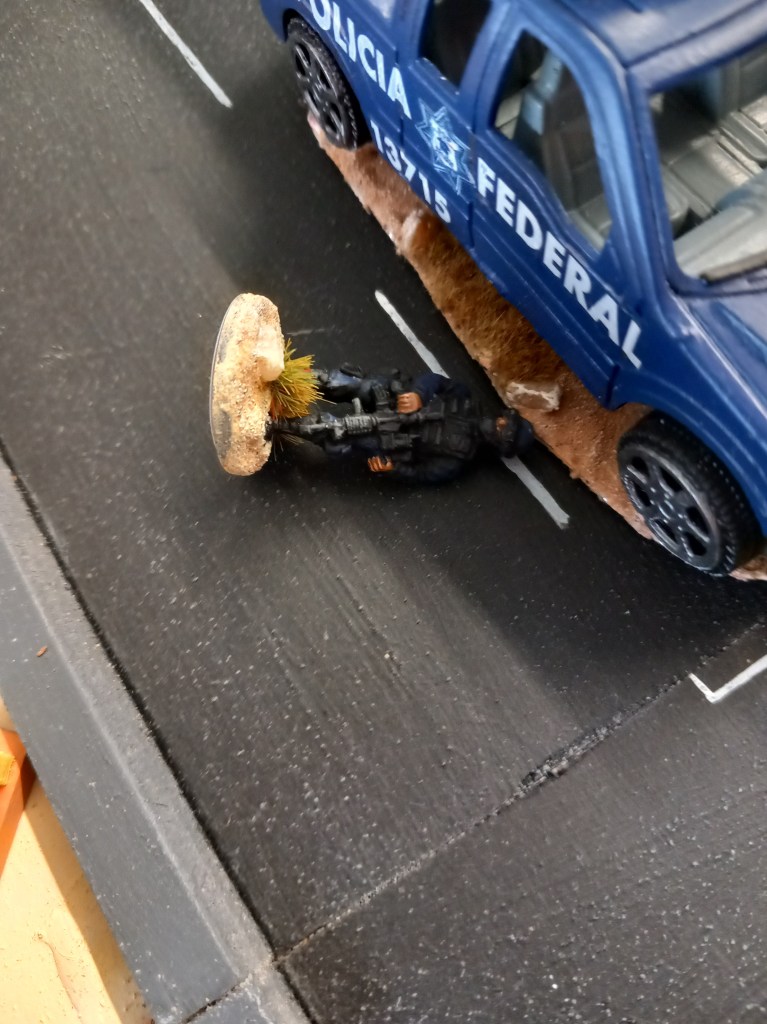
Lead is flying in the streets.
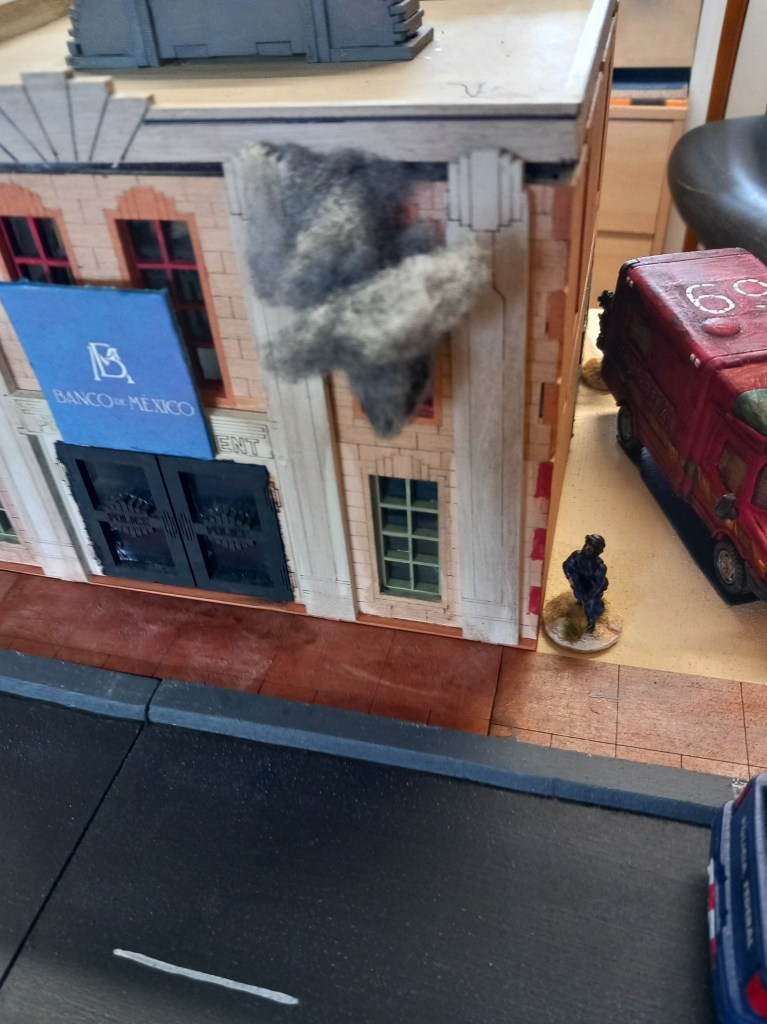
Remember that RPG guy?
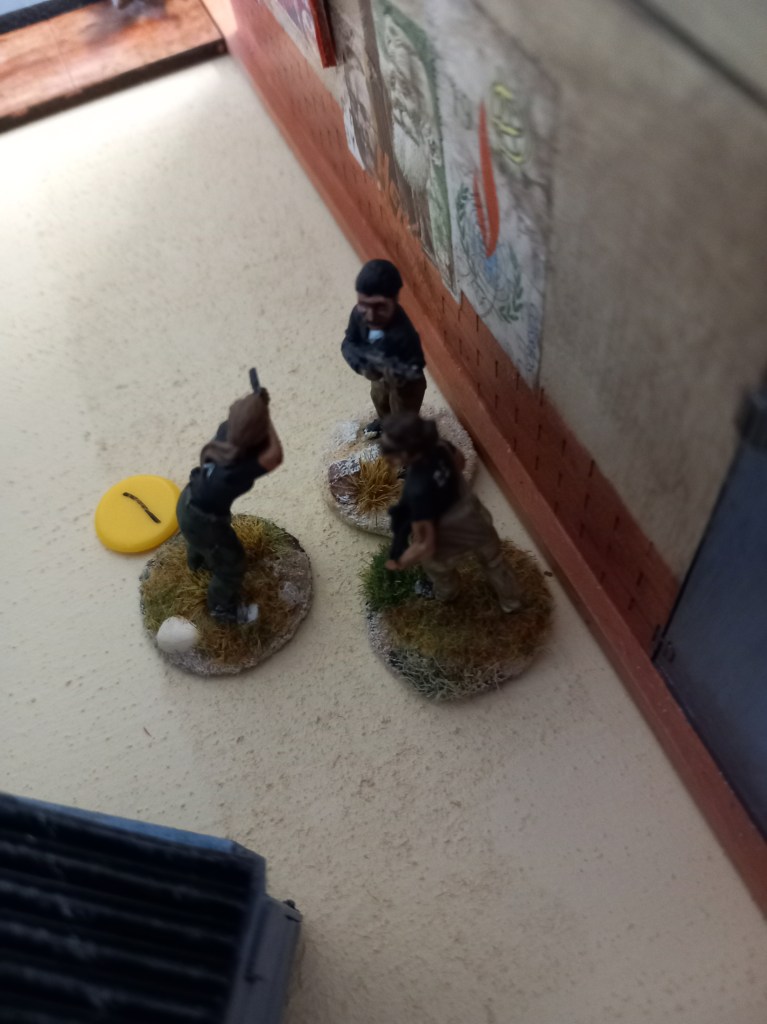
The two DEA agents burst out of the back door, straight into the gang leader who is waiting for them – the shooting of the lock kind of gave the game away.
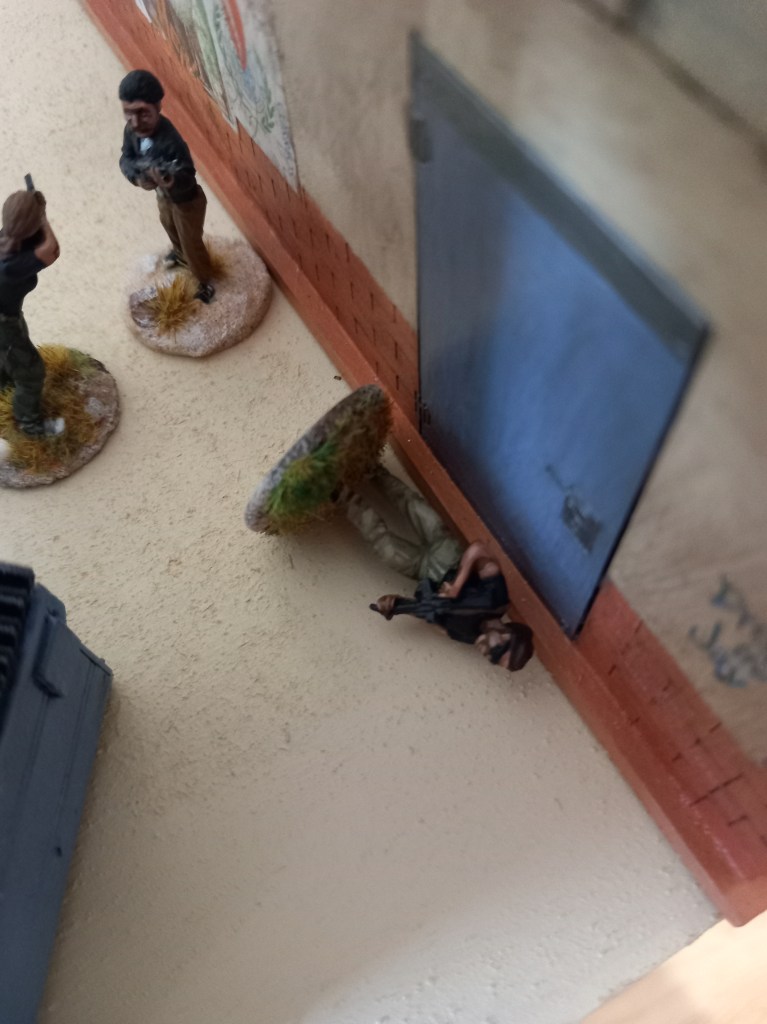
Jumping forward several turns the gang boss proved he was a better streetfighter than the DEA and put both of them down.
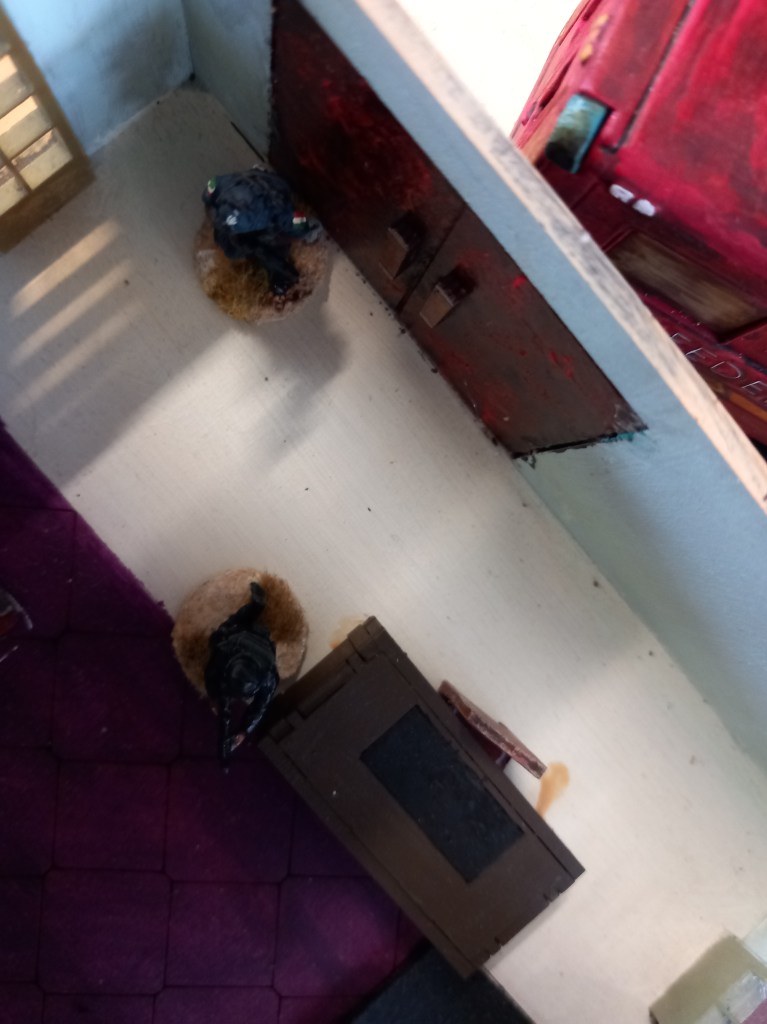
Traffic situation dealt with the corrupt cops make their play and enter the bank shooting one of their own in the back.
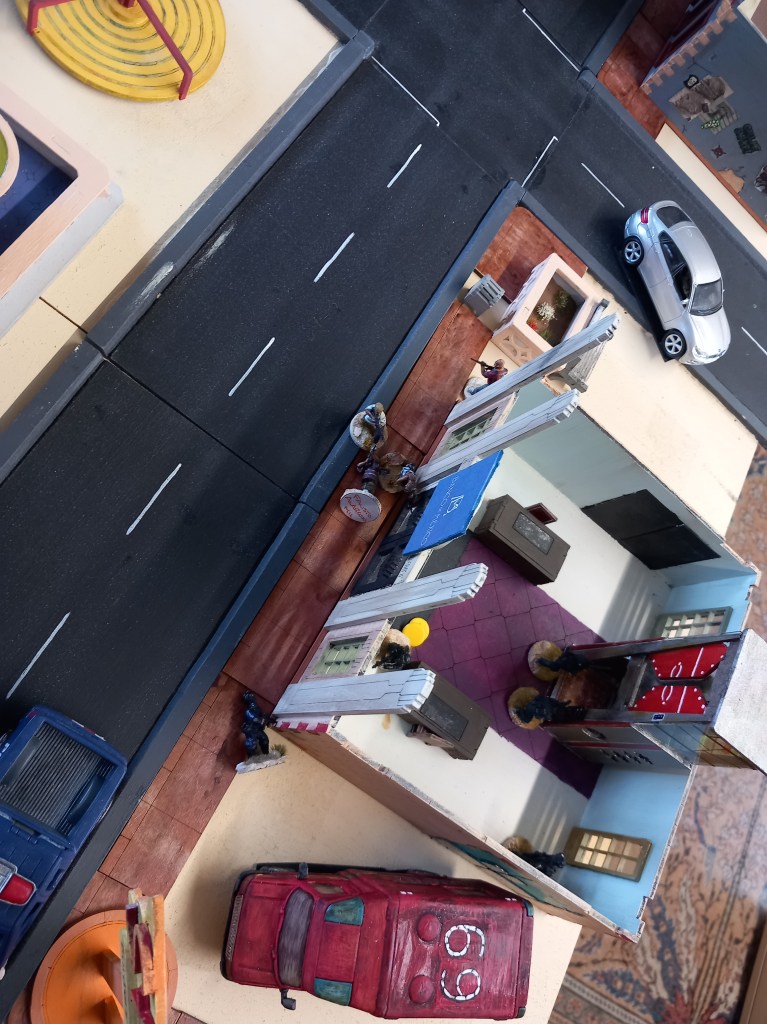
The situation as we reached the end. Dead Federale outside the bank shot by his own, another wounded and cowering in shock inside the bank, gang members closing – this became another gunfight I forgot to photograph 😣
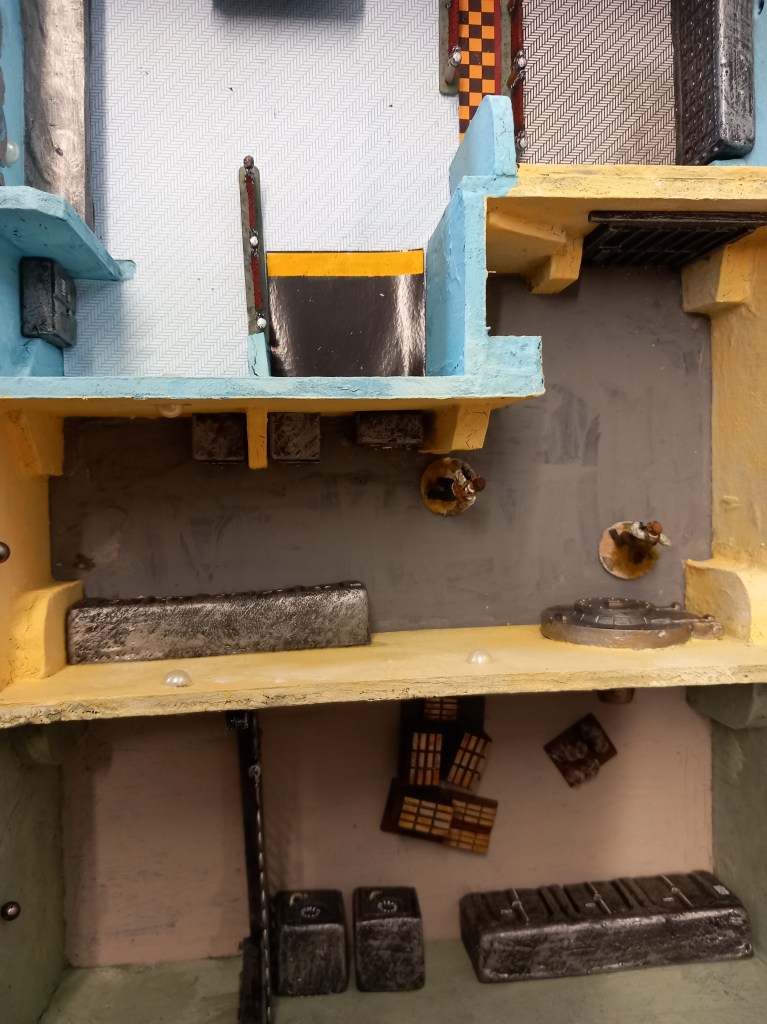
In the vault the security guards had secured the cash and were following protocol – don’t come out just because some copper said it’s all clear 😁😃
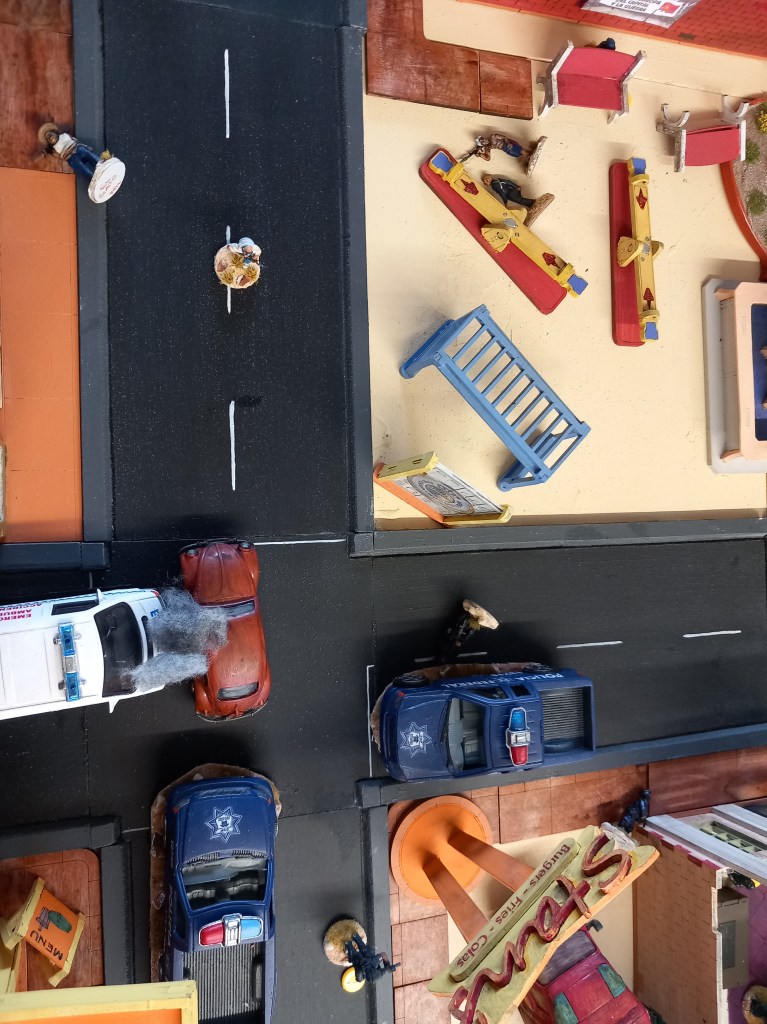
And we called it there. All 3 DEA dead, of the good Federales 3 were dead and 2 wounded and nobody really knew who had shot them, the money was safe and with 3 of their number down the gang gave up and drifted off. The corrupt Federales didn’t get a scratch and so their story was the one that got told, medals all round, no investigation, we’ll remember these guys for the next time 😏
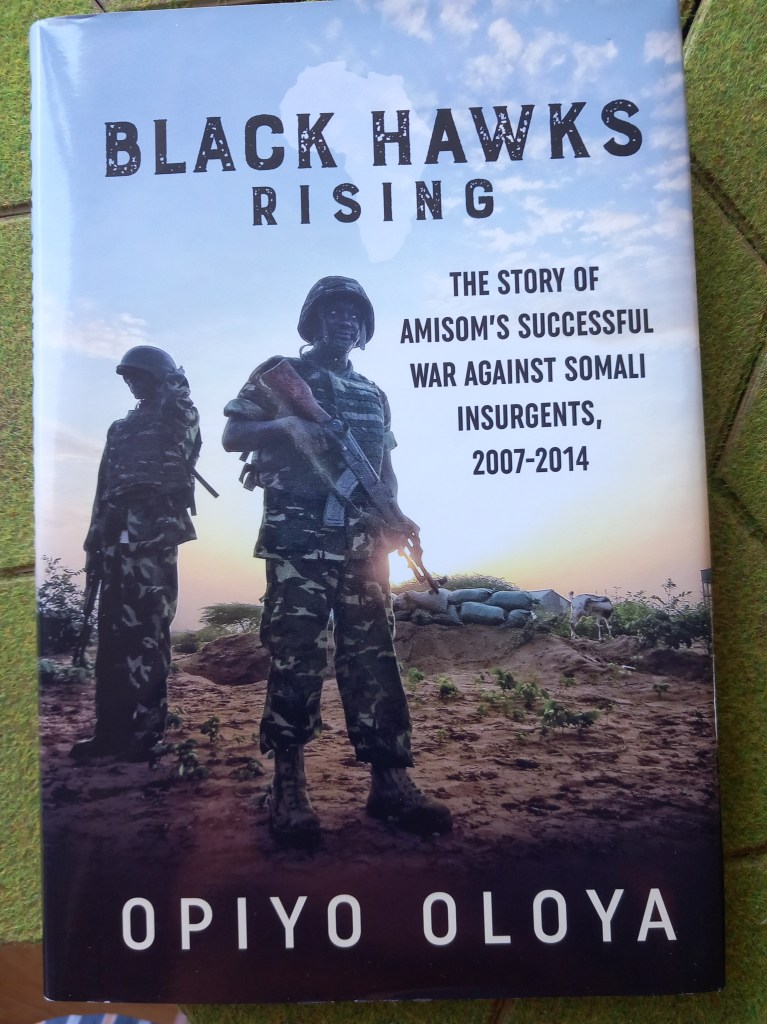
On the reading front this was all I managed although it was quite a dense read. I got it on a whim in a Helion sale with minimal expectations but in fact well worth the effort. The politics of the Horn of Africa were clearly explained; Cold War, War on Terror, Al Shabab, etc – what a s##t show and it was great to read about a military venture in Africa being fought by Africans, not a white face insight. The book did suffer from some grammar problems and way too many anacronyms but from a gaming point of view a bit of a gold mine; low level counter insurgency operations to start with, in and out of buildings, street fights etc building up to larger operations on a broader front outside of Mogadishu. Very gameable at a one on one skirmish level and then at a platoon level.
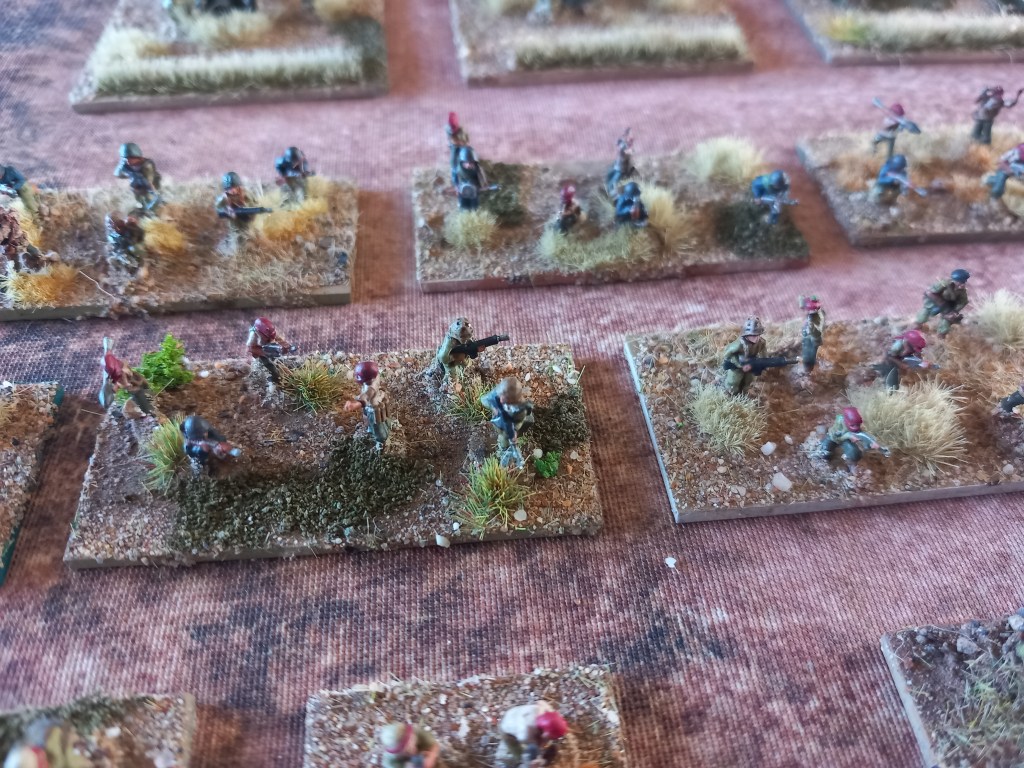
On the painting front I finally finished a 2nd Pasdaran battalion plus supports for the 10mm Iran Iraq project, hopefully they will see the table top in September.
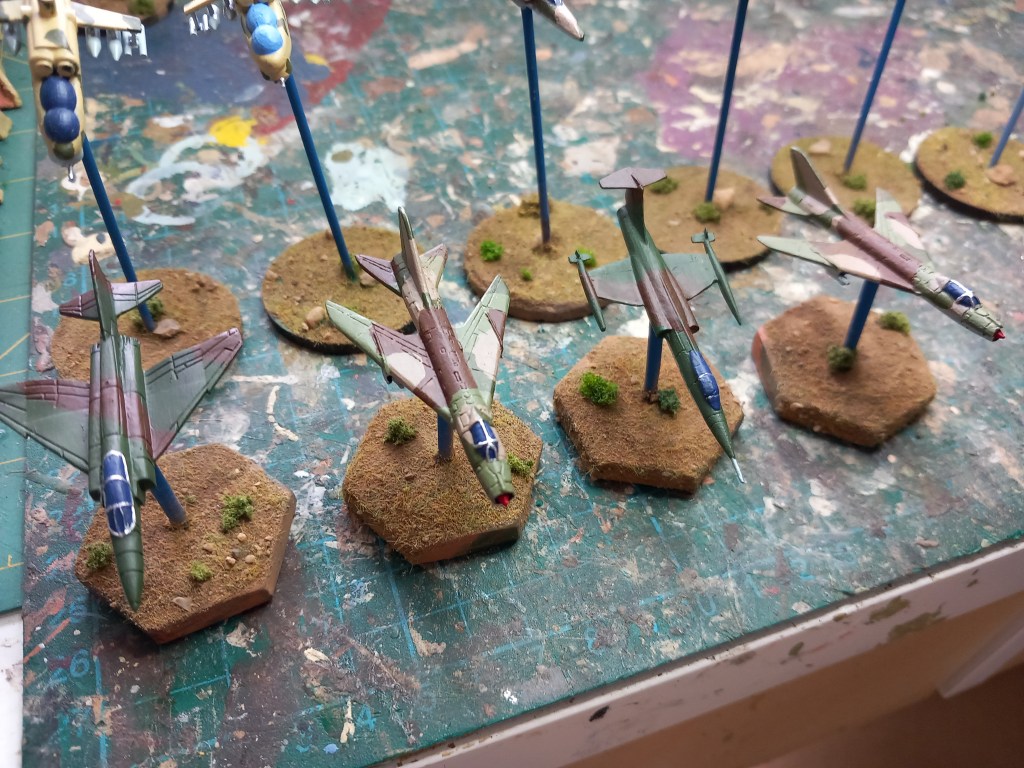
Also got a whole load more aircraft done for the 6mm Cold War project done. I’ve really enjoyed doing these, just got to be careful not to paint more than we can ever possibly use 😂
And that’s about it. Still trying to clear out stuff that isn’t and won’t be used – a slow process. In the meantime, love your hobby.

