March 2026 Report

Wading out of a very wet March into the emergence of Spring and some decent games behind us.

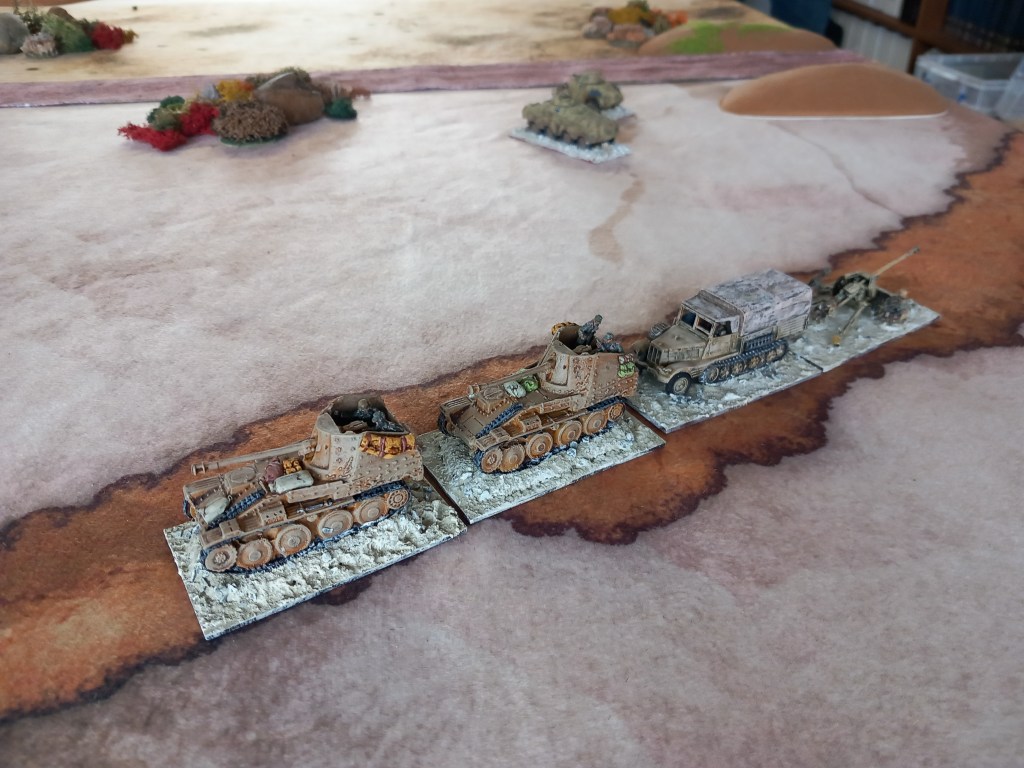
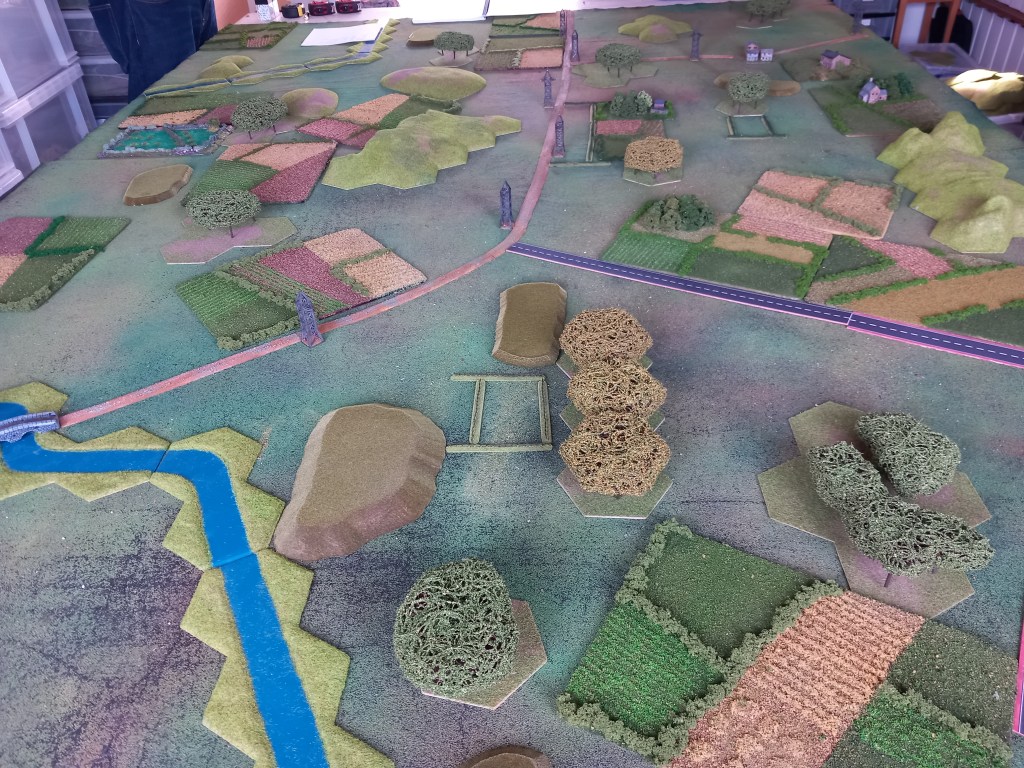
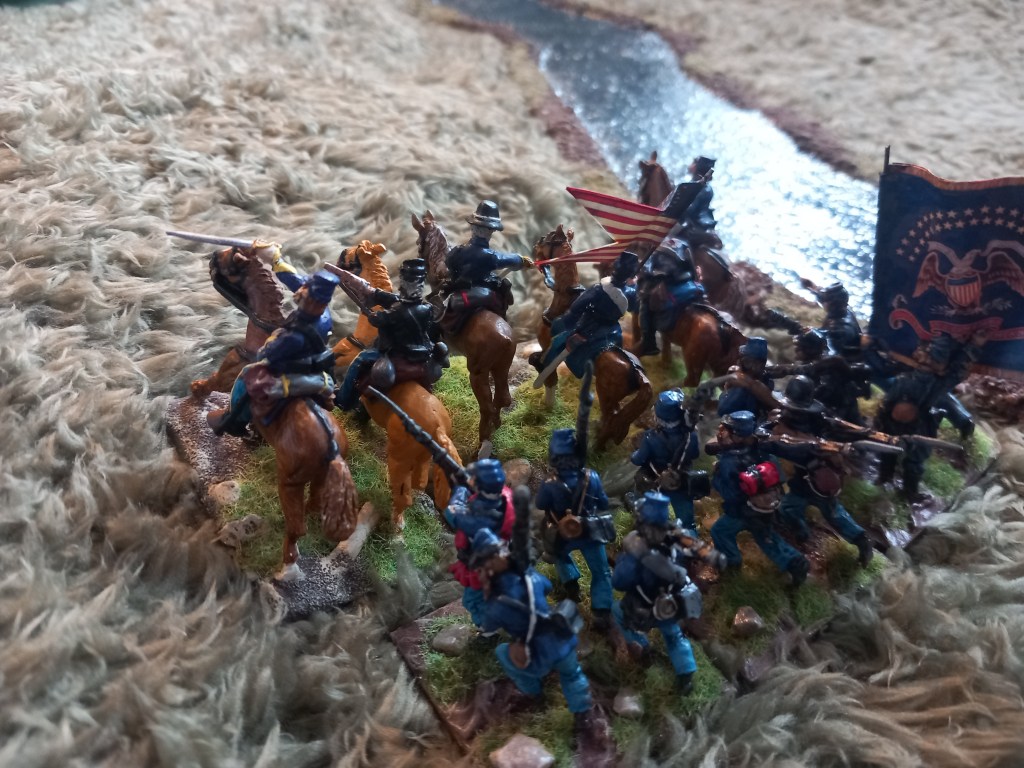
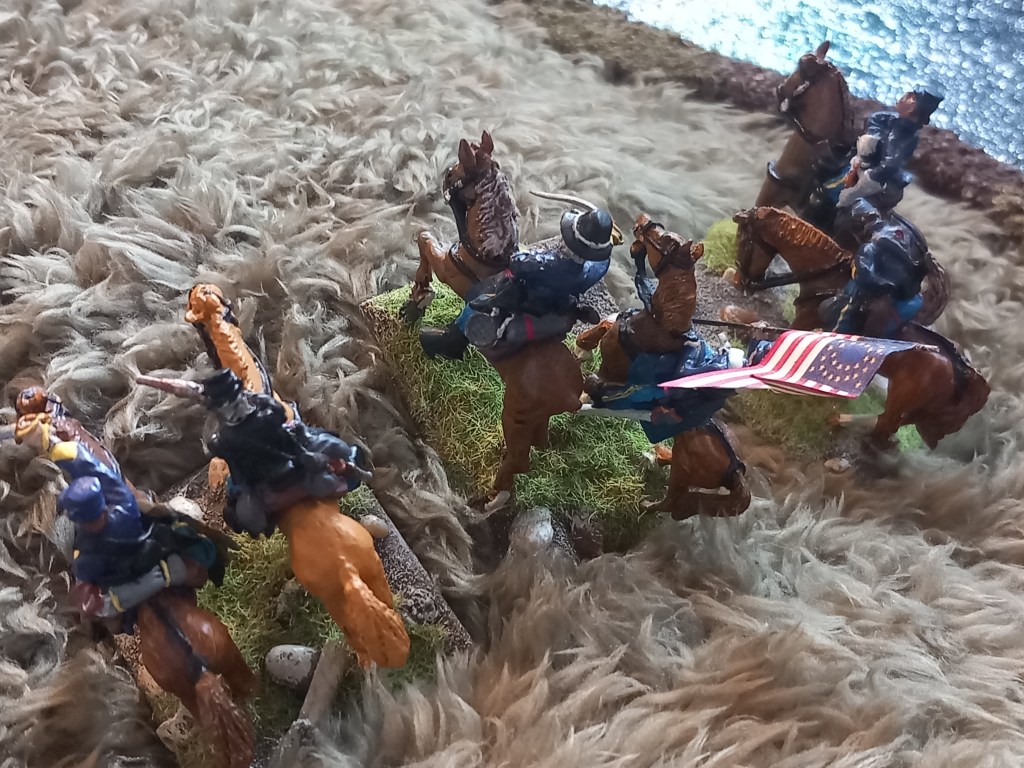
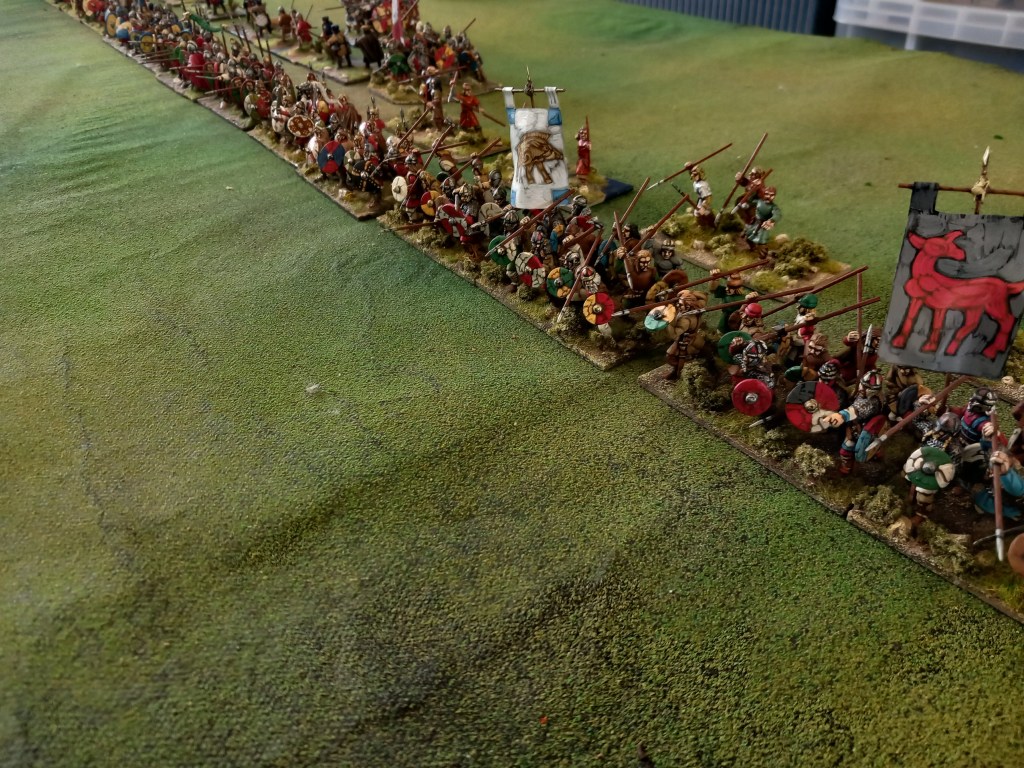
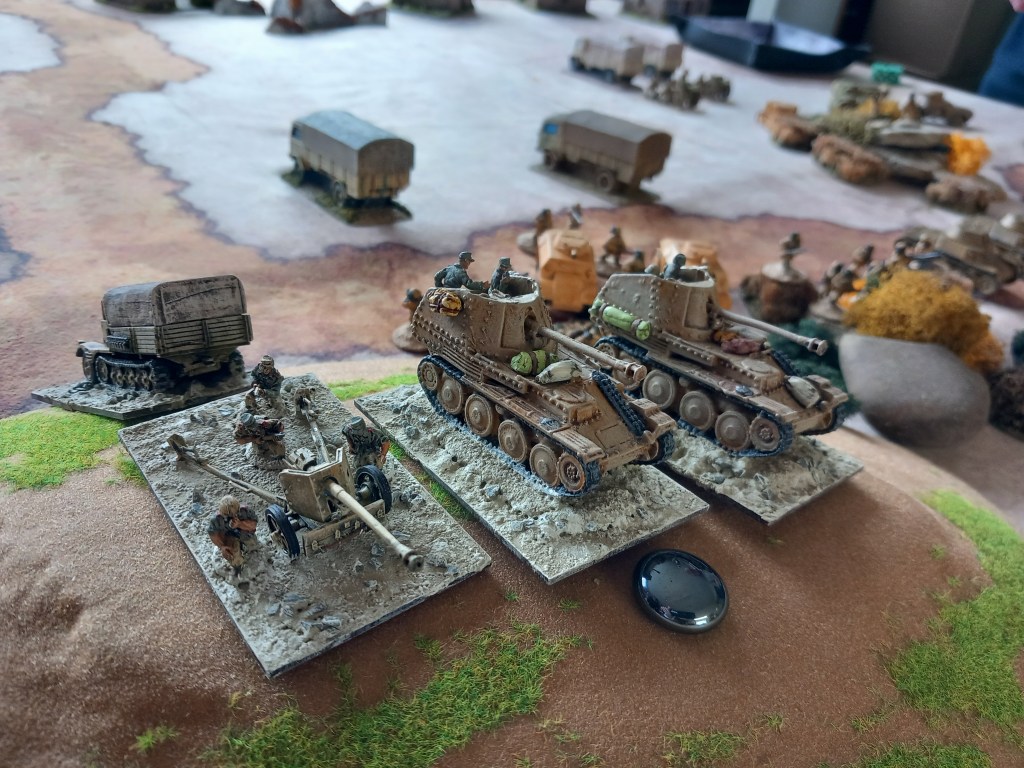
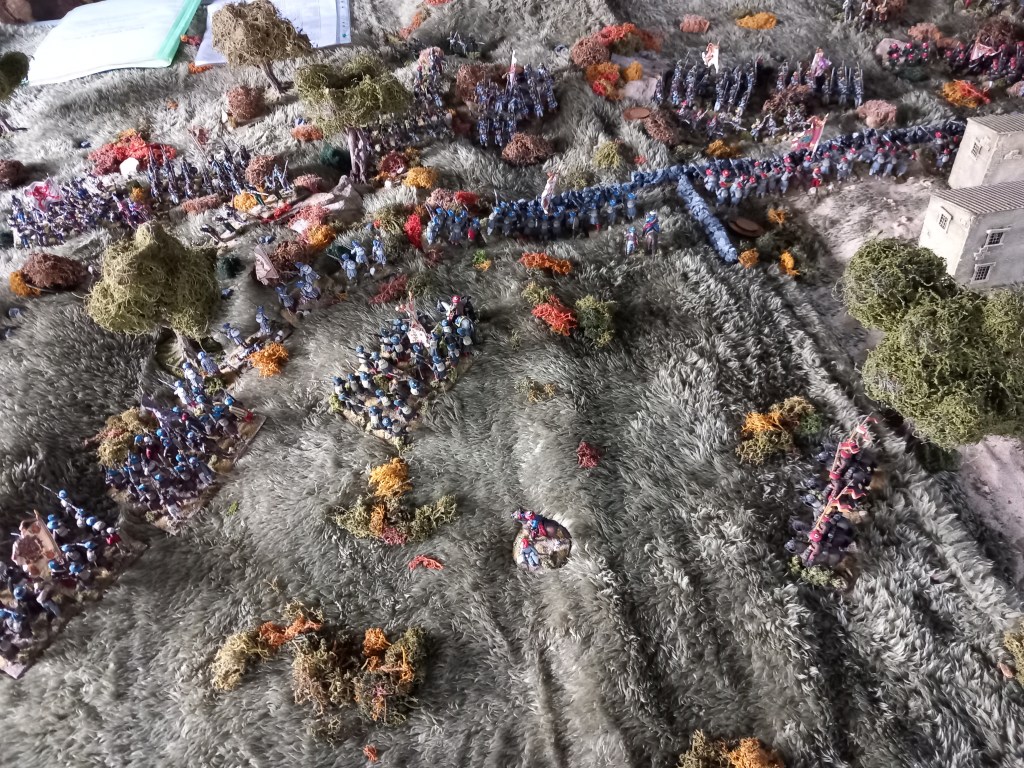
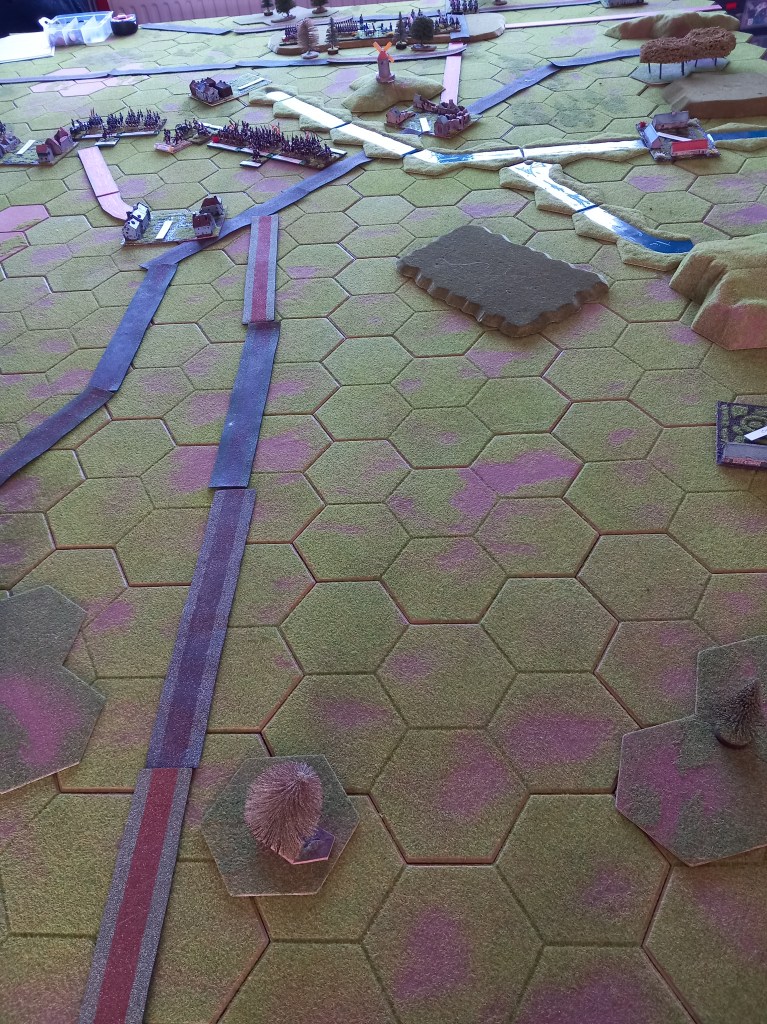
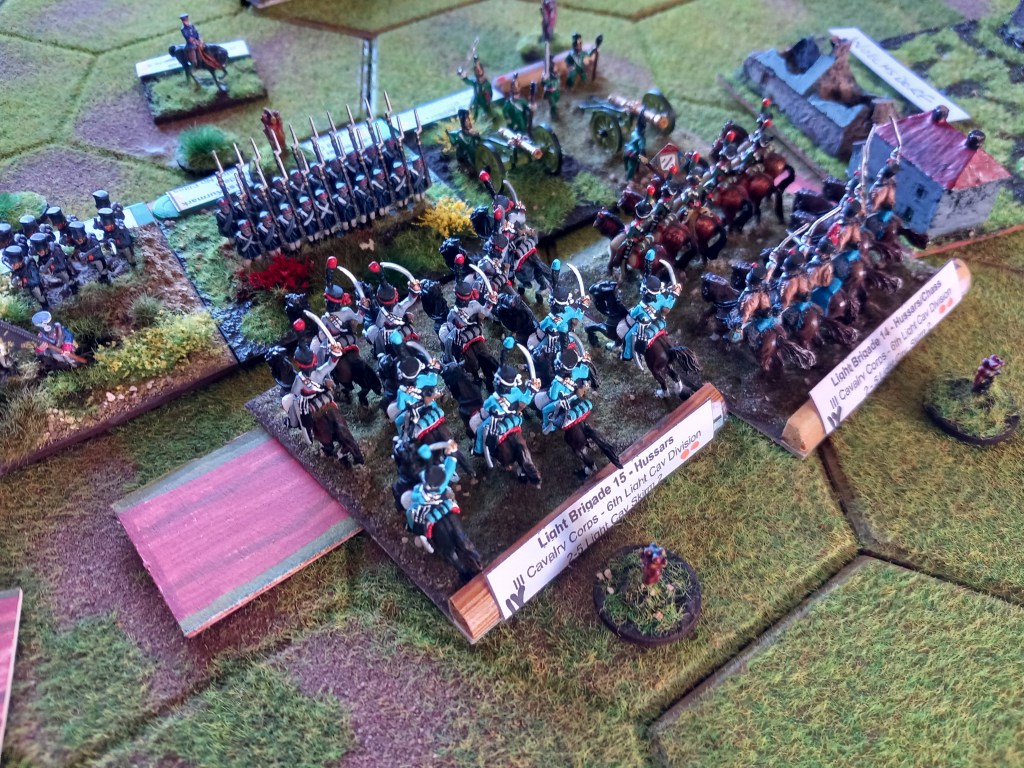
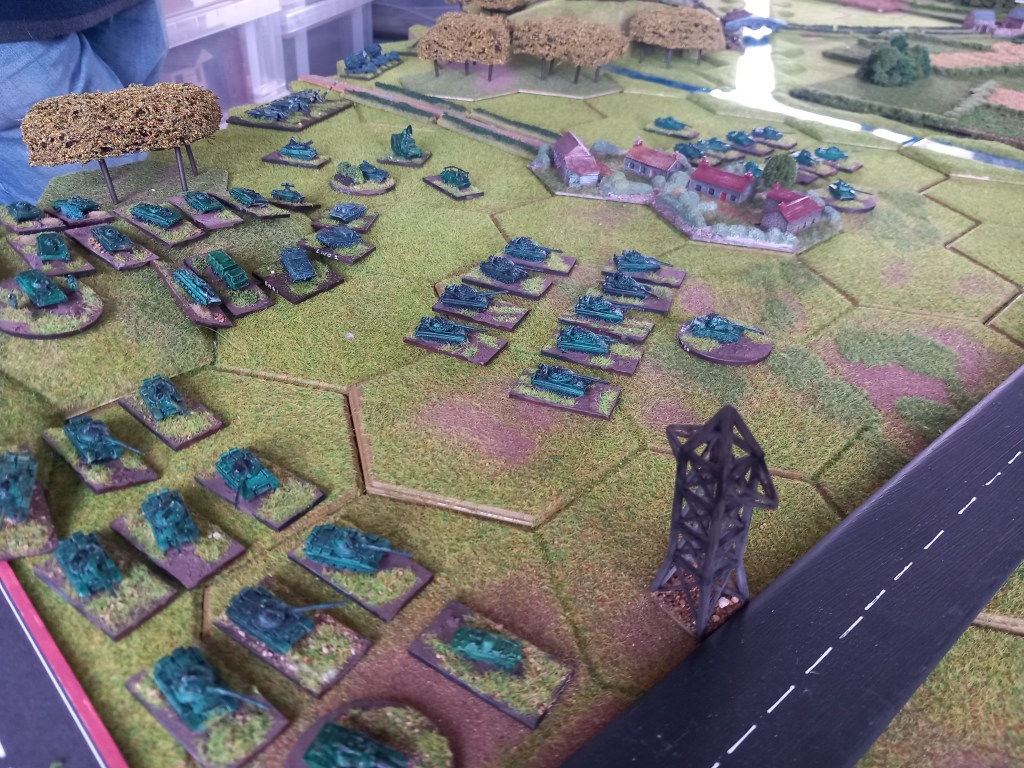
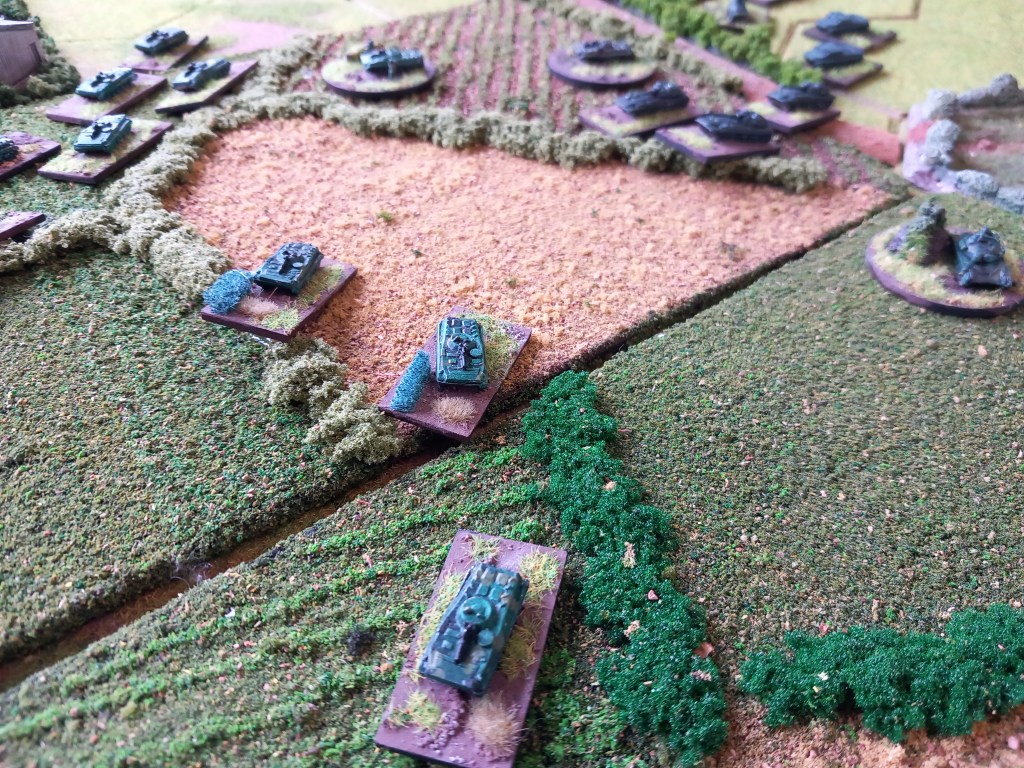
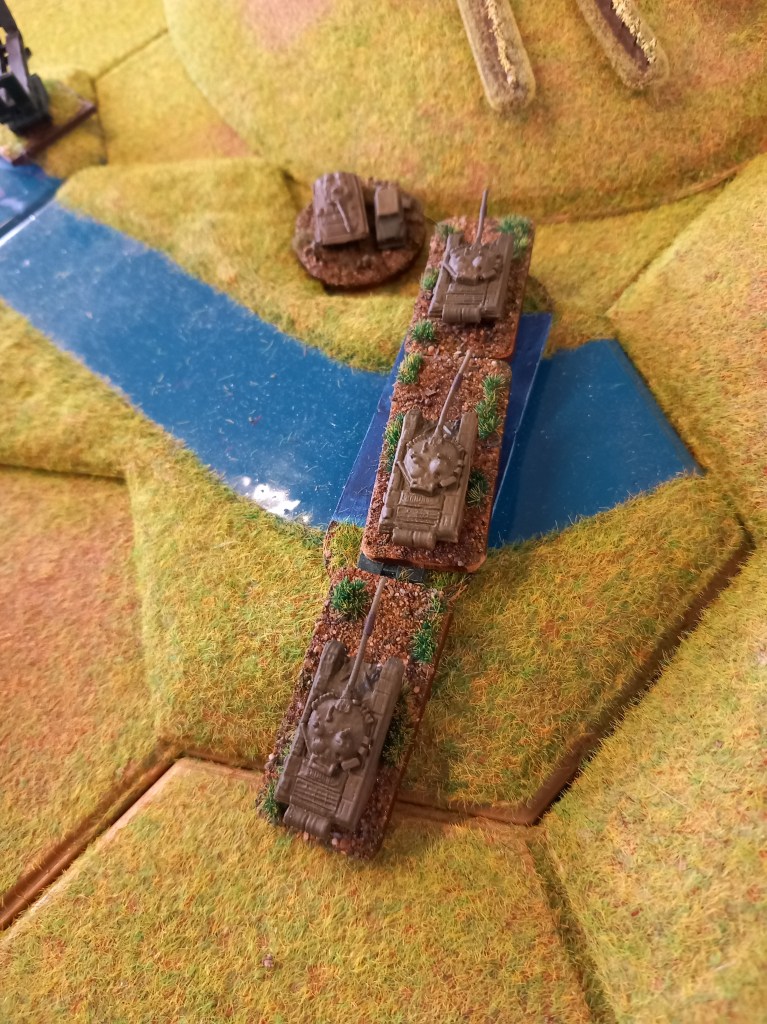
First out of the gate and a first for us as a group was a Western Desert game in 20mm using Rapid Fire Reloaded. We had discussed doing Western Desert for over a year maybe in 10mm using our existing desert terrain when Dave acquired a matched pair of Germans and Allies and so we were set.

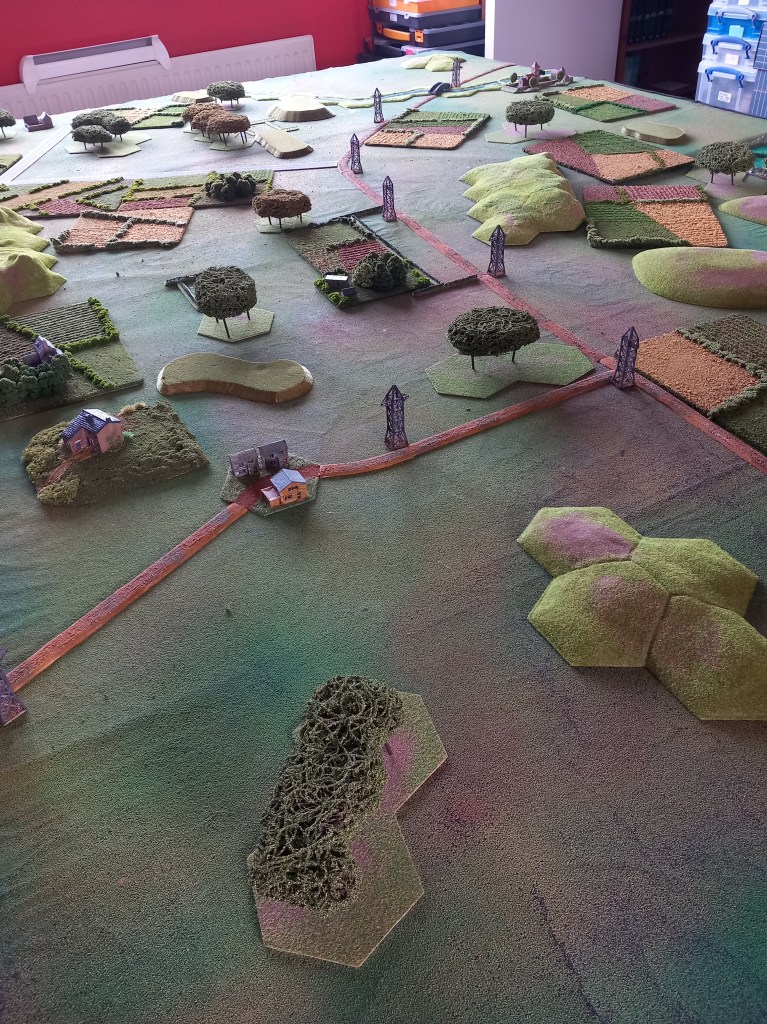
The scenario was fictitious but using the orders of battle from the various publications put out by the rules publishers. In our scenario we had an Allied force holding out at the top end of the 8 x 6 table awaiting relief from Commonwealth forces arriving from either side of the long edges near the bottom of the table. About two thirds of the way up of the table Italian and German forces were arriving from either side of the long edges with the objective of preventing the relief. The Allied force holding out was purely representative, the game was the four commands.

Full disclosure, we got stuff wrong 😮 For instance it wasn’t until we were half way through we realised we were using the wrong quick reference sheet 🤣we were using the one for the rules as they were not the cut down version they now are. We also got the wrong stats for some of the vehicles but our enjoyment was undimmed.

The keynotes of the game were as follows.

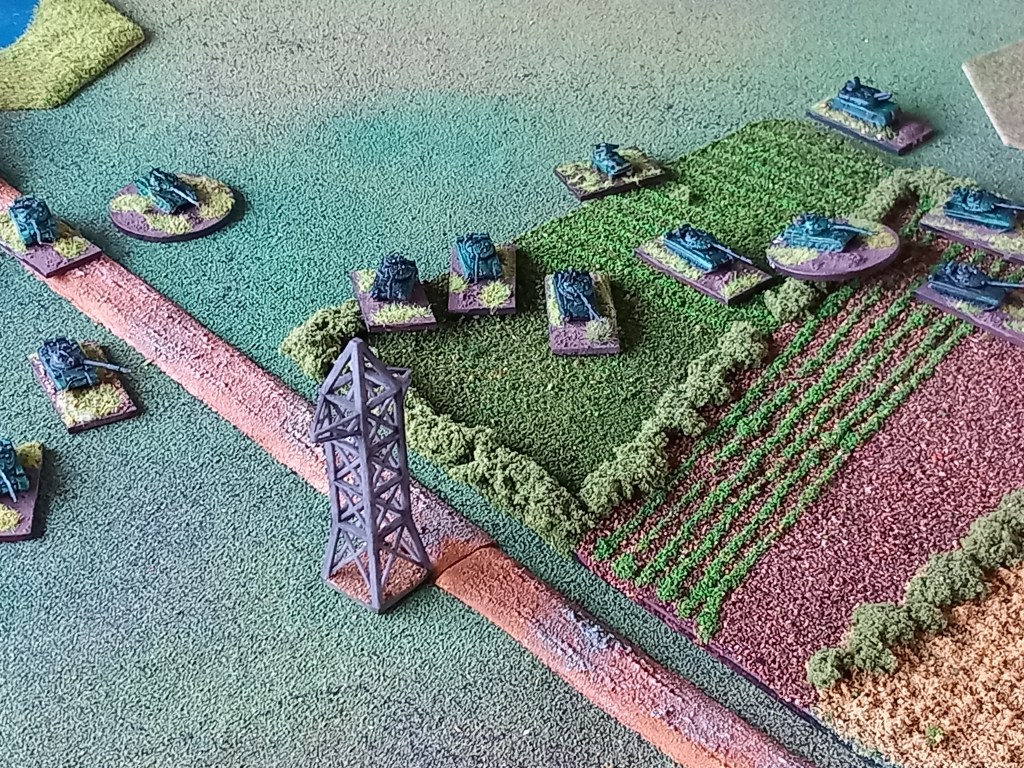
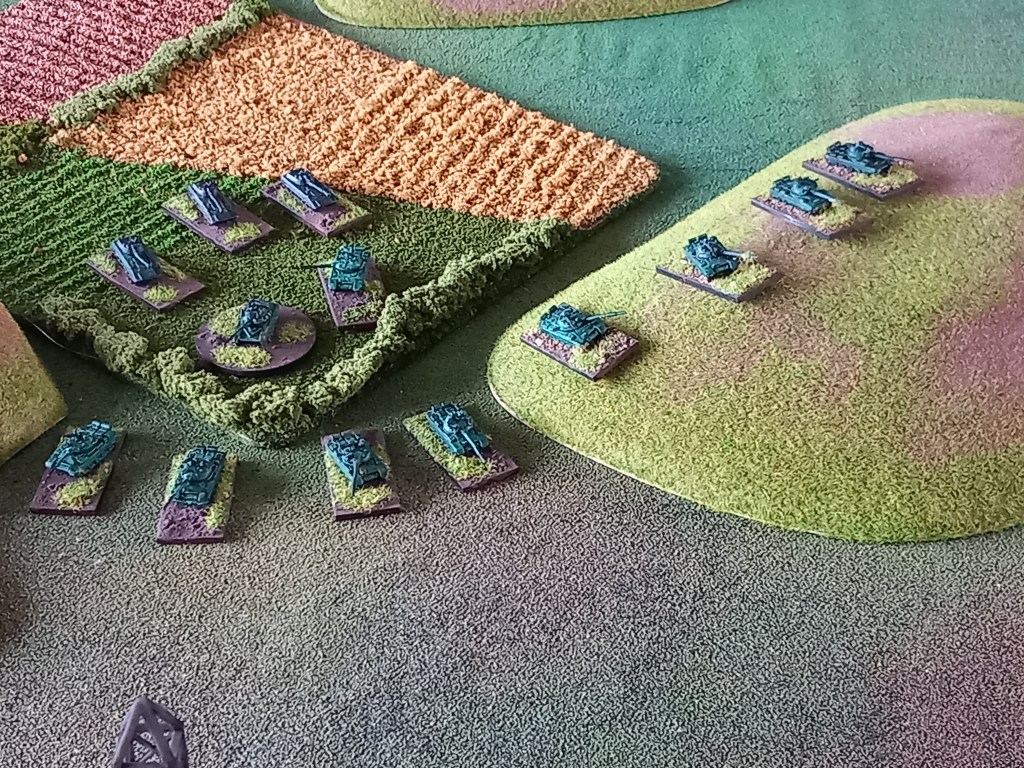
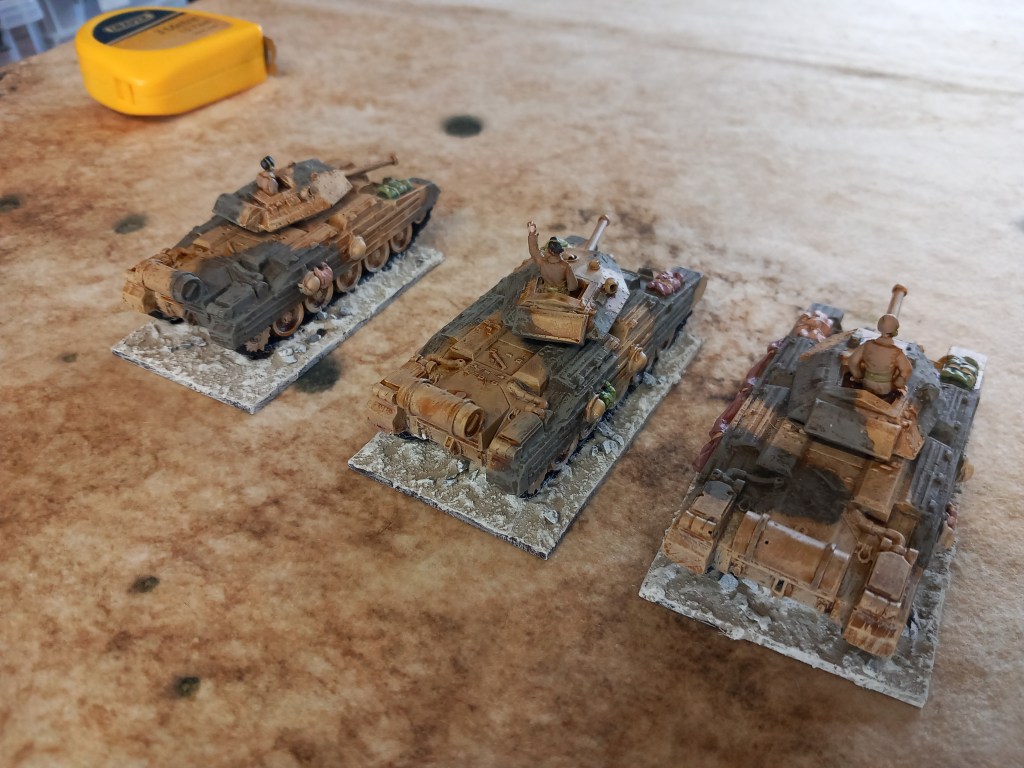
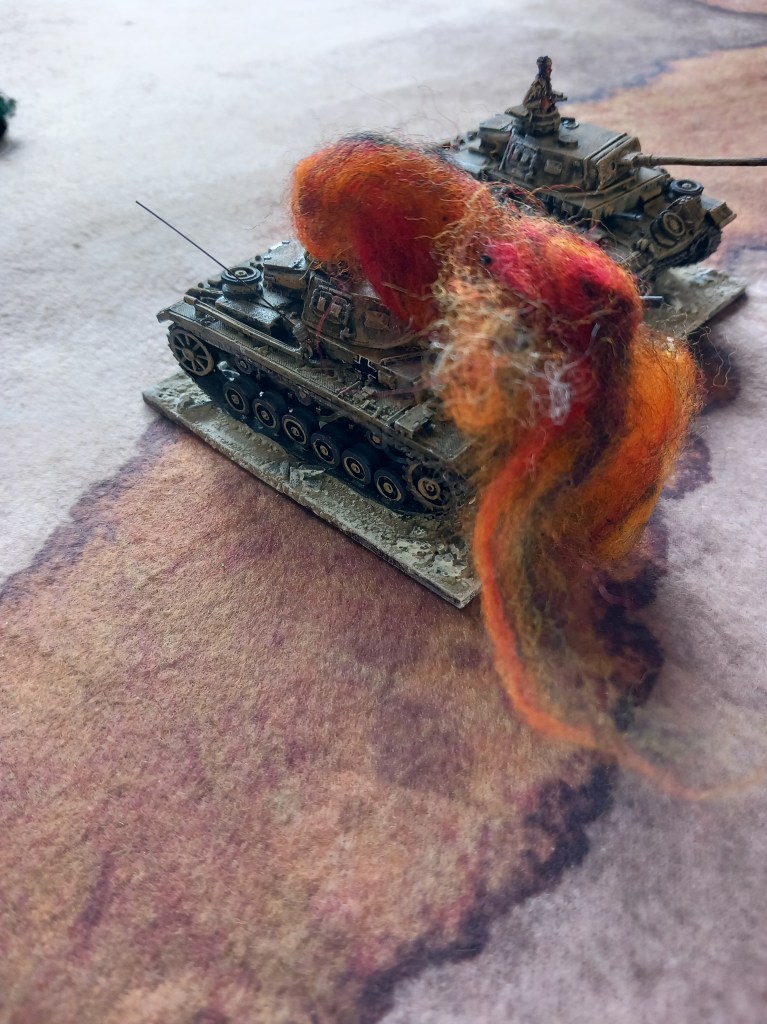
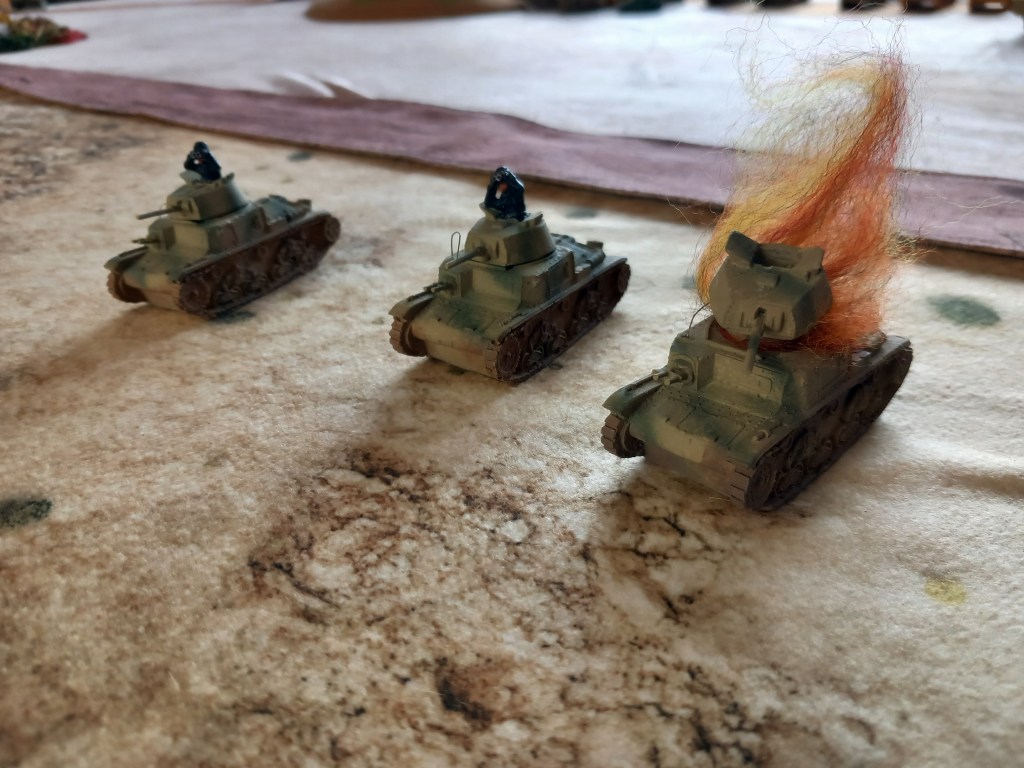
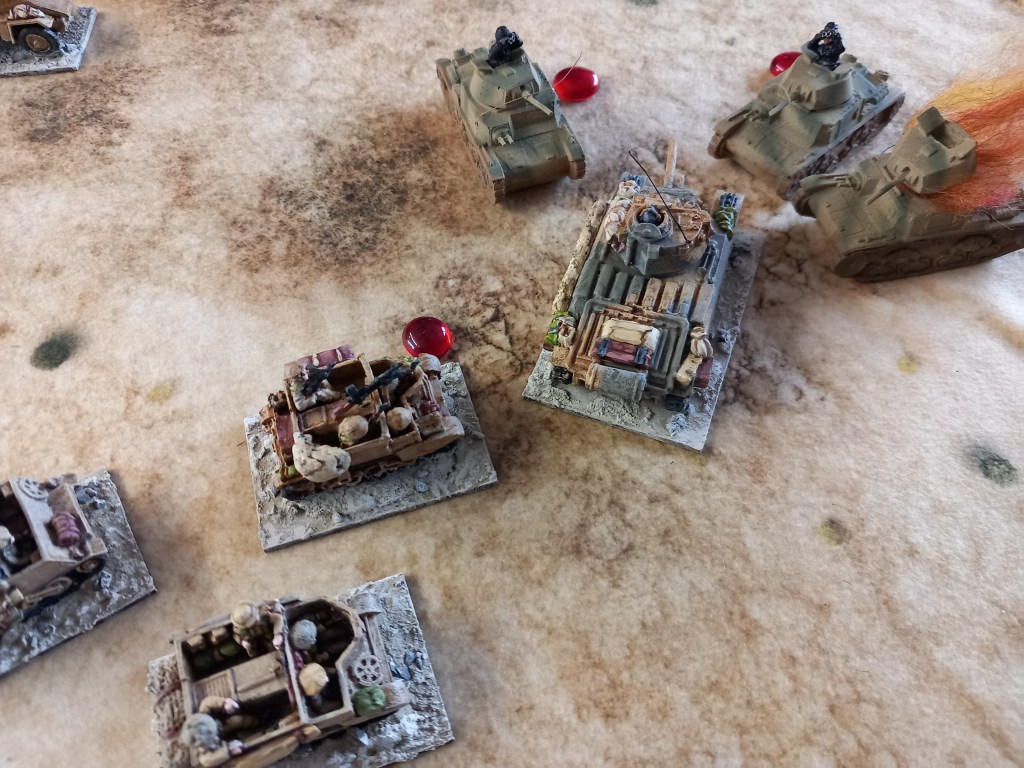
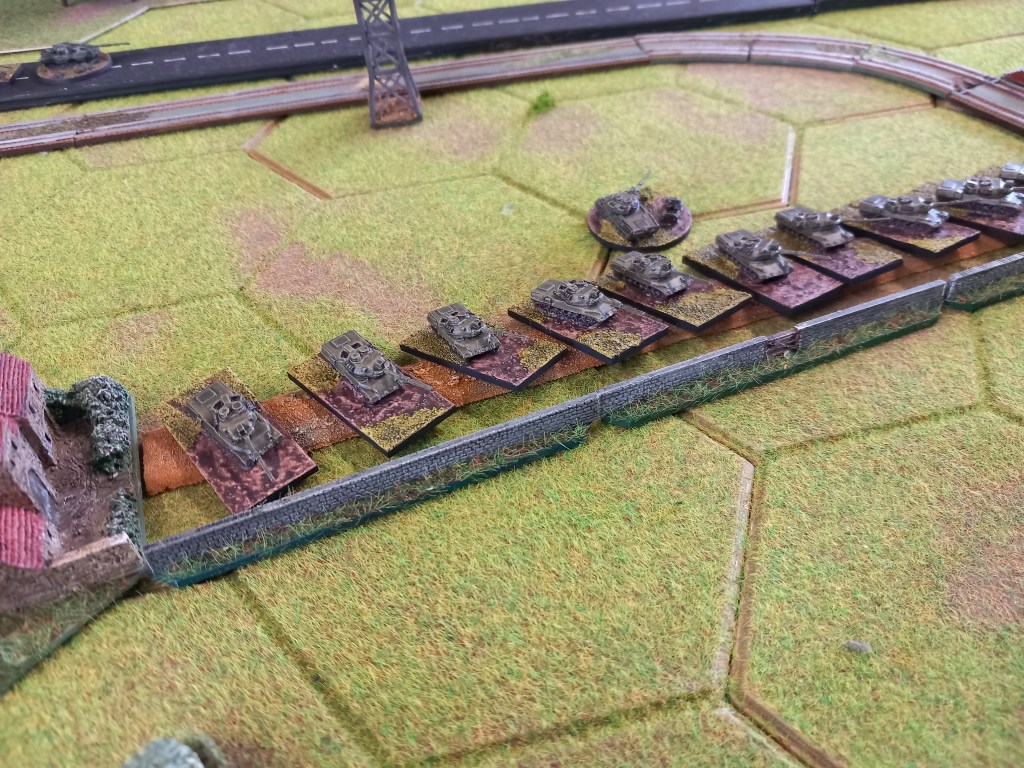
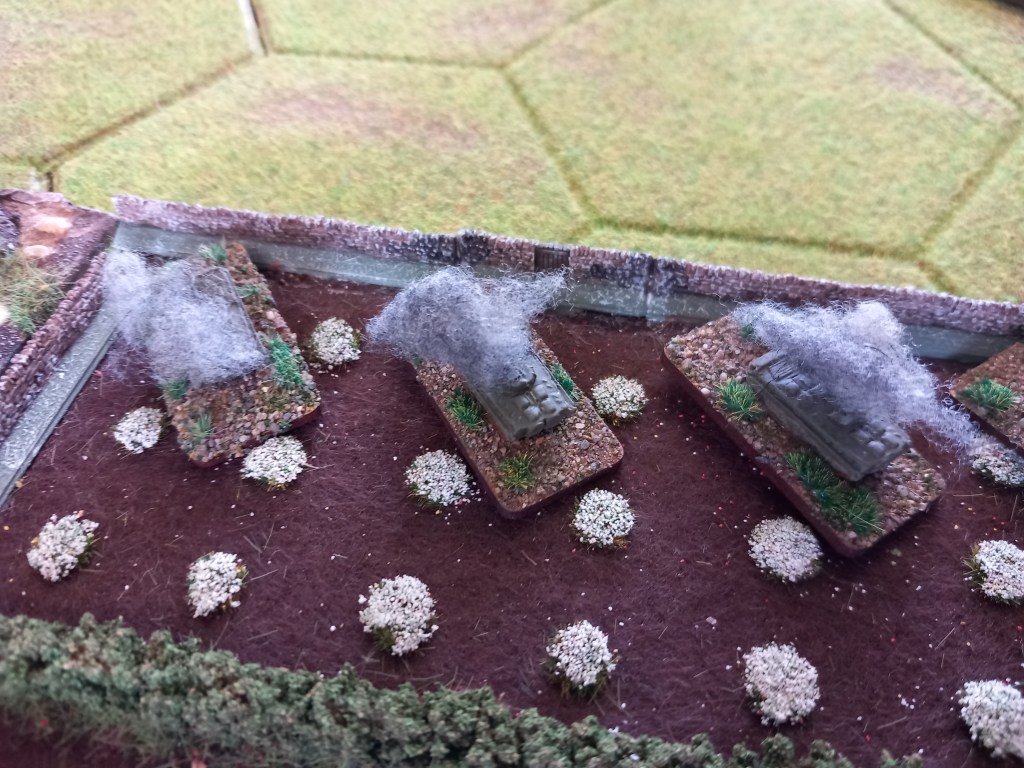
The initial Allied advance saw some early success with the elimination of a Panzer III company.

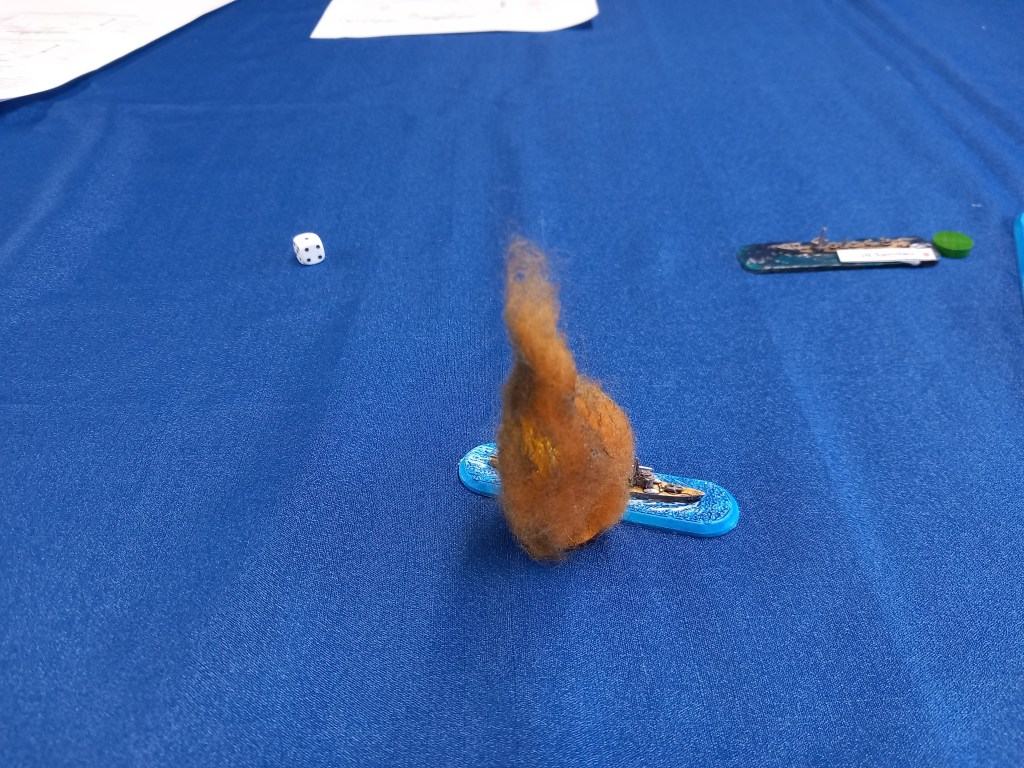
And then the Marder IIIs went up in smoke. “great set of rules!”

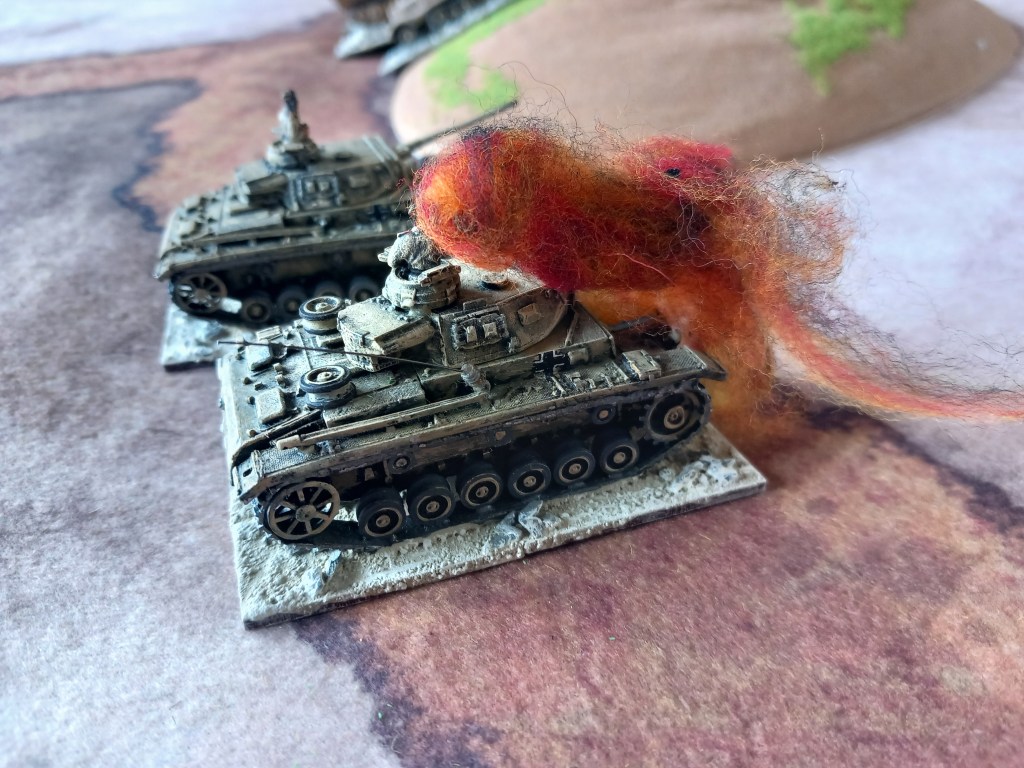
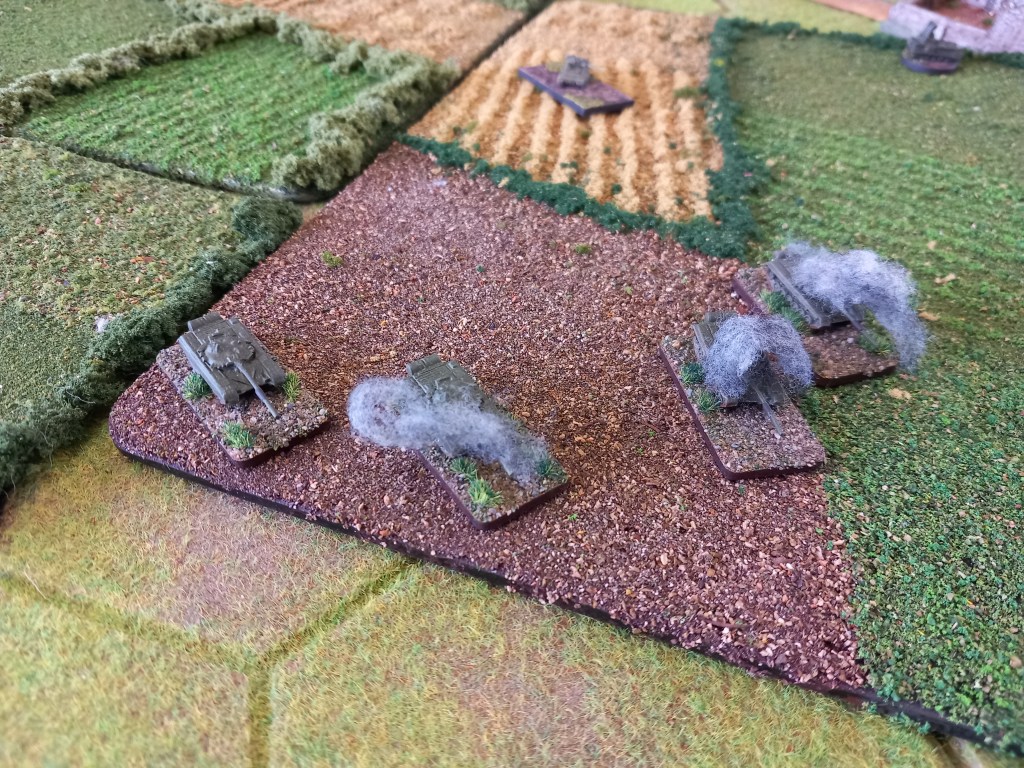
Then the Axis started to get their act together with the Germans doing all the heavy lifting so far.

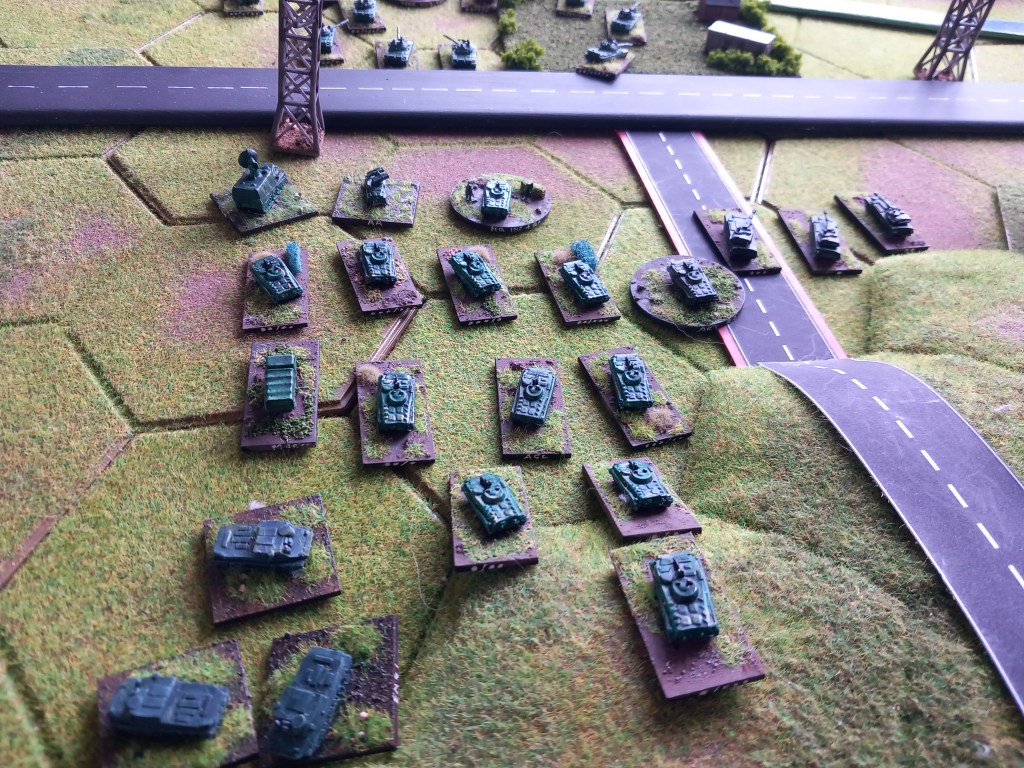
The Italians made an appearance 🤔

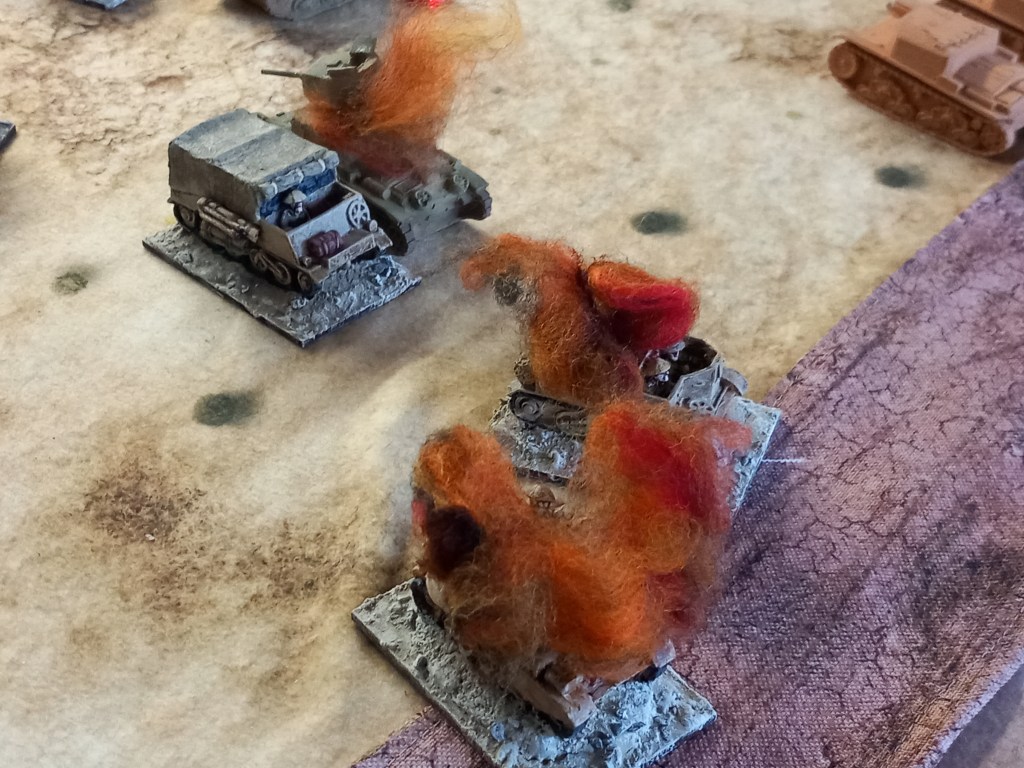
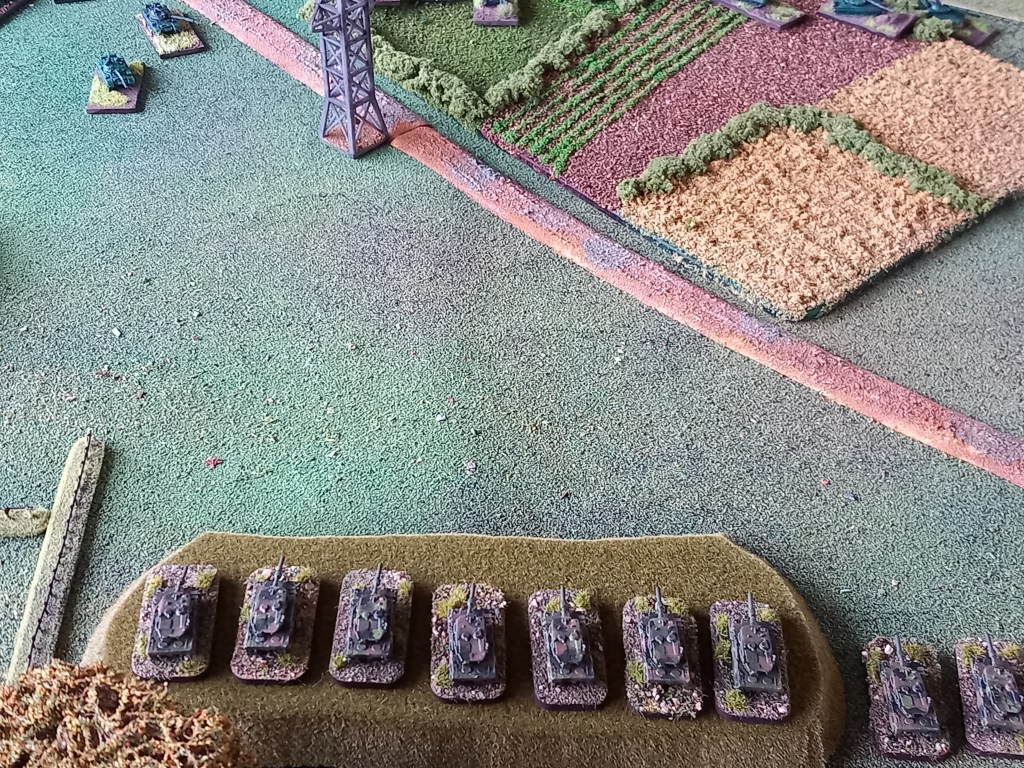
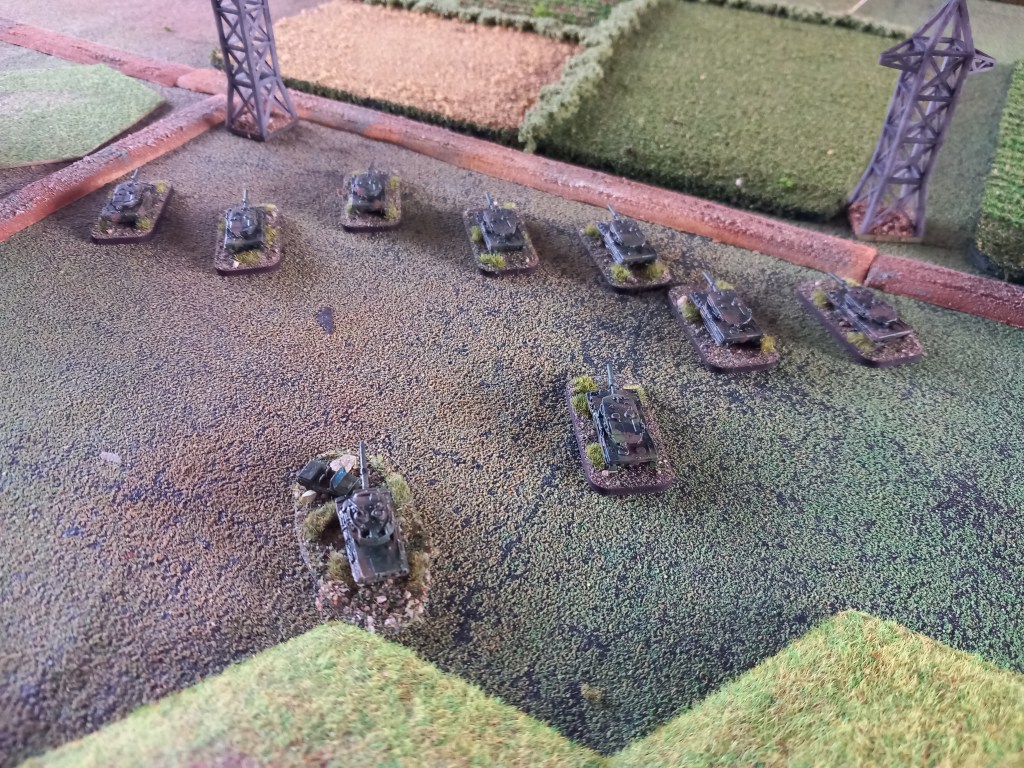
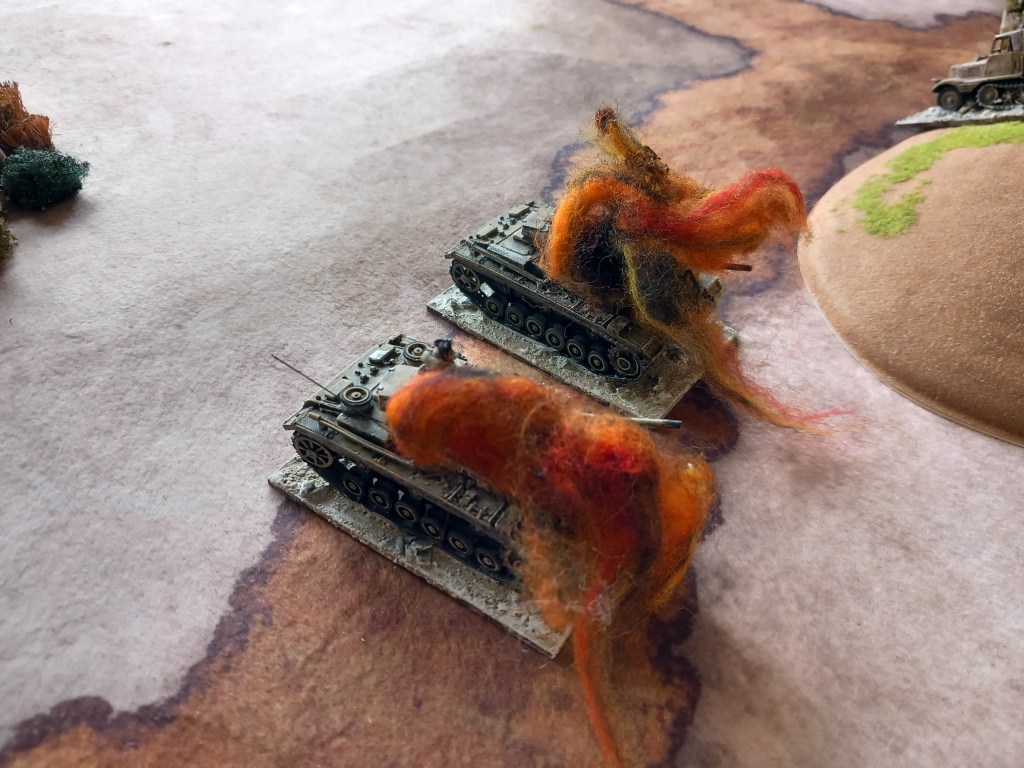
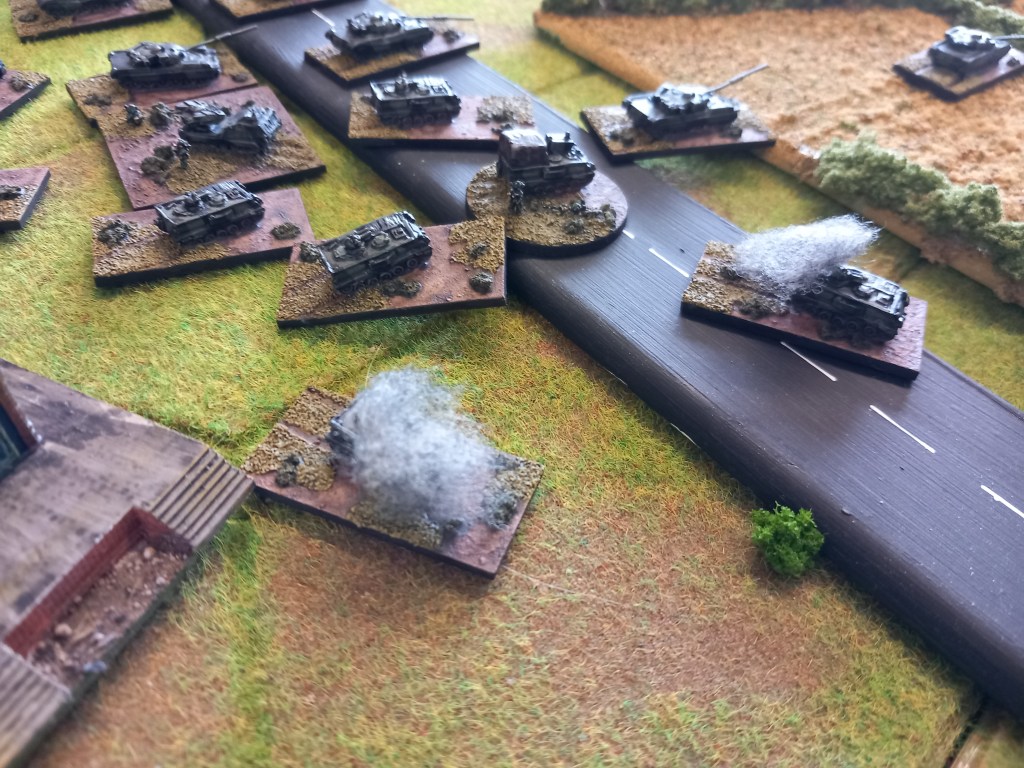
But the “tommies” didn’t have it all their own way.

And a level of revenge was extracted.

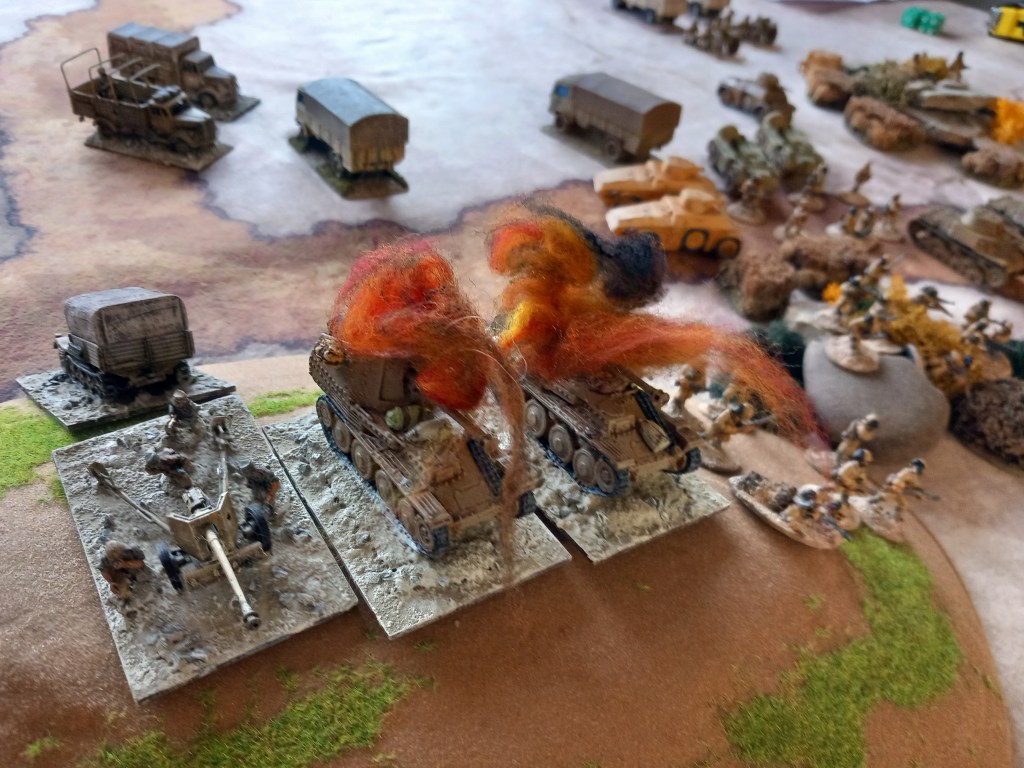
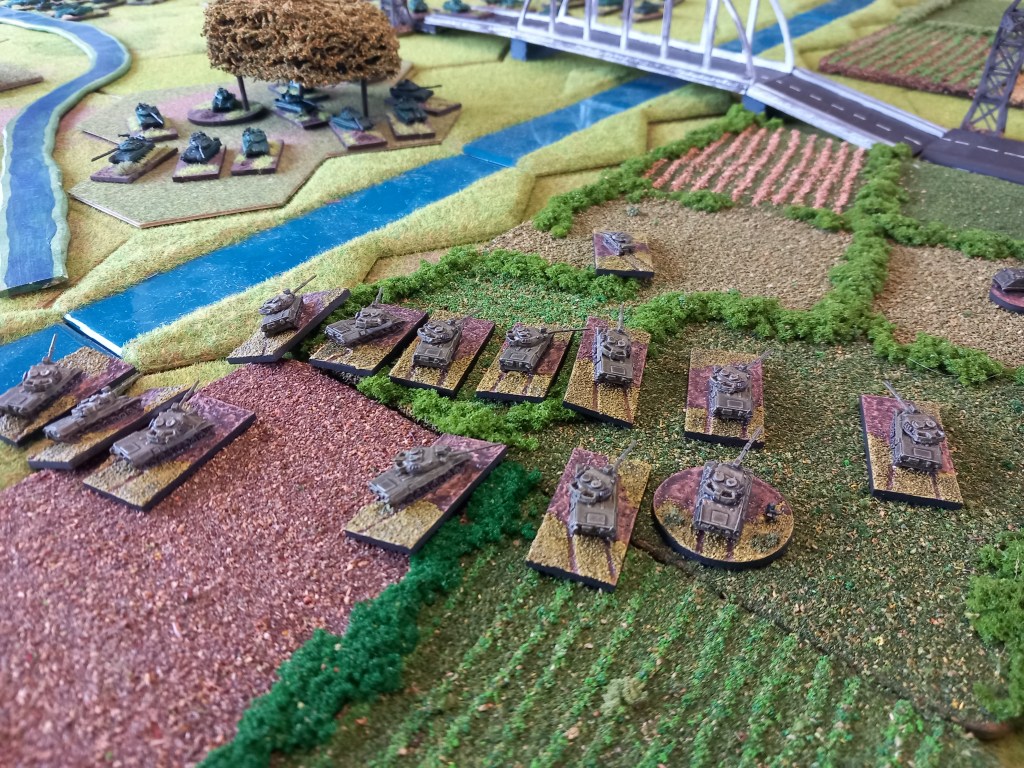
Quite how stuff got this close to each other we weren’t sure……

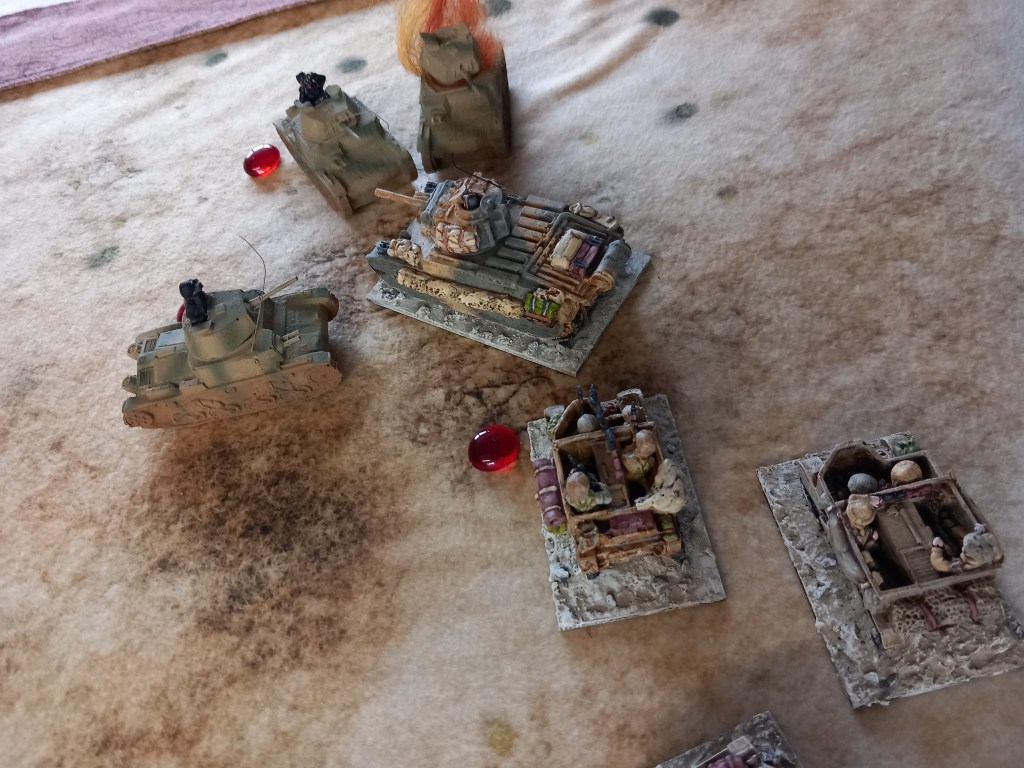
Definitely got something wrong 🙄

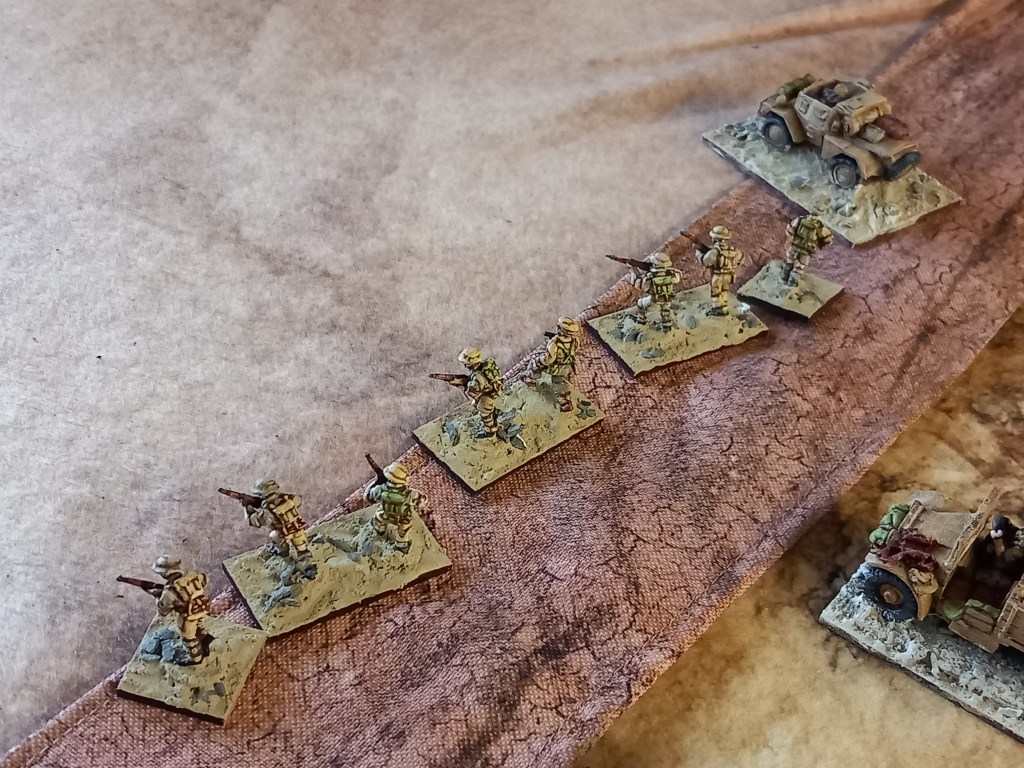
The Commonwealth forces didn’t break through and so we called it. Reflecting on the game afterward we all said we enjoyed it and would play again, just need to do a bit more reading up on the admitedly very simple (but elegant) rules and use the correct play sheet 😁😂

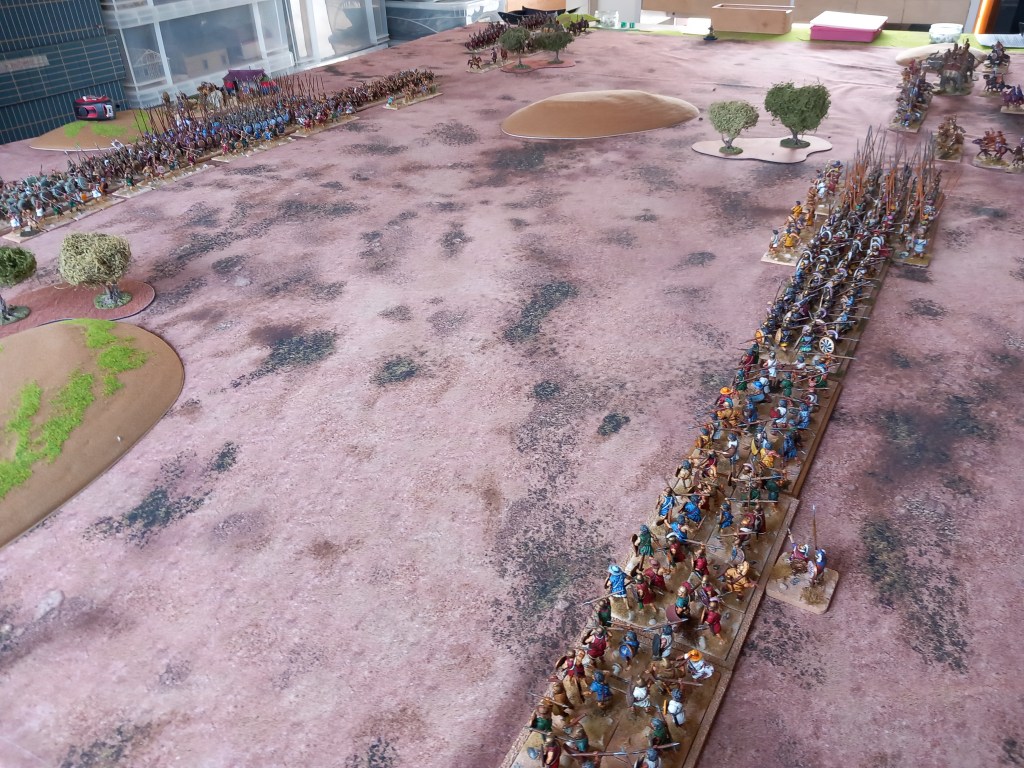
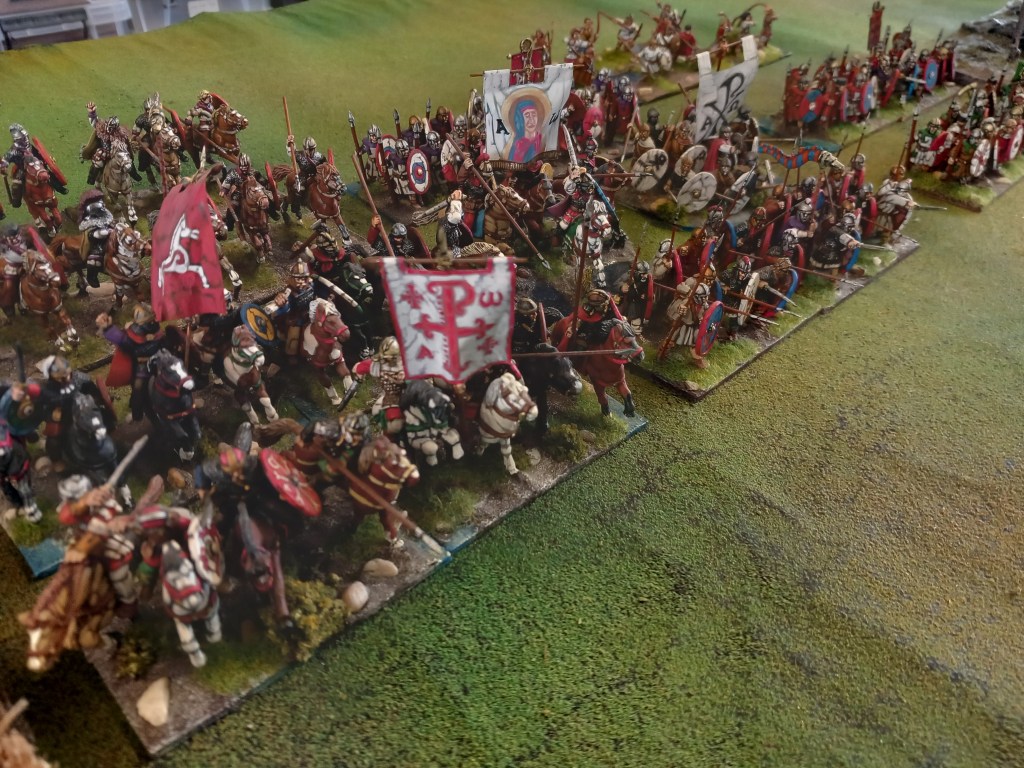
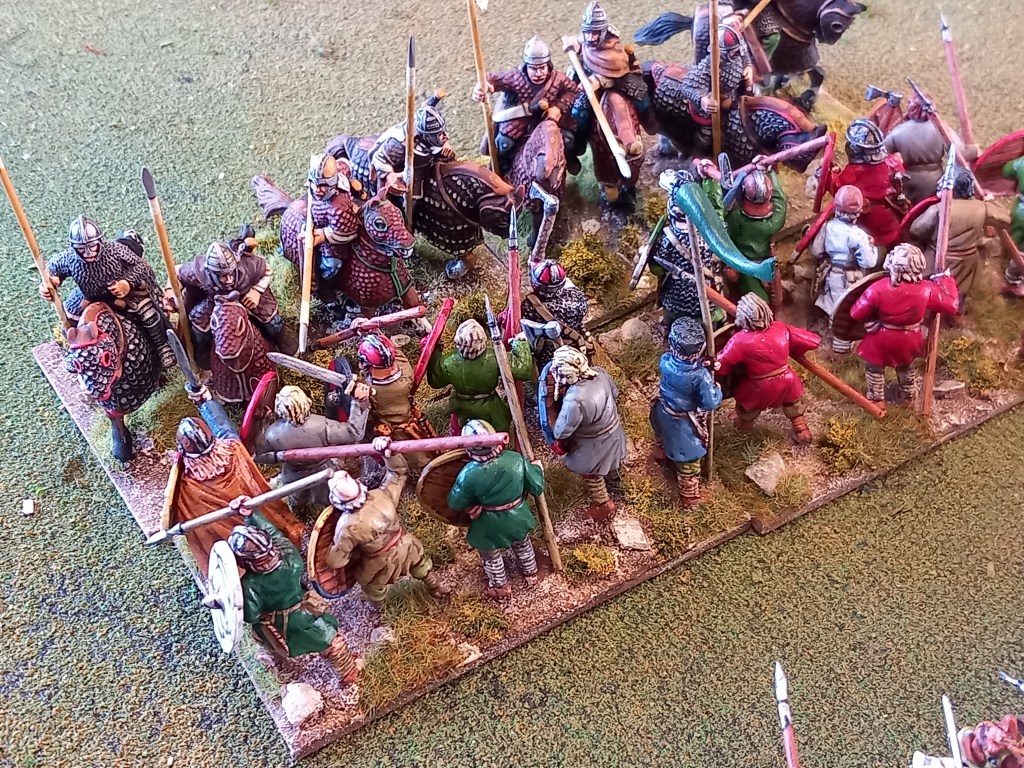
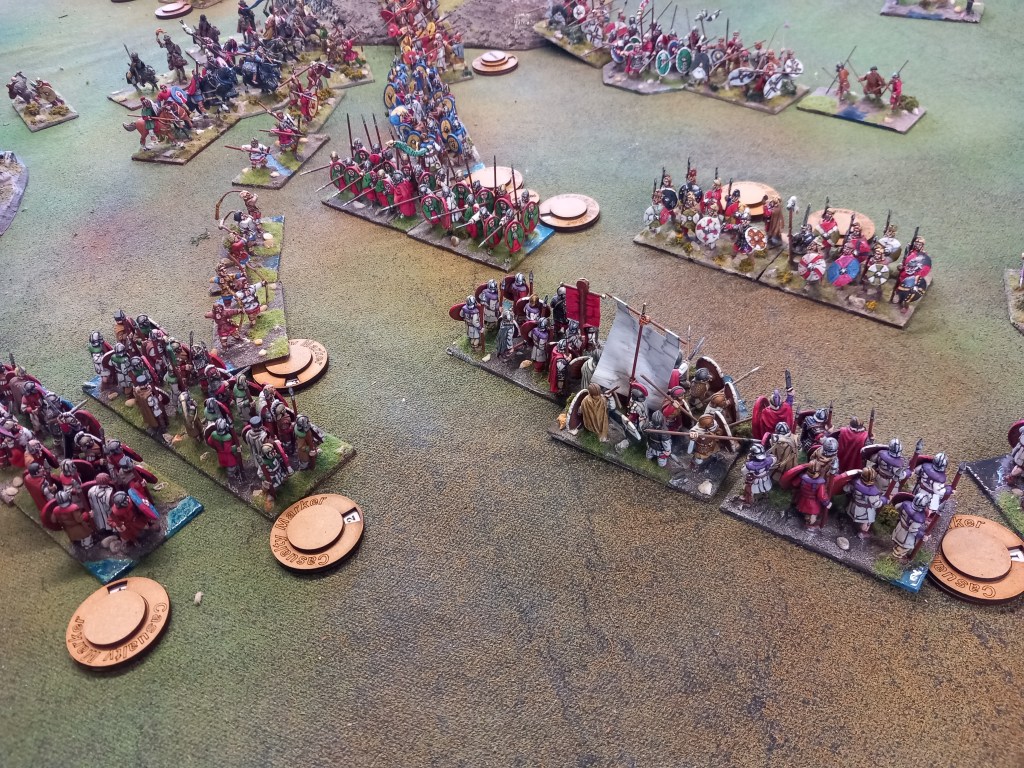
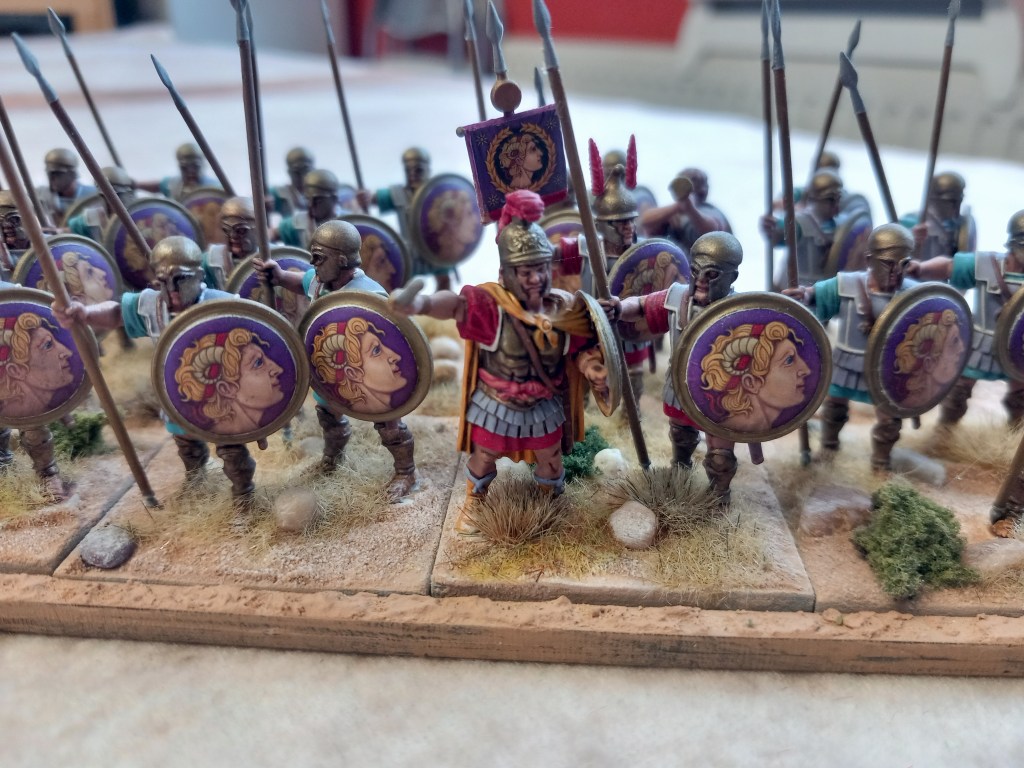
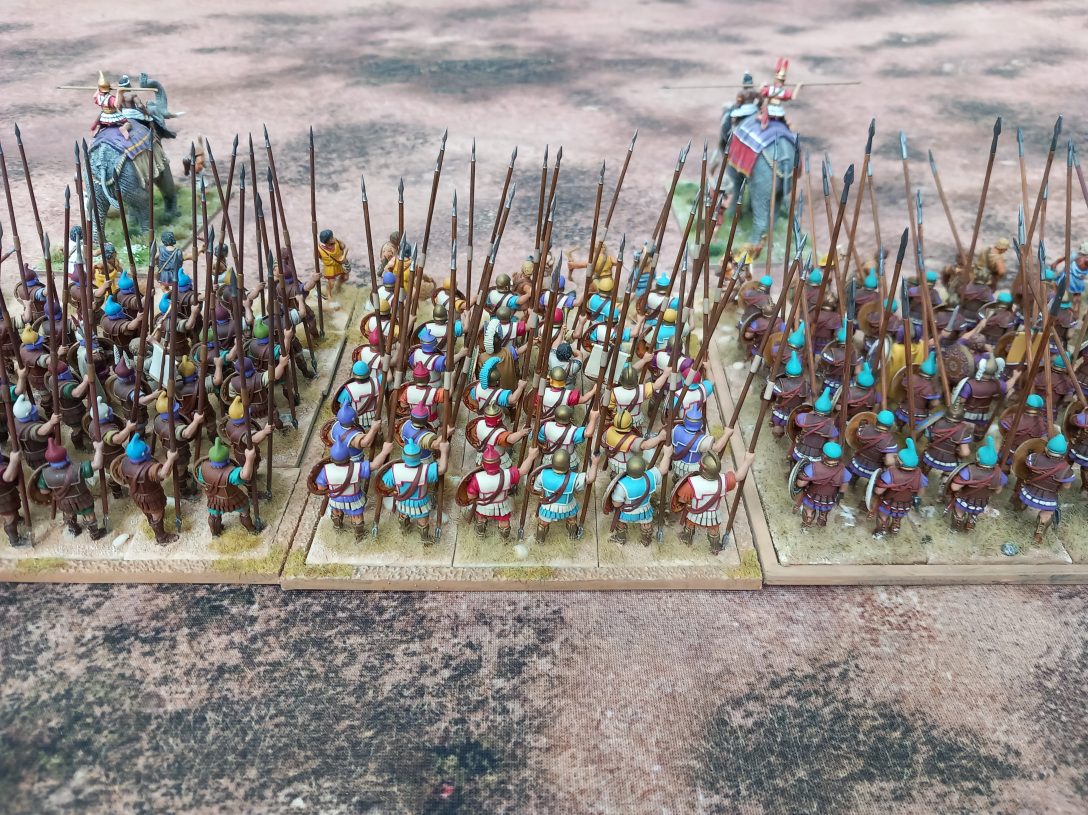
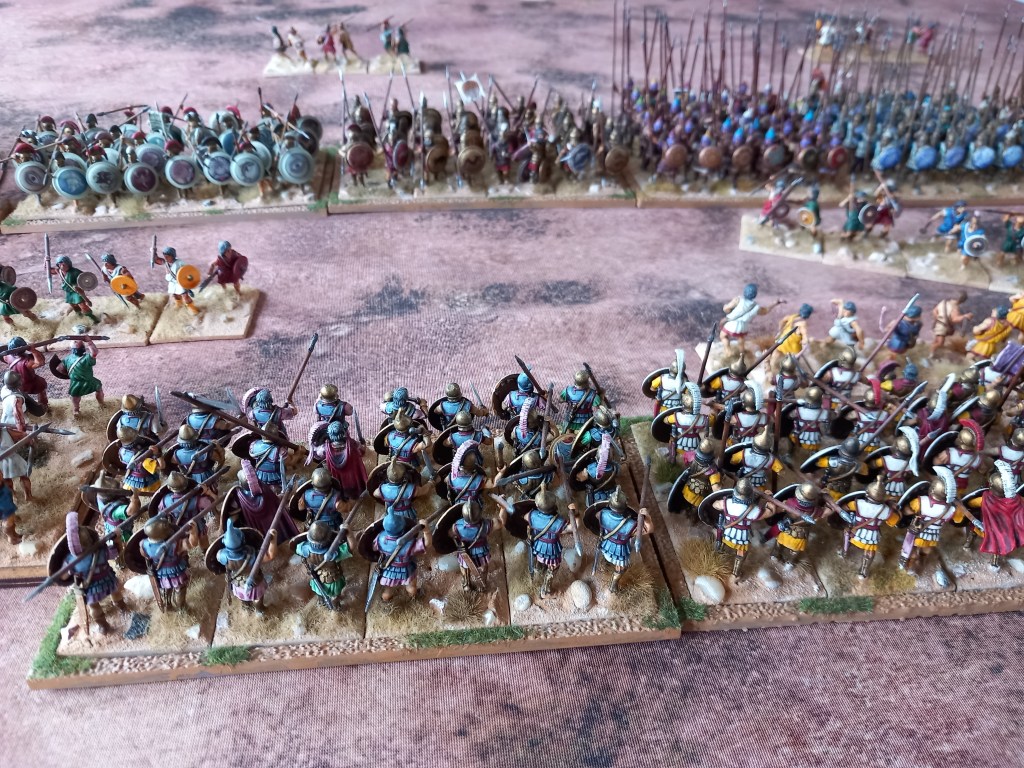
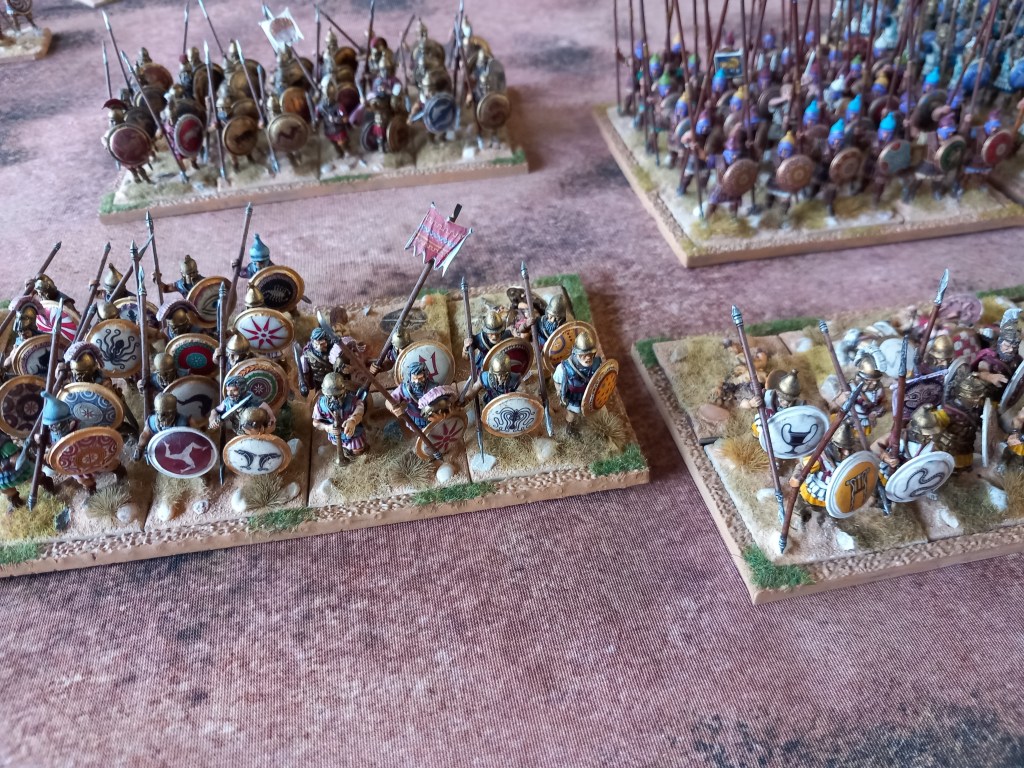
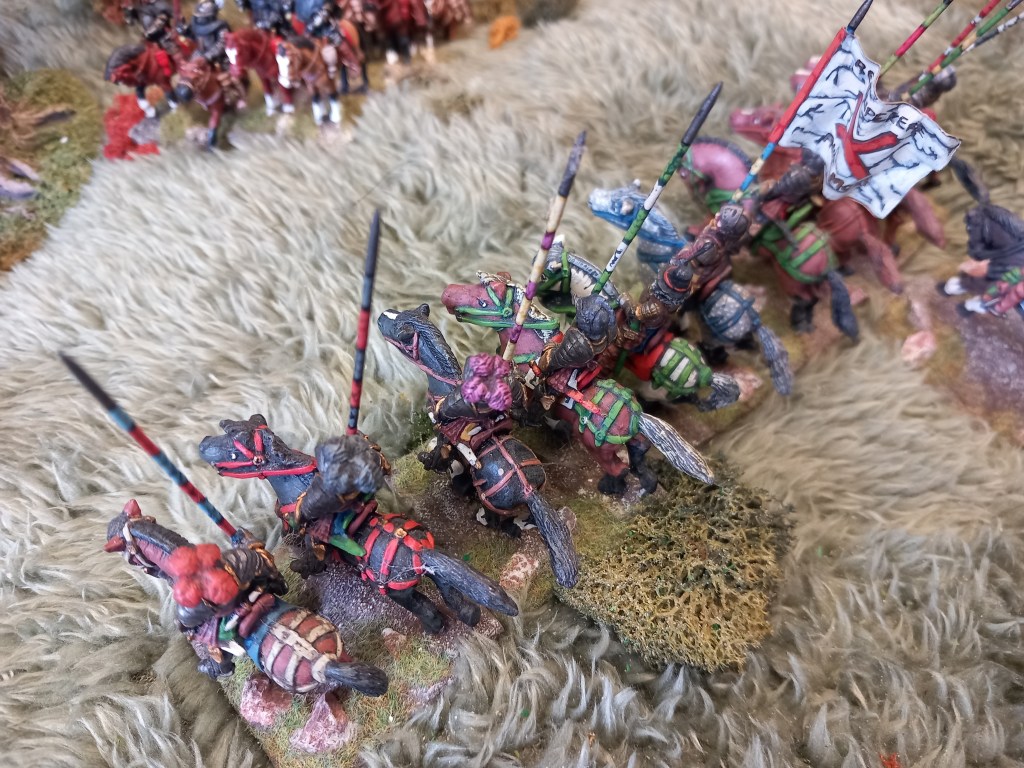
Next was my personal favourite, Successors. This time we had a ‘what if’ encounter between Demetrious Poliorcetes and Lysimachus set against the real campaign of 288BC where both general manoeuvred but never met in battle.

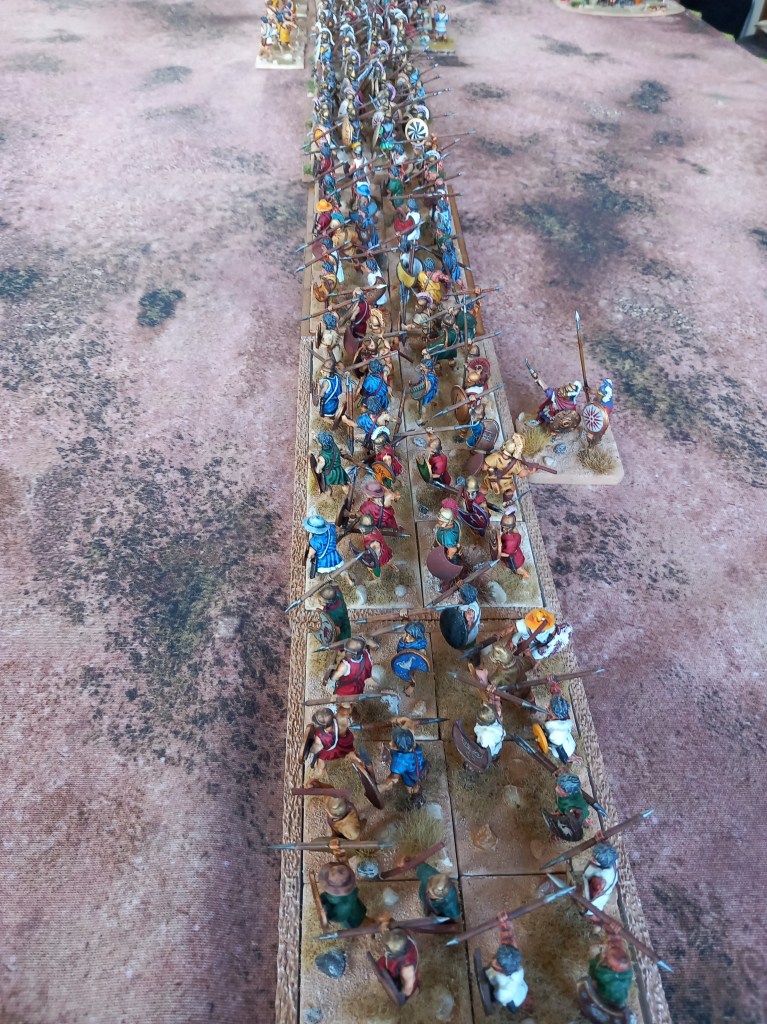
Neither side was flush with pikes. Demetrious had 2 battalions against the 3 of Lysimachus (one of which was Veteran), both sides had Hoplites, allied Athenians for Demetrious and the more traditional mercenaries for Lysimachus. Both sides had a mix of formed and skirmish cavalry, a single veteran Xystophoroi each and others of equal or lesser worth. Demetrious outnumbered Lysimachus on the elephant front 3:1 and both sides had a plethora of peltasts and psiloi.

The terrain was mainly an open plain with several low hills and light woods scattered about. Lysimachus deployed with all of his cavalry on the left wing under Phietaeros fronted by the single elephant squadron (1 model) while the infantry occupied the centre and right in a single line, Thracians on the left, pike under Prepelaus in the centre and the hoplites under Menas on the right, all fronted by psiloi. Demetrius also deployed his cavalry, under Pithon, in one wing but on the right so amazingly the cavalry were opposite each other – this had a positive effect on the game, his centre and left read from right to left, pikes, hoplites, peltasts, all fronted by psiloi.

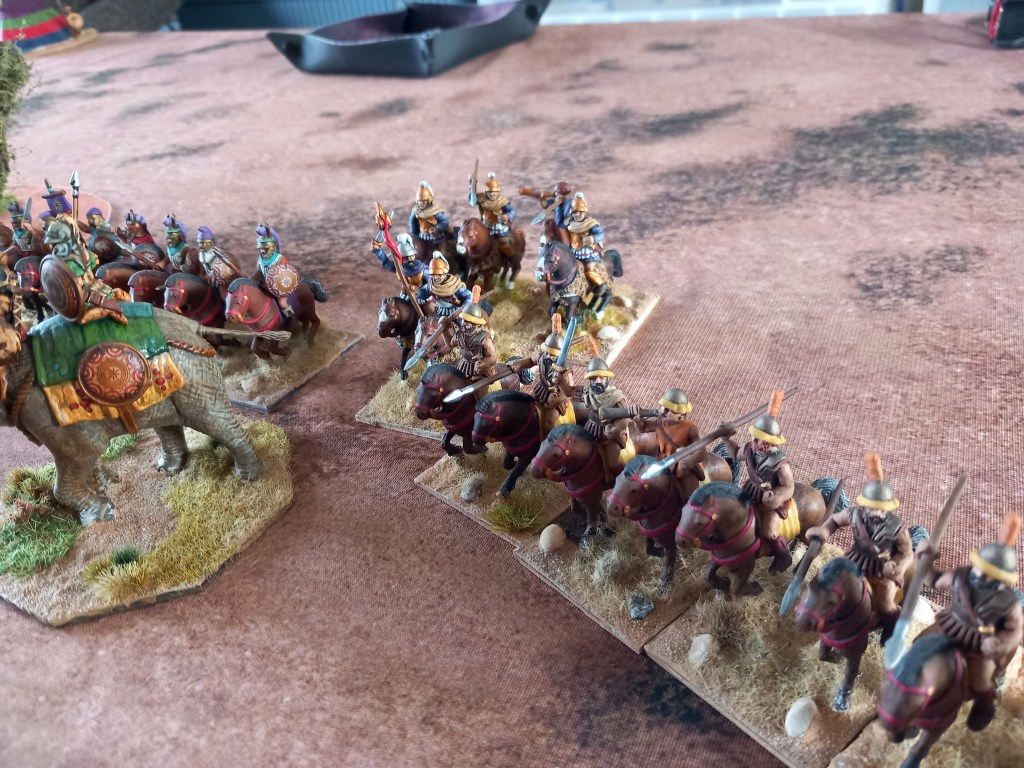
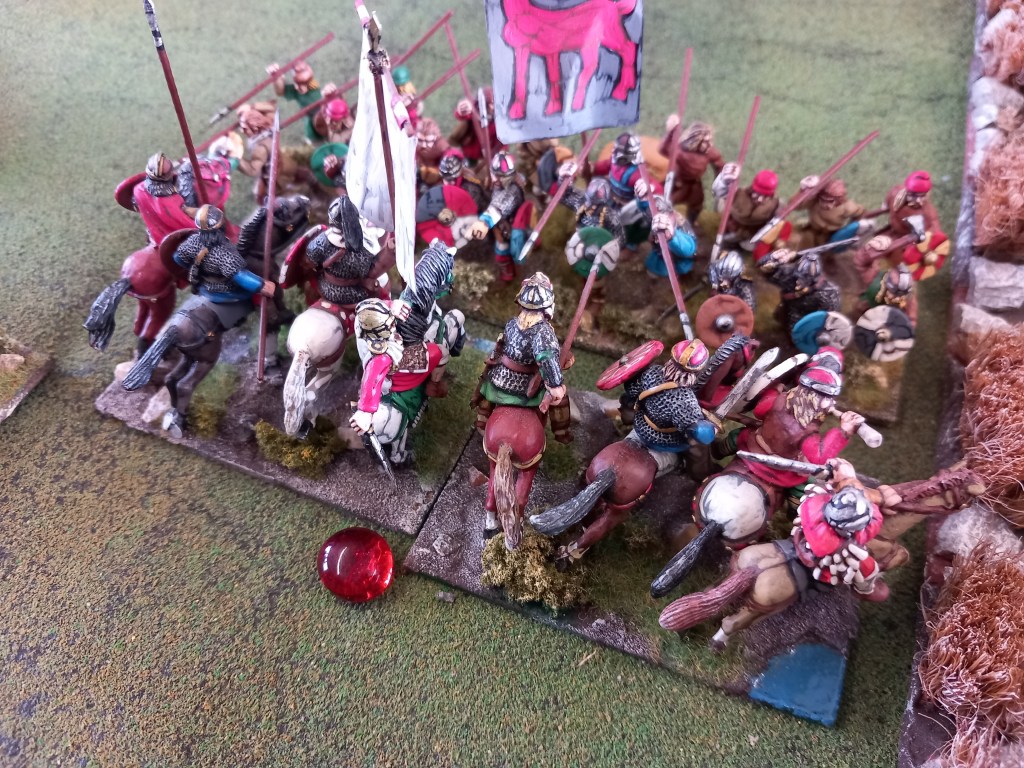
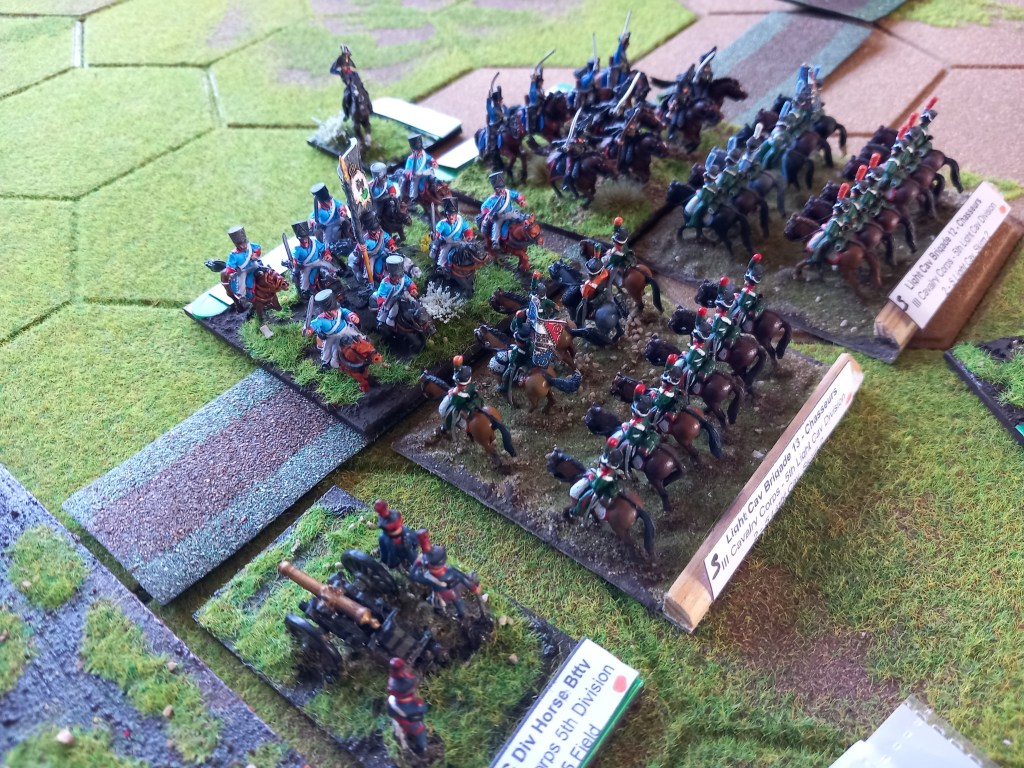
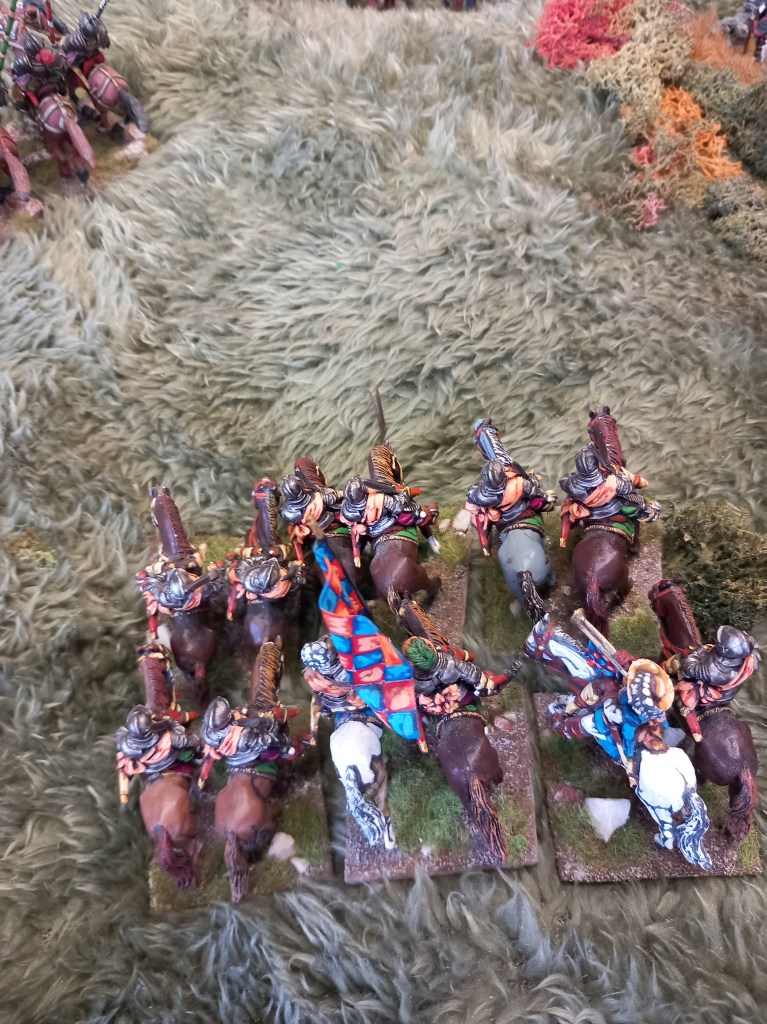
Given the configuration of the armies the opening turns were all about the cavalry. As the infantry trudged forward the horse had at it which was great fun but much like the reality of the time fairly inconsequential to the real fight.

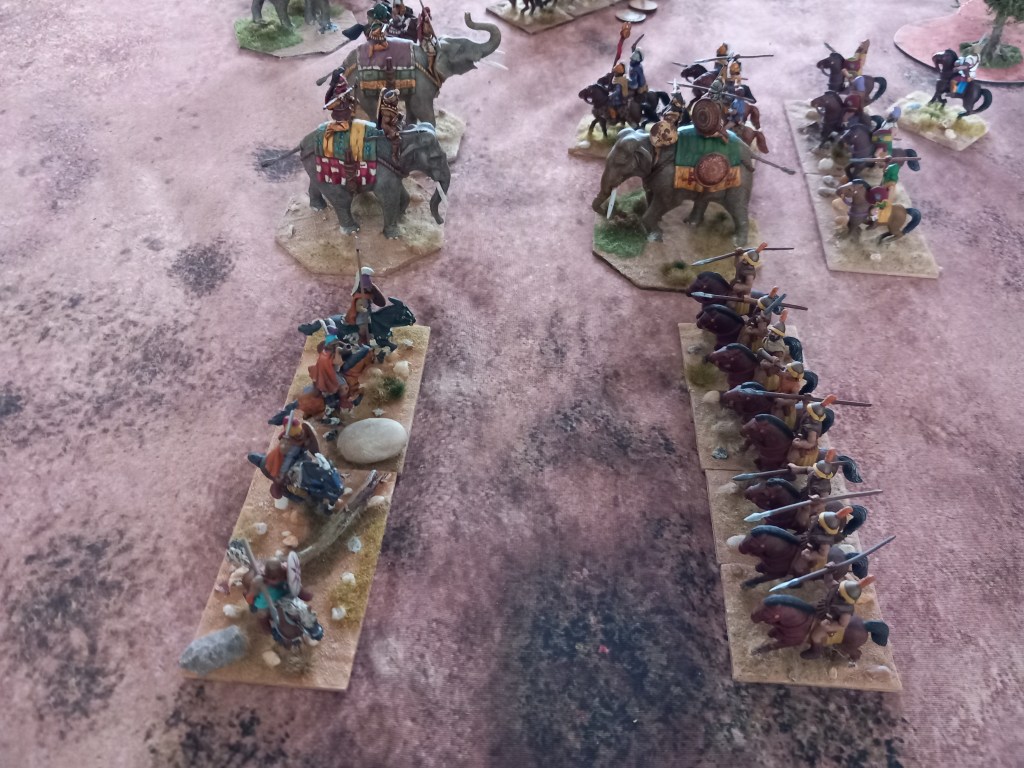
Demetrious had the advantage in elephants and Lysimachus the advantage in numbers and morale class of his cavalry.

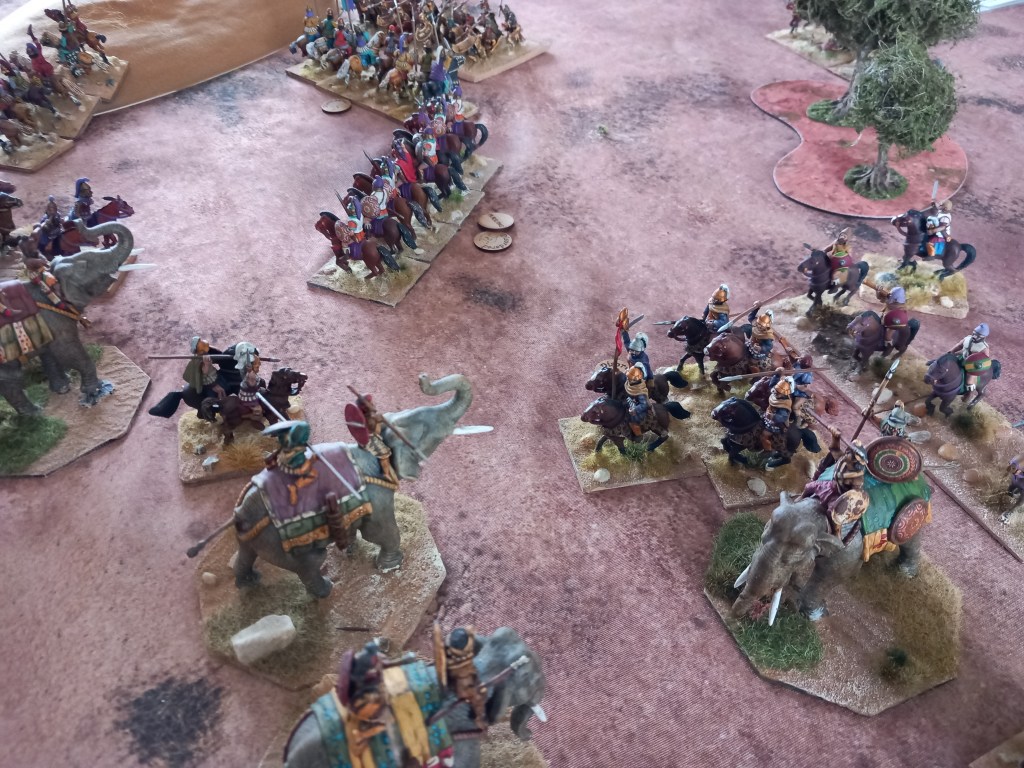
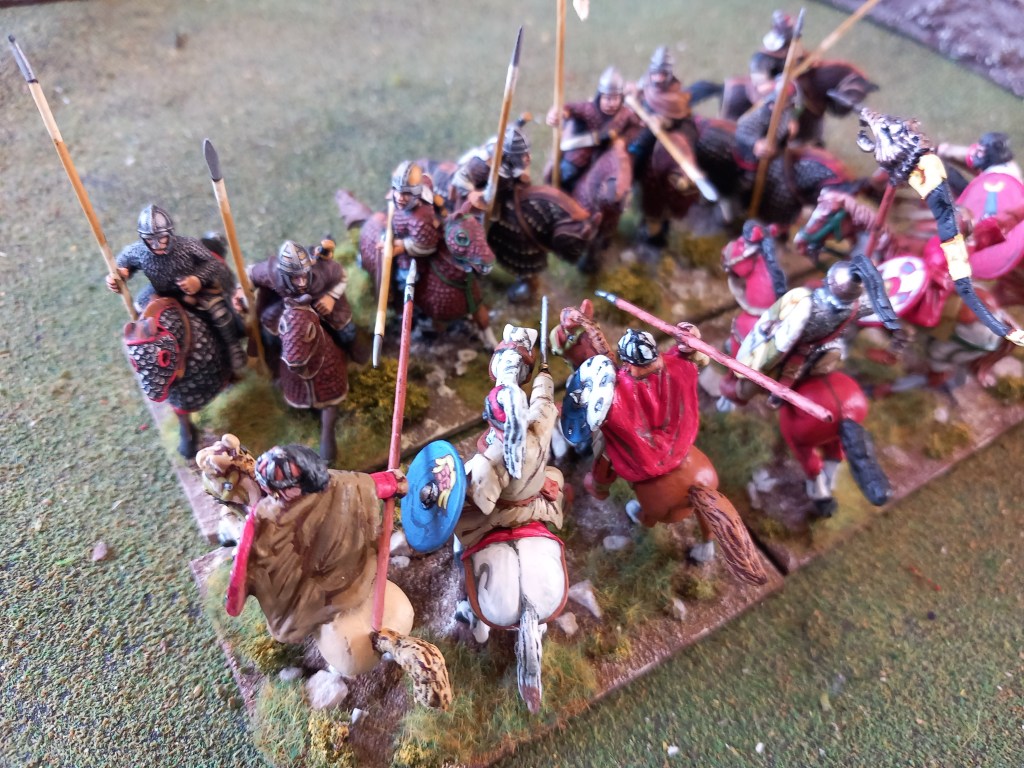
The battle swung back and forth to no real advantage, the Xystophoroi of Lysimachus retreated off table being forced back by a combination of elephant and skirmish horse working together, two elephants panicked and created their usual mess but none died and the satrap horse of Demetrious both routed and later rallied at the camp.

The real deal was of course the infantry clash and this time we had a proper clash and a proper result.

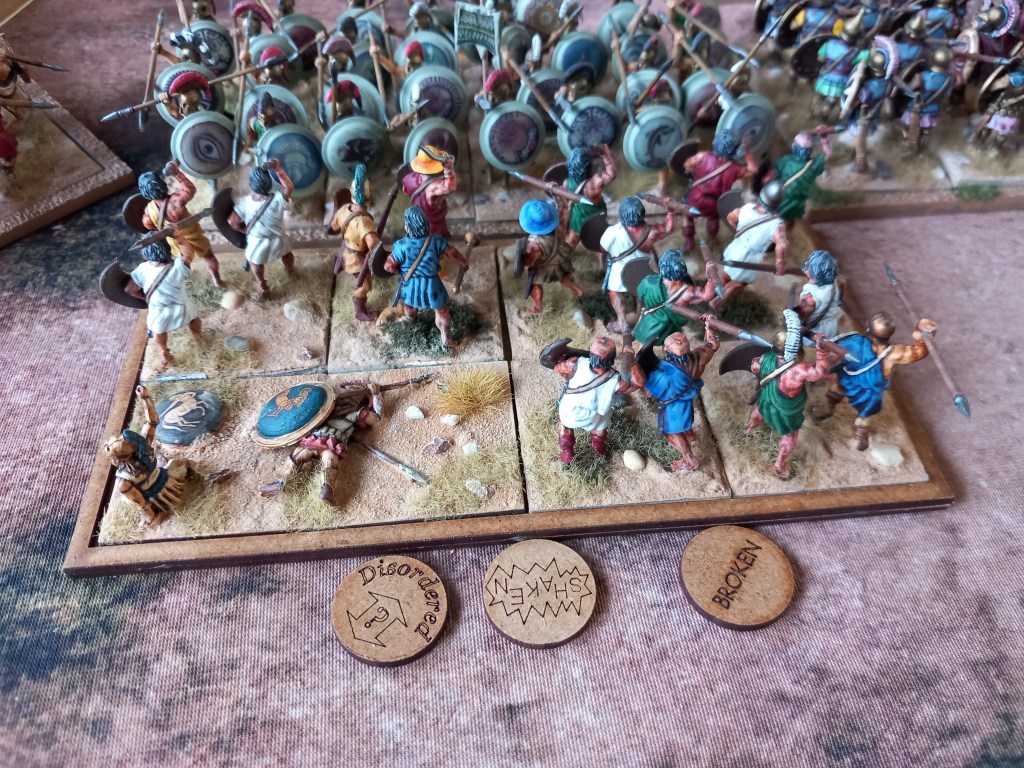
Once the psiloi had done their thing, which largely favoured Demetrious, their was a marked reluctance to actually get stuck in – some pretty poor morale rolls across the line and a reluctance from the players to put their leaders into the units to beef up their chances.

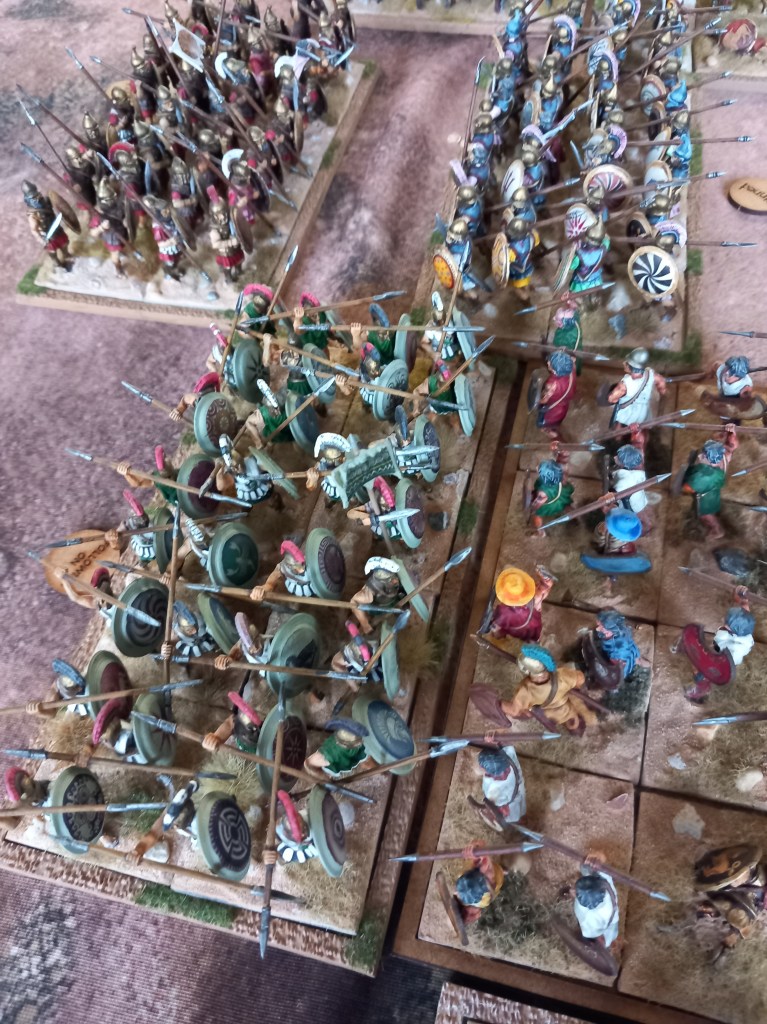
Eventually the fires of courage were stoked and troops committed albeit a little on the uncoordinated side.

From the off it was going to be Lysimachus day, he gained the upper hand and never let go.

His hoplites routed their opposition hoplites and the Demetrian peltasts, his veteran pike routed their opposing pikes and one of his other pike battalions routed the 2nd opposition hoplites. The only consolation for Demetrius was his other pike battalion routing their opposite numbers but it was a decisive Lysimachid victory.

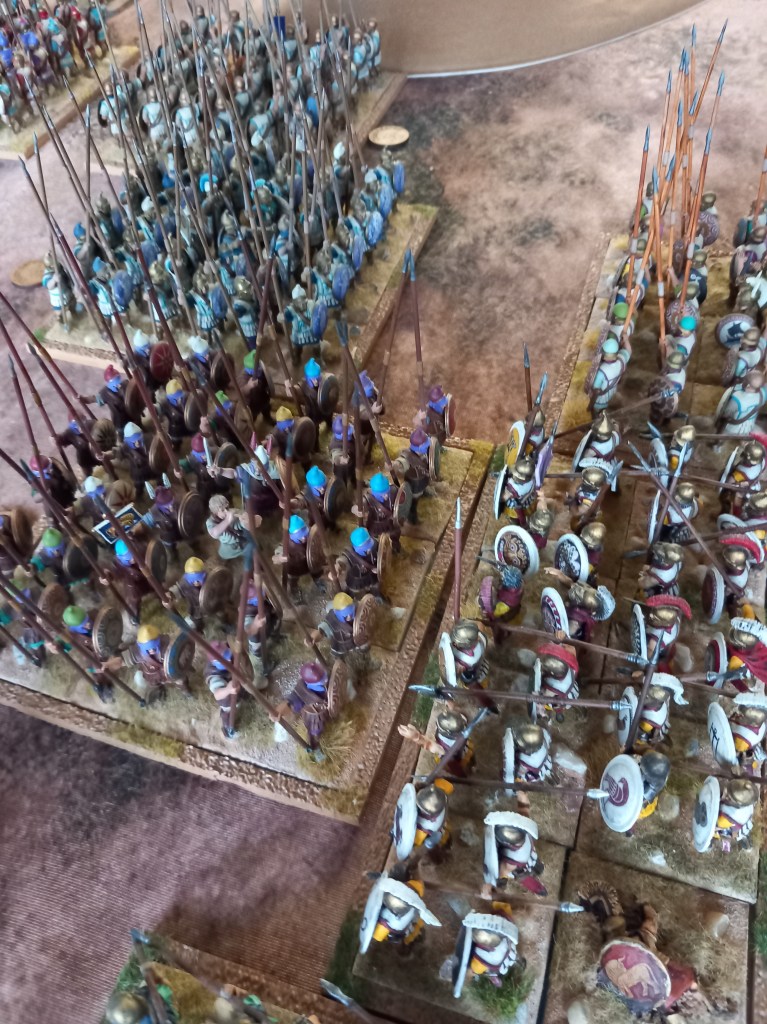
As a game this worked almost perfectly. The cavalry had their own little fight and that was that. The infantry lined up and went for it (eventually!) and a decisive decision was obtained, the final line up favoured Lysimachus in that one of his hoplites got to take on the weaker peltasts – javelins not being great against long pointy sticks and one of his pikes faced hoplites but that was just the luck of the draw. A good game and recreation of the time and the place.

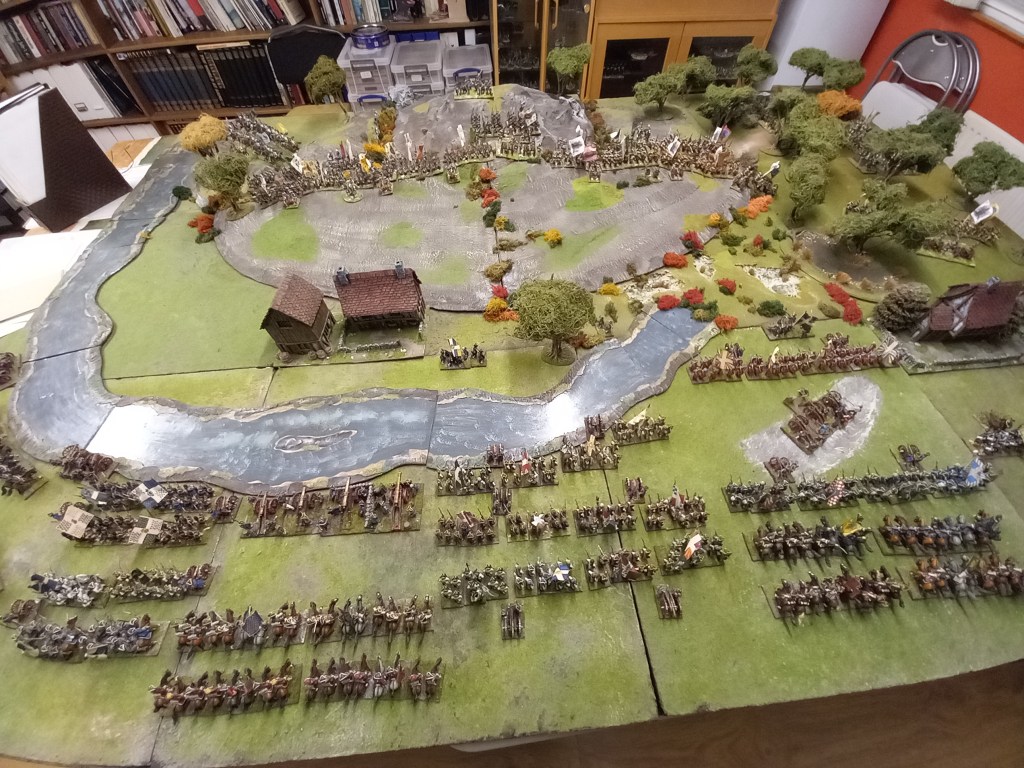
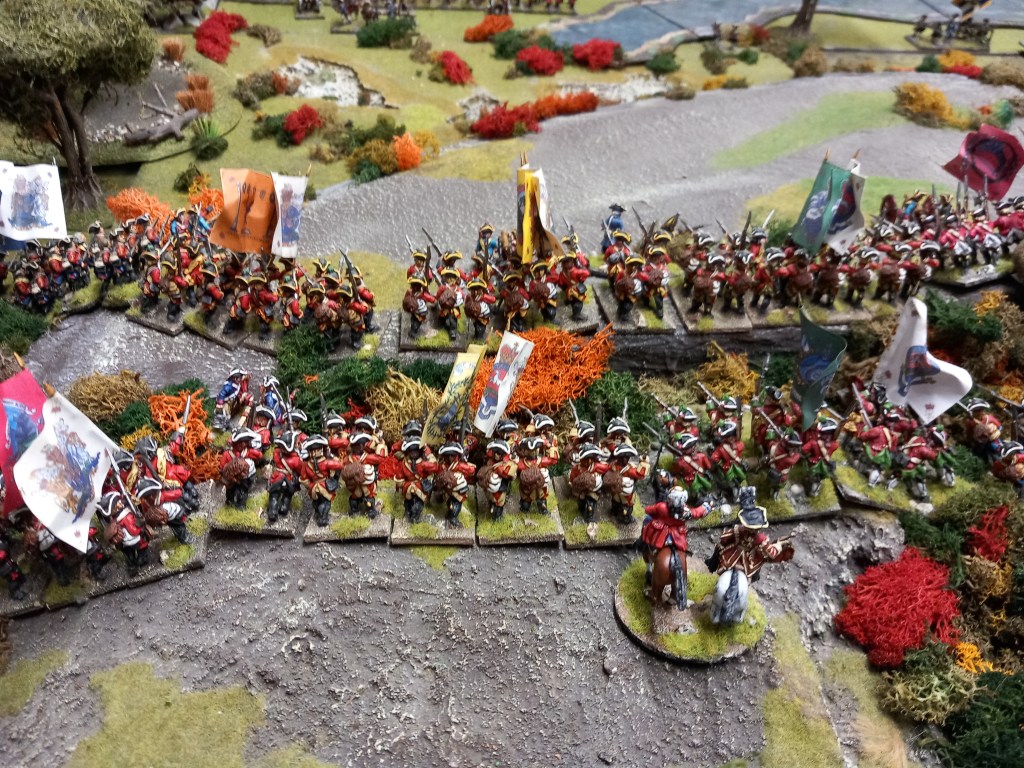
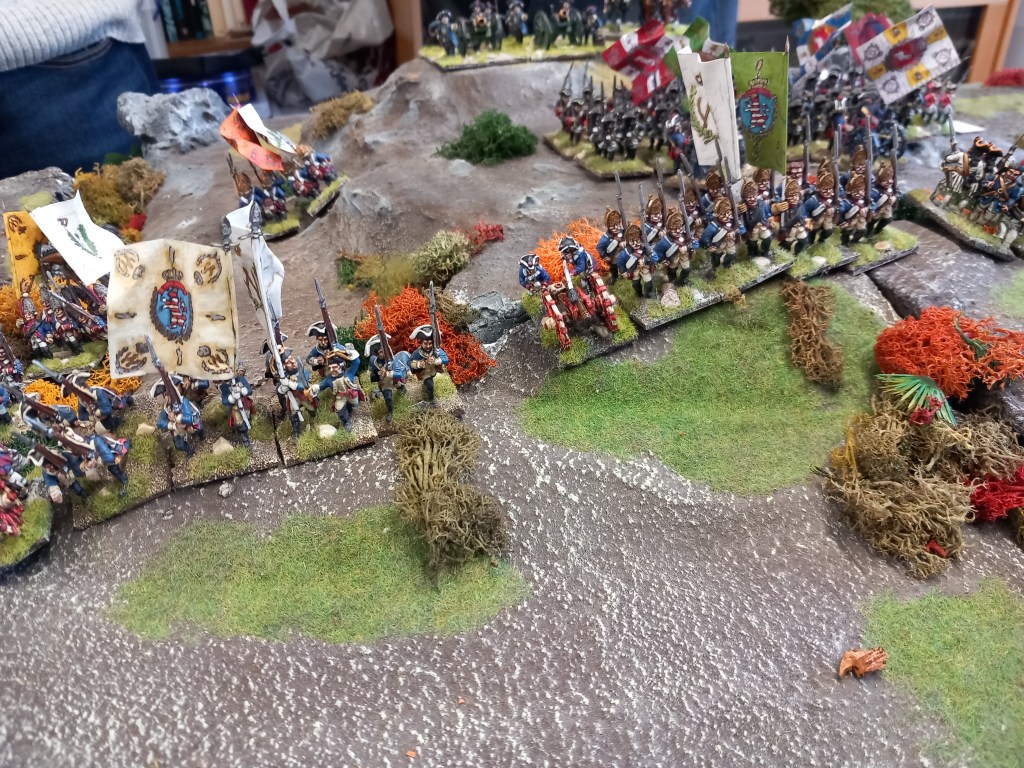
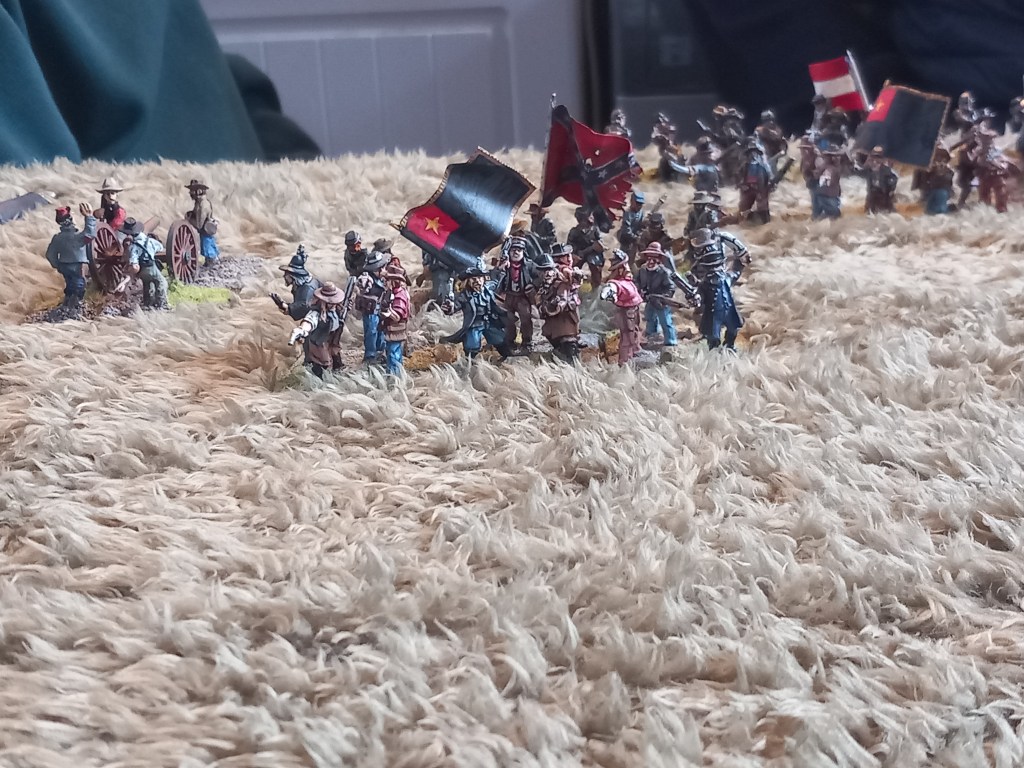
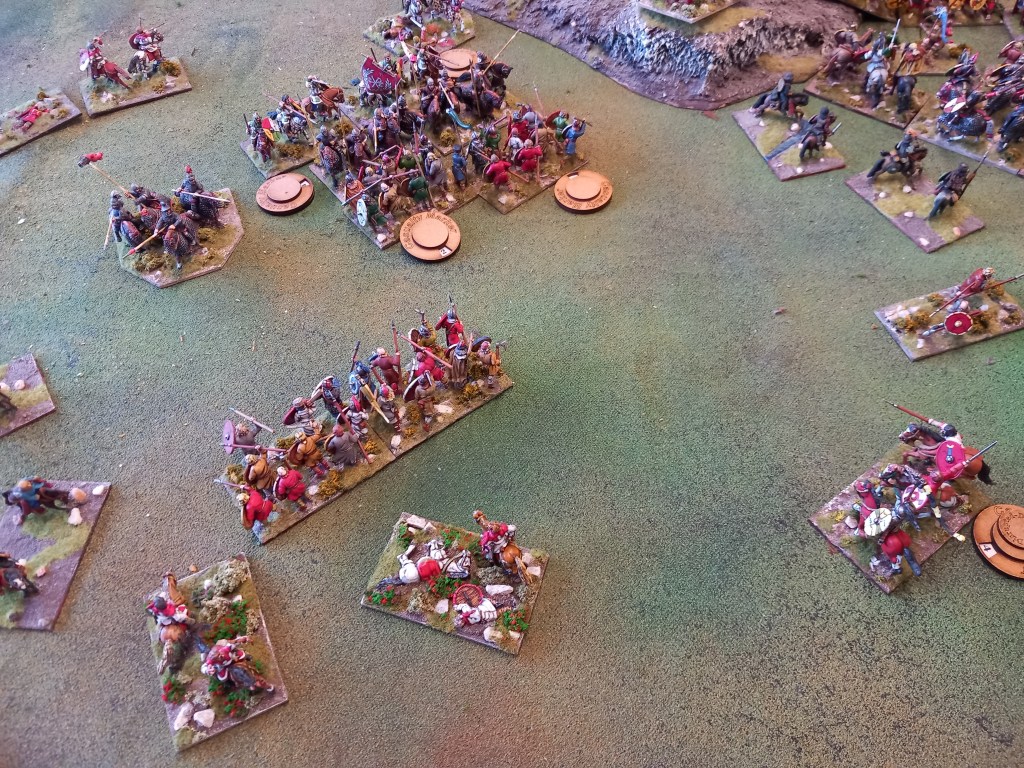
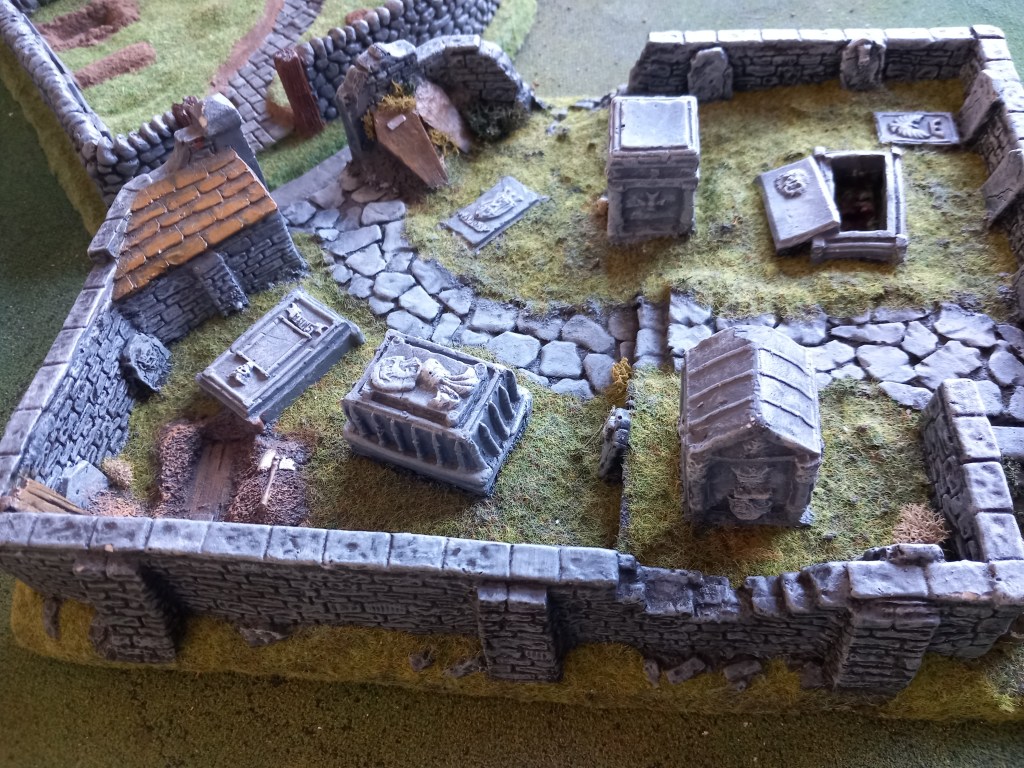
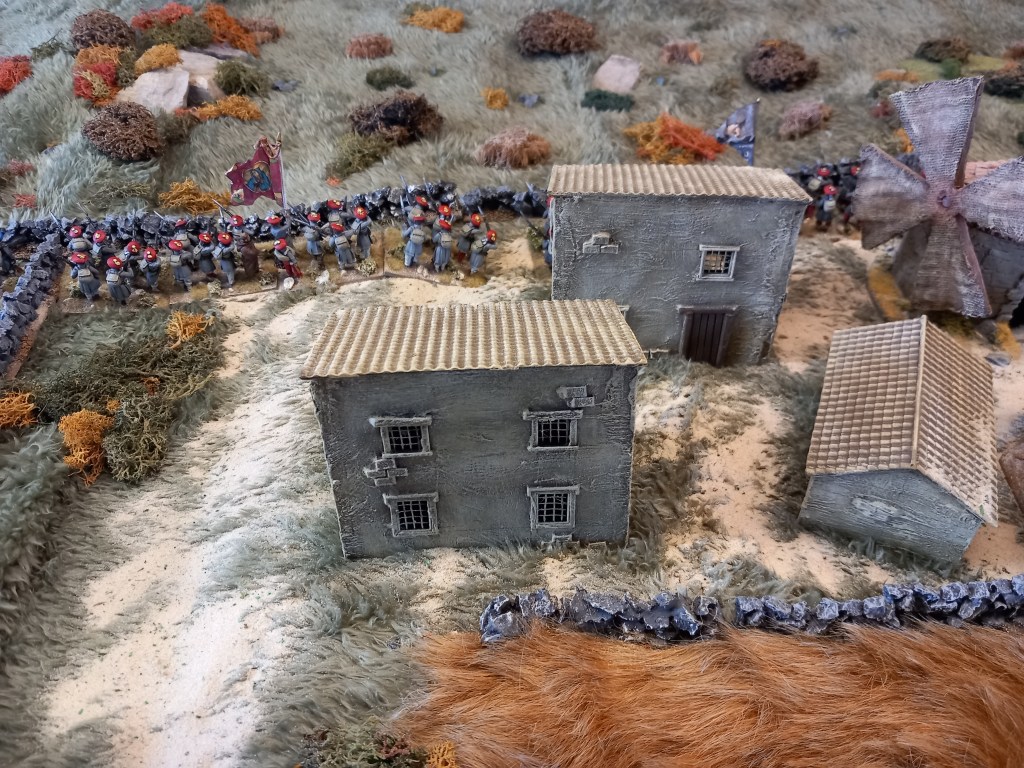
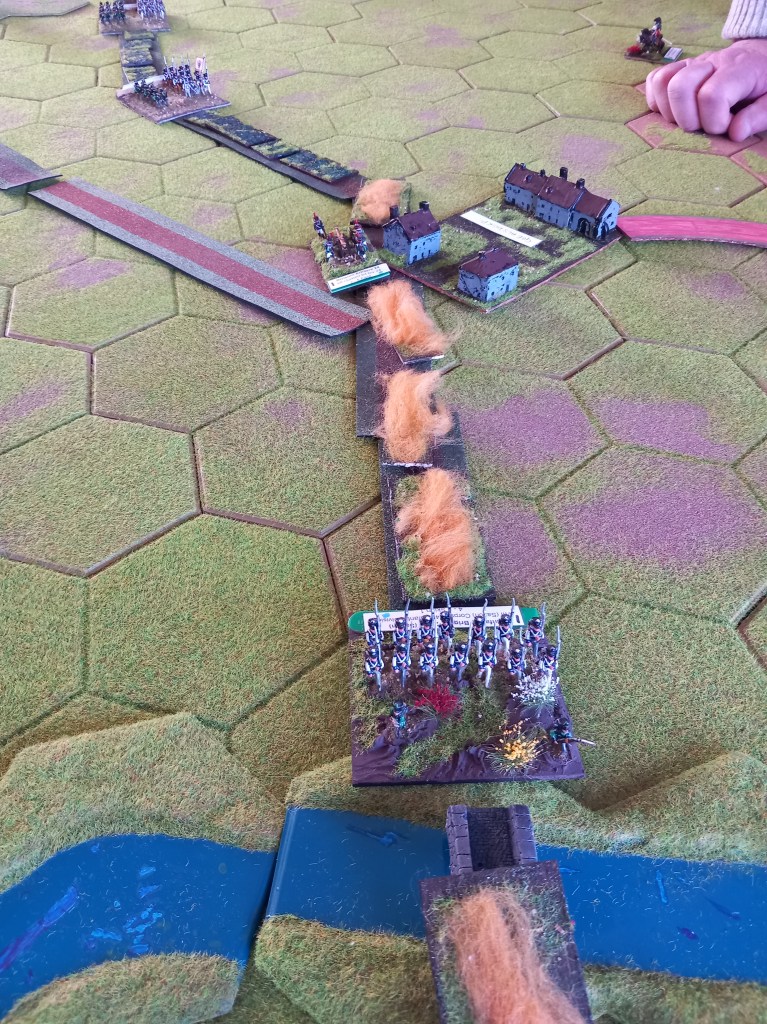
Our next foray was the Carlist Wars and a refight of the battle of Ormaiztegui, January 1835, a modest and fairly indecisive battle which we reckoned could be easily fought to a conclusion, although this wasn’t helped by a power outage on the evening of the game. Gaming by candlelight, how quaint 😀

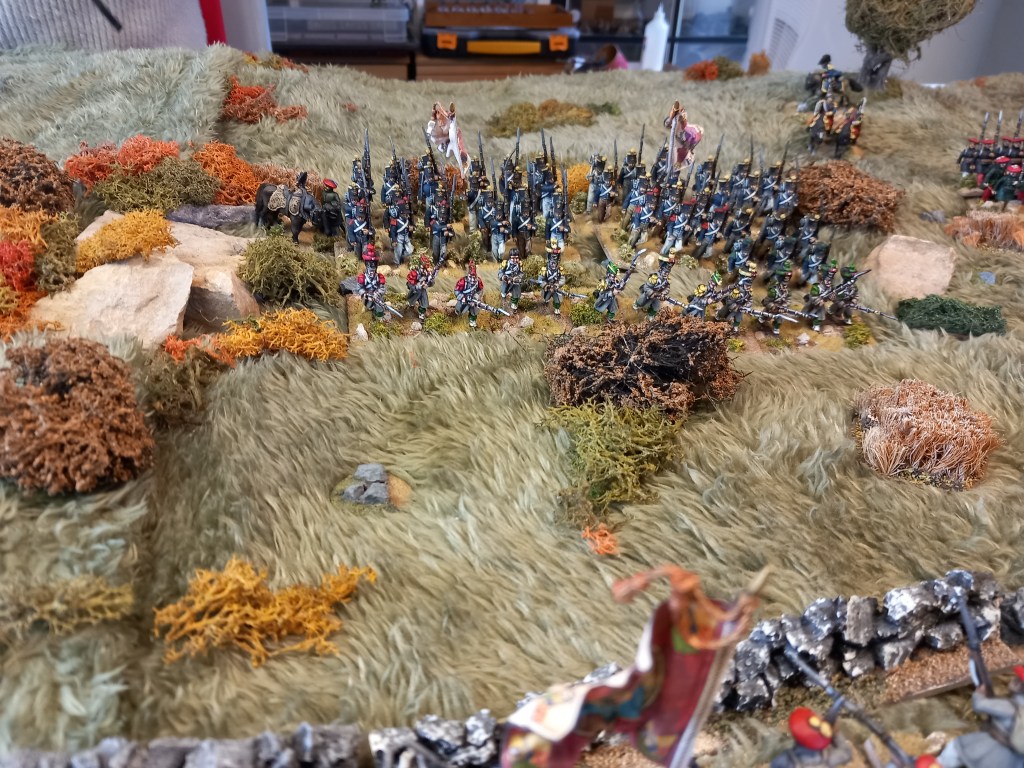
The Carlists began the game in control of the village of the battle name with portion of their force and the rest moving up, the Isabelinos were therefore on the attack all along the line.

The initial defence.

Battle being joined seriously all along the line with the Isabelinos struggling to maintain their offensive.

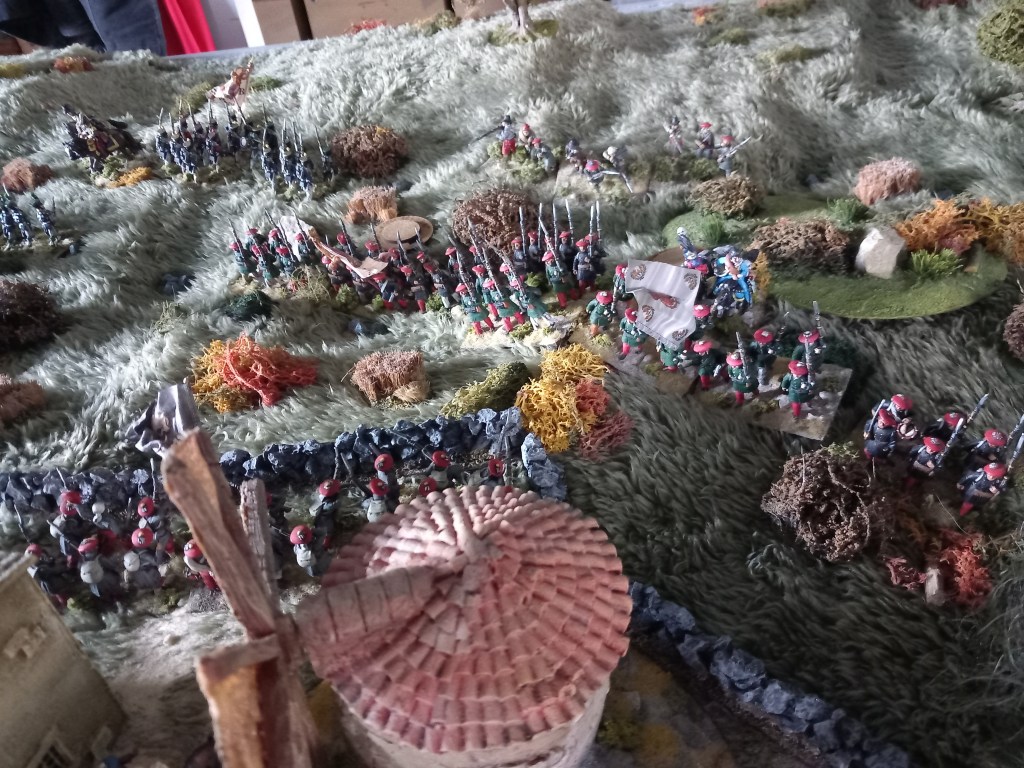
The fight for the village begins with a musketry duel. I’m not convinced by the teddy bear fur.

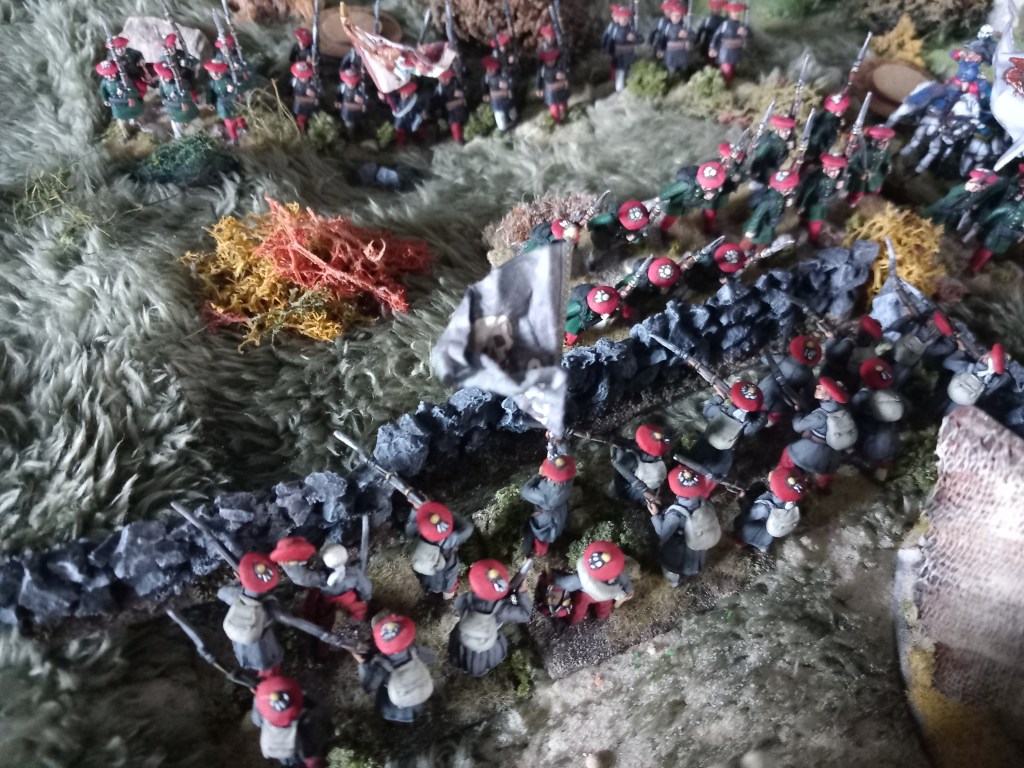
The Isabelinos launched a bayonet charge at the walls.

Despite the desperate fighting at the village the Isabelinos ran out of steam, their attack columns had stalled and two generals were down – desperately leading those attack columns, so they called it a day and we blew out the candles 🤣

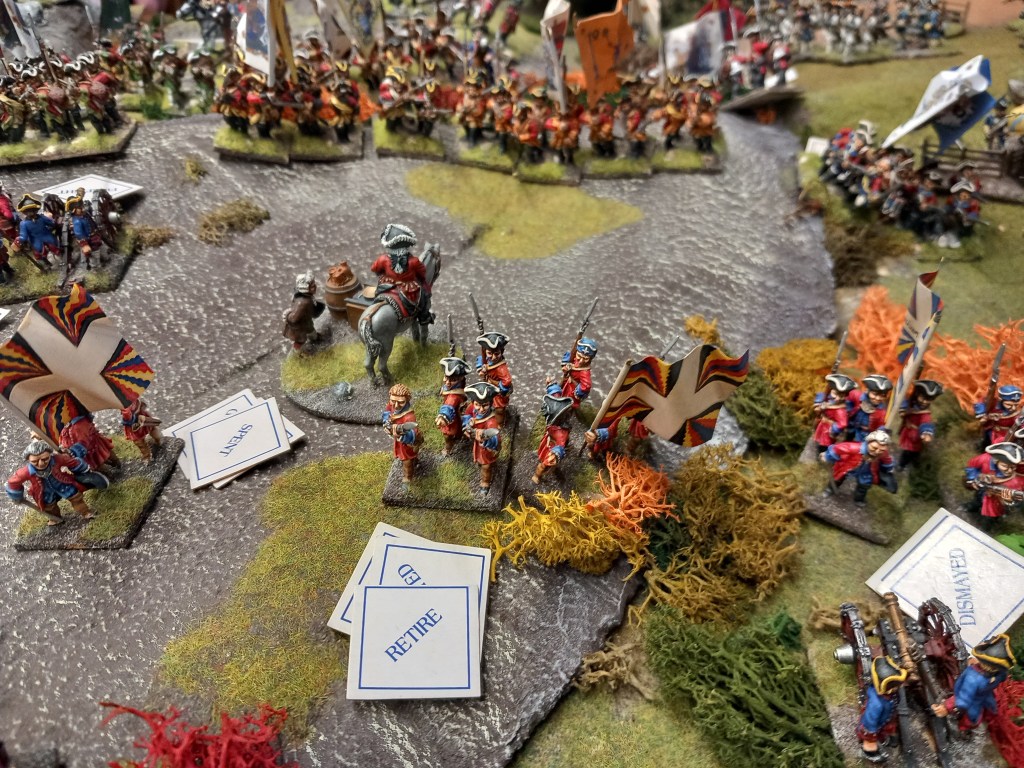
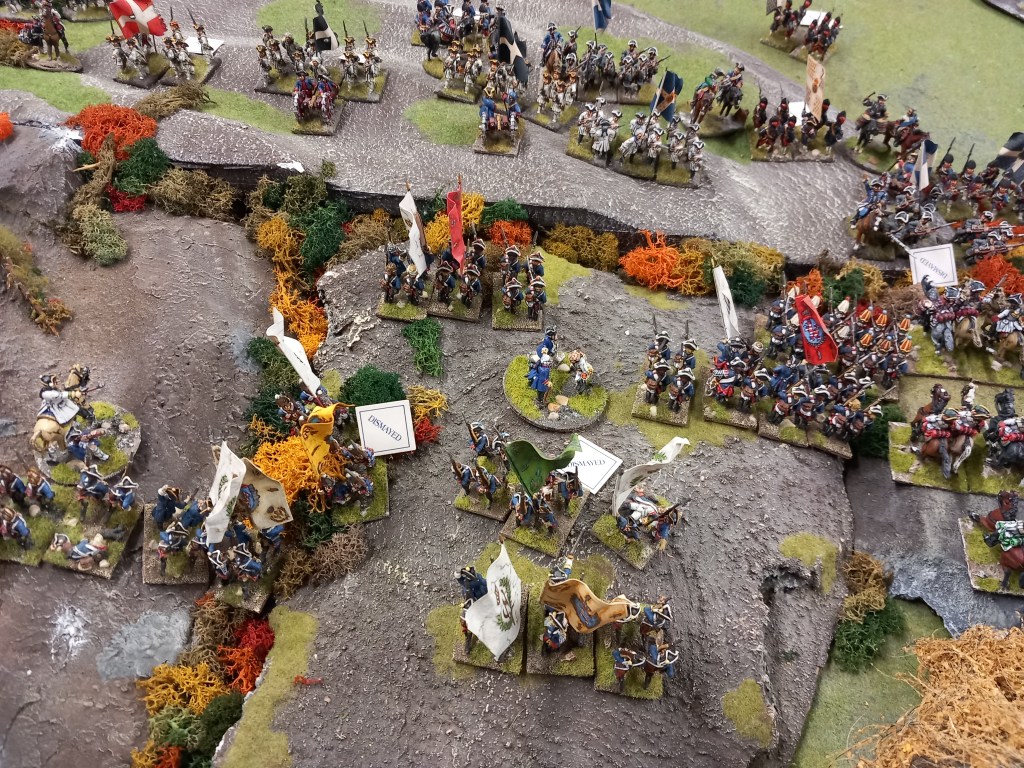
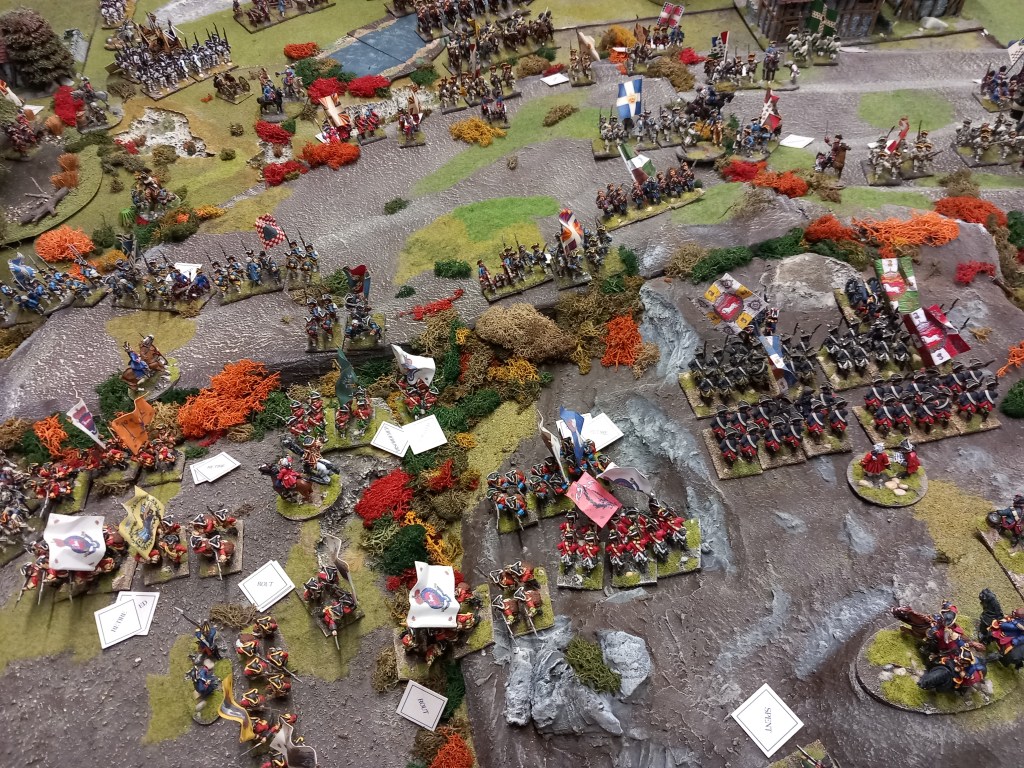
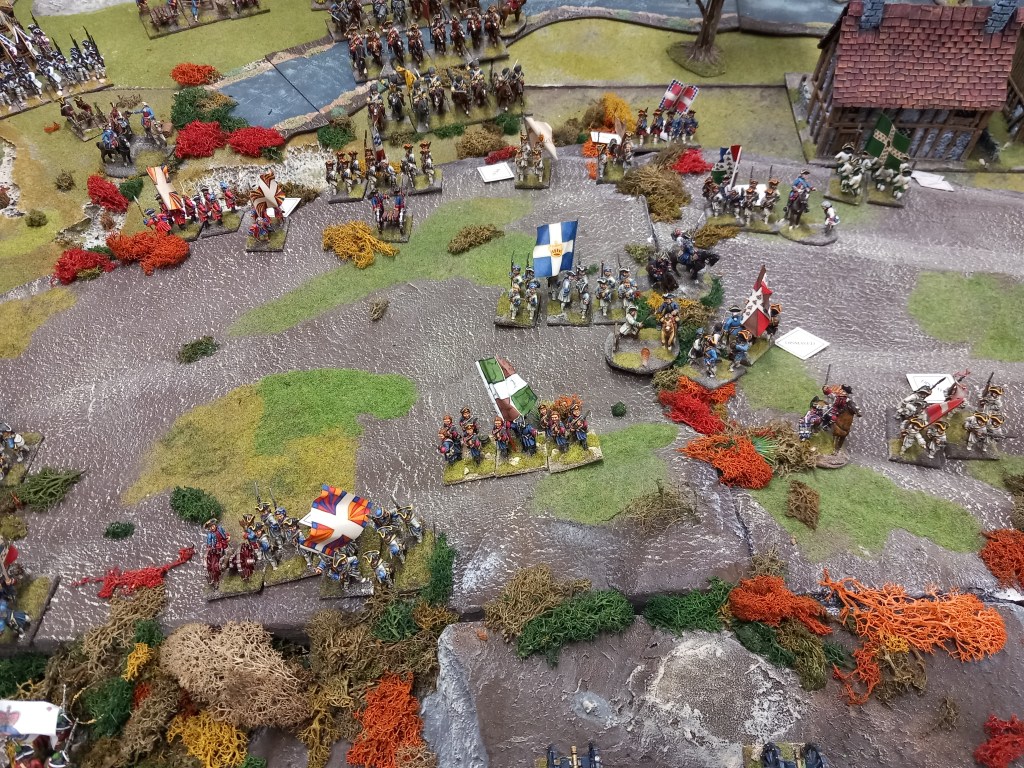
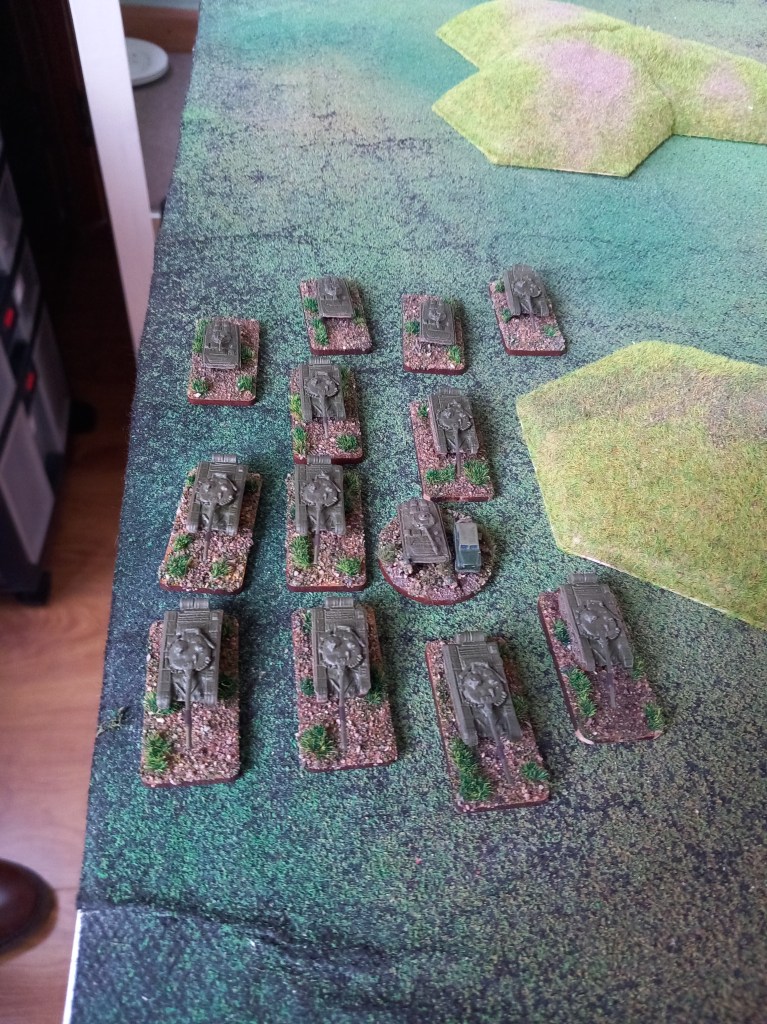
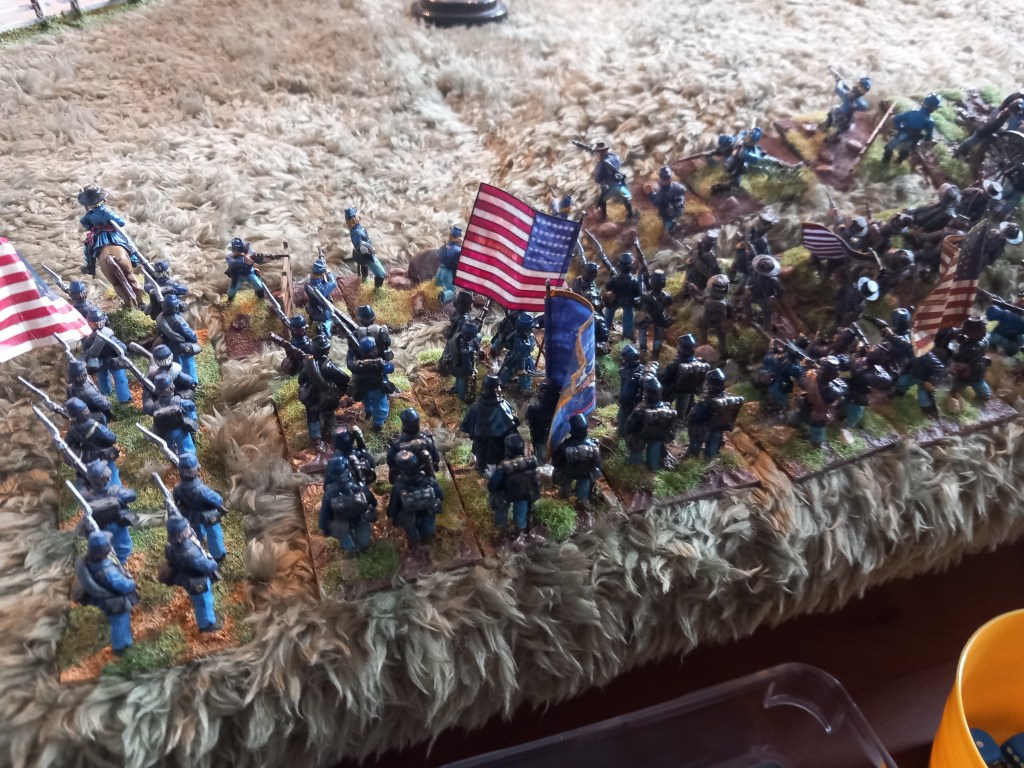
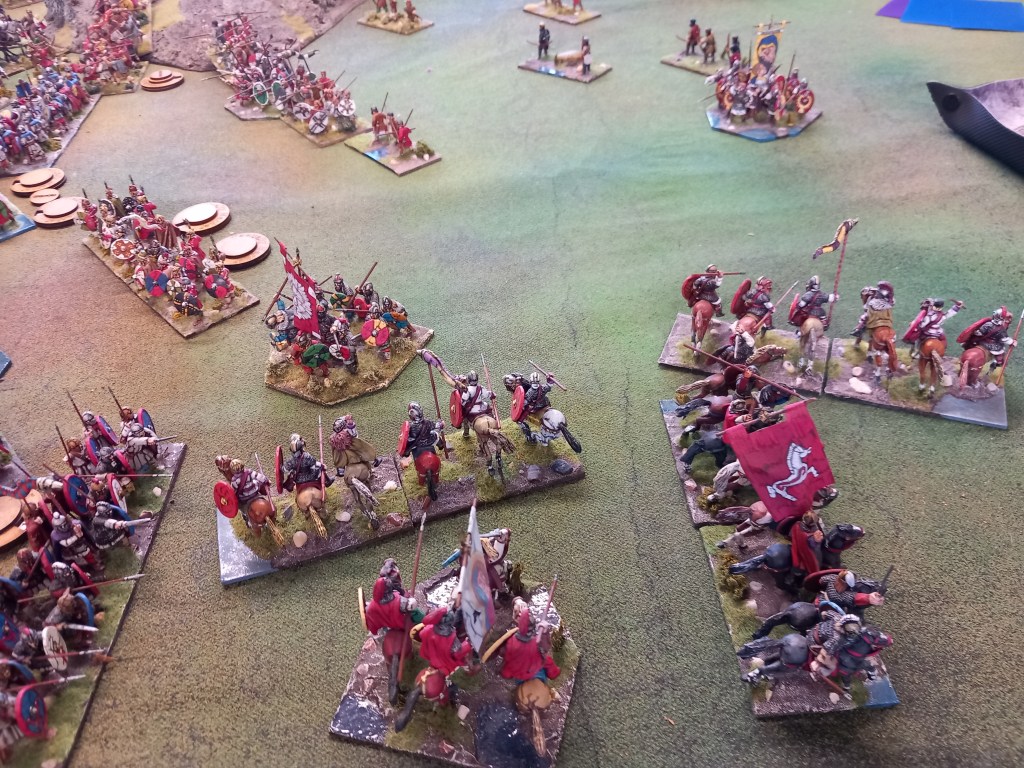
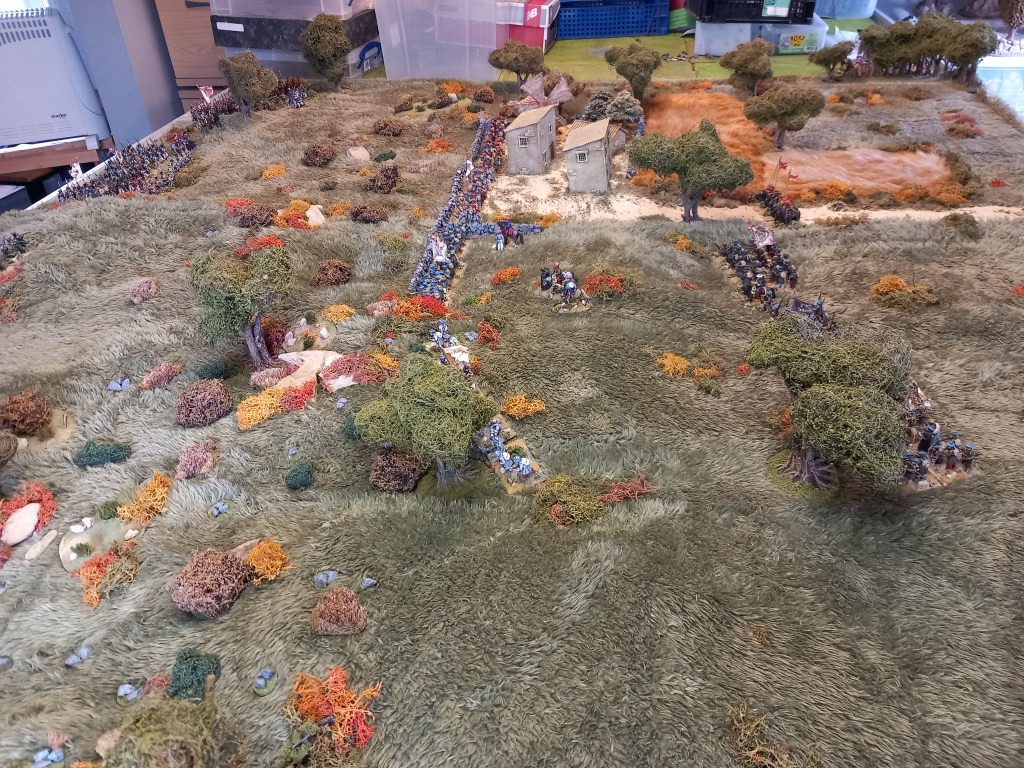
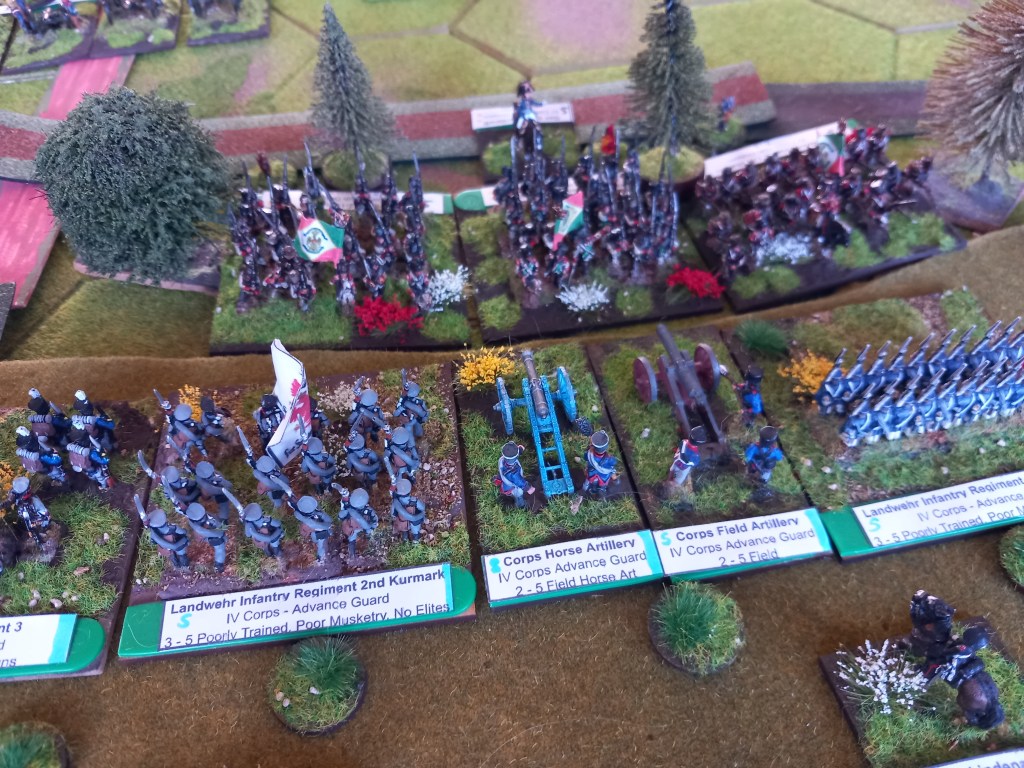
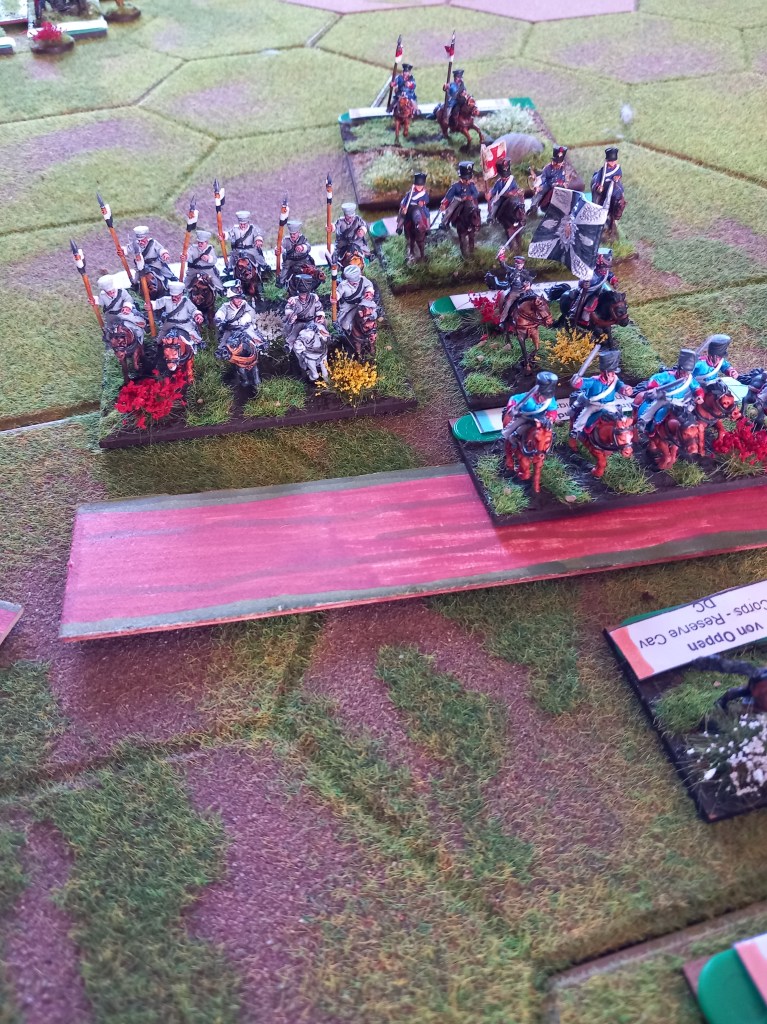
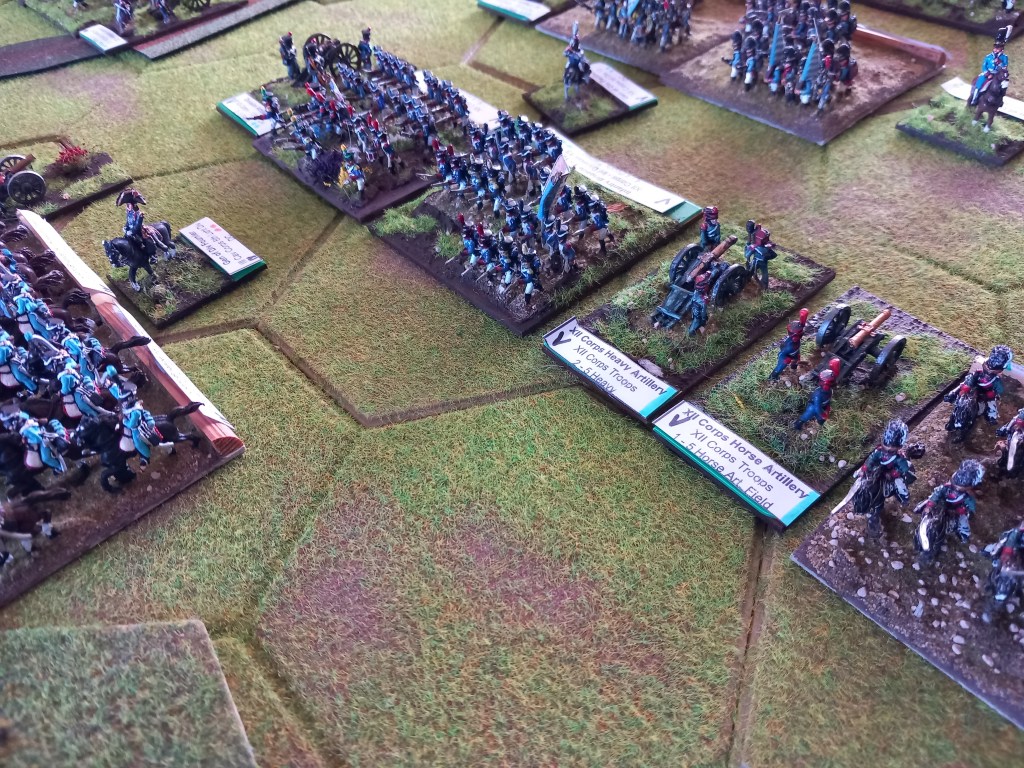
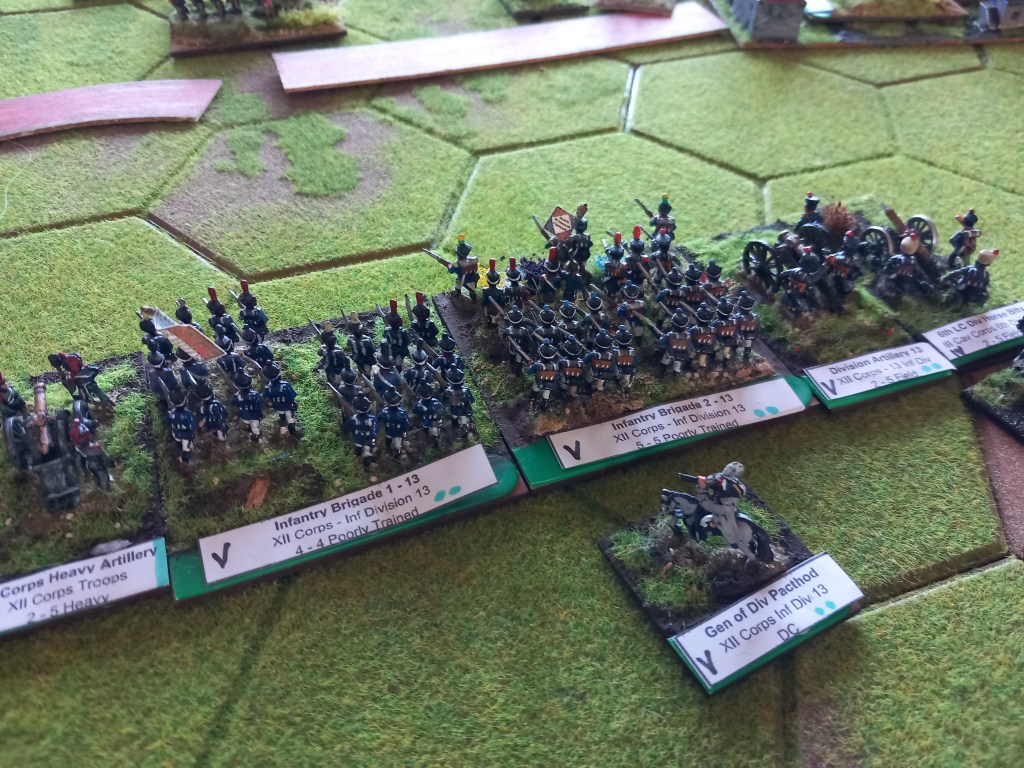
Next, another refight, this time Dennewitz, 6th September 1813 using Volley & Bayonet.

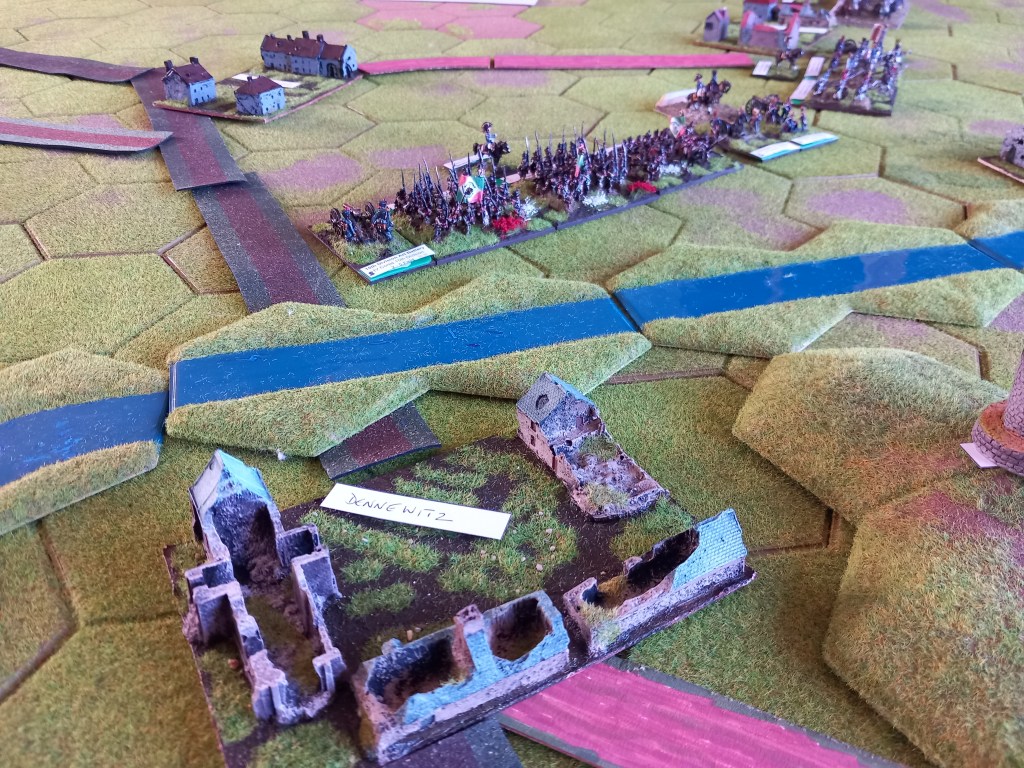
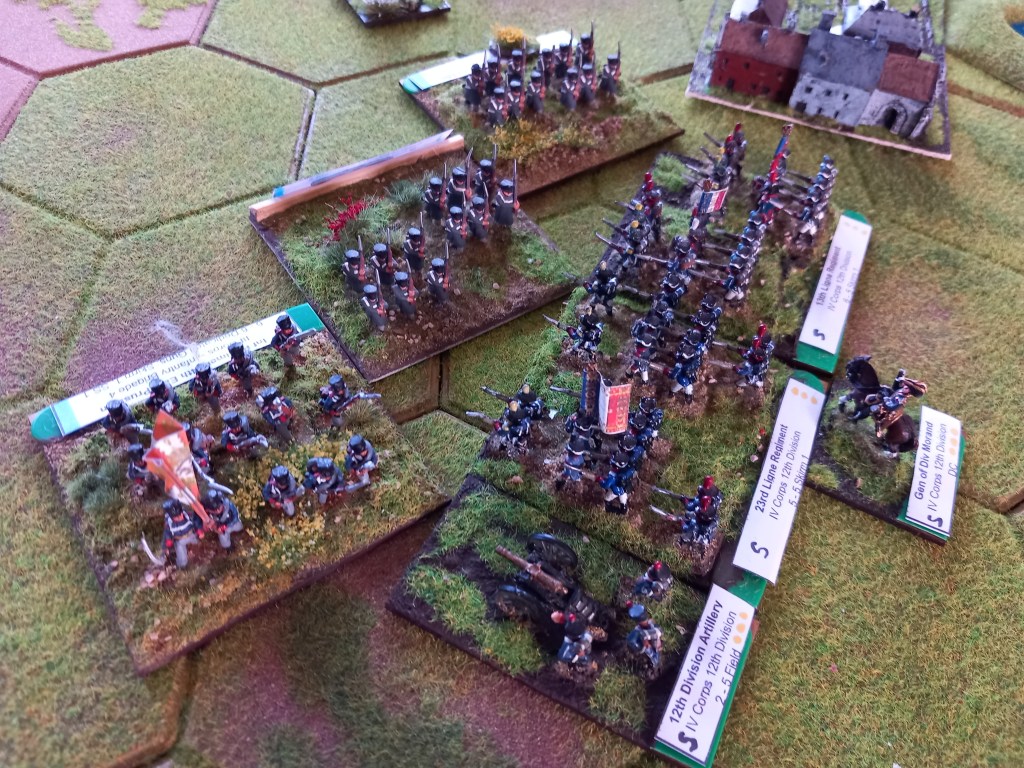
One of those games where some troops are on and others are coming at various times, particularly noted for the great long column the bulk of the French army was in as it marched up from the south (off the table) which left Bertrand and his IV Corps to start the battle.

The Prussians opted for an aggressive policy to open the battle given their initial disparity in numbers demonstrated by von Oppen charging his Dragoons into the Chasseurs of Lorge which saw the eventual destruction of Lorge but left von Oppen unfit for anything else.

Continuing the theme, Thuemen attacked Morand in a fight which left both divisions exhausted.

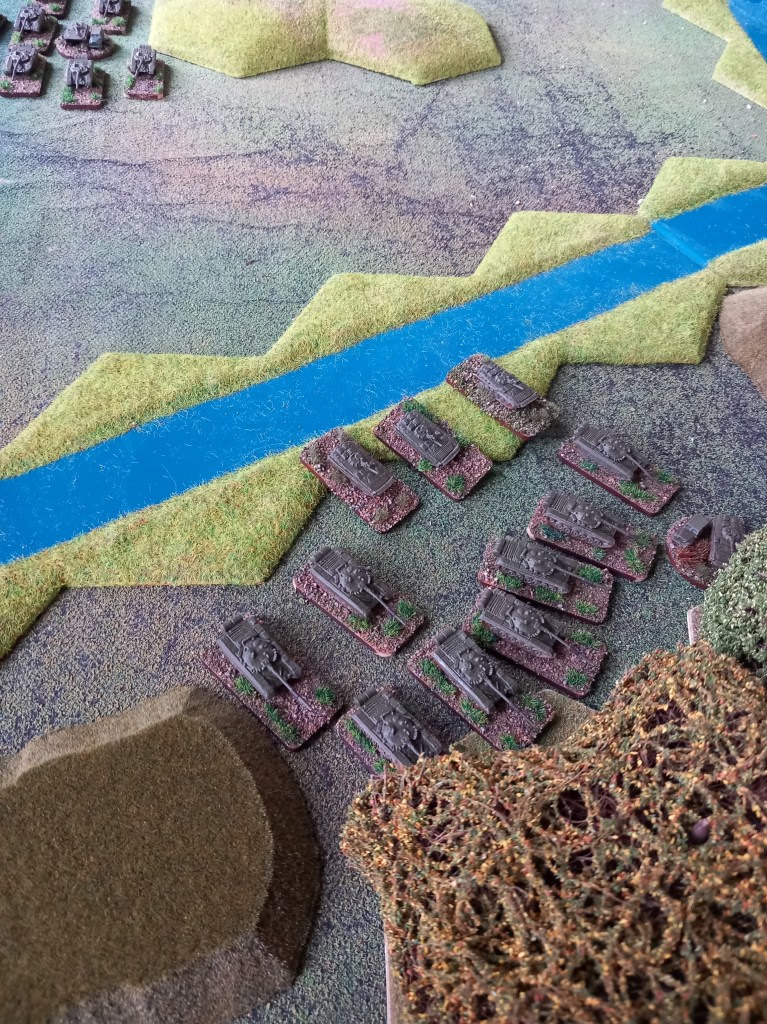
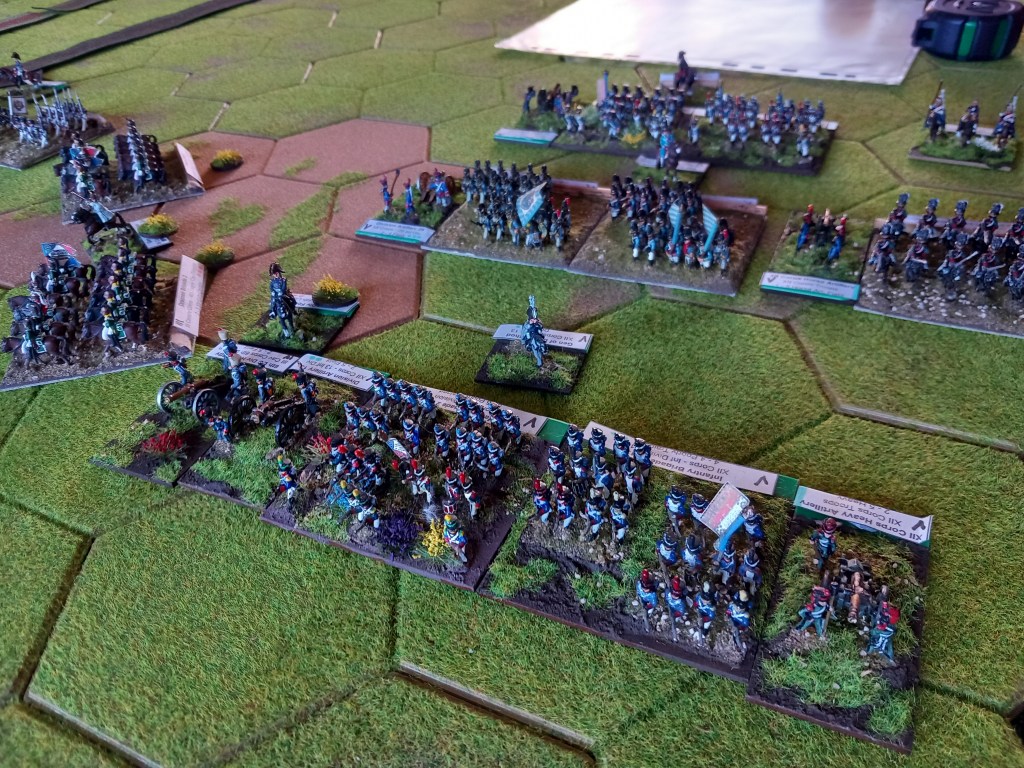
The long French column of VII and XII Corps came marching on – the blank bases representing the strung out column of the brigade base. The French players really struggled with this concept during the game which affected their ability to deploy effectively – not a rules problem, a player problem.

Fontanelli’s division gave a good account of itself storming the Windmill Heights held by by von Lindenau but eventually fell back exhausted leaving the Prussians just about clinging on.

At Kaltenborn, where the French had gained a tenuous lodgement von Bullow’s cavalry restored the line and gave the strung out column a fright.

It took some time but Oudinot finally got his Corps into some kind of fighting shape.

And threw everything in to breakthrough.

Now the French were getting it together but would they breakthrough before the end of the assigned number of turns?

In short, no, but they did do better than their historical prototype so there is solace to be gained there.

A tough game and a real struggle for the French.

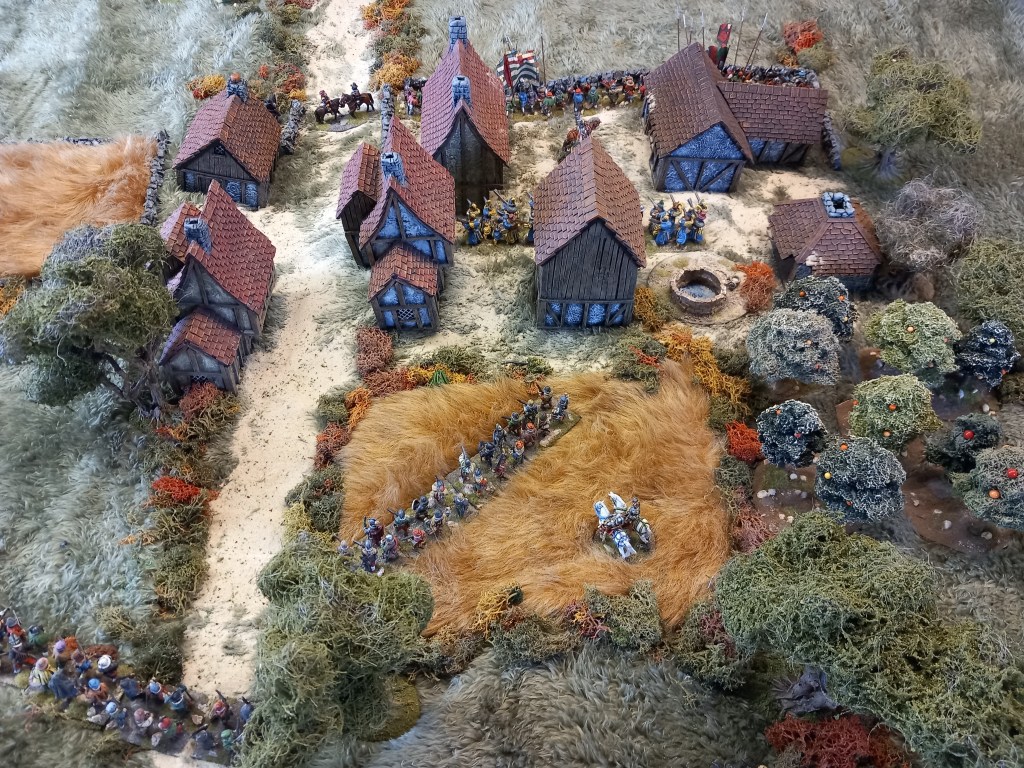
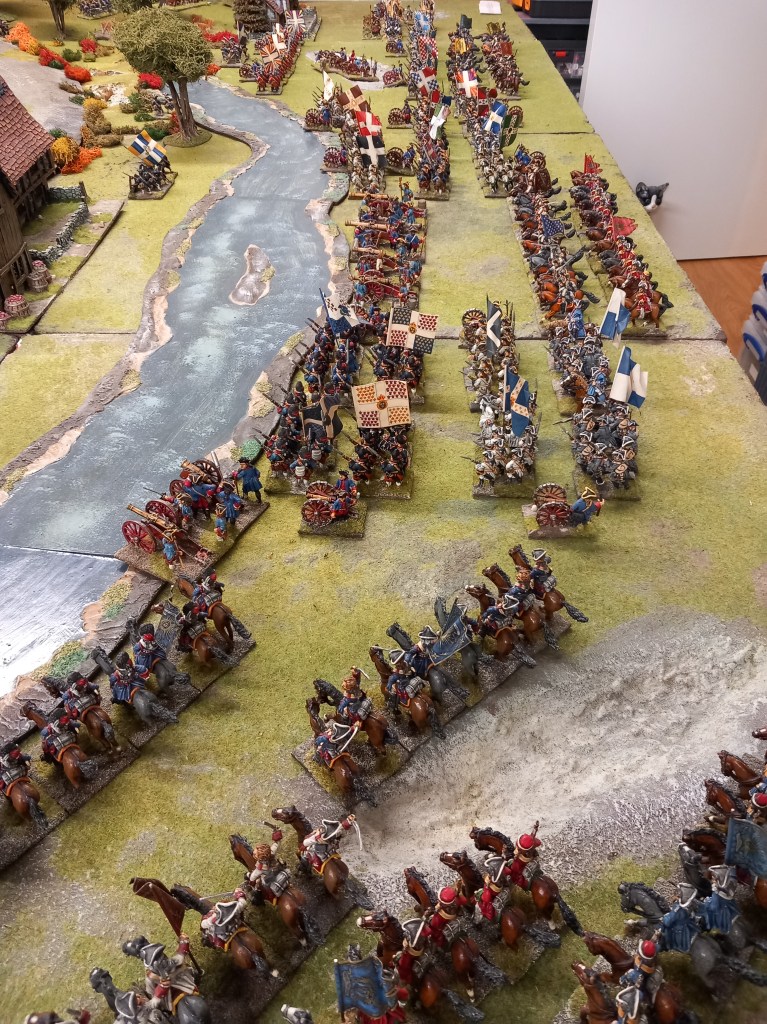
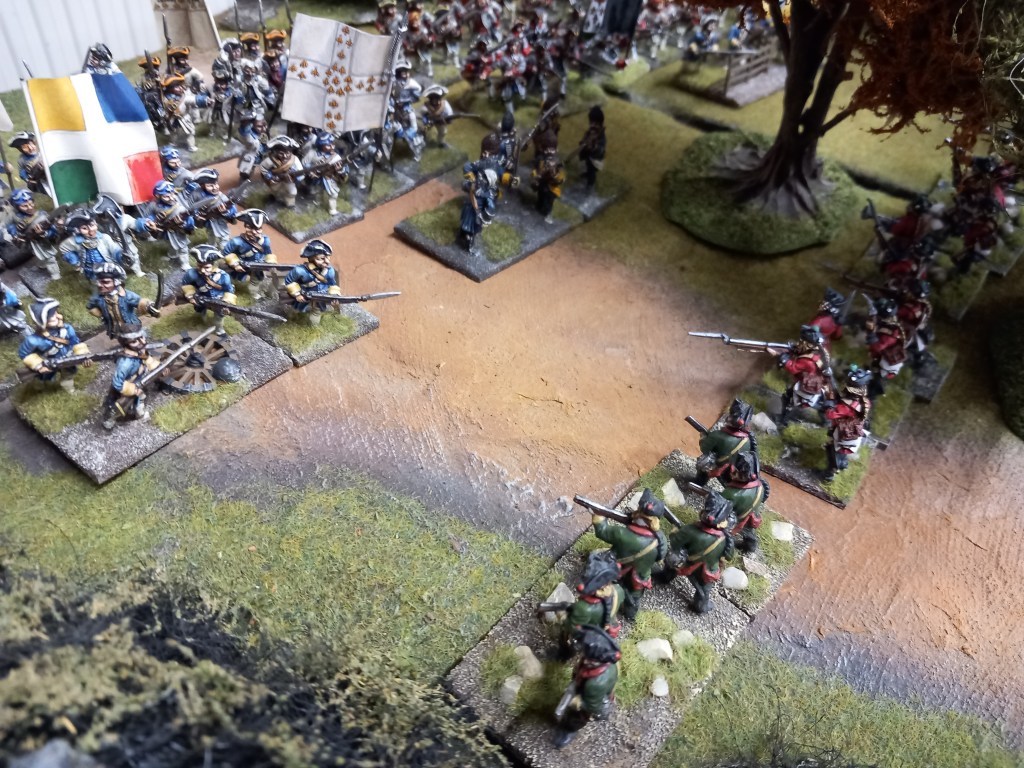
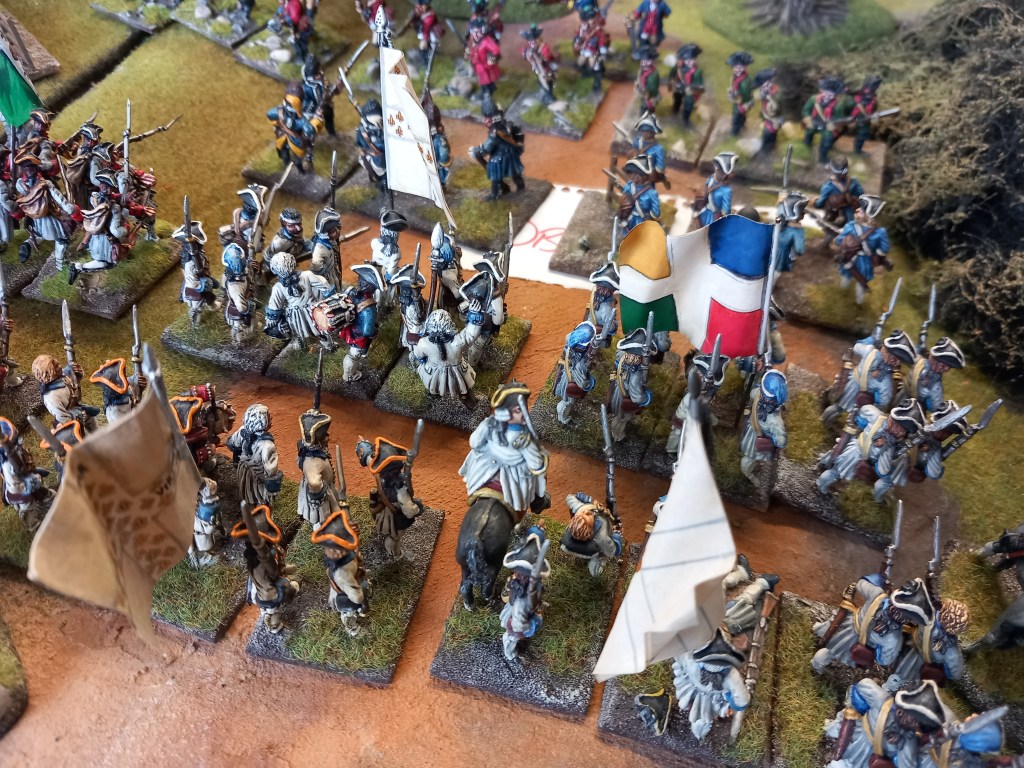
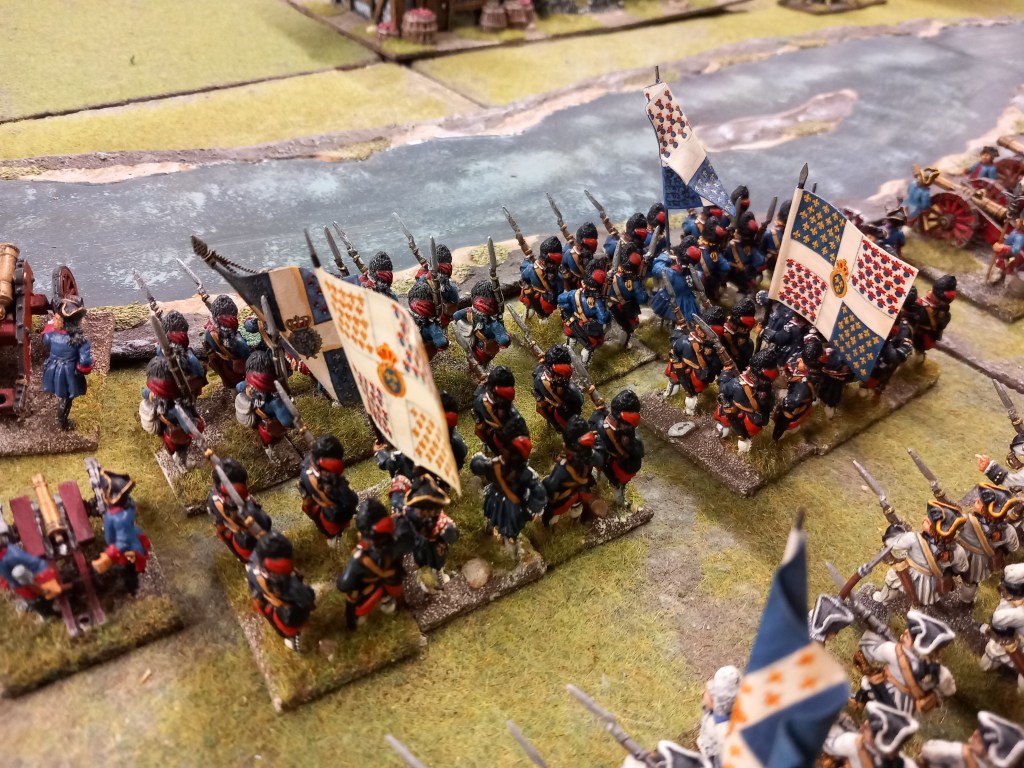
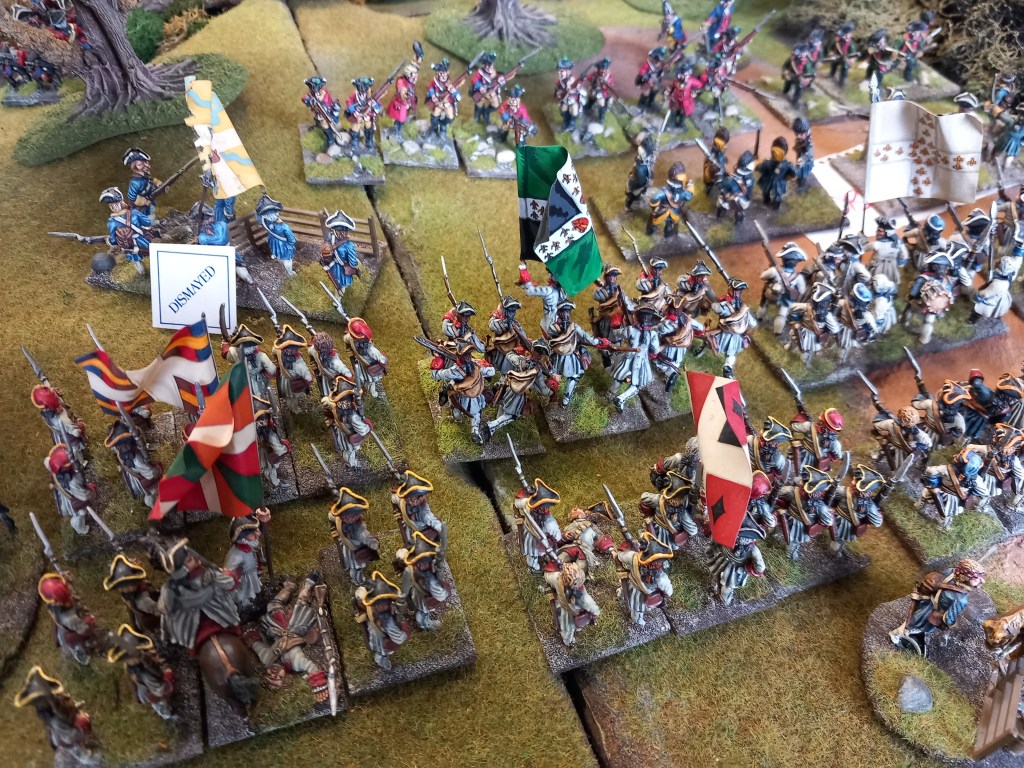
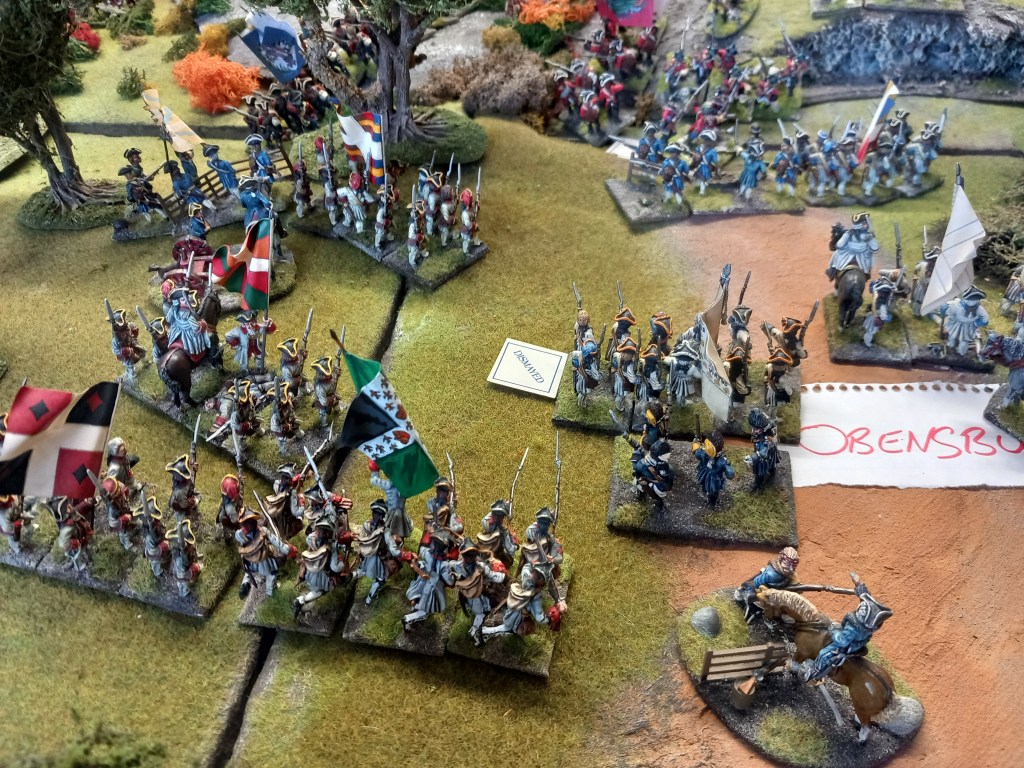
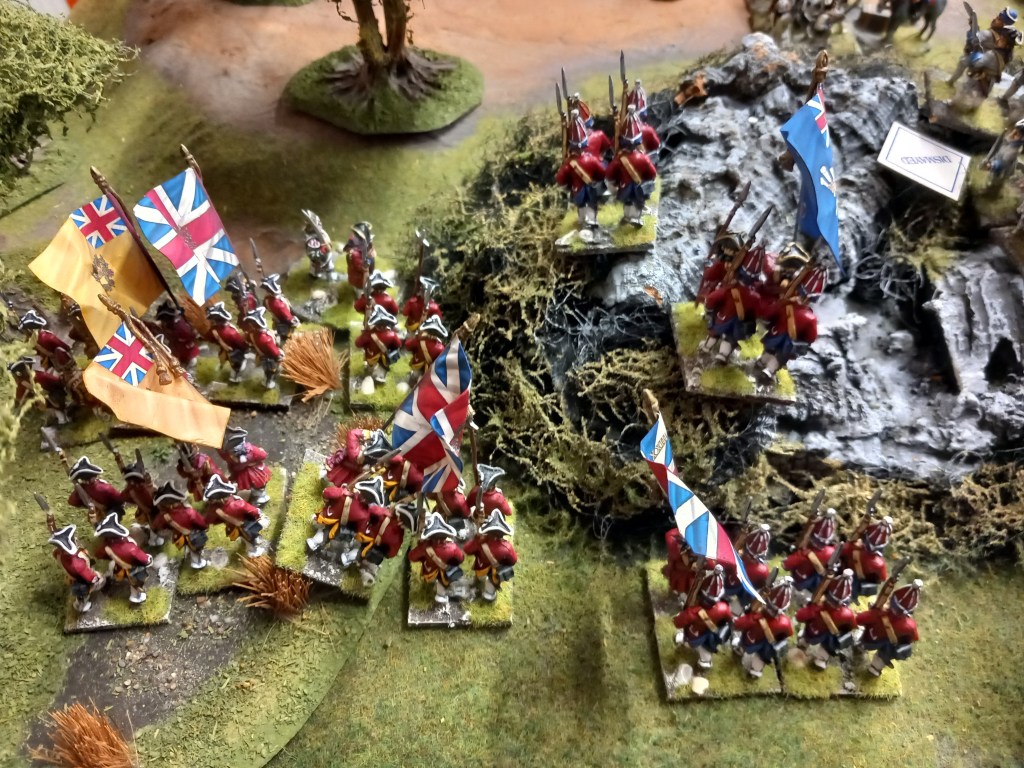
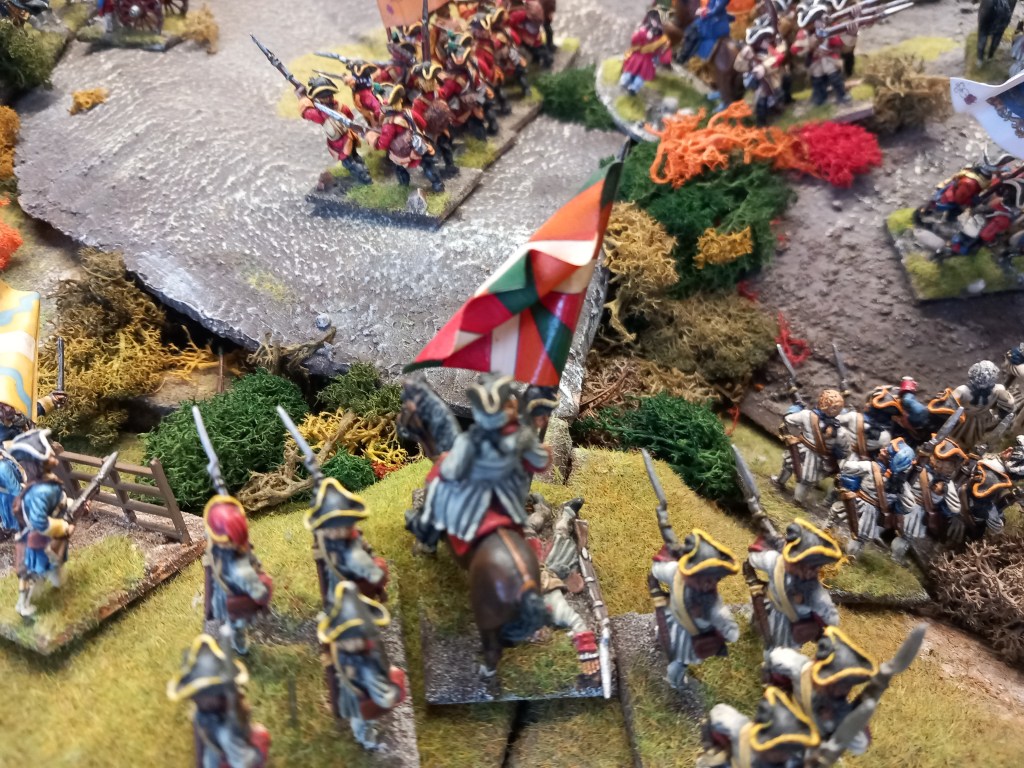
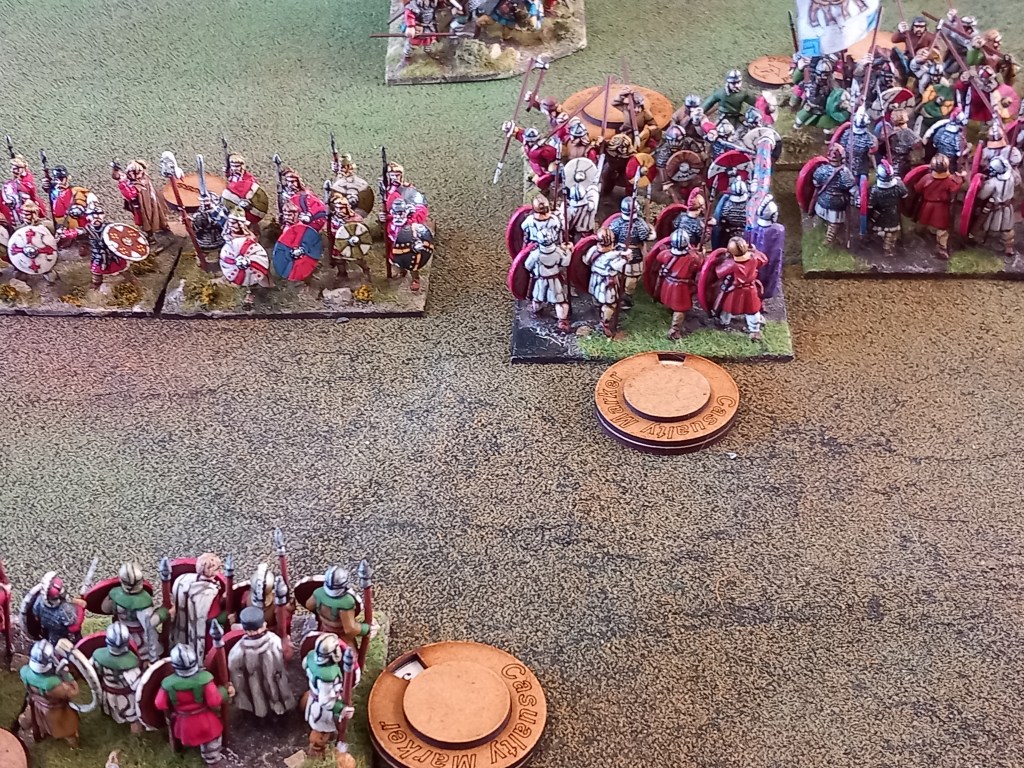
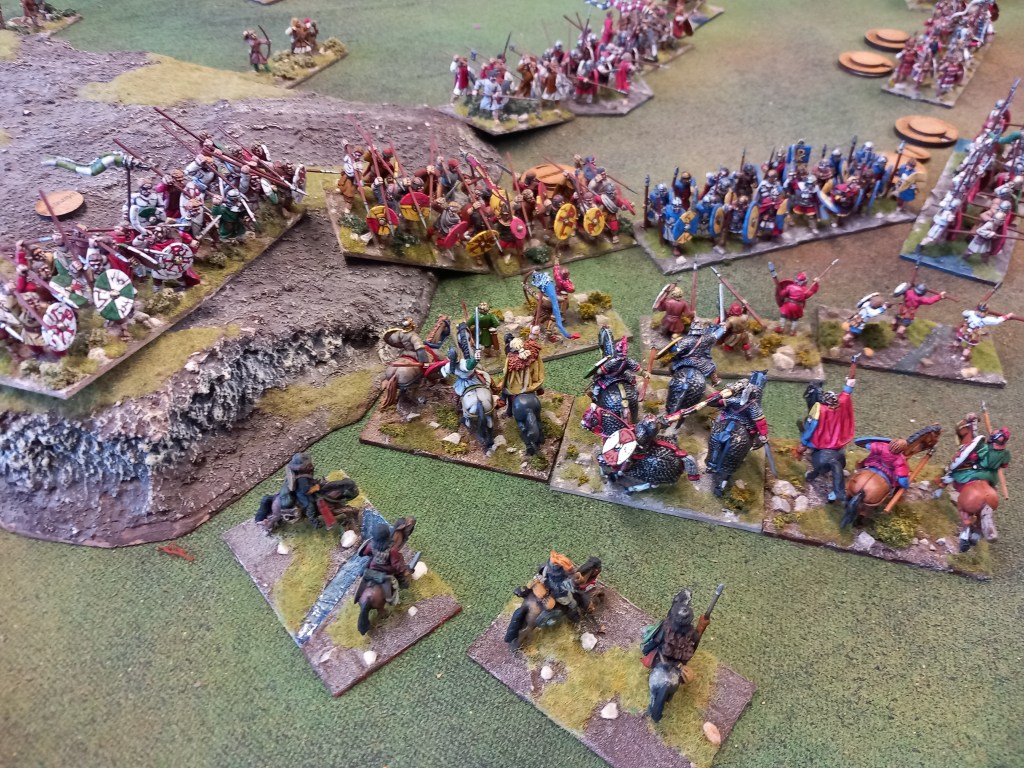
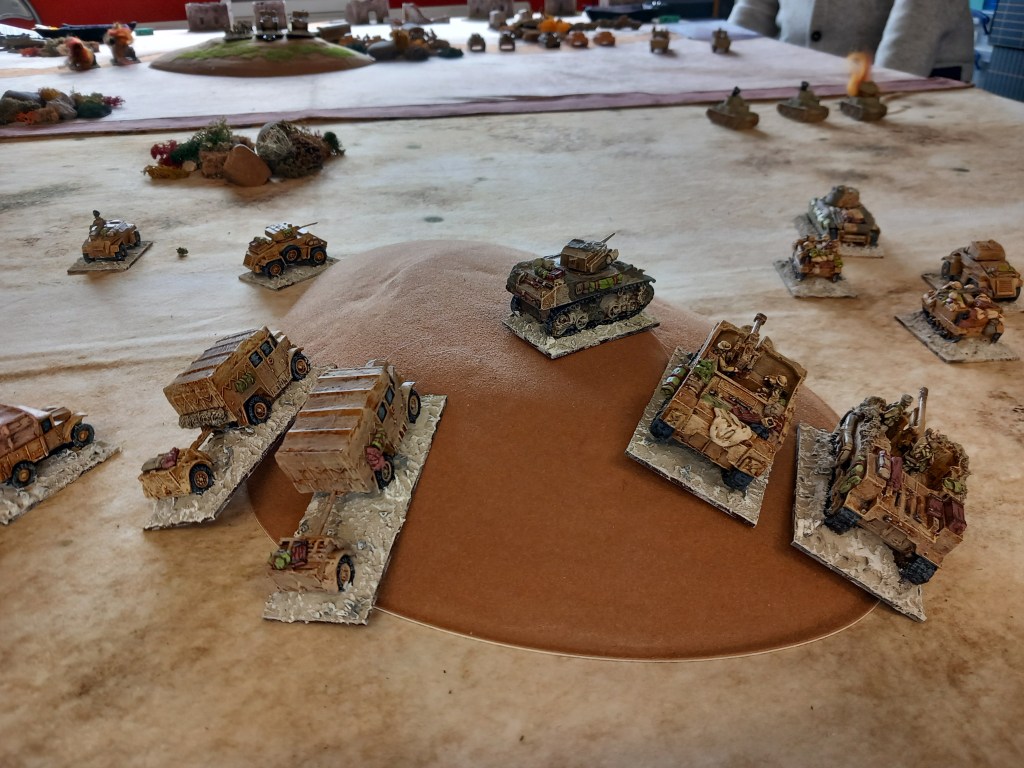
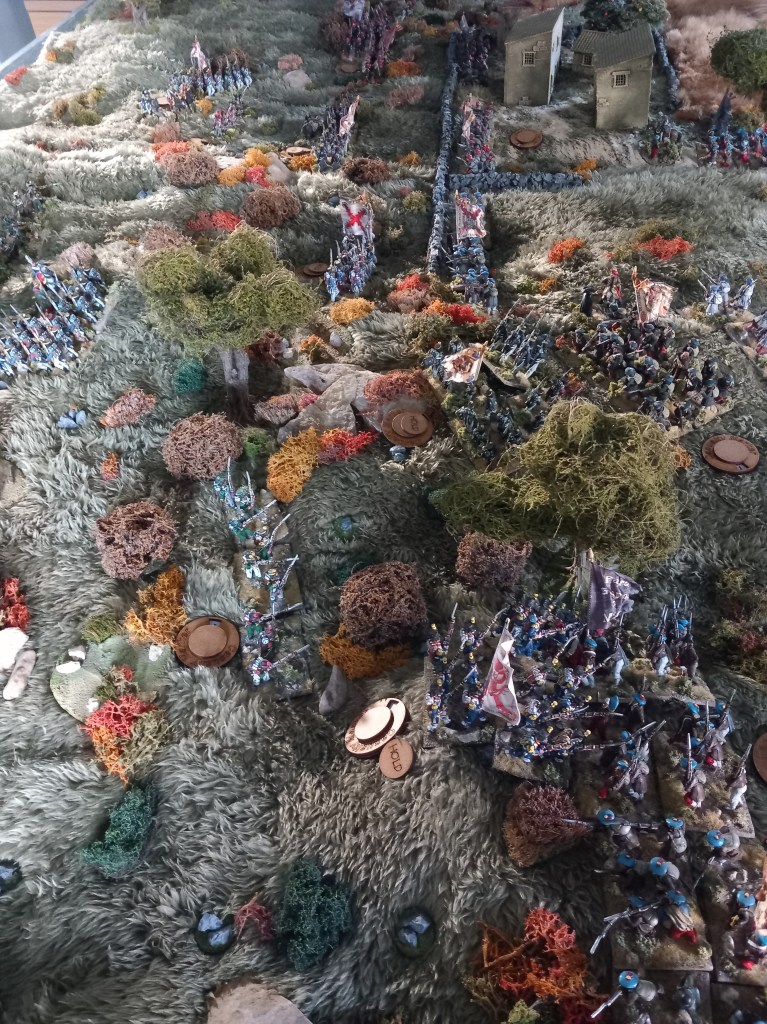
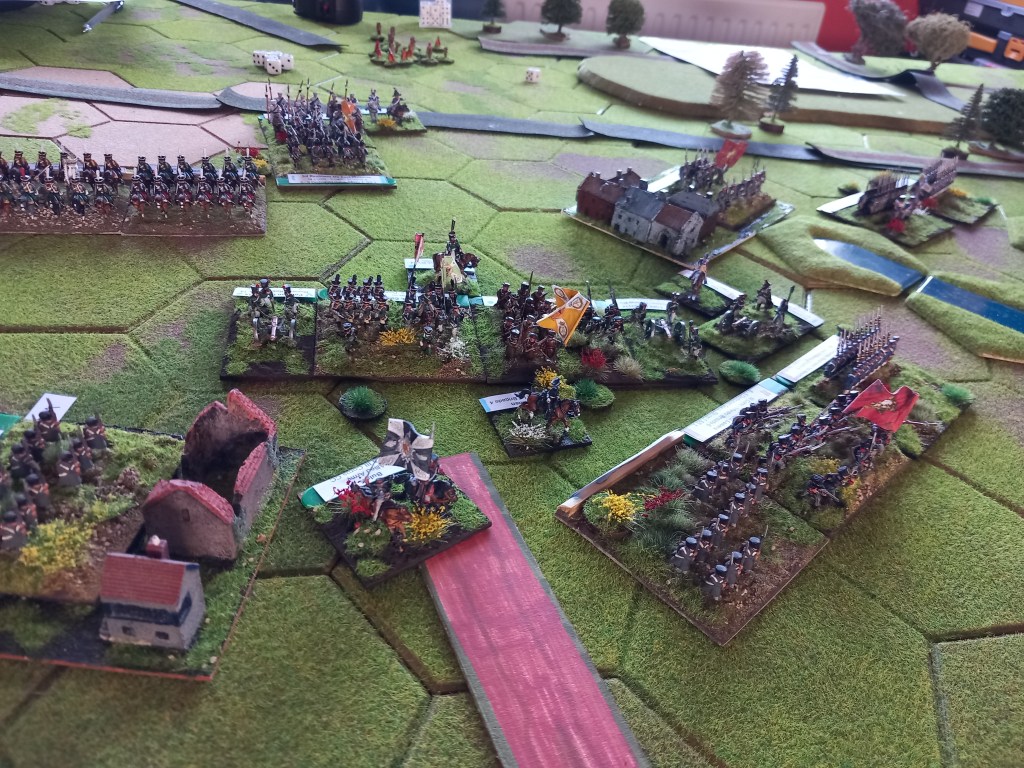
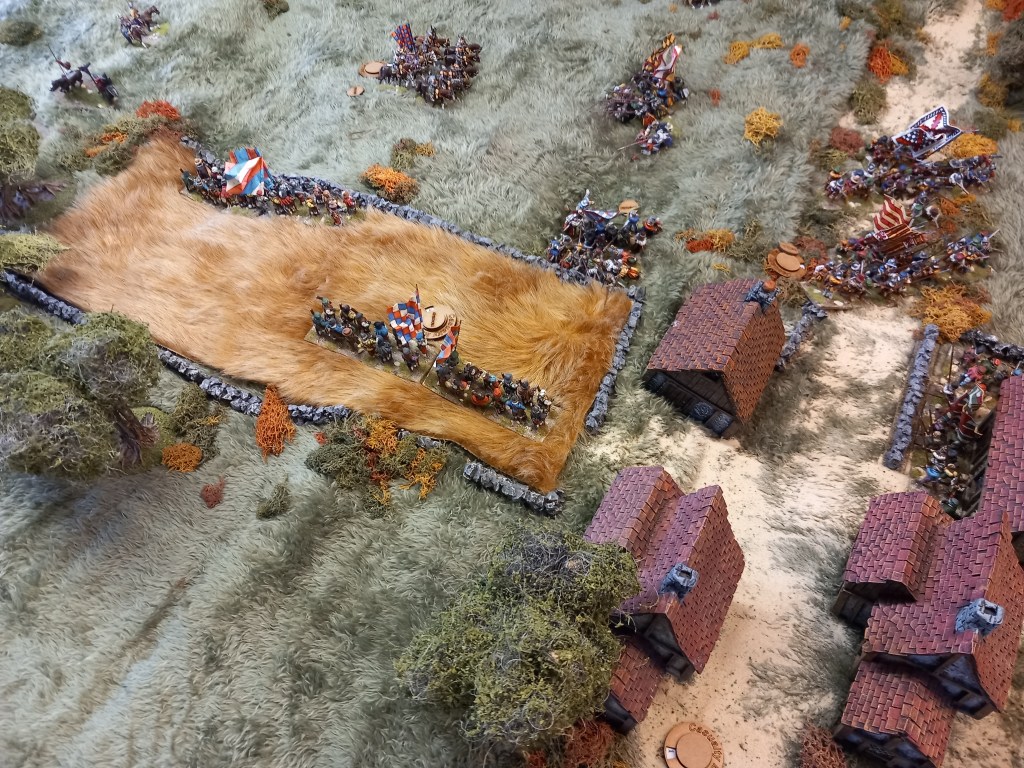
Next up, Wars of Religion, Early Spanish v Early Dutch. Another village to defend, this time by the Dutch and their English allies. The Spanish Tercios and Walloon loyalists are out of shot preparing their attack, both sides cavalry are out on the open ground.

Spanish lancers and pistoleers preparing to advance.

Dutch lancers and supporting cuirassier. “the ground’s a bit uneven m’lord”. I think I actively dislike the teddy bear fur.

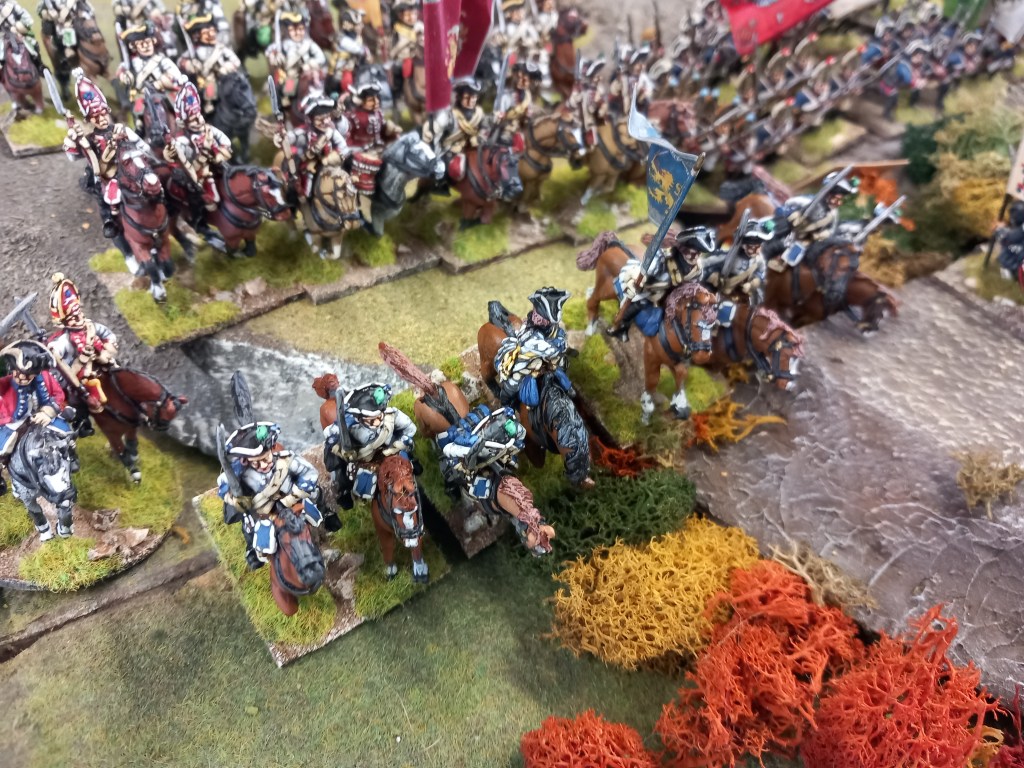
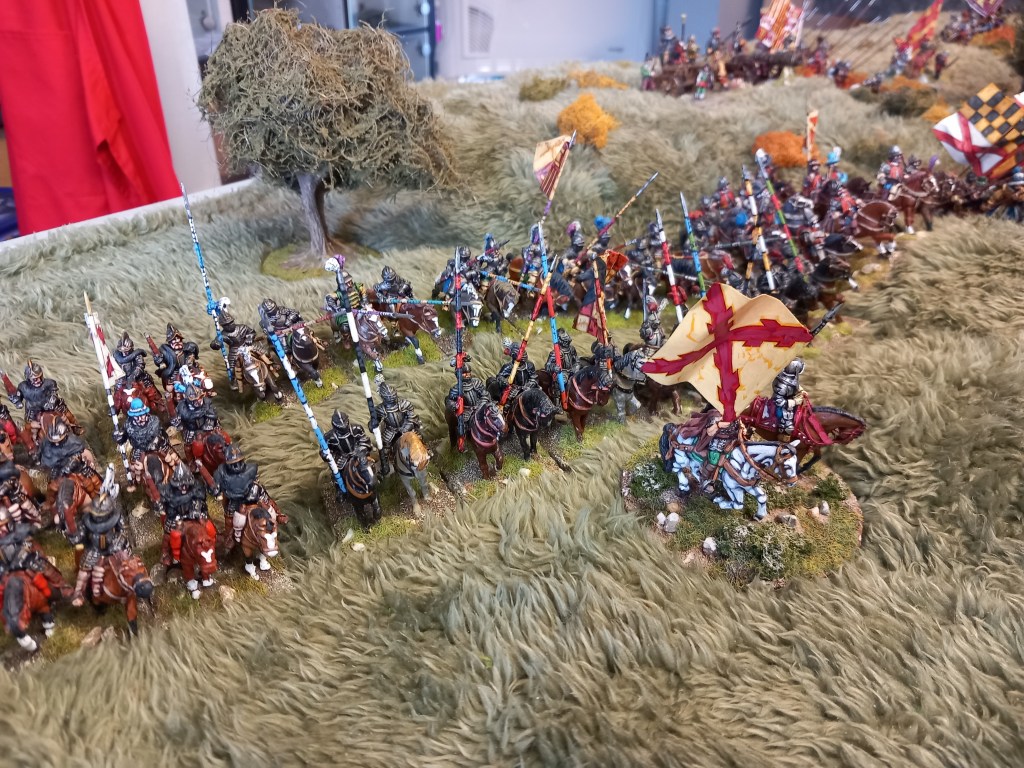
First cavalry clash.

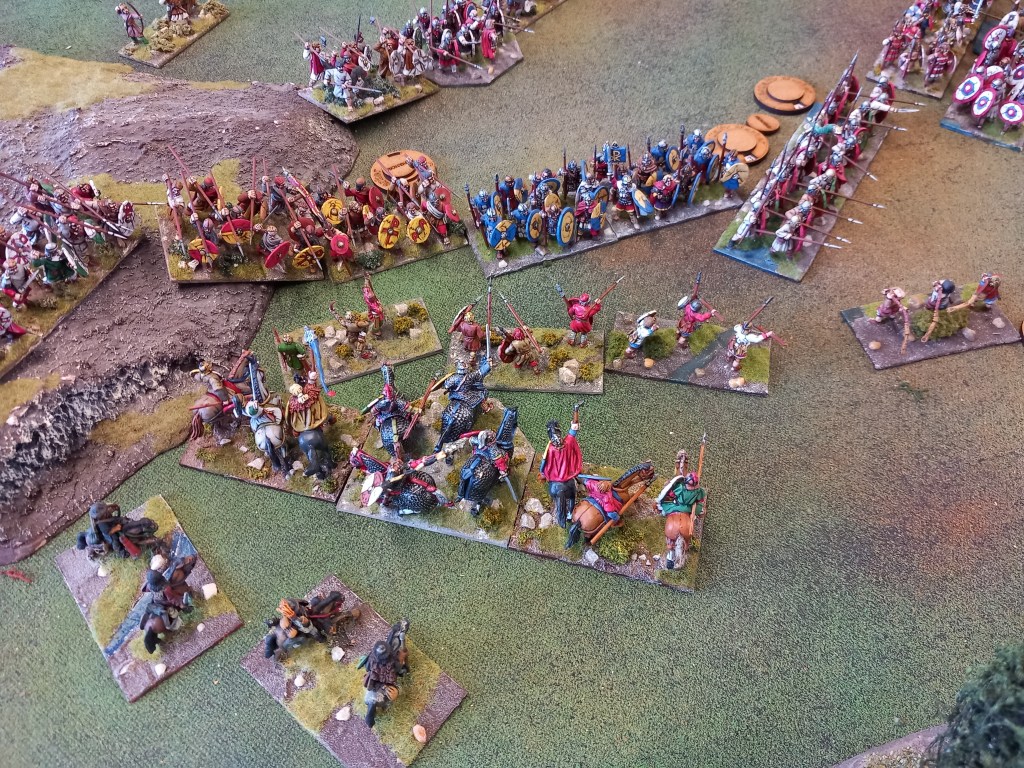
Initially the fighting favoured the Spanish but then in an amazing turn around (also known as bad dice) the Dutch gained the upper hand and scattered their opponents.

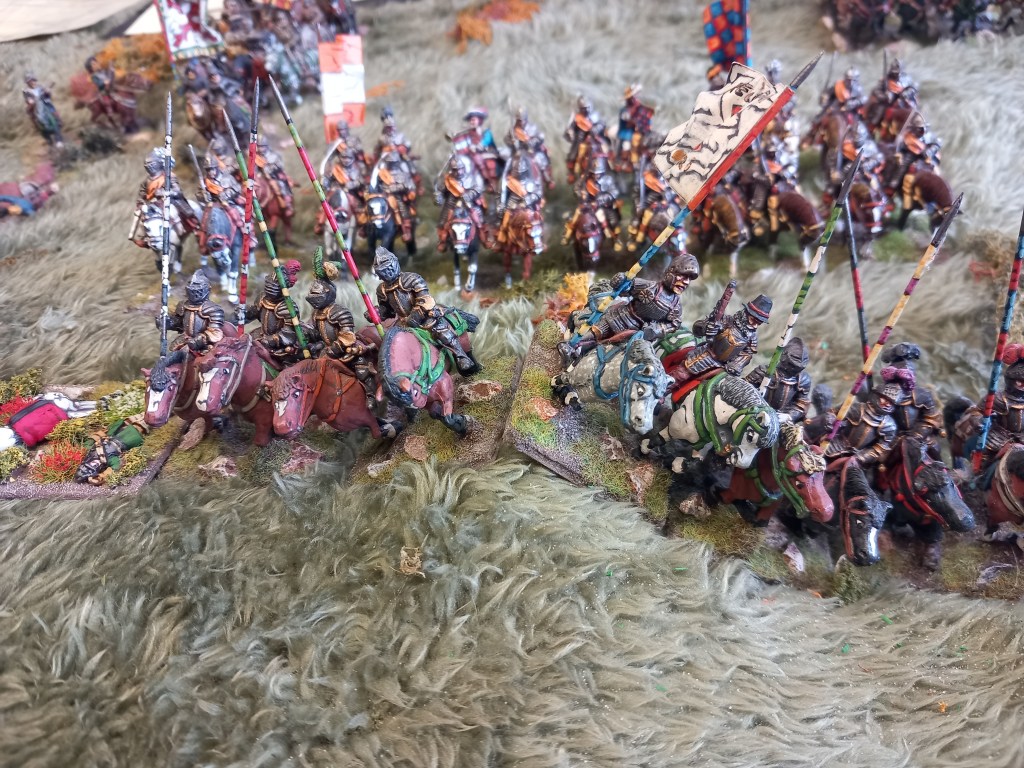
It soon went from bad to worse as the Spanish cavalry line dissolved and two unscathed Dutch cuirassier regiments were galloping free on the Spanish right.

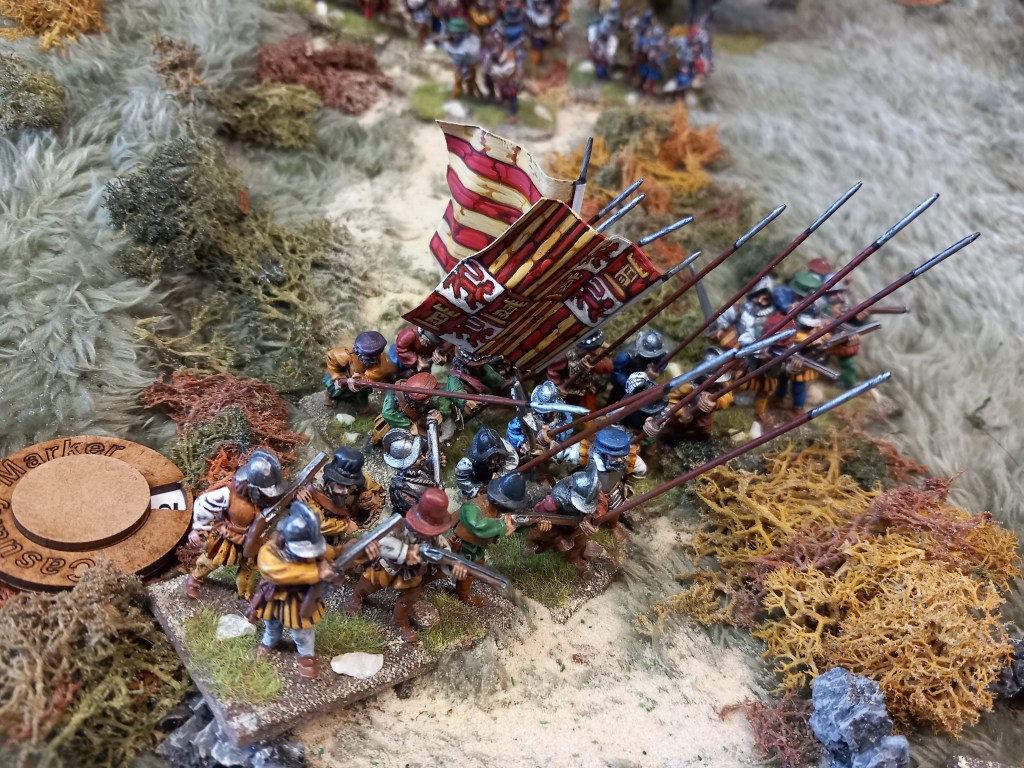
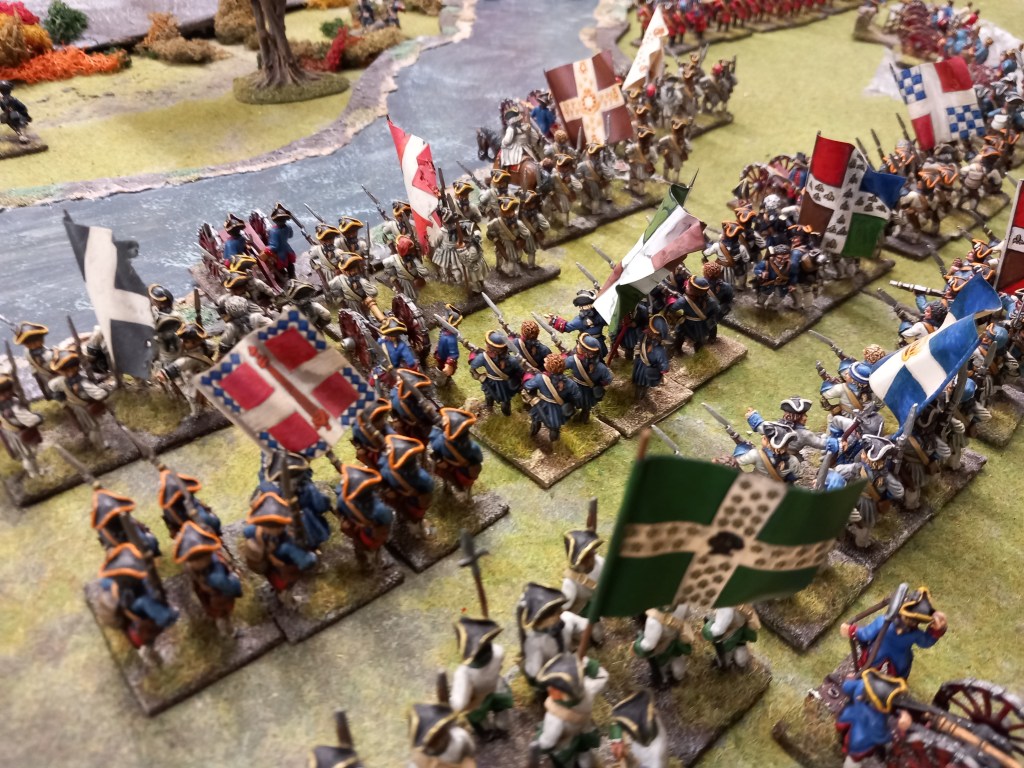
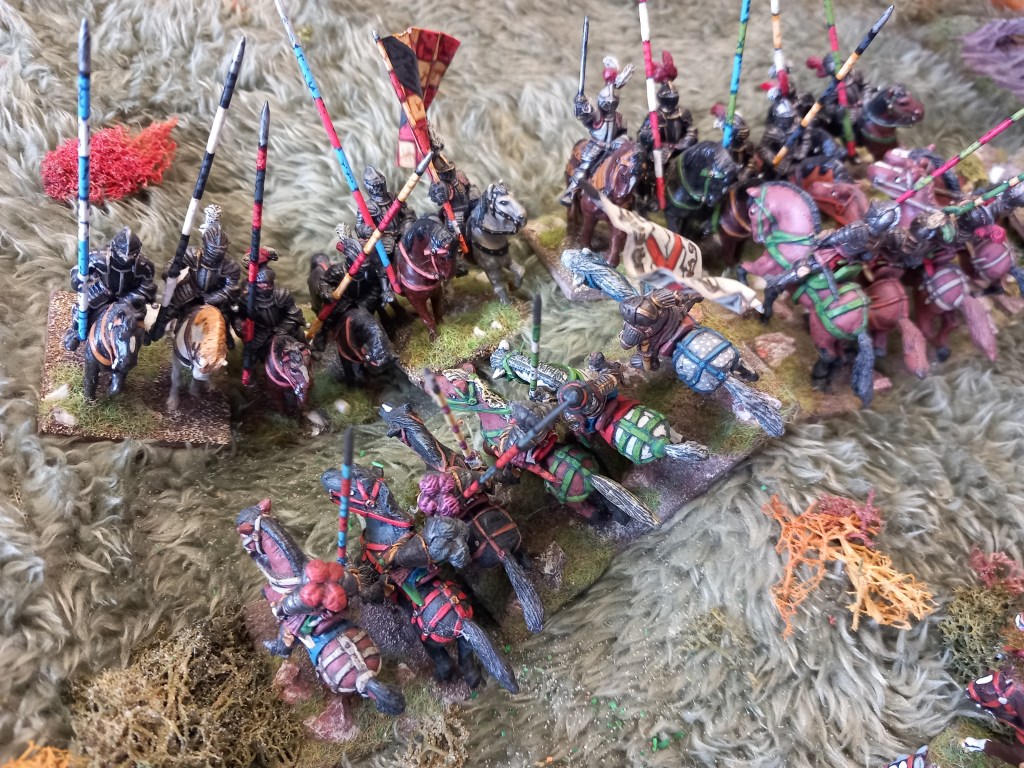
Tercio preparing to storm the village. They will in fact be stopped.

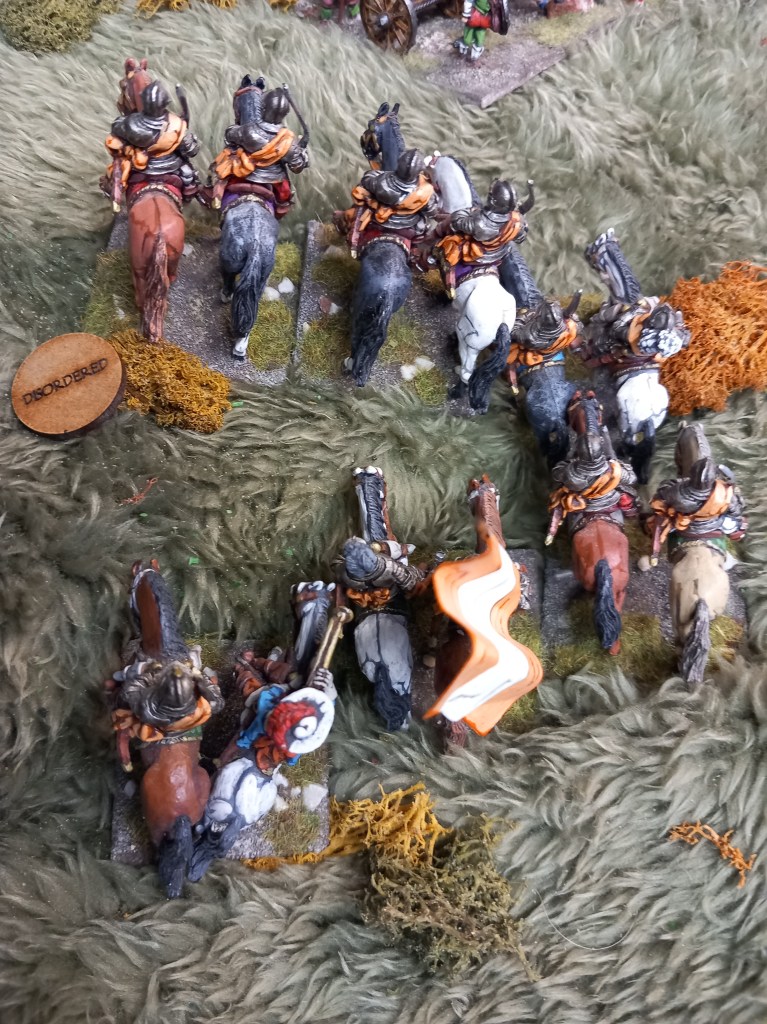
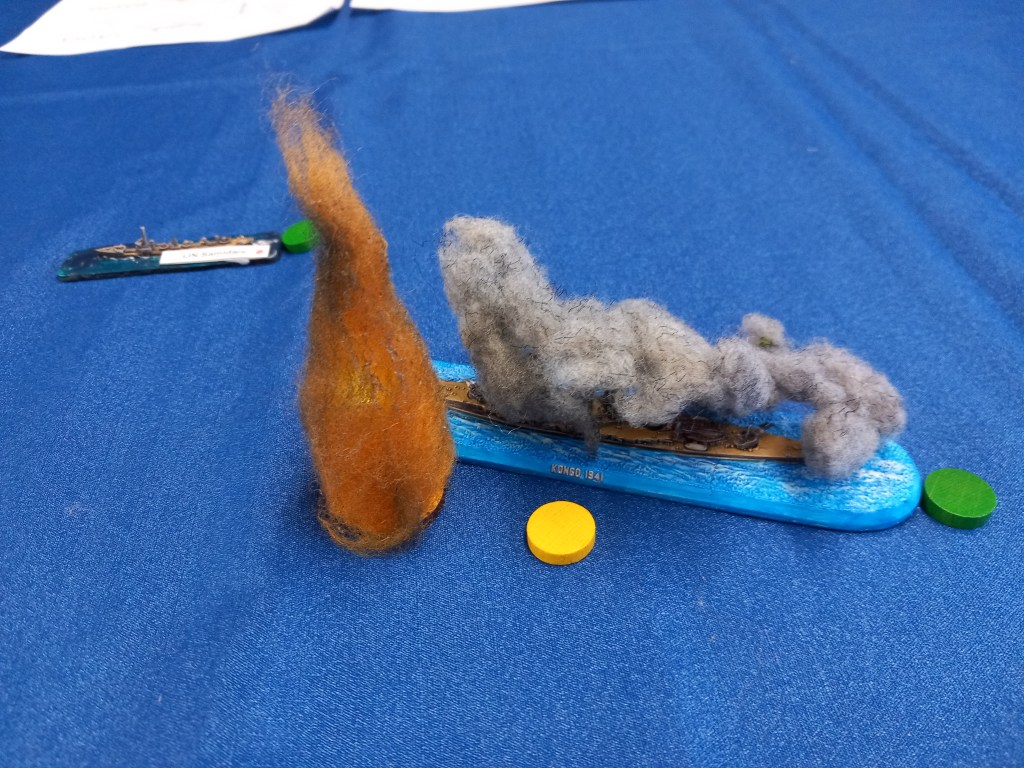
The freewheeling cuirassier are about to overrun the Spanish guns. I don’t know if the ‘disordered’ marker is a battle condition or an accurate reflection of the effect of the teddy bear fur 😃

The game kind of petered out – sometimes games do that, the collapse of the Spanish cavalry right wing was compounded by the failure of the Walloons to do anything on the left which meant the Tercios were stalled and unsupported. Dutch victory.

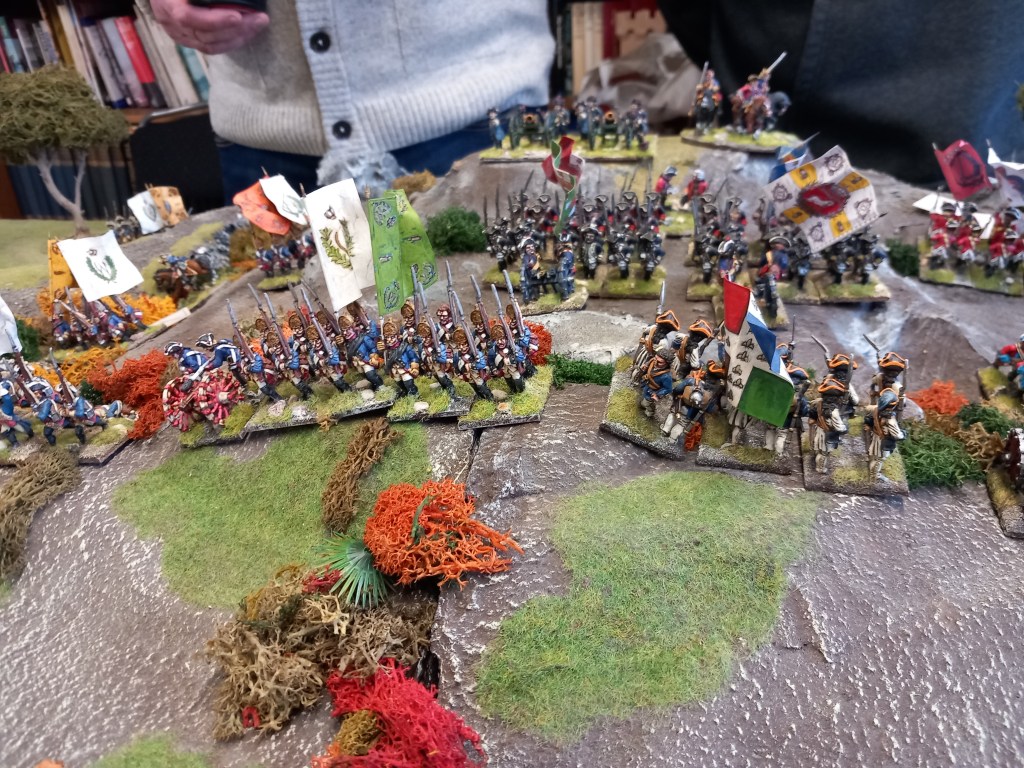
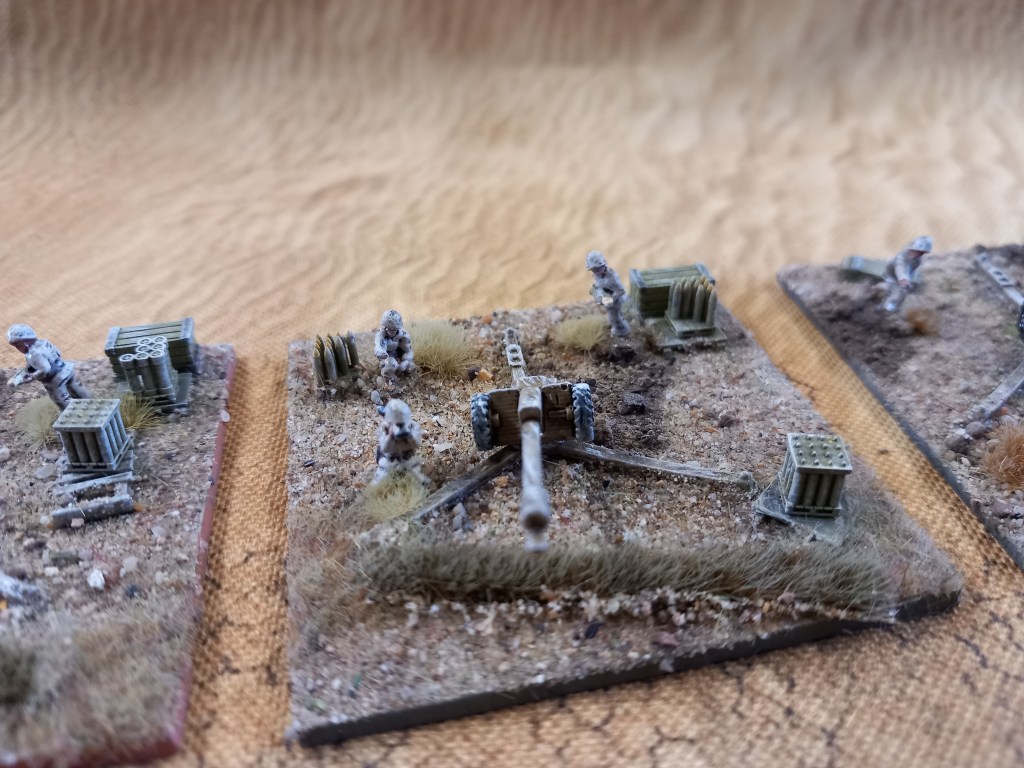
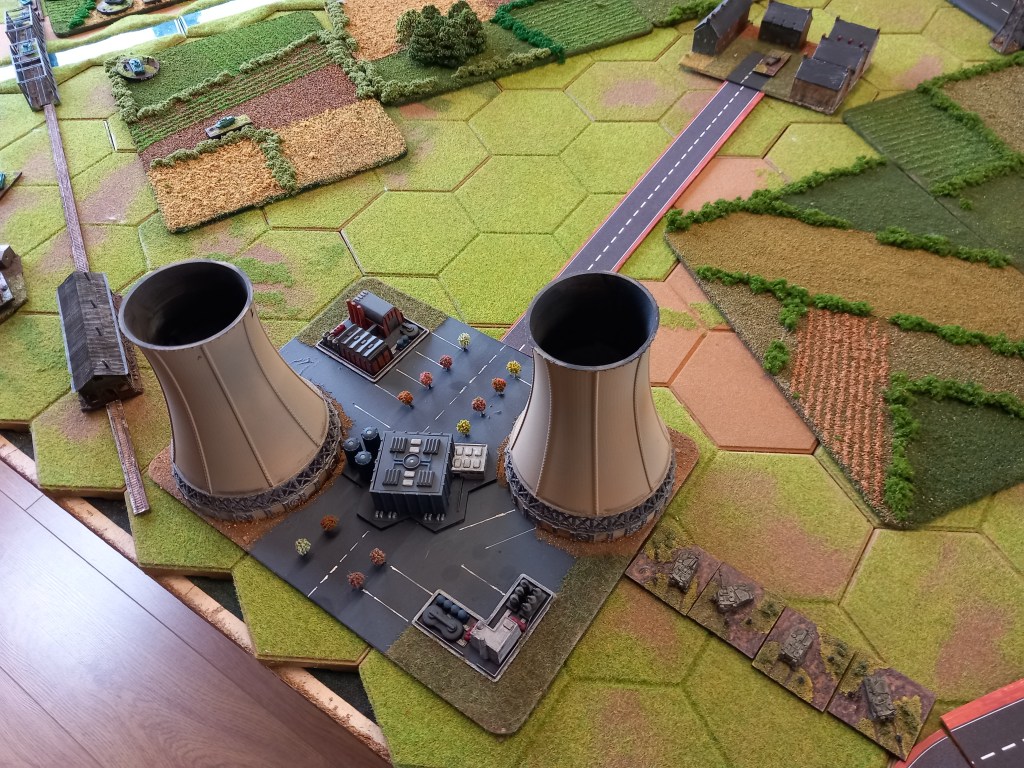
Our final game was a second run at Modern Spearhead in an ambitious (maybe too ambitious) two day game. We had a written scenario with situation reports for both sides – Operation Gorky Park for Warpac and Operation Rapid Response for NATO and OBs for East Germans, Soviets, Belgians and BAOR. I’m not sure whether the effort that goes into this is worth it but it gives me a sense of time and place.

In brief, the scenario was an initial Soviet advance has pushed the Bundeswehr defenders back across the river Oker in full retreat but divisional reorganisation has stalled the Soviet advance briefly and now they are about to resume the advance with only one tank regiment but reinforced by an East German tank regiment. Objectives; secure the autobahn and bridge over the Oker, secure the town of Braunschweig and its adjacent power plant, seize the goods and passenger rail lines. Meanwhile, at Braunschweig, the Belgian 17th Armoured Brigade has been rushed forward to defend the town and its power plant, keep the rail lines open and maybe recapture the bridge over the Oker; a BAOR taskforce is promised to be coming up the autobahn at some point.

Getting troops on the table took some time but finally we got started.

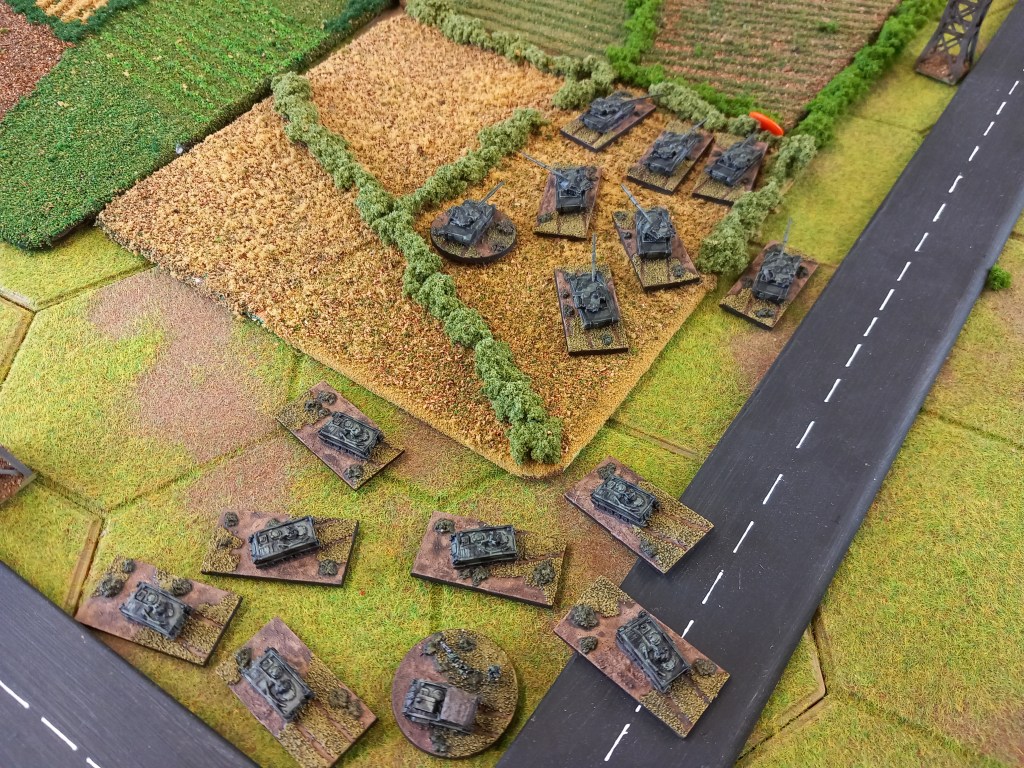
The Warpac players opted for a two flank attack; the East Germans would advance on Braunschweig and the passenger rail station while the Soviets would secure the autobahn bridge and swing wide to seize the goods station and the power plant. The reality of this plan meant that the East Germans did the heavy lifting and the Soviets were too far away to help.

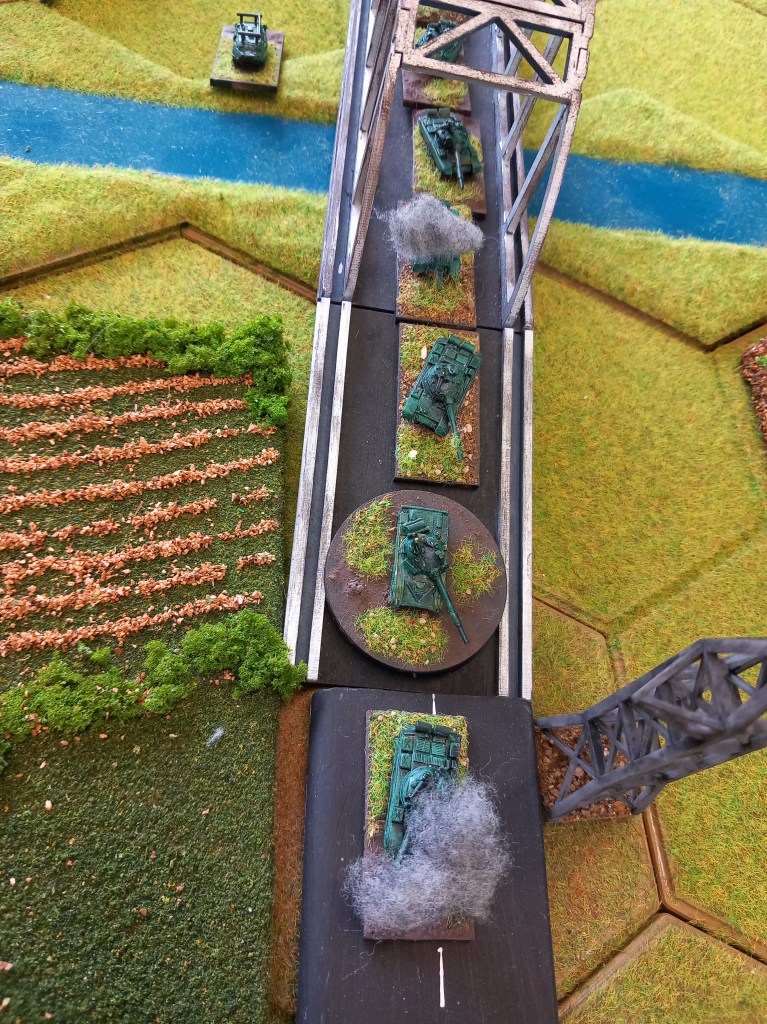
The East Germans crossed the Oker with two battalions, one via an old stone bridge and the other further up via a recently laid pontoon bridge.

One of the two Belgian Leopard battalions moved up to a walled lane on the right flank of the town.

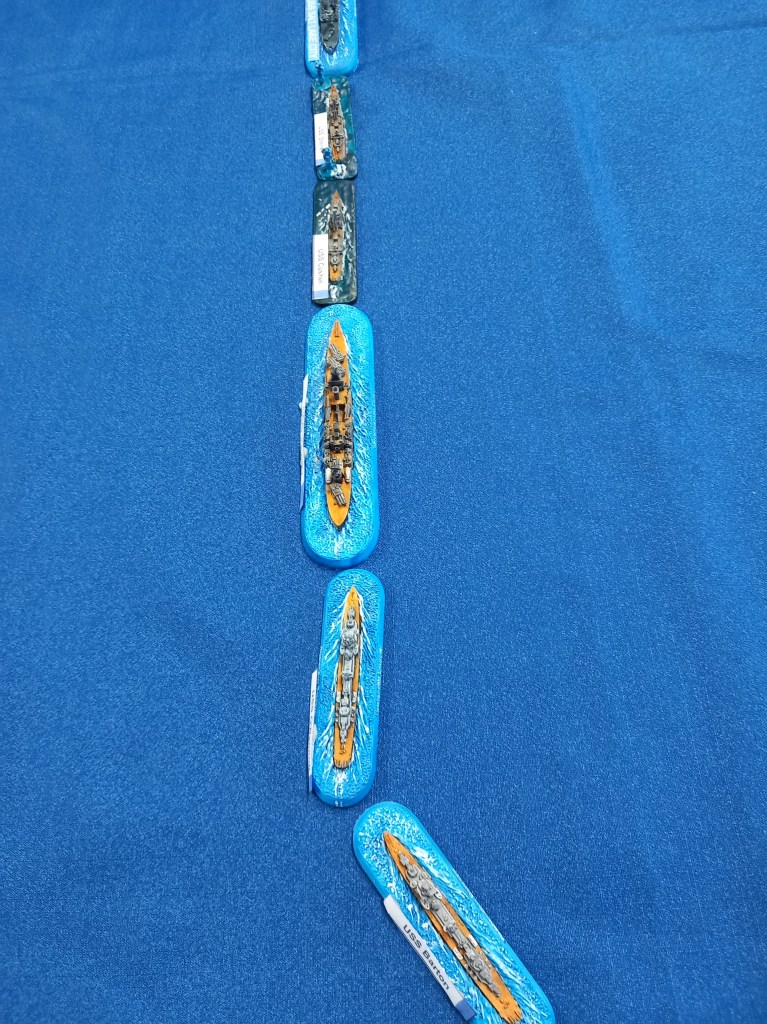
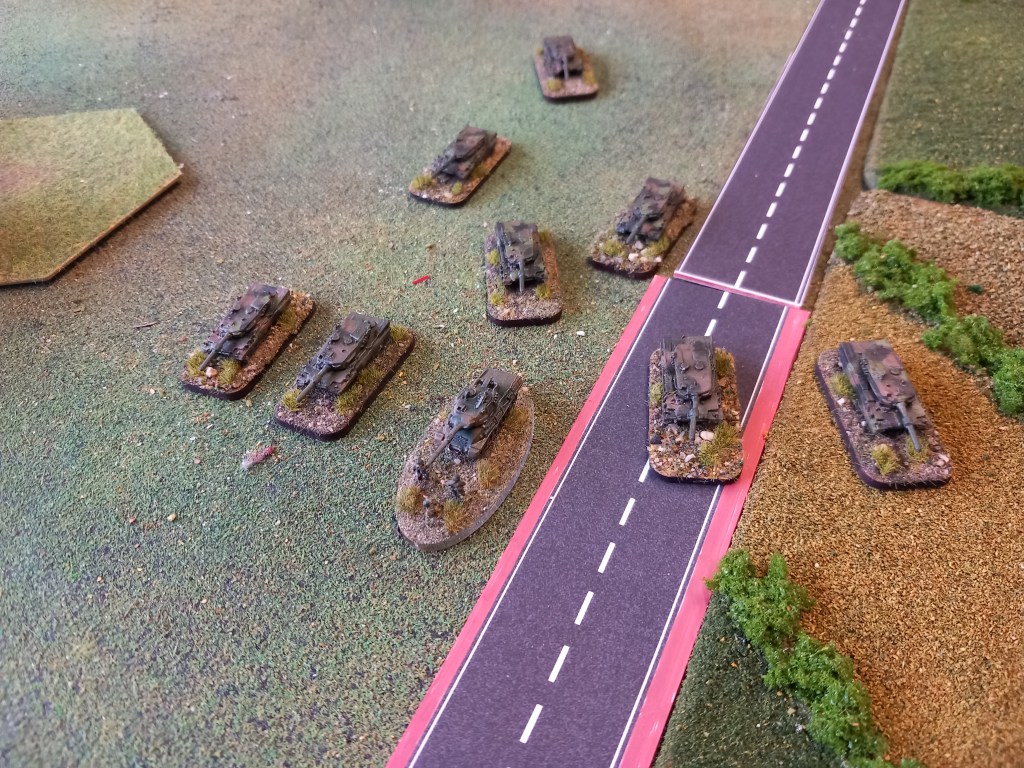
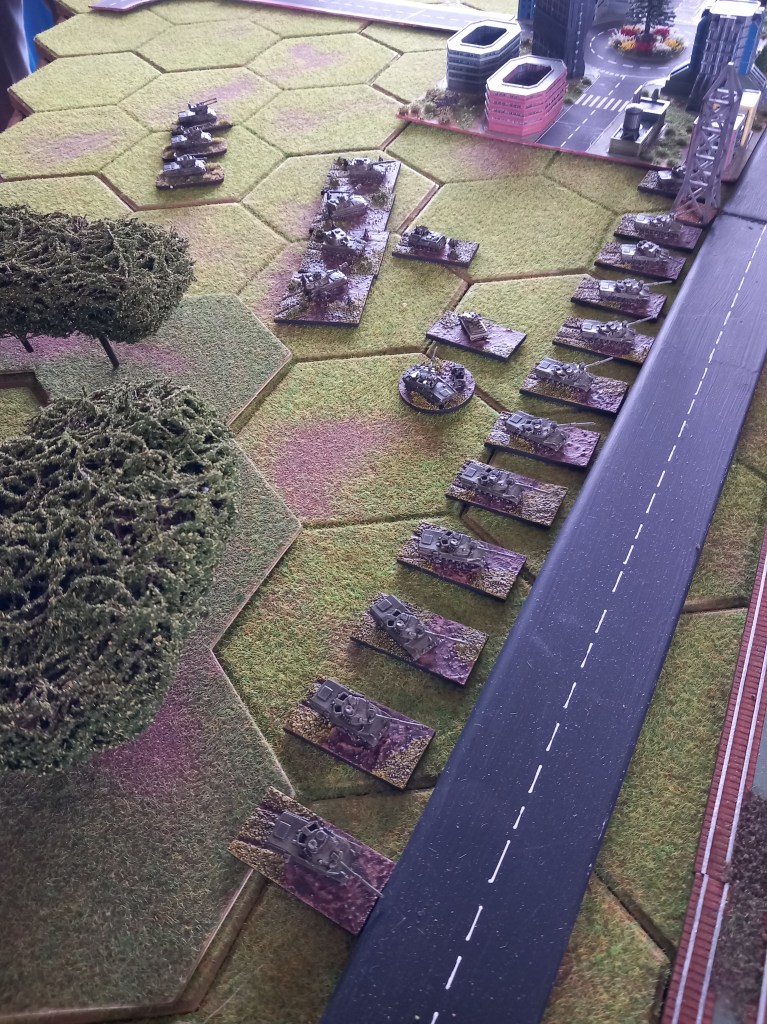
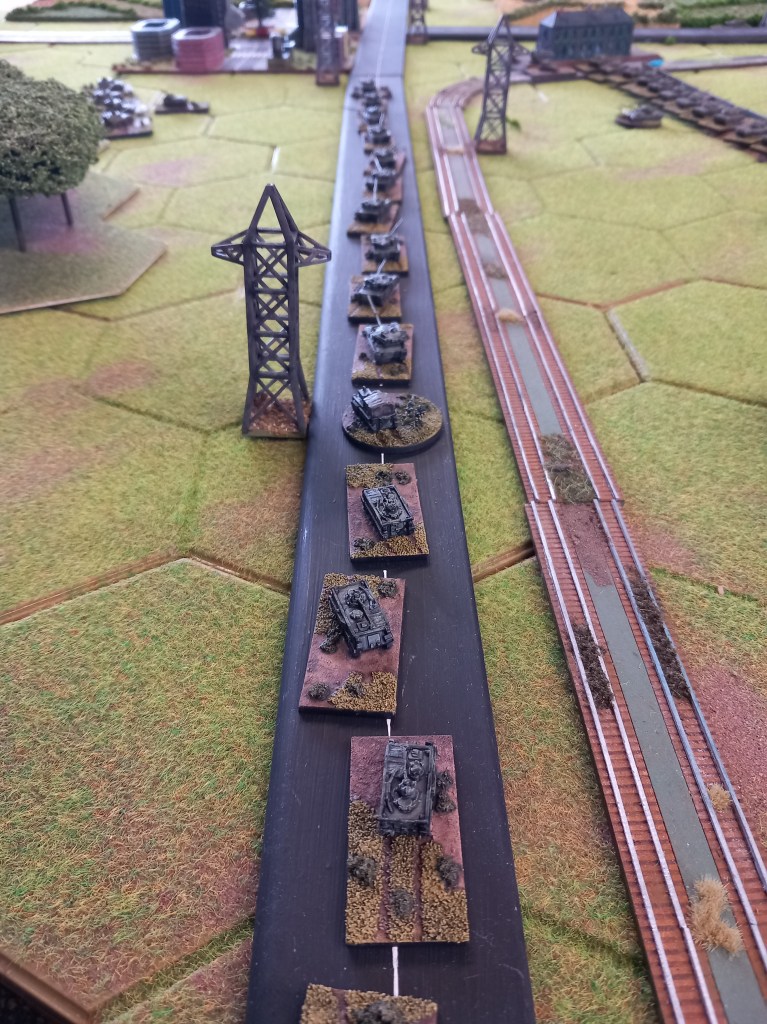
The Soviets rolled forward en masse, it looked pretty impressive…

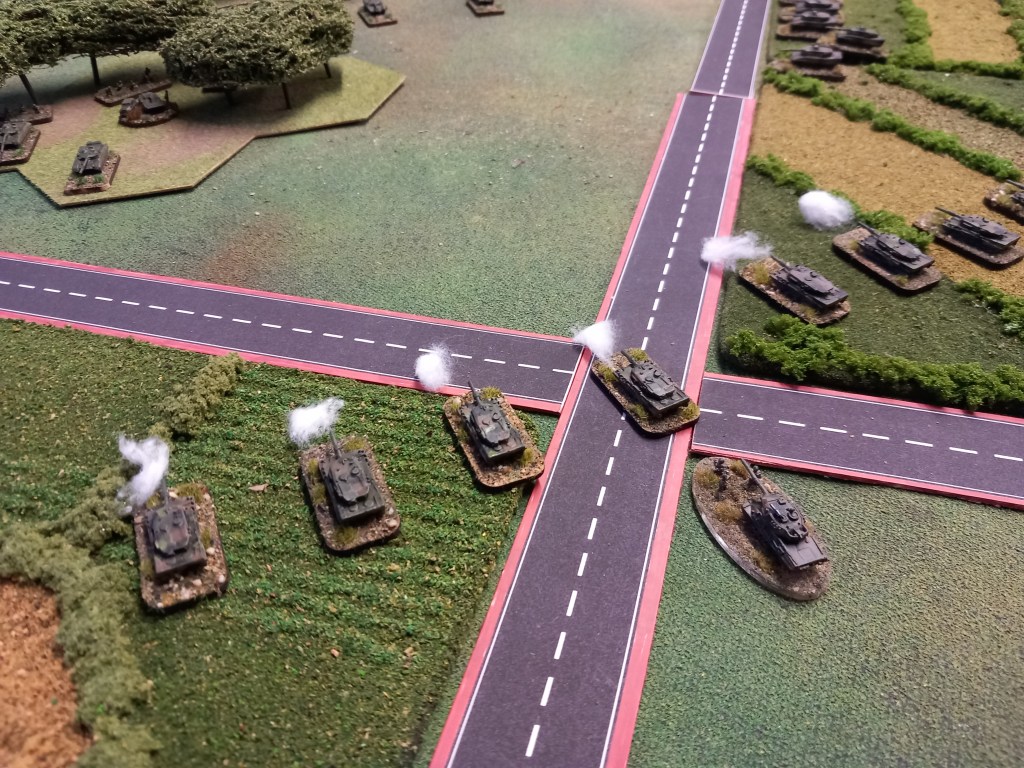
The second Leopard battalion moved up early on the bridge – this might not have been the best of moves 🤔

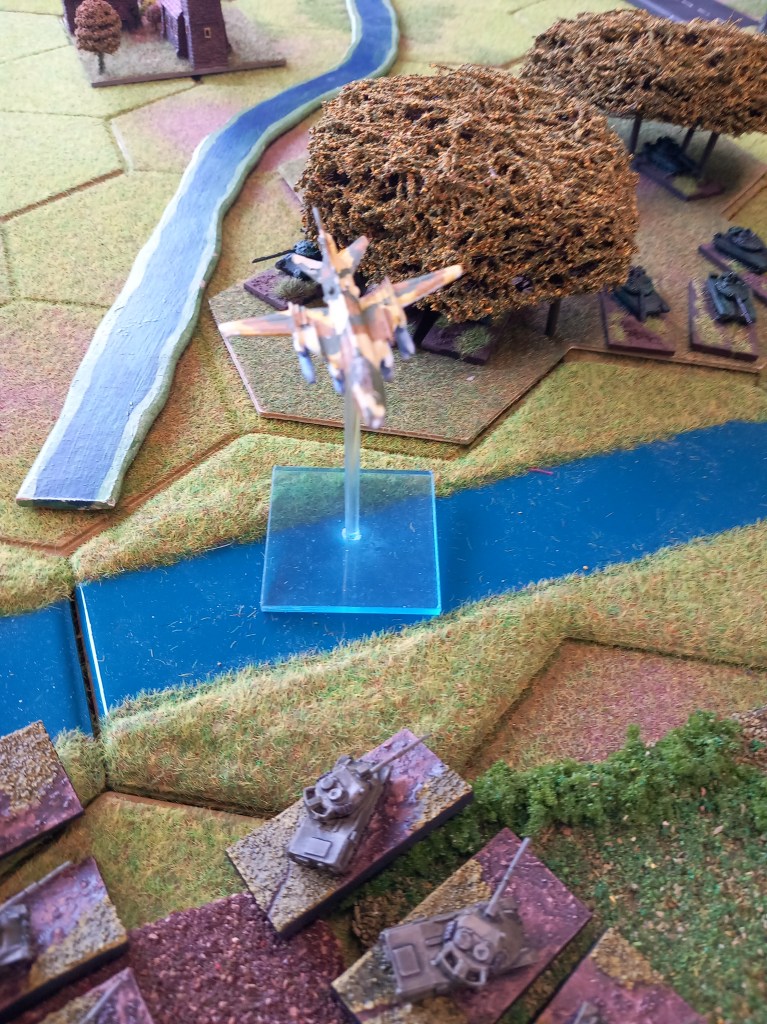
The Soviets called up one of their Fitters for an attack run, it didn’t achieve much but we learnt how the air rules worked.

The BAOR arrive early, great for the Belgians, not so great for the east Germans.

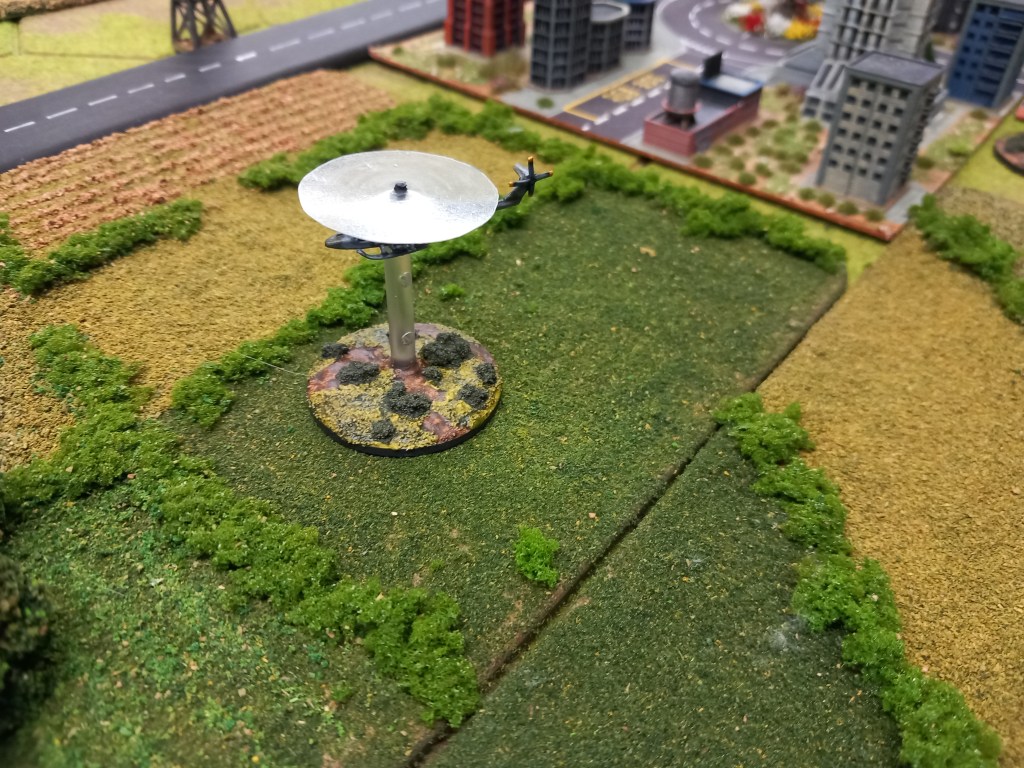
Some Lynxs arrived so we got to see how the helicopter rules played out.

A general note on the air rules as a whole. The mechanics are relatively simple but the detail is in the load outs and mission types which we kind of made up as we went along, to get the full value we are going to have to do some pre work before the next game.

Not to left out the Harriers joined in the air war 😁 Now they were pretty ineffective and have limited game time but the need for AA to be up with the battalions was clearly illustrated.

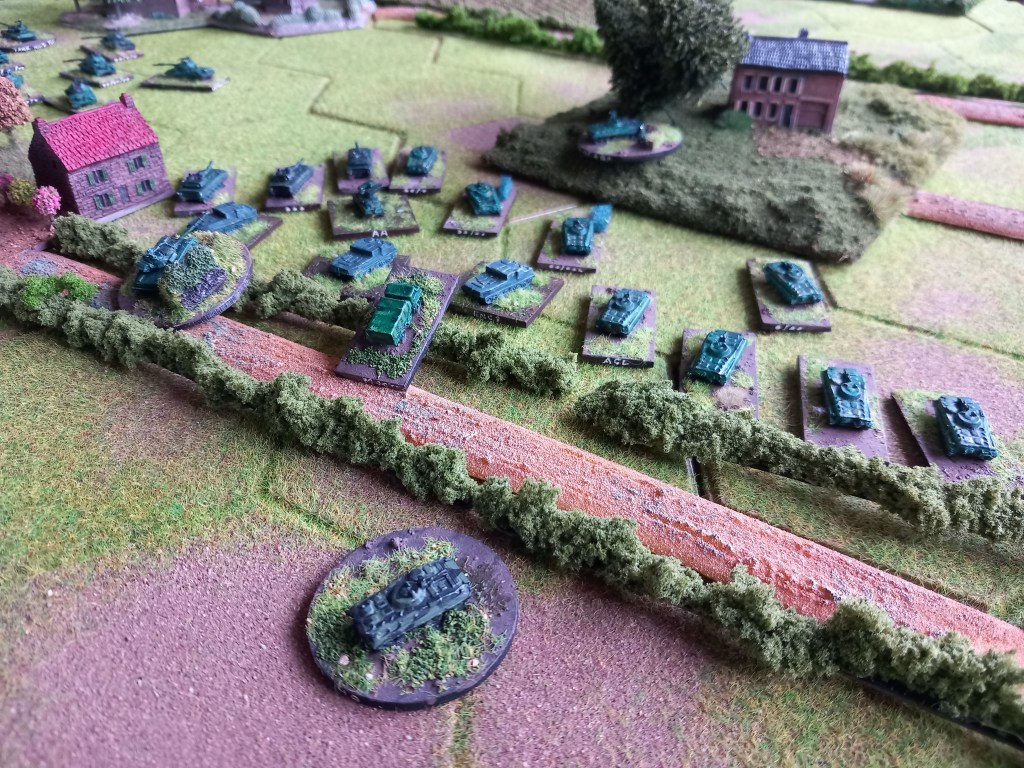
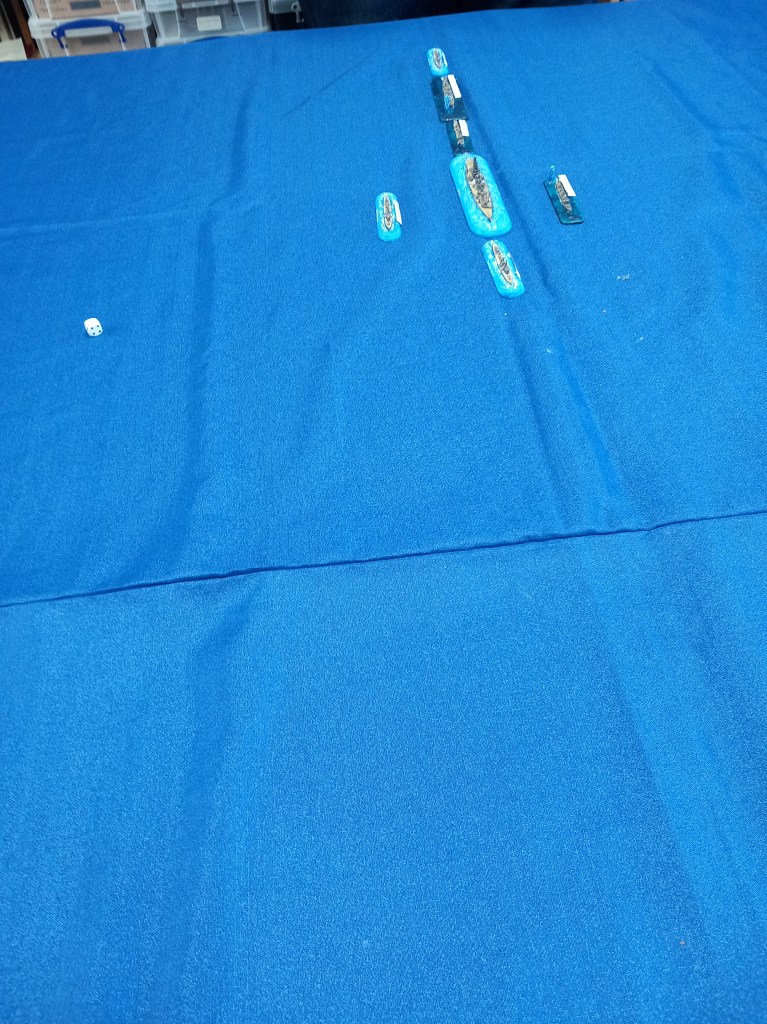
The Soviets crawl on.

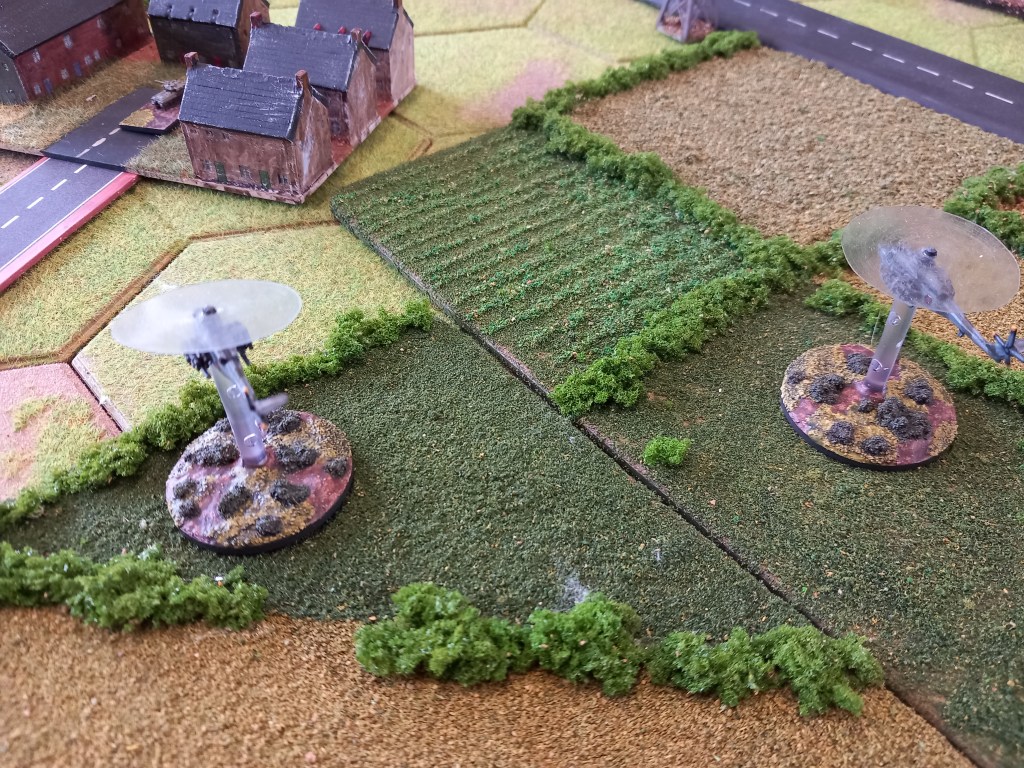
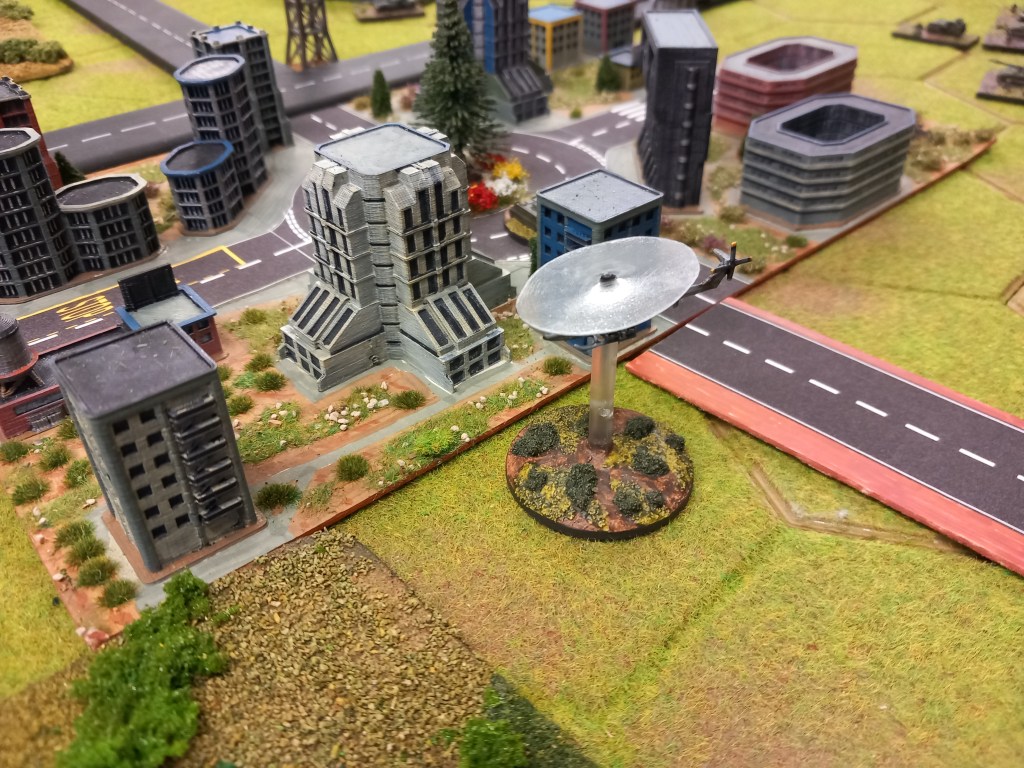
The Lynxs are back….

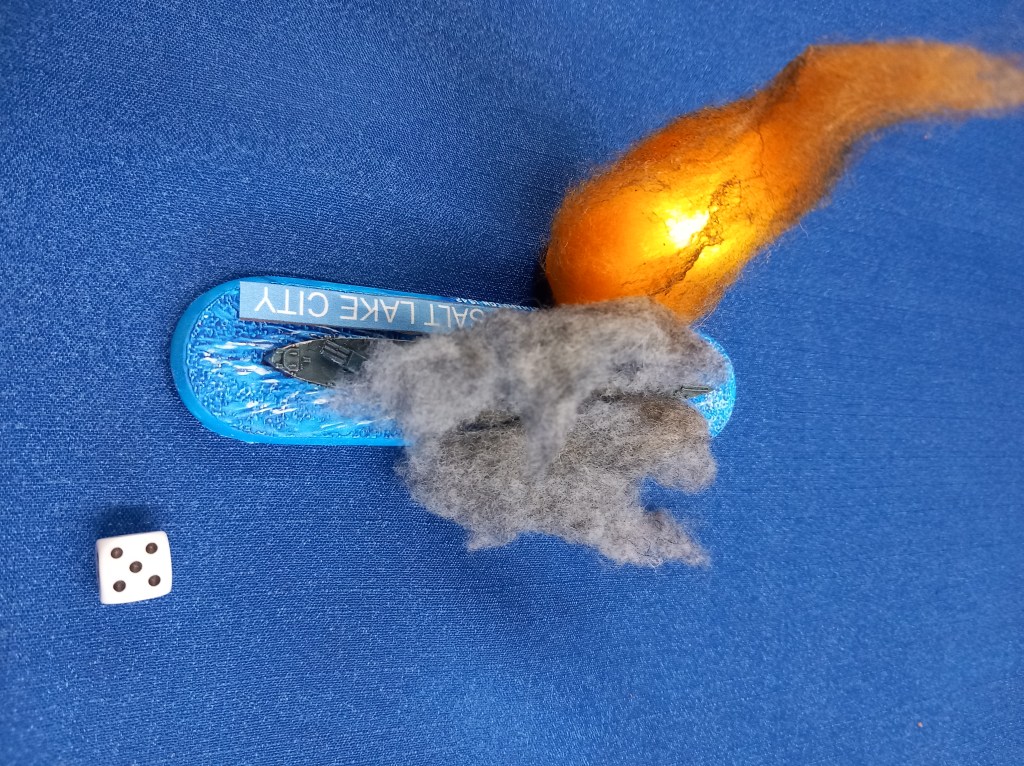
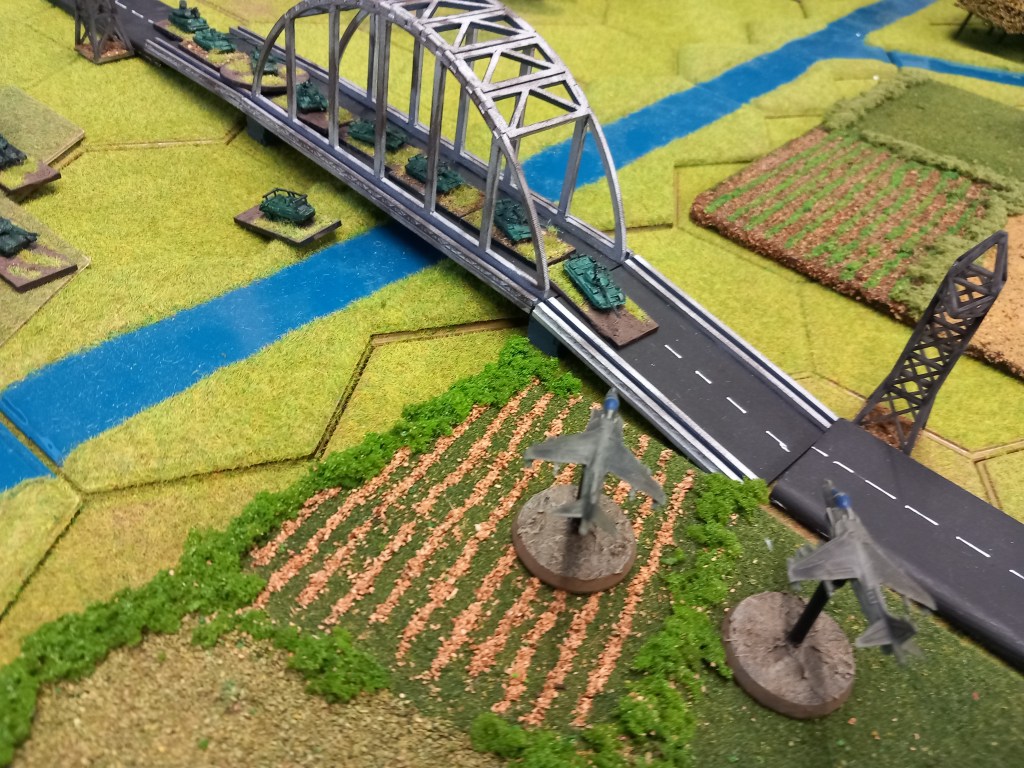
….and we find that ATGW are pretty good at blocking bridges 🤣

Soviet motor rifle battalion racing for the rail bridge.

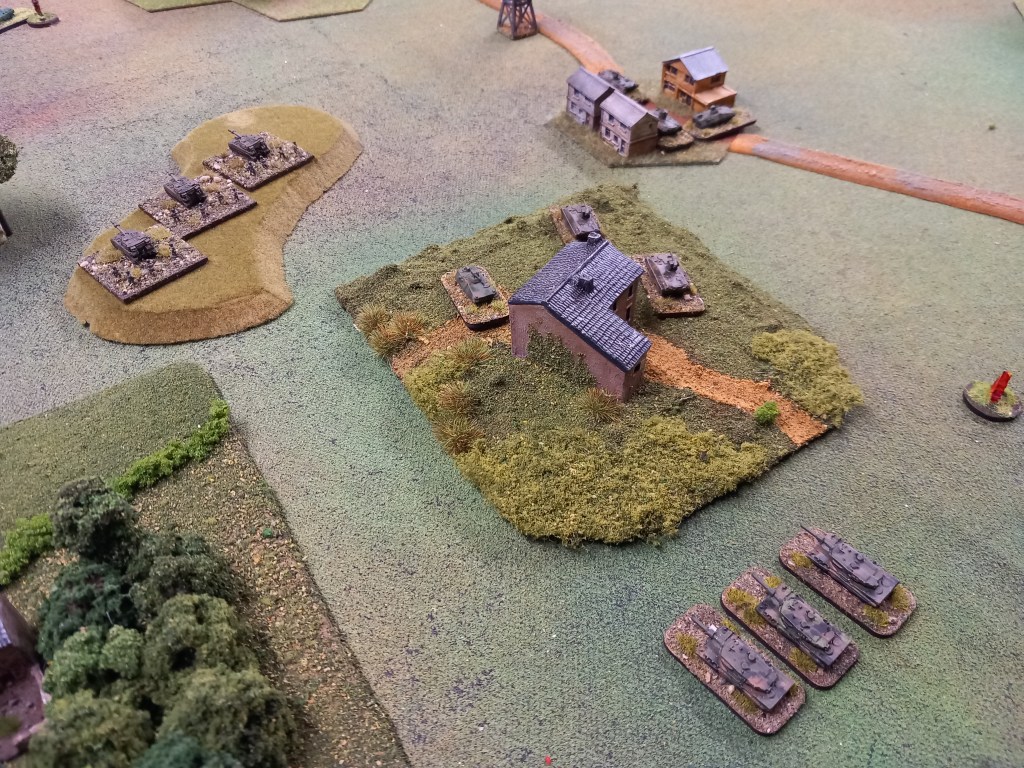
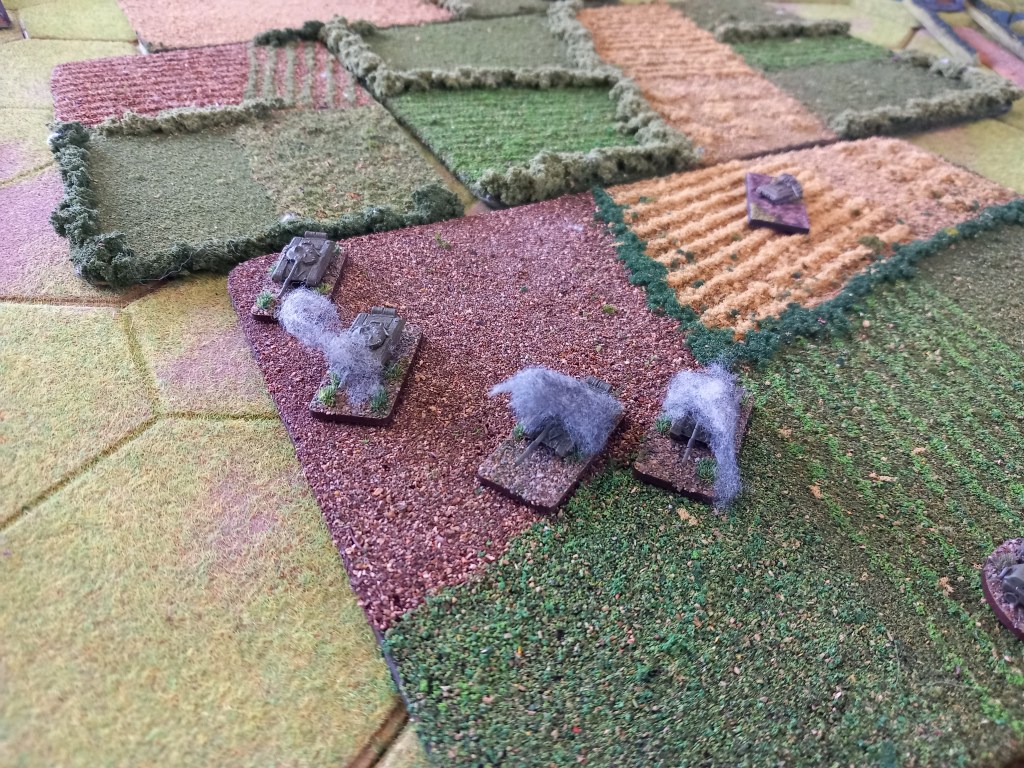
East Germans seriously engaged and it isn’t going well.

Nope, still not going well.

Some compensation for the East Germans.

Its all going terribly wrong for the East Germans as the attack on Braunschweig falls apart and what’s left of the battalions fall back across the Oker.

Safe and sound.

The game was planned as a 12 turn game but by the end of turn 10 it was essentially over. The East German brigade was well and truly screwed and in retreat while the sole Soviet gain was the main bridge over the Oker. Yes the Belgians finally had both Leopard battalions in retreat but the combat teams were firmly ensconced in the town and power plant – we didn’t get to see how close combat worked and the BAOR combat group was untouched – shells just bounce off the Chieftains 😂🤣Successful NATO defence.

Reflecting on the game afterward it was perhaps over ambitious for our second game but that said the rules played out perfectly ok despite us screwing up on some of the finer points. What the ratio of NATO to Warpac brigades needs to be for a more ‘balanced game’ – I hate the phrase, I don’t know. More work required. So far though the change to the rules has been an overall positive experience.

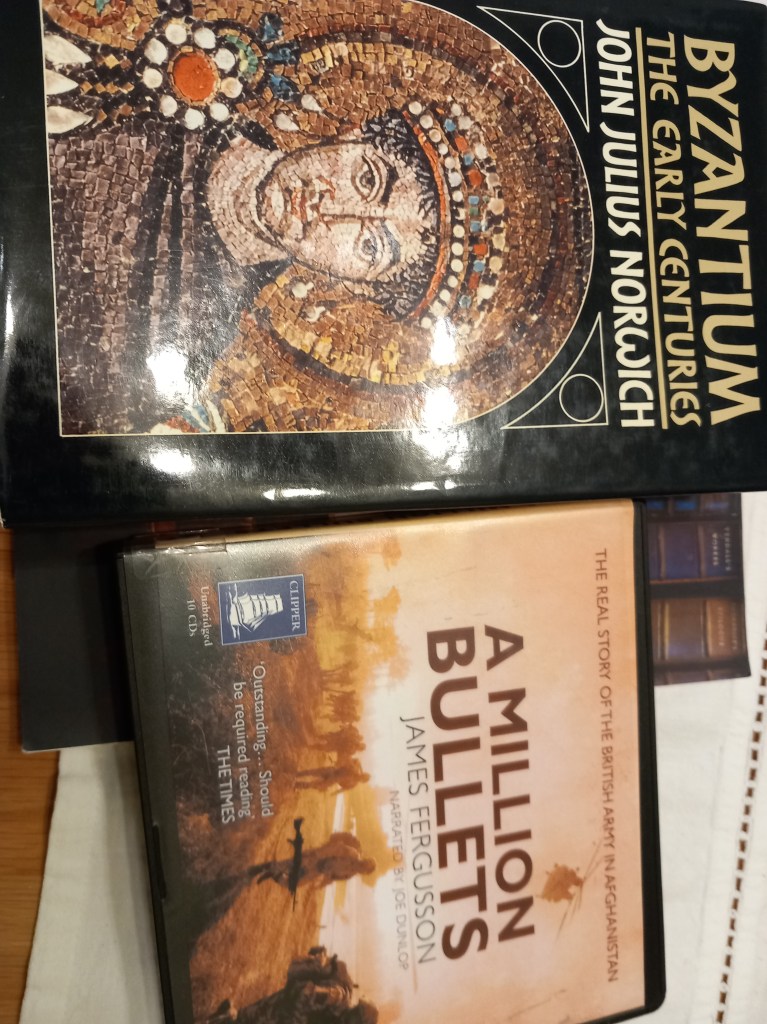
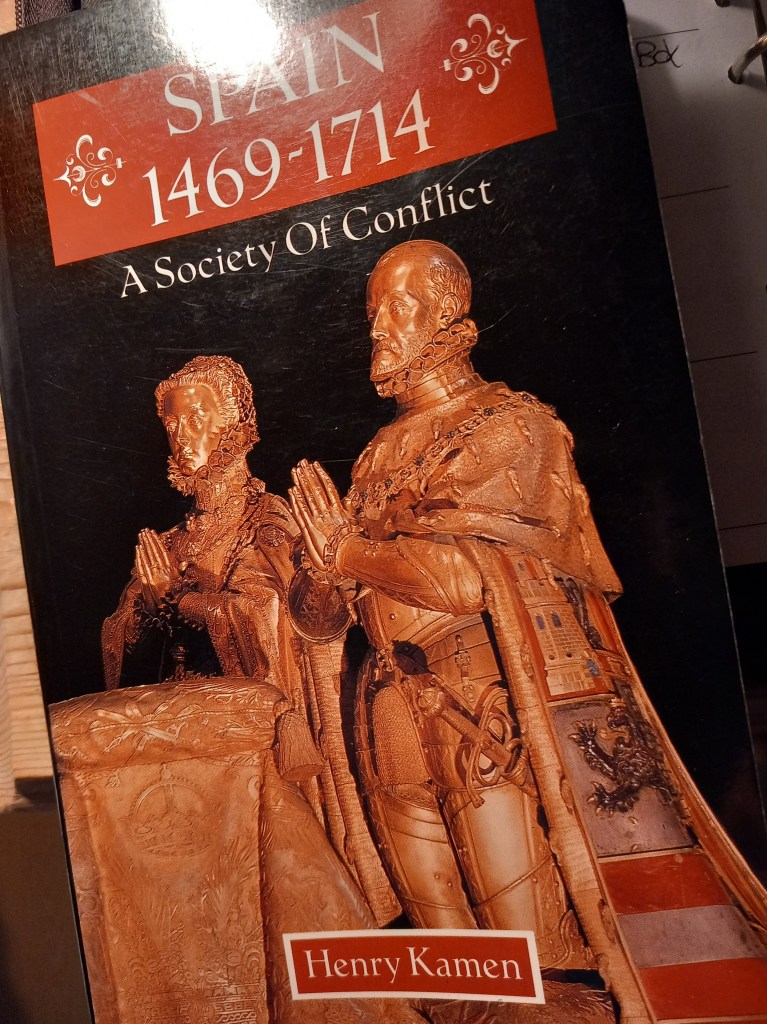
On the reading front, these two were finished. The Norwich book is late 80’s and shows its age in places but the author does know how to tell history in a readable way and that is to be welcomed. The Afghanistan book is one of the many produced at the time and generally along the theme of bad political decisions, unclear aims, brave soldiers etc, better and more honest efforts have been produced since.

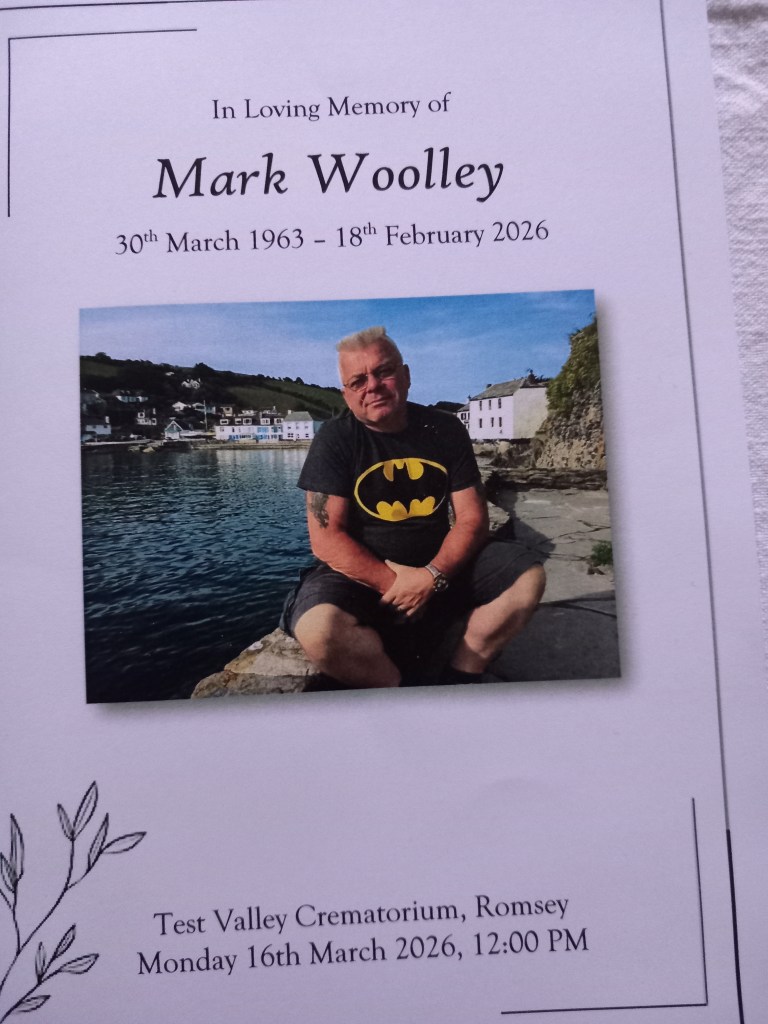
Finally, went to my mate Marks funeral; Rammstein’s “Adieu” as the entrance music – epic 😀

And on that note, thank you for reading and goodbye until next moth.

February 2026 Report

A short month but still keeping ourselves busy.

First up was the next in our Guadalcanal campaign, this one being what is known to history as ‘The First Battle of Guadalcanal’ A per our previous games the initial movements were plotted on gridded maps, adjudicated by the umpire, and once sightings had been made the task forces were deployed. Objectives were simple, the Japanese to get close enough to the opposite table edge to bombard Henderson Field and the Americans to stop them. The game was played at night so limited ranges and the rules, as usual, were Victory at Sea.

The Japanese were first on and sailed straight forward towards the deploying American fleet. Both sides had split into two task forces and these arrived at different times on the table.

The early exchanges favoured the Japanese with the Salt lake City going under due to gunfire from the Kongo and more devastatingly from destroyer fired torpedoes.

The USN got revenge on a measly destroyer 🙄

The second Japanese task force arrived and things were starting to look a bit grim for the Americans.

However the the Cushing unloaded every torpedo it had at the mighty Congo and down it went with a roar – loud shouts from the American player!

Ships were now starting to fill the playing space as both sides manoeuvred to get in close enough to fire and get the best angles. Many torpedoes were let loose.

The Atlanta was sunk by torpedoes, along with the Sterett, the Juneau and the Cushing; American losses were climbing.

The Americans did manage to sink the Nagara – a glorious event I failed to capture, and things looked grim but on turn 7 with dawn not far away 3 US heavy cruisers arrived and it was time for the Japanese to go or face massed aerial bombardment from the planes they had failed to destroy on Henderson Field.

Despite their losses the game was a win for the Americans mainly due to the fact that the Japanese lost sight of their objective and got distracted with sinking American ships and not bombarding the airfield. One game left to go in the series.

Next up was a very ambitious (maybe too ambitious) refight of the battle of the Battle of Hastenbeck 1757, the first serious engagement of the Seven Years War.

Our plan is to work our way through all the battles in Savory’s, His Britannic Majesty’s Army in Germany During the Seven Years War, a bit of a tall task that will keep us occupied for this year and probably the next.

At Hastenbeck an ‘Army of Observation’ comprising Hanoverians, Hessians and Brunswickers under William Duke of Cumberland stood on high ground behind the village of Hastenbeck facing a numerically stronger French army under the Marshal Charles d’Estrees.

Belying the popular image of French incompetence d’Estrees showed sound strategic abilities in crossing a major river at night and marching quickly to force Cumberland to fight or lose Hanover. As the armies deployed d’Estrees showed further initiative in sending a large flank force under Francois de Chevert to turn the Hanoverian left on the Obensburg, wooded high ground which Cumberland thought to be impenetrable.

The battle was a slog, as was our game – we were genuinely exhausted at the end. The attack by Chevert made good headway to start with driving in the weak opposition and signalling to the main army to begin their attack. Cumberland, realising his peril, ordered several grenadier battalions out of the line to restore the position on the Obensburg and sent frantic calls to the rear for whatever troops were available. The French centre advanced slowly across marshy ground at the foot of the hill and took serious casualties from the Hanoverian guns on the high ground but eventually overran the guns and Cumberland began to withdraw, a French victory in the making. However on the Obensburg the grenadiers had held up the French long enough for some late arriving reinforcements to turn the tide somewhat assisted by one of Cheverts brigades mistaking a Swiss brigade for Hanoverians and opening fire! d’Estrees now thought he was having his flank turned and so halted the attack. By the time both commanders realised they were still in with a chance of victory it was too late, Cumberland was retreating and d’Estrees had lost the momentum to pursue the allies.

We began our fight with Chevert already in place but after the allied players had taken their places – cries of WTF! were a joy to hear, nobody it seemed had actually read up on the battle 😂

All along the French front the battalions began their advance.

The early fighting was of course on the Obensburg and Cumberland the player sent messengers galloping off to the rear – he was told he had reserves, while he sent additional couriers to the grenadier battalions guarding his forward guns and to the brigade on the left of the line to turn to face. All of this of course took time even in wargaming terms and so he had to sweat it out and hope his jaegers and weak line held out.

And they did! The French were hampered by the terrain and their numbers meant they kind of got in each others way. The jaegers were eventually driven off along with their supporting line infantry but just as the disordered French were emerging from the woods the Hanoverians were turning to face, now it would be a different kind of a fight…..

Back in the centre the French line pressed slowly on braving the artillery bombardment from the hill.

In time, and it seemed like forever to the French, their troops began to pierce the Hessian line although all semblance of order was gone and so individual battalions made headway while others fell back to rally and come again.

The Hessian 2nd line moved steadied themselves as the first line drifted back spent.

On the right centre the French had high hopes that their better disciplined Swiss brigade would make a dent in the Hanoverian line but they were literally shot to pieces and the brigade collapsed.

Back on the Obensburg the reserves arrived and turned the tide, Cheverts attack ground to a halt.

Over on the far right of the allied position the Hanoverian horse received orders to advance against the French left, mainly comprised of the grenadiers de Roi who had collapsed the Hessian line. Not the best of choices especially as this was the signal for the opposing French horse to respond.

Chevert managed to rally enough of his command to threaten the Hanoverian line but not enough for a final push.

The high water mark of the French attack, left centre. The Hessian brigades have failed their morale checks, several battalions have virtually ceased to exist and their cavalry had been halted by musket fire, the best they could do now was cover a retreat. The French facing them are only slightly better off, the Grenadiers de Roi battalion are spent but the Grenadiers Royaux are in decent enough shape to occupy the crest and there are plenty of cavalry following on behind.

The high water mark of the French attack, right centre. The Hanoverians are in full retreat with several battalions virtually destroyed, the Brunswick centre however is virtually untouched and stands defiant. The opposing French are pretty much done, their first brigade was shot to pieces and virtually ceased to exist, the second and third line are at the crest but in no condition to go any further. On the right however the German brigade followed by an Austrian brigade is in good health having pushed through the shattered Swiss and advancing steadily.

And that was it. A costly French victory but a victory nonetheless. I don’t know about the little generals but I was knackered!

A complete change of pace next, 1980’s cold war Europe using a ‘new’ set of rules, Modern Spearhead. Yes I am well aware that Modern Spearhead is not new at all having been published in the late 80’s and perhaps has had it’s time in the sun. However one of our group has become a bit dissatisfied with our go to set, Cold War Commander, and so in the spirit of comradeship we agreed to give MSH a go, the scale is roughly the same and no rebasing was required so off we went with a simple scenario; an understrength Soviet tank division tasked with breaking through the NATO lines (ie get off the other side of the table) and a reinforced Bundeswehr tank brigade tasked with stopping them. We opted not to use the artillery or aircraft for this game so we could concentrate on the basic mechanics.

The rules require written orders (very perfunctory) but importantly a map on which you mark the exact route of advance for each brigade from which you cannot deviate without a higher level command. Personally, I loved this. We also used hidden movement via the maps which meant one of us had to be umpire which in a small group like ours is not ideal. For me this didn’t work and I’d rather we didn’t use it again, it was too much messing about and quite frankly whatever the player can see it doesn’t matter as the map route is king.

The Soviet player initially advanced on a broad front which we soon realised was a mistake as it meant that a single Soviet tank battalion would end up facing off to more powerful and flexible NATO battalion which in the battle of the armour would be death for the Soviets. In terms of shooting the rules are brutal!

The NATO player deployed out from his start lines to try and seize choice terrain and dominate the battle field. In this early encounter he certainly did and the Soviet player became a bit despondent.

As we played on the Soviet player got more of a hang of using the terrain but his commands were still strung out across the table.

Changing orders for NATO is easier than WARPAC and so the Bundeswehr were able to go on the attack and try and exploit a gap in the Soviet lines.

After a chat and a reset the Soviet player started to deploy to take advantages of open flanks – the smaller number of Bundeswehr can’t be everywhere.

And to deploy multiple battalions – kill one there is another to take it’s place.

The Bundeswehr traded space and fell back.

Ultimately the Bundeswehr gun line held and the Soviets failed to break through.

Overall I liked the rules and hope we can play them again with guns and planes. Are they better than CWC? The jury is out for me. They are certainly more nuanced, you have got to think about your plan a lot more carefully and some of the mechanisms are better, the orders and map I have already mentioned, target priorities means that you don’t have elements artificially shooting all over the table just to score easy points, the comparison of attack and defence is simple and the fact that elements only fire once in a turn should make the game quicker – ours wasn’t but it was our first go. The army lists have a feeling of being a bit of a work in progress and the lack of a points system makes creating a balanced game a bit of a challenge – I recognise that many gamers can’t stand the idea of army lists and points and I sympathise with those views but the relative worth of one unit against another does give you an insight into how the rules writer saw his game unfolding.

Next up was an away game of ACW using Rebels and Patriots upscaled for brigades. The game was the first in hopefully a series of campaign games set in the Shenandoah Valley. Two guys who live away are the divisional commanders who submit orders to the umpire who in turn comes up with a battle day, those of us lowly brigade commanders who can make it turn up with our brigades and play, those who can’t make it then their brigade has got ‘lost’ on the way to the fight.

Our first game then featured two Union brigades attacking across a field and a stream against three confederate brigades with superior artillery. Why? Because that’s what the orders from division said to do 🙄

To avoid the obvious problem of numbers the Union concentrated on one side of the field and attempted to overwhelm the two brigades facing them before the third one got into the action.

Initially the plan worked quite well, the artillery sited themselves on high ground and did some damage, the infantry advanced covered by some effective skirmisher fire and the cavalry regiment actually charged and saw off a rebel regiment.

Then it all went to pieces. The cavalry were stuck in the middle of the Confederate lines and got shot up badly, the advancing infantry were ambushed from woods and the third brigade dragged its big guns into range and eliminated the Union guns. The Union commanders then decided discretion was the better part of valour and retreated.

Our final game was a return to our Dark Age/Early Medieval set up which hasn’t seen the light of day for over a year!

For this one we did a semi historical set up in that we chose the period of the Tyrants in early 5th Century Gaul, specifically the encounter in 410AD between Constantine III and his former protégé Gerontius outside the walls of the city of Arles.

Constantine had the slightly larger but more cosmopolitan force; his son Constans commanded a body of Roman horse on the right wing supplemented by Hunnic mercenaries, working left along the line was a body of militia from Arles under Germanus, then a body of Roman foot under his other son Julian (actually dead by this time), and finally a body of Burgundian allies under Edobich next to the walls of Arles. Constantine himself deployed with Constans (historically he stayed inside Arles).

Deployed opposite was Gerontius. On the right, under the walls of Arles, was the man himself with a powerful all Roman cavalry contingent, next to him was Apollinaris and four regiments of Auxilium Palatinum and then out on the left a Visigoth allied contingent of horse and foot under Theudis.

A general advance by both sides occupied the first couple of turns and then first blood was tasted by one of the Equites Superior regiments under Gerontius who smashed into the lead Burgundian warband and sent it rolling back where it came from. An unexpected result that left a bit of a hole in the Constantine left flank – in fairness all the odds were with the cavalry and they rolled incredibly well.

Not to be outdone, Constantine trotted his cataphracts into the Visigoth cavalry who similarly fled pursued by the Romans…

Who then ran into the Visigoth foot who were made of stronger stuff and held on.

The fighting then locked in all along the line as general order was lost and each body fought its own little war.

Auxilium taking on ‘barbarians’

Constantine’s foot centre grinding forward against a the Visigoth cavalry now commanded directly by Theudis.

More of the infantry centre.

Gerontius and his cavalry have now seen off all of the Burgundian contingent and are turning in on the Constantine centre.

We just didn’t have the time to finish it ☹ The Burgundians were gone and most of the Visgoths but the cavalry of Gerontius were now in the rear of Constantine so we called it a victory for Gerontius. Slightly unsatisfying but not every game can be perfect.

In other news got some additions done for the Iran Iraq project.

Read this. A bit dry. A pure history book rather than a history book that informs my hobby.

Went to our first show of the year, Hammerhead. Visitors only. Well attended, decent mix of trade and games.

I got distracted playing in my mate Charlies Napoleonic Naval game, so no further photos. Out of the Lardy school, which as anyone who knows me isn’t my thing, but here we didn’t have any of the silly pun names and nonsense random events, just a game that played well and gave you a notion of Napoleonic naval warfare.

And finally it was goodbye to my mate of seven years Mark Woolley of M & C Painting who lost his three year battle with bowel cancer. I met Mark as a customer at the Reading show when it was still at the Leisure Centre and then became friends over the years. A big personality, always free with his advice on paints & painting, and a ‘unique’ sense of humour. I shall certainly miss him.

On that sombre note February is over, bring on March and the Spring.