Two shows and five games, a pretty reasonable month.

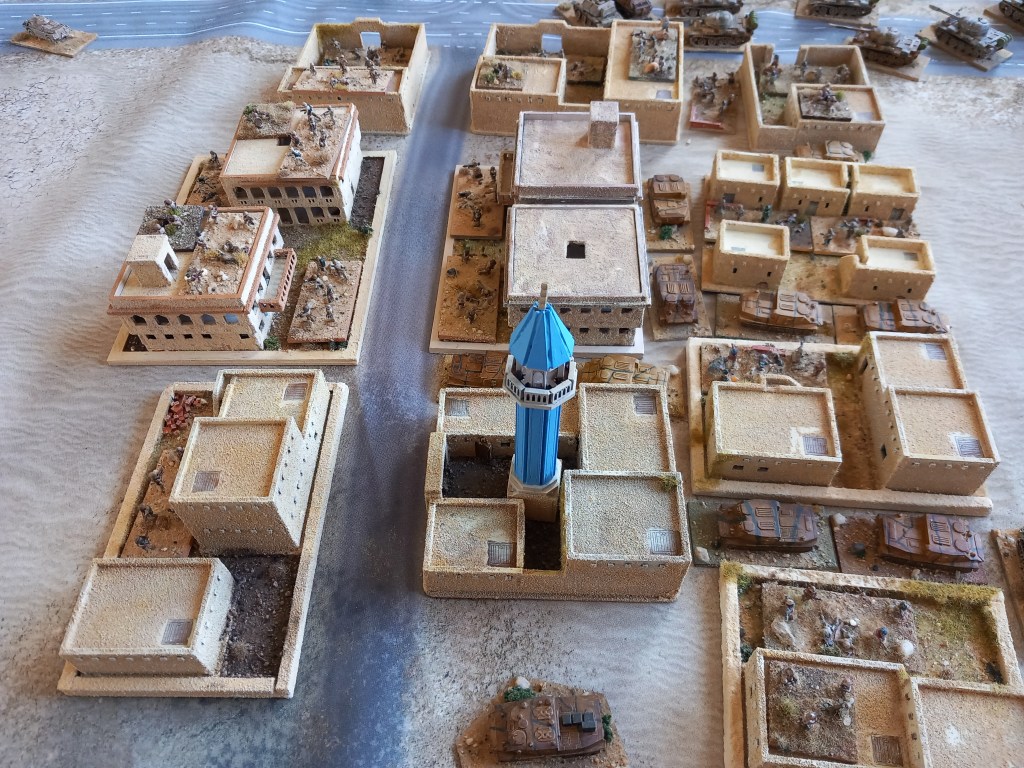
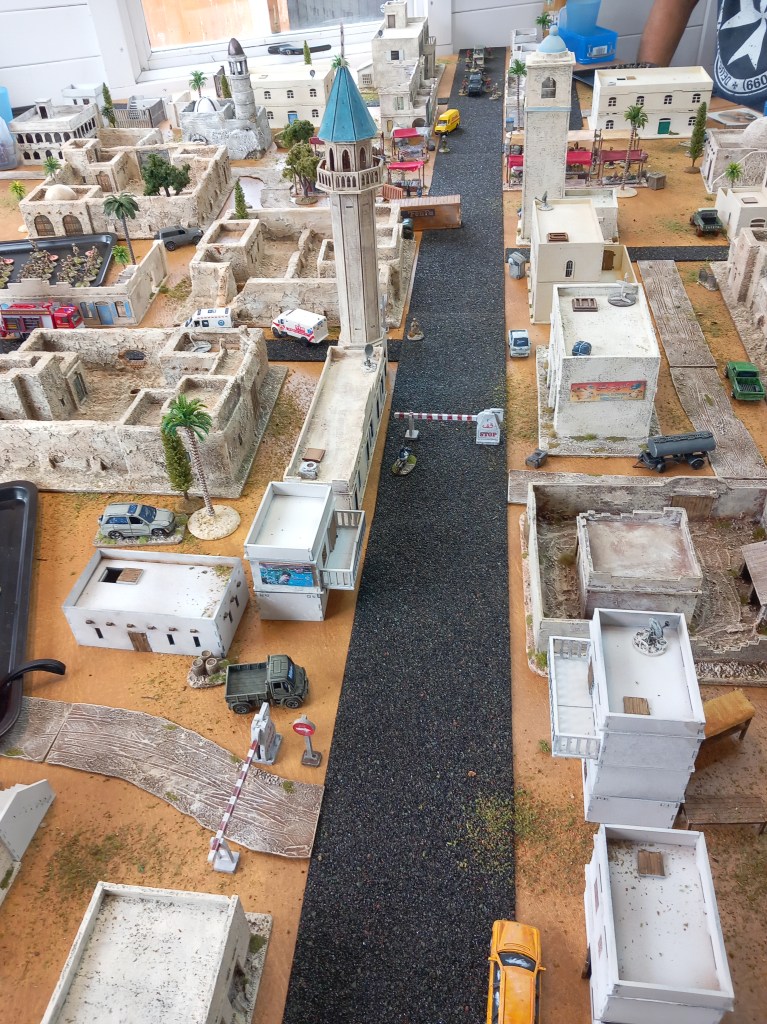
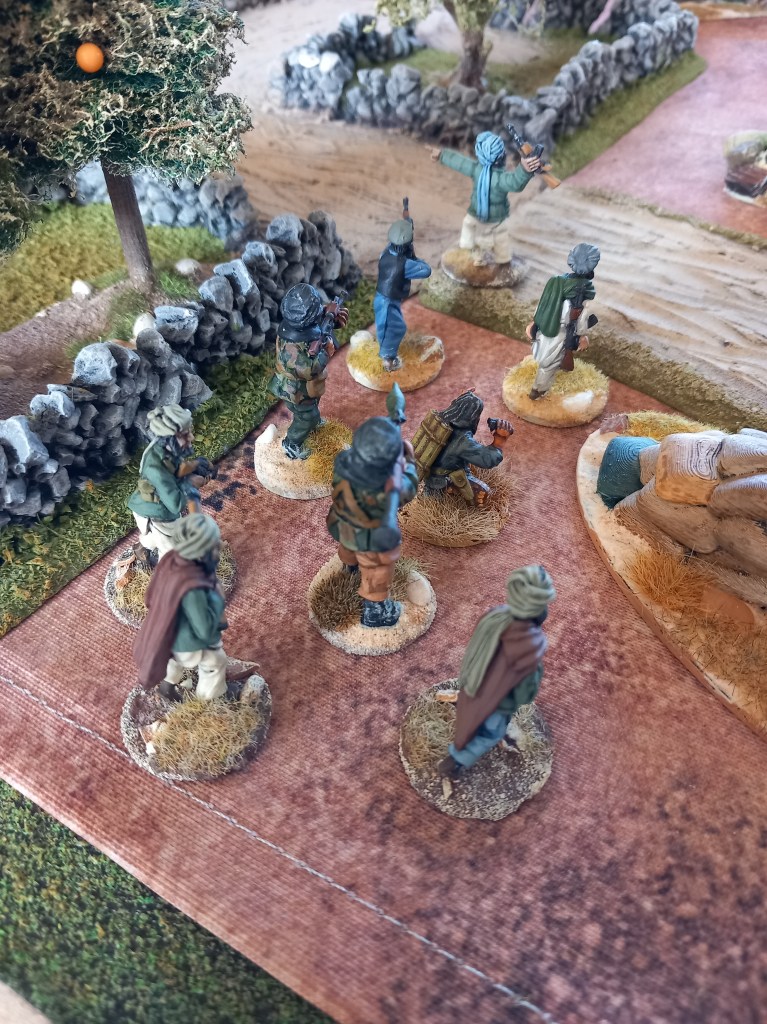
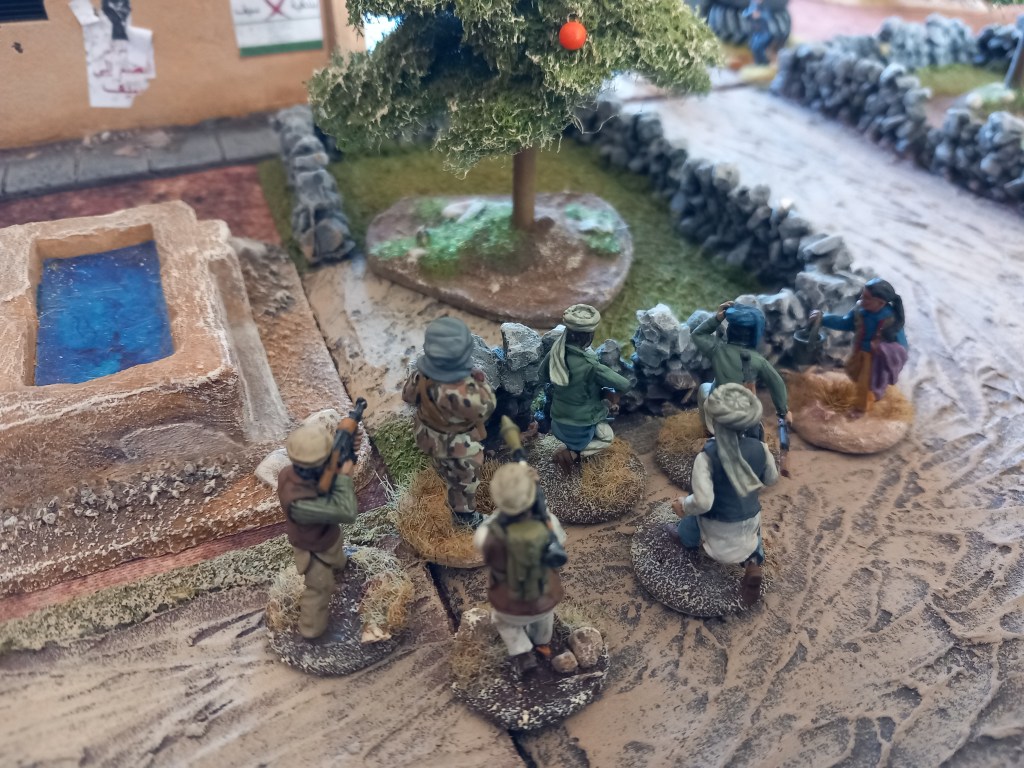
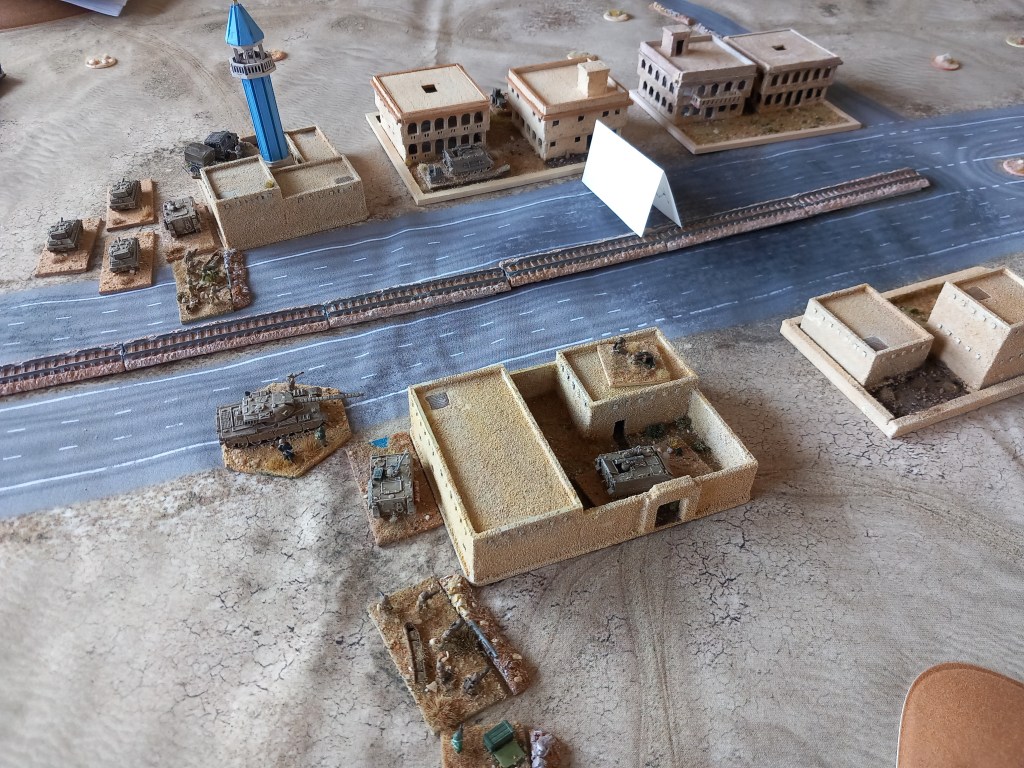
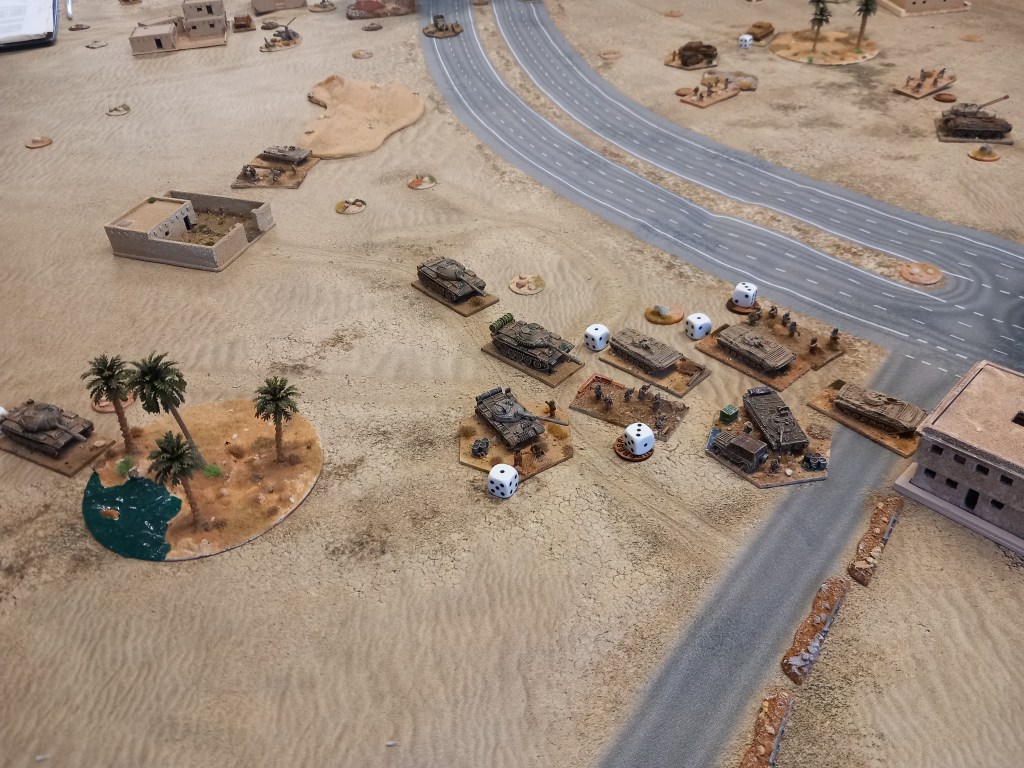
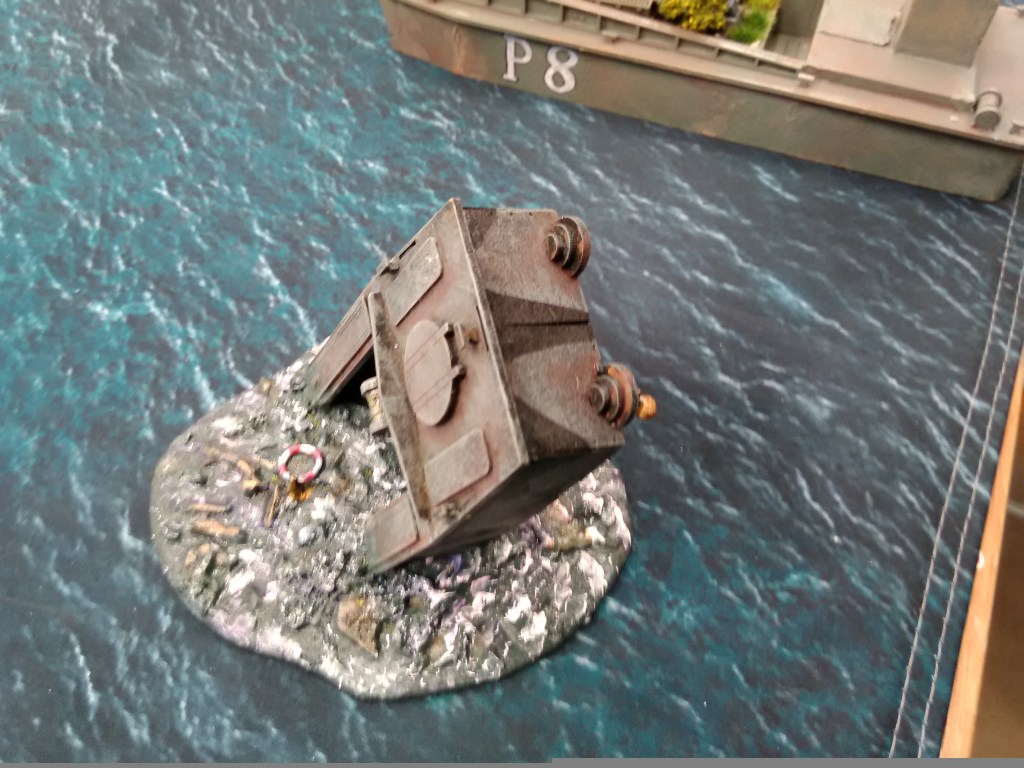
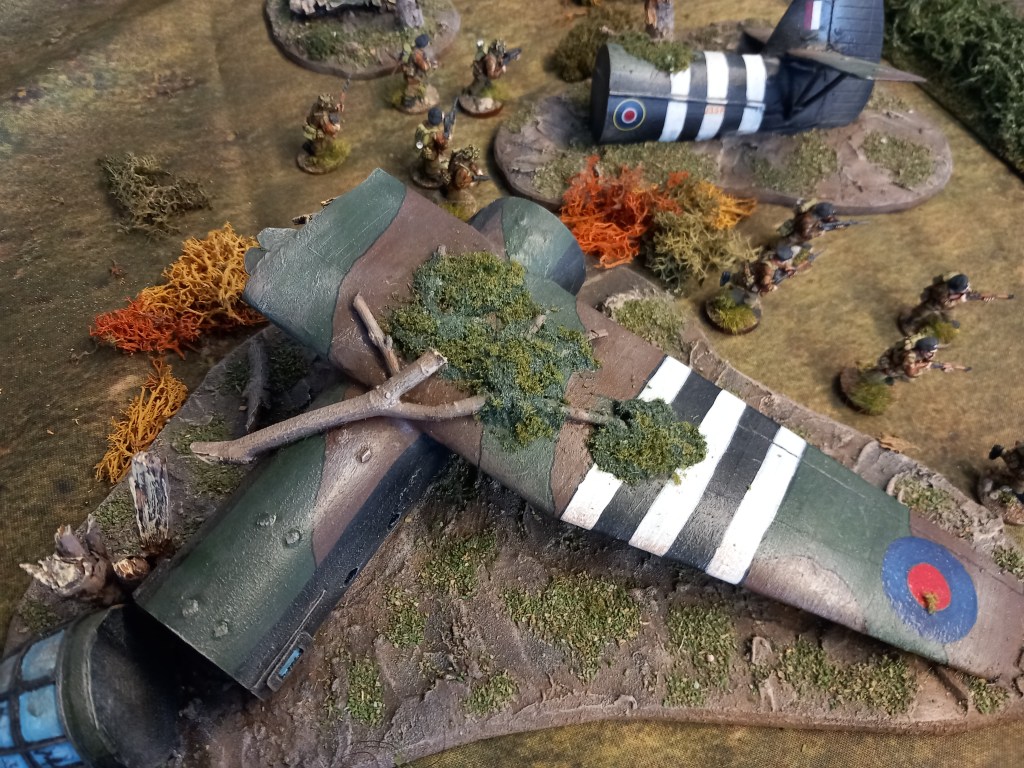
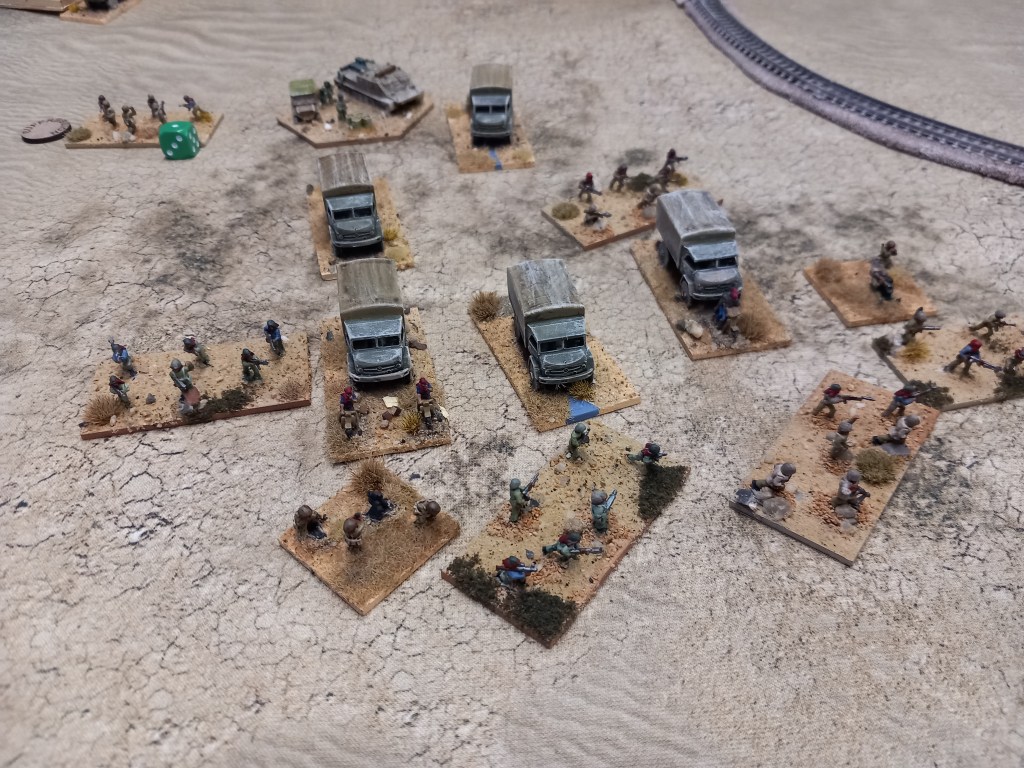
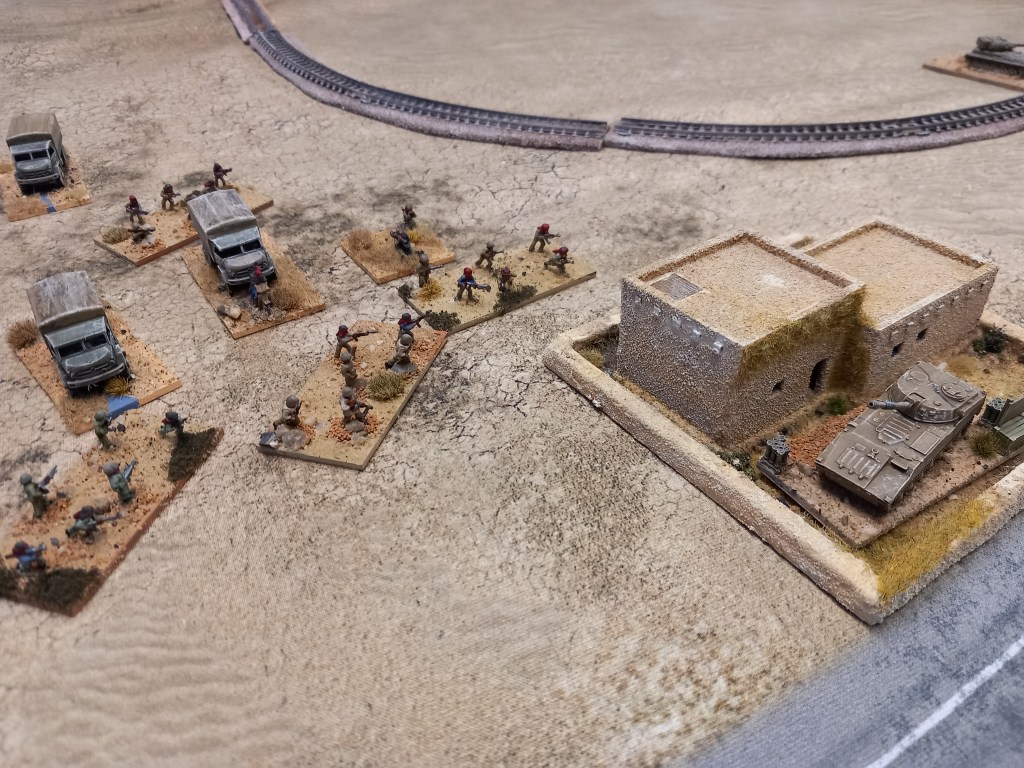
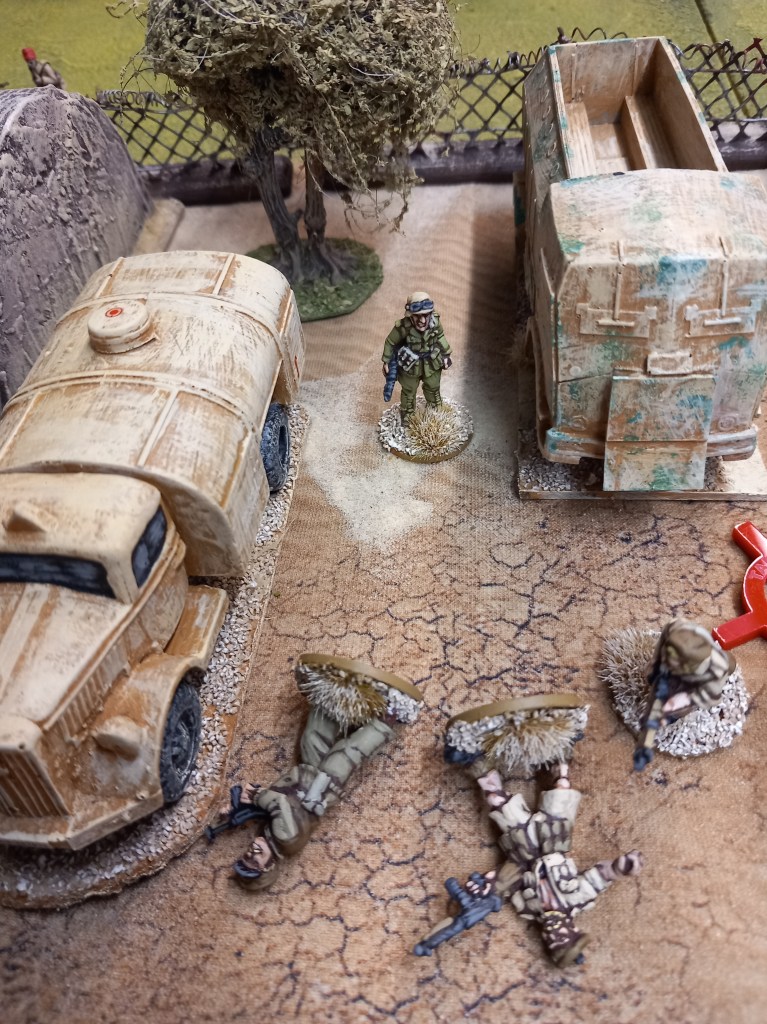
Our first game was WWII desert skirmish using our own tried and tested rules set. On this occasion a daring rescue attempt by SAS squads of two captured officers held at an Axis camp before transfer to the Gestapo for questioning.

The bulk of the Axis forces were asleep in their barracks while Askari patrolled the perimeter. The British were divided into 3 squads supported by an armoured car each, approaching from the cover beyond the main gate. Various scenario rules were in place for noise and and whether the guards would be alerted and how long it would take for sleeping soldiers to tumble out of bed.

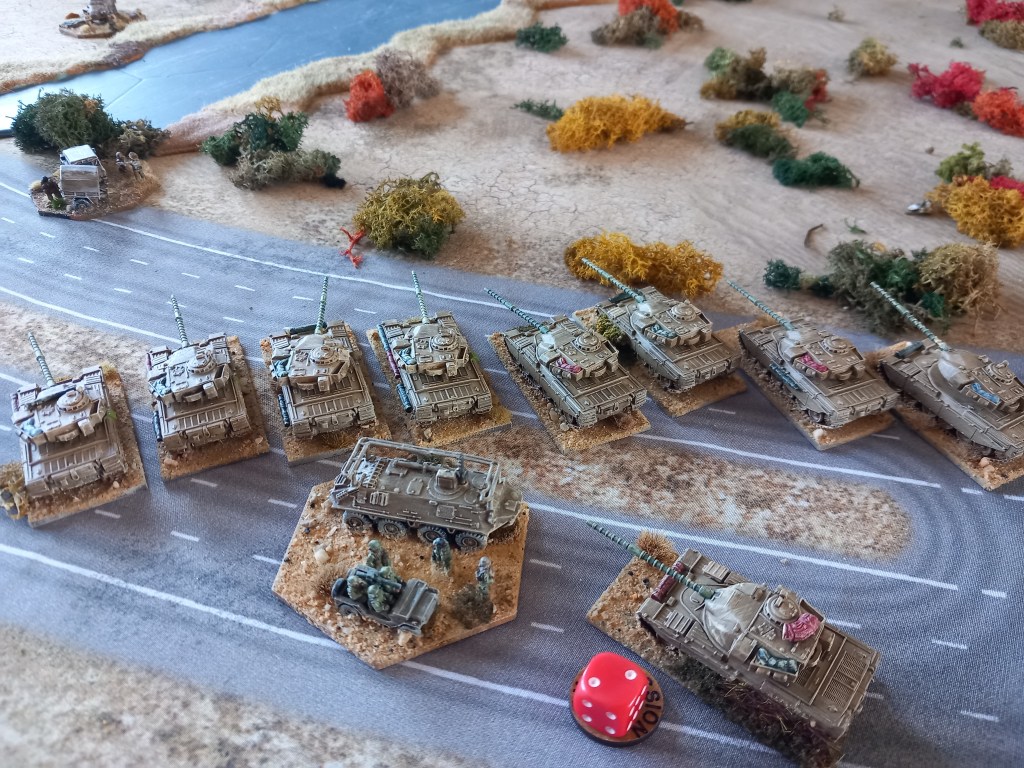
The British de-bussed at a safe distance and advanced on foot with the armoured cars rolling on behind.

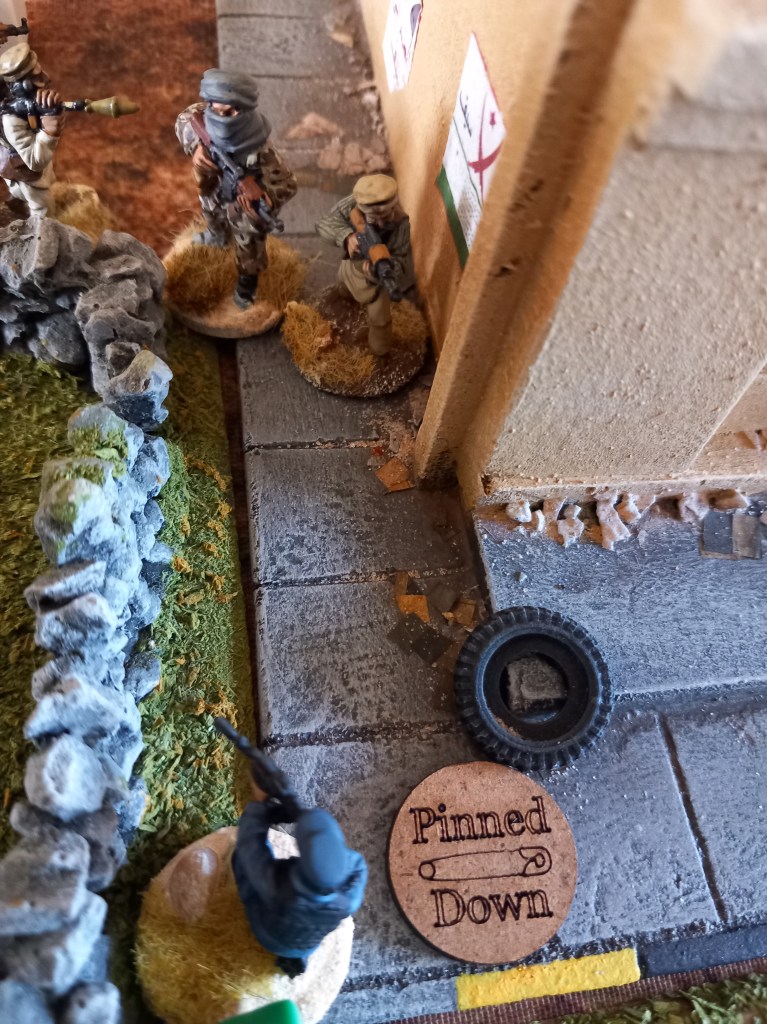
Impatience got the better of the British and before everyone was set the Rolls Royce opened up on the guard house eliminating the Askari inside. Now it was time to get a move on.
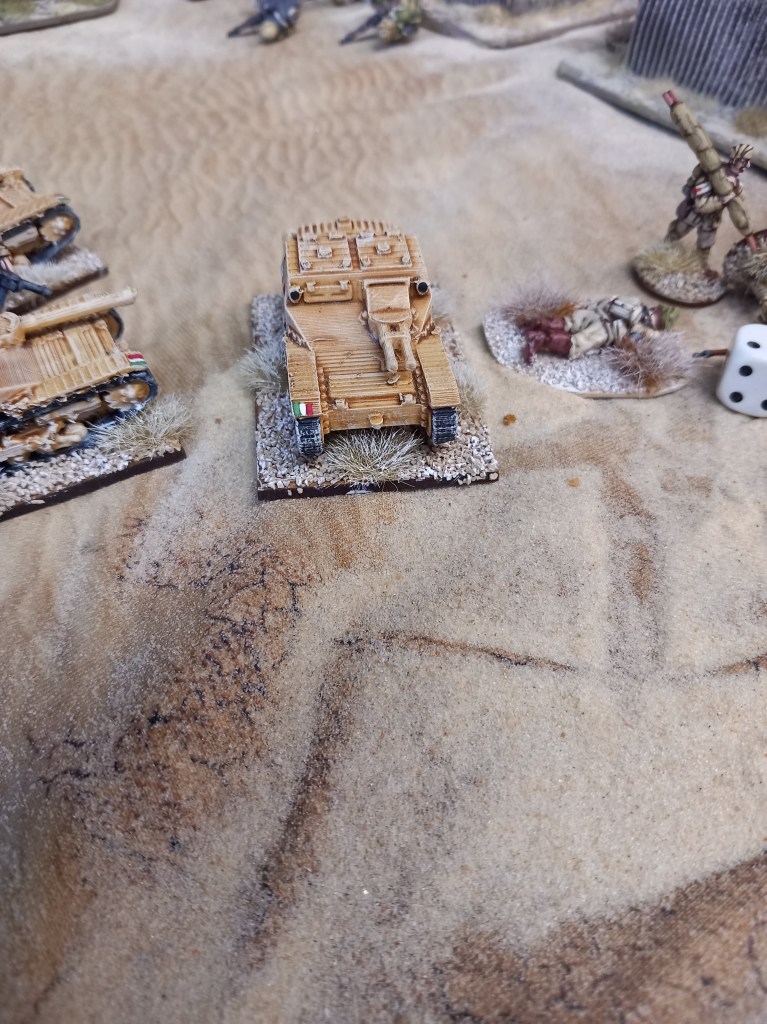
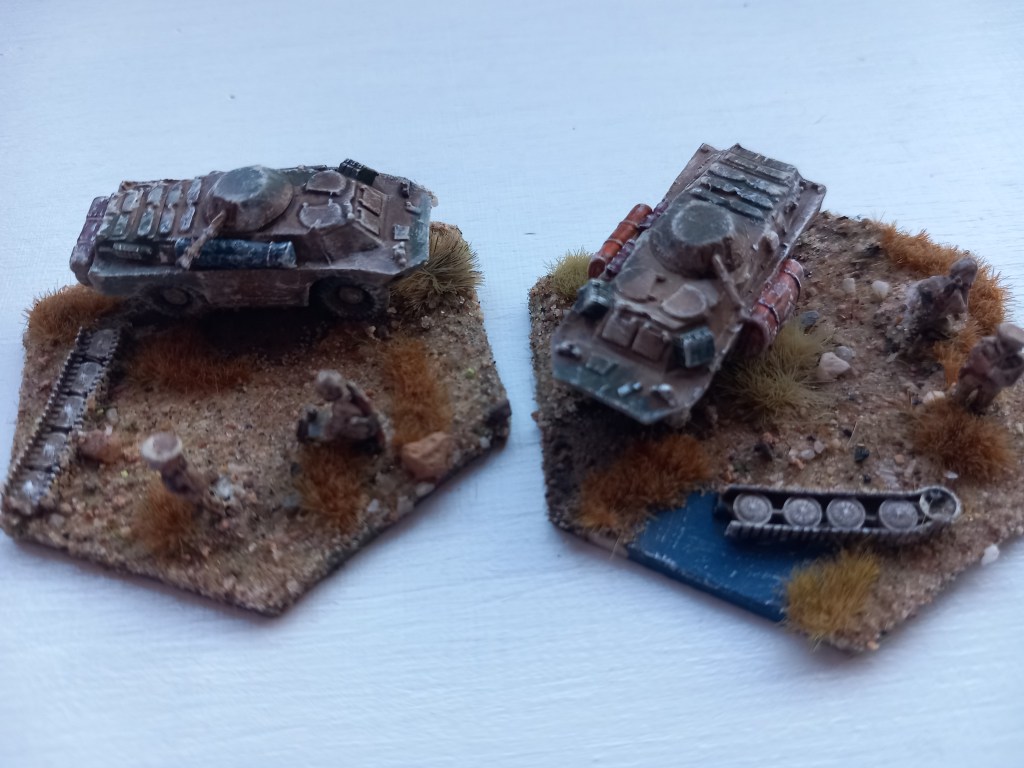
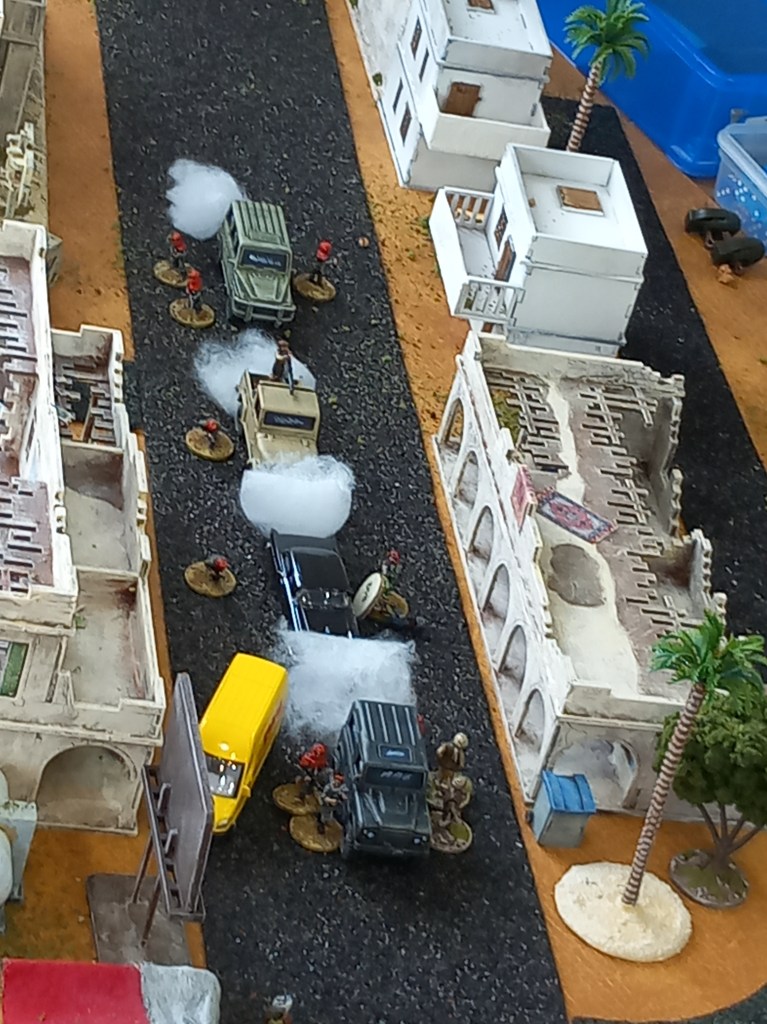
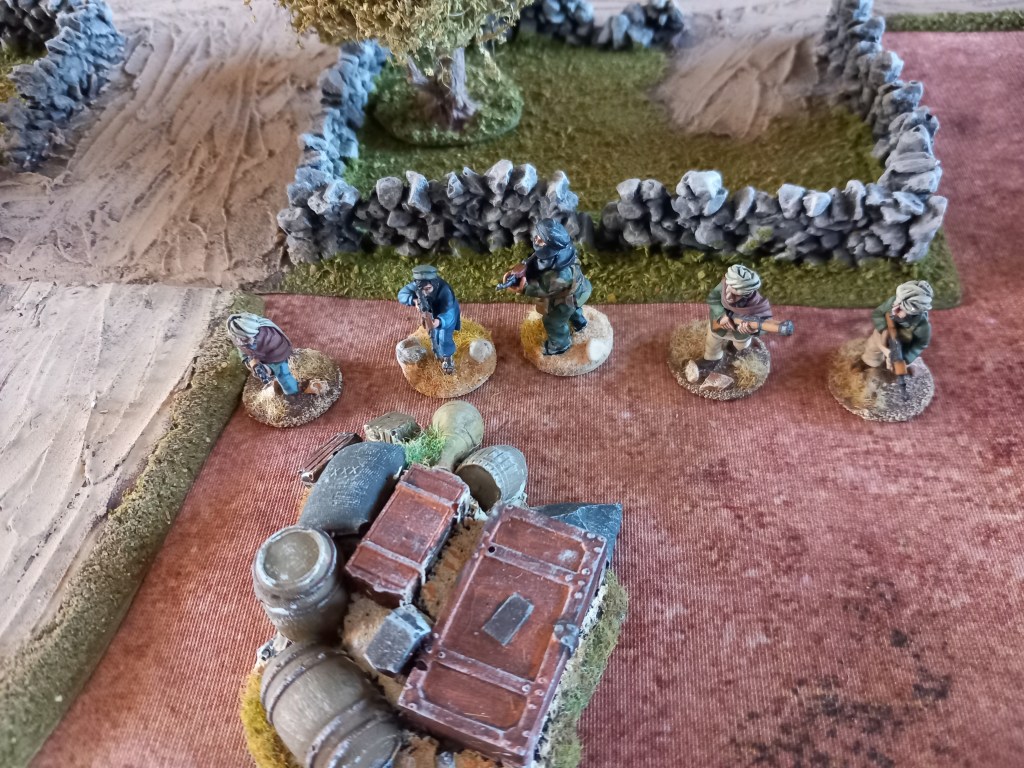
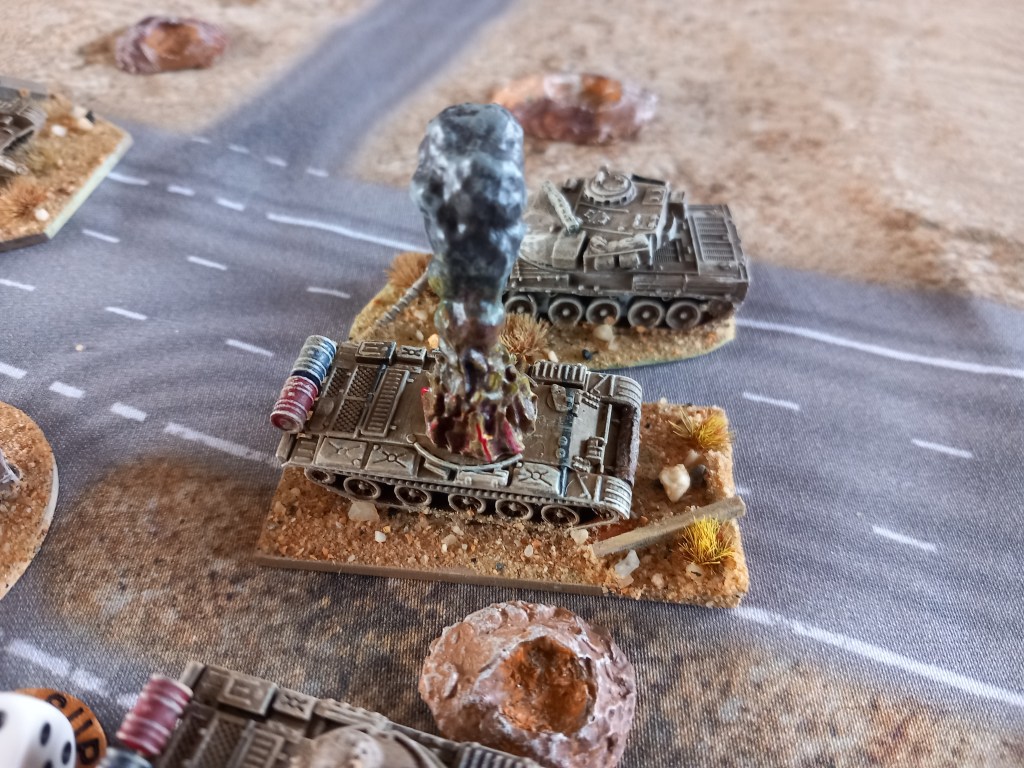
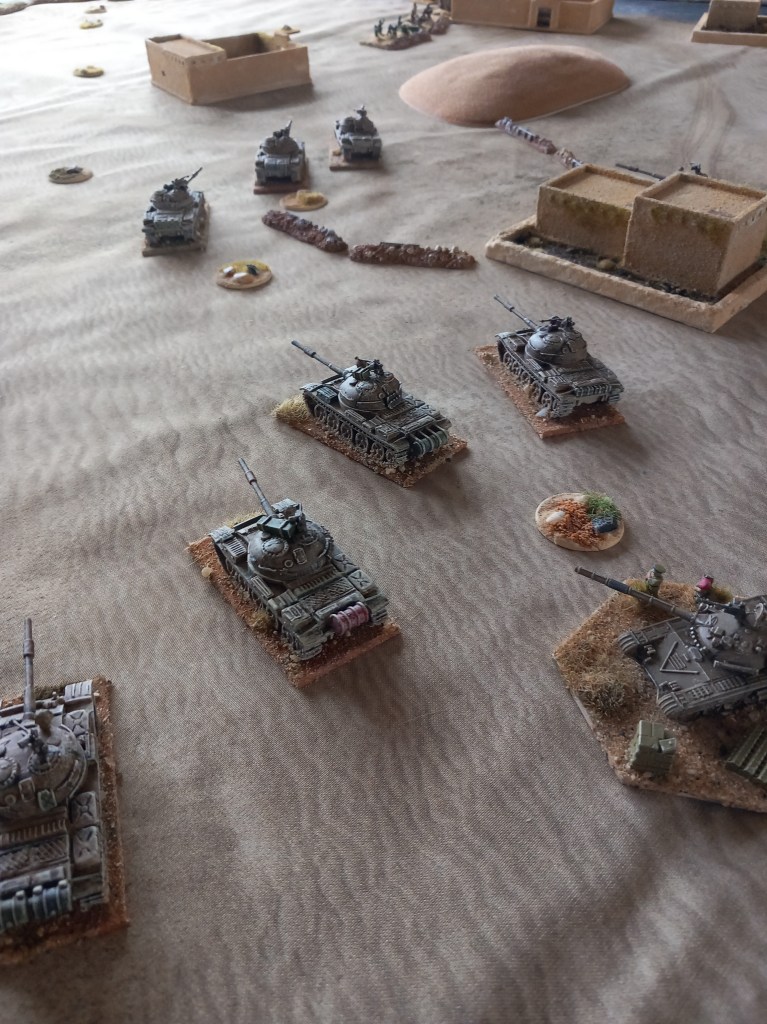
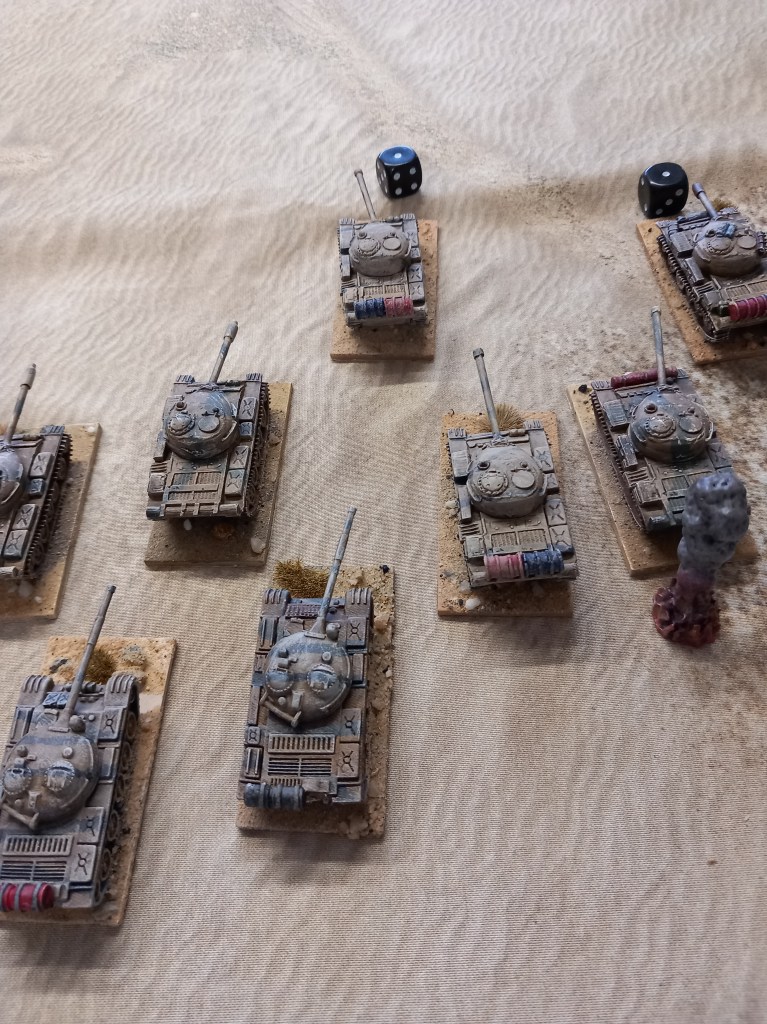
With the hornets nest duly disturbed the Axis troops began to tumble out into the square with the Italian tank crews leading the way into their fearsome tankettes 🤣
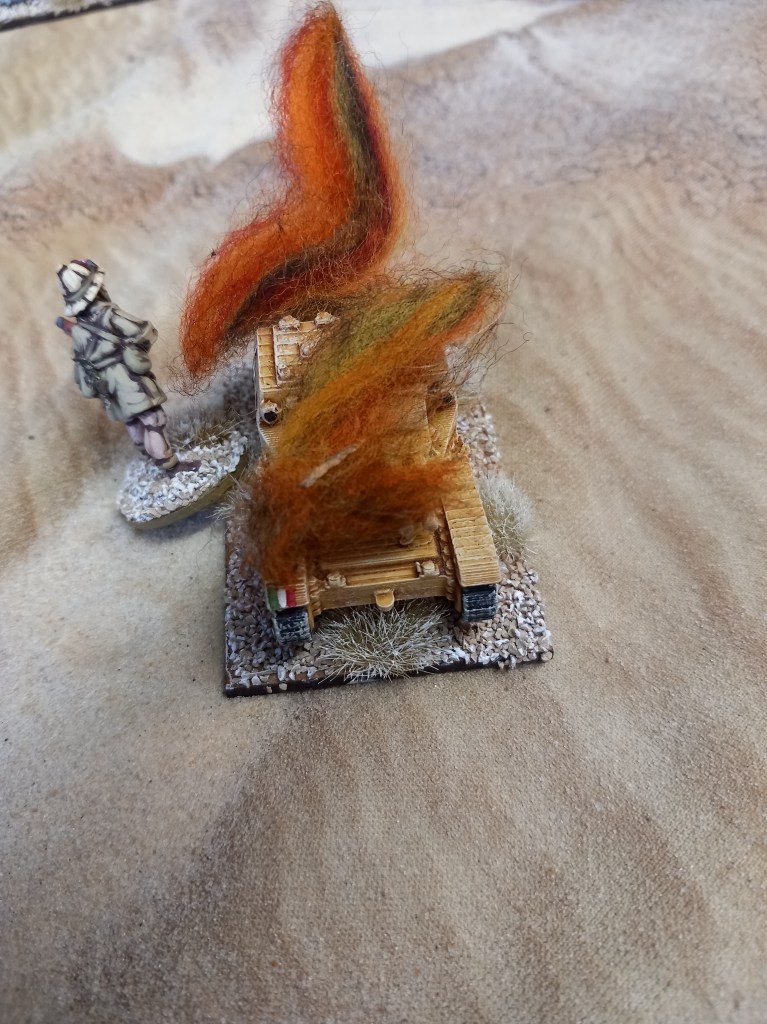
Unfortunately the lead tankette quickly went up in smoke and the Italians became a little more circumspect.
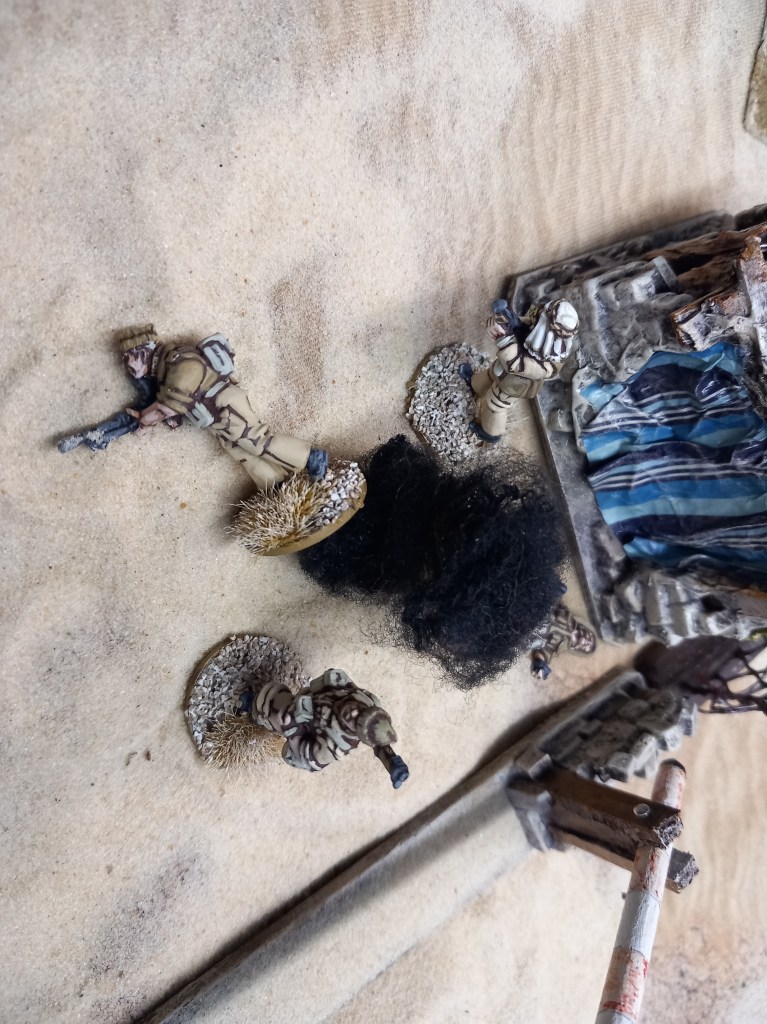
It wasn’t all wine and roses for the British however when the one tankette with an actual gun dropped a shell into one of the squads and downed two. Things were getting serious now!

As the British advanced into the compound the armoured cars gave very effective support fire.

It was starting to look like bullying now 😂
It was not all British hoorah though as once the Afrika Corps troops managed to push the Italians out of the way some serious fight back started to take place.

However it was all a bit too late by the Axis and with all the armour destroyed and most of the Italians & Askari dead or wounded the Germans had no choice but to surrender themselves and the prisoners.
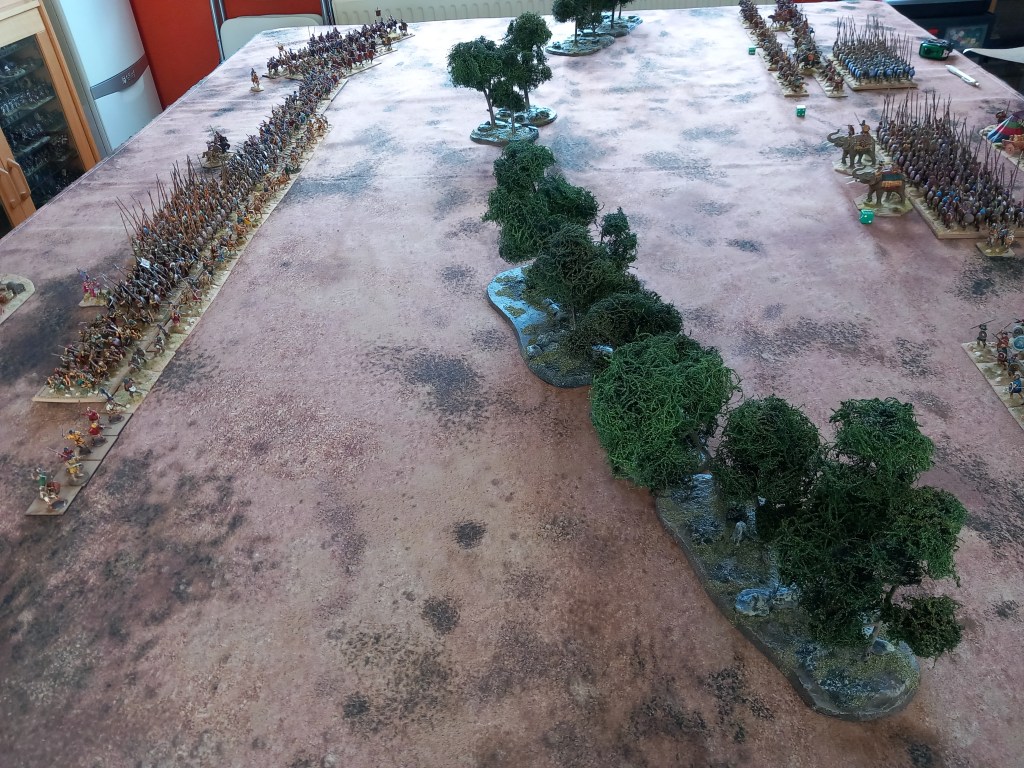
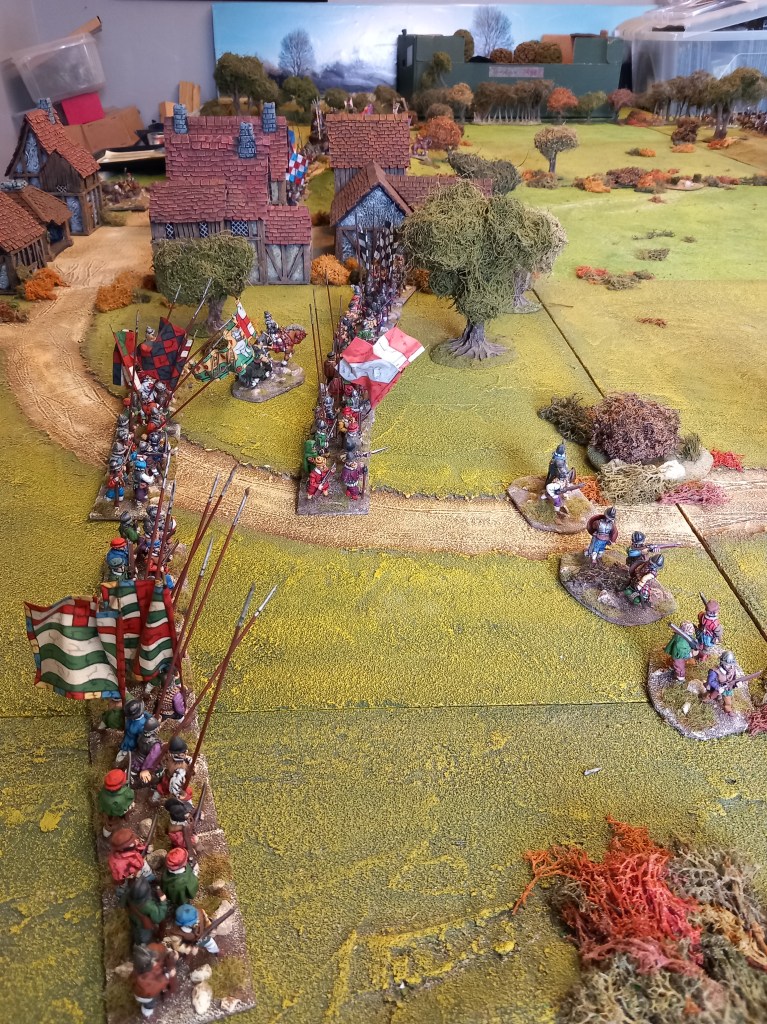
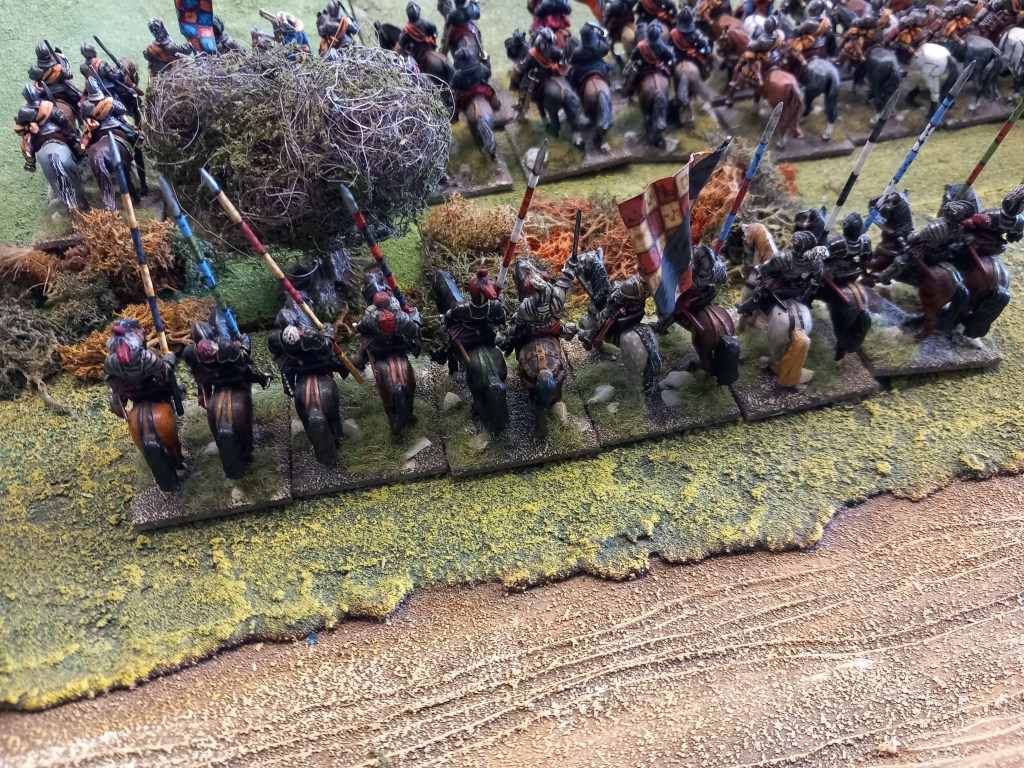
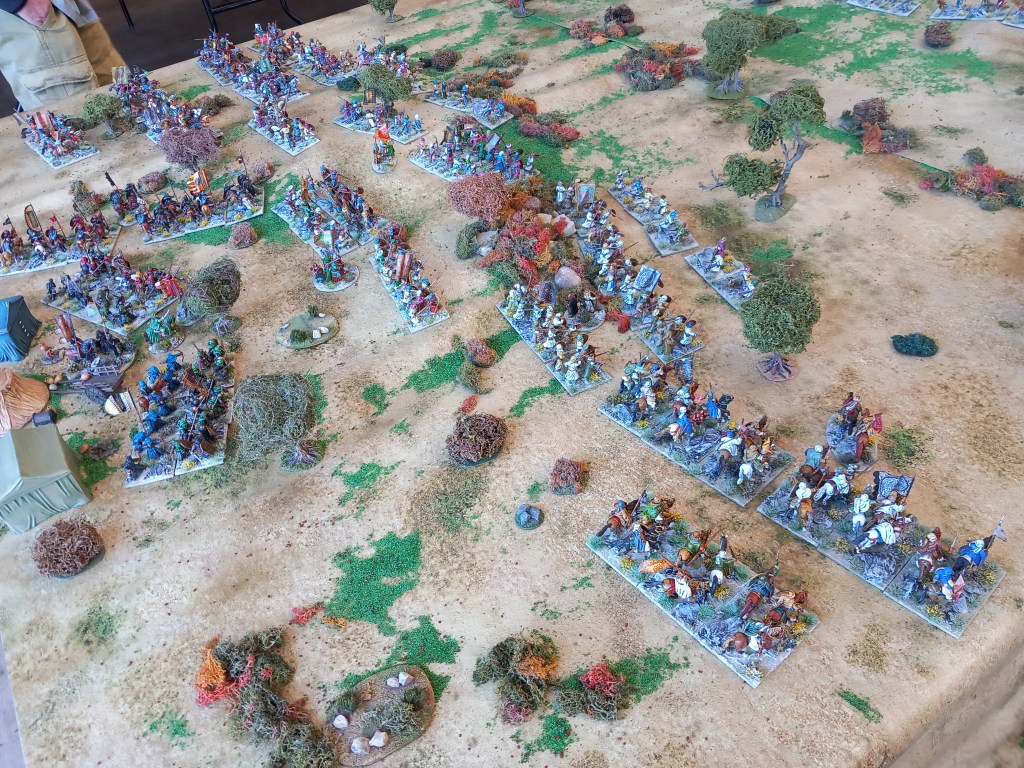
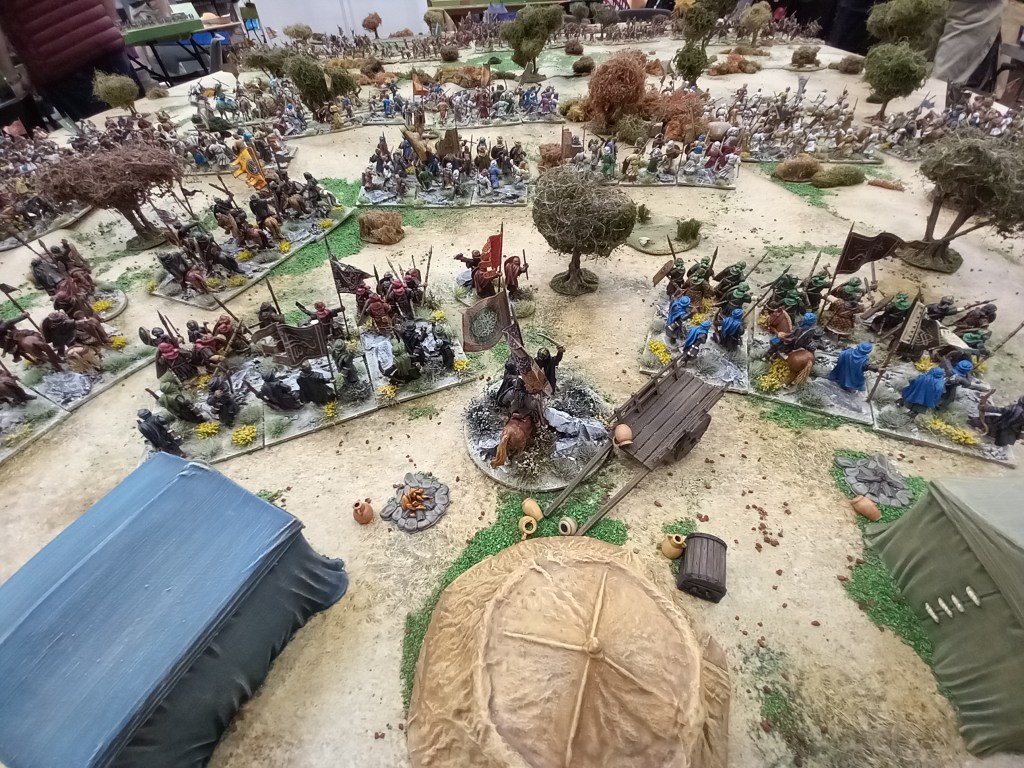
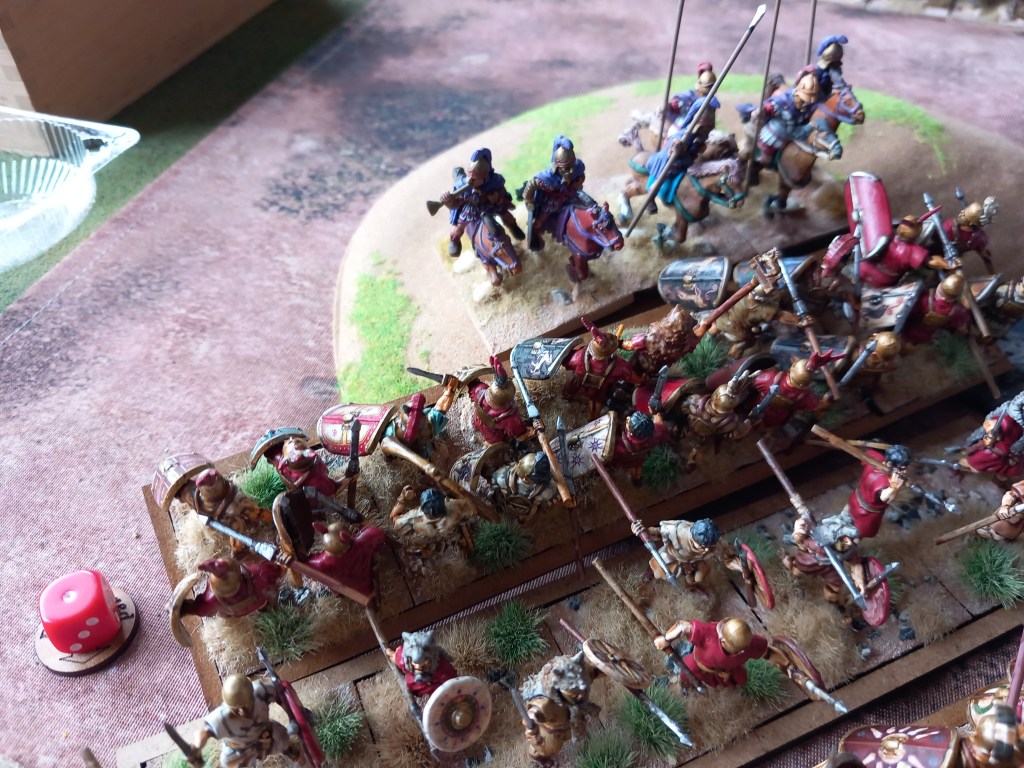
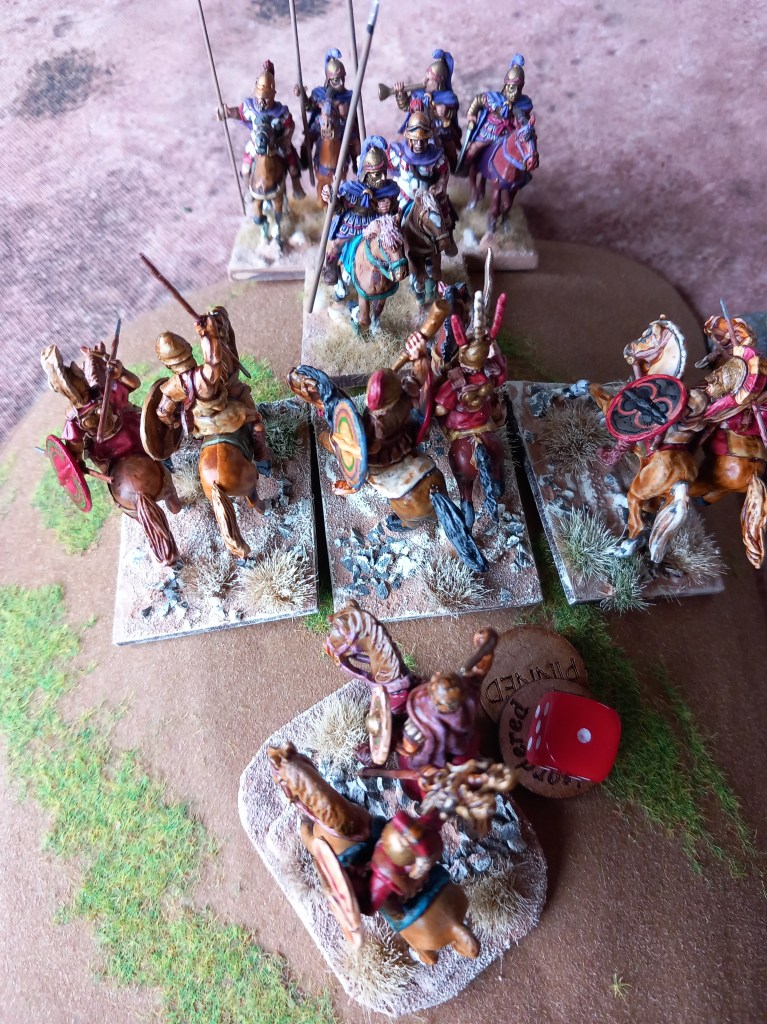
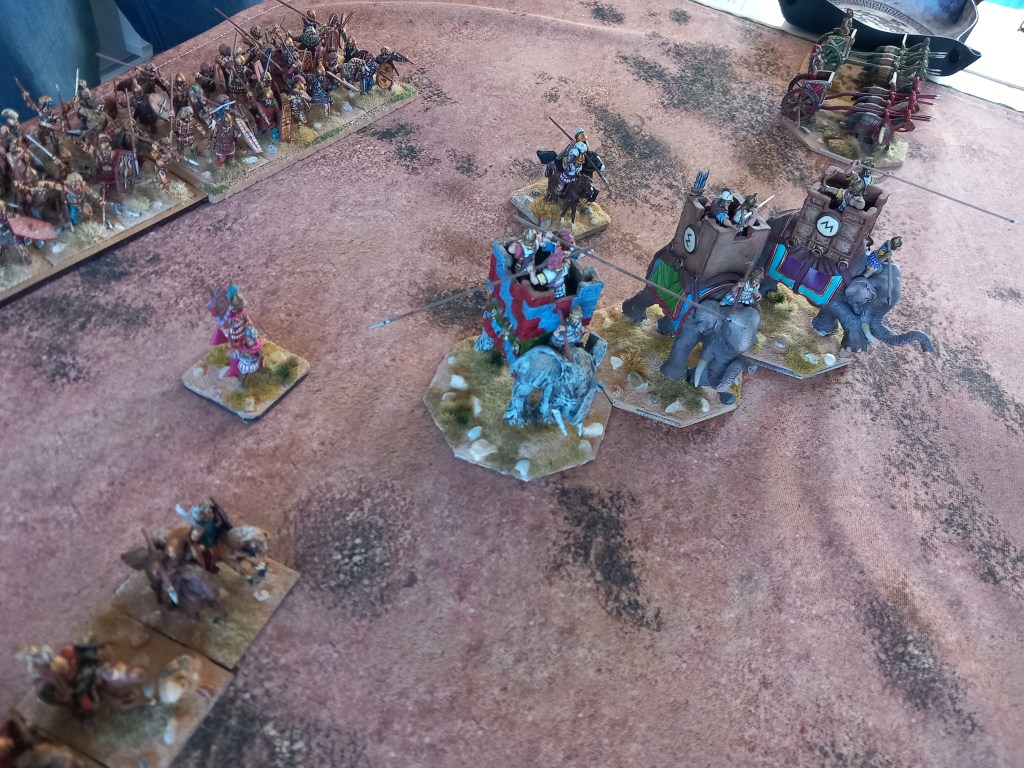
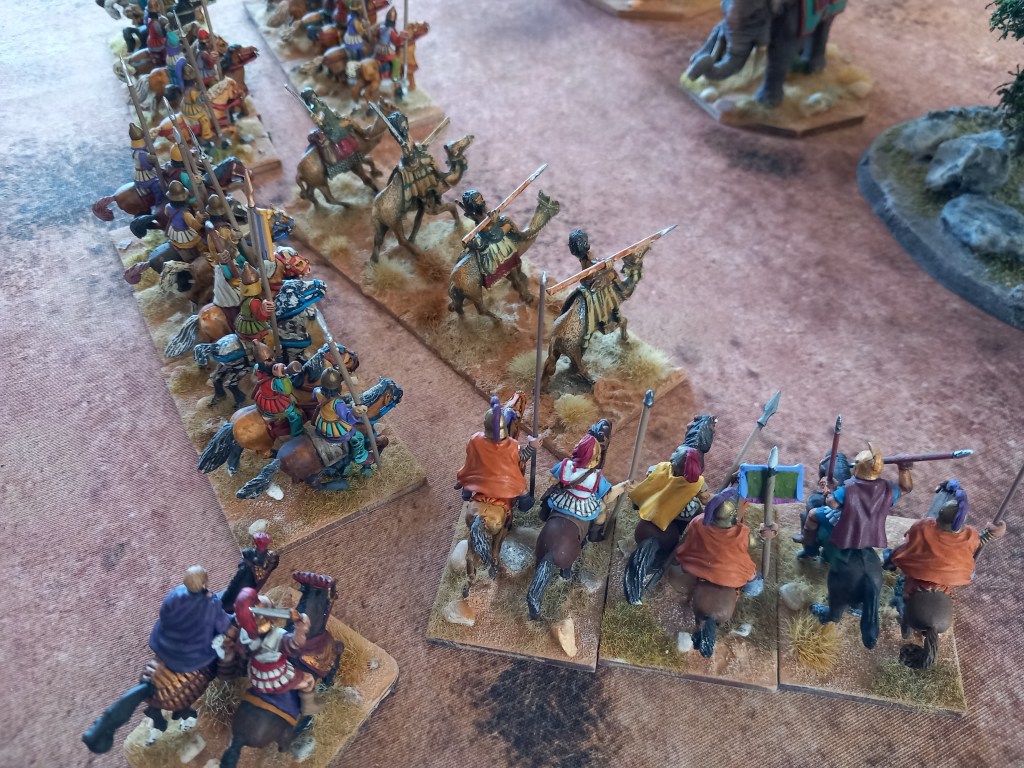
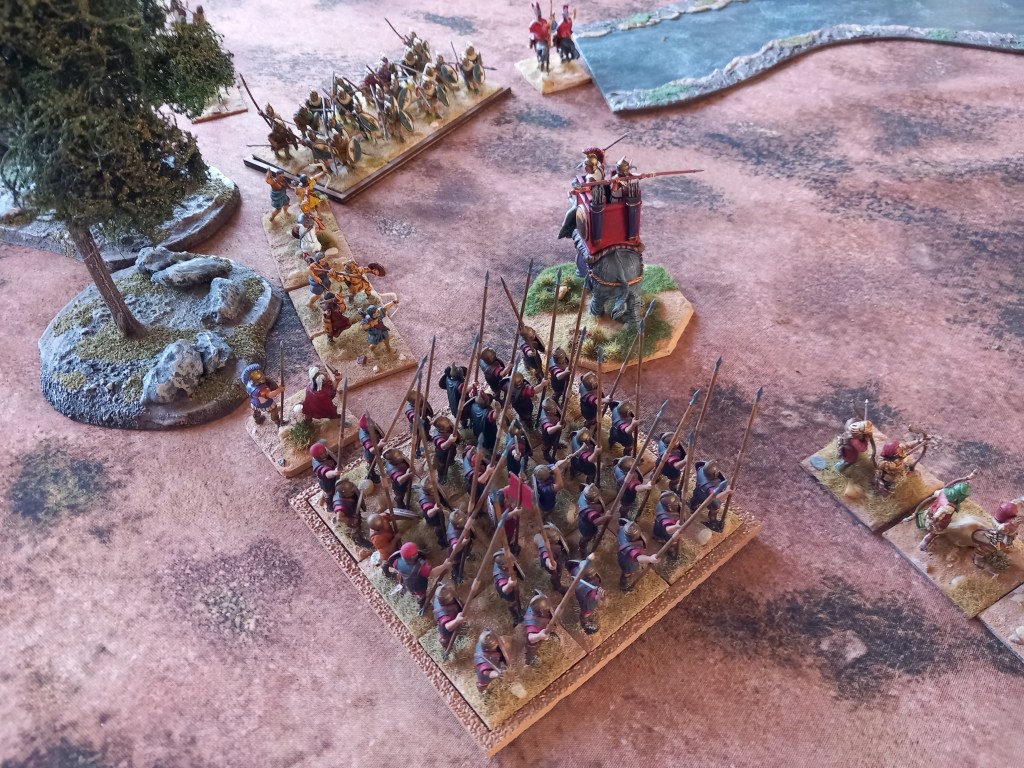
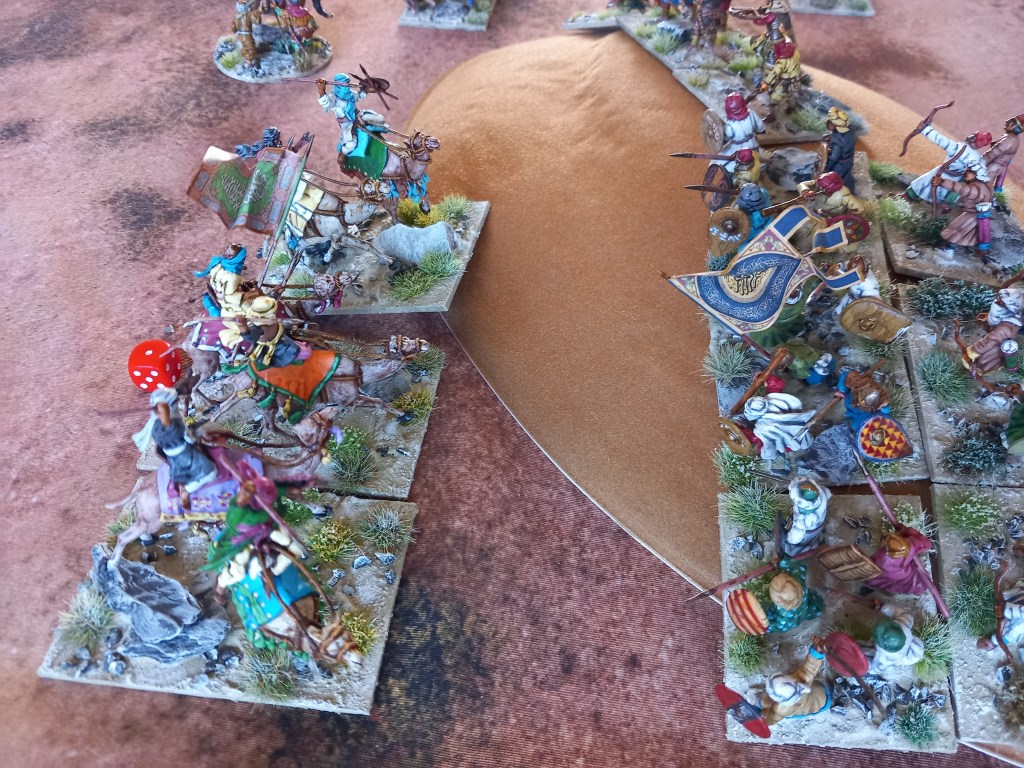
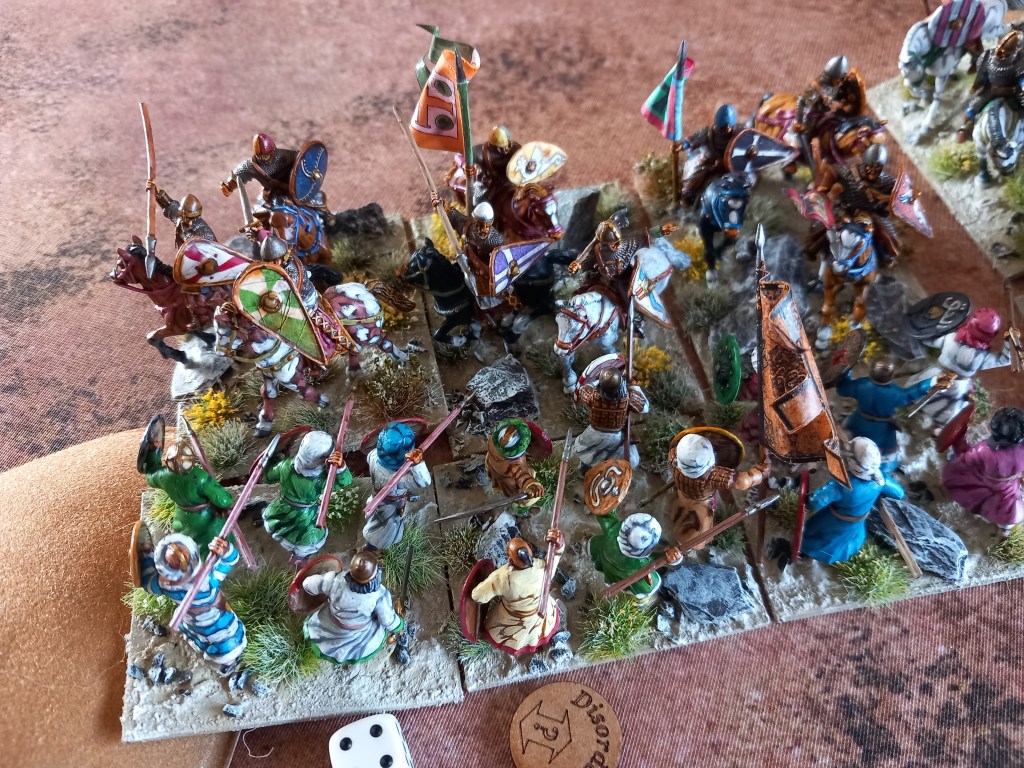
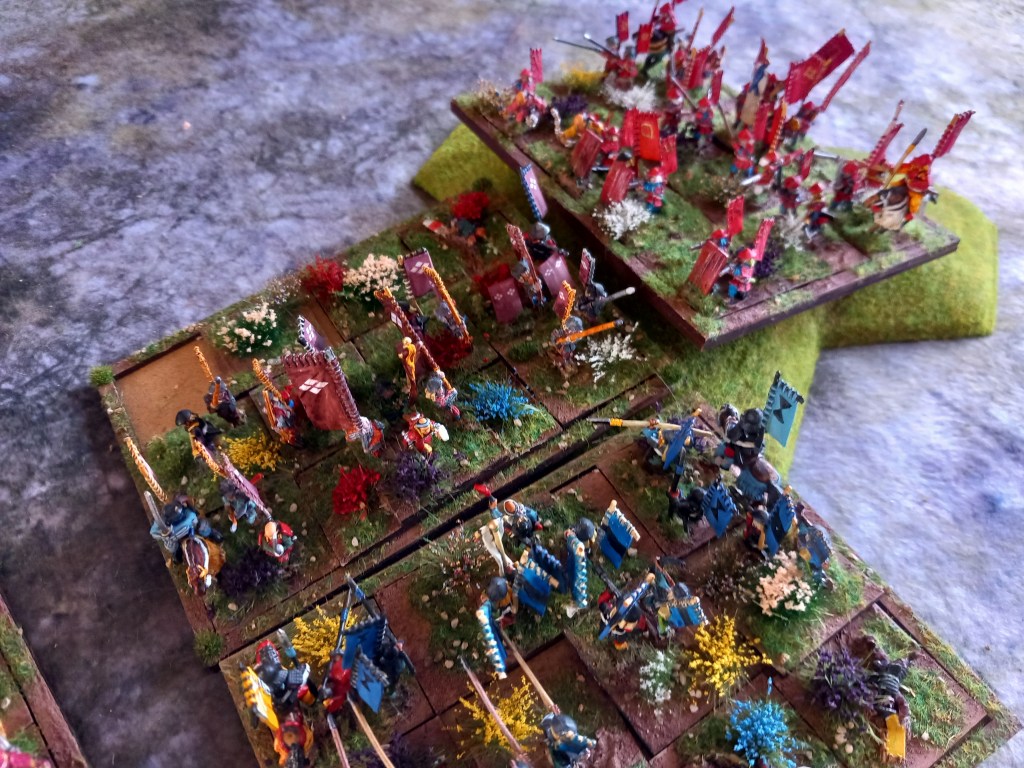
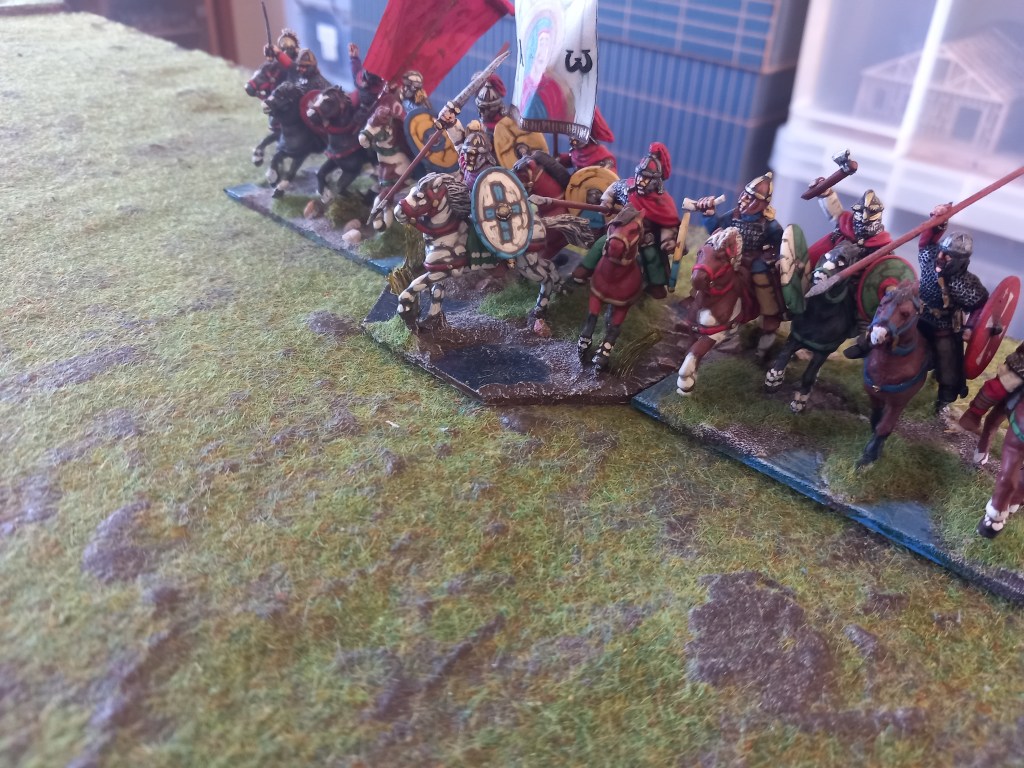
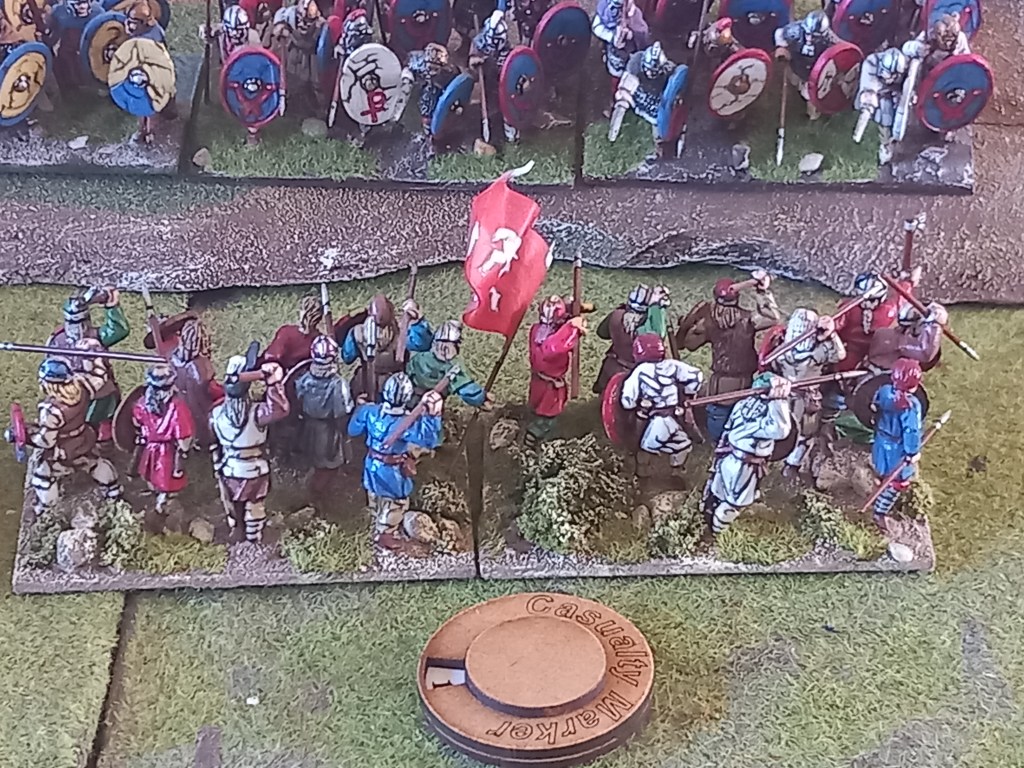
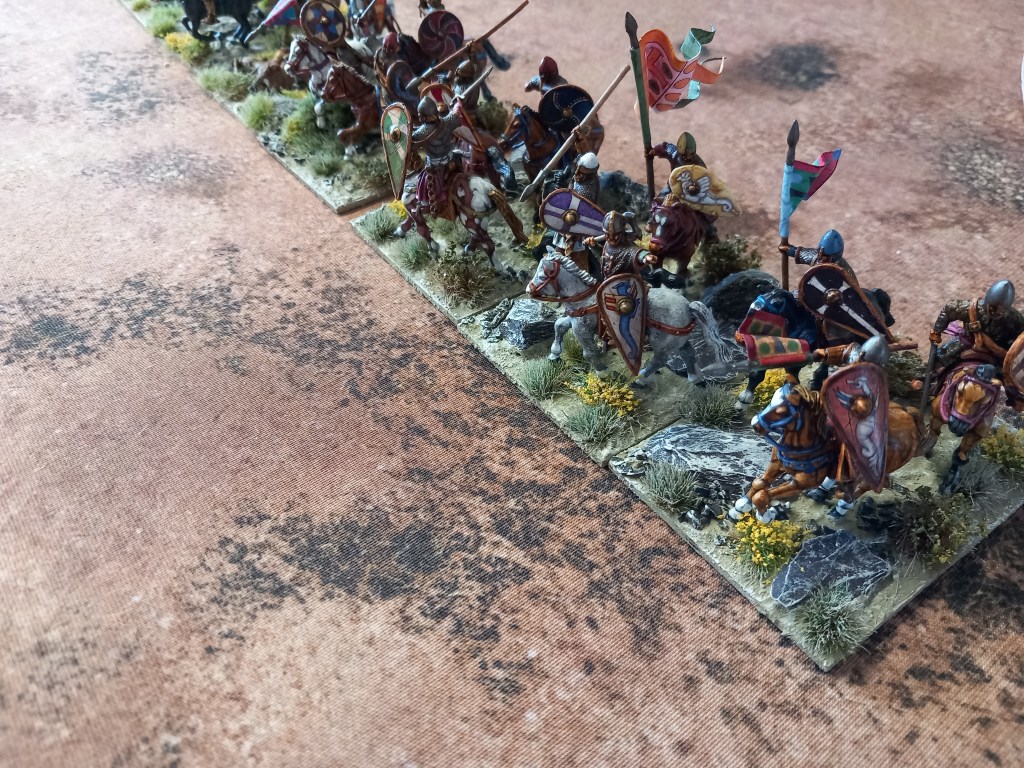
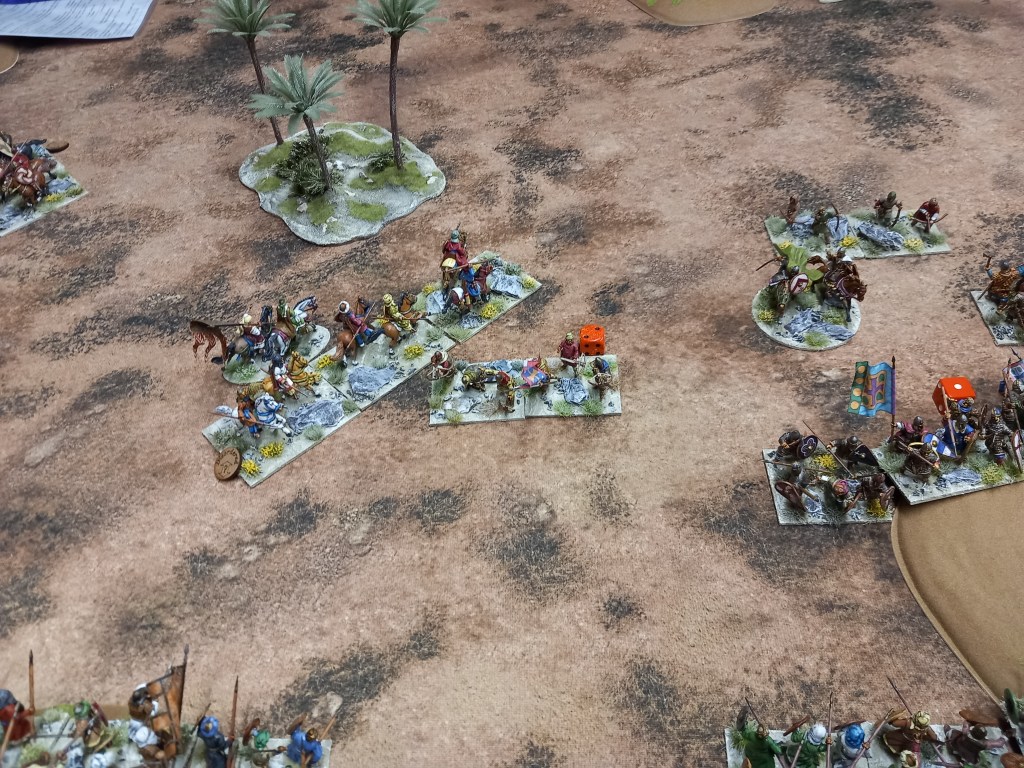
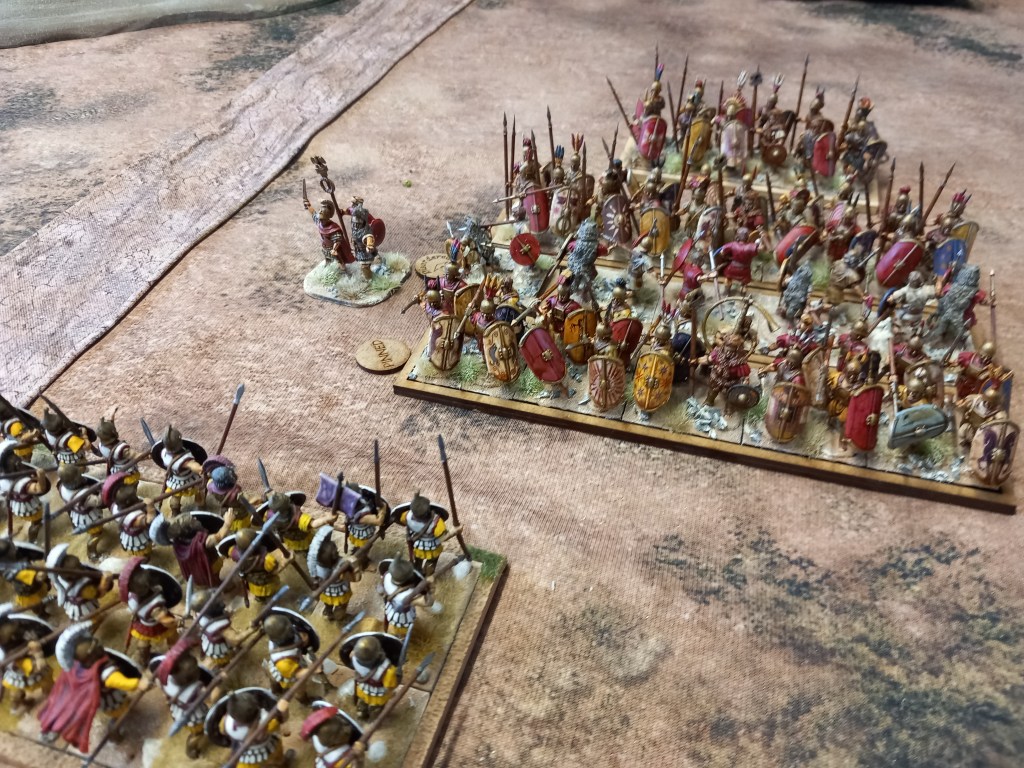
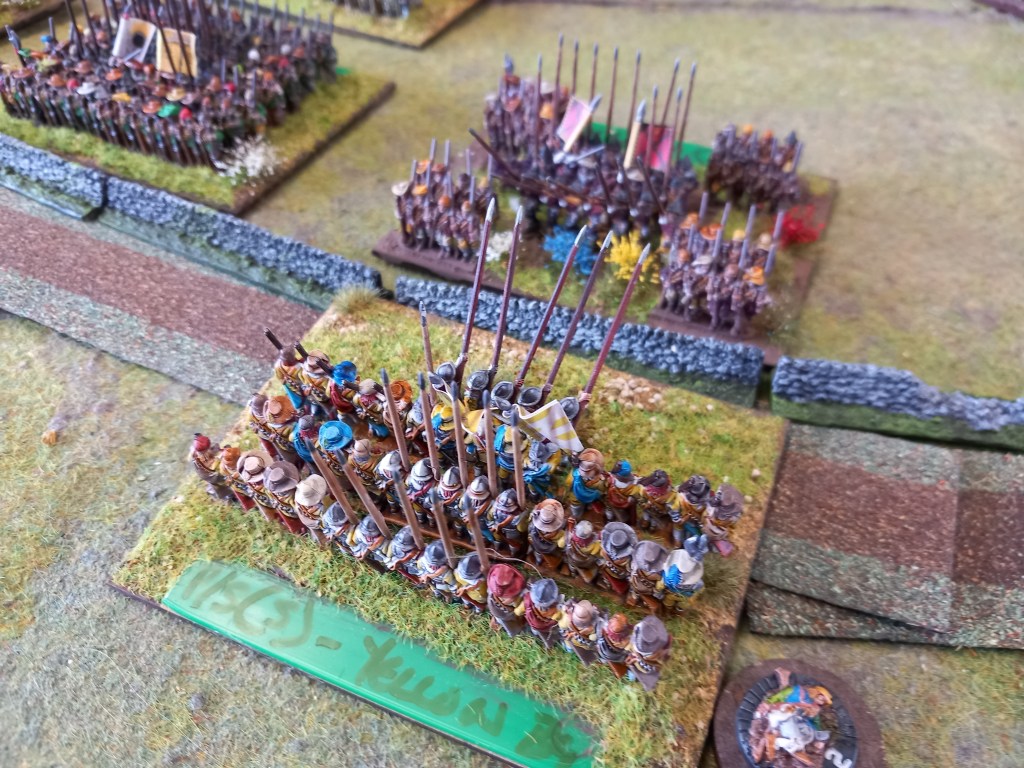
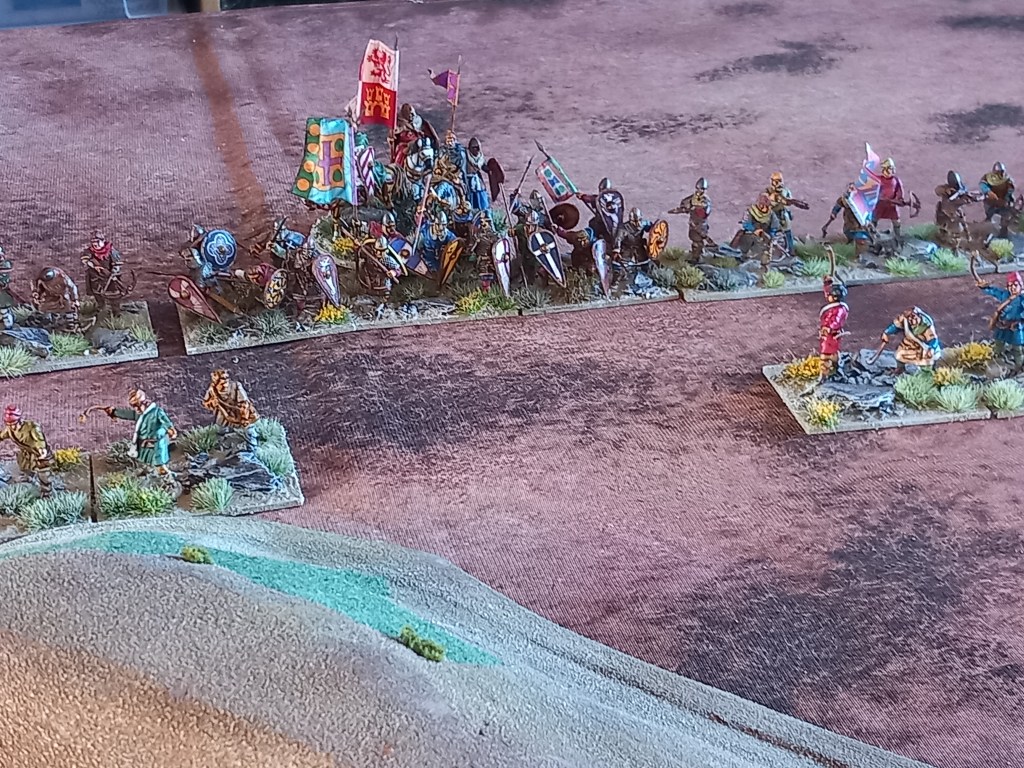
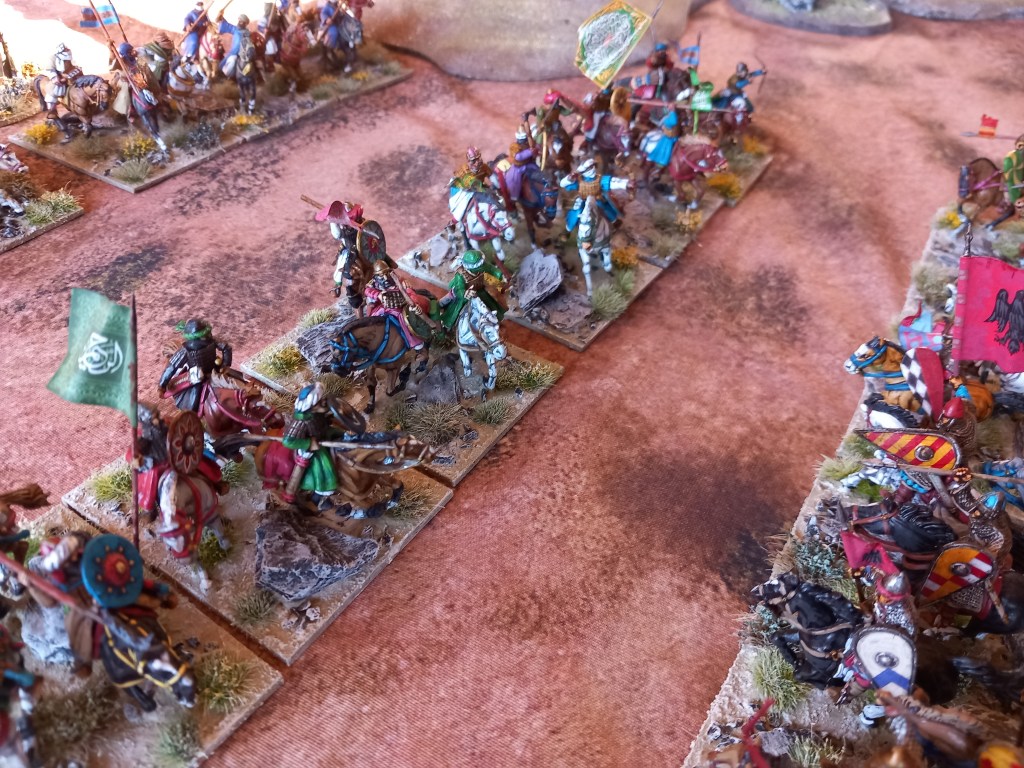
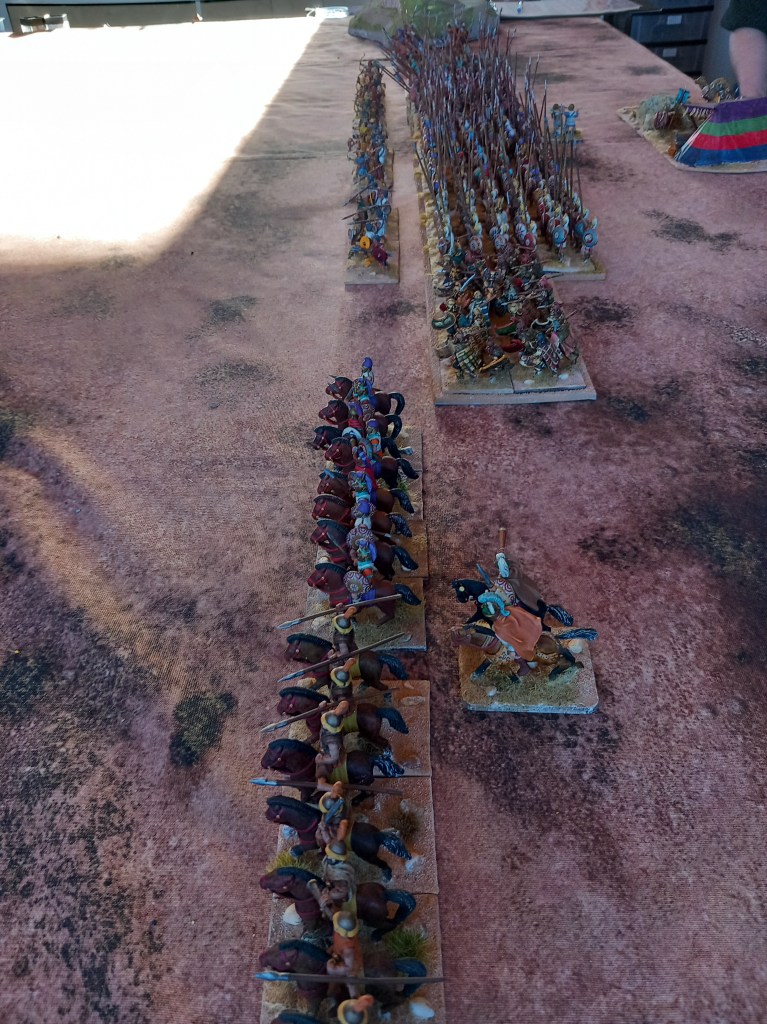
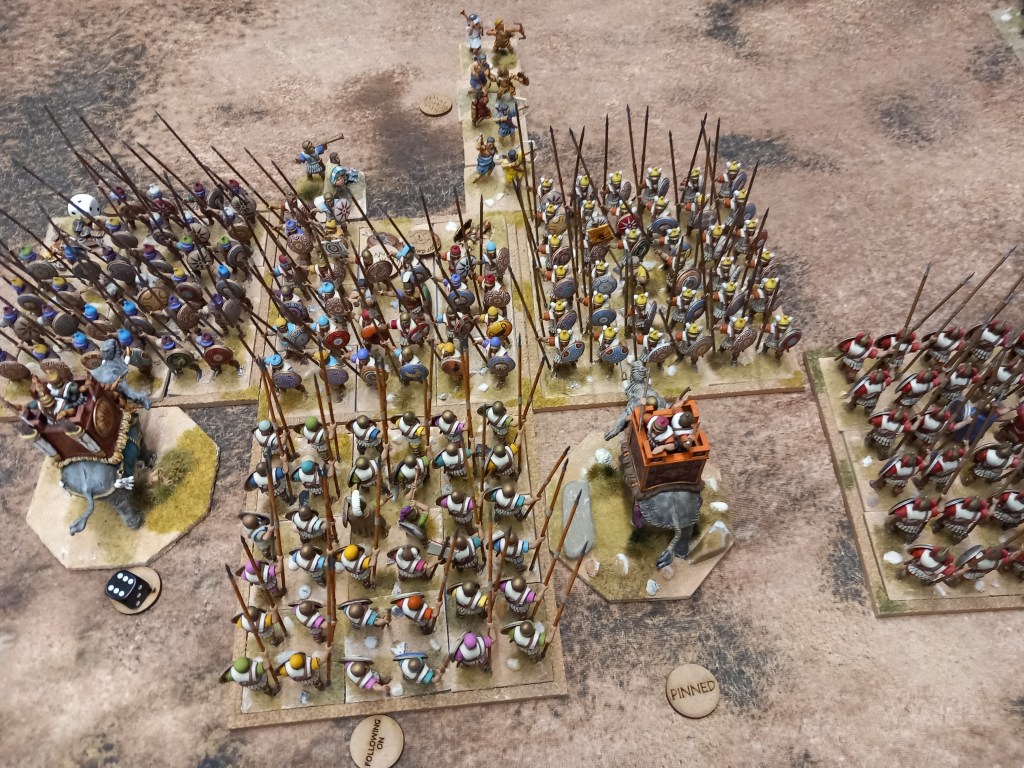
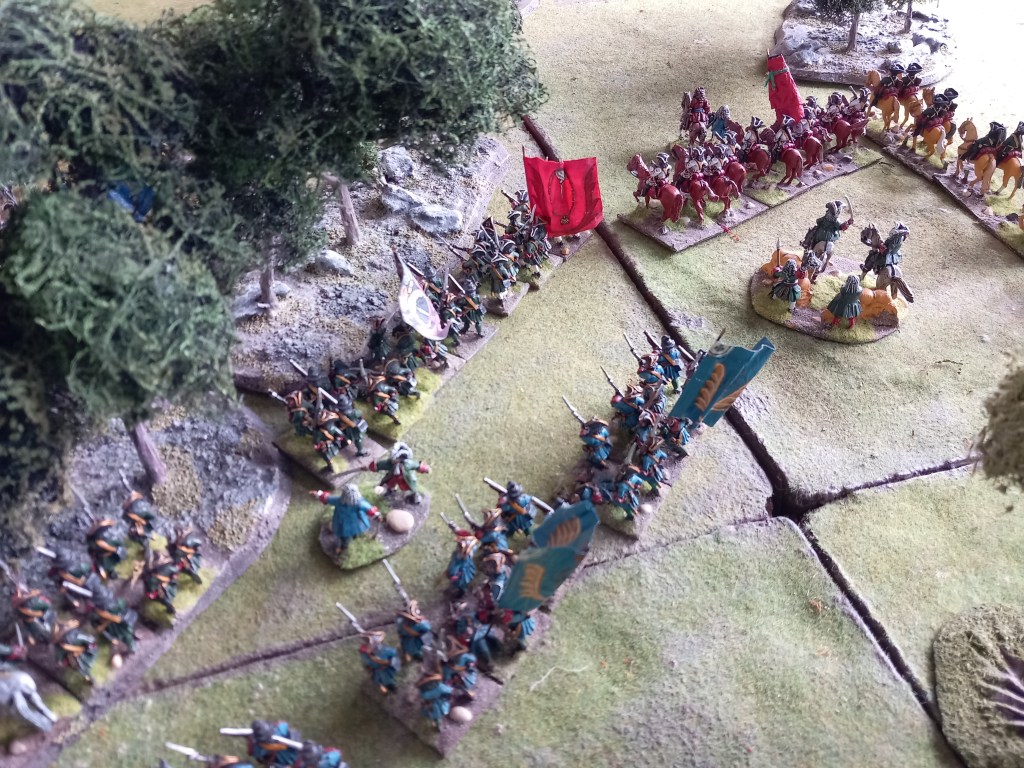
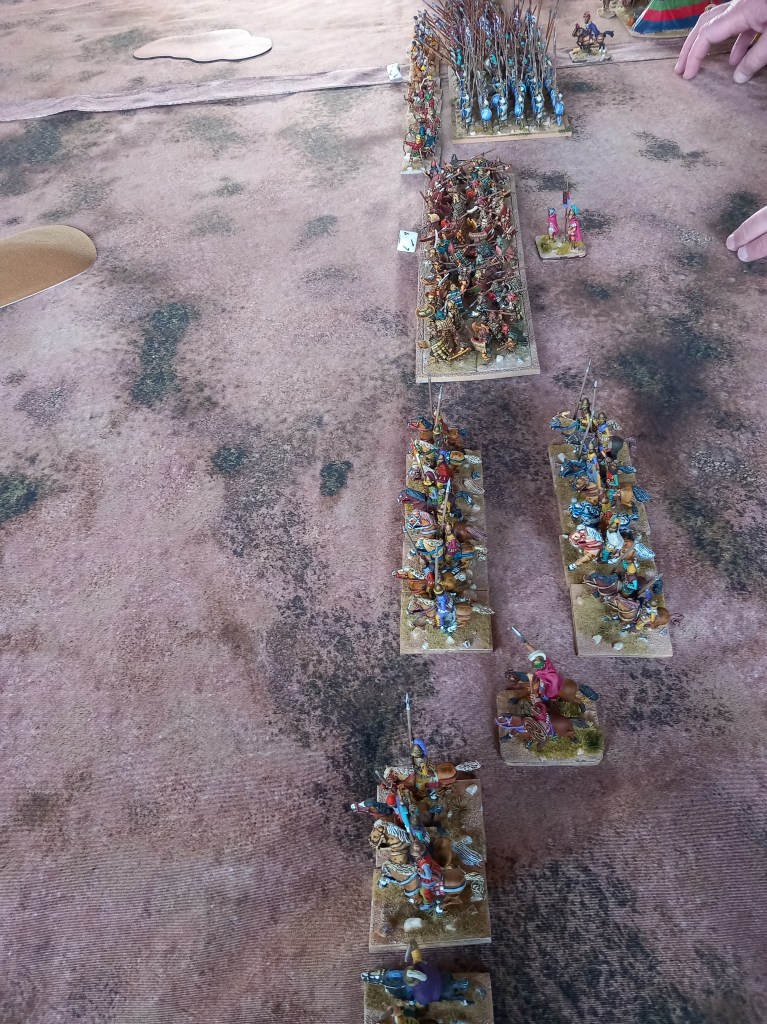
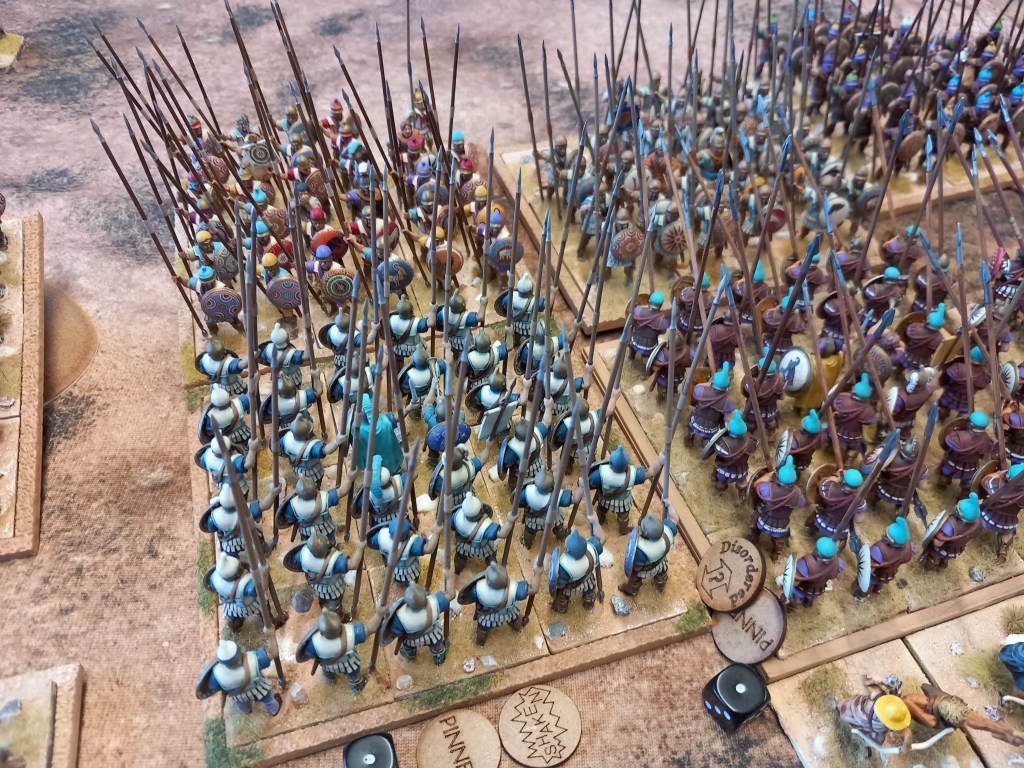
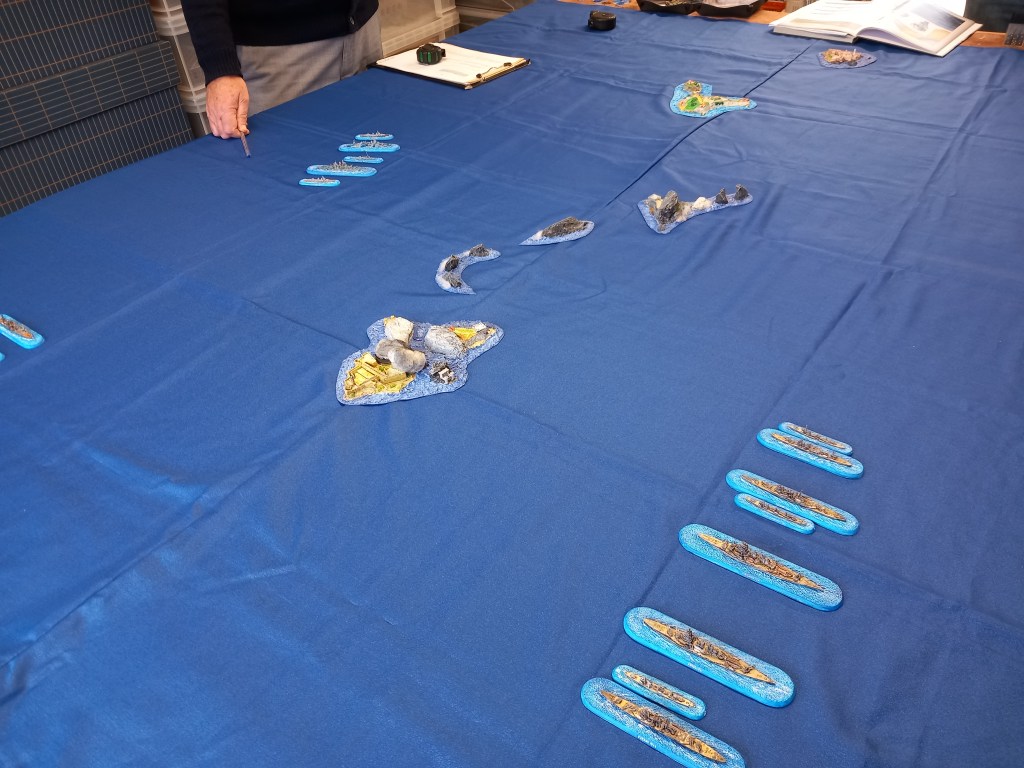
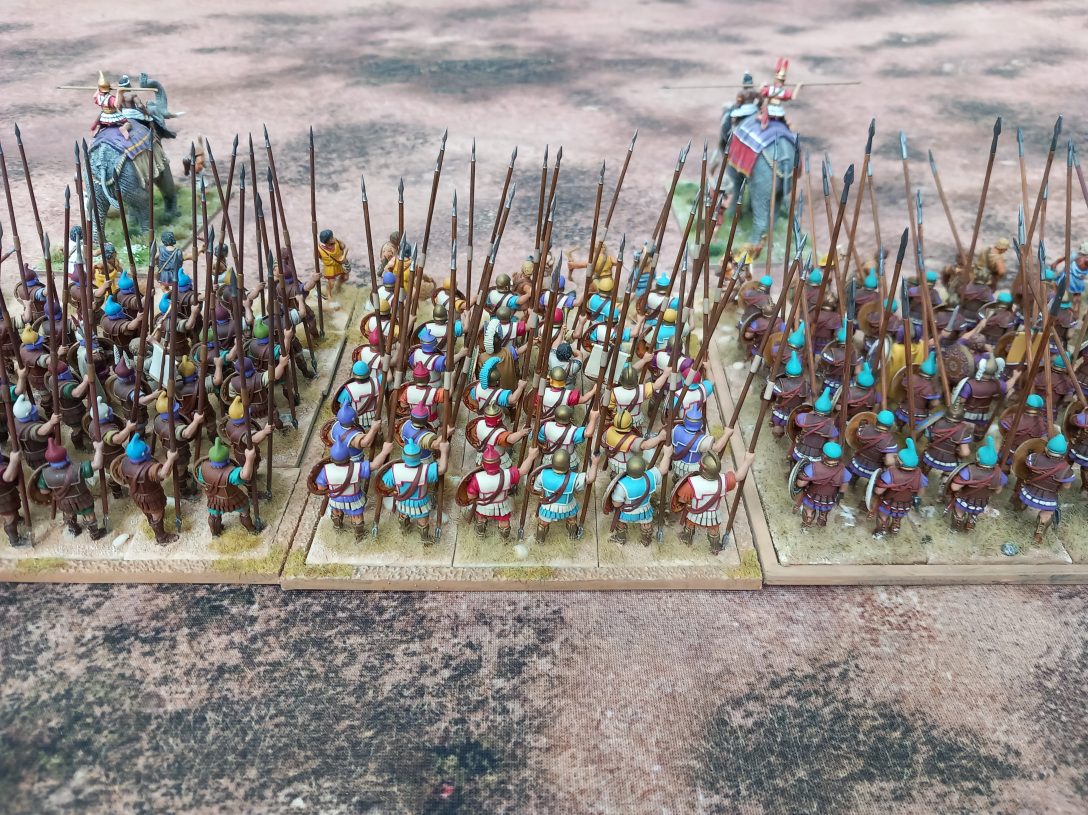
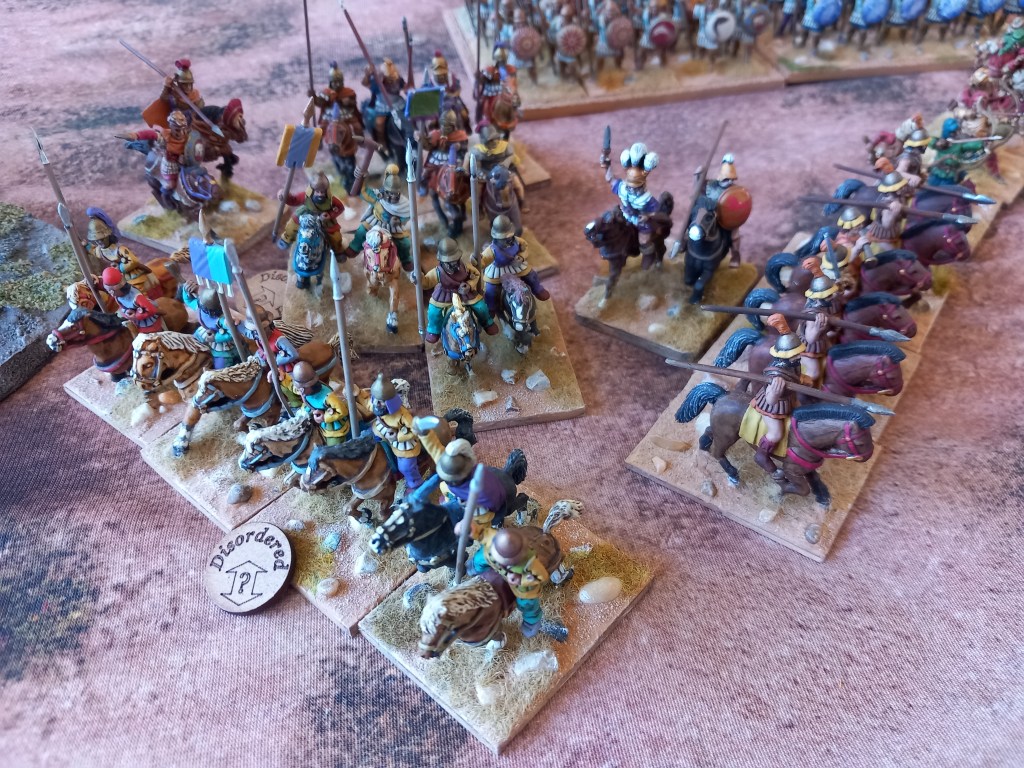
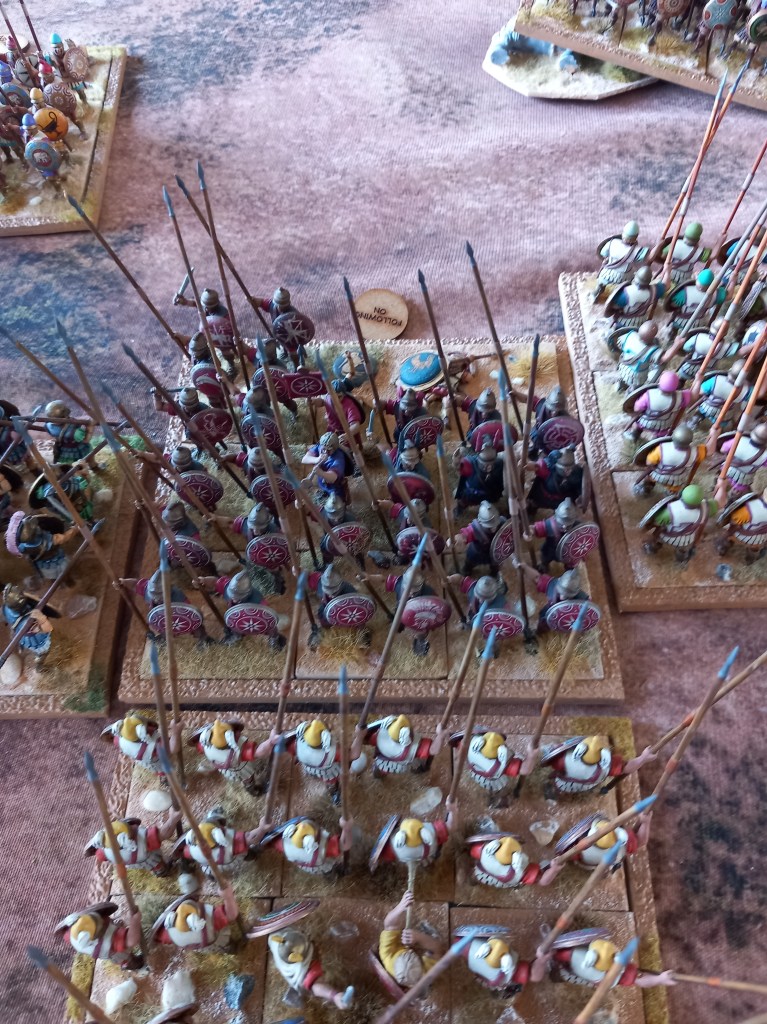
Next was an interesting Successors game whereby Antigonus and his mighty host took on the western satrap Alcetas with both sides obscured by a belt of woods.

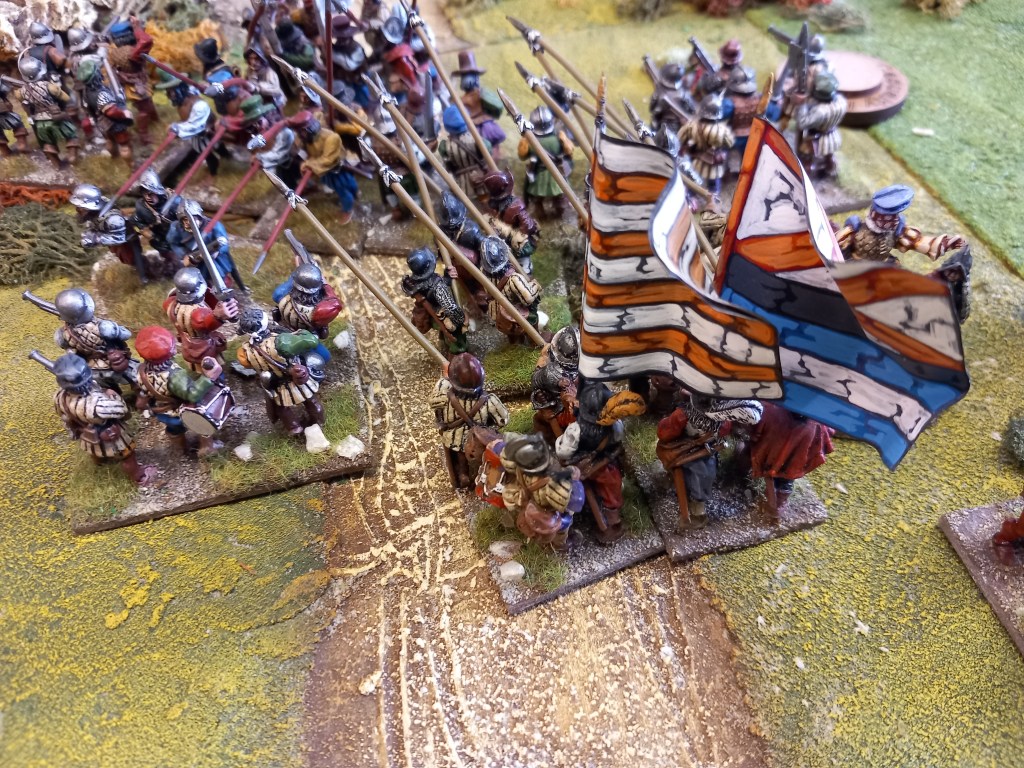
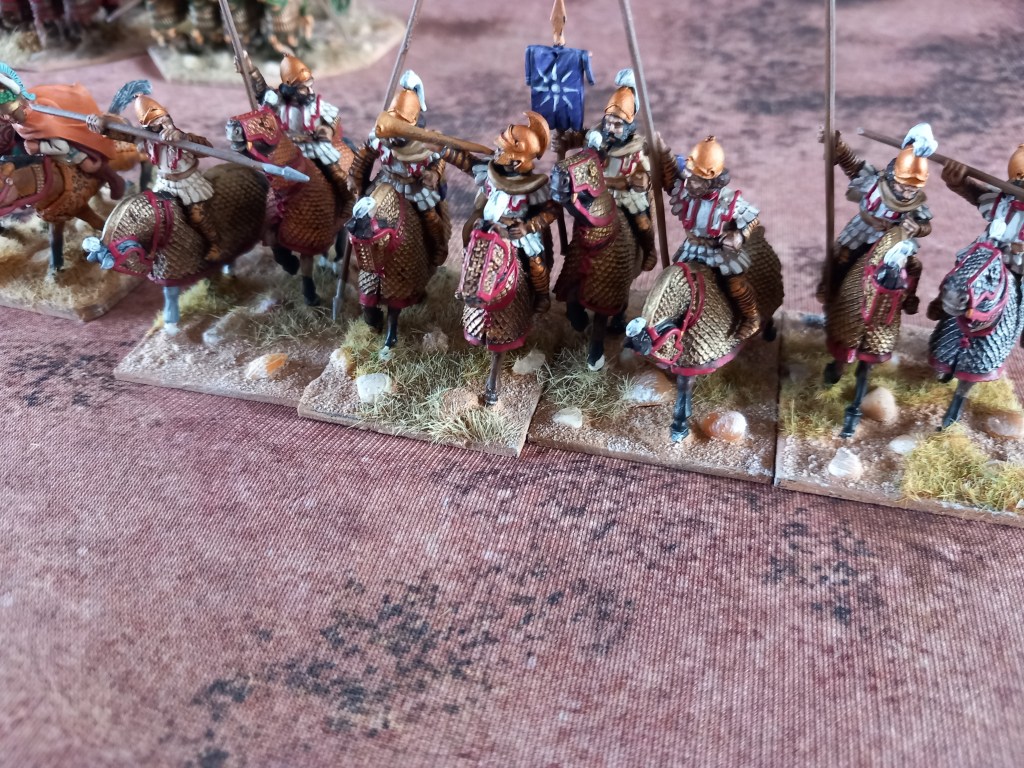
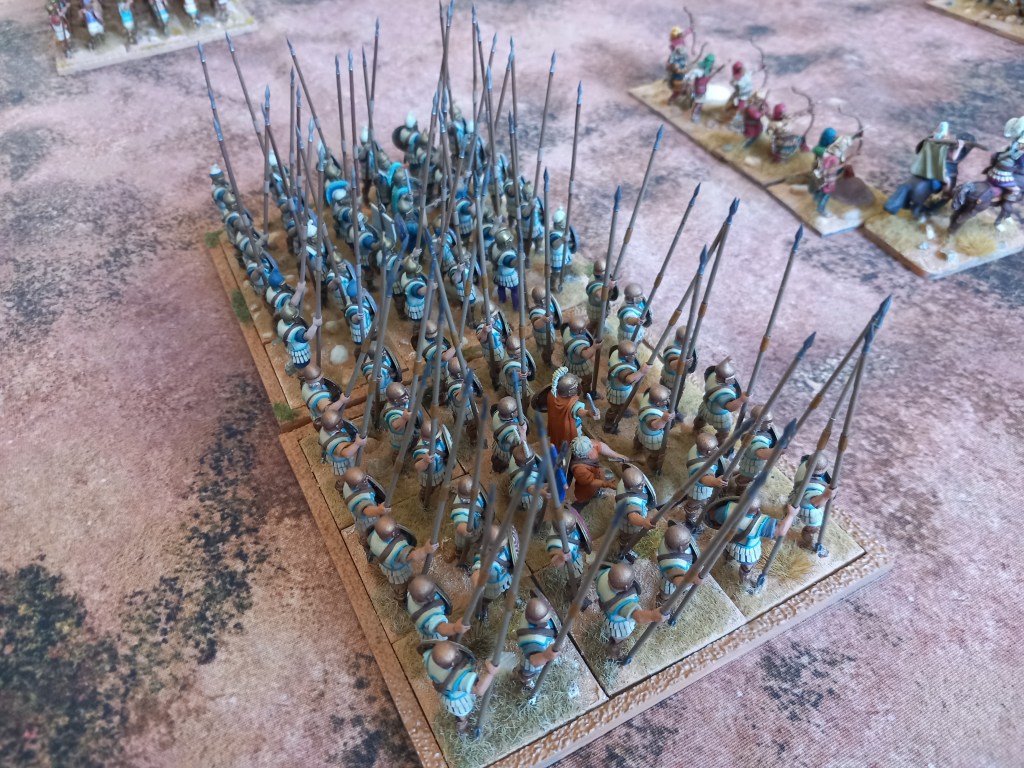
The Antigonids were pike heavy with 5 battalions ranging from Veteran to Levy supported by hoplite mercenaries. They were also heavy in horse with 6 units of formed cavalry. Where they were weak was in light troops, fielding only 1 unit of light horse and 3 of foot, but they did of course have elephants.

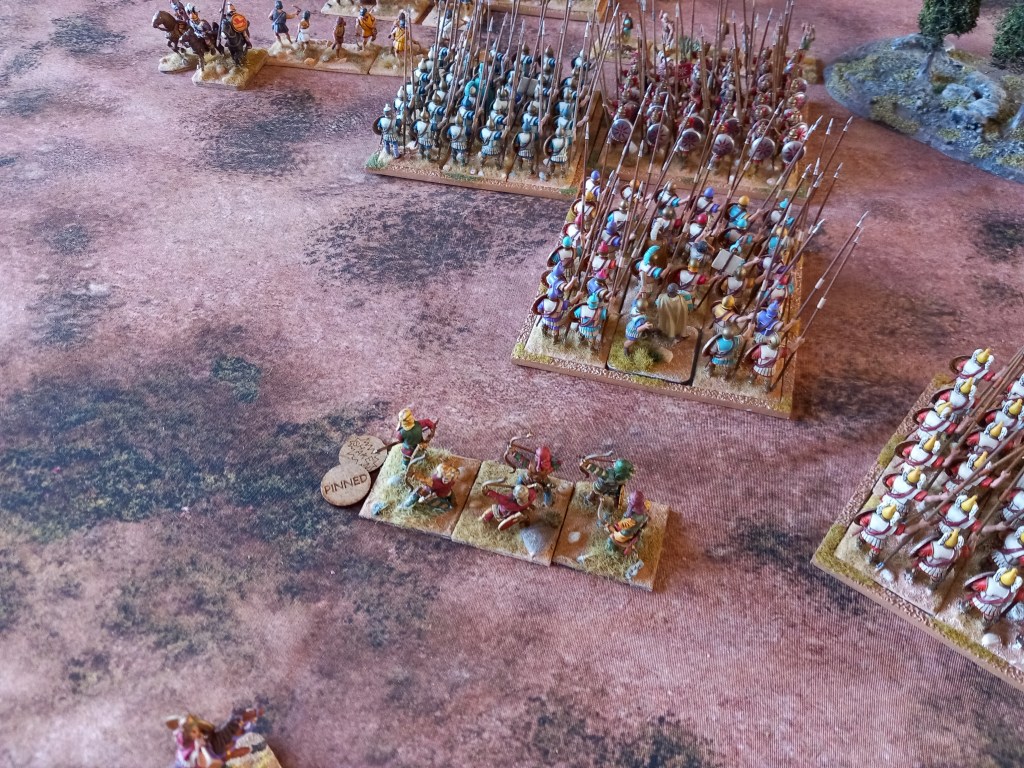
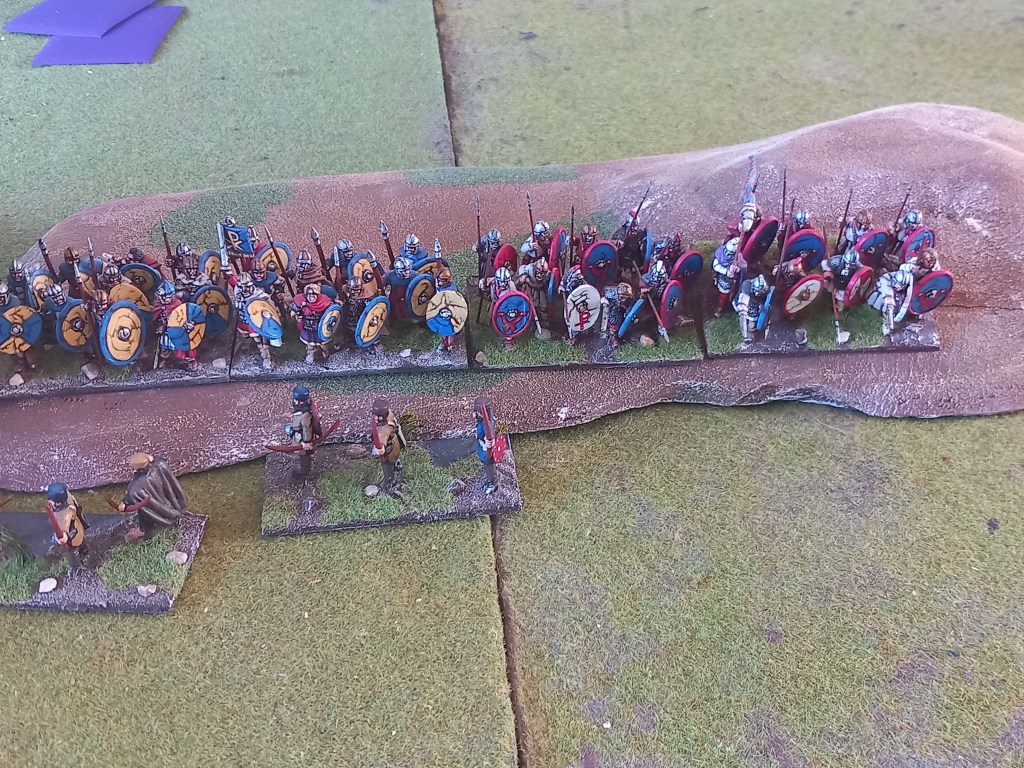
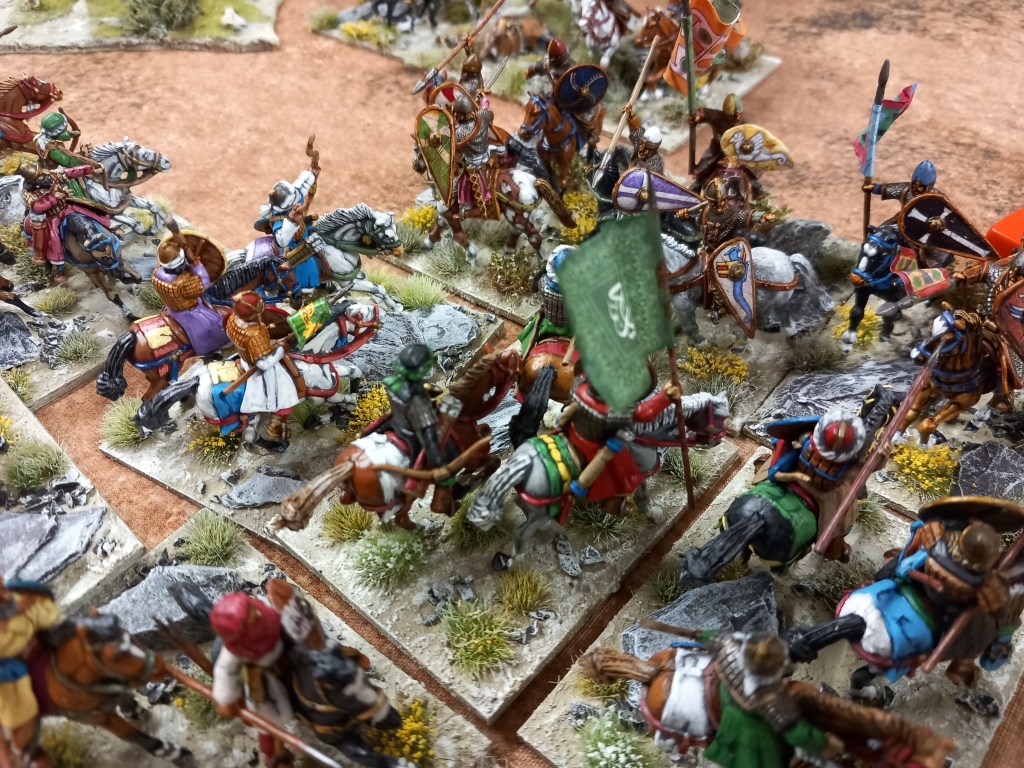
Alcetas on the other hand was falling over himself with light troops and that dictated his style of play. His heavy troops were 2 pike battalions and 2 hoplite battalions which he positioned opposite one of the breaks in the woods heavily screened by psiloi while his left was protected by 3 units of Psidian peltasts planning to take advantage of the woods opposite and his by some Thracians and more psiloi. The satrapal heavy & light horse was held back on the left to await orders to be committed to plug any holes that appeared.
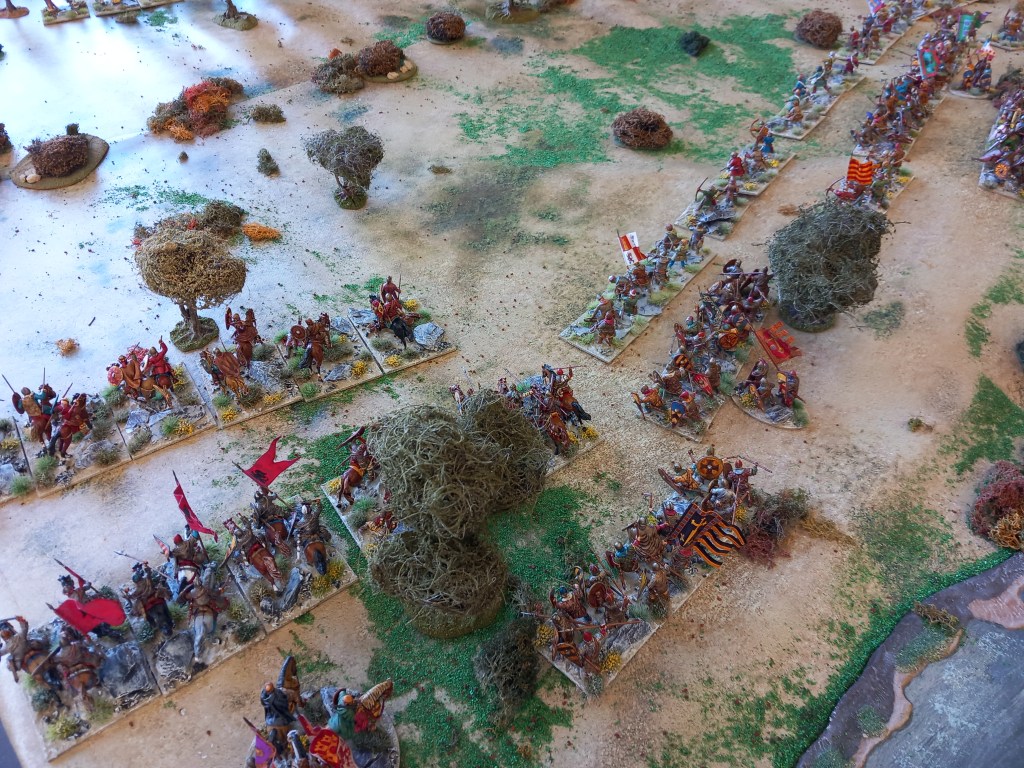
The battle opened with a strong advance all along the Antigonid line but a far more cautious one from Alcetas – jibes about dragging his feet had no effect whatsoever 😂

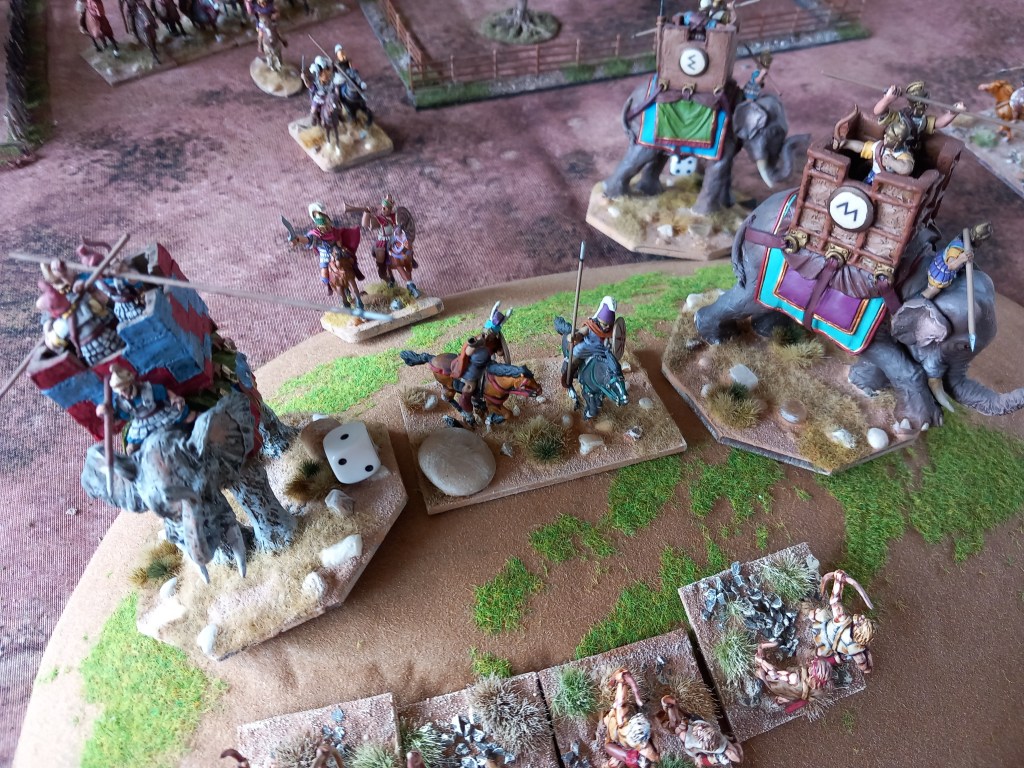
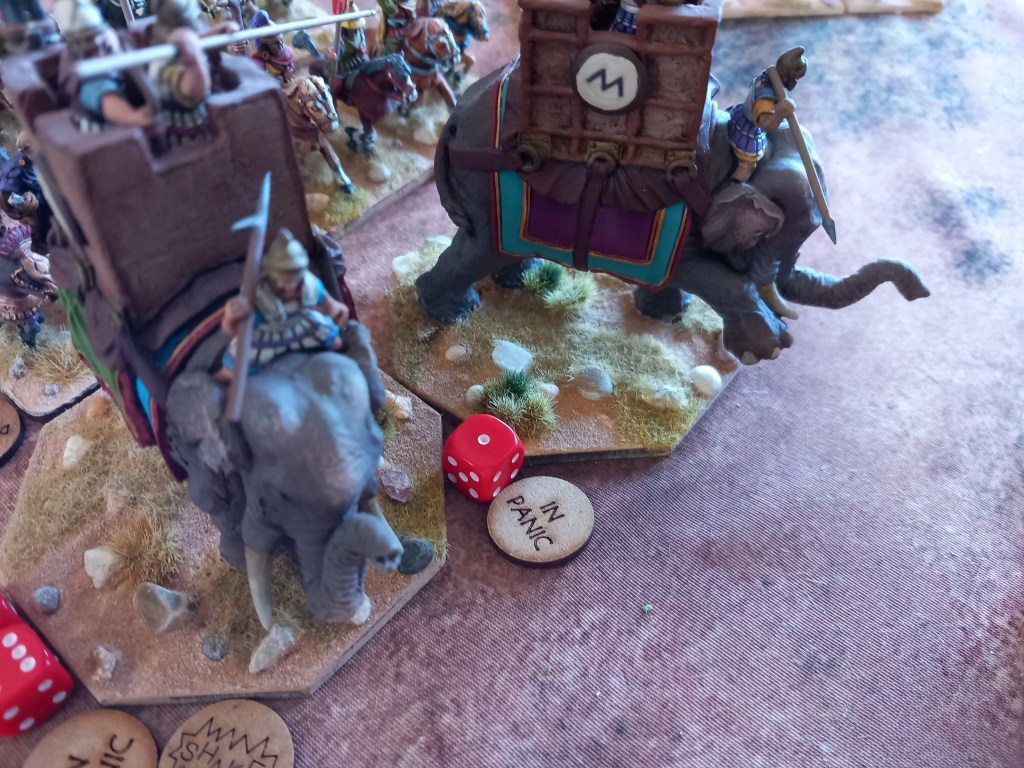
The first serious action was the psiloi annoying the elephants which thy did very well and in due course we had panicking elephants and then dead elephants.

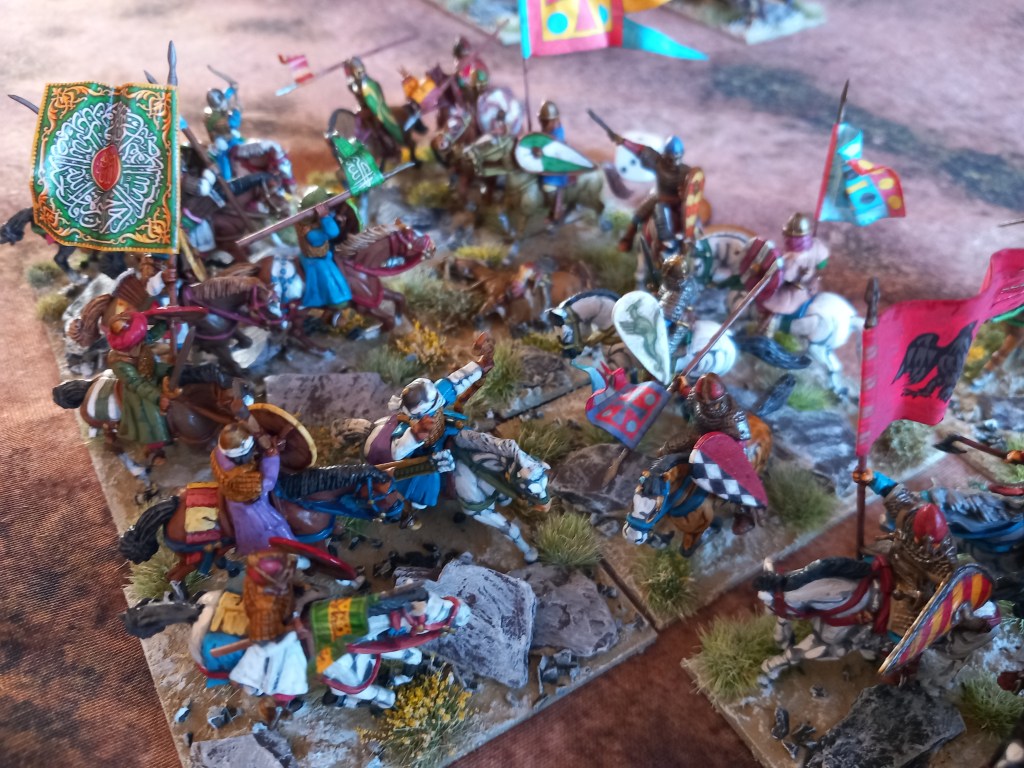
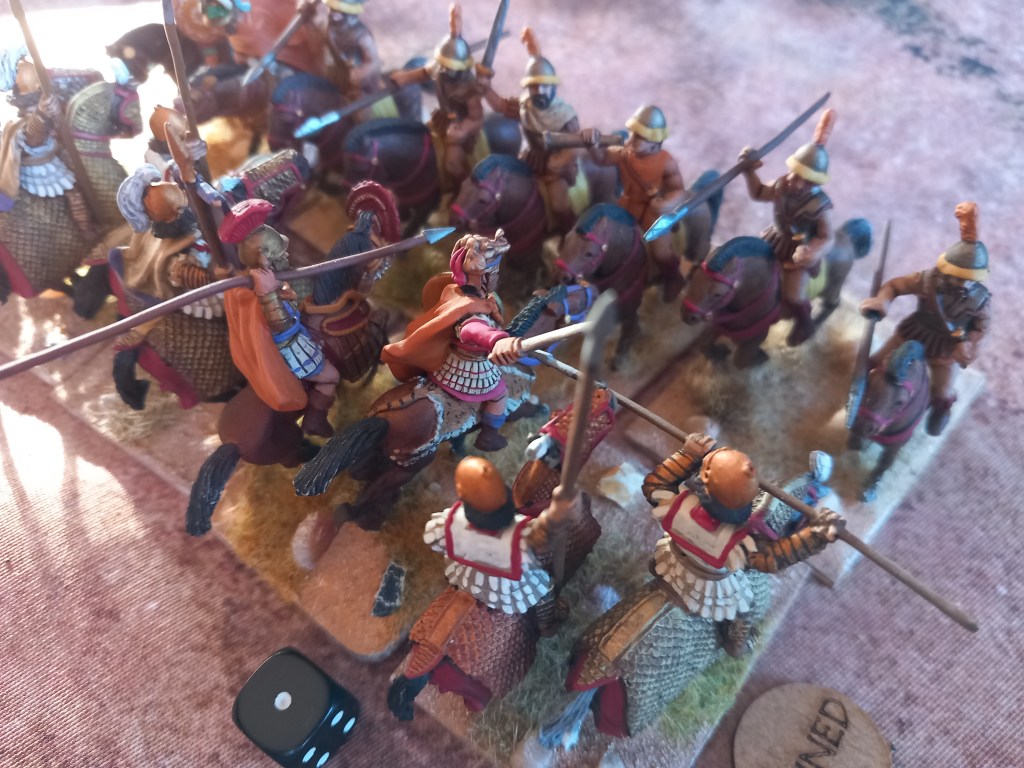
The early cavalry action was on the Antigonid right where Demetrious and half of the cavalry were massively outnumbered by the opposition and were ground down and eventually surrounded – lesson, don’t’ split your cavalry.
The other half of the Antigonid cavalry had a far better time beating up the Psidians.

And disappeared in a wild chase from which they never rallied.
At the two thirds point the game very much looked like it was going the way of the Antigonids. Demetrious was still holding his own on the right and the Median horse on the centre right under Peithon were making headway. Alcetas admitted he was worried.

The woods however were starting to become a bit of a pain in the arse – not least in trying to make sure weapons didn’t break off!

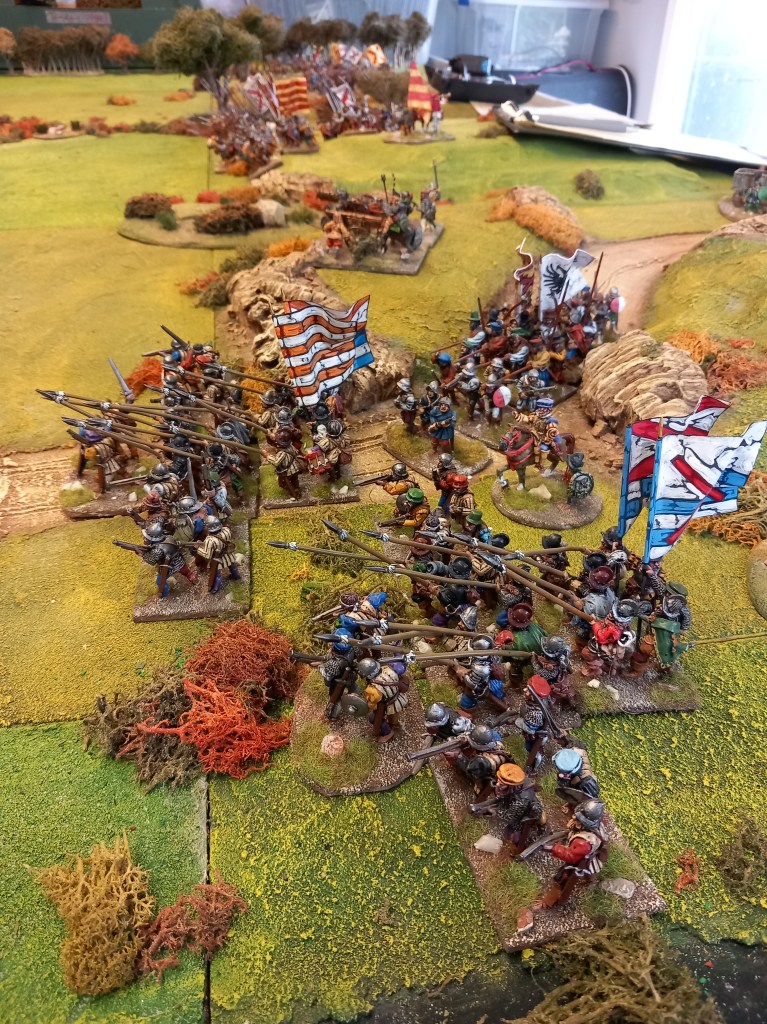
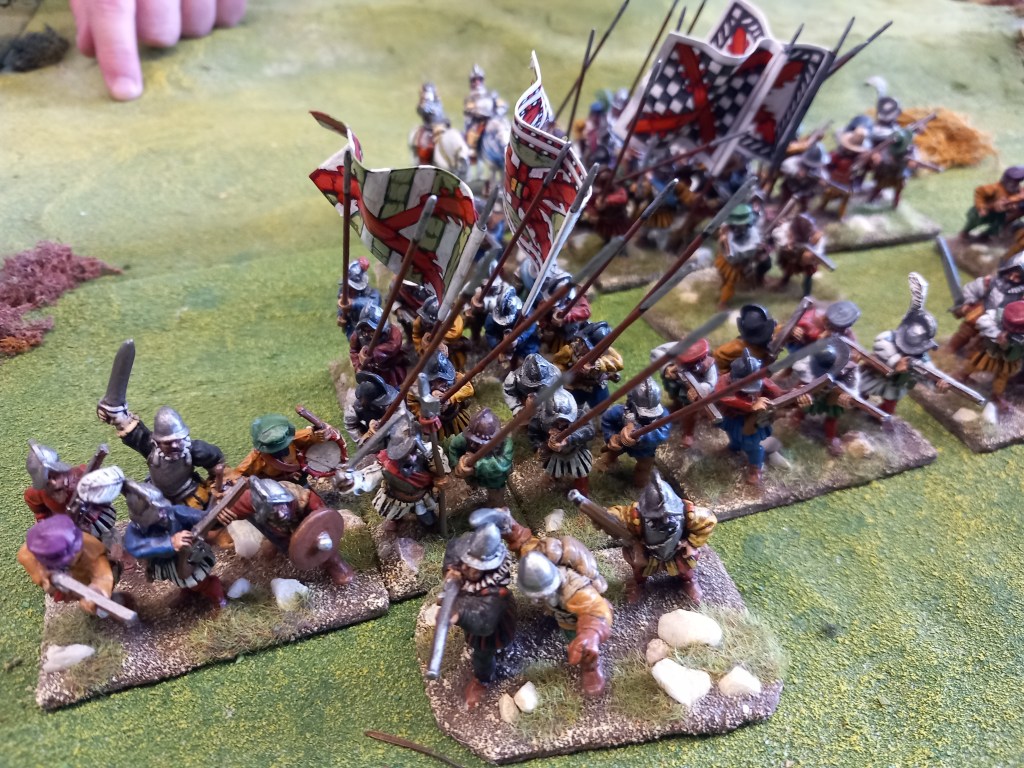
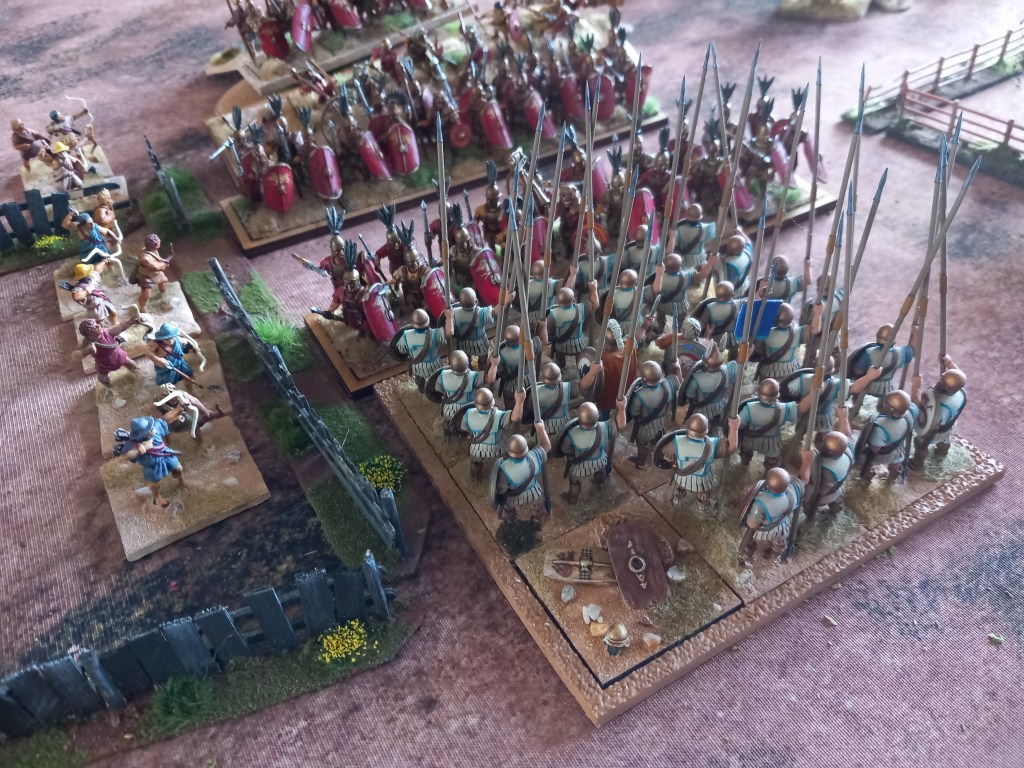
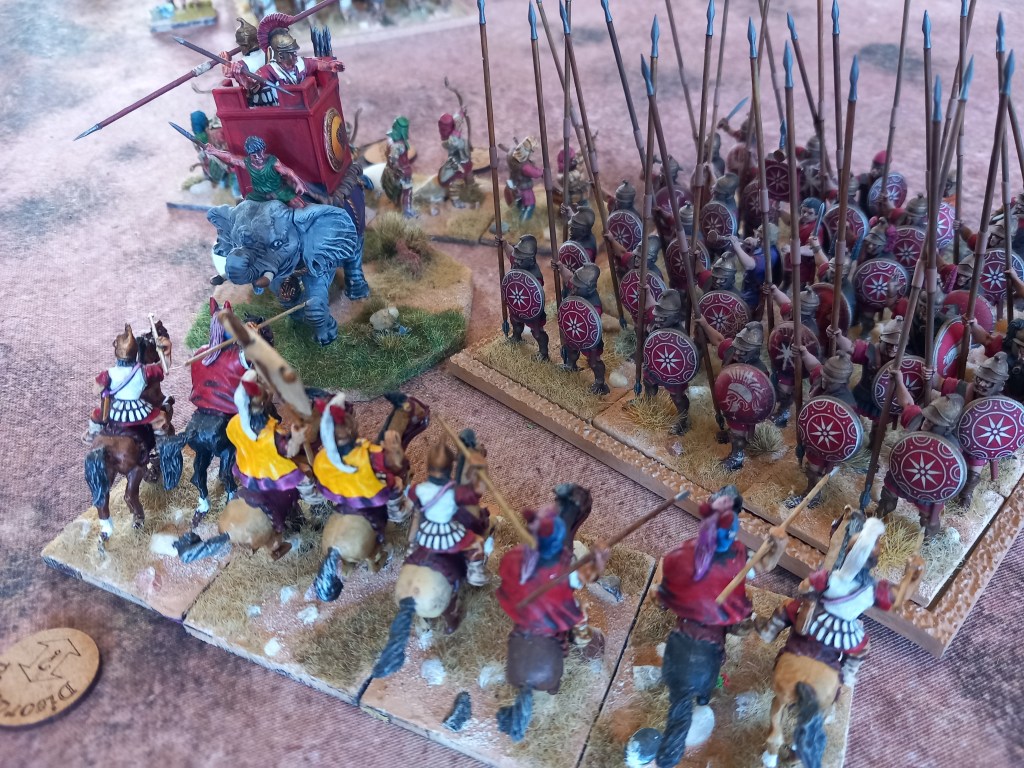
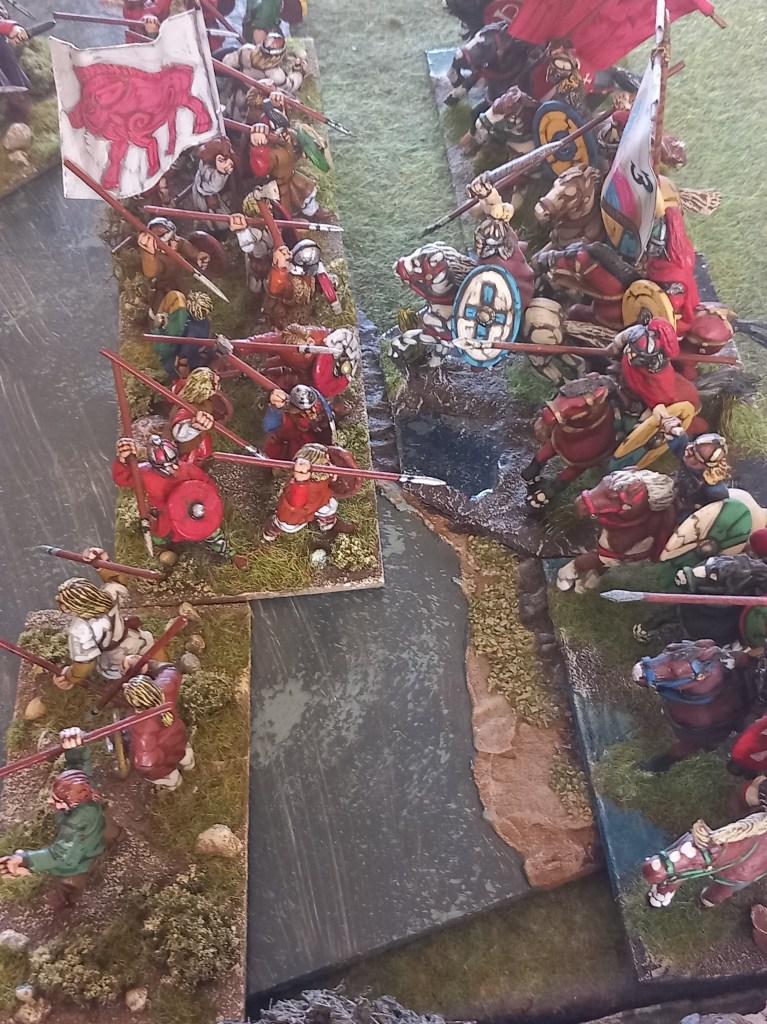
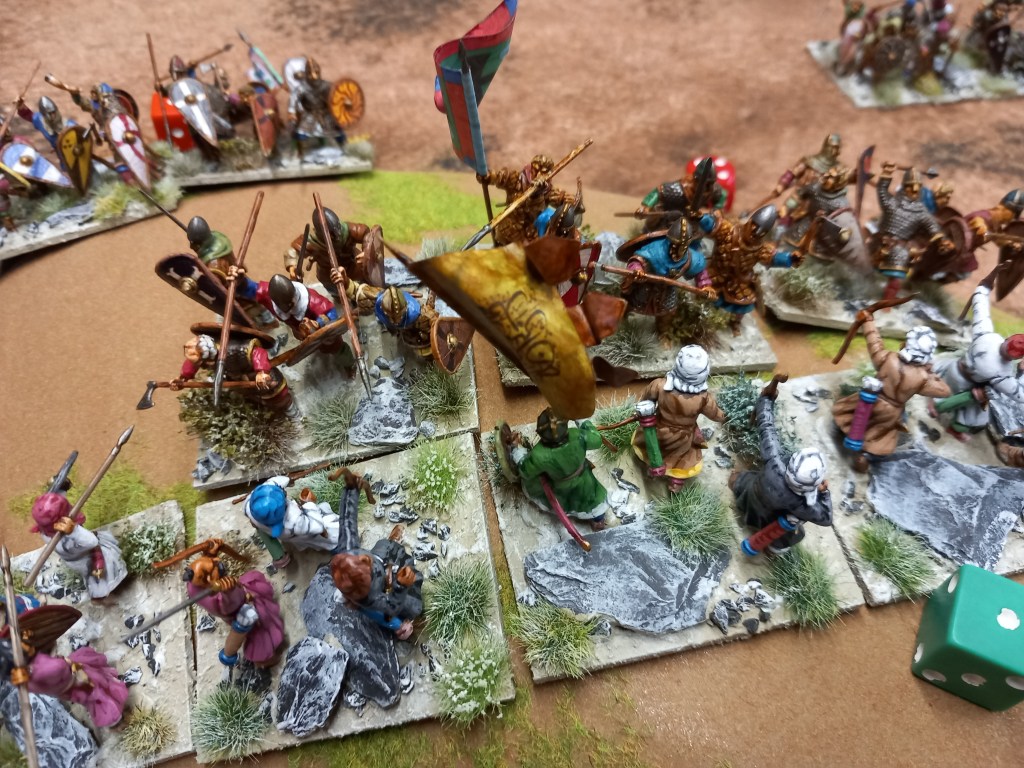
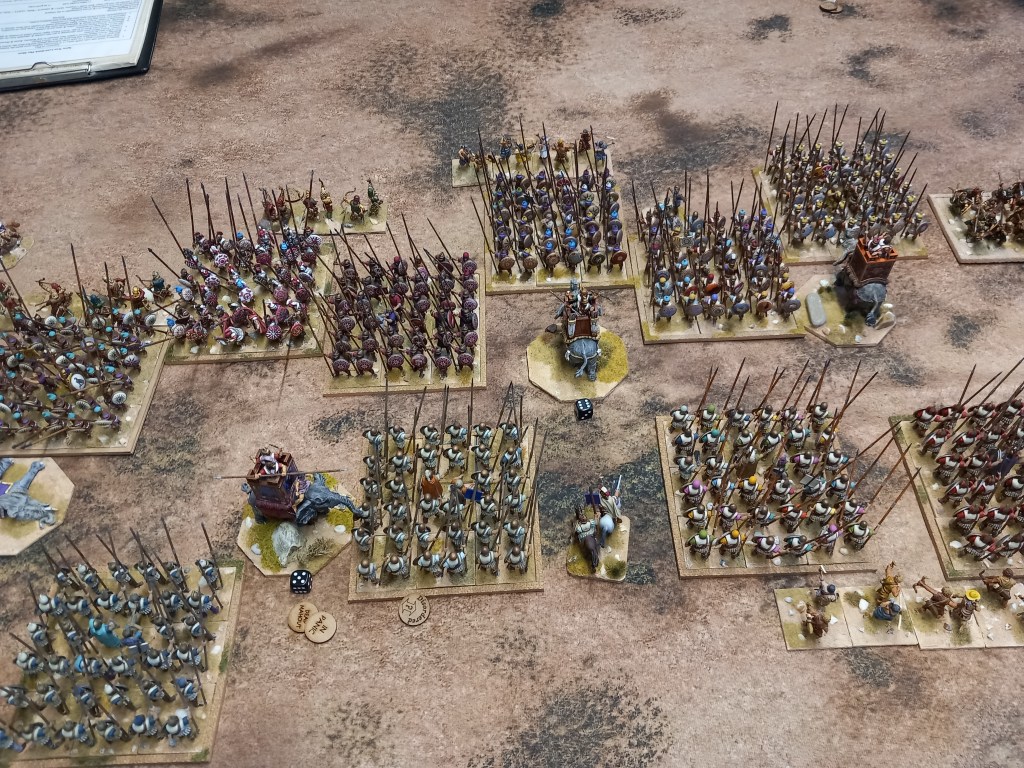
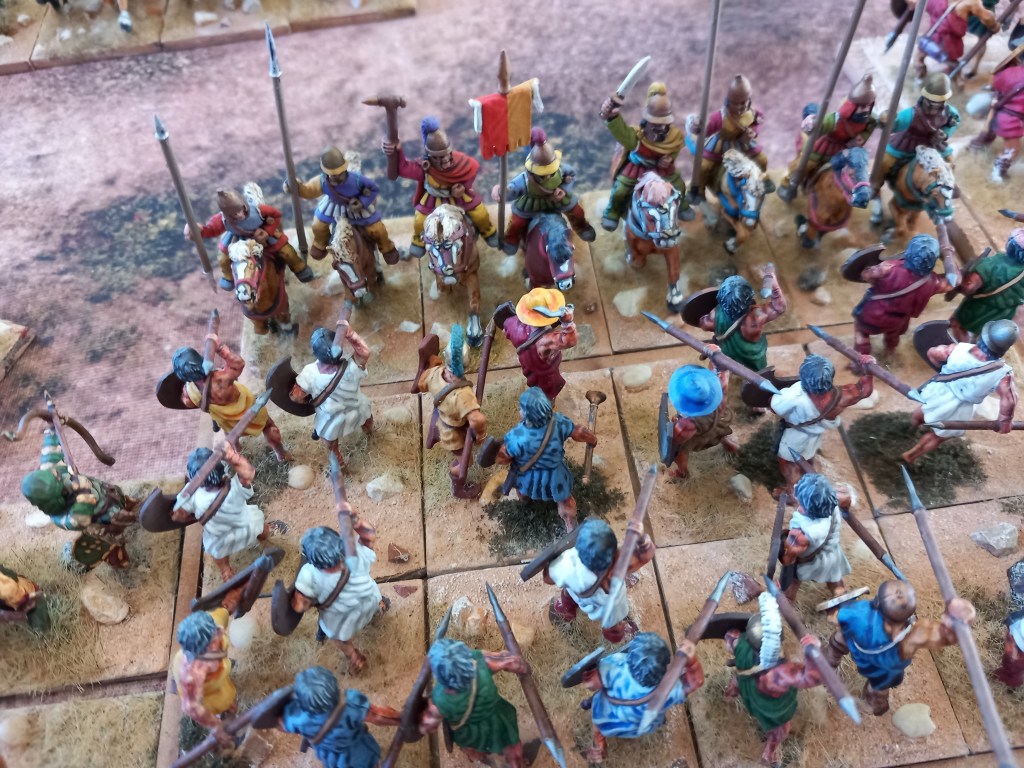
Eventually the heavy stuff got into contact with both sides mercenary hoplites slogging it out and both Antigonus and Menander (commanding for Alcetas) joining their troops to keep the combat going.

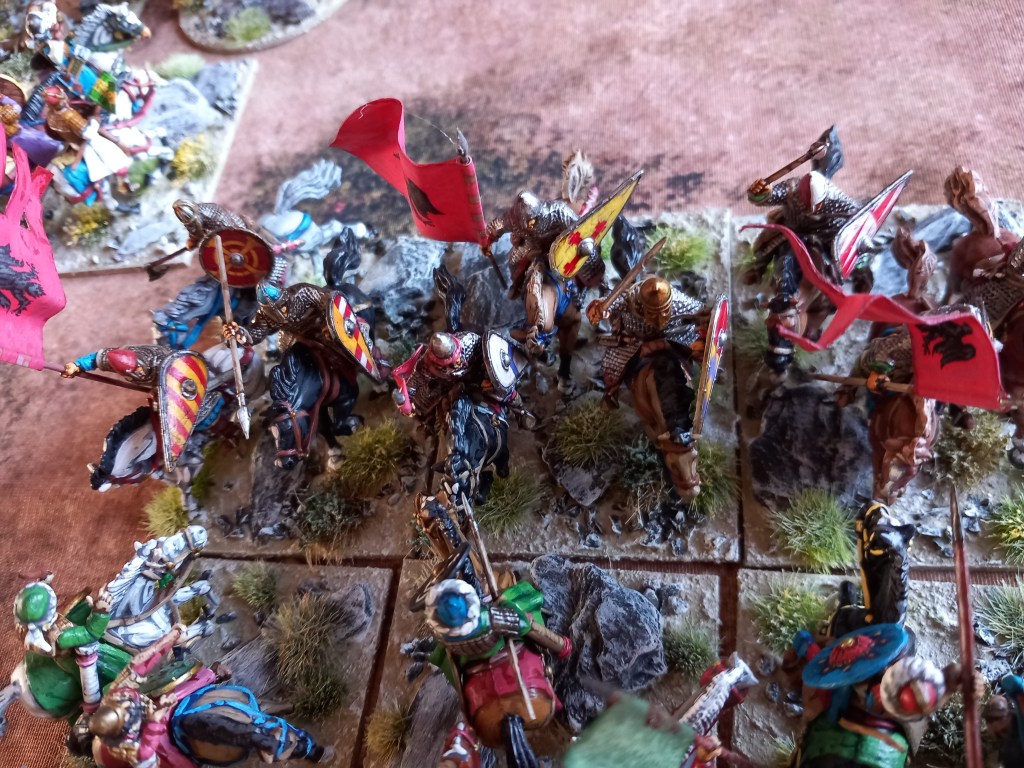
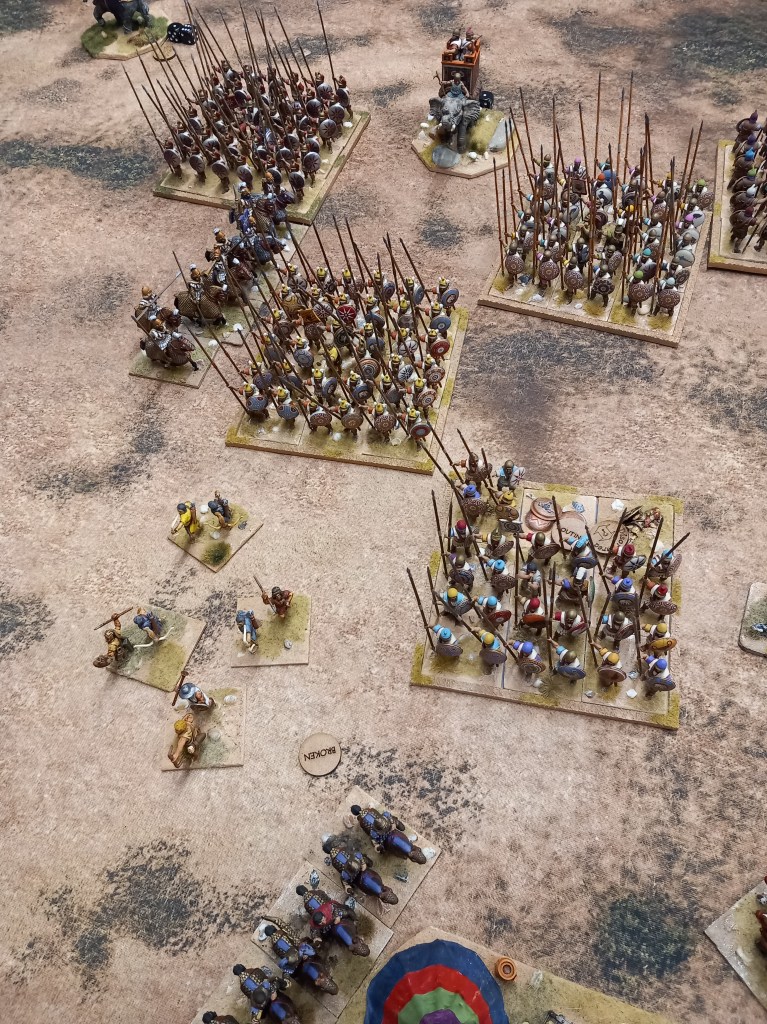
Then in a startling development the two Pantodapoi pike battalions, who had previously been protected by the Median horse, found themselves on their own, outflanked and showered with javelins and broke leaving a great big hole in the Antigonid centre.
Some consolation was gained when Antigonus’ veterans punched their way through but that just left them in a sea of enemy troops.

At game end Alcetas had the numbers and we called it a victory to him by a narrow margin.
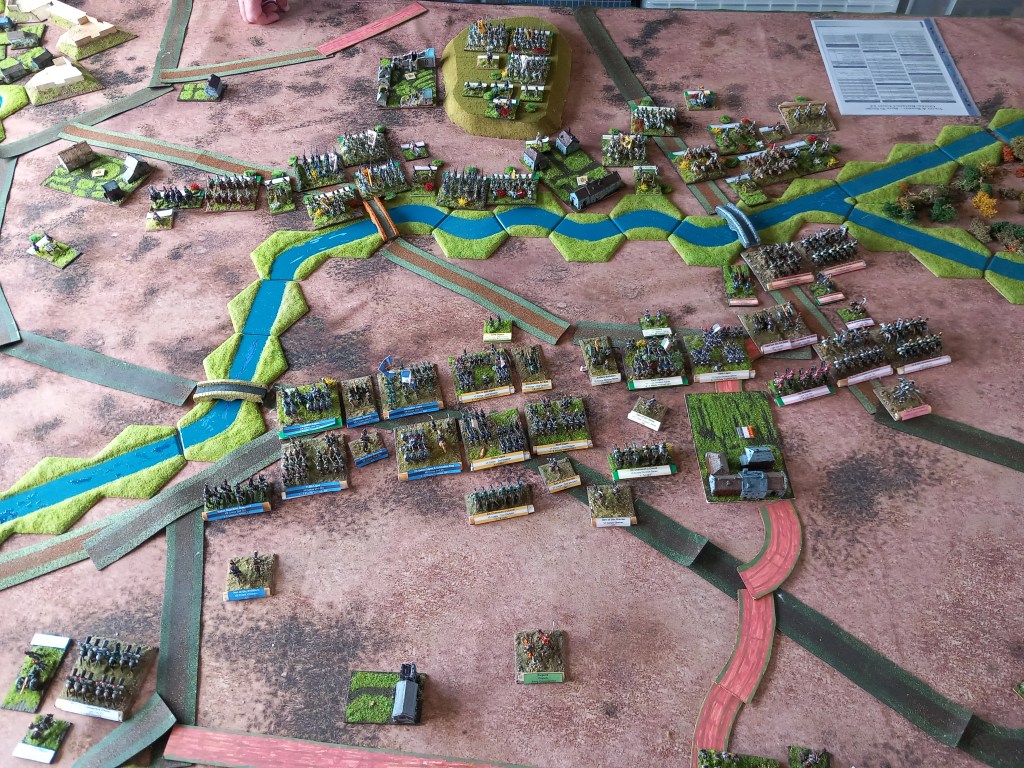
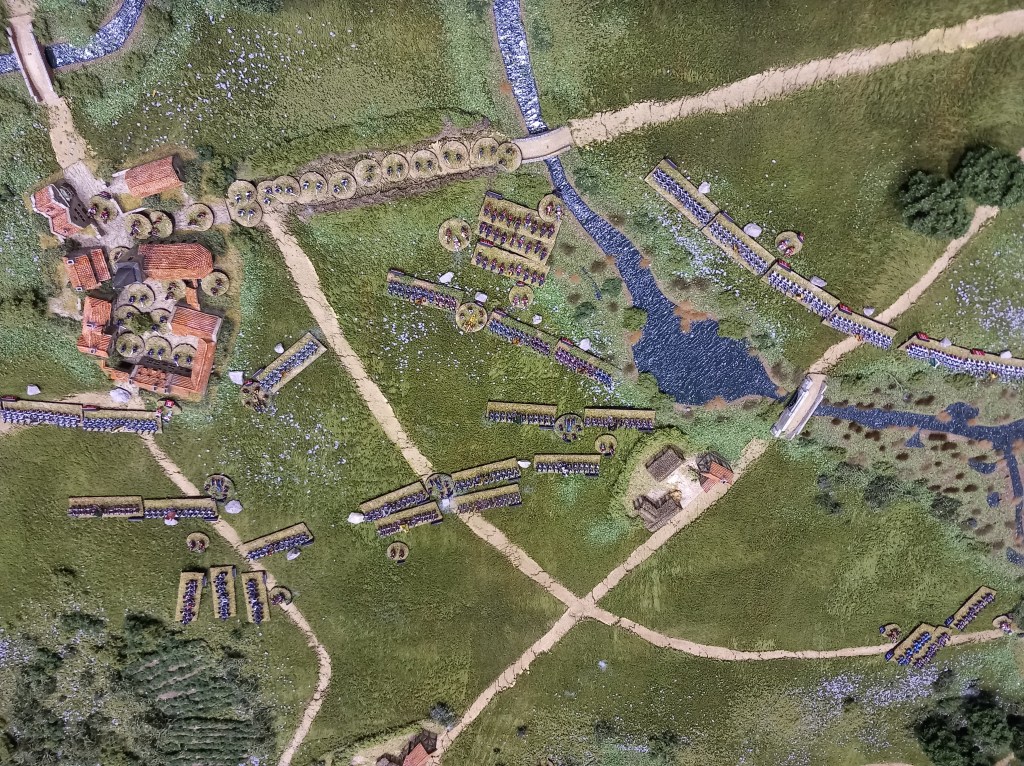
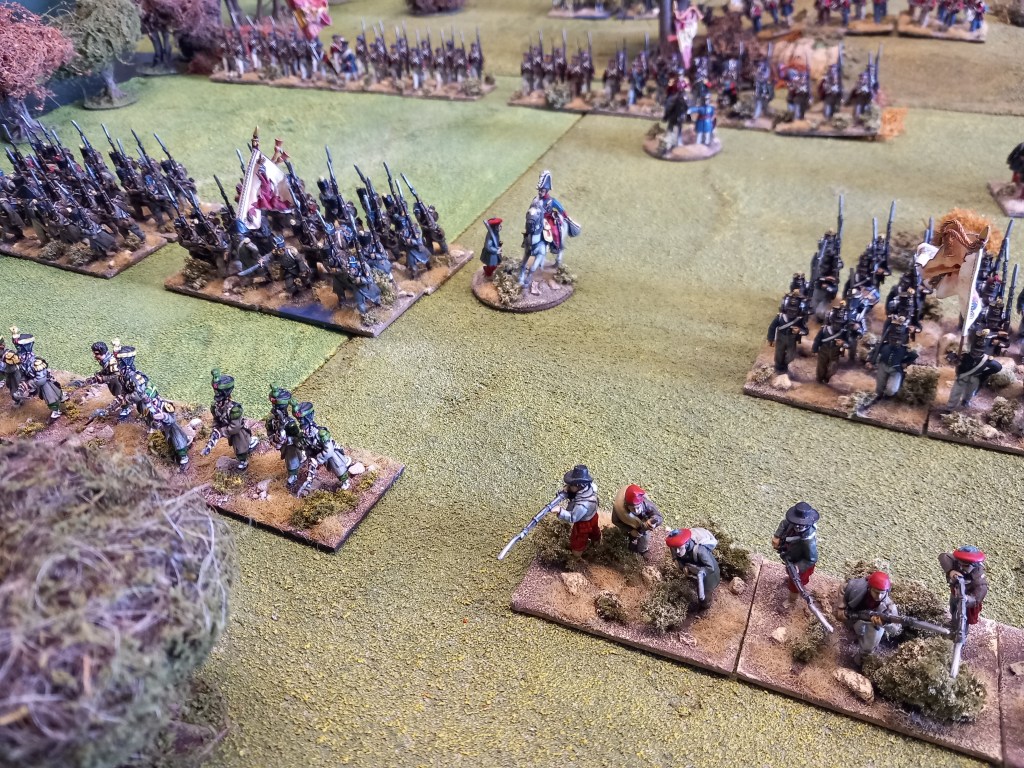
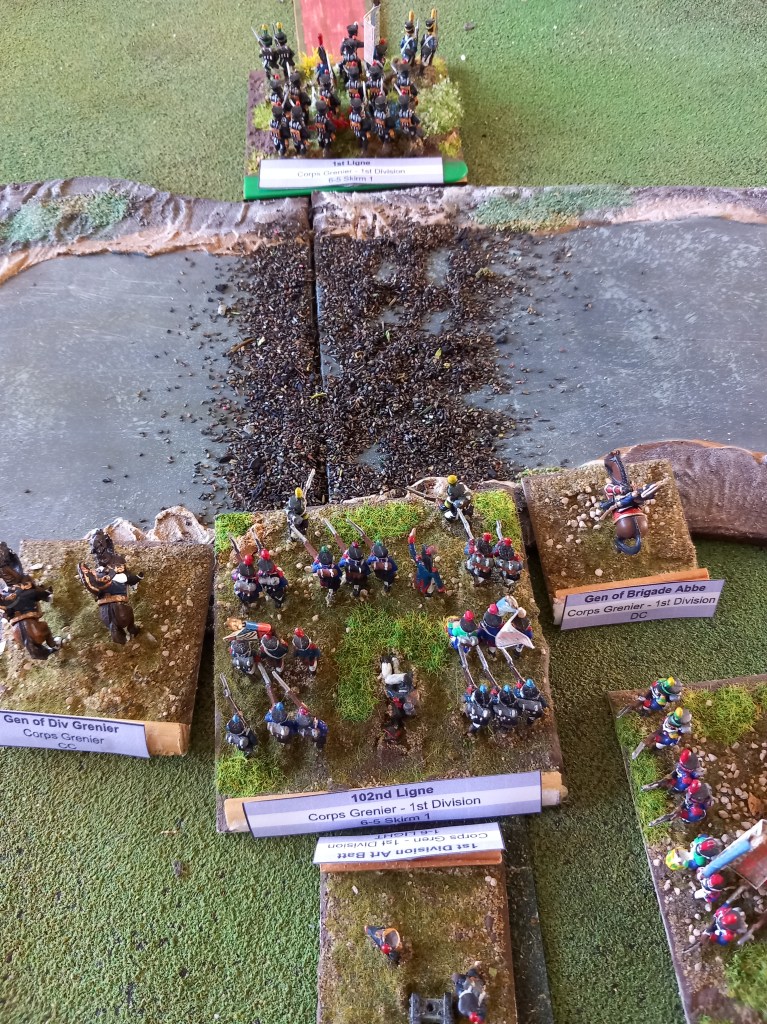
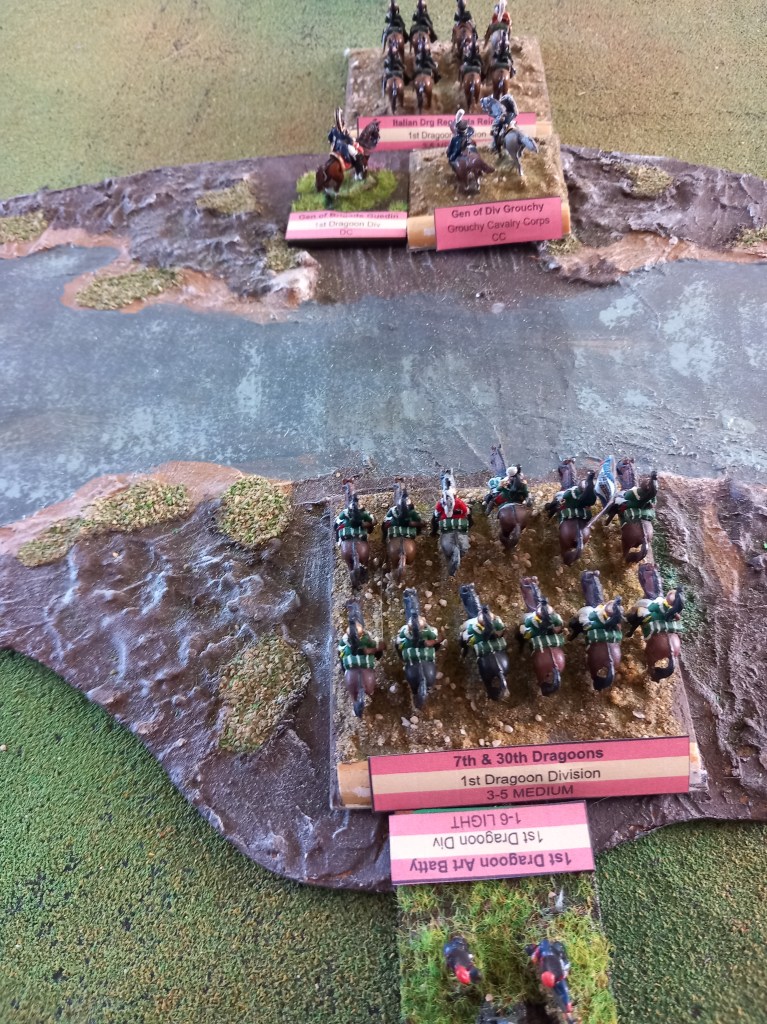
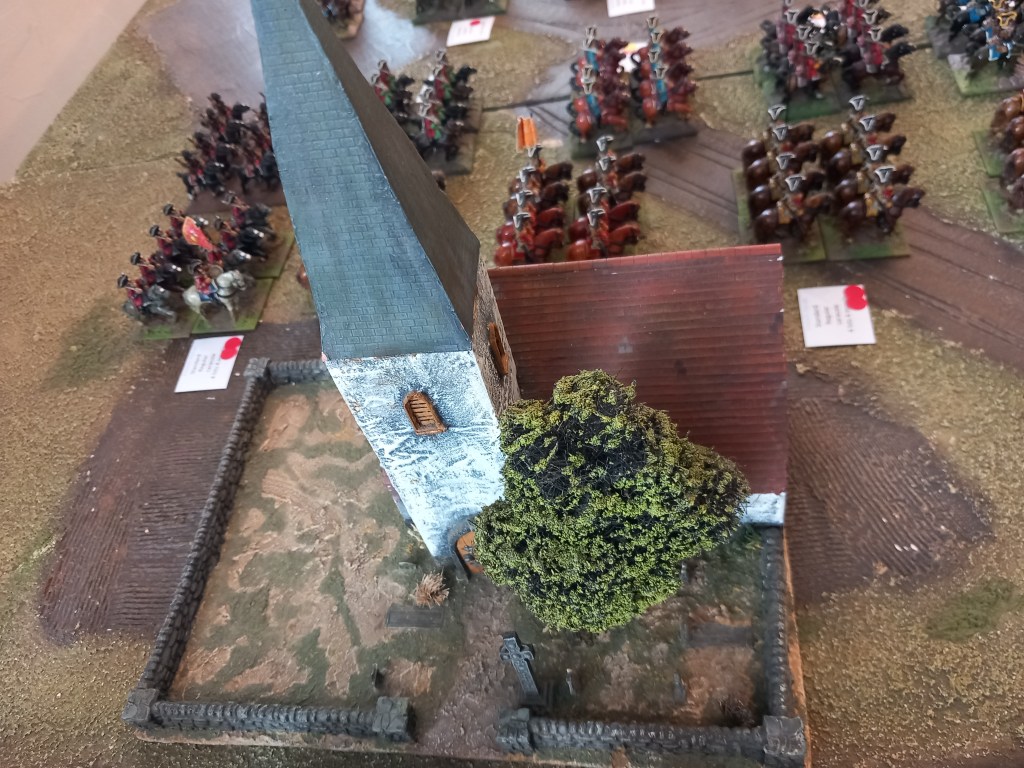
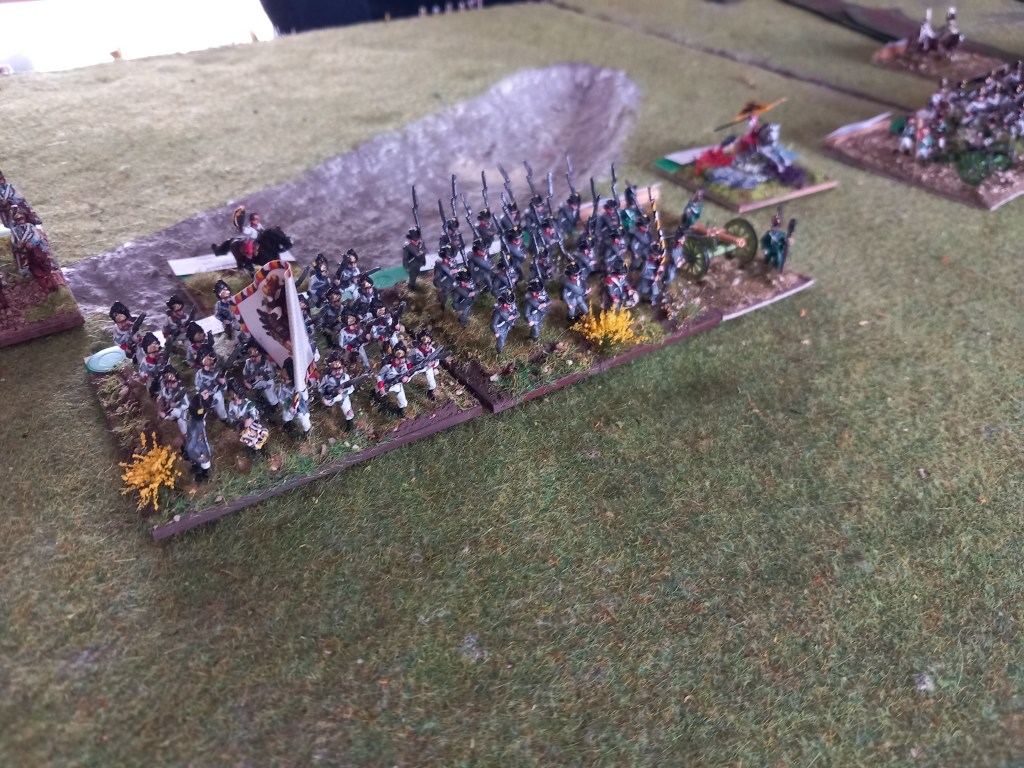
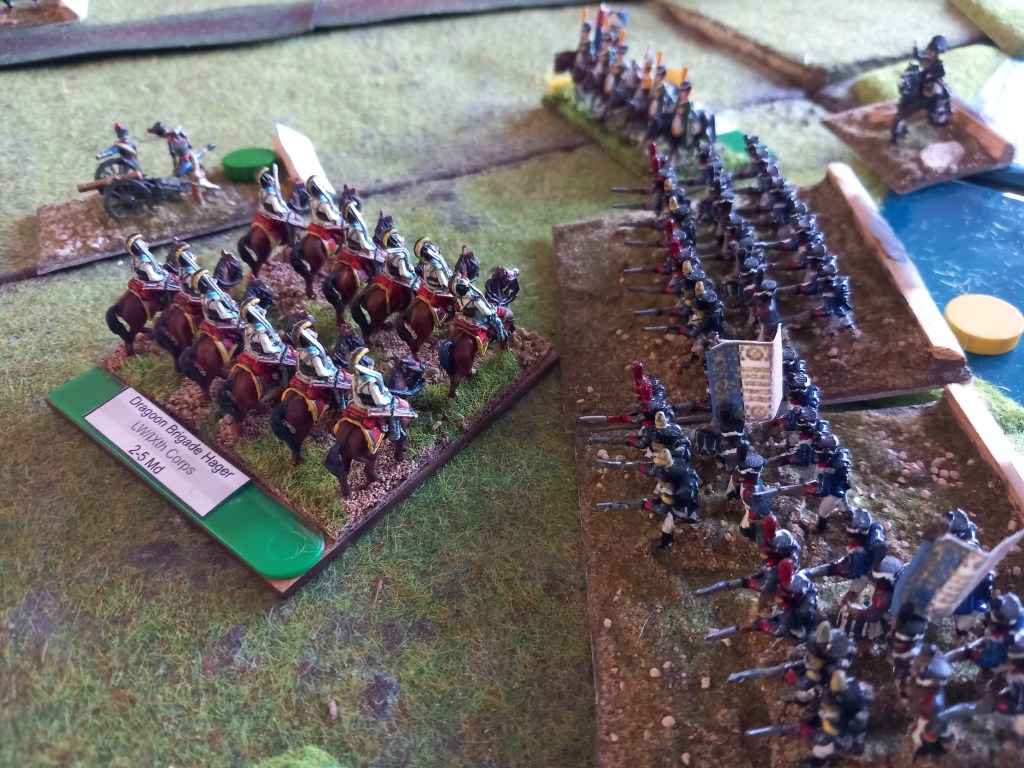
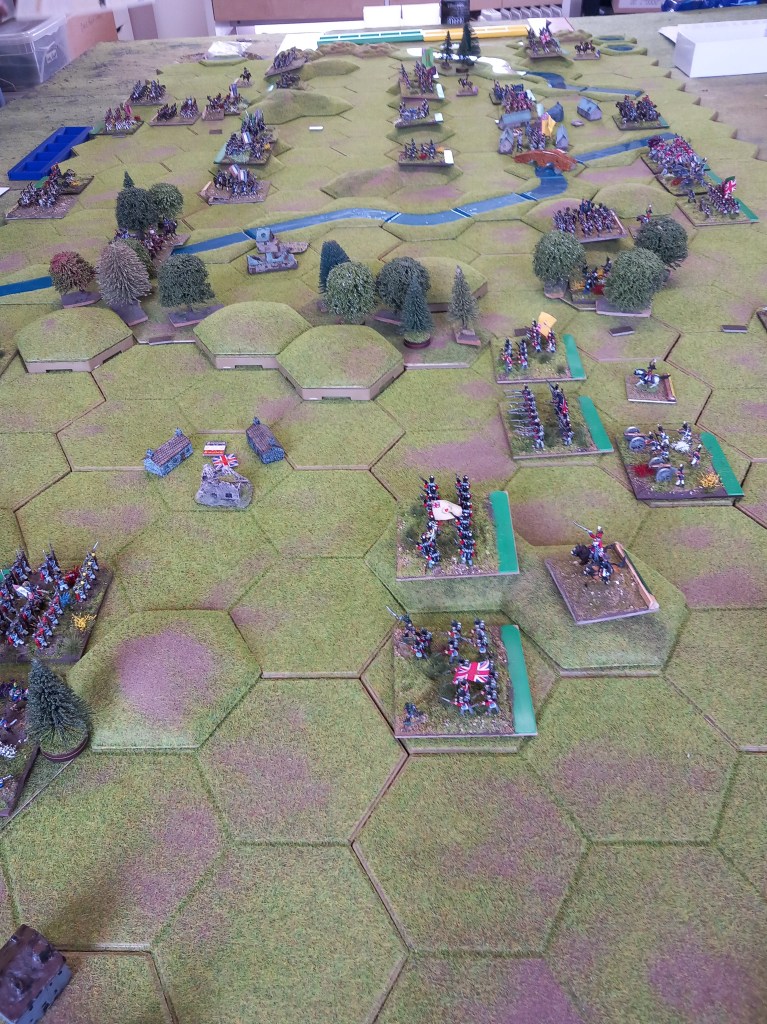
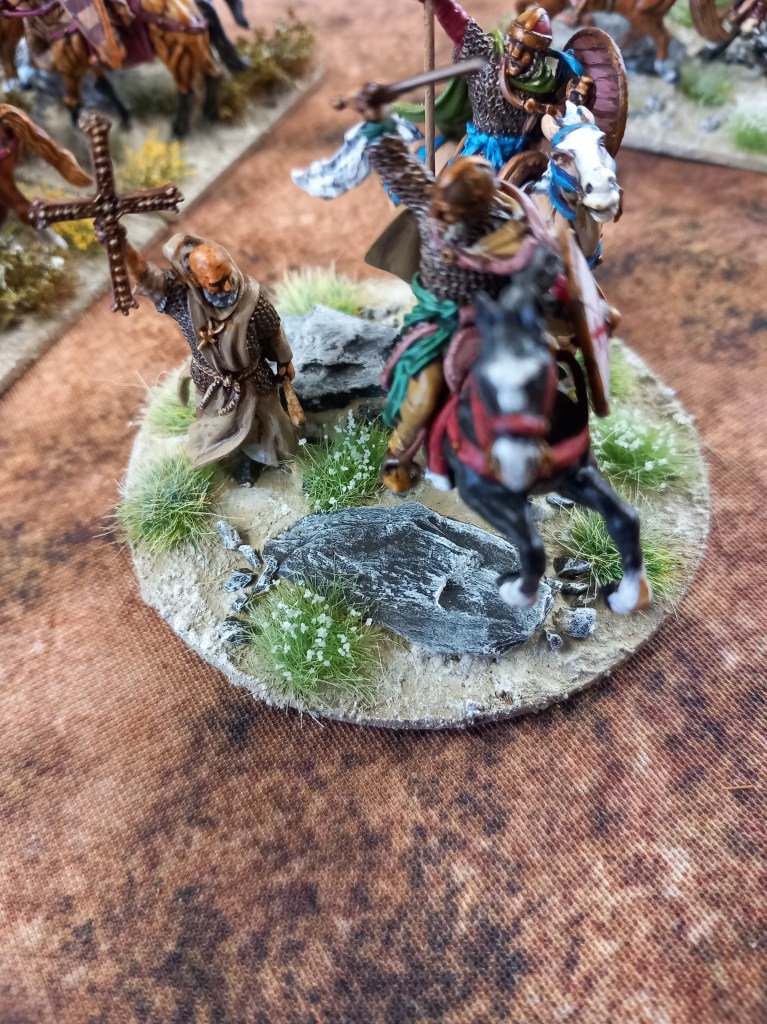
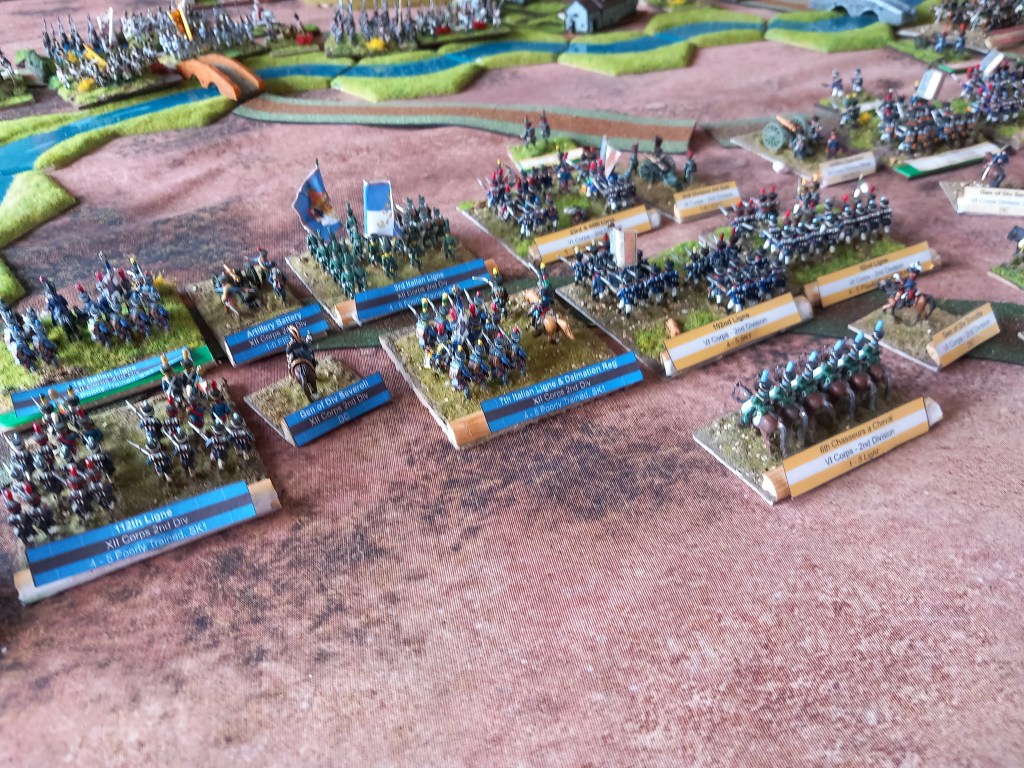
Our next encounter was the final one of our Napoleonic north Italian odyssey, the battle of the Raab, 1809.
A much bigger game than our previous engagements (well for the French anyway 😉) the result was never really in any doubt, despite some early French efforts to completely cock it up, and it was all about how well the Austrians could do in defeat.
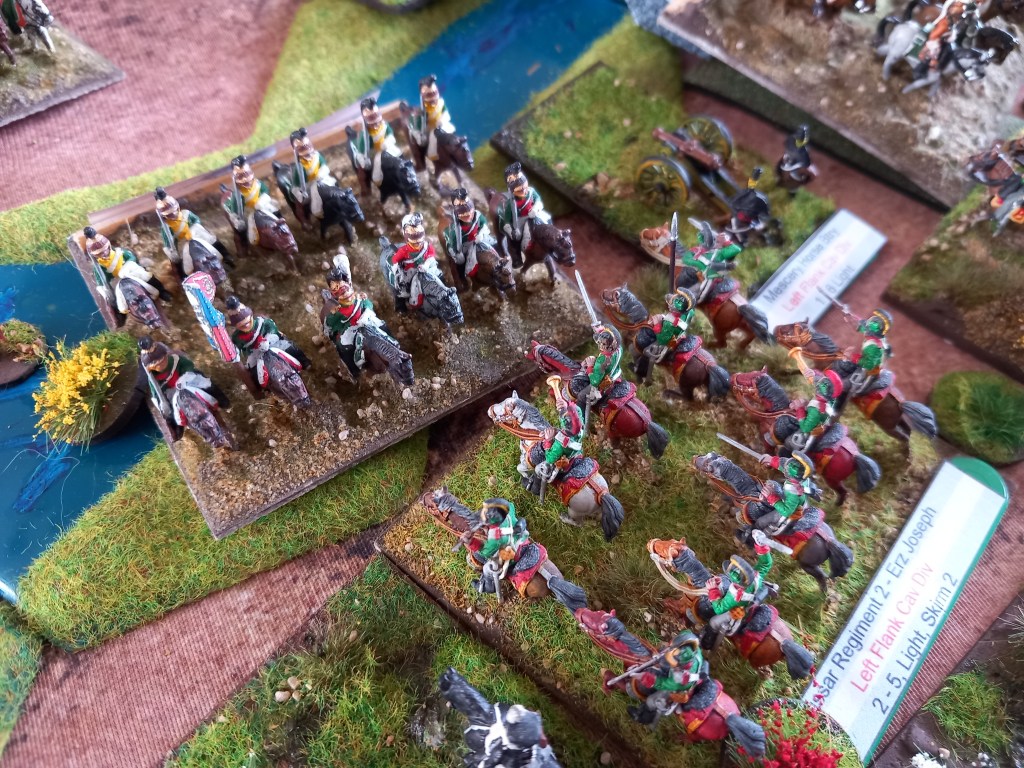
In an early effort to cock things up the French cavalry commander threw Guedin’s dragoon division across the Pancza stream and promptly lost it! Off to a great start.

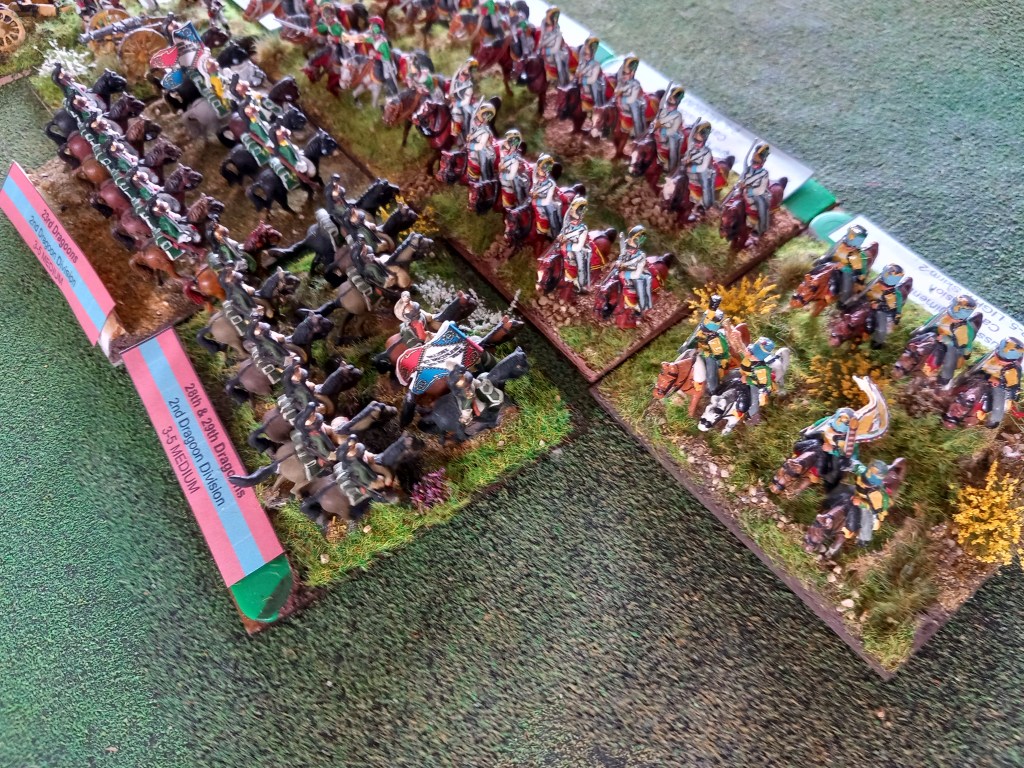
A more circumspect approach was then adopted by the French and Laureston, supported by Sahuc, scored an early success on the French left.

This then led to a rapidly developing and fiercely fought contest on the Austrian right.

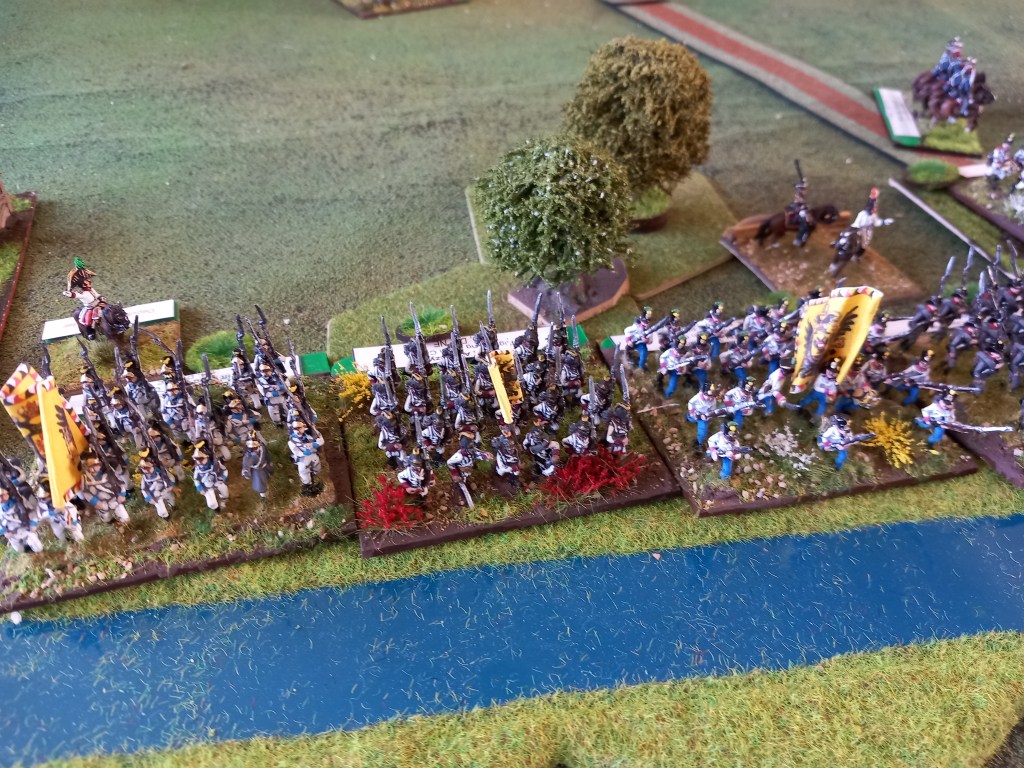
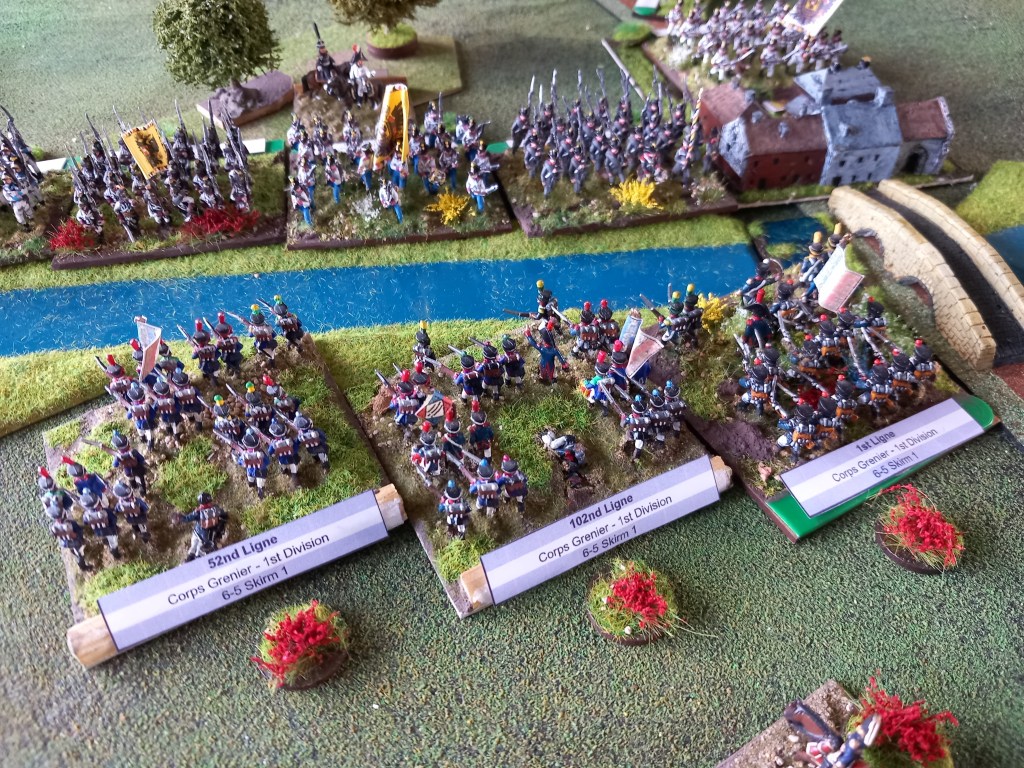
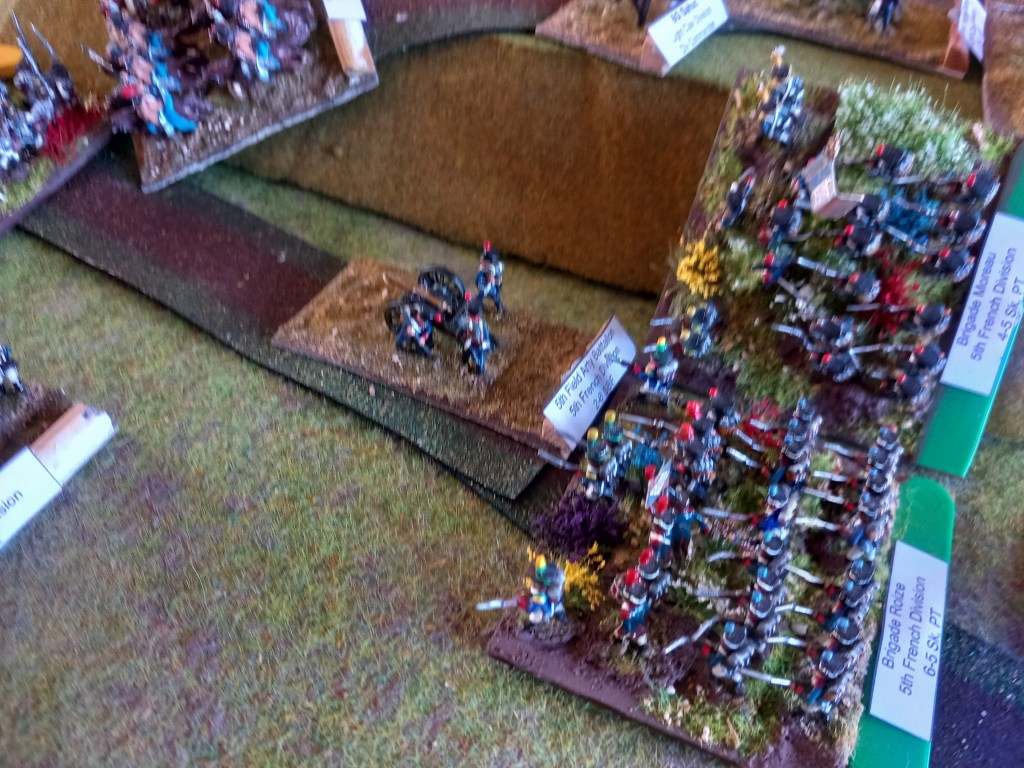
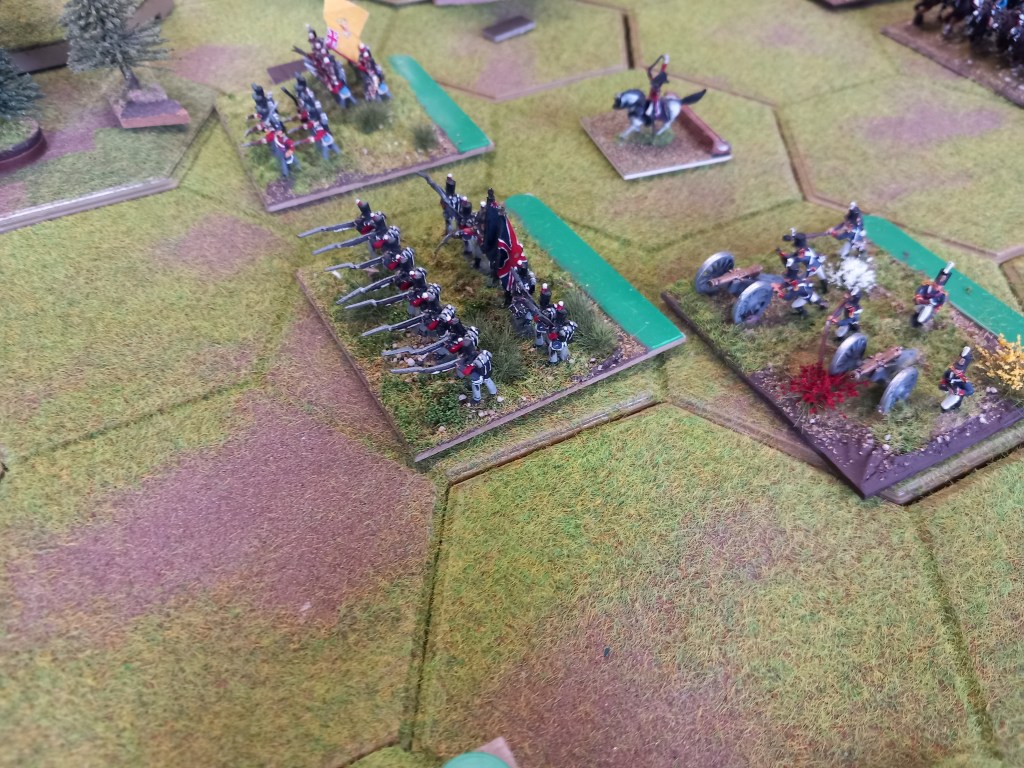
Meanwhile in the centre the French attack had gradually built and holes started to appear in the Austrian line.

Austrian grenadiers were desperately thrown in to plug the gaps but it was all a bit piecemeal.
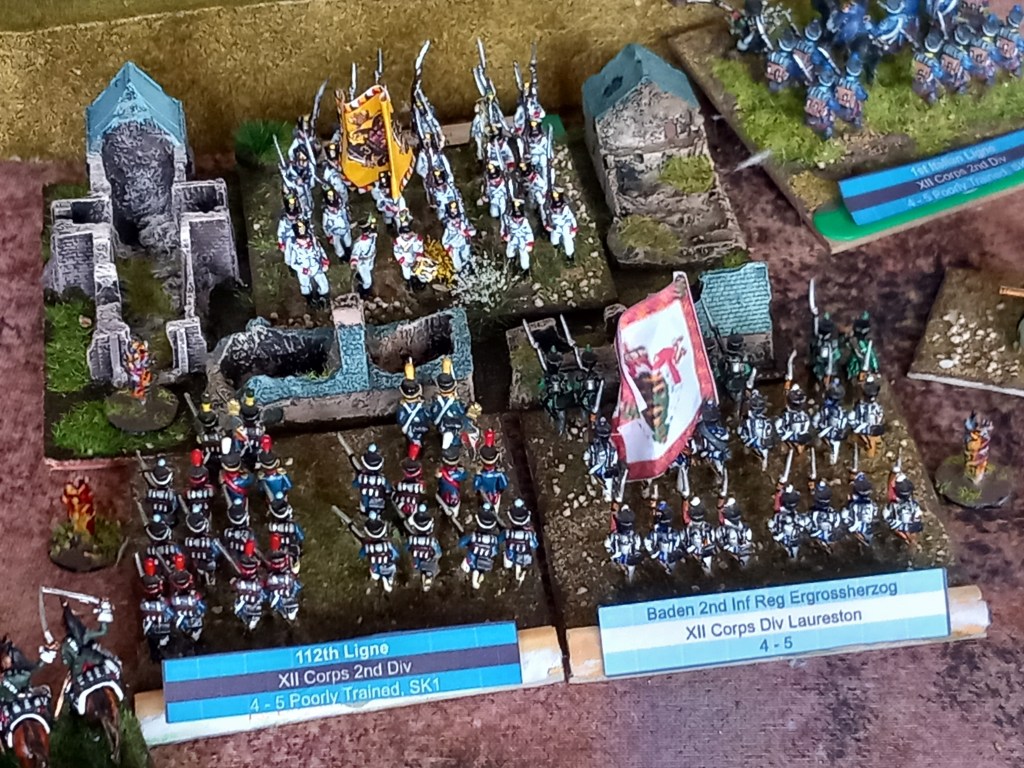
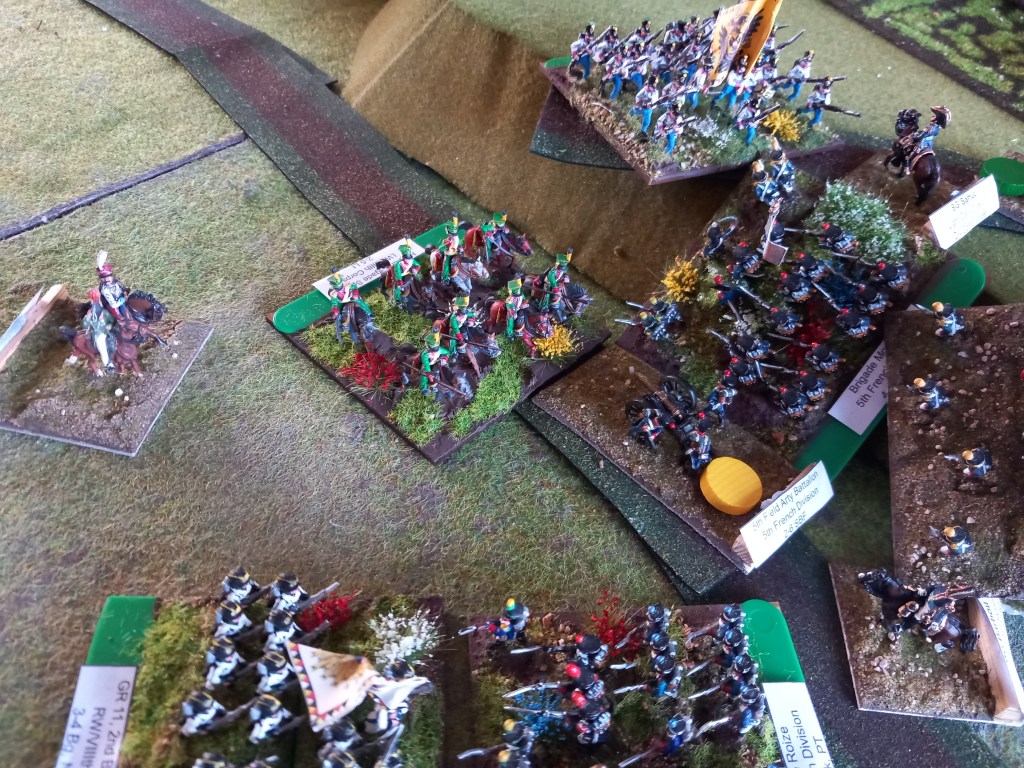
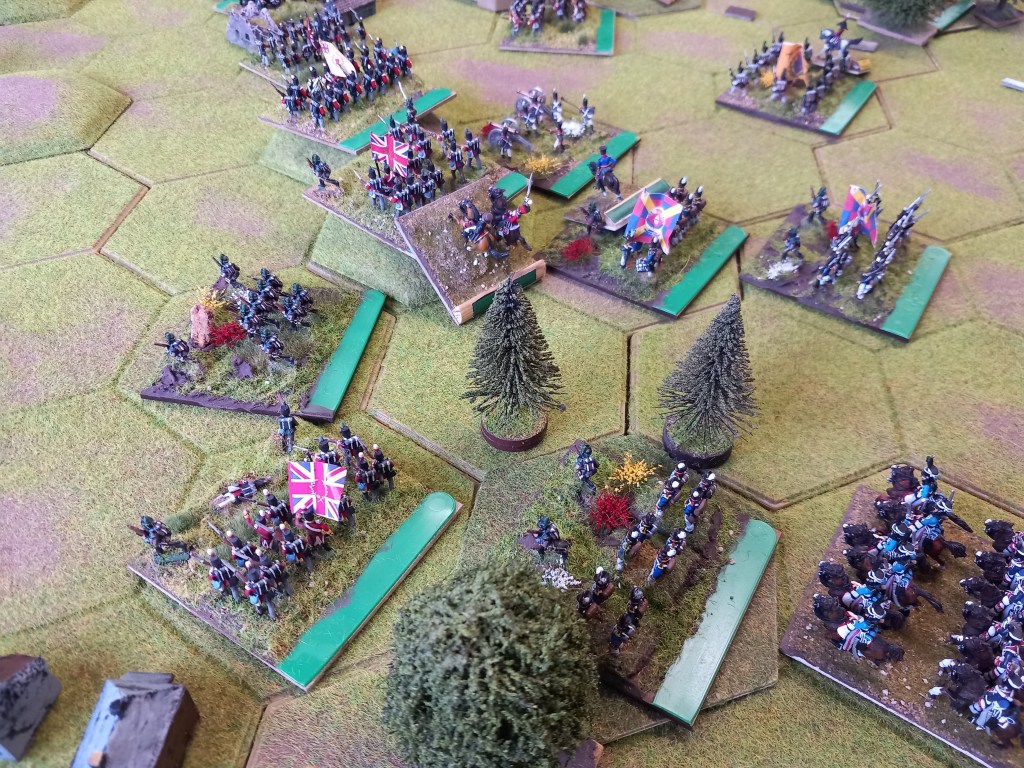
French mass assaults turn the day.

Total Austrian collapse – every division is exhausted (Volley & Bayonet parlance). History does indeed repeat itself although our French paid a higher price.
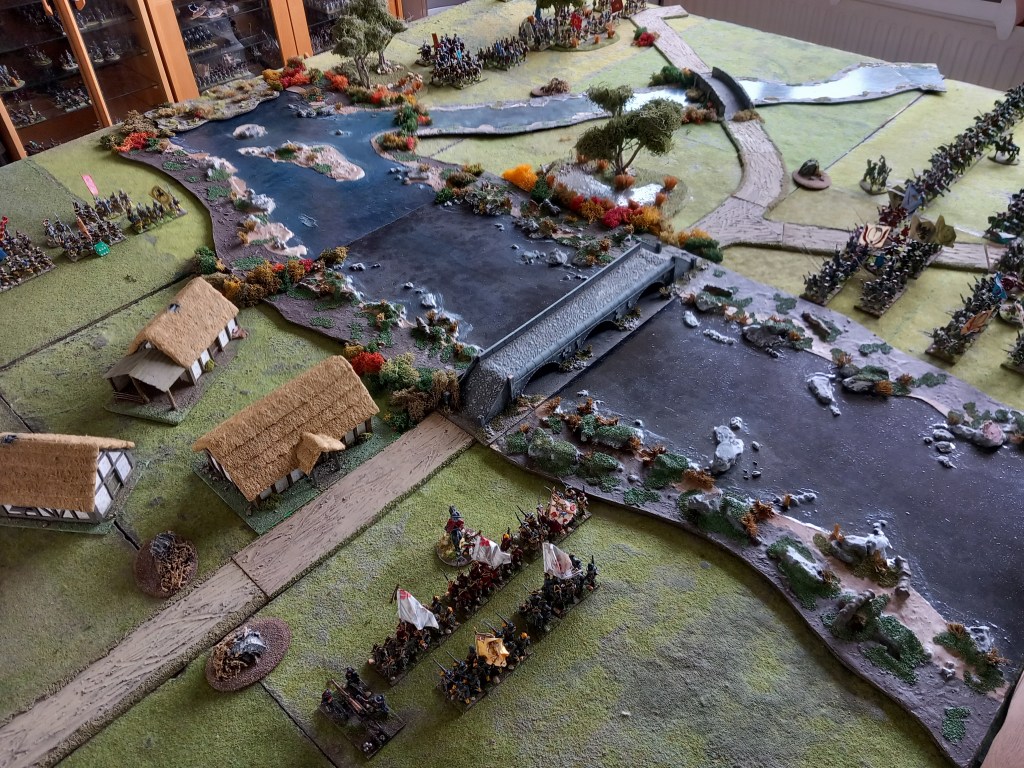
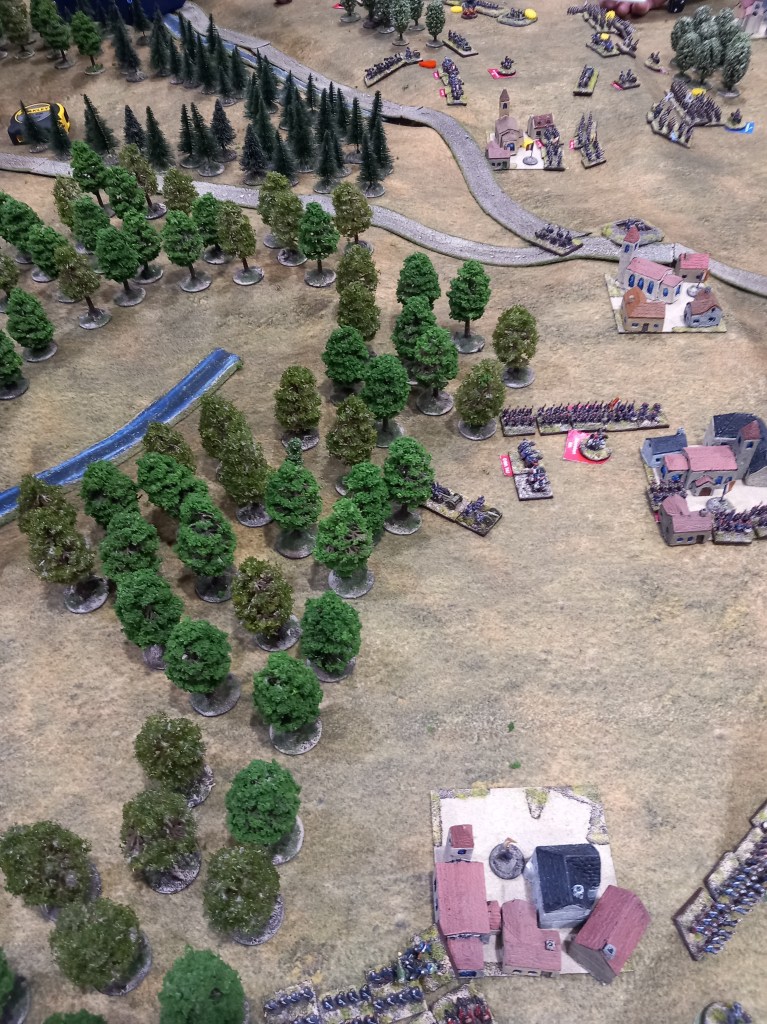
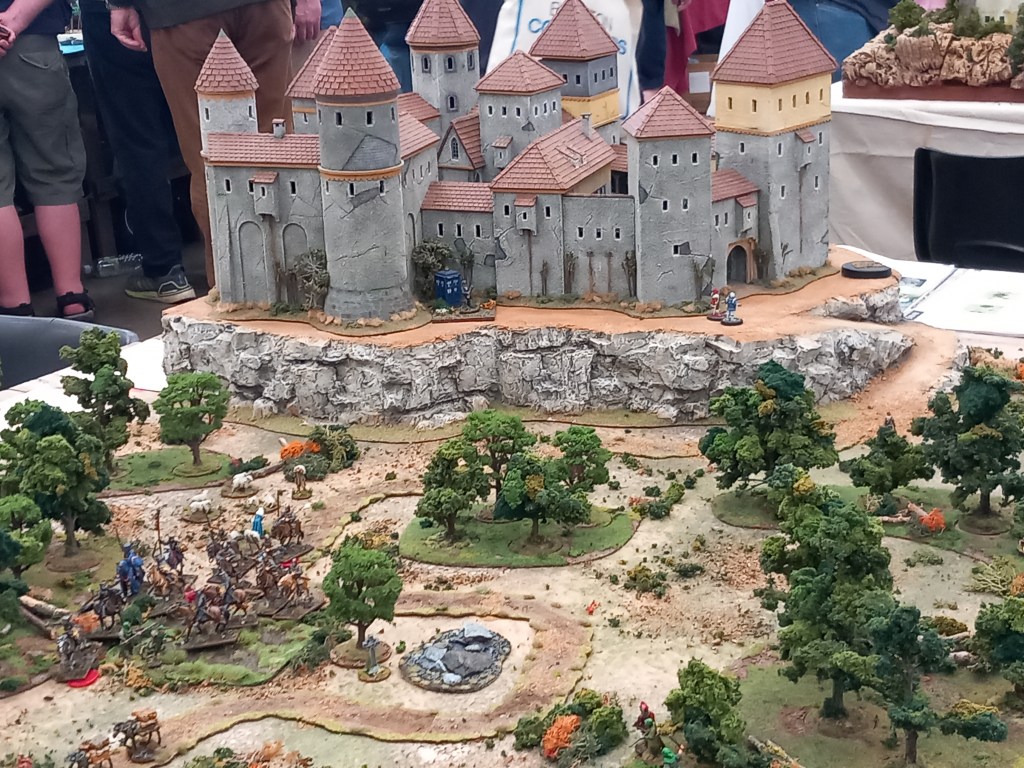
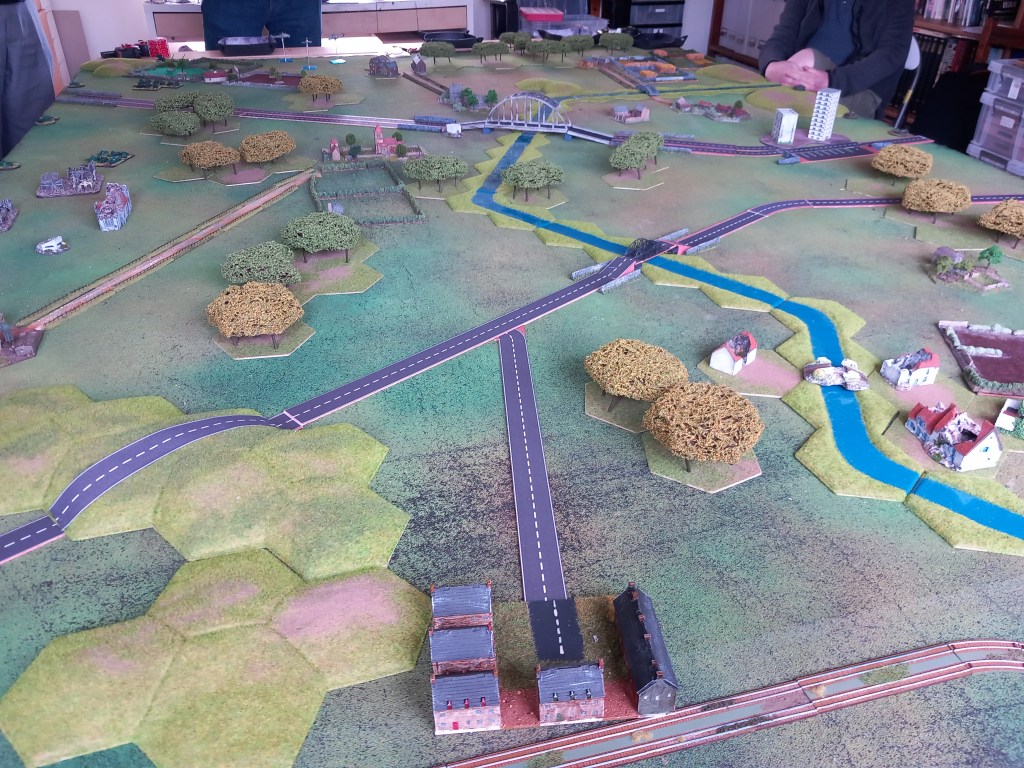
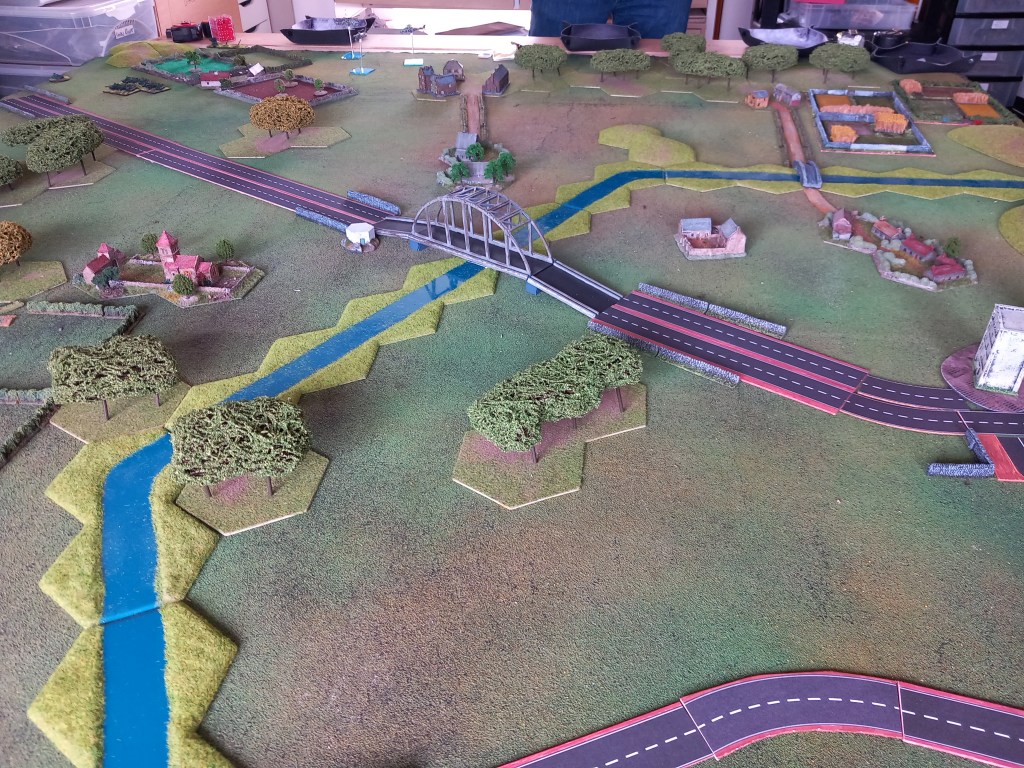
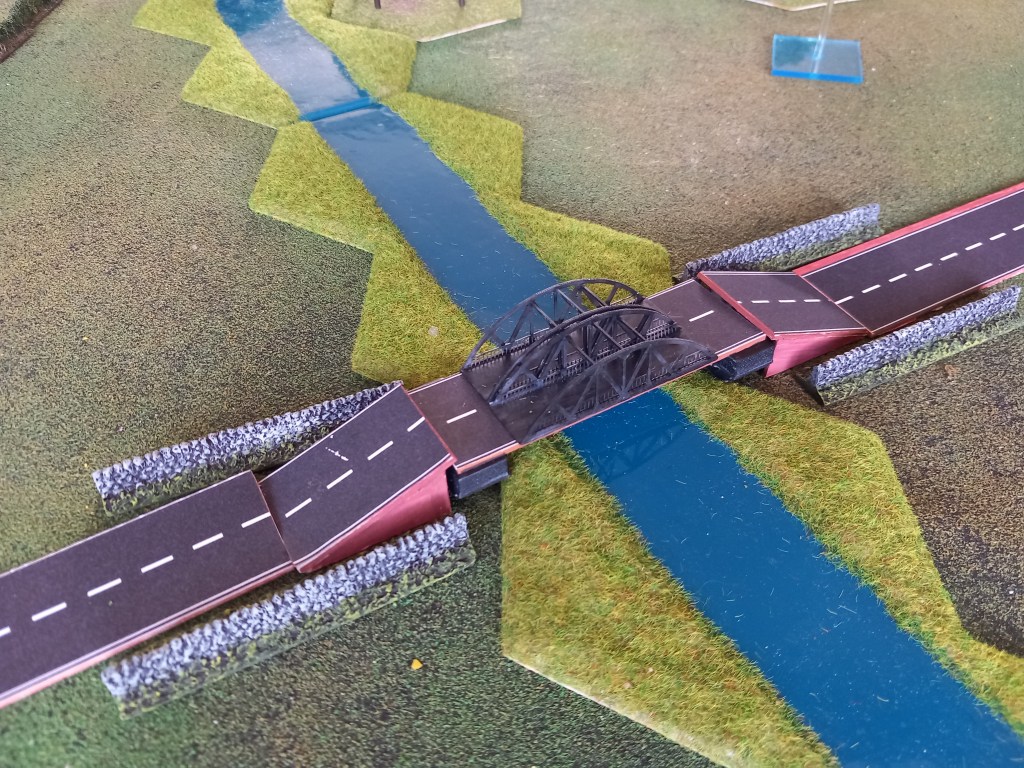
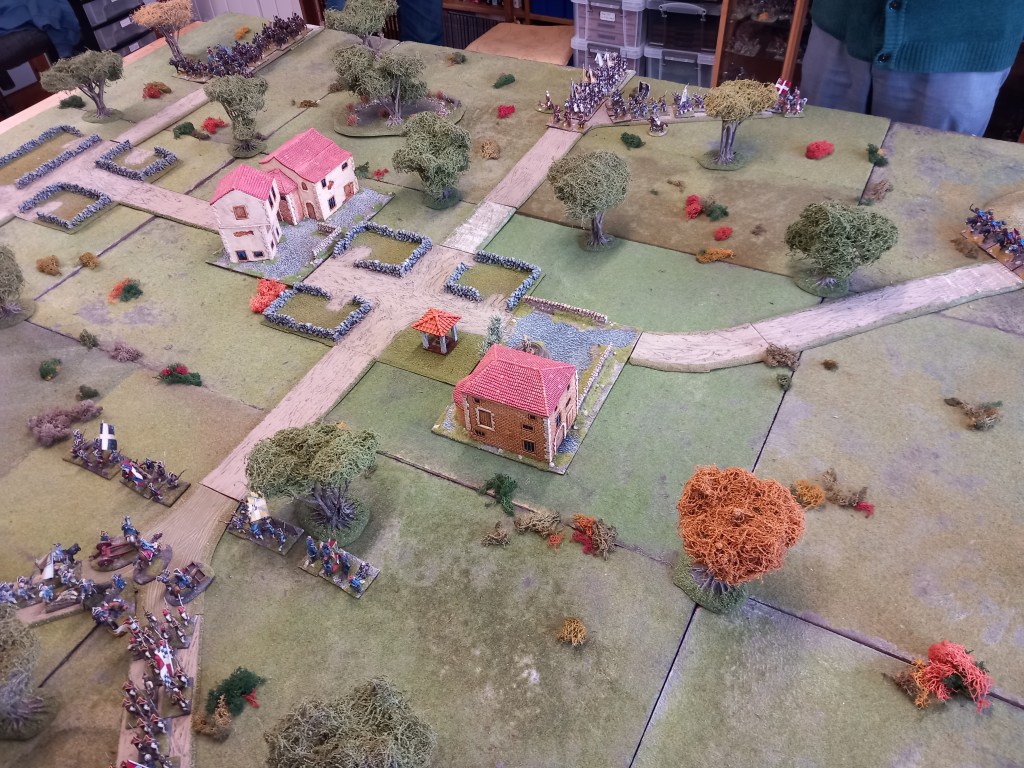
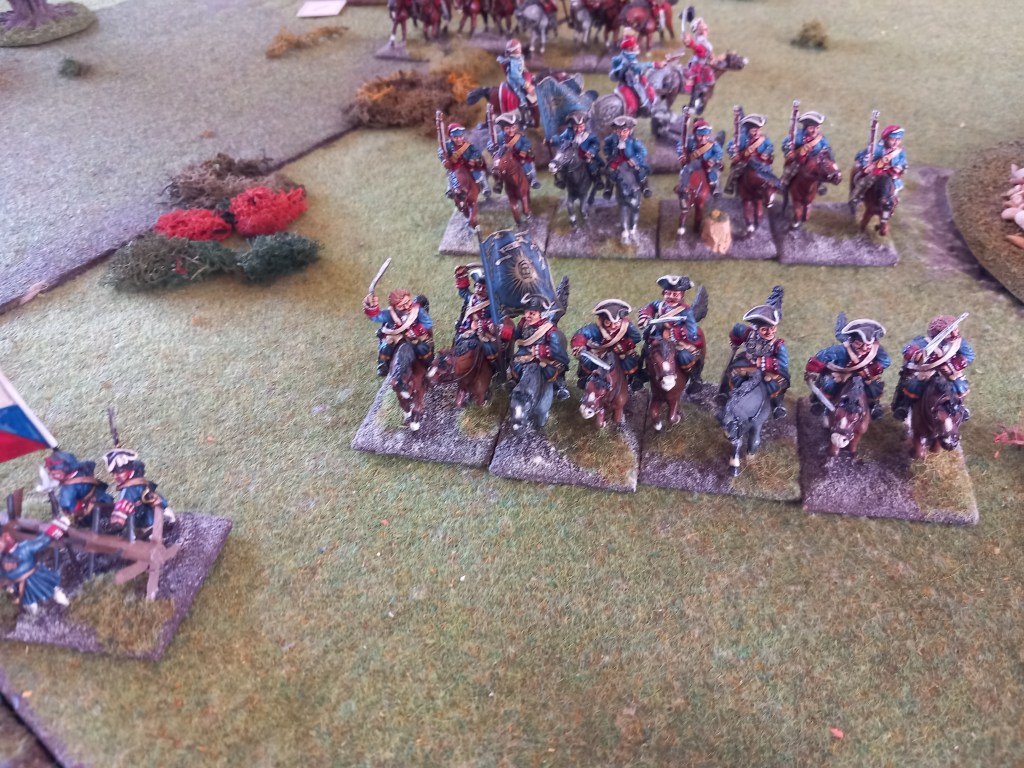
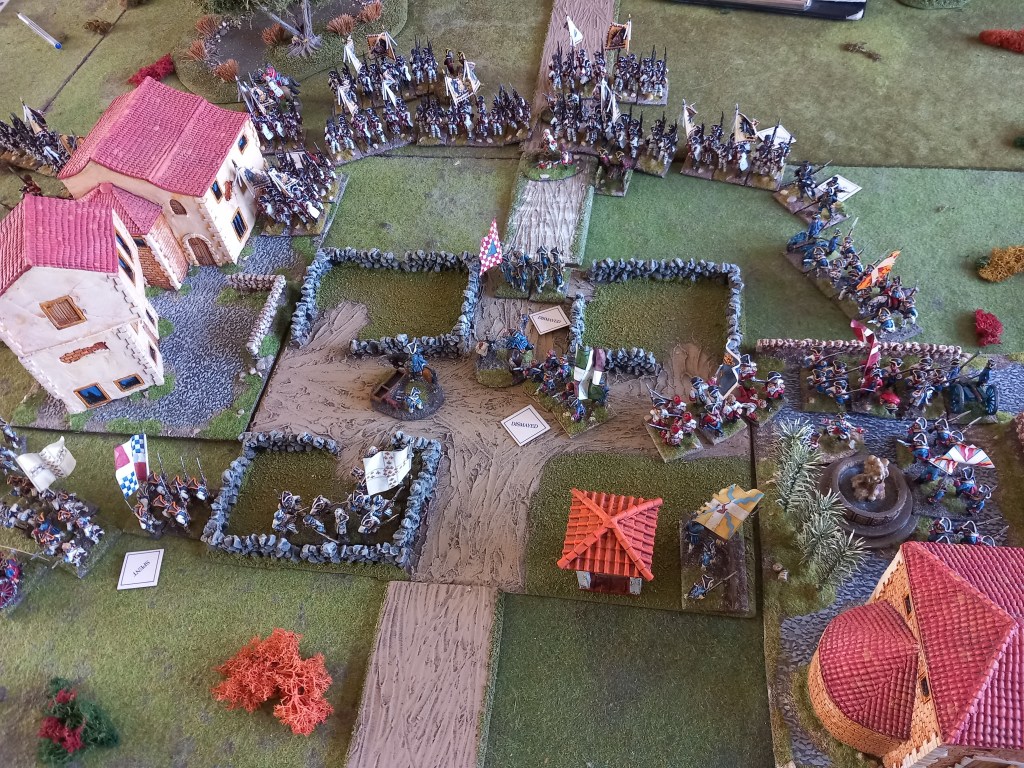
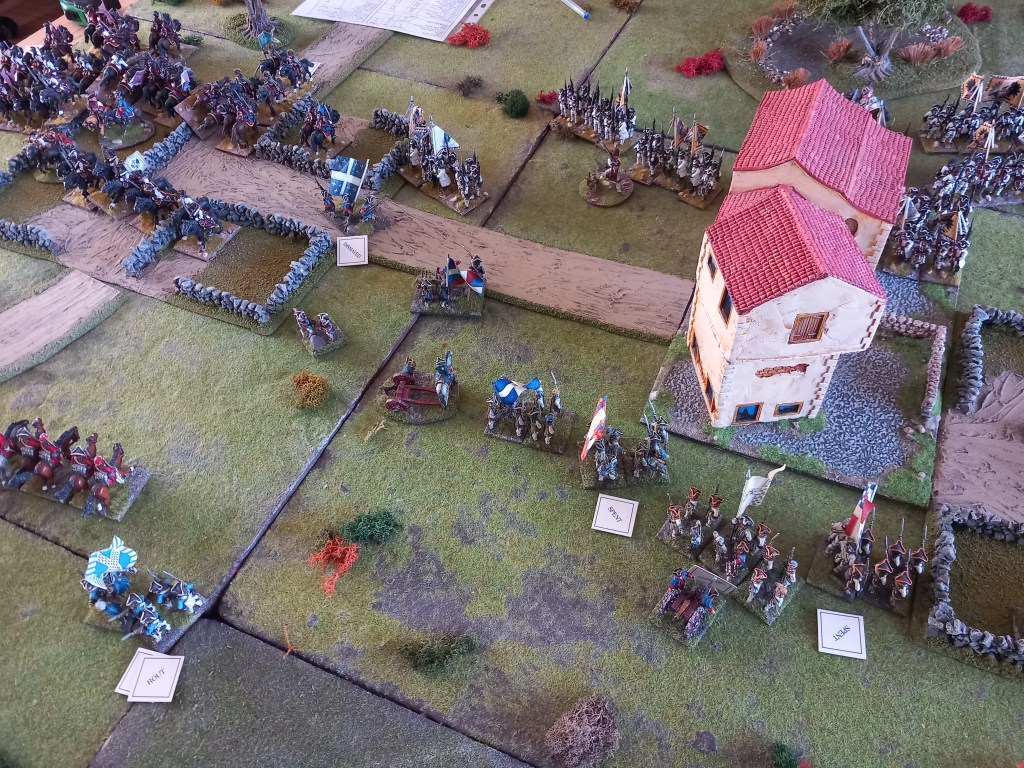
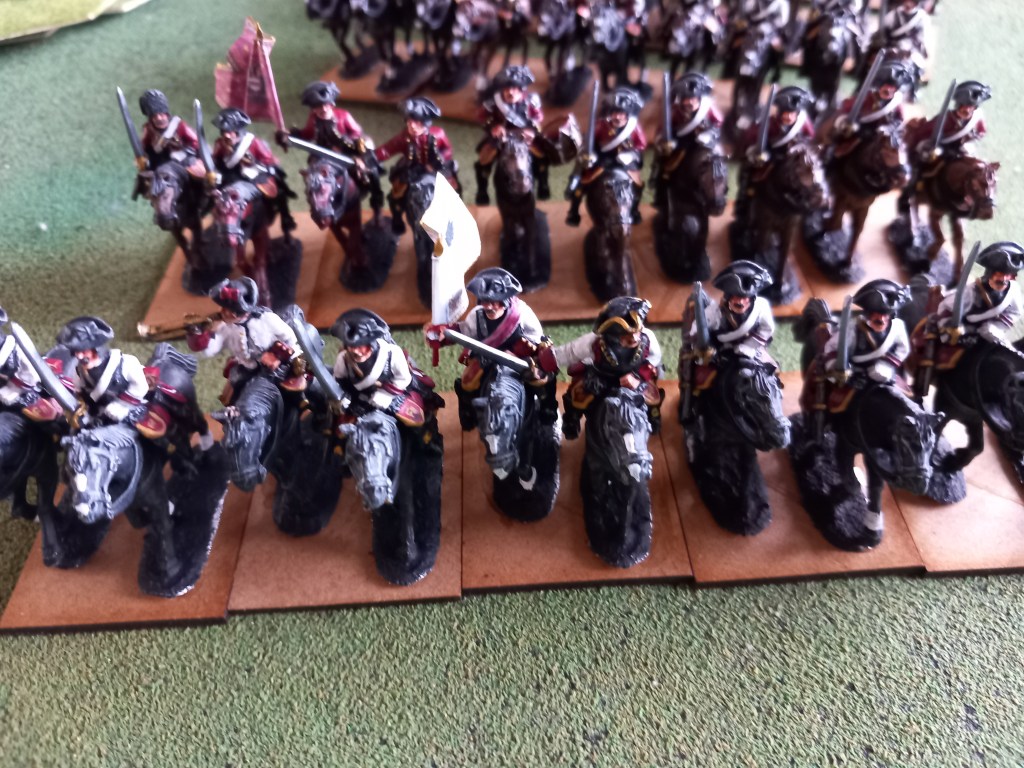
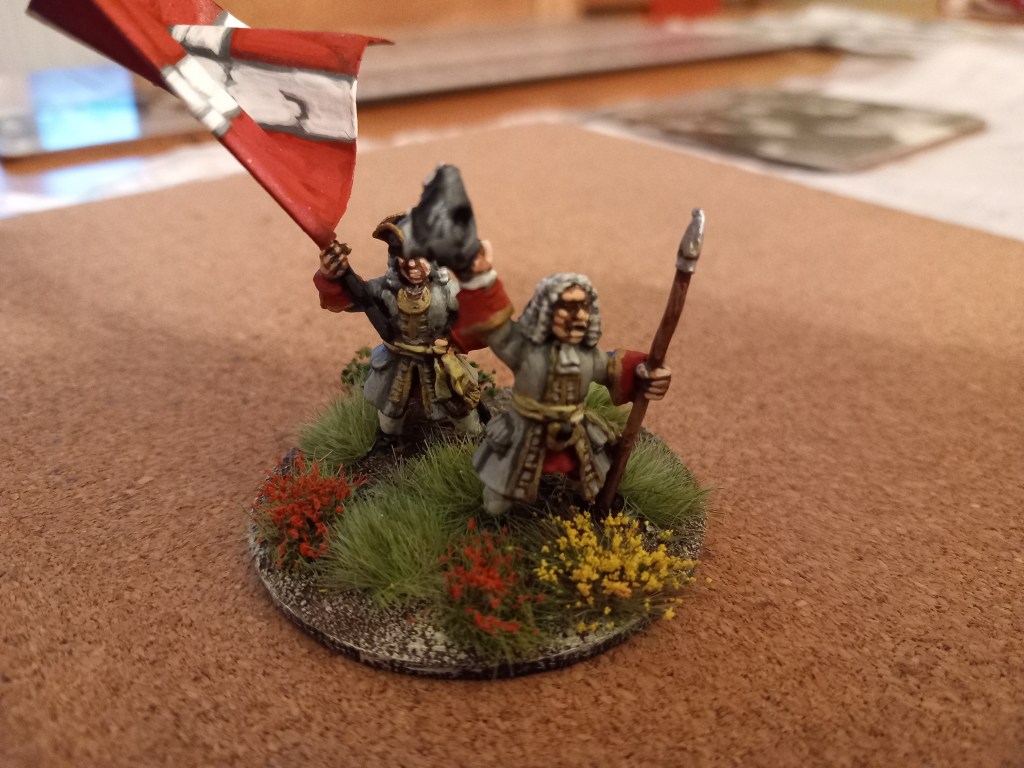
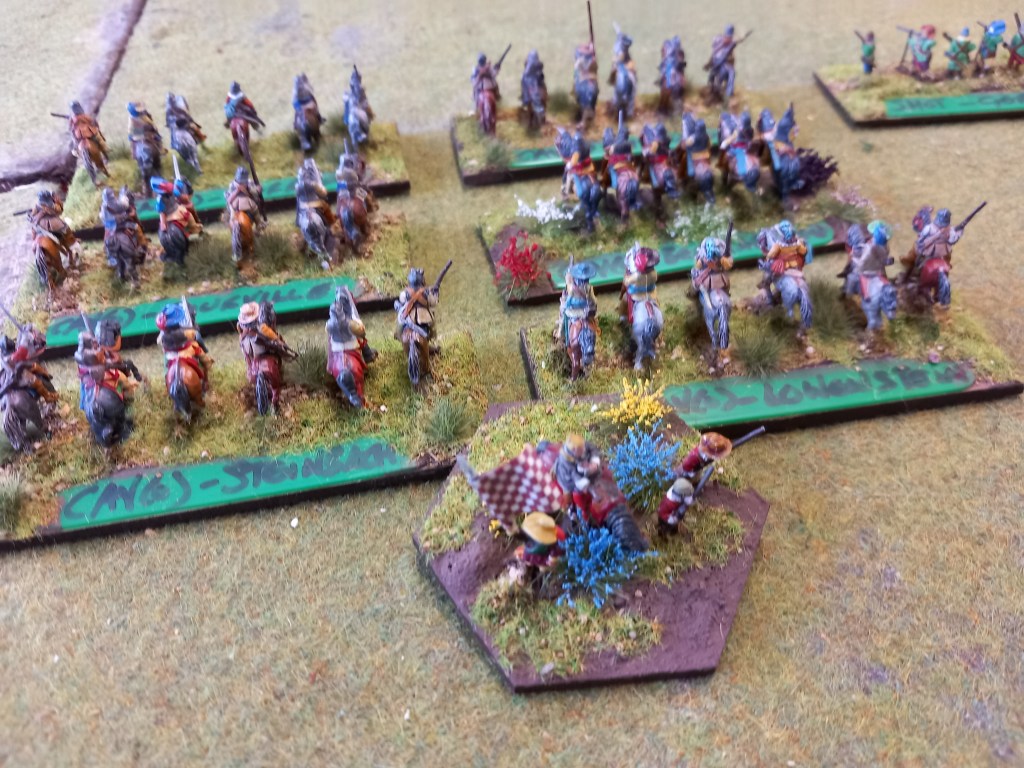
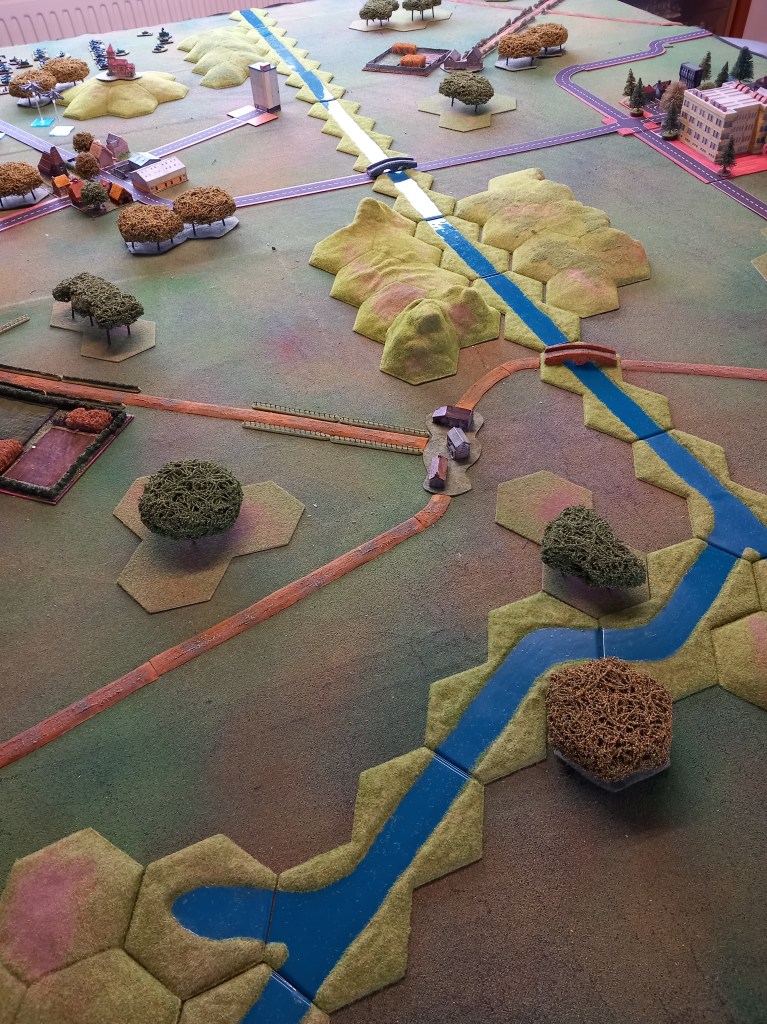
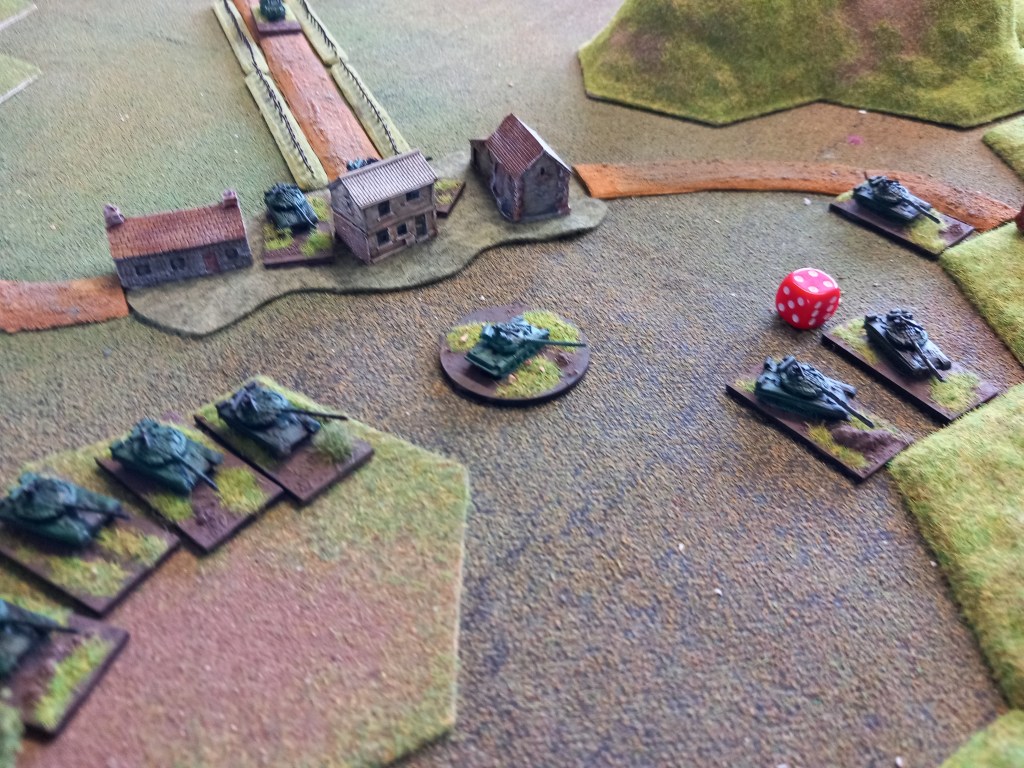
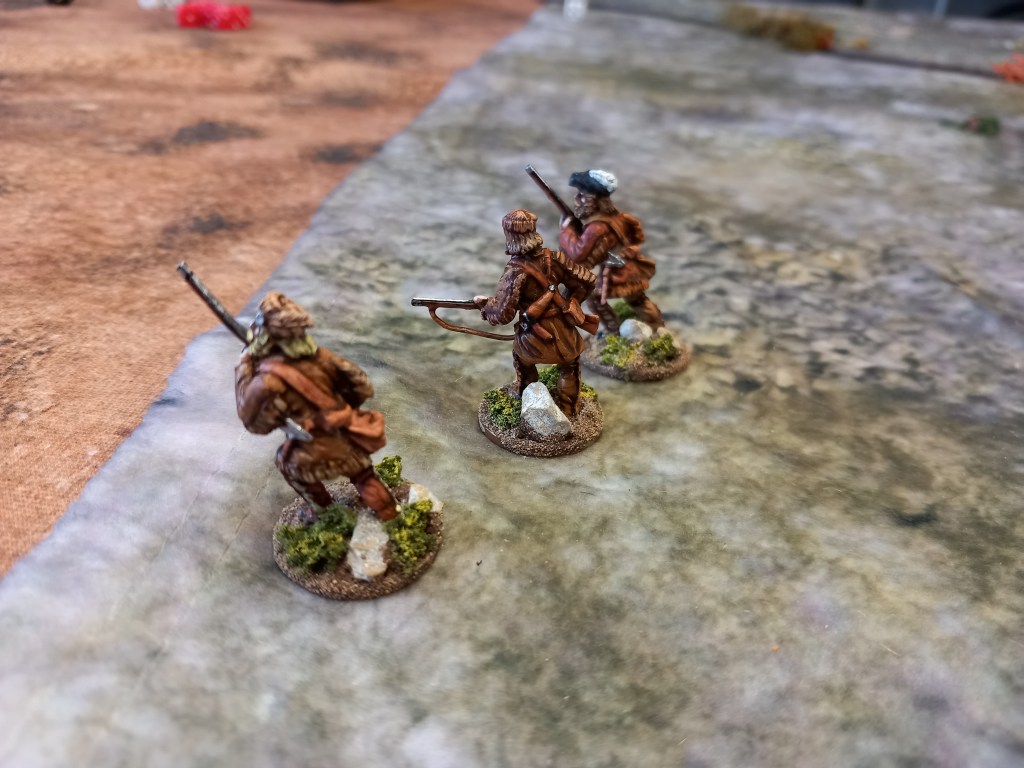
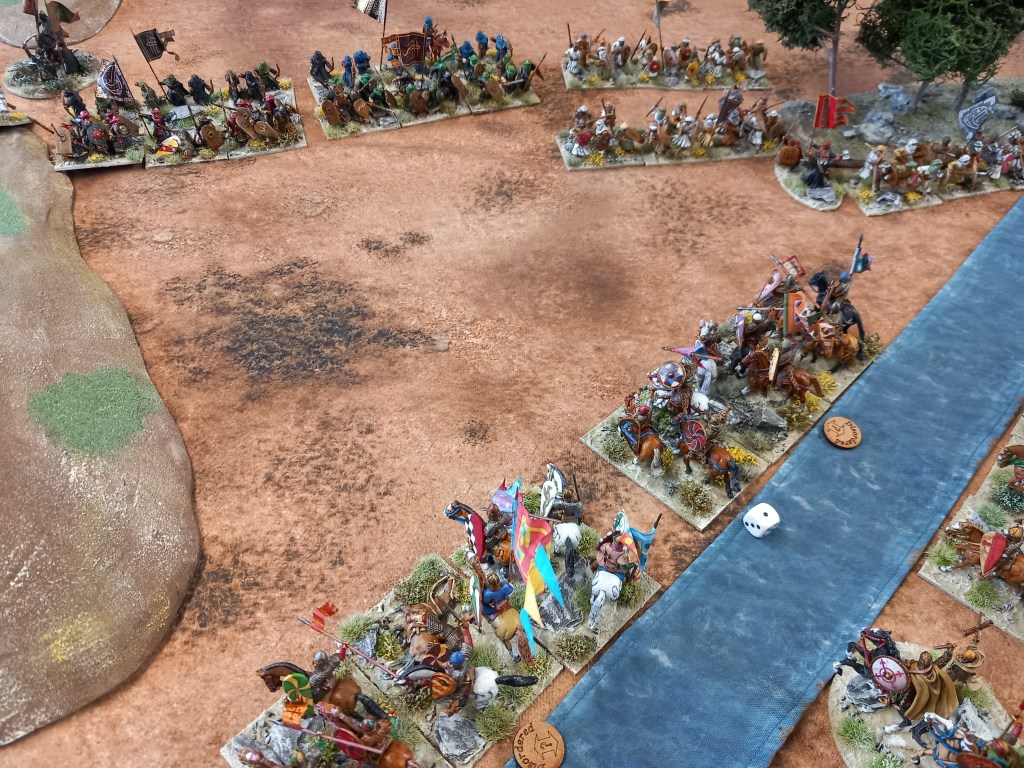
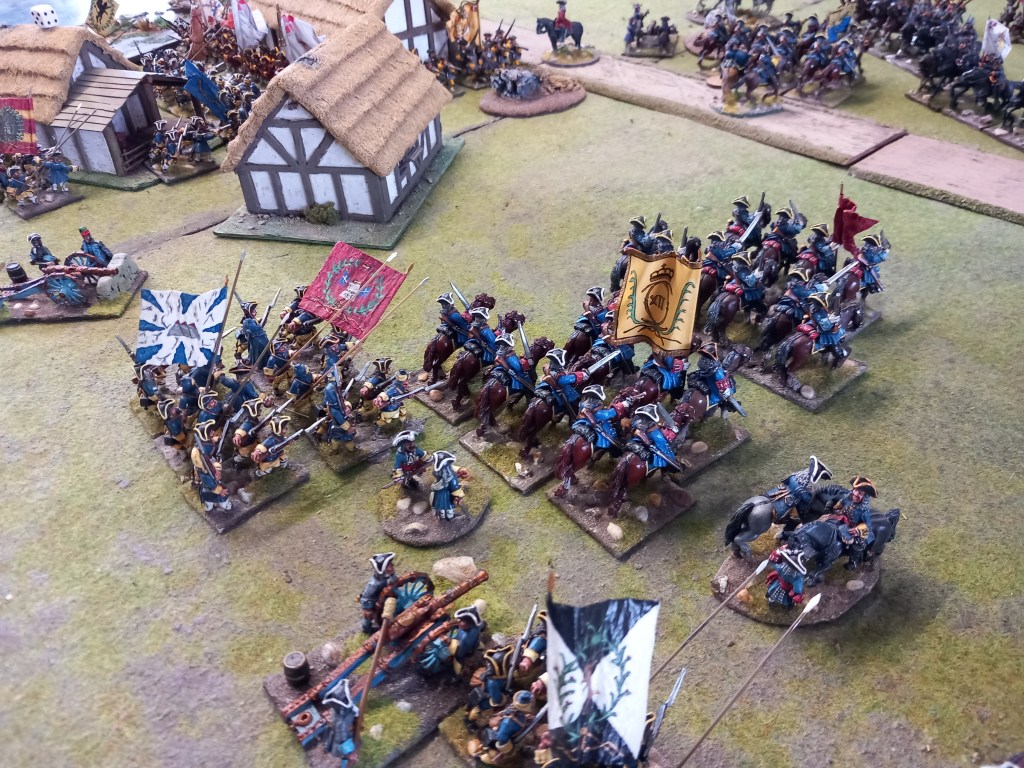
Our final game was a GNW piece that stretched into two days. For this battle we had the table split by a major river, only crossable by a bridge leading into a town. A Russo Danish allied army was advancing up either bank of the river to contact a Swedish force reported as coming their way. The Russians and Danes had to deploy either side of the river although who took which side didn’t matter, the Swedes could deploy on either side or split to deploy on both sides and the split didn’t need to be even.

In the event the Russians took the right hand side with two brigades of foot, one of horse grenadiers and one of dragoons and the Danes the left with one brigade of horse and two brigades of foot. The Danes had the advantage of being on the side where the town was and maybe could beat the Swedes to it.
The Swedes opted to split their forces placing two brigades of horse and two of foot on the side facing the town and one each of horse and foot on the other bank facing the Russians.
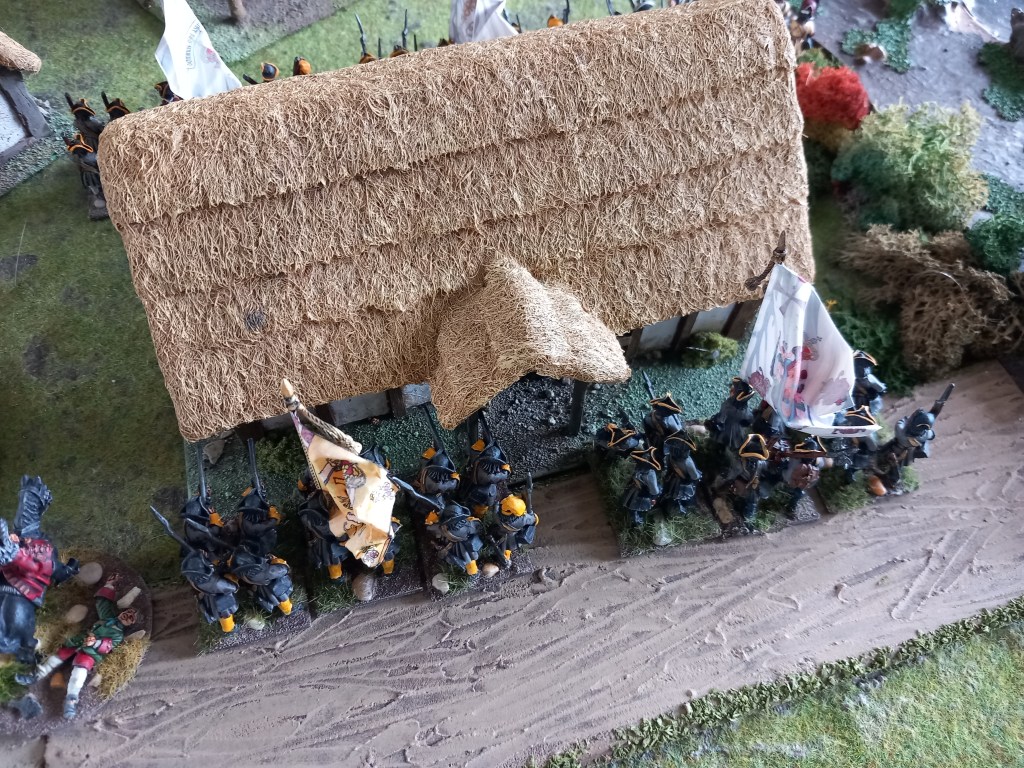
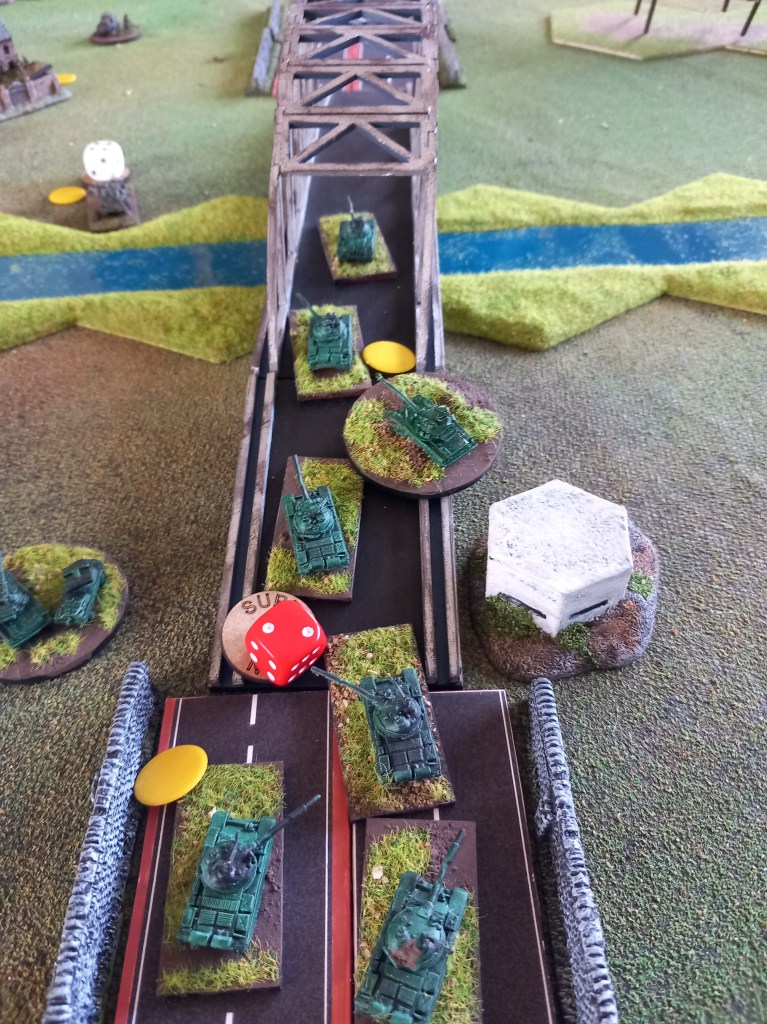
In the opening moves the Danes won the race for the town (just) and this would prove to be a crucial event giving the Danes the advantage of receiving the forthcoming Swedish attacks at the halt.

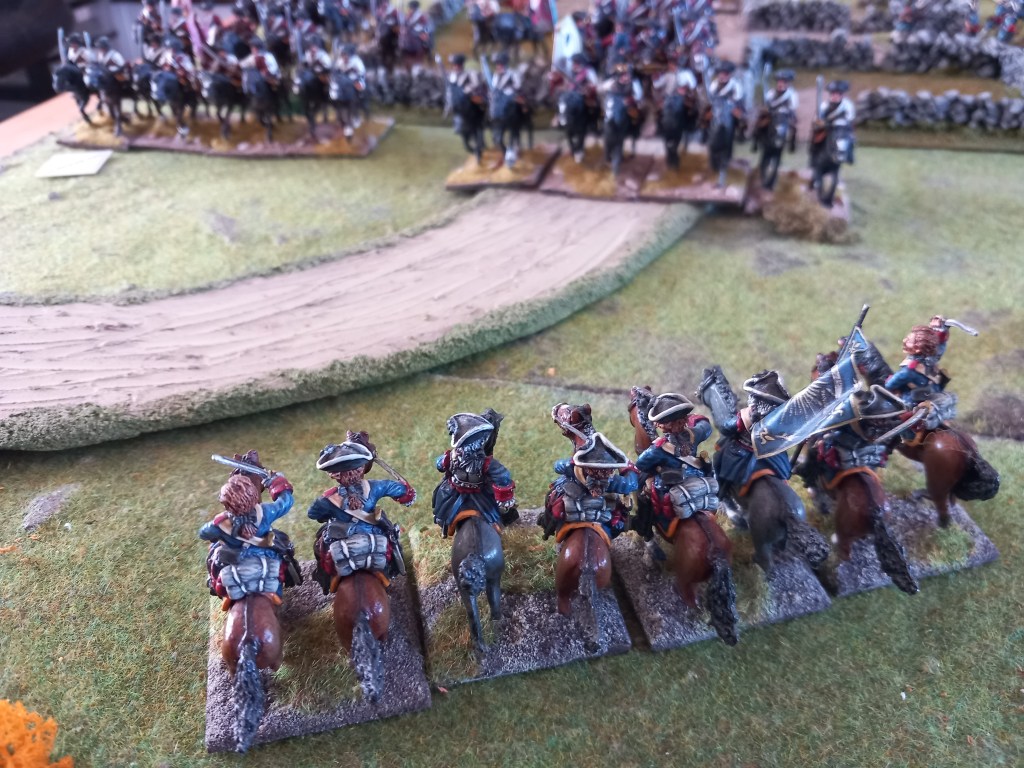
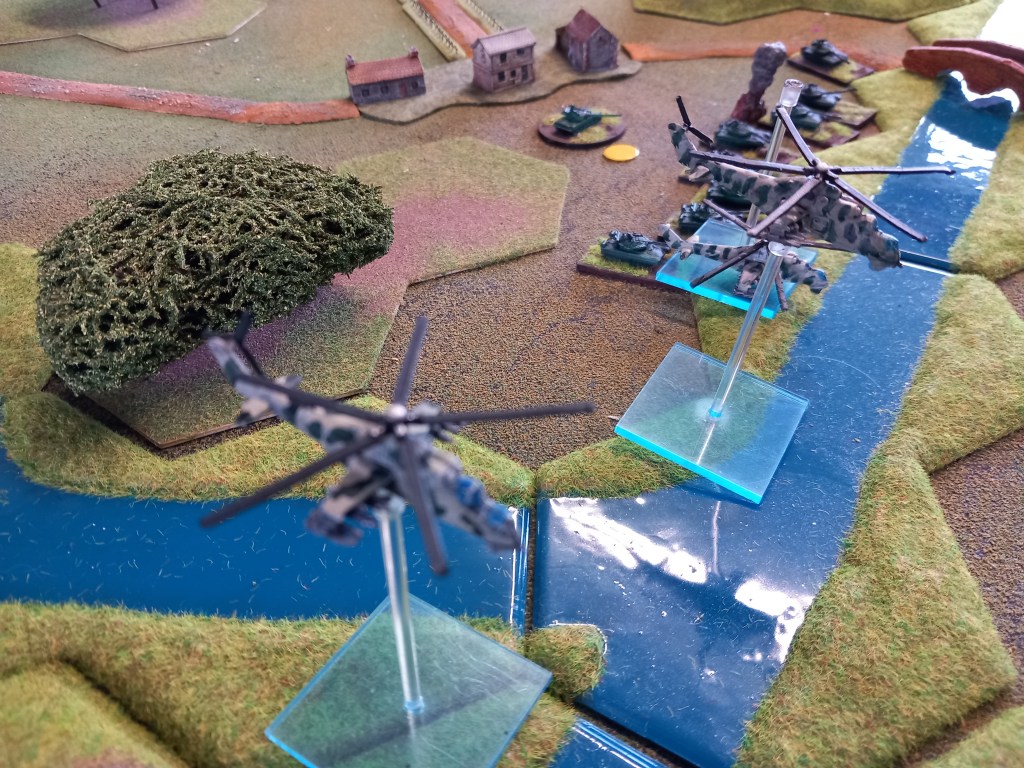
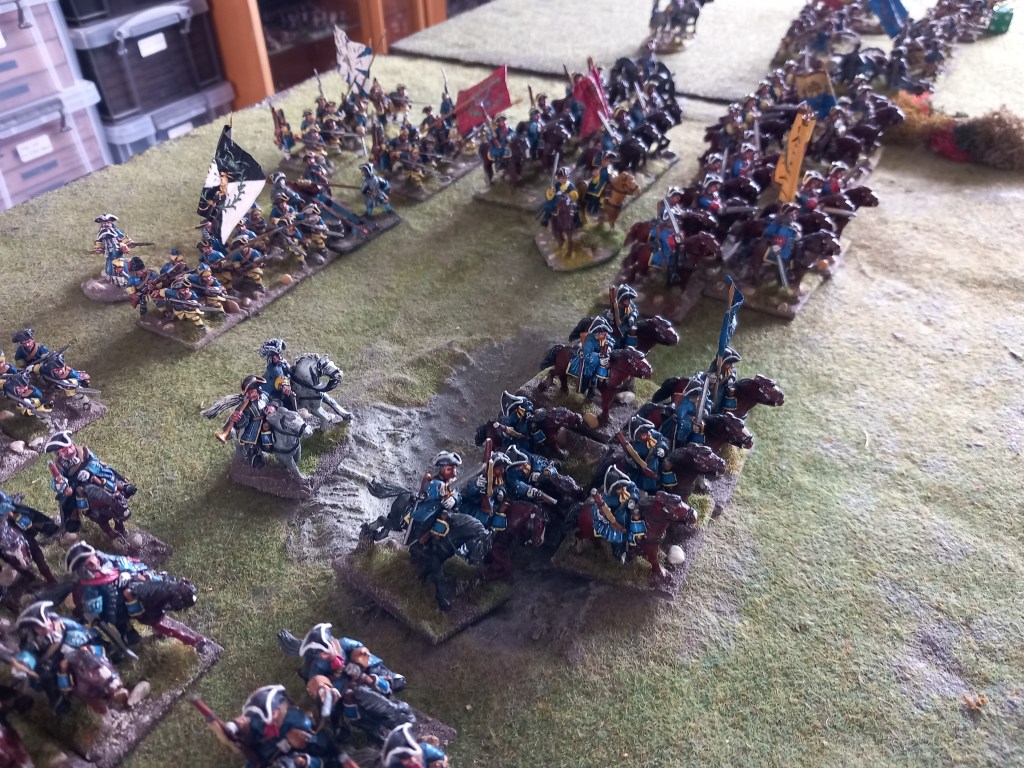
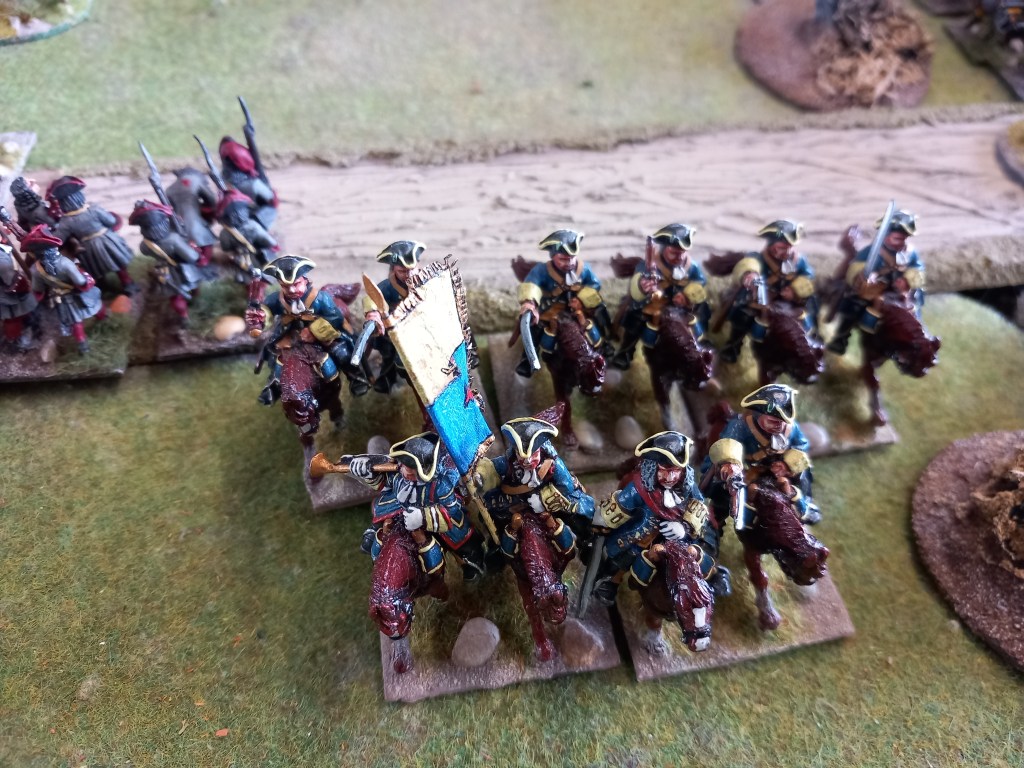
Over on the Russian bank their horse (Kroptov and Tiernishov) splashed across the tributary stream to take the fight to the Swedes who lumbering forward.

The Swedes responded with their horse under Torstensson

The Russians were stopped but not overwhelmed and the Swedes fell back to regroup and the Russians realised they had got off lightly mixing it mounted so dismounted and started peppering away with muskets to keep the Swedes busy while their infantry hurried up.
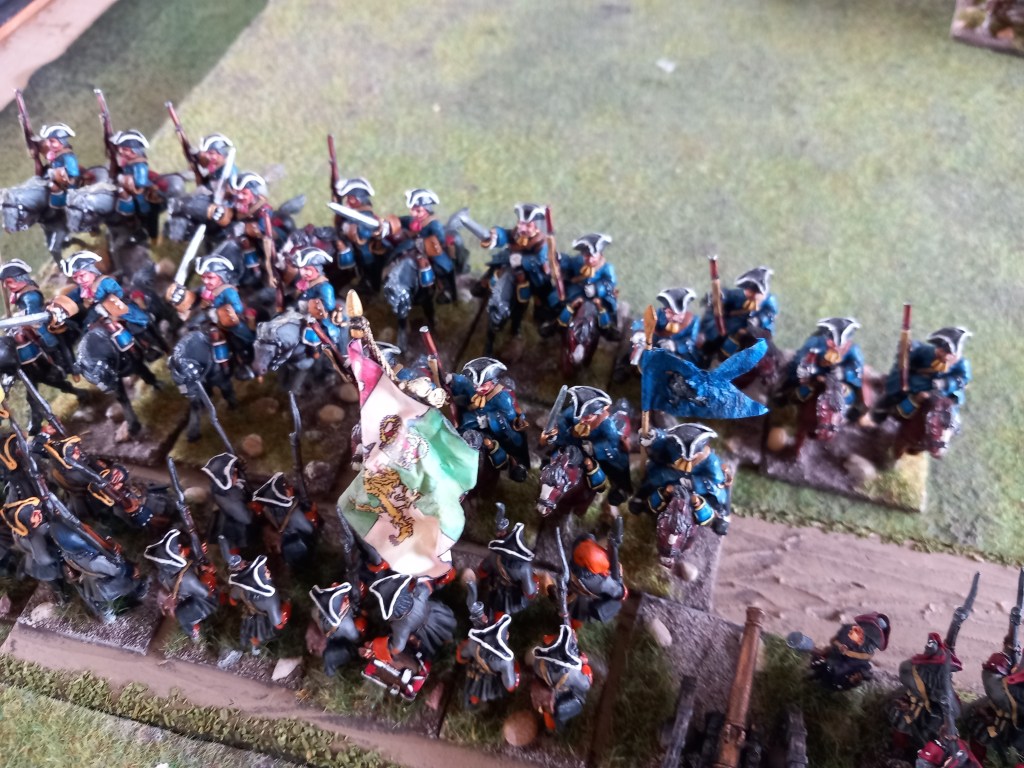
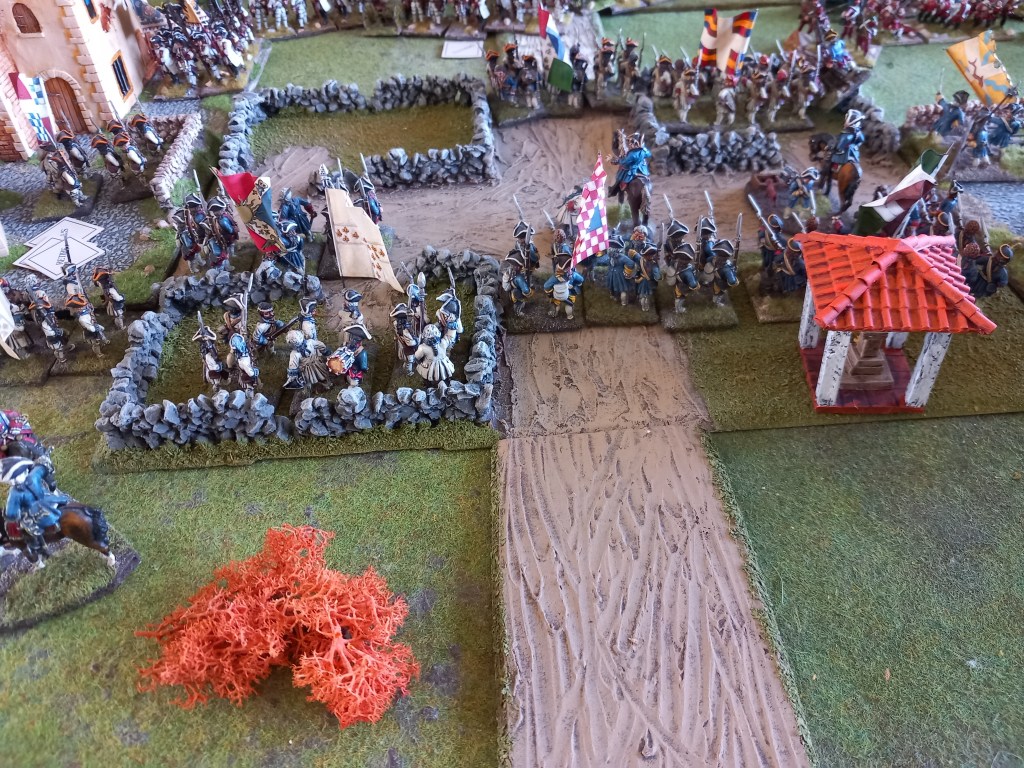
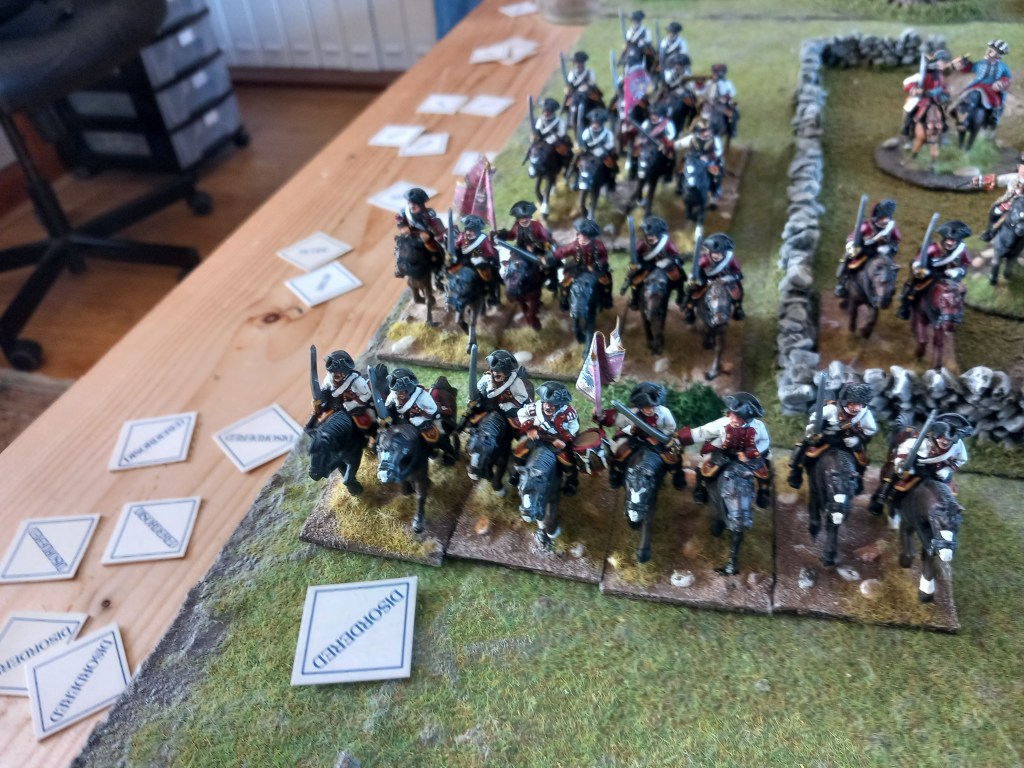
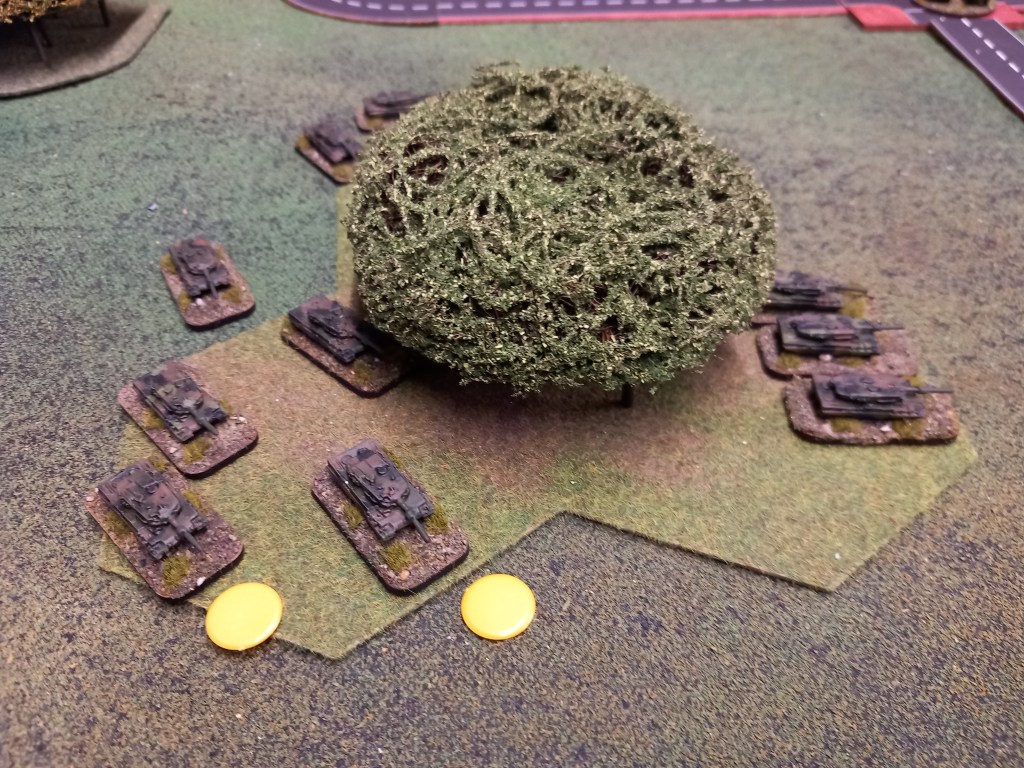
Over on the other side of the river the Swedes threw in their first wave of cavalry under Hard but found that Danes weren’t quite so brittle as the Russians they were used to and so bounced off. No problem there’s another brigade to throw in.
In came the 2nd wave under Armfeldt and still the Danes held. Phew! The Swedes are now carrying some significant losses.

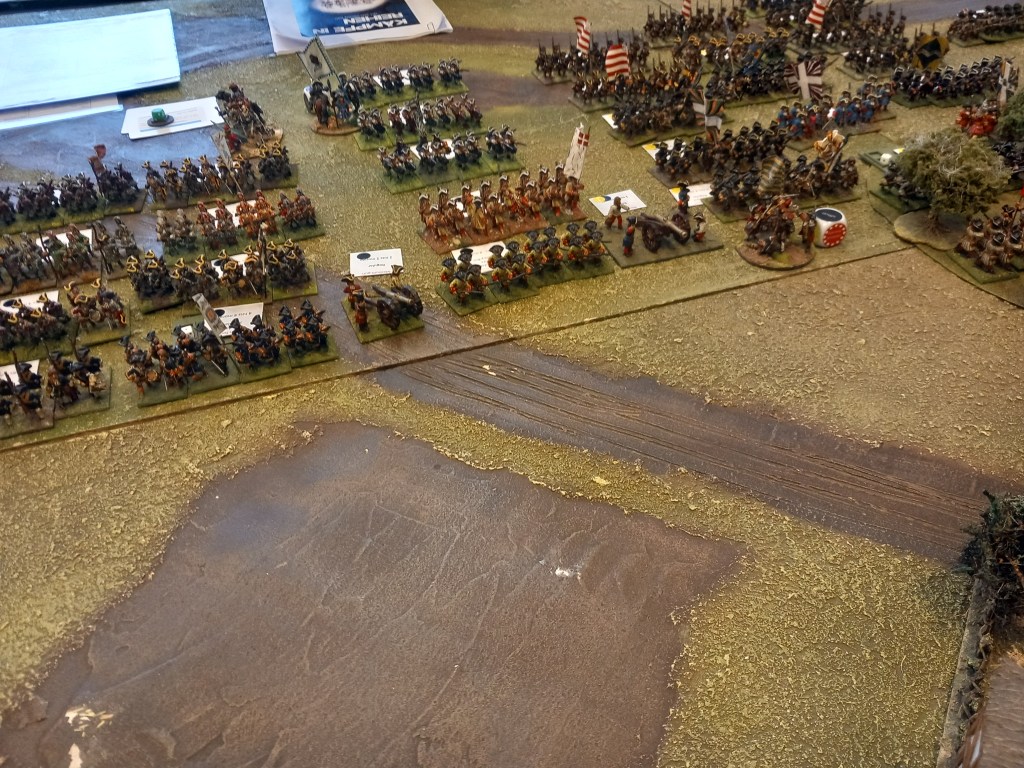
Back over the river the Russians are making a good show of it.
The Swedes have made a hole. Can they exploit it?

The Russian realise that they have more than enough troops to contain two Swedish brigades and so release Golovin’s brigade to march over the bridge to support the Danes – this will prove crucial.

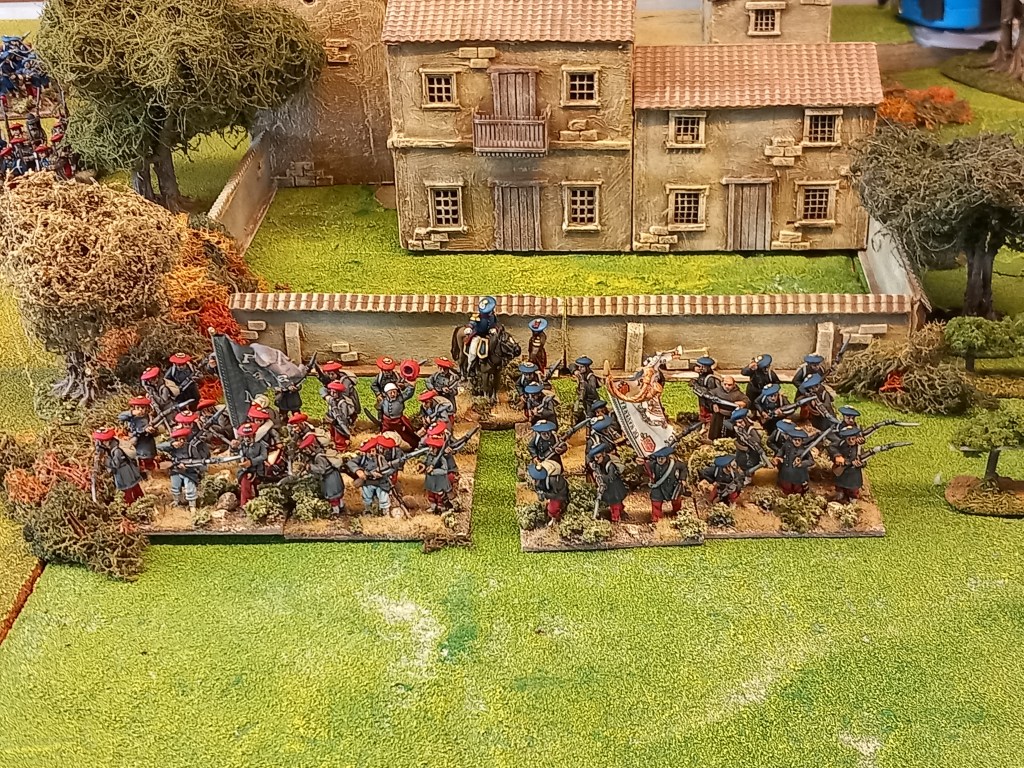
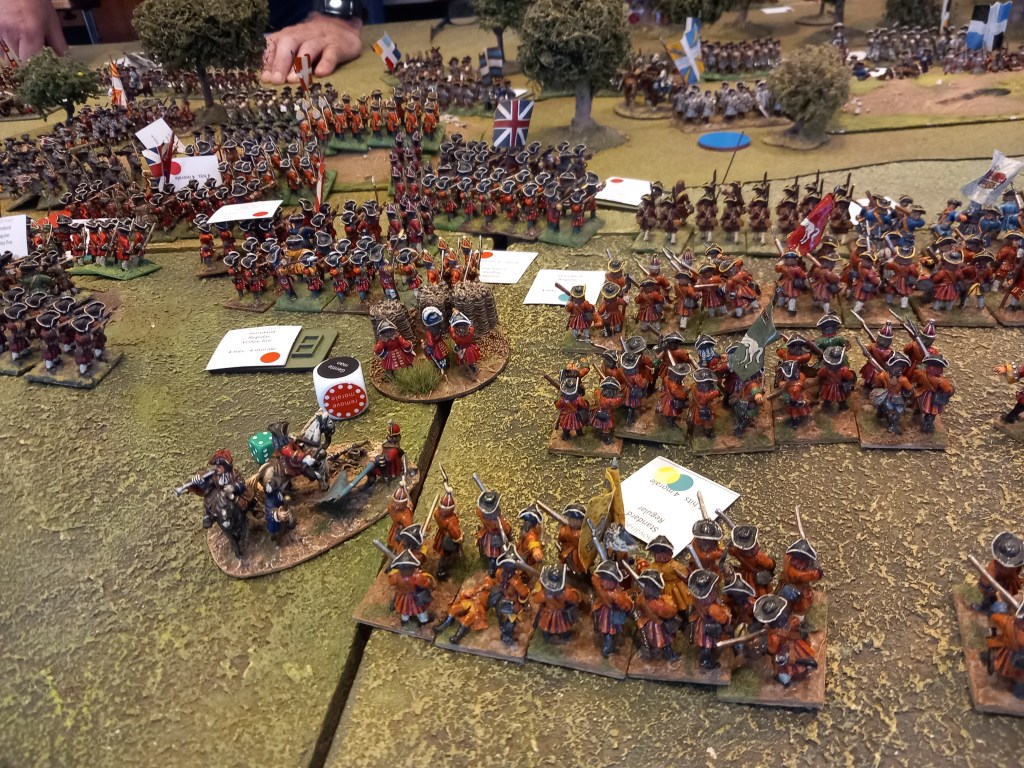
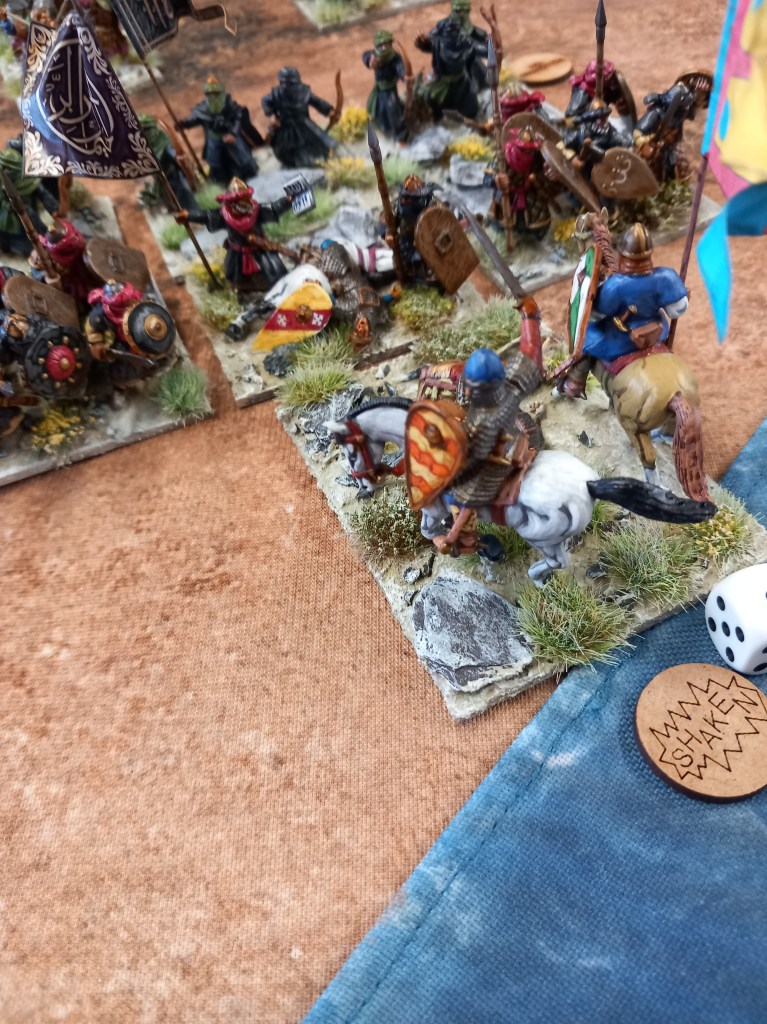
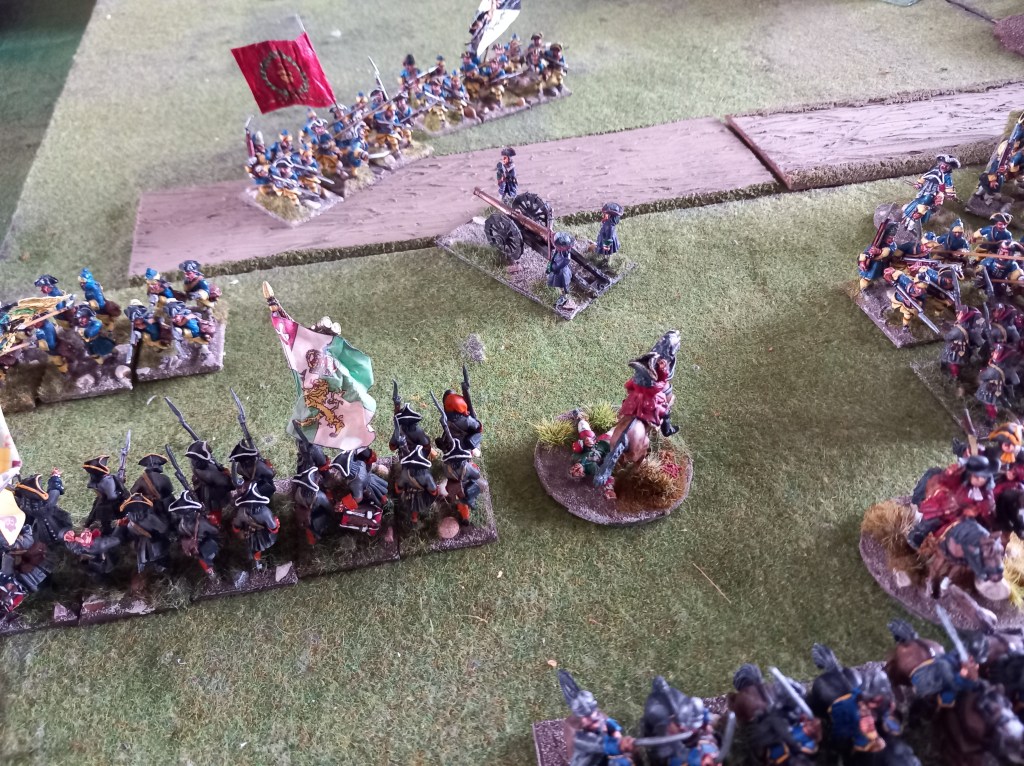
In the town the Swedes and Danes slug it out. First with volleys and then with the Swedes trying to carry it with the pike & bayonet. Ultimately this is a failure and the Swedish brigade breaks with heavy casualties, ultimately rallying back at the table edge but spends the rest of the battle recouping its losses. The Danes now have the town and the Russians the bridge, its going to need a major Swedish effort to turn this around.

The Torstensson’s brigade breaks from accumulated casualties. It will rally but will need to recover losses.
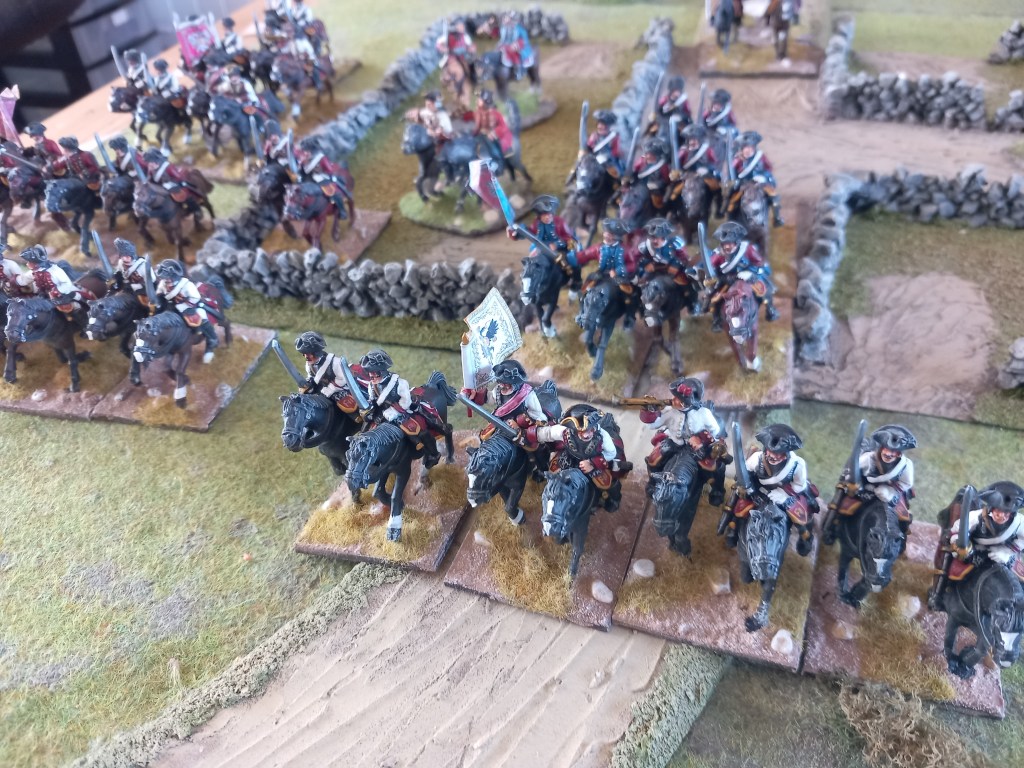
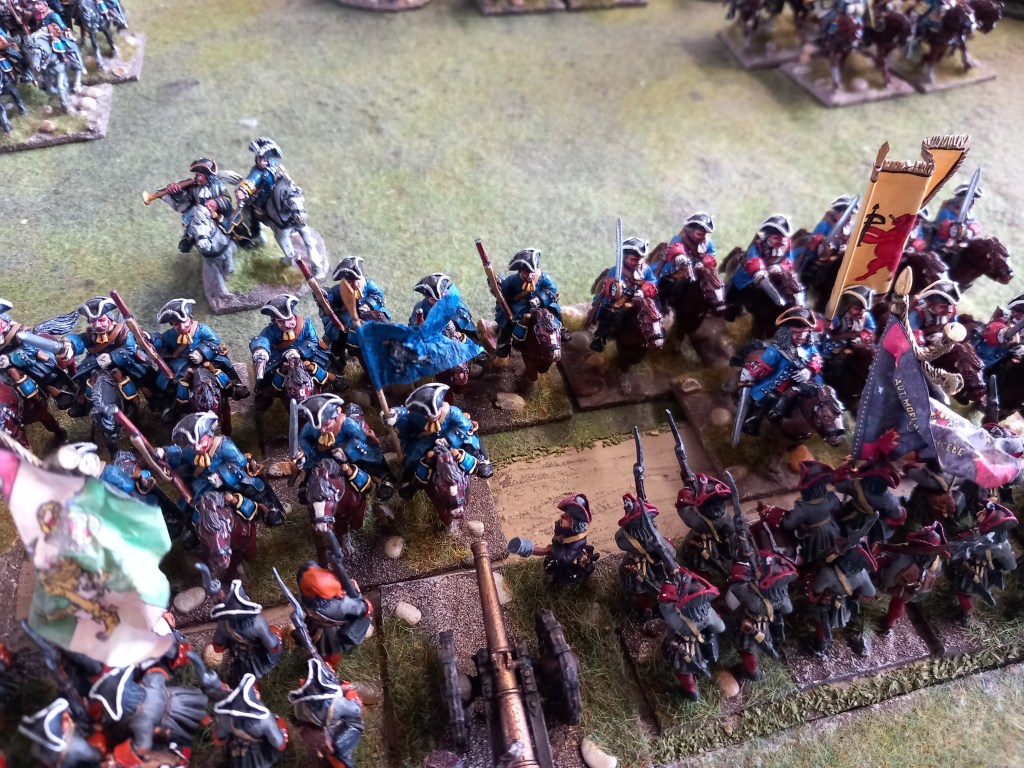
The Swedes facing the Danes are now starting to gain ground so the Danes throw in their cavalry to stem the tide (see top corner). Sparre’s foot brigade is coming up behind the horse.

This is not good! The losses on Hard’s brigade reached critical mass and it only took one morale test for the brigade to crumble, The Danes breathed a sigh of relief.
The Danish line is finally breached by Sparre’s infantry but it has been an effort and they are not in a cohesive formation.

With the absence of Torstensson the infantry under von Liewen are being surrounded.

And breaks.

Golovin has shook out into line with 5 battalions of fresh troops and his right resting on the securely held town. His left is slightly in the air but about half of the Danish brigade has rallied and they are filtering in. The infantry under Sparre are too scattered to do anything in concert, Hard and Armfeldt are still recovering and Torstensson and von Liewen are lost. Emphatic Russo Danish victory.
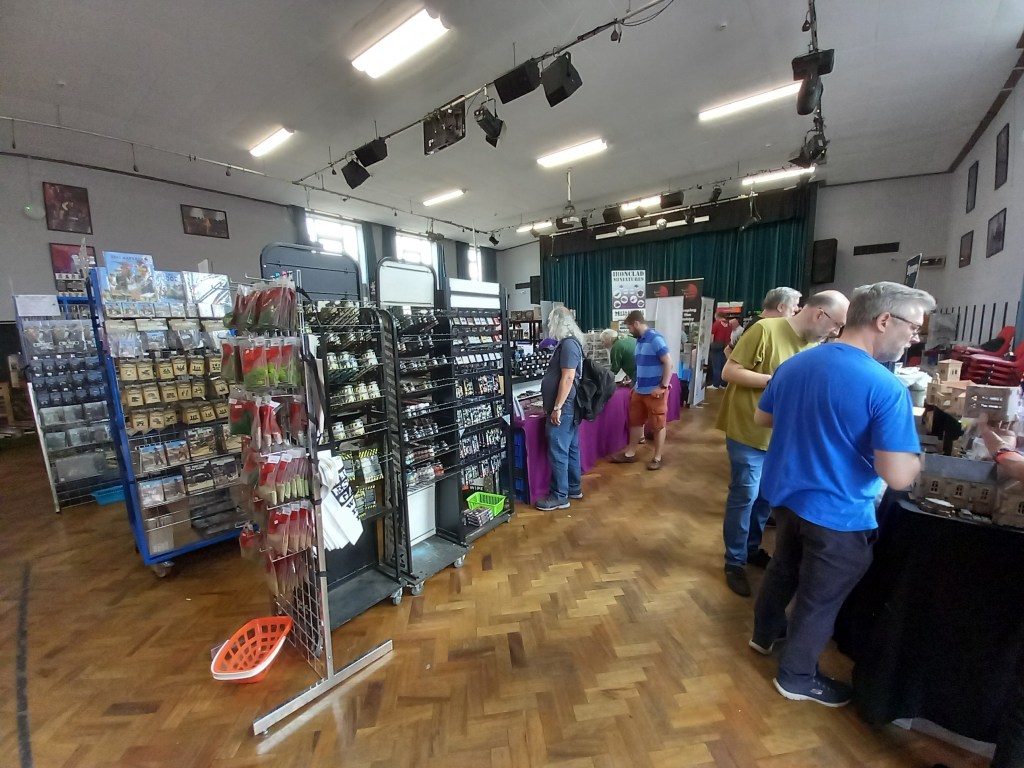
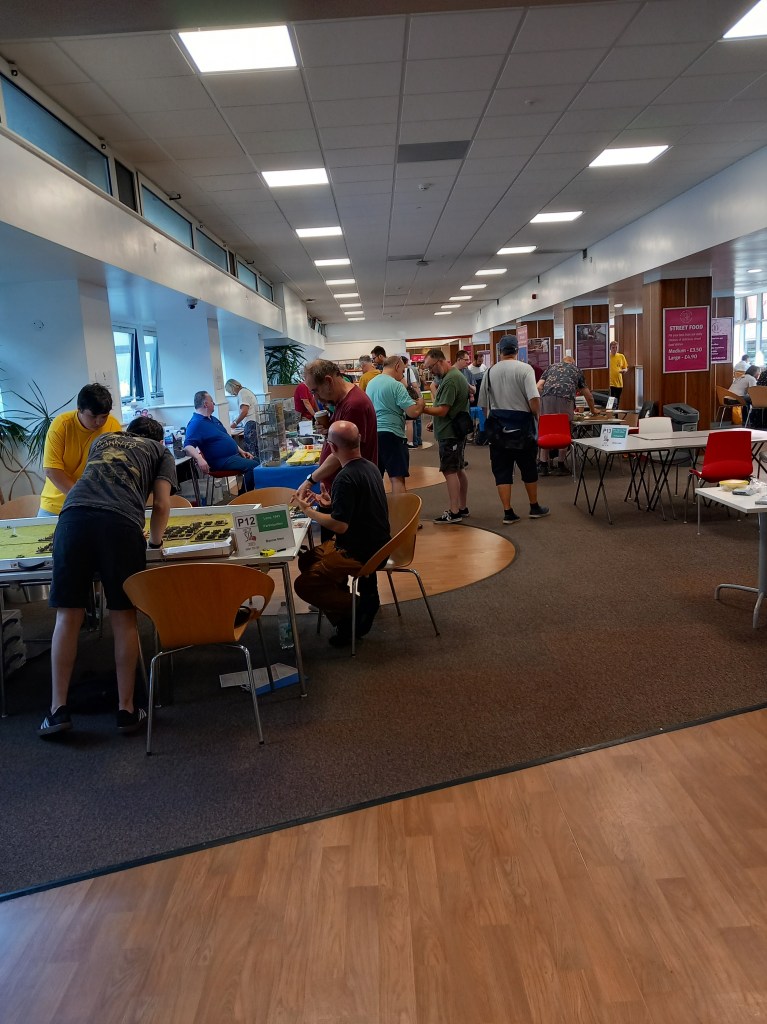
In other news shows were attended! I’ve already spoken about Joy of Six but I also went to Attack! in Devizes.

The last time I went to Devizes I said I wouldn’t go again. Not because of the show but the distance, it is way too long a journey from Coventry in one day for what is an OK show, but circumstances meant I had to go so there I was.
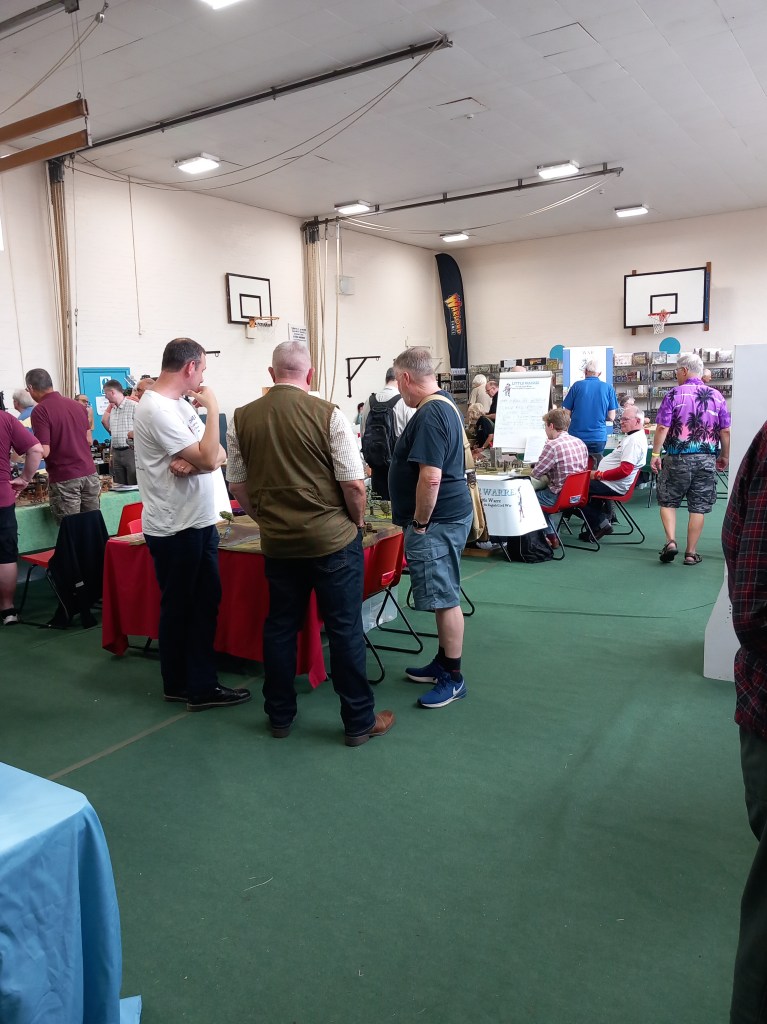
My take on the show is that it is very old school and that has some charm but my impression was that numbers were low and two days is a stretch.
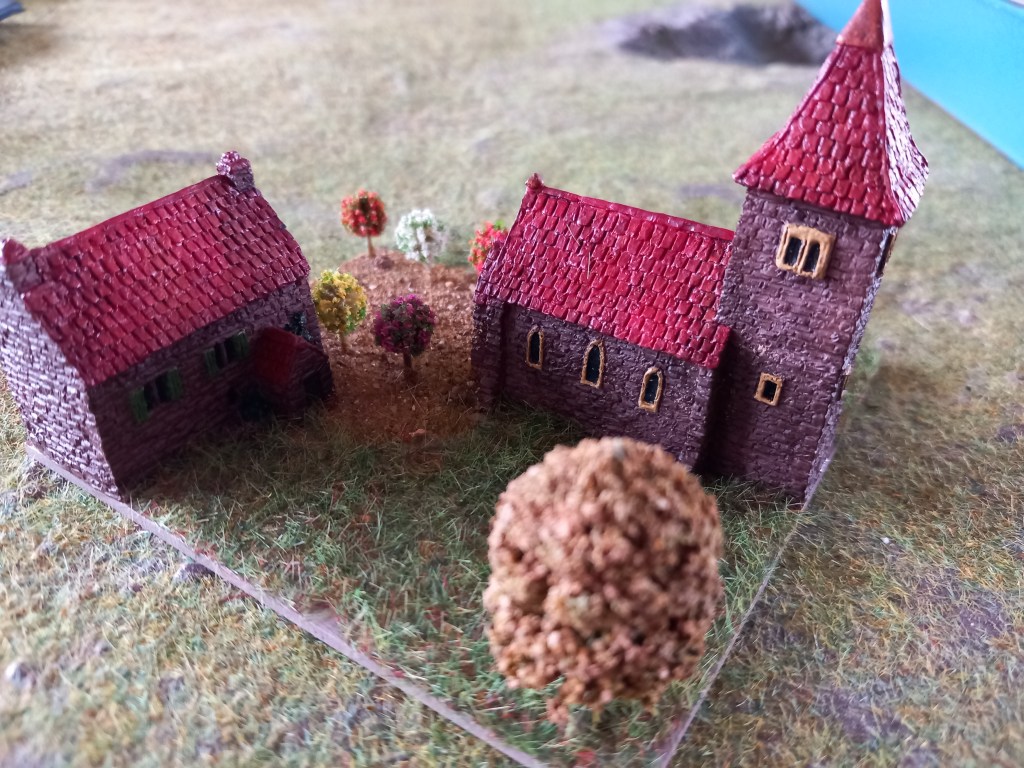
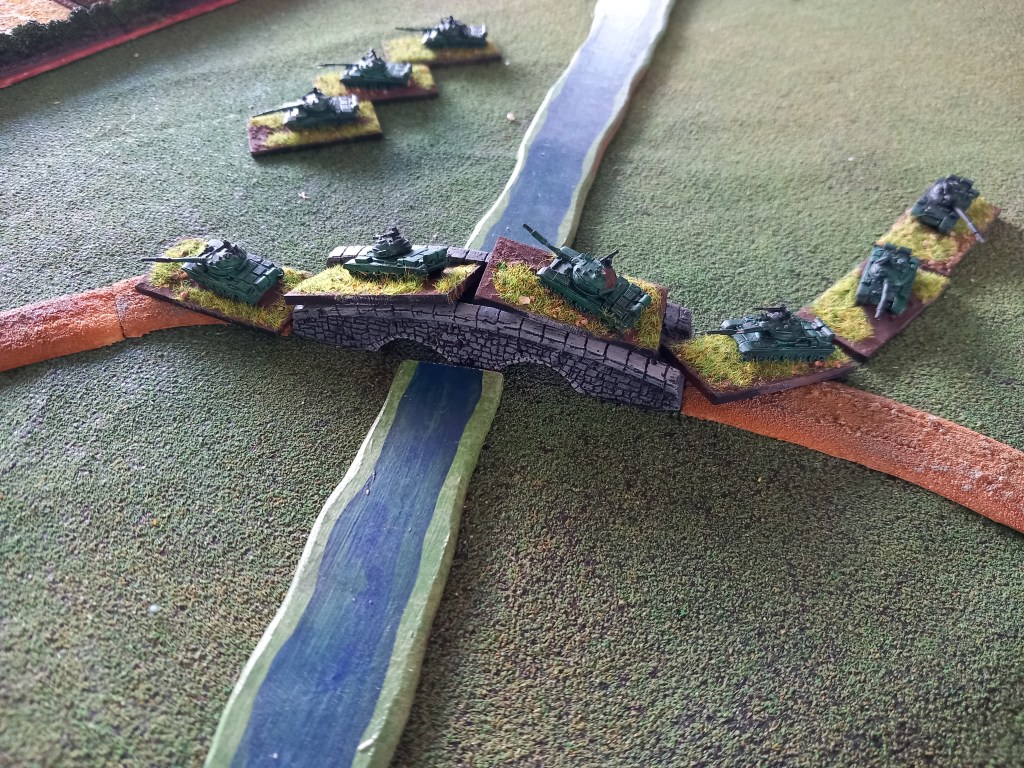
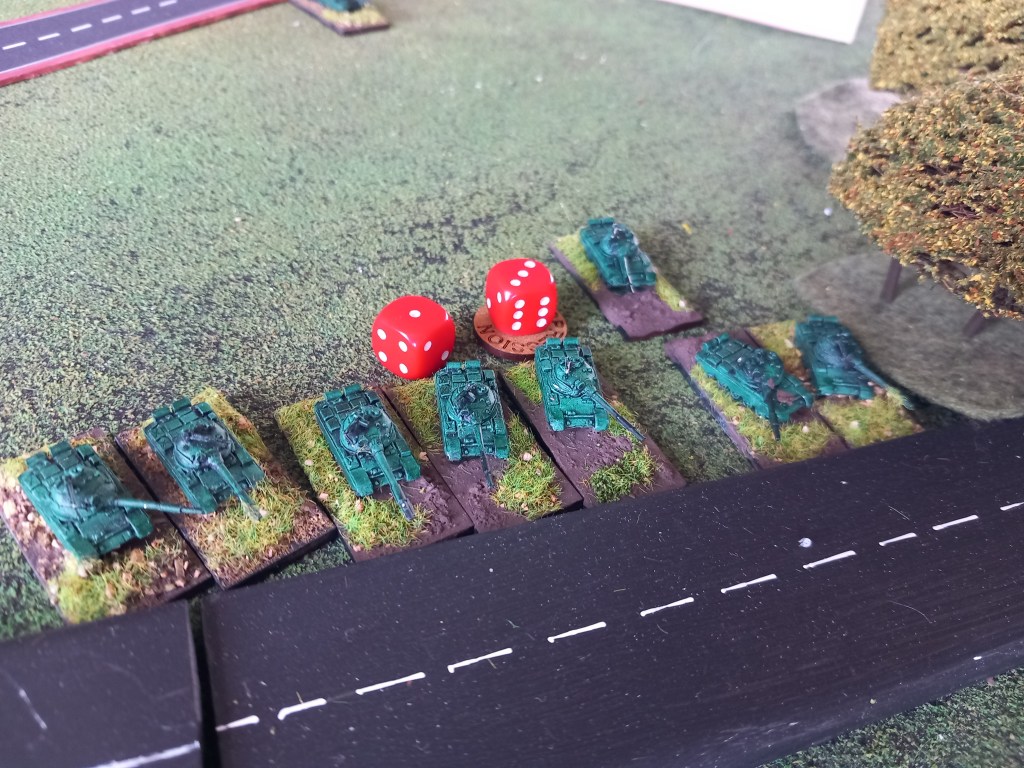
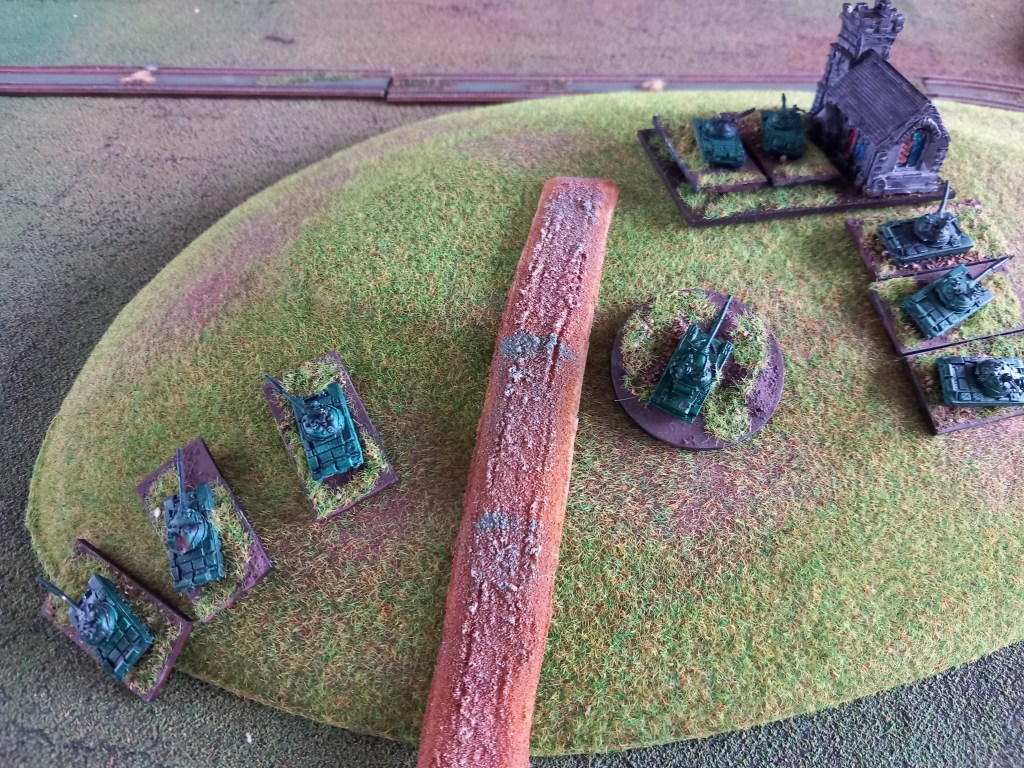
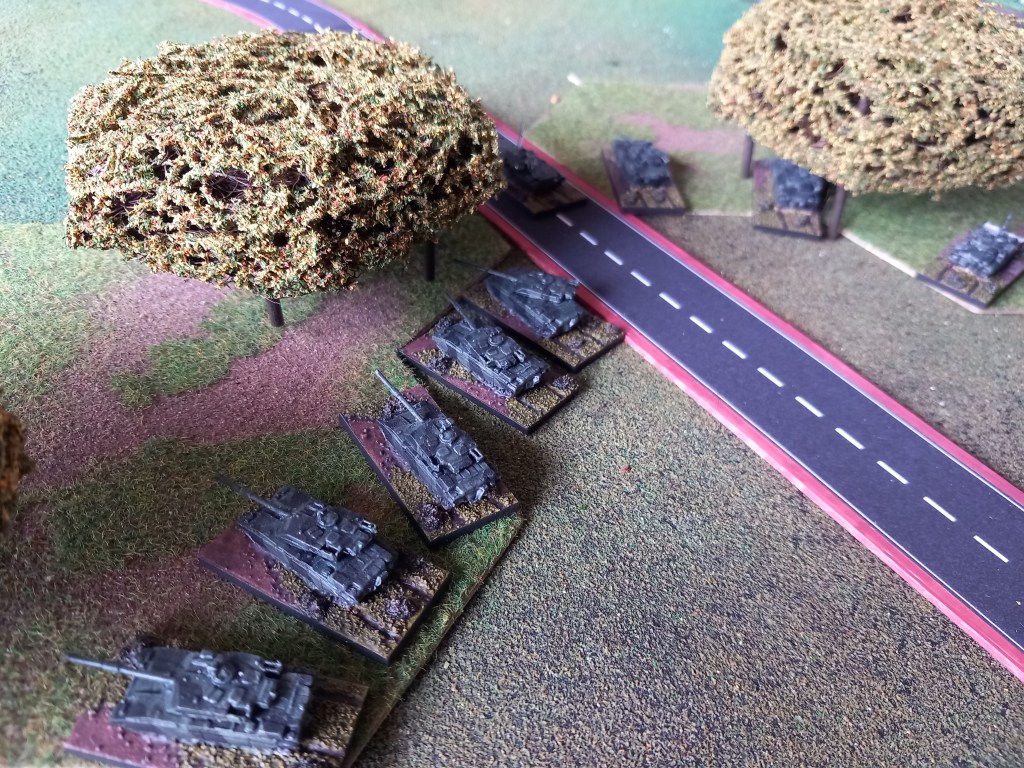
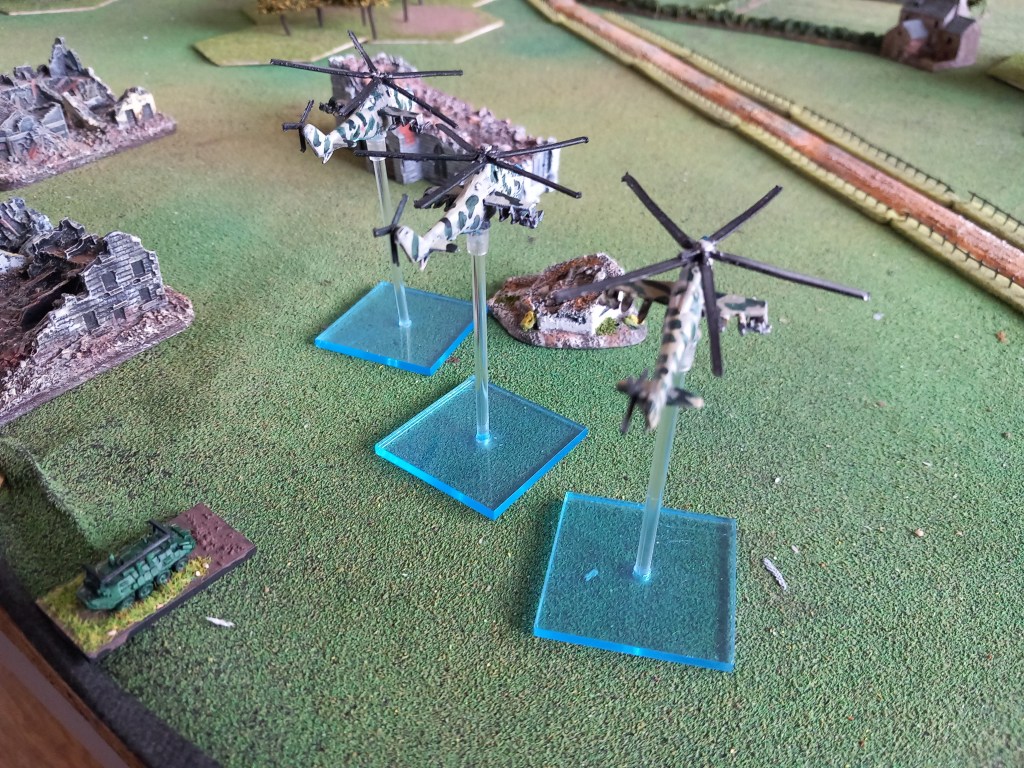
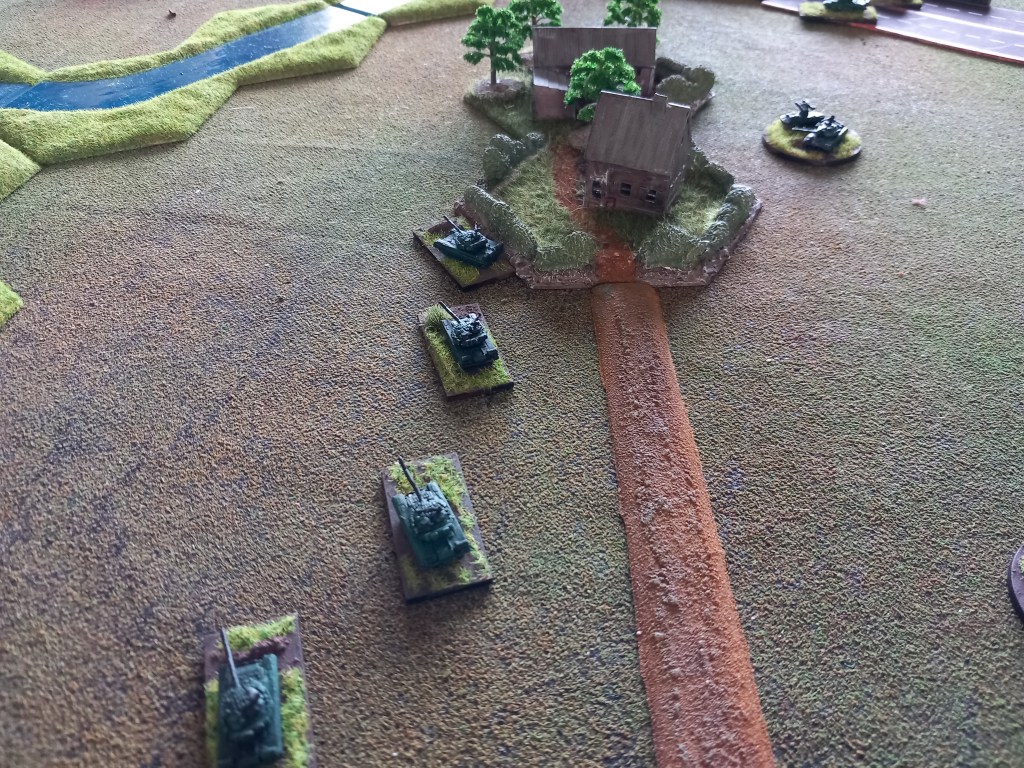
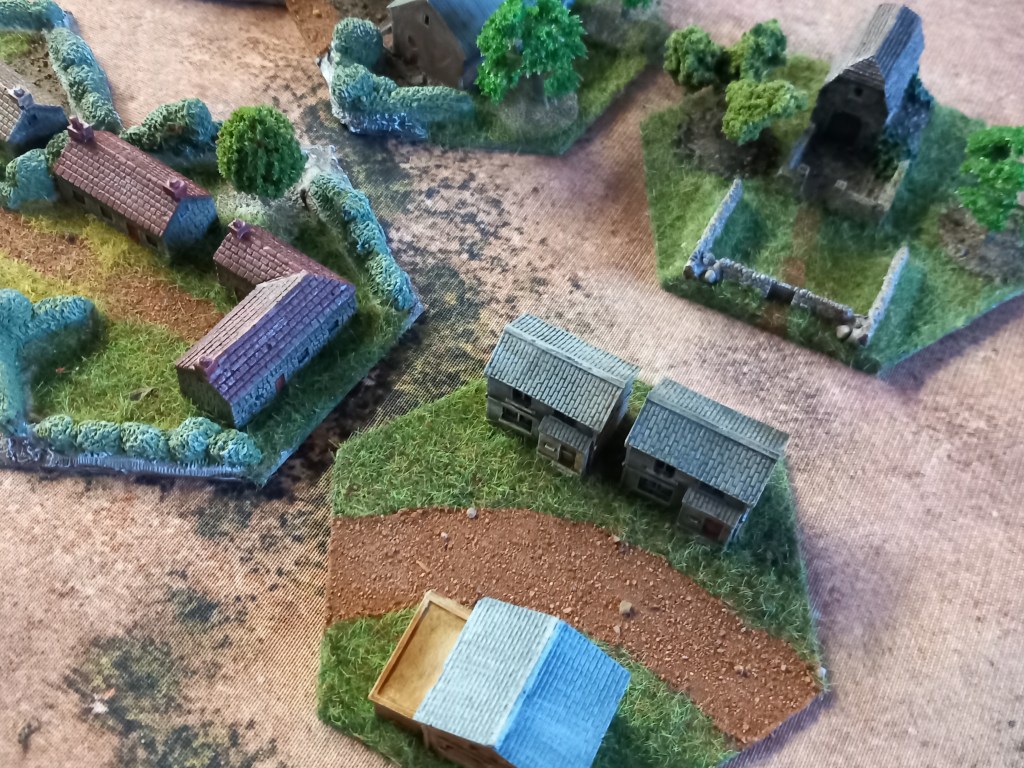
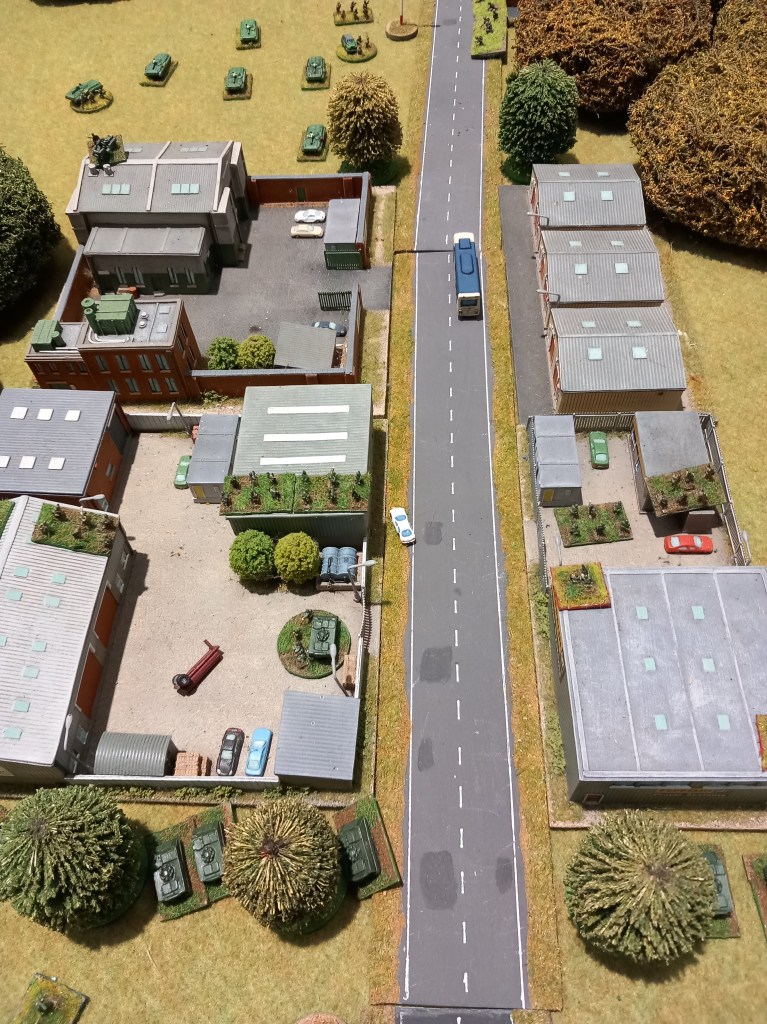
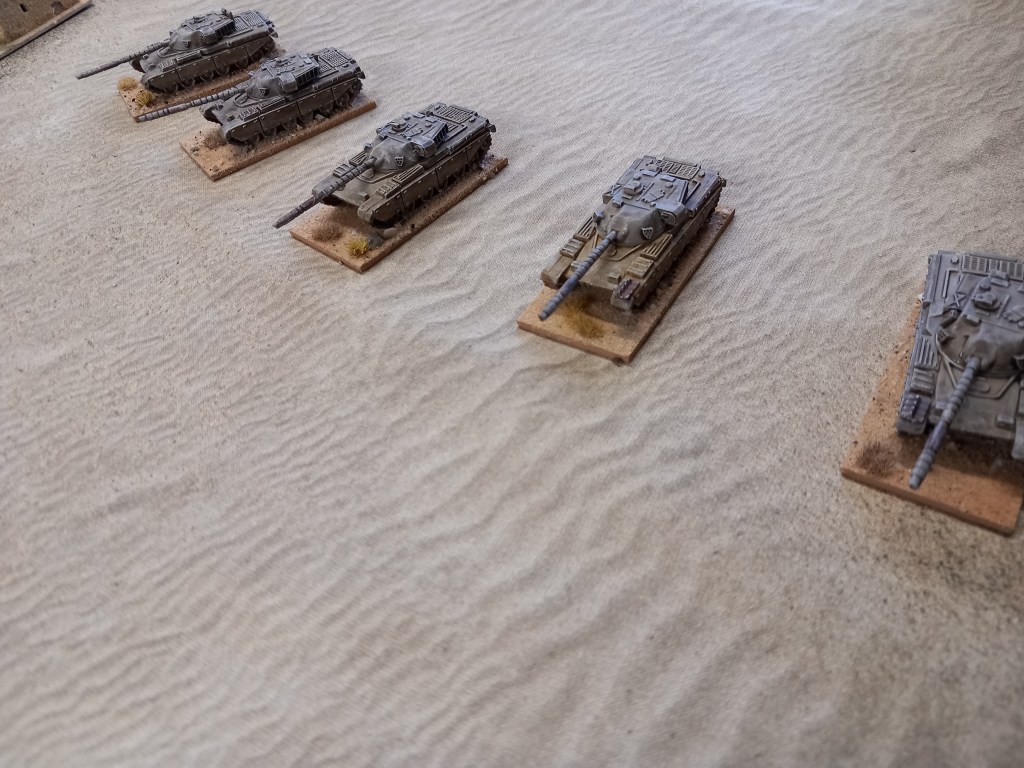
I did however manage to get some stuff done. This church and rectory for 6mm Cold War.
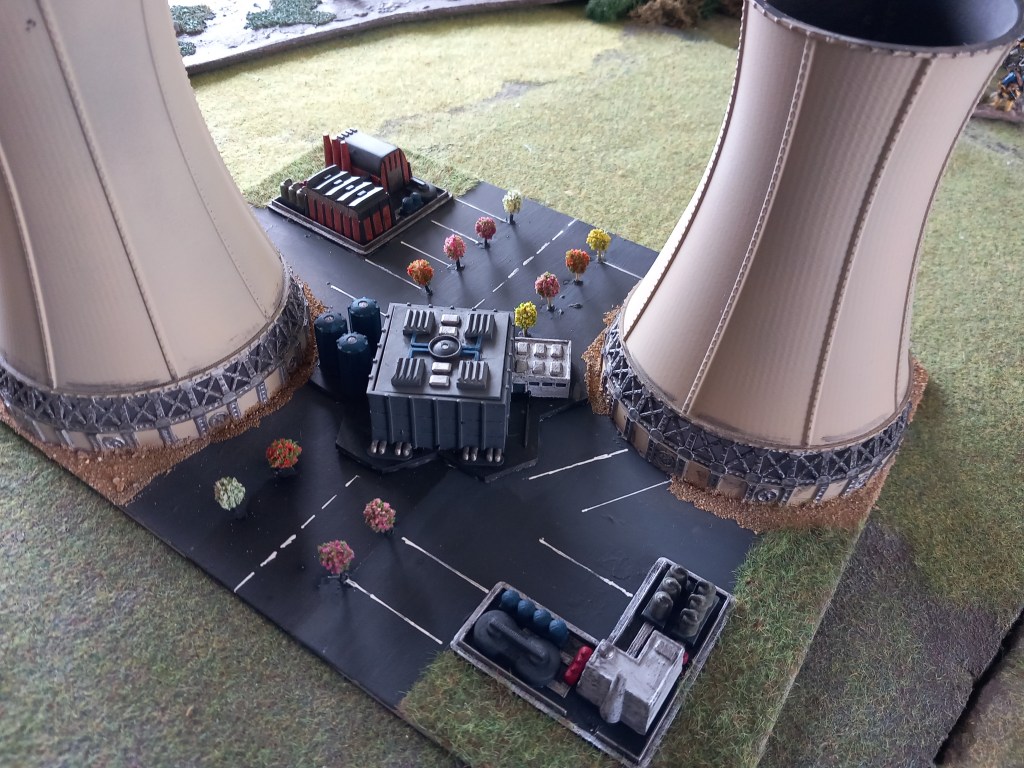
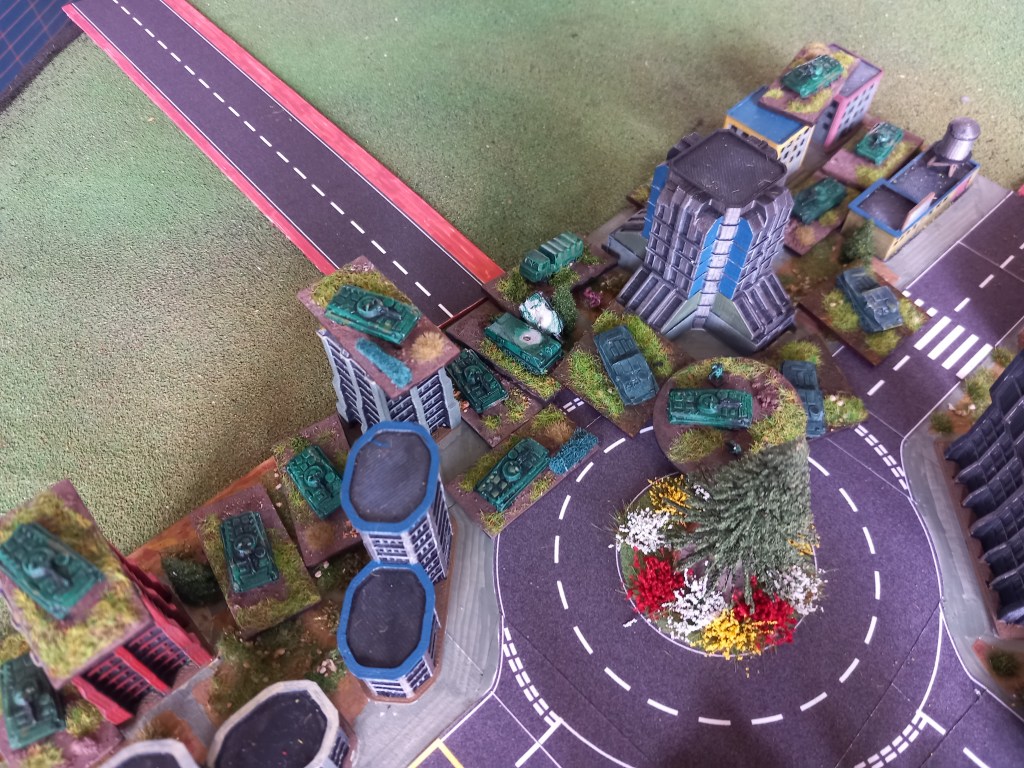
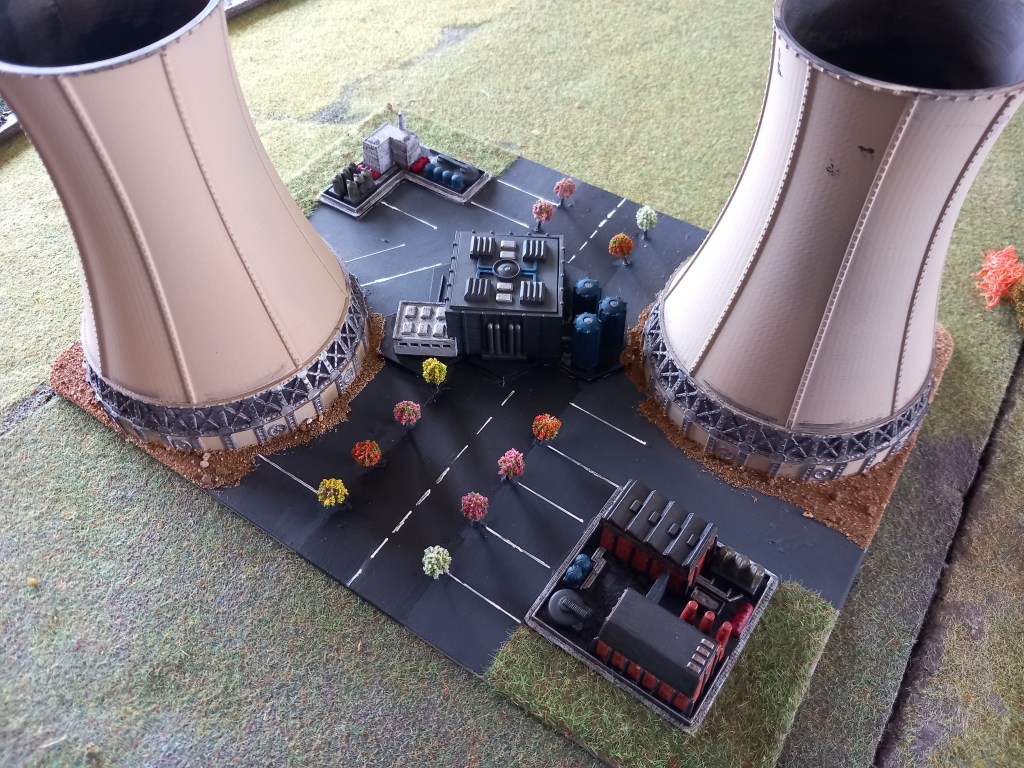
A power station for the 6mm.

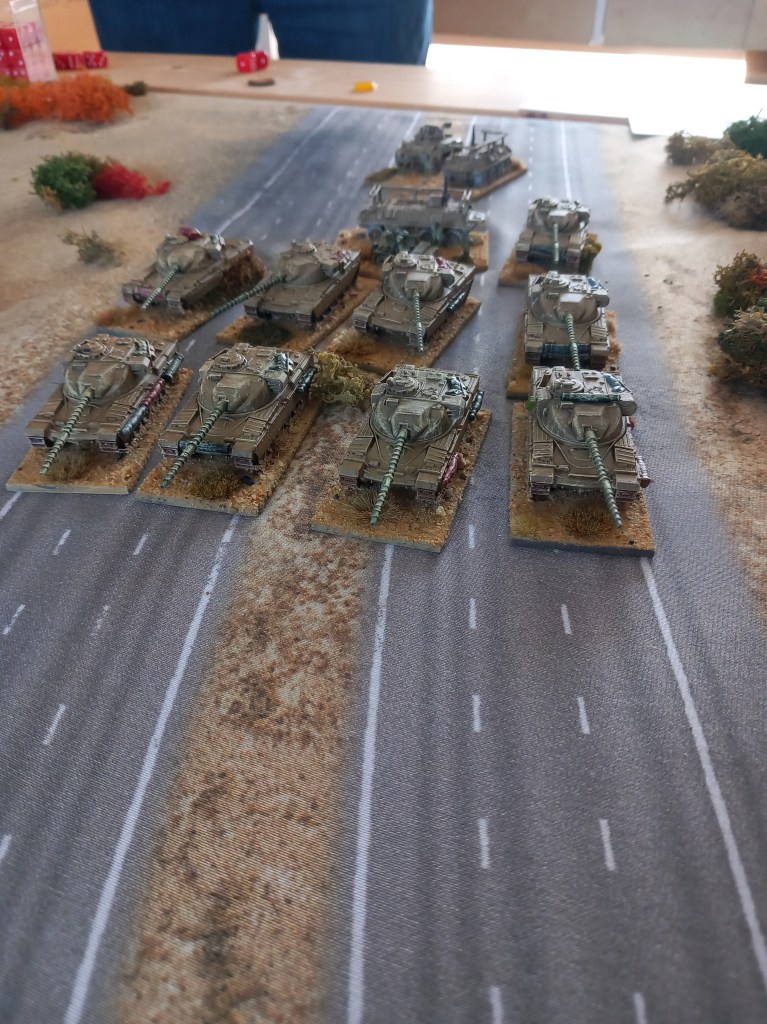
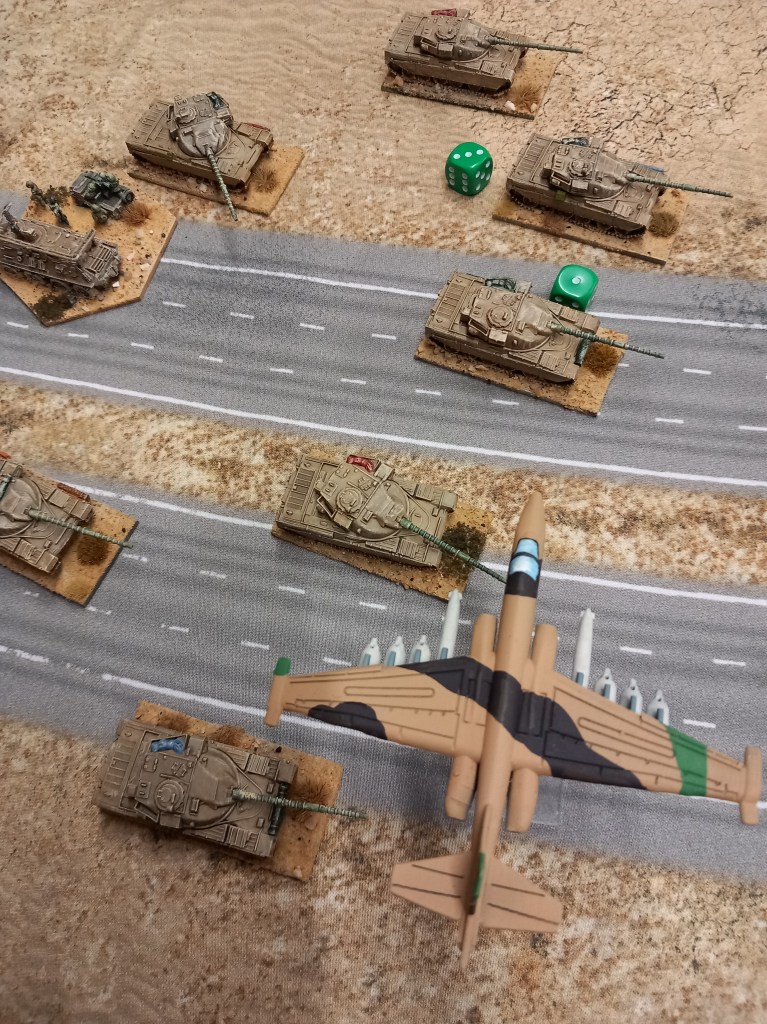
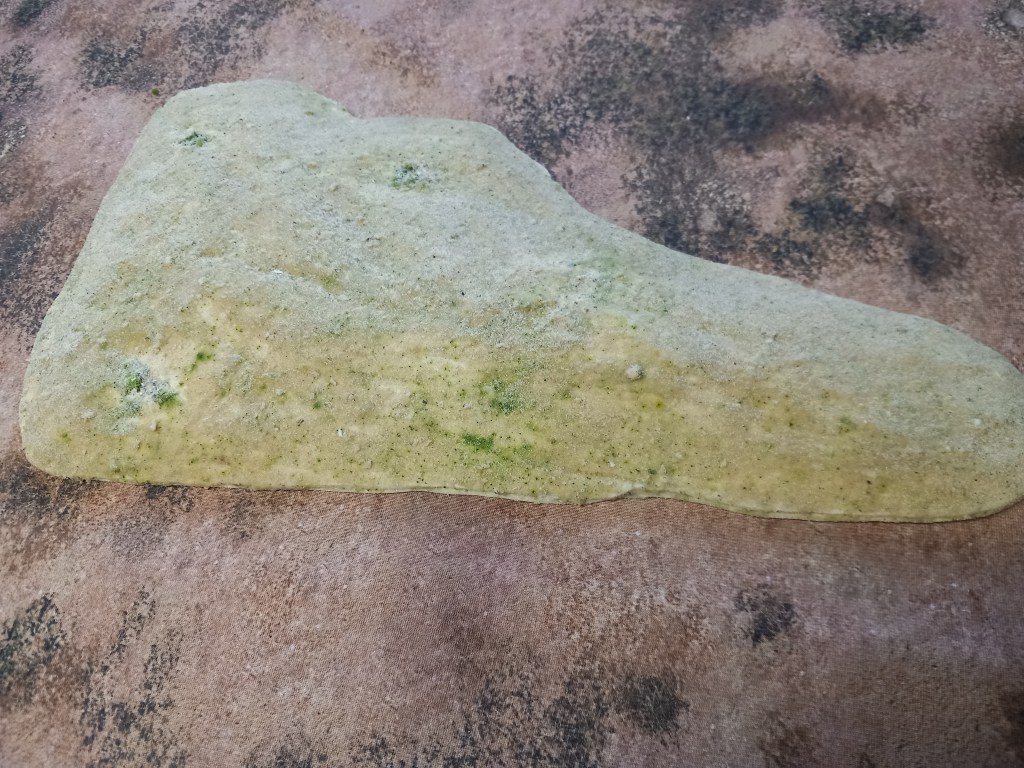
A cypress grove for the 10mm Iran Iraq.

A copse for the Iran Iraq.
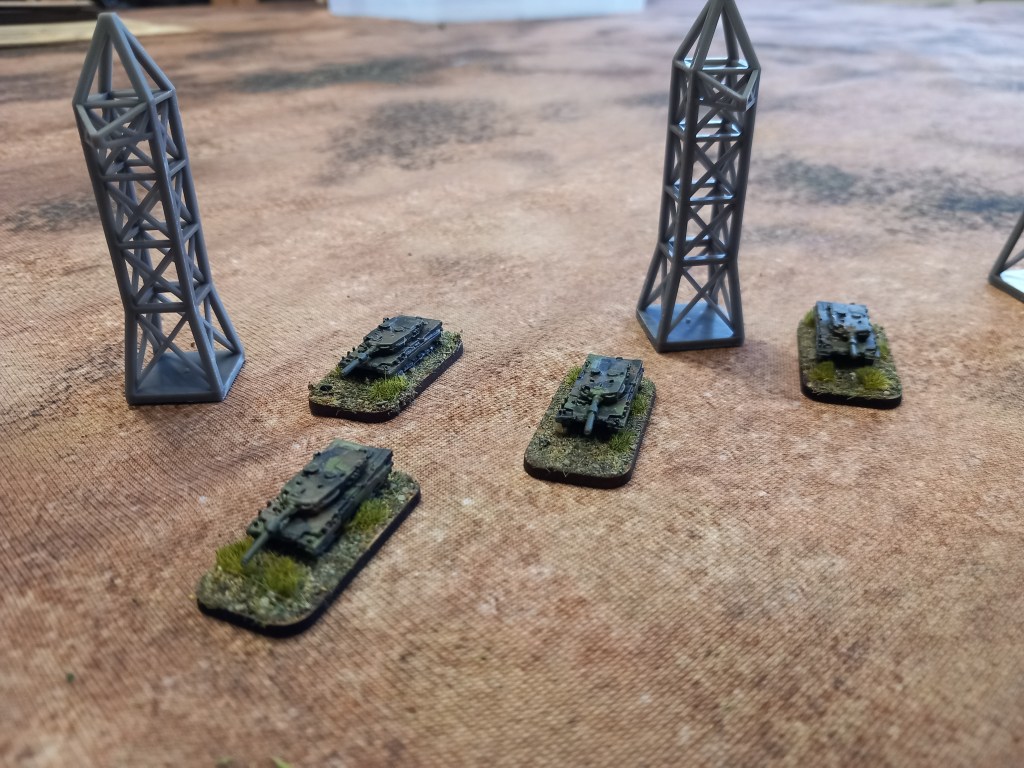
Acquired some pylons for the 6mm. Need a dark wash I think.
Another hill – because I haven’t got any of course 🙄

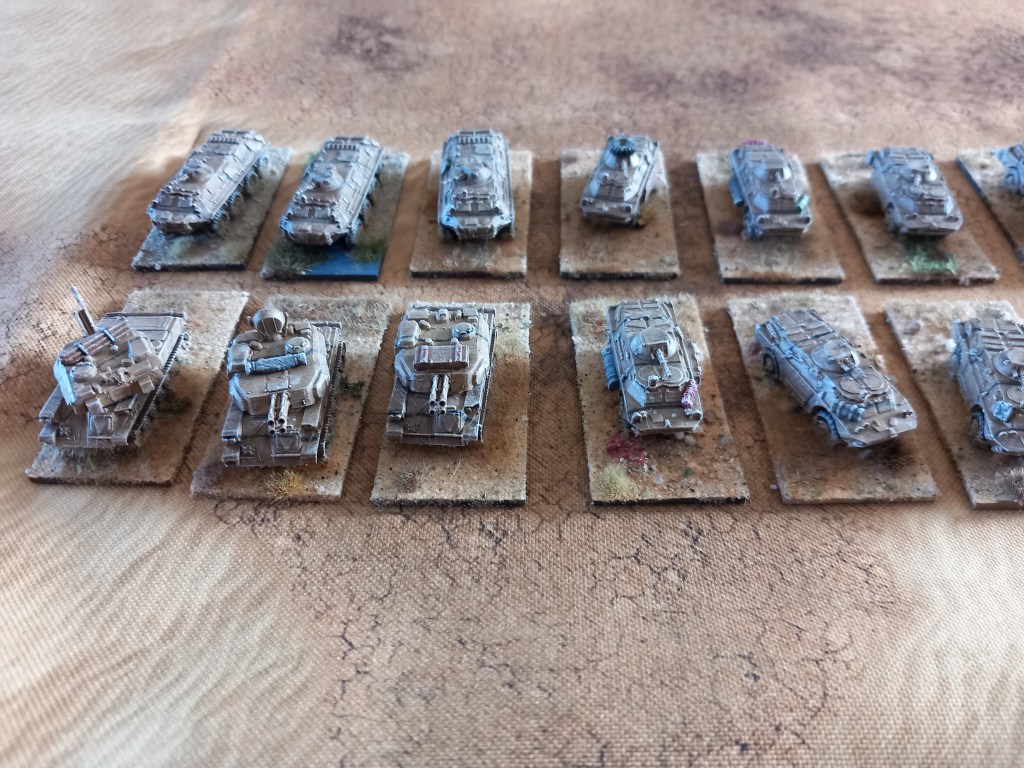
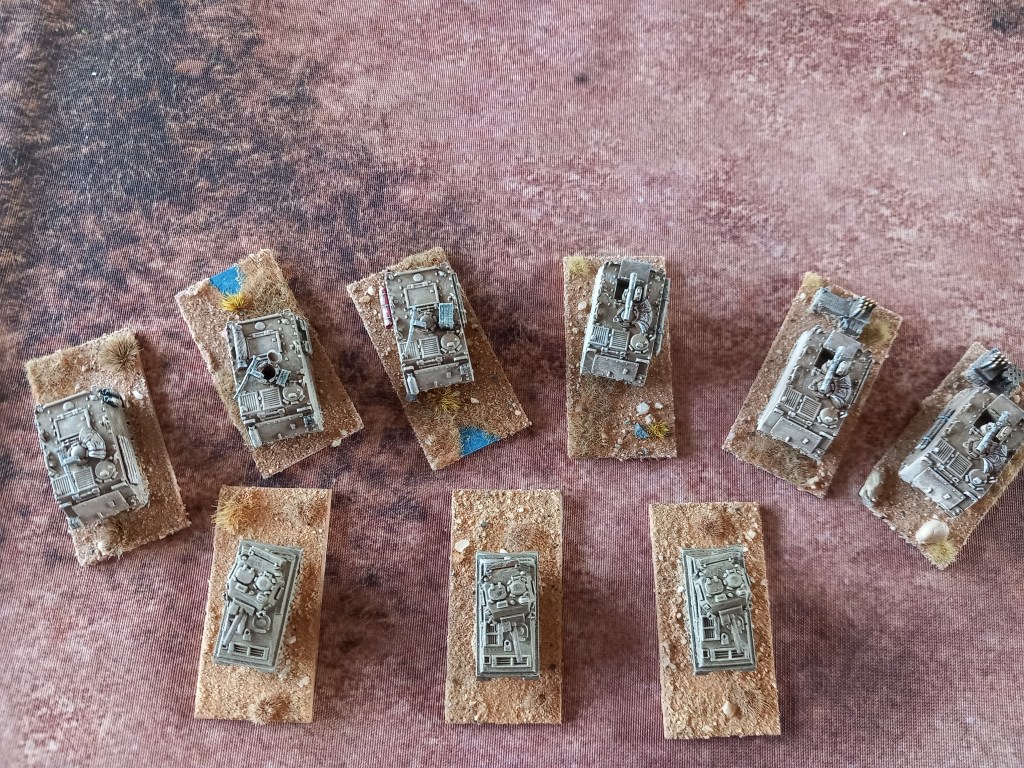
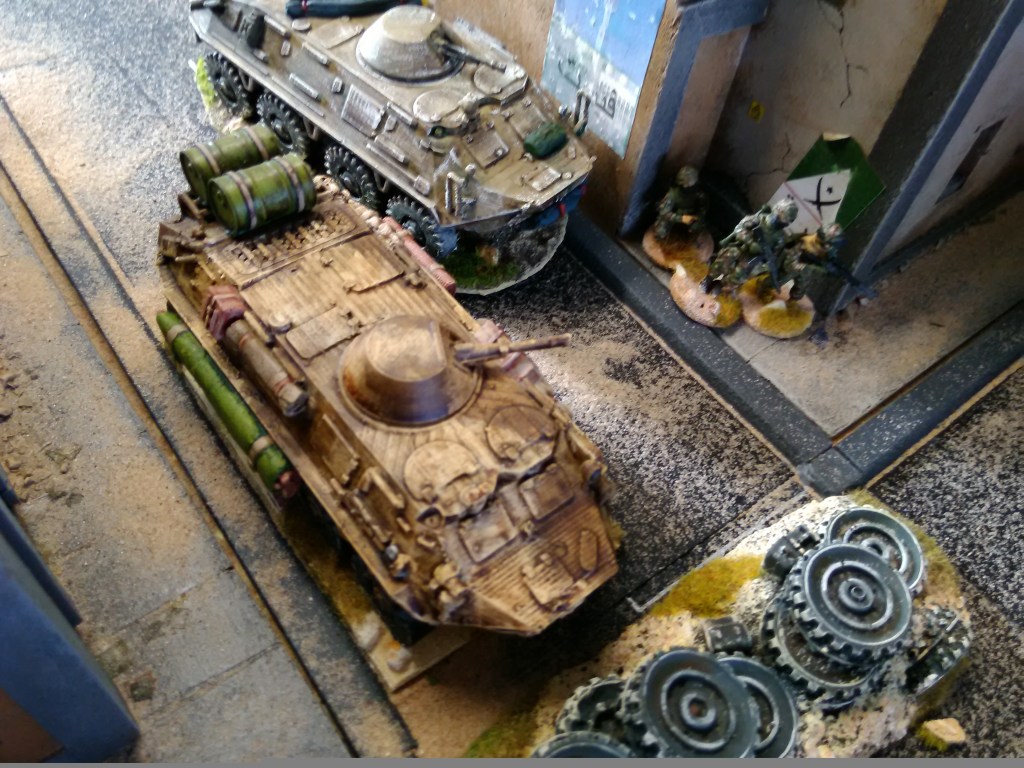
East Germans ready for action.

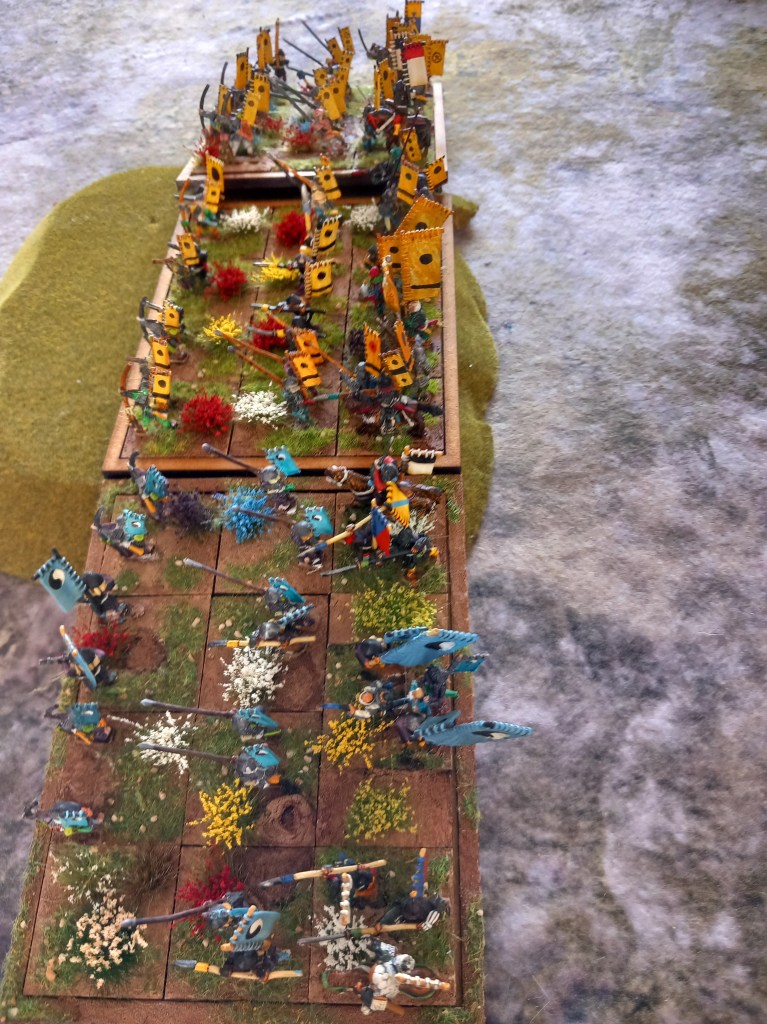
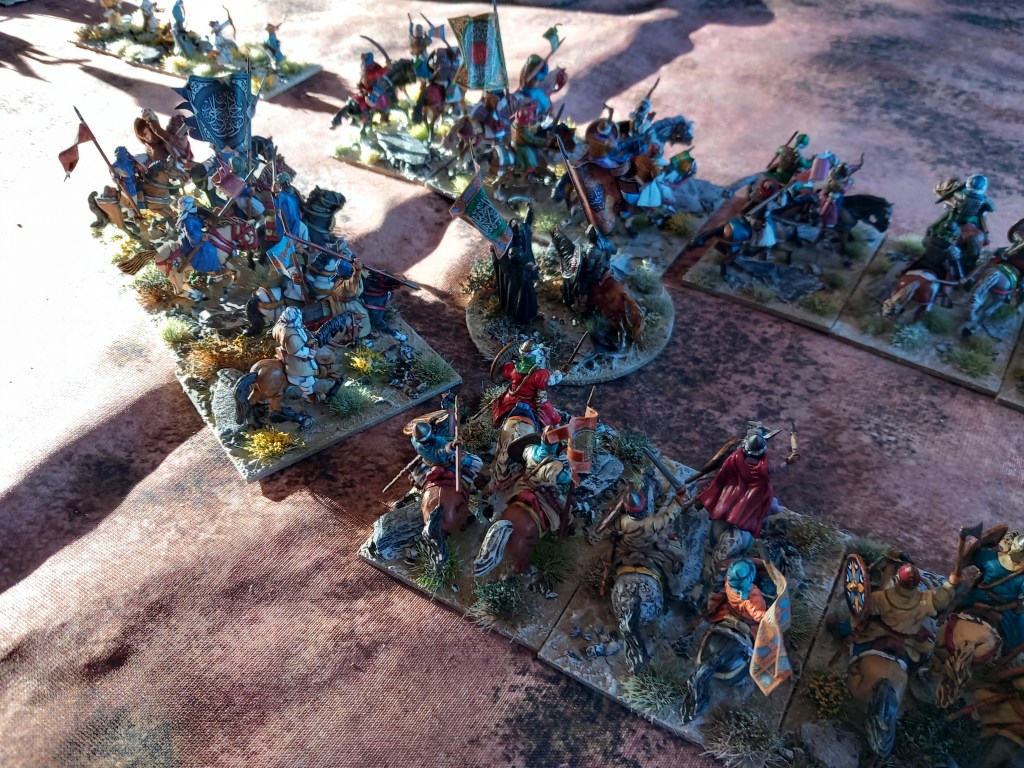
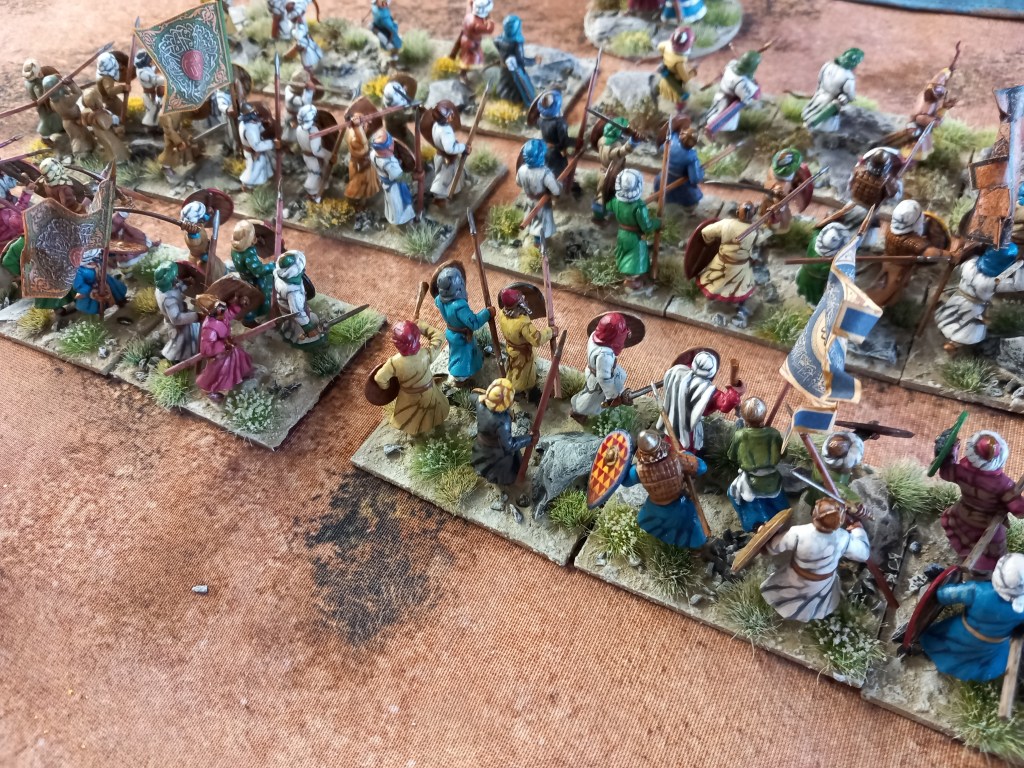
And I’ve chucked 3 years of work on a set of rules for my existing Timurid collection in the bin and been energised into doing something based on existing lines but different enough, hopefully!

And that’s it. Long may the summer continue. Be good and enjoy your gaming for as long as you can.