
Wow! It’s been a hot one but we have ‘soldiered on’ undeterred by the heat 😎

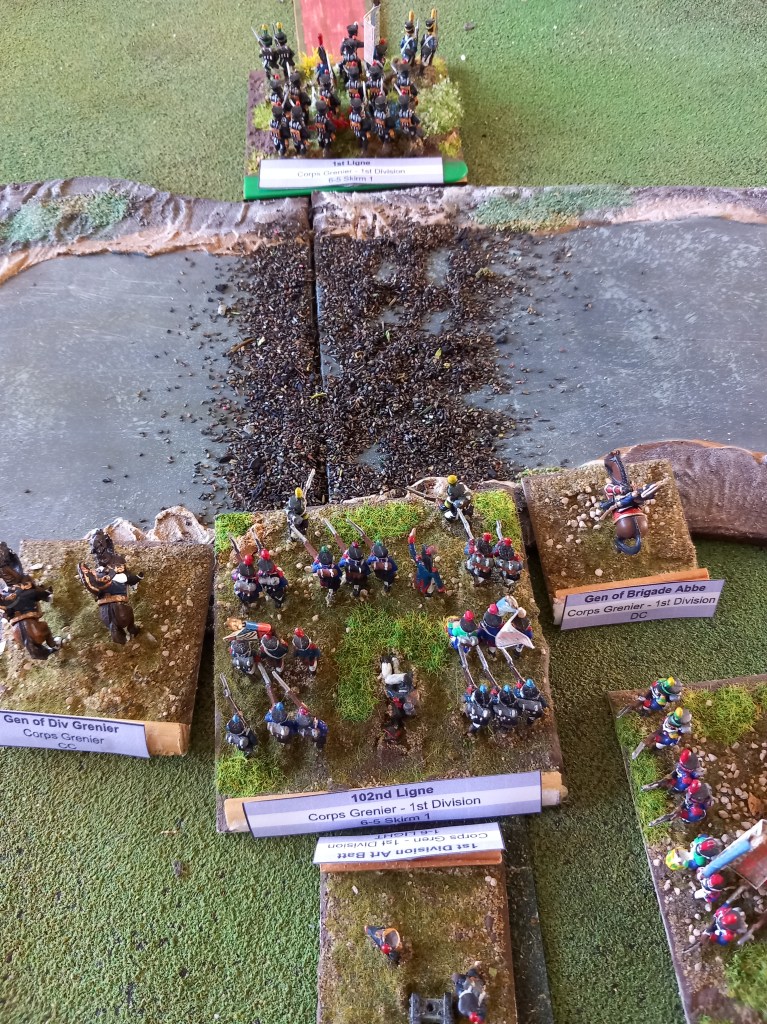
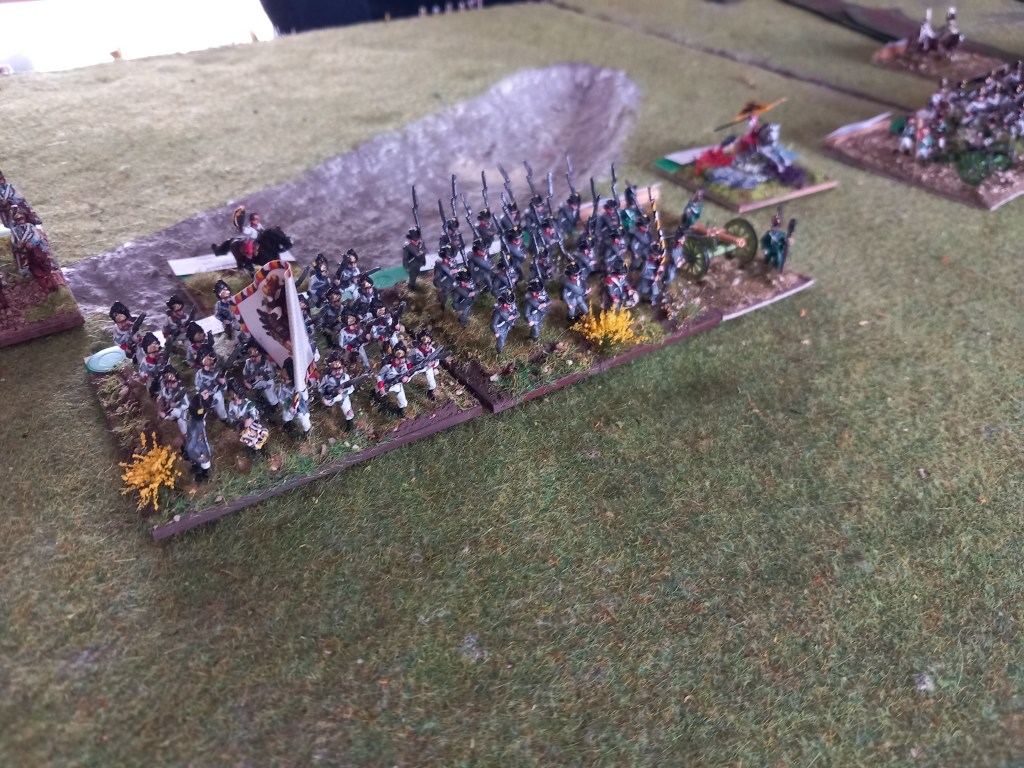
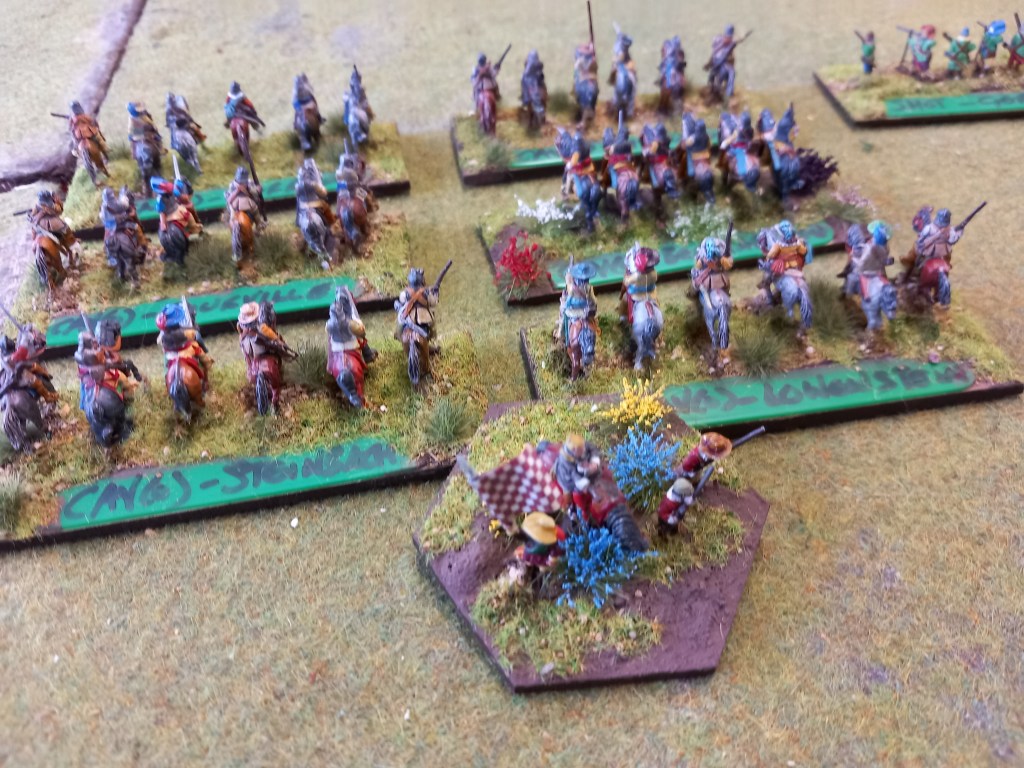
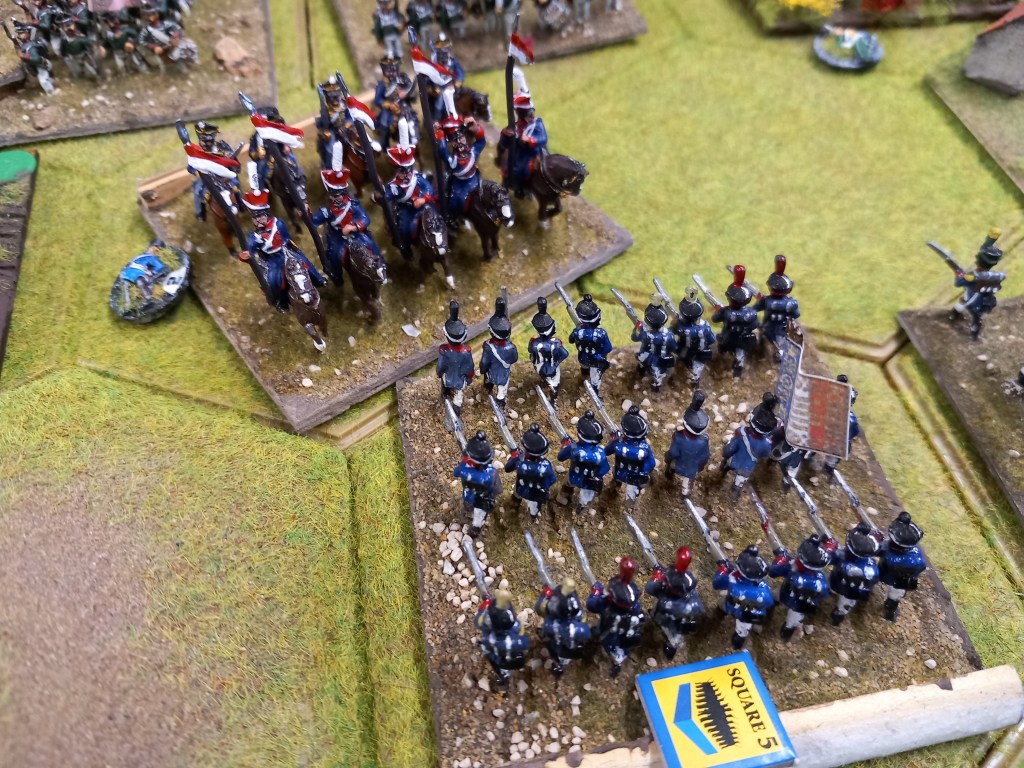
Our first game of the month was a re-fight of the battle of Oriamendi, 16th March 1837, in the First Carlist War.
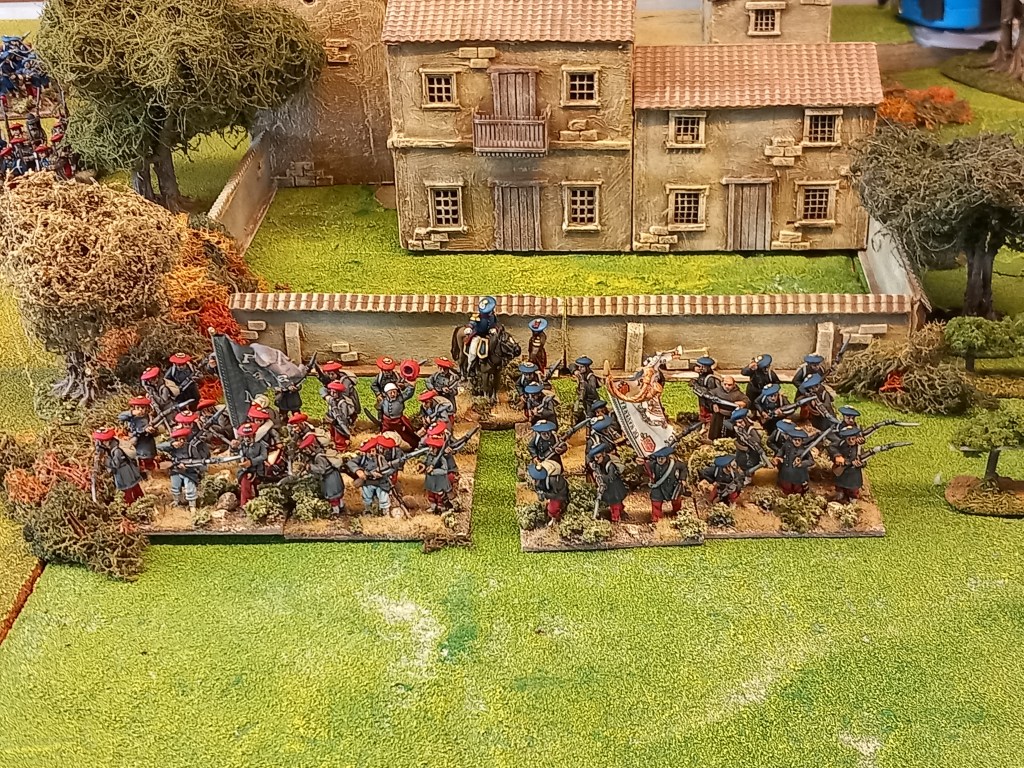
In the actual battle the Carlists under Sebastian de Borbon attacked the Liberal Government forces the Liberal Government forces under General de Lacy Evans and routed them, including the sizeable British Legion who occupied the strategic hill of Ormiamendi.

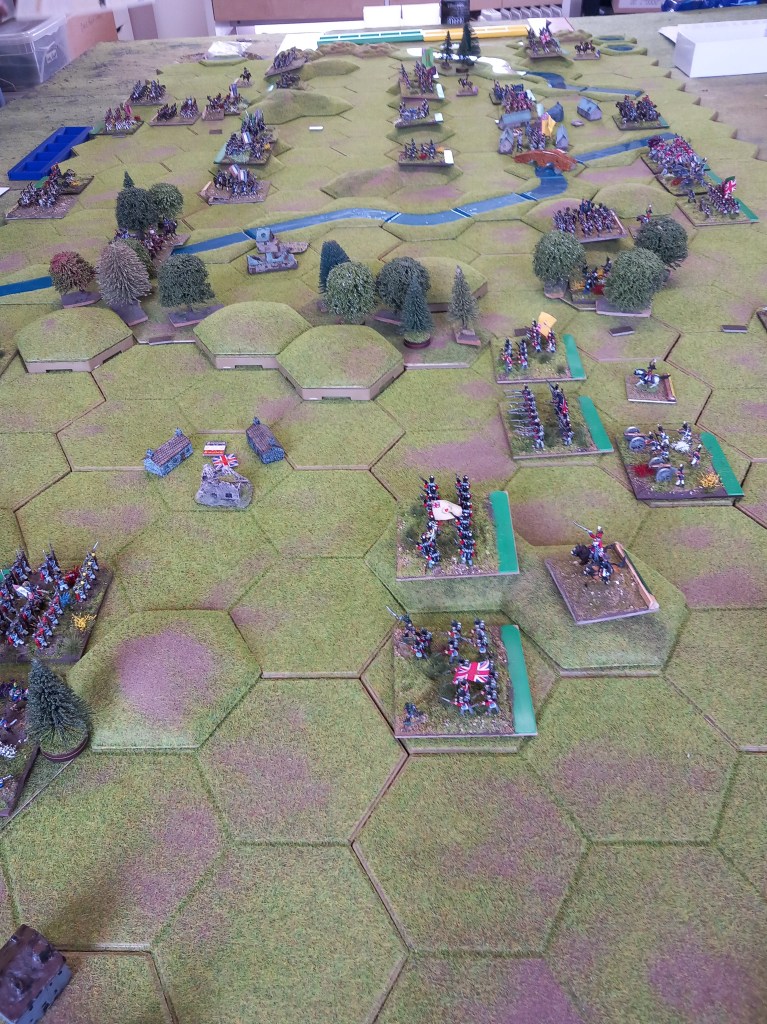
Details are sketchy but we managed to scrape together enough information to put up a reasonable representation. The Government left was held by the British Legion supported by mountain guns and rockets and the right by the main government army. The Carlists had three commands, a force marching on from their right, an infantry centre in front of the town of Hernani and a strong left wing of mixed horse & foot on rising ground.
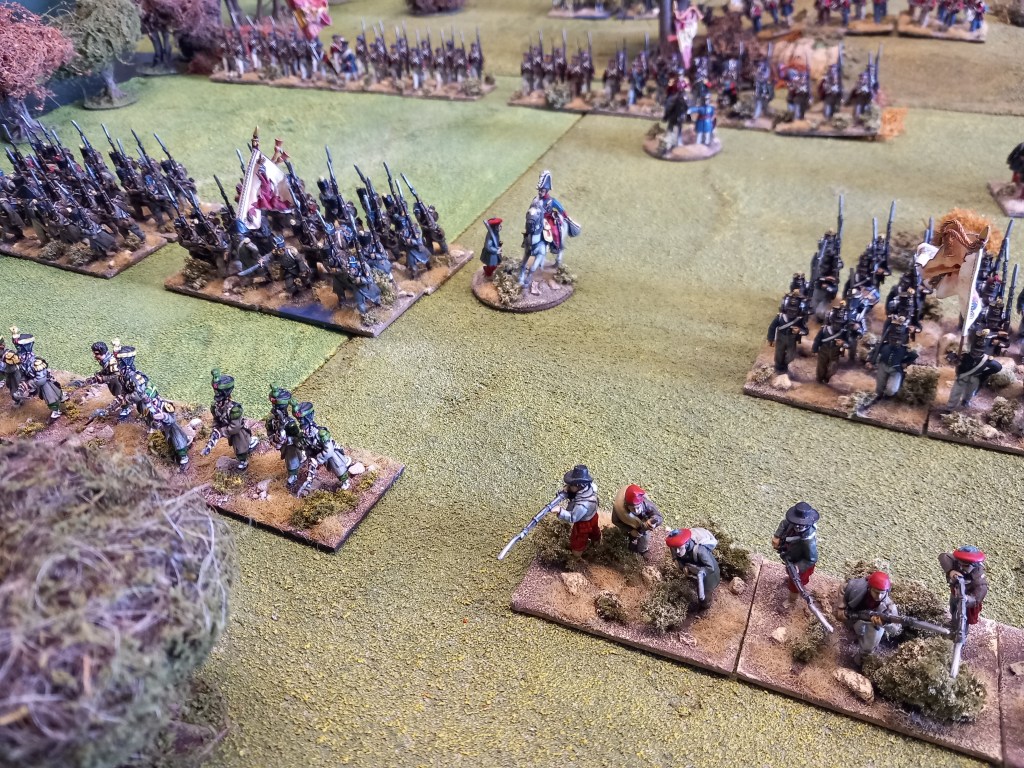
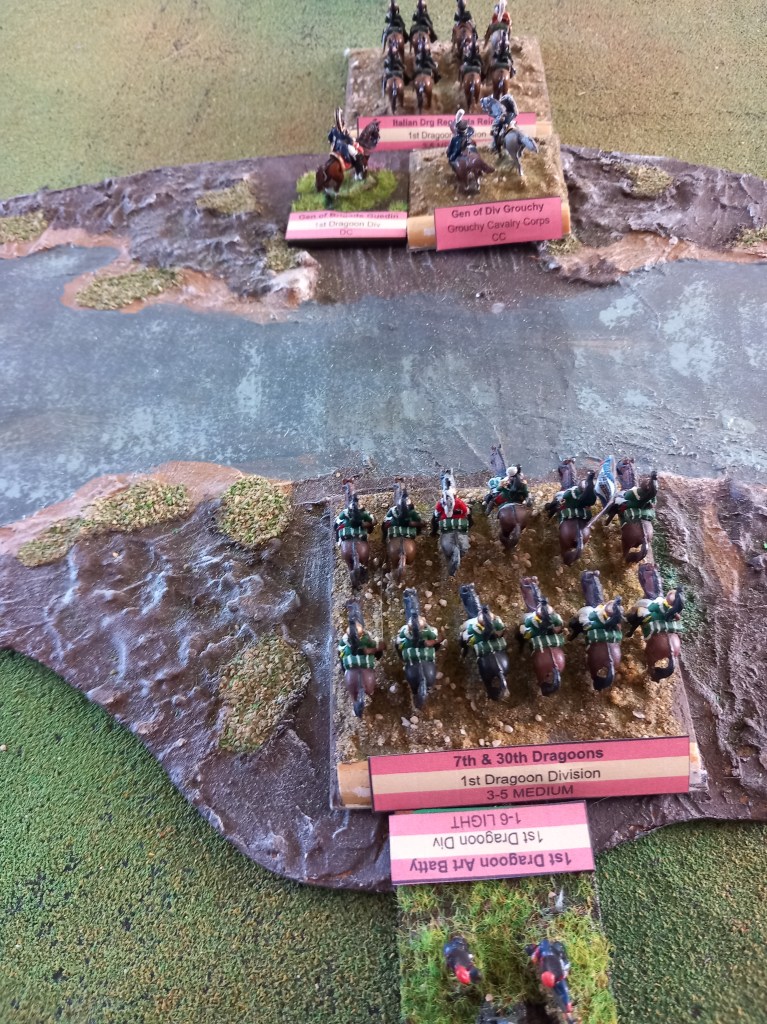
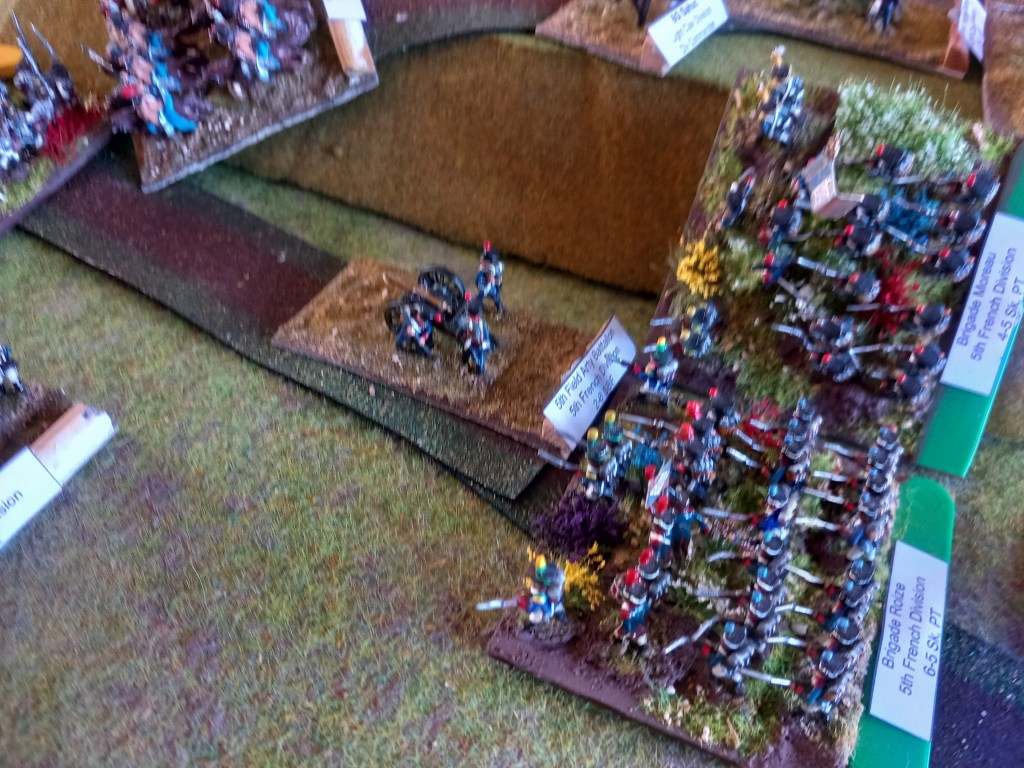
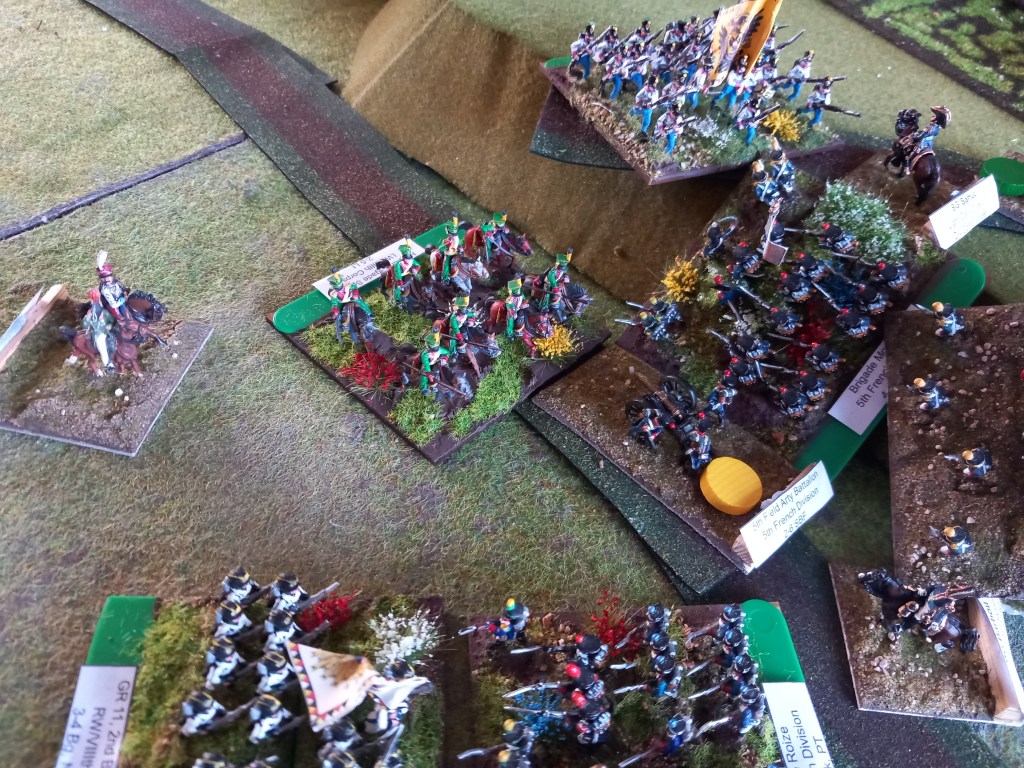
The main Government attack started on the right and in fact finished on the right. Throughout the game this mixed body of horse and foot slogged away against the Carlist left in what at times seemed like a doomed venture. Battalions routed and rallied but with the help of some well placed artillery shots they eventually stormed the high ground and turned in on the outskirts of Hernani.

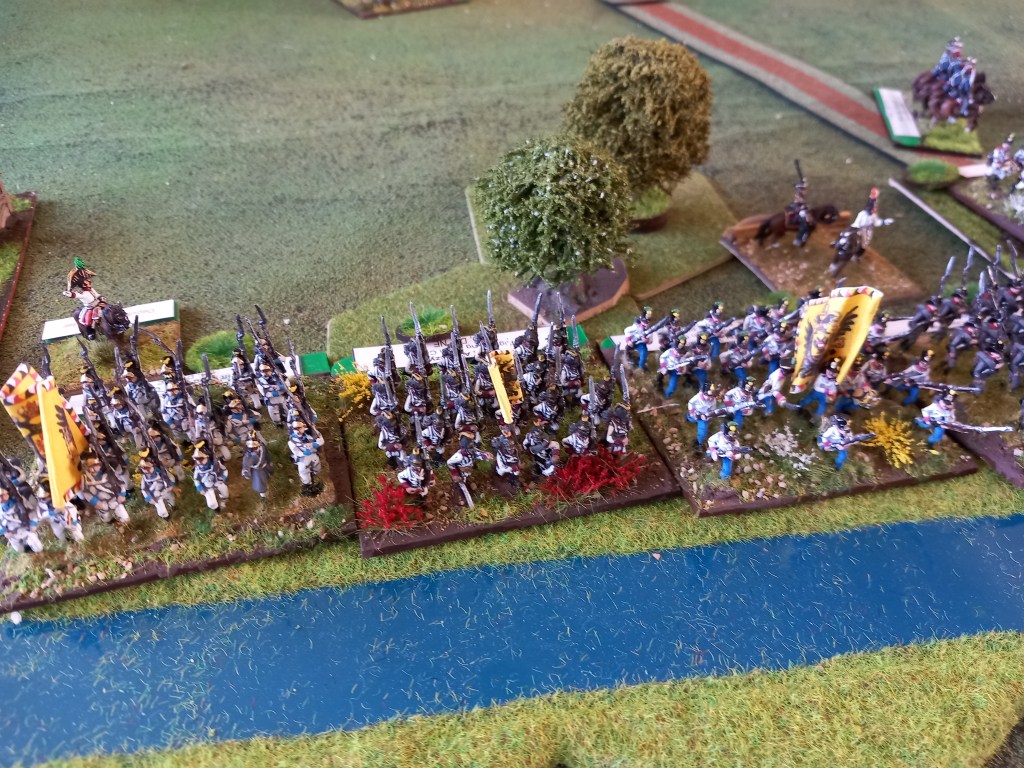
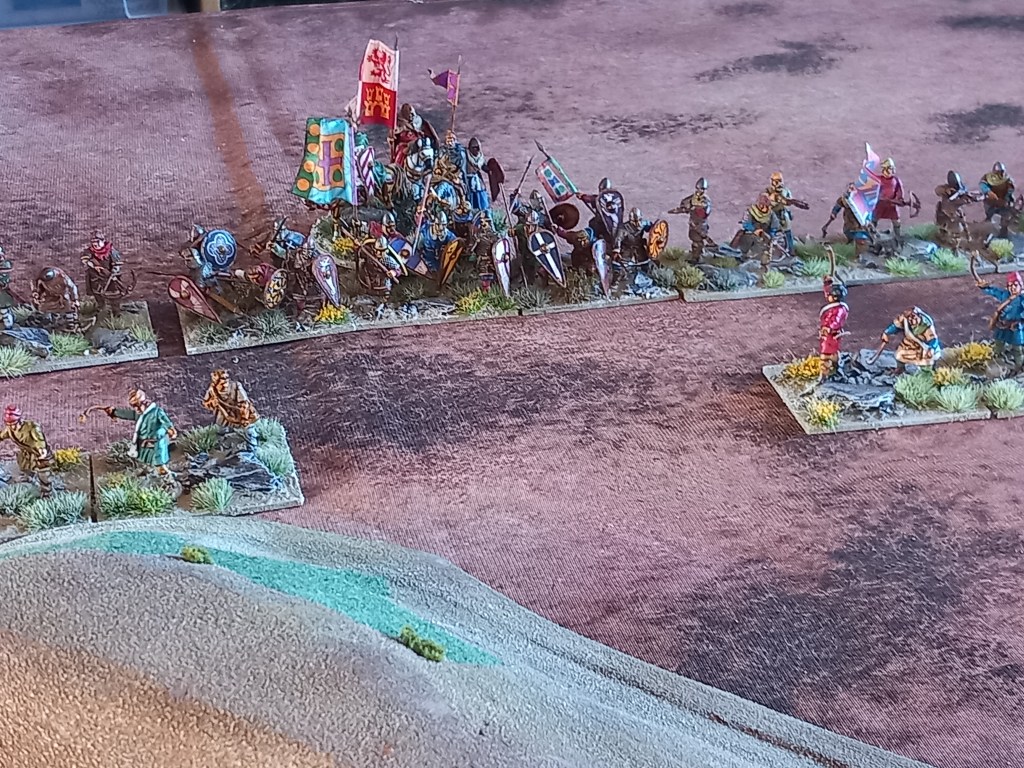
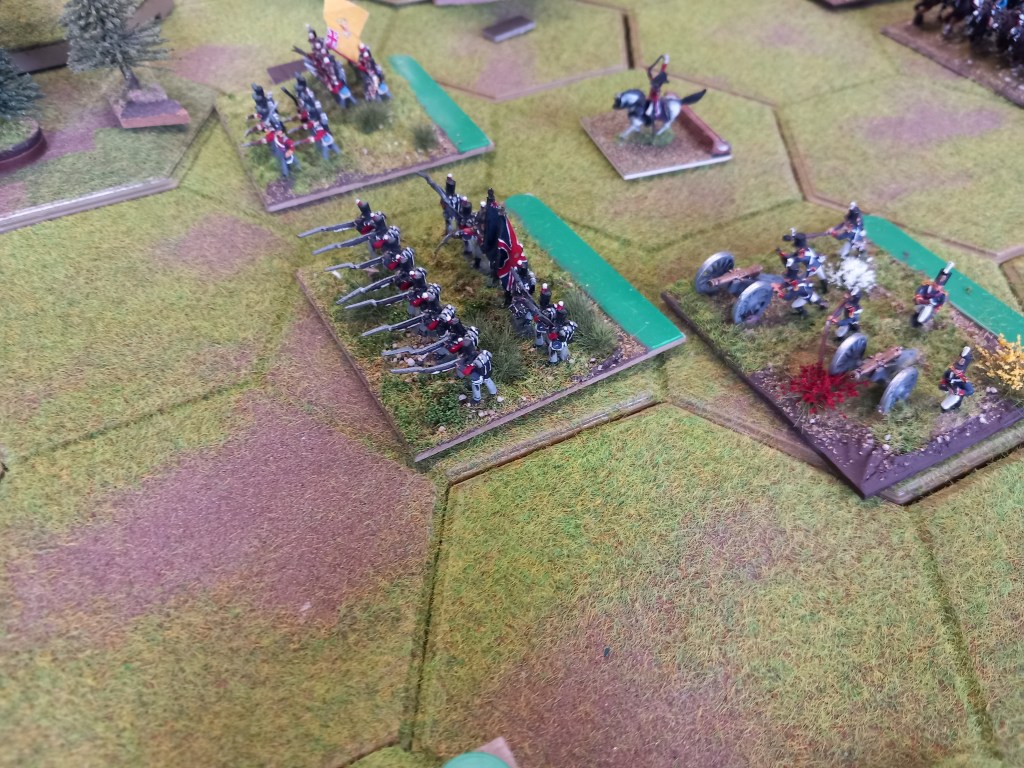
On the hill of Oriamendi the British were in pretty good shape at the start of the battle and fired away unhindered.

But as the Carlist flanking force got itself into action that hill didn’t seem quite the greatest place to be.

The guns were in a pretty precarious position at one point but counterattacks saved the position enough for the Legion to hang on while the main army did the heavy lifting.

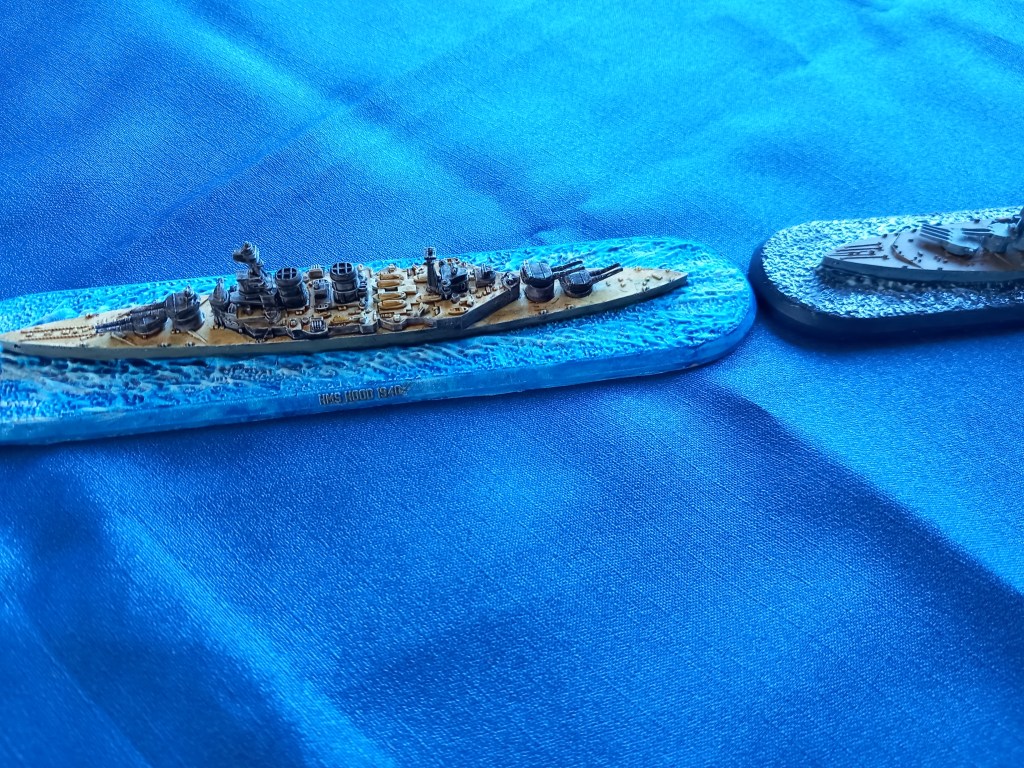
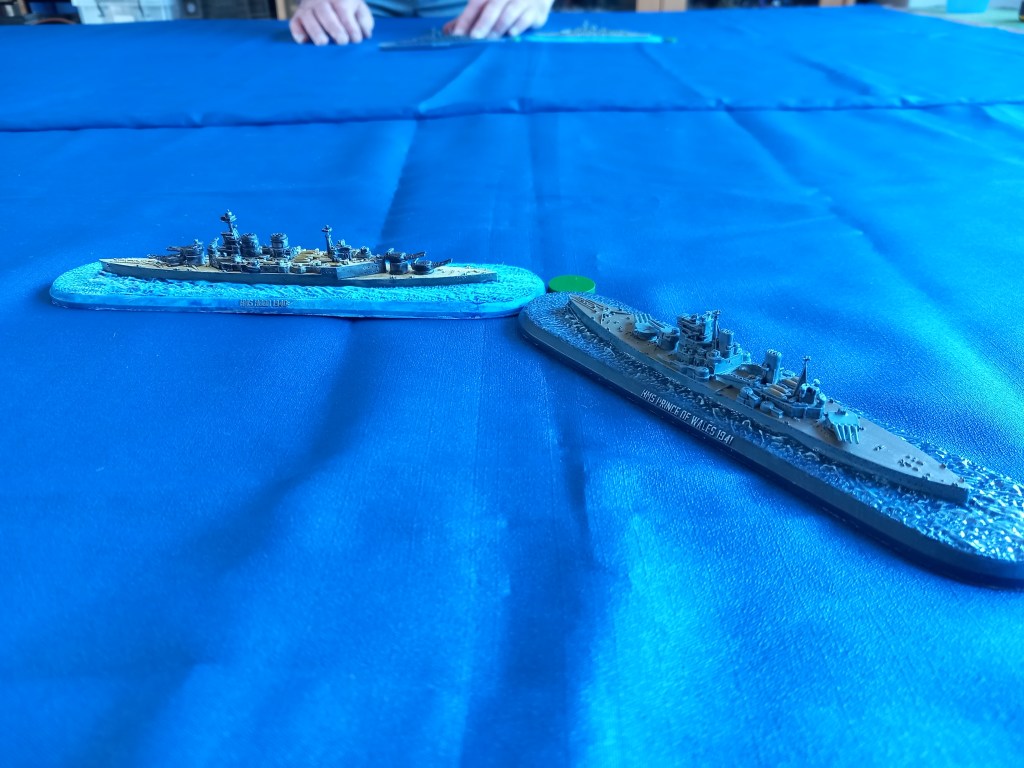
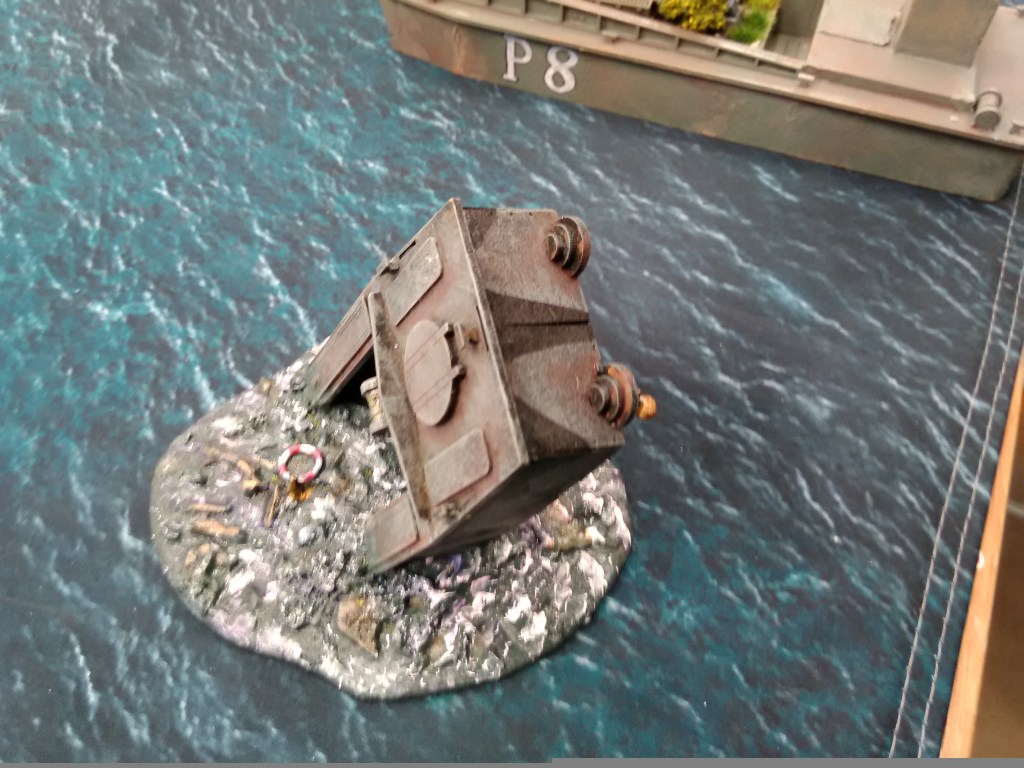
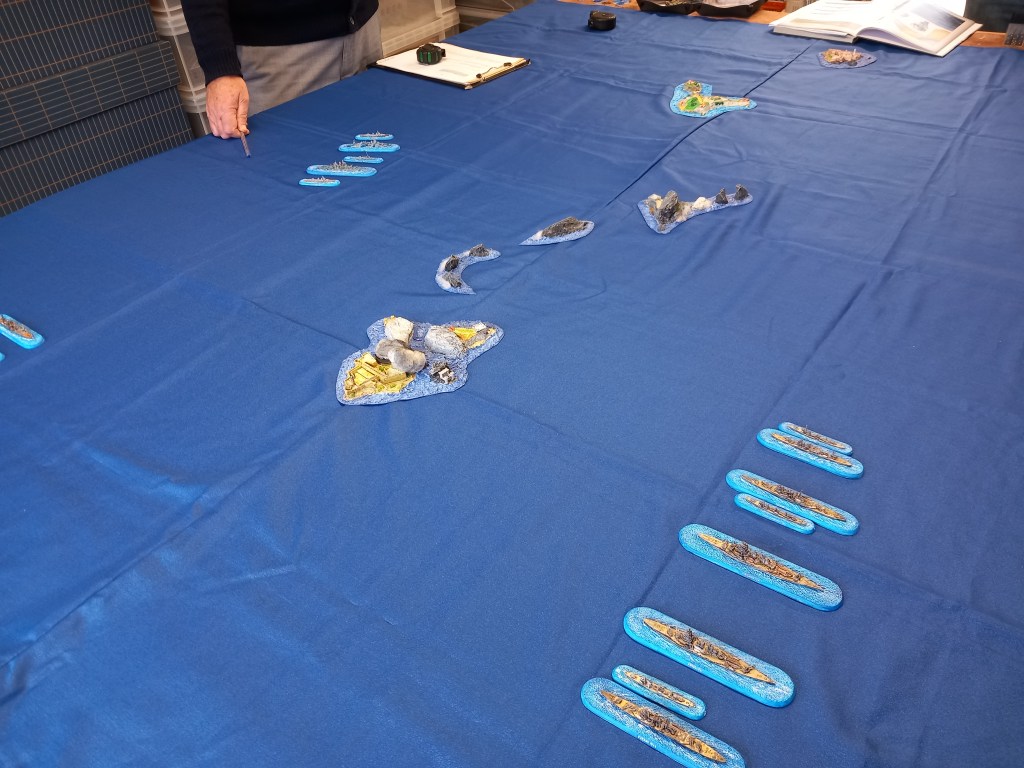
Our next effort was the first in a hoped for series of naval battles representing the Guadalcanal campaign, first up the battle of Savo Island.
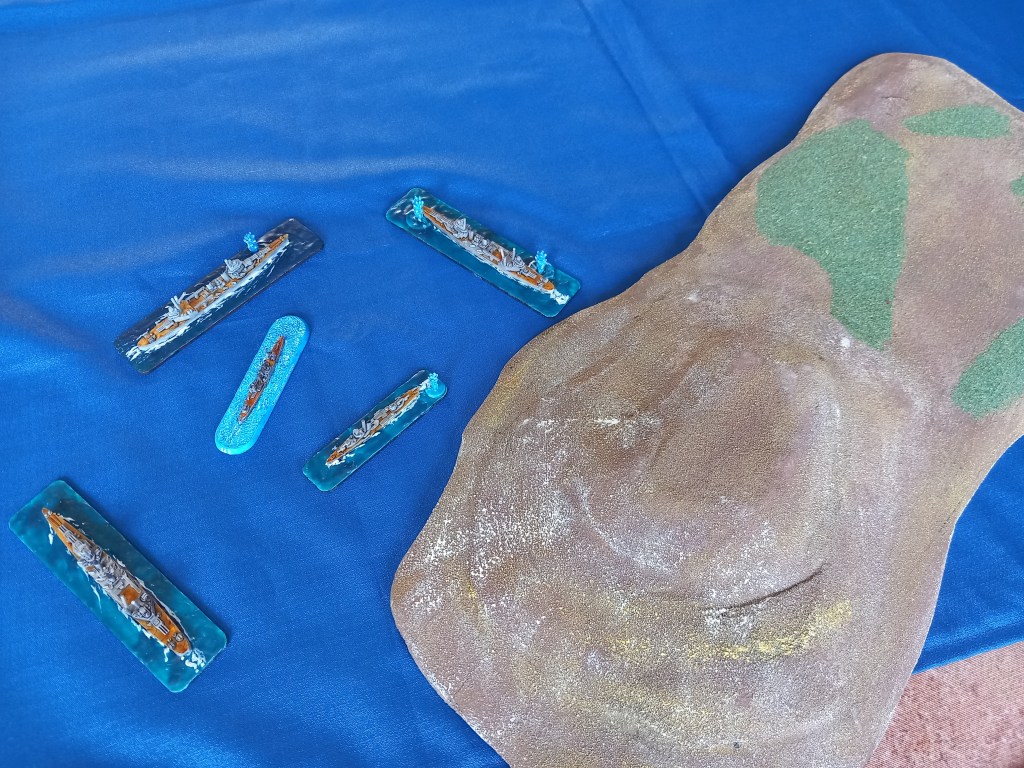
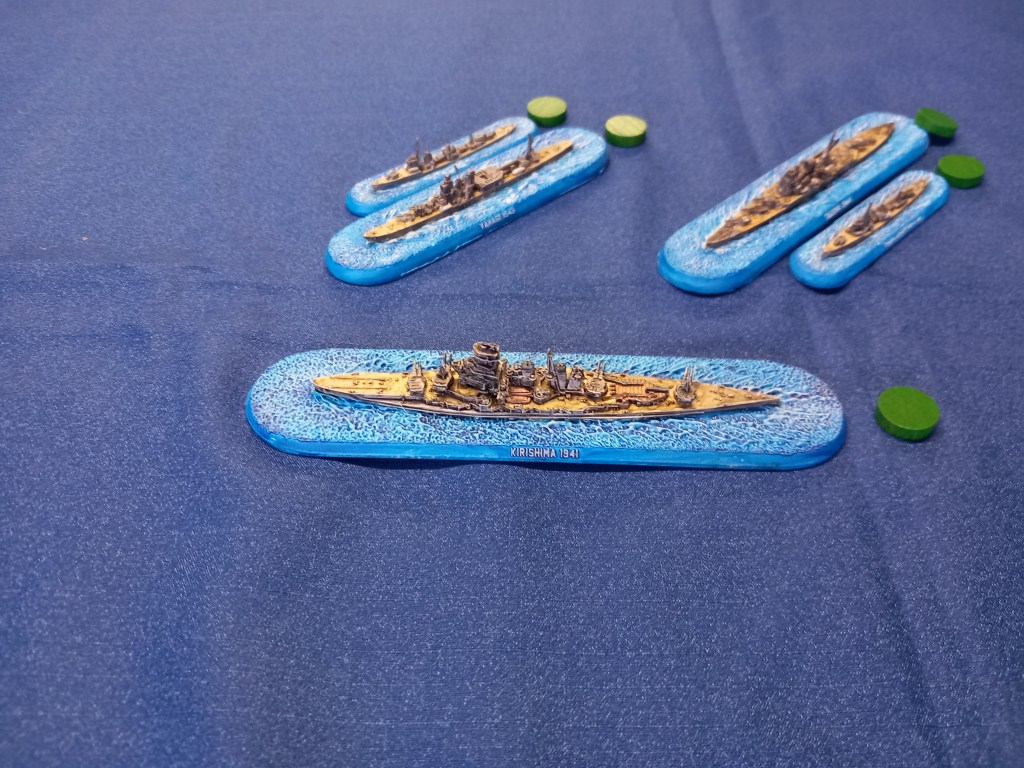
We represented Mikawa’s force ship for ship and the Allied Southern Group and Northern Group ship for ship including the ill fated Canberra.

Our resident expert, Gerard, put in place rules adaptations and constrictions to represent the fact of fighting at night and the lack of co-ordination between the two allied fleets.

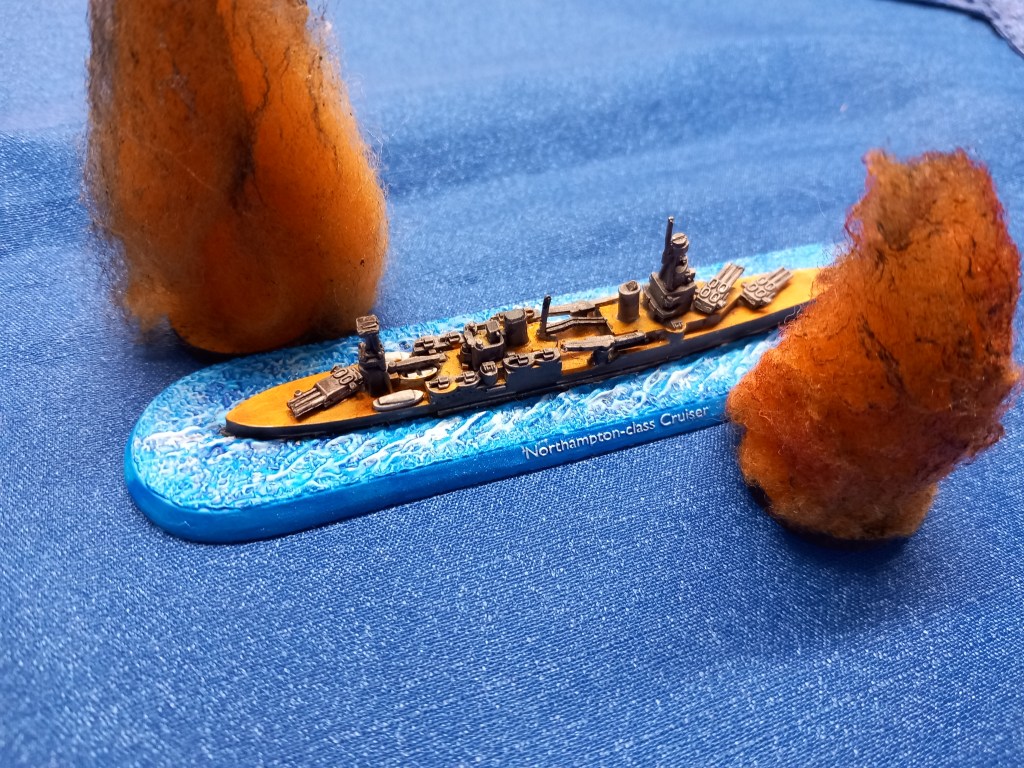
It was just as confused as the real battle and the Canberra went to the bottom in a re-run of history along with the Chicago.

The rest however was a bit of a divergence from history; the Japanese lost the Furutaka and the Americans came away with more of their ships intact than their historical forbearers. Looking forward to the next one.

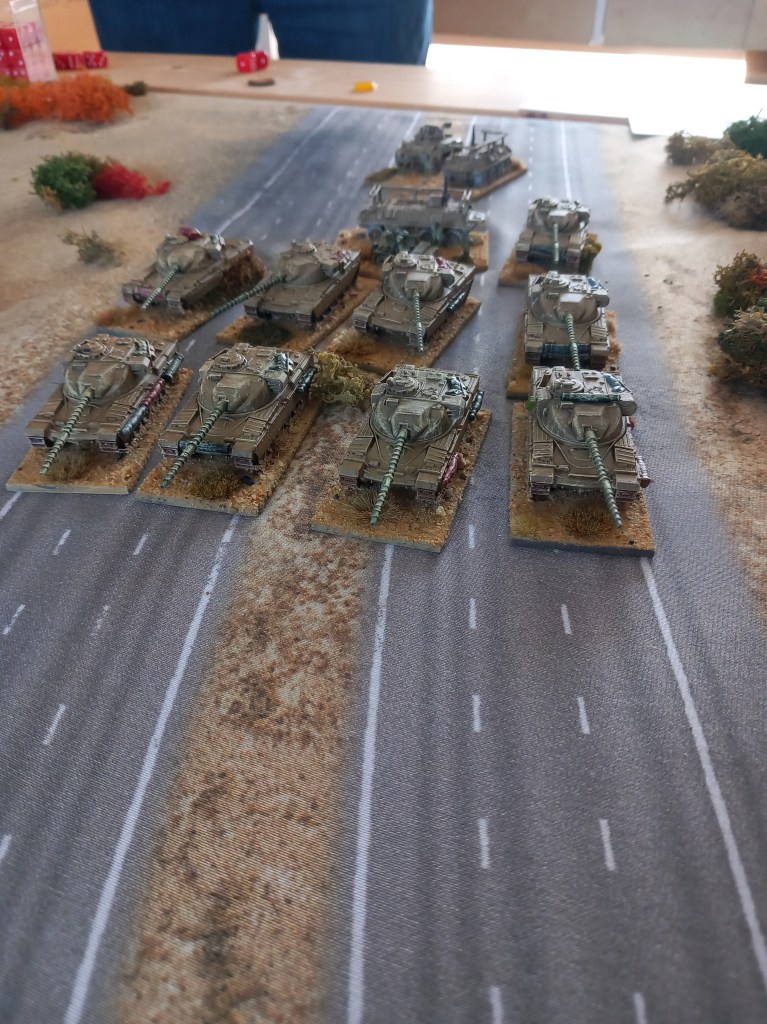
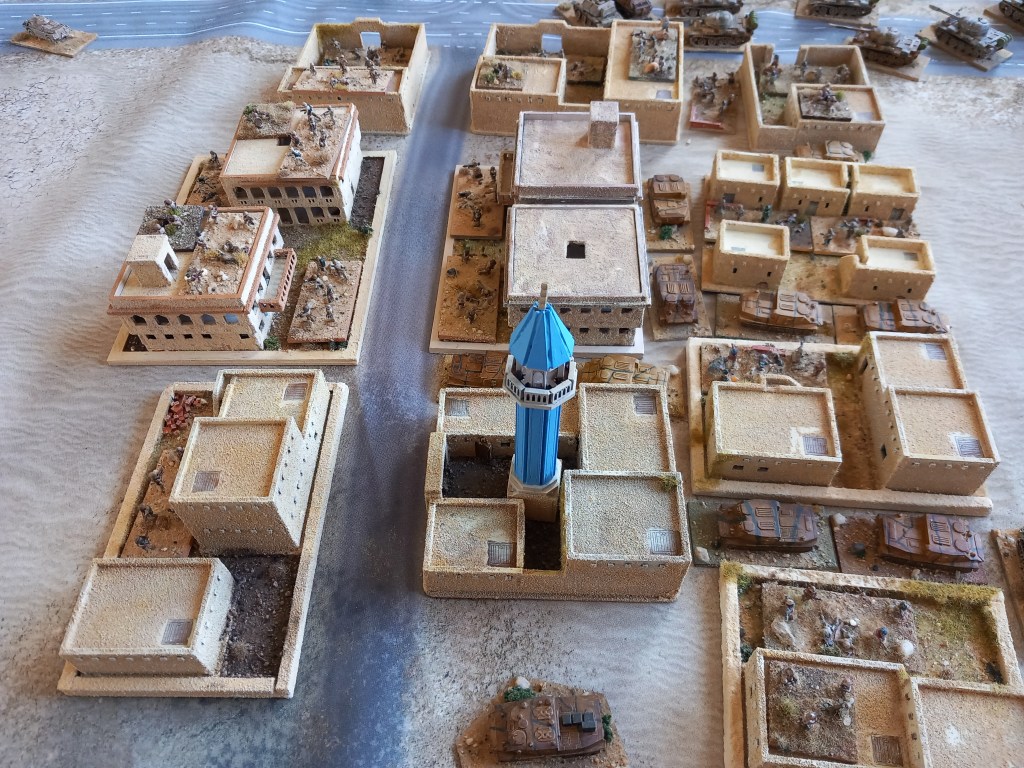
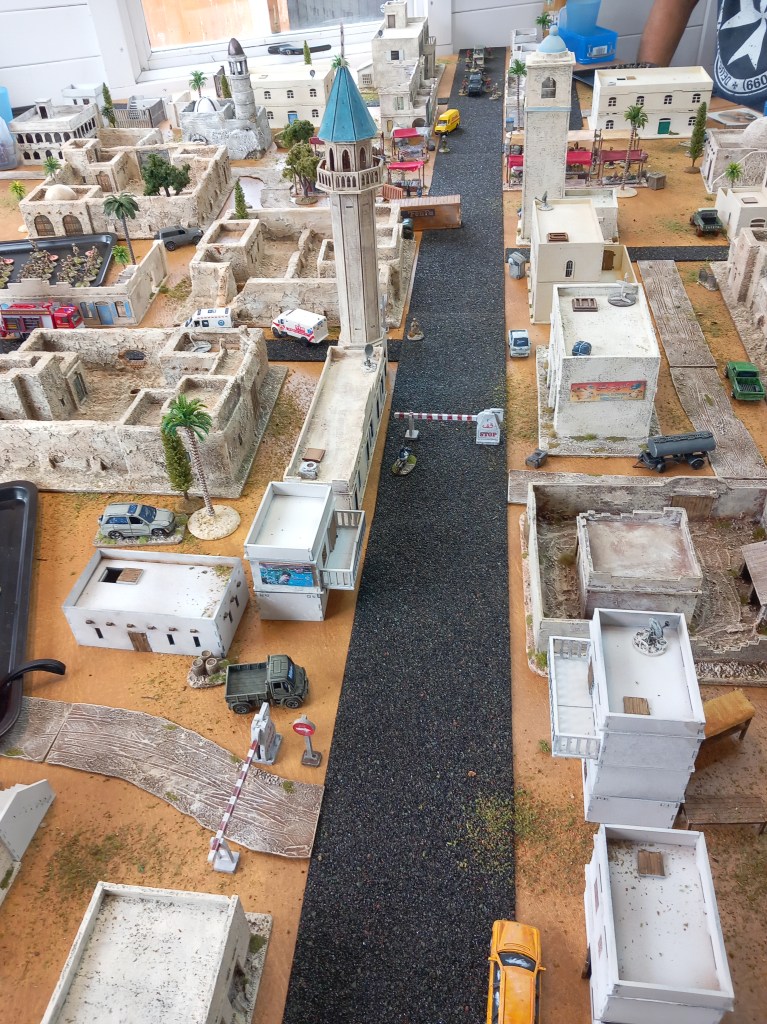
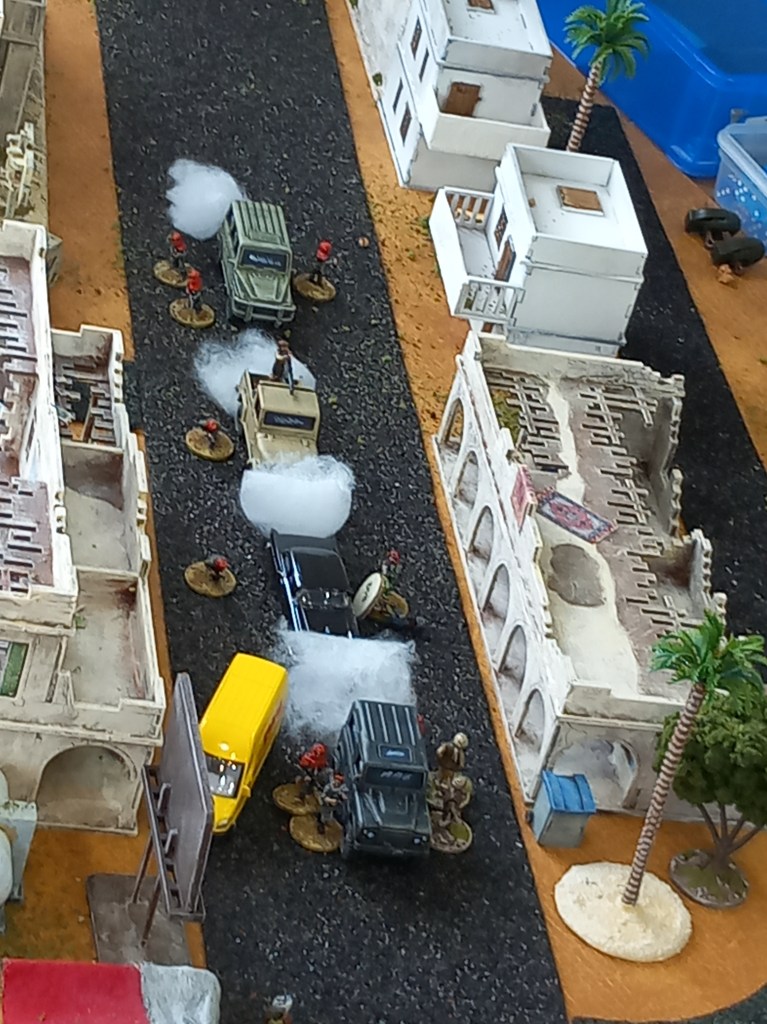
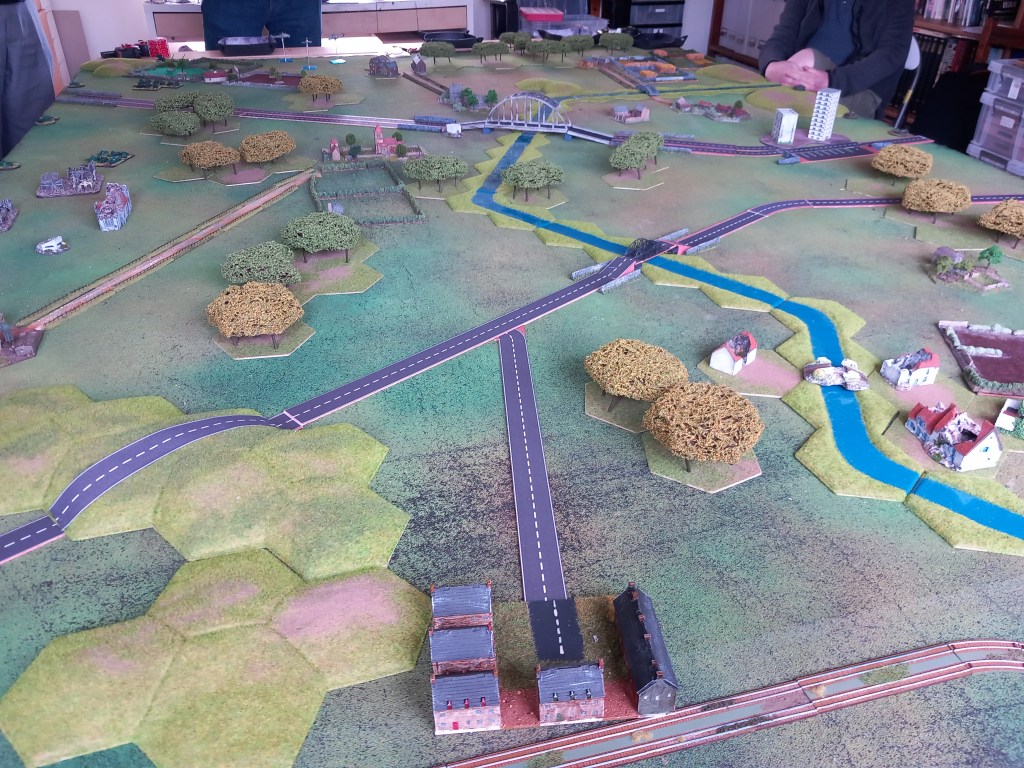
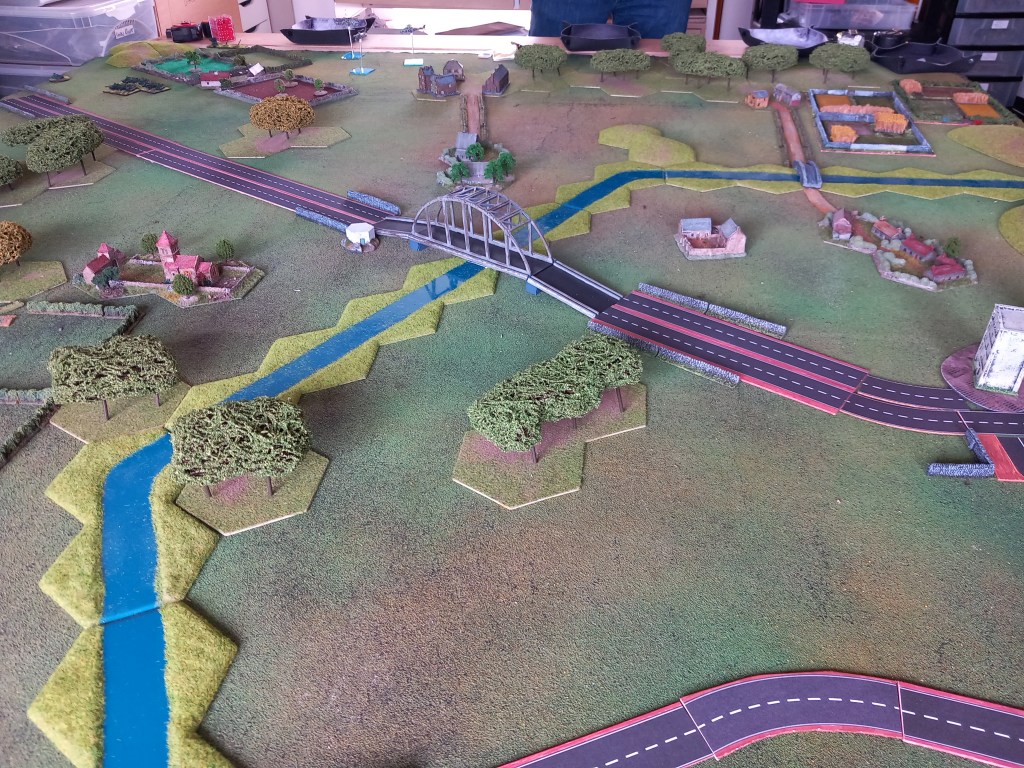
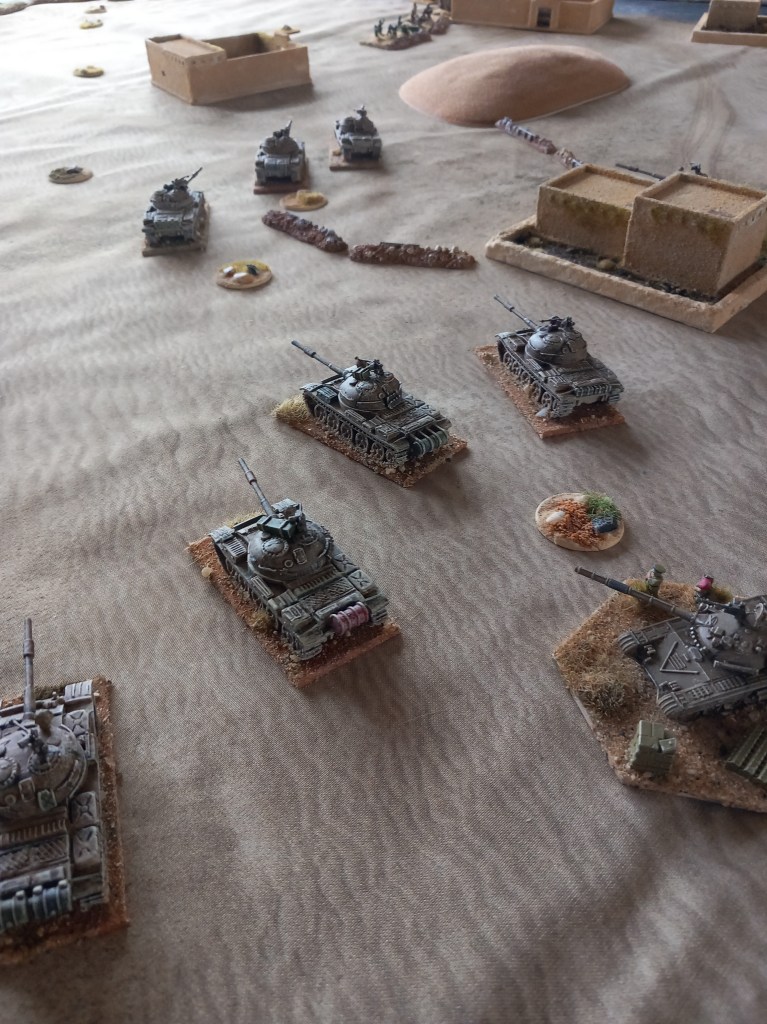
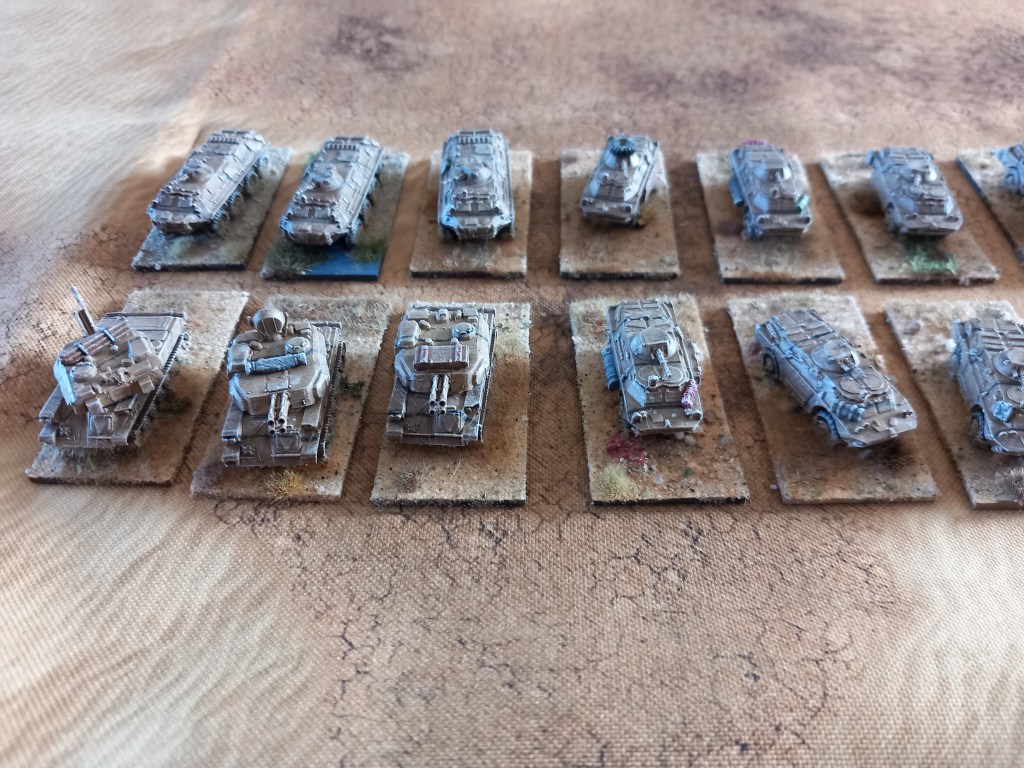
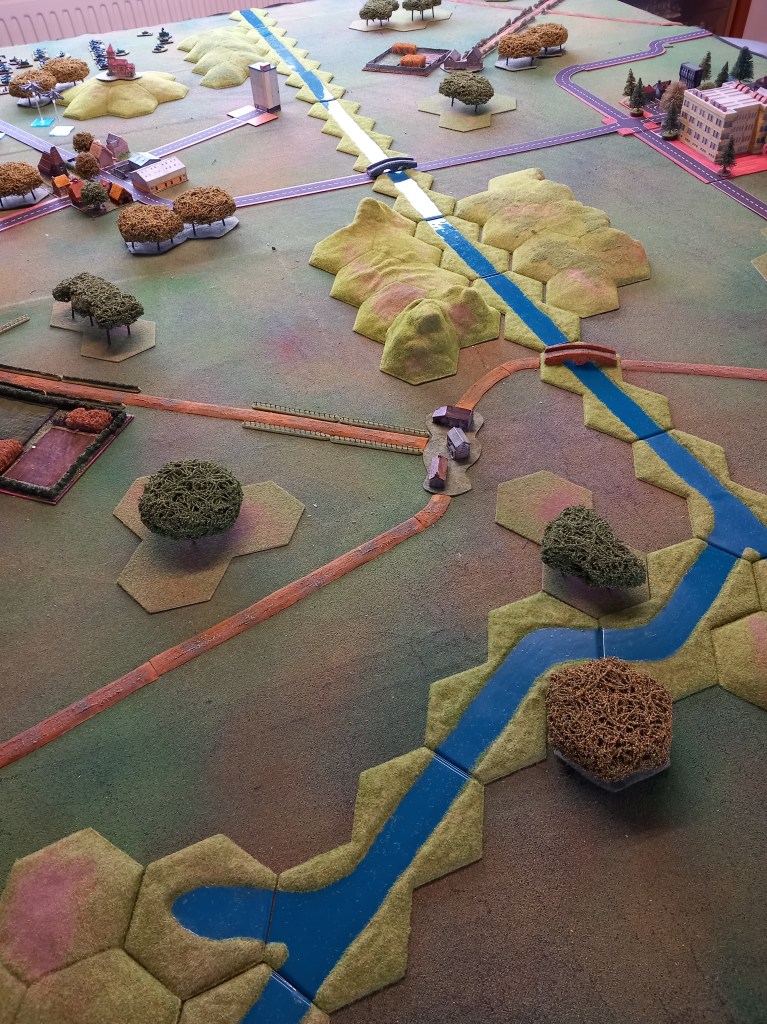
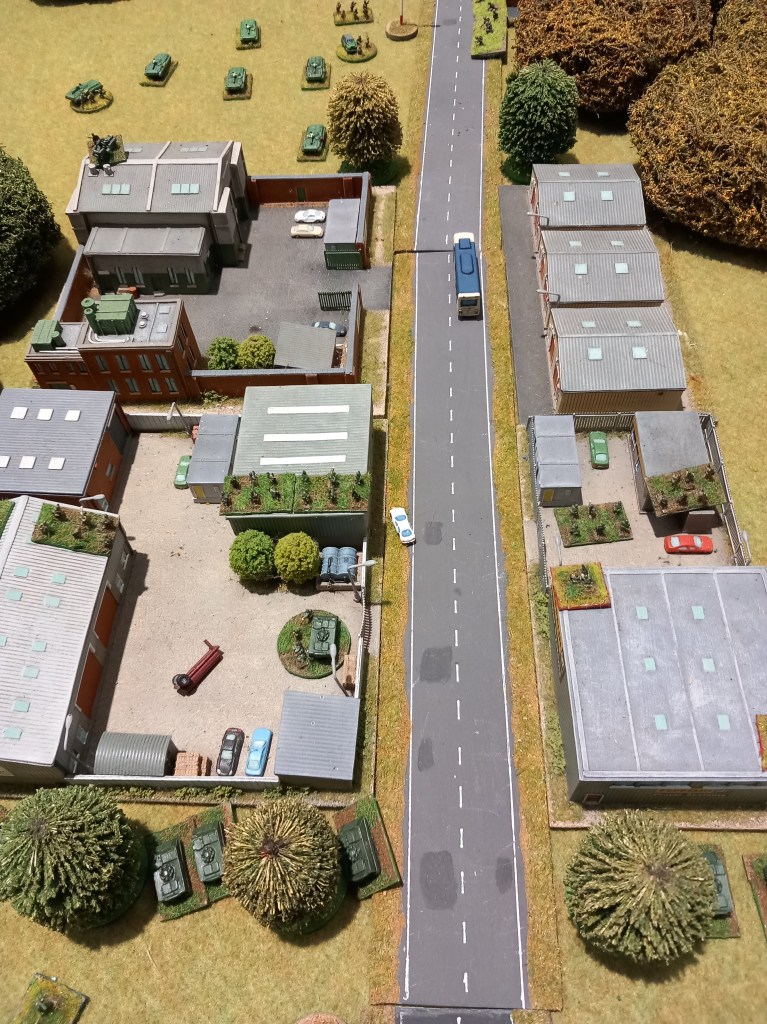
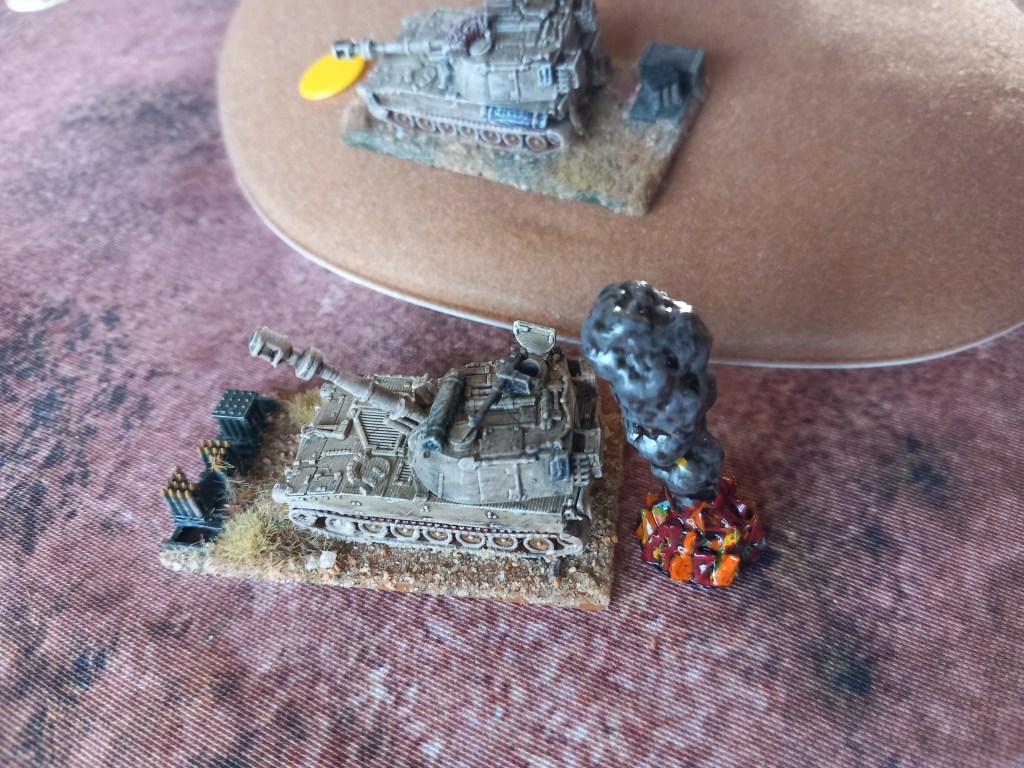
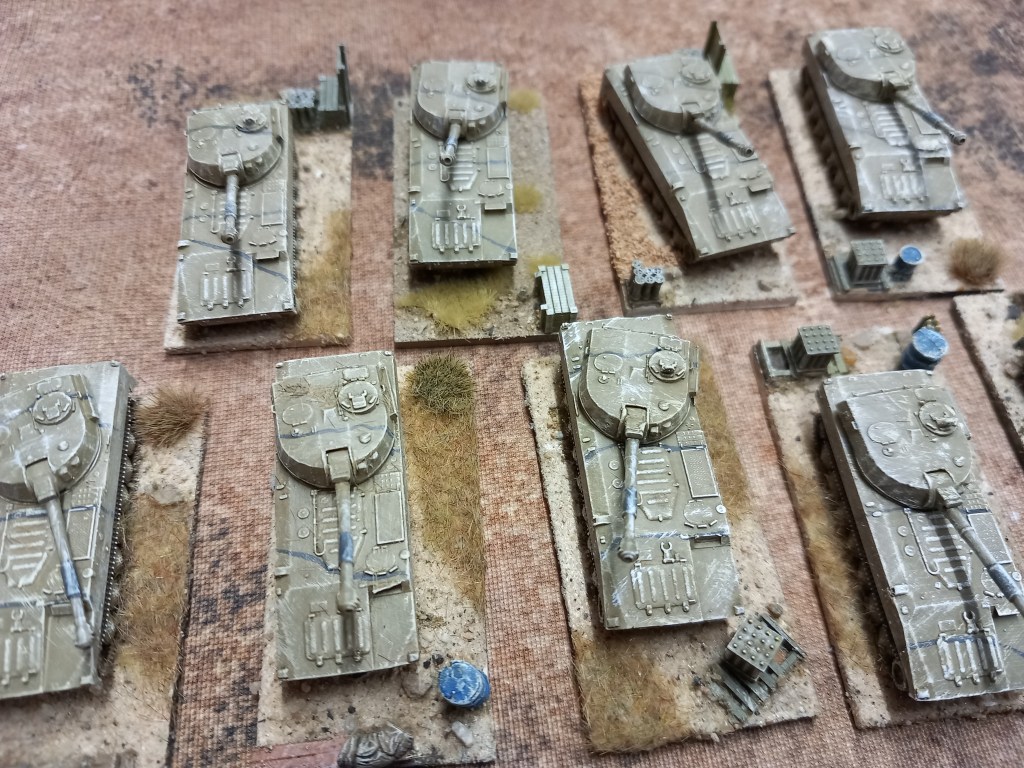
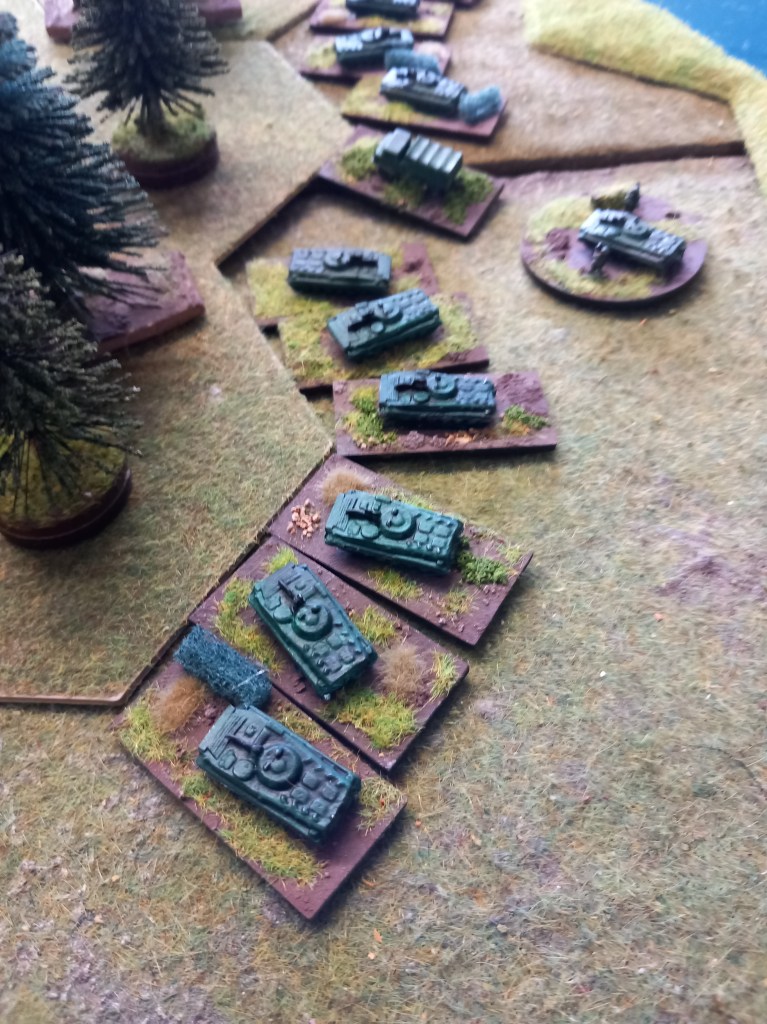
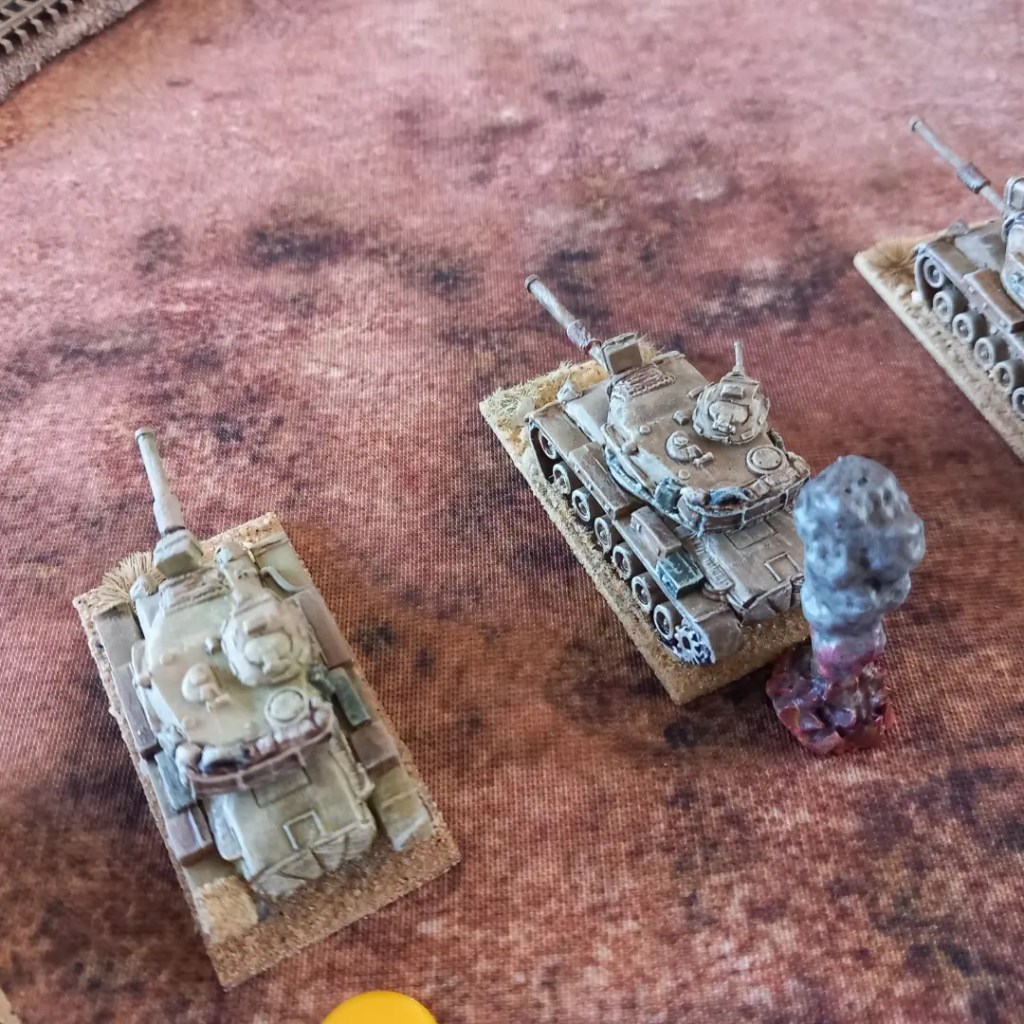
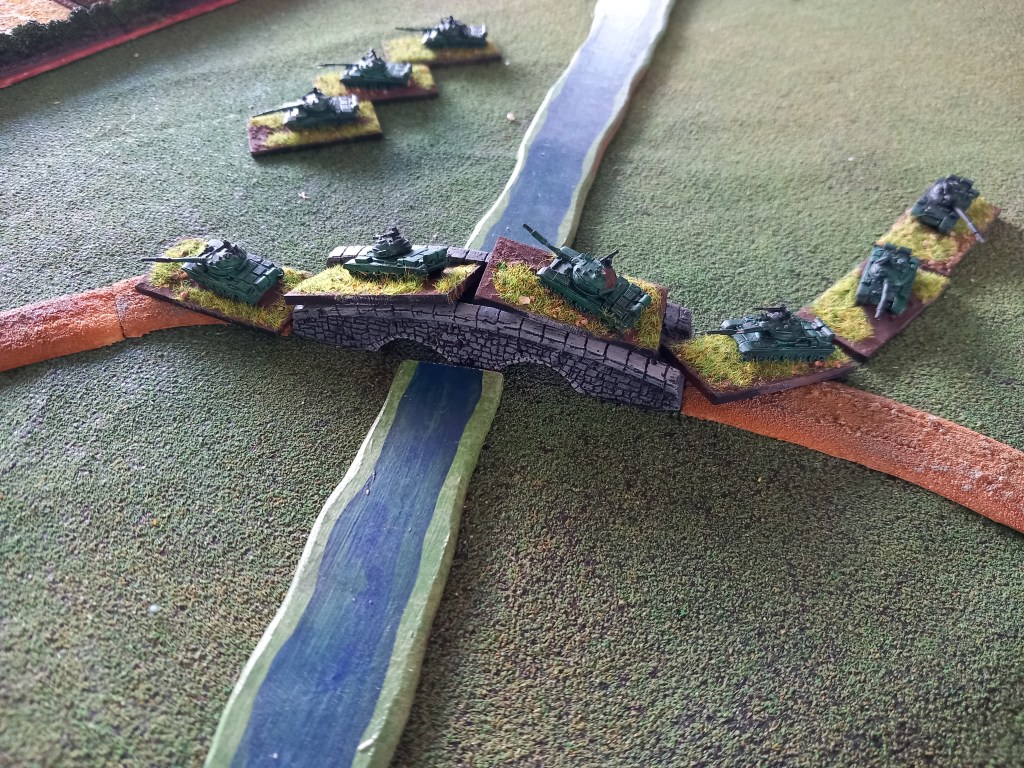
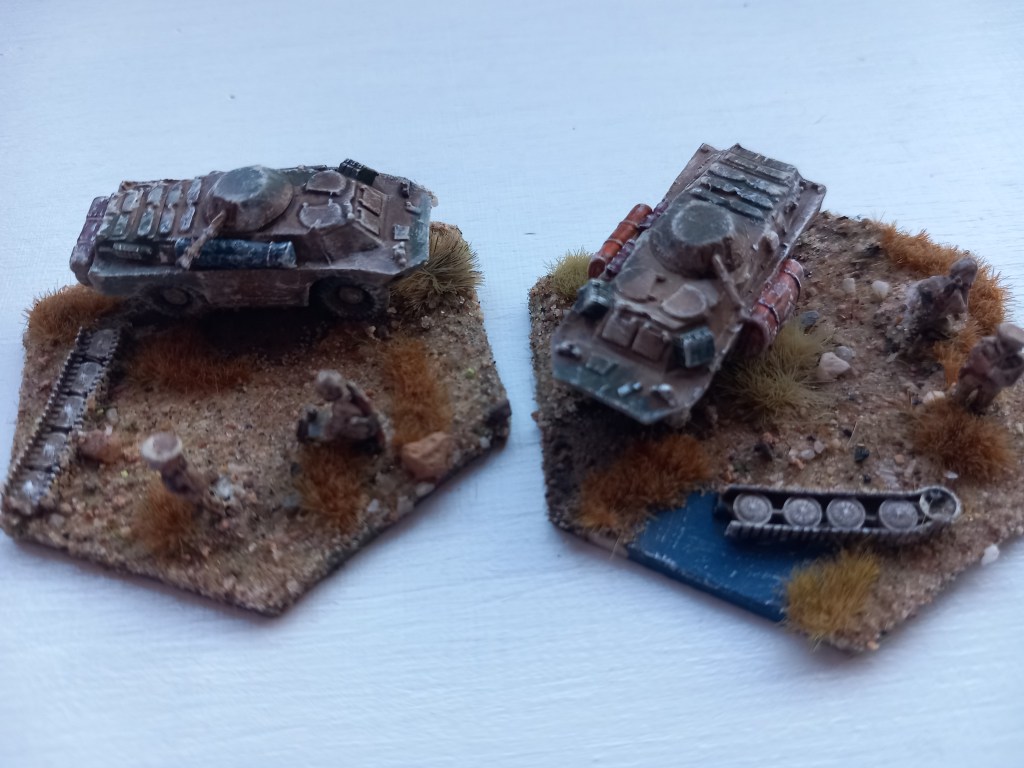
Next up was a big one! We planned a 2 day Cold War gone hot game, an encounter battle between a Bundeswehr Panzer brigade and a Soviet Tank Regiment somewhere in Germany.

We planned a 10,000 point per side game using the Cold War Commander rules with 5,000 points coming on table on the first day, but without air or artillery support, and the other 5,000 on the second day.
I wont say it wasn’t hard work, we fought both games during the intense heat, which I think affected our ability to think properly on occasion and it was a lot of stuff to keep track of.
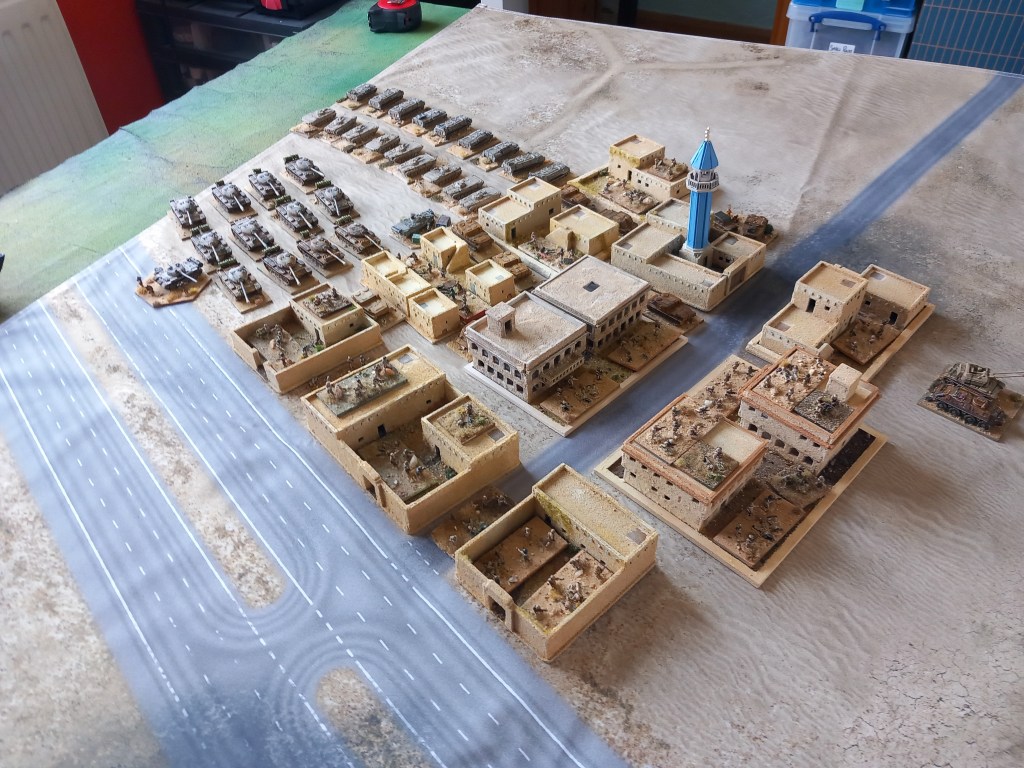
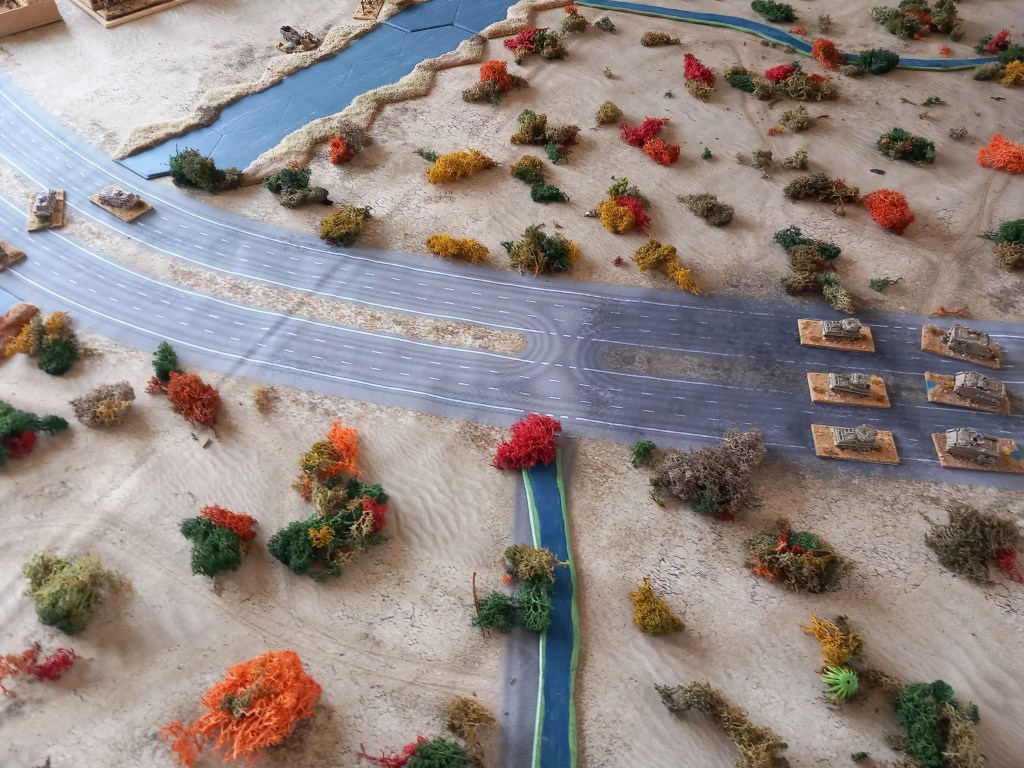
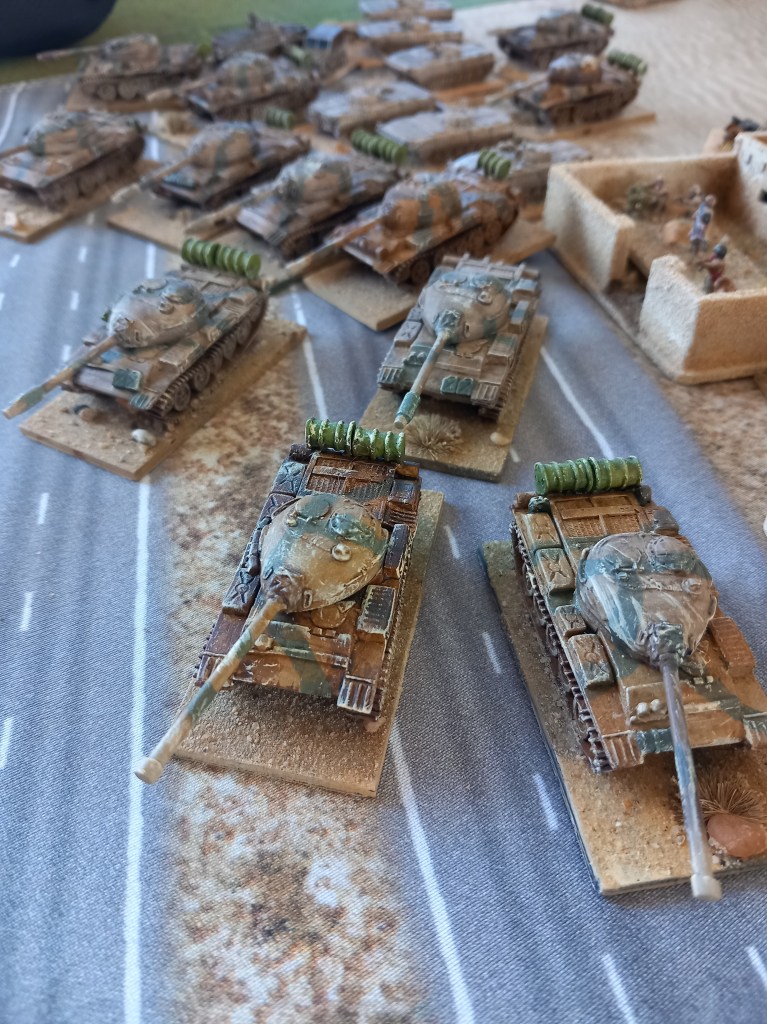
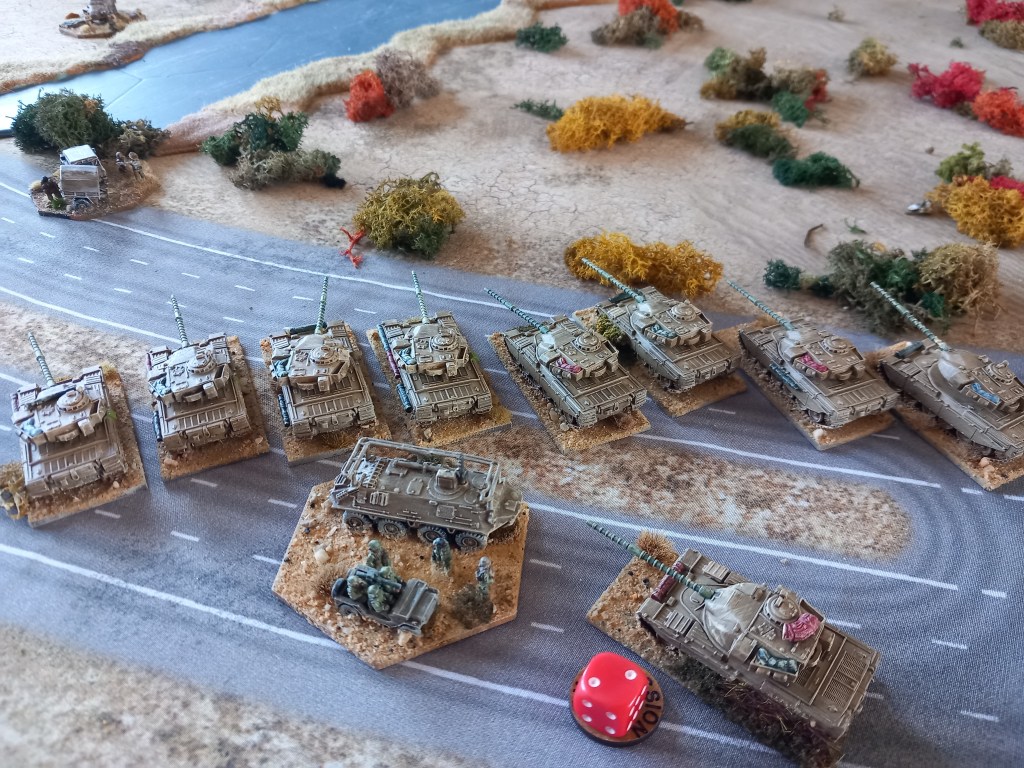
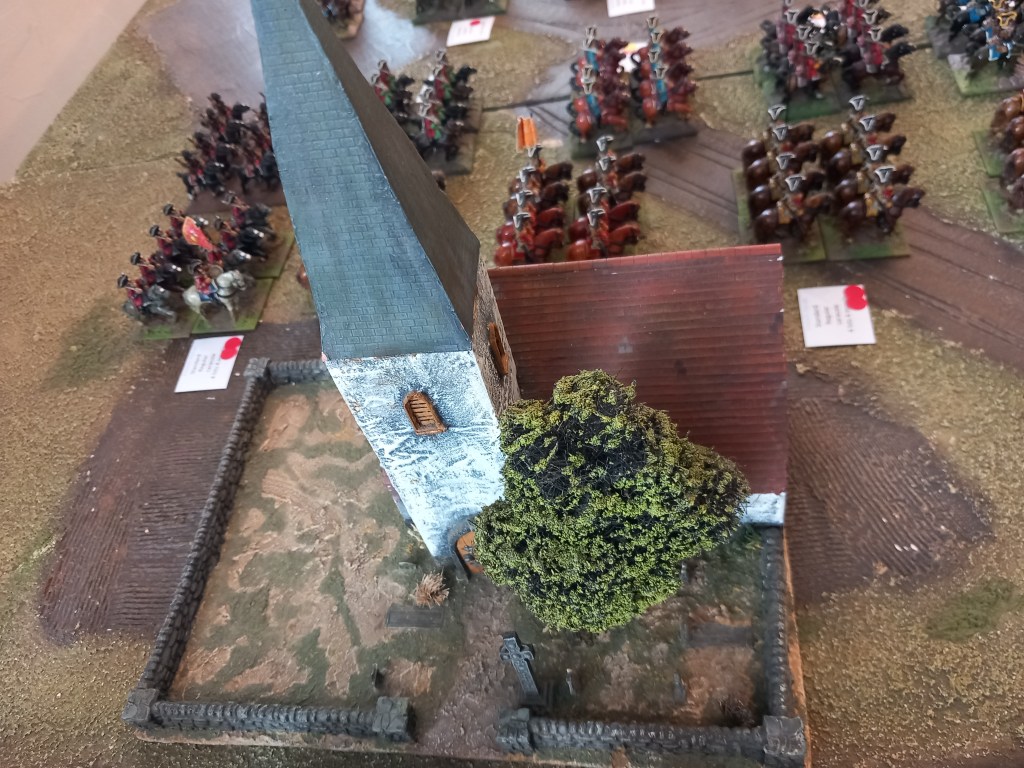
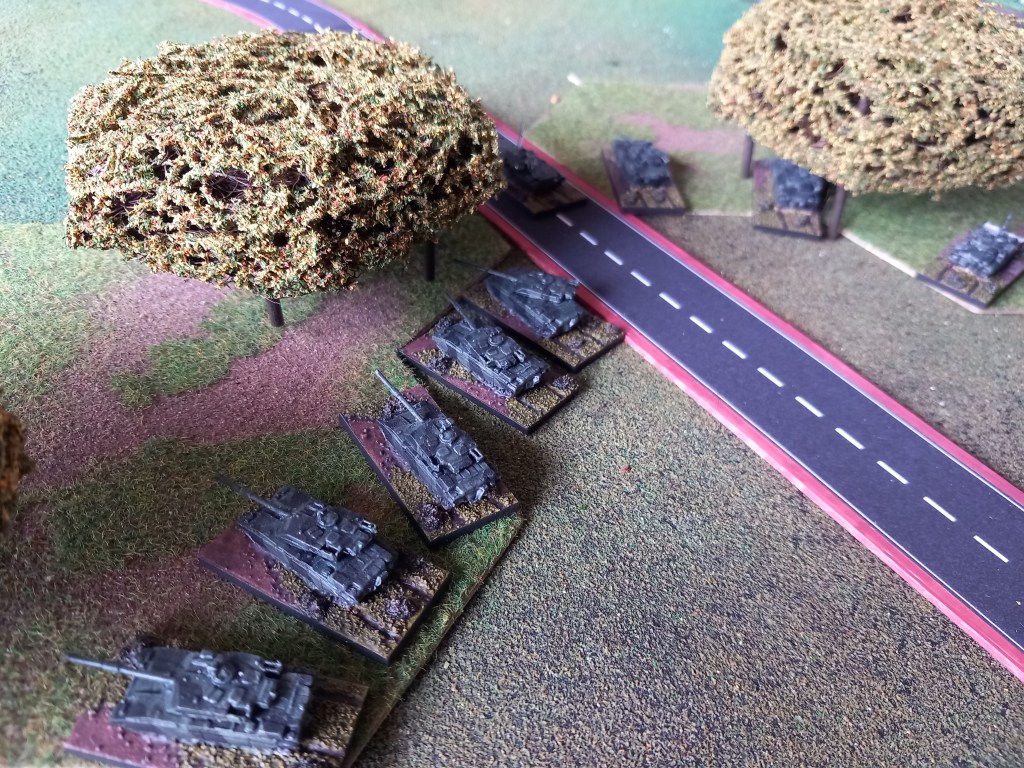
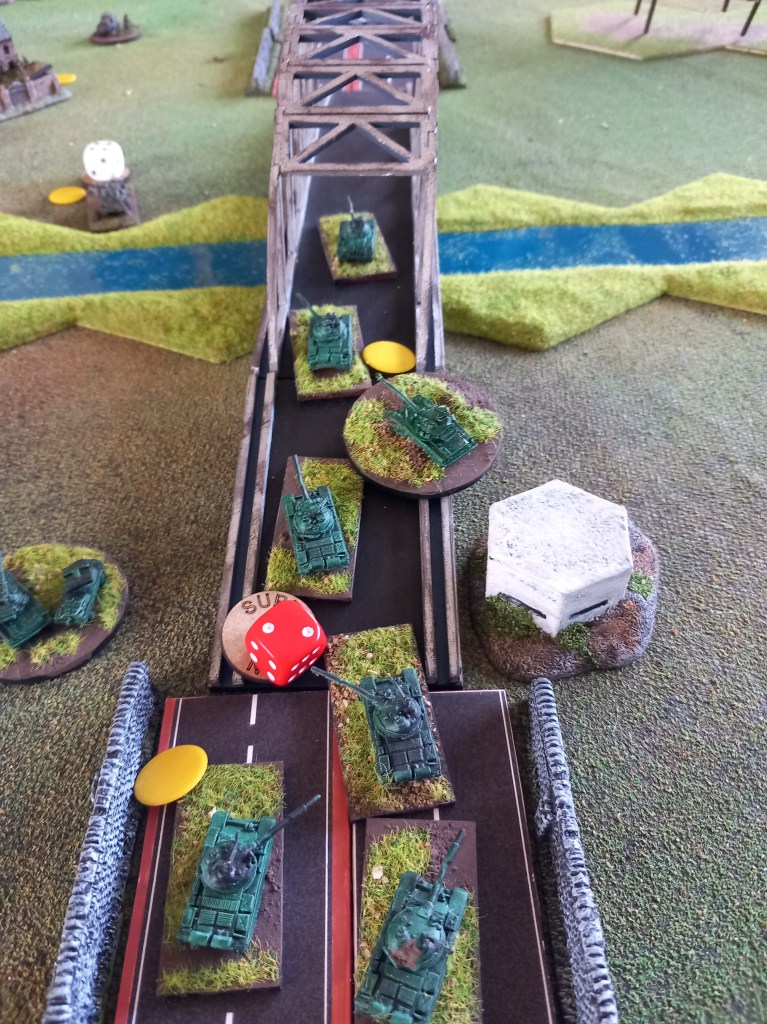
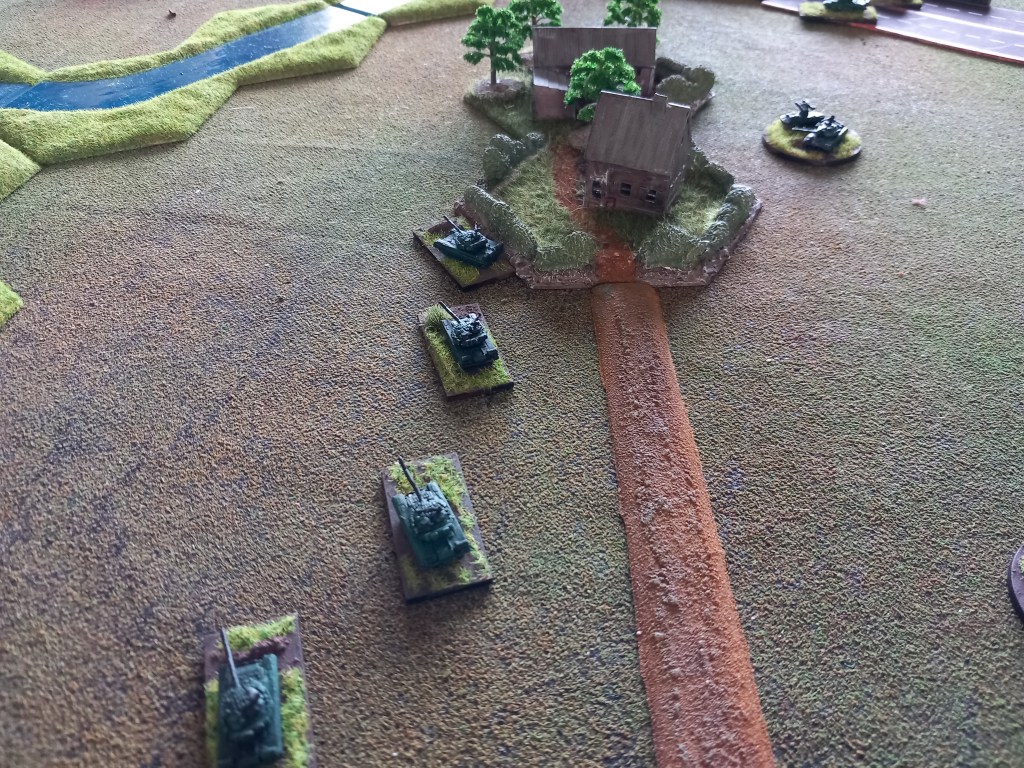
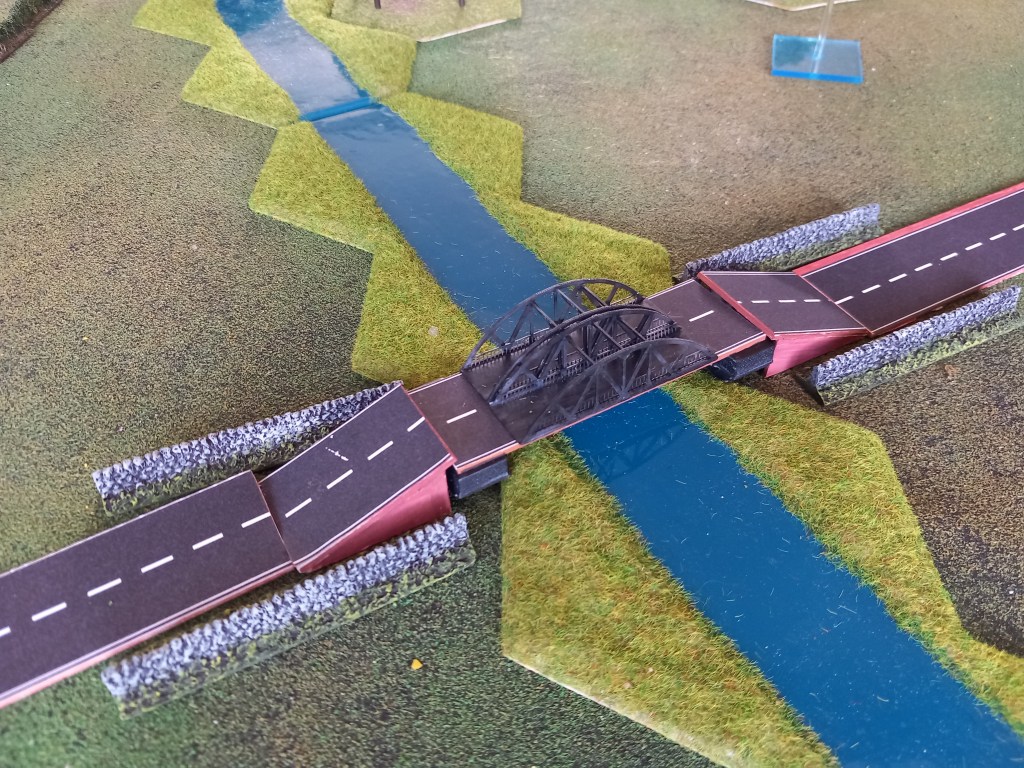
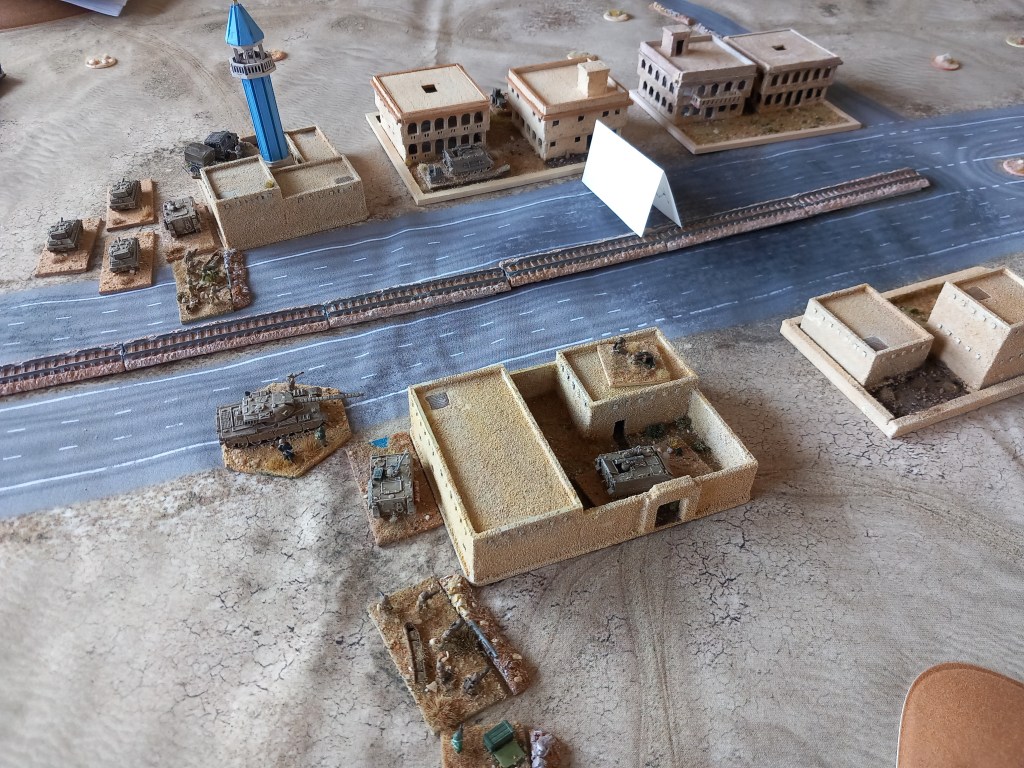
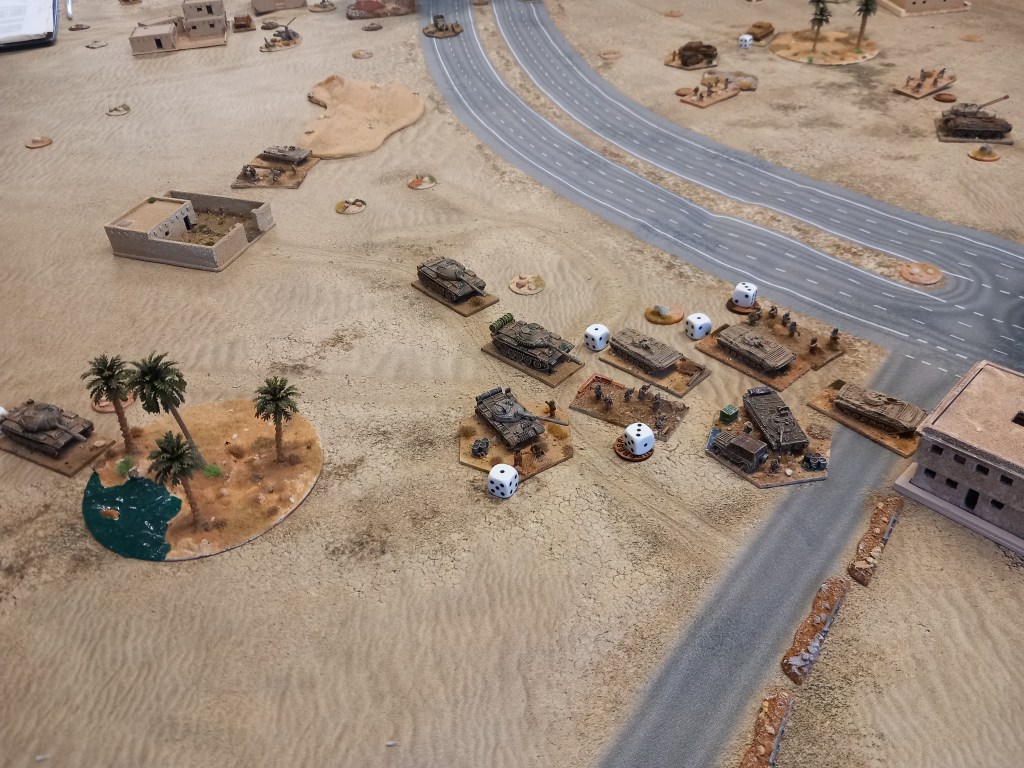
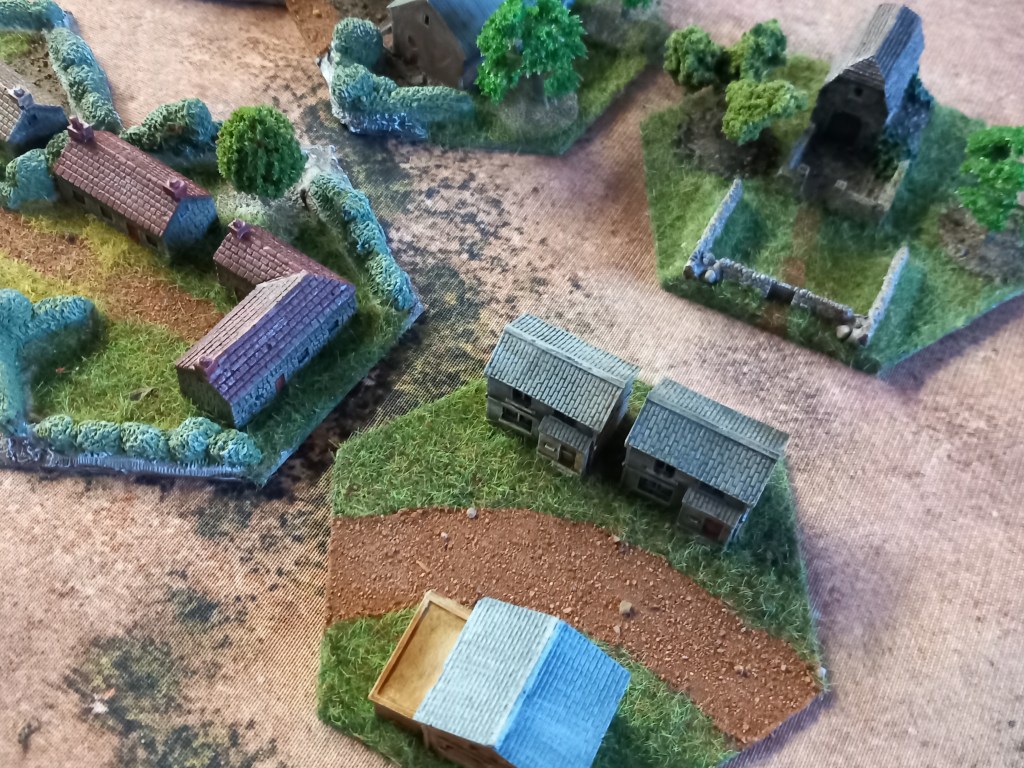
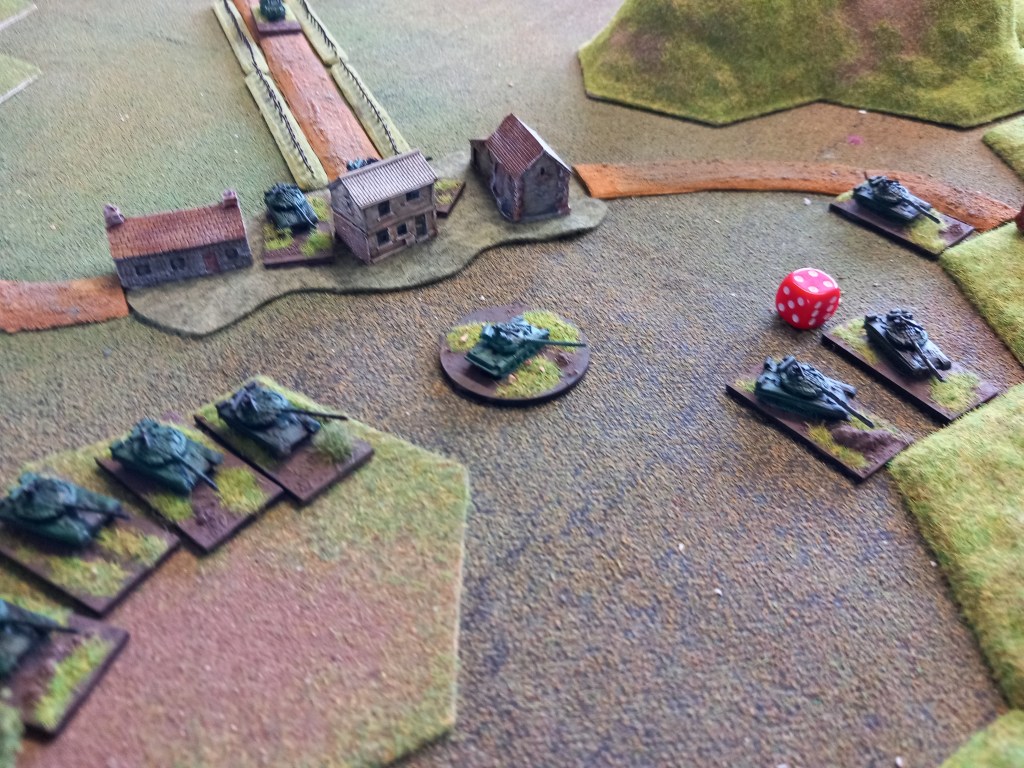
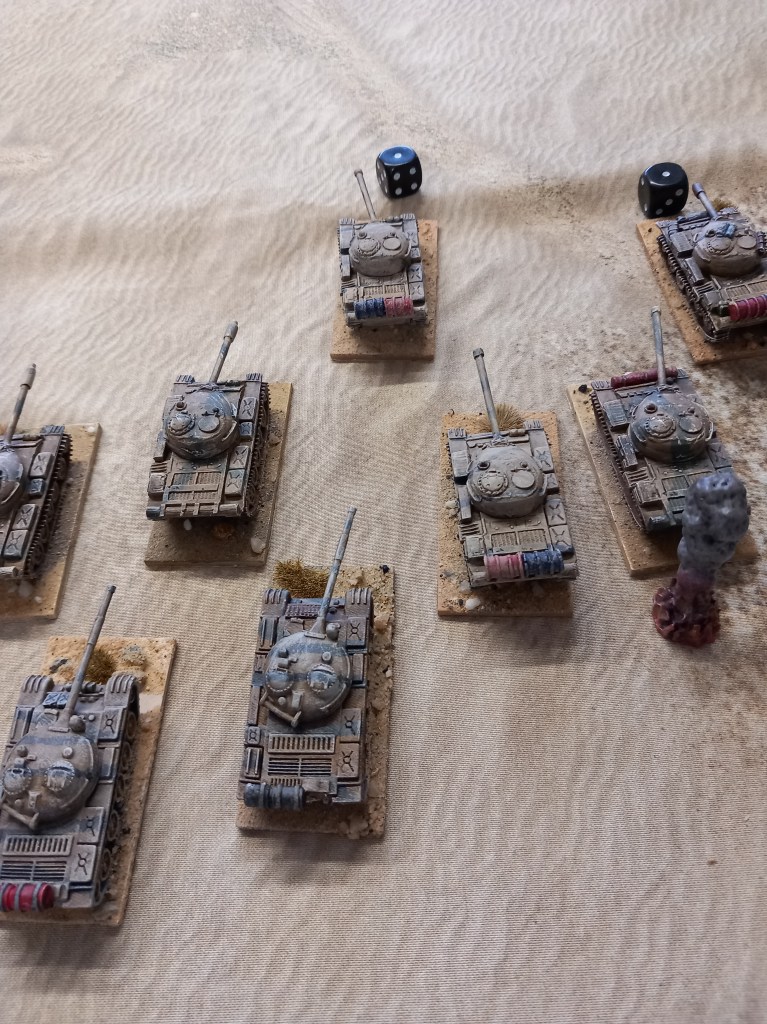
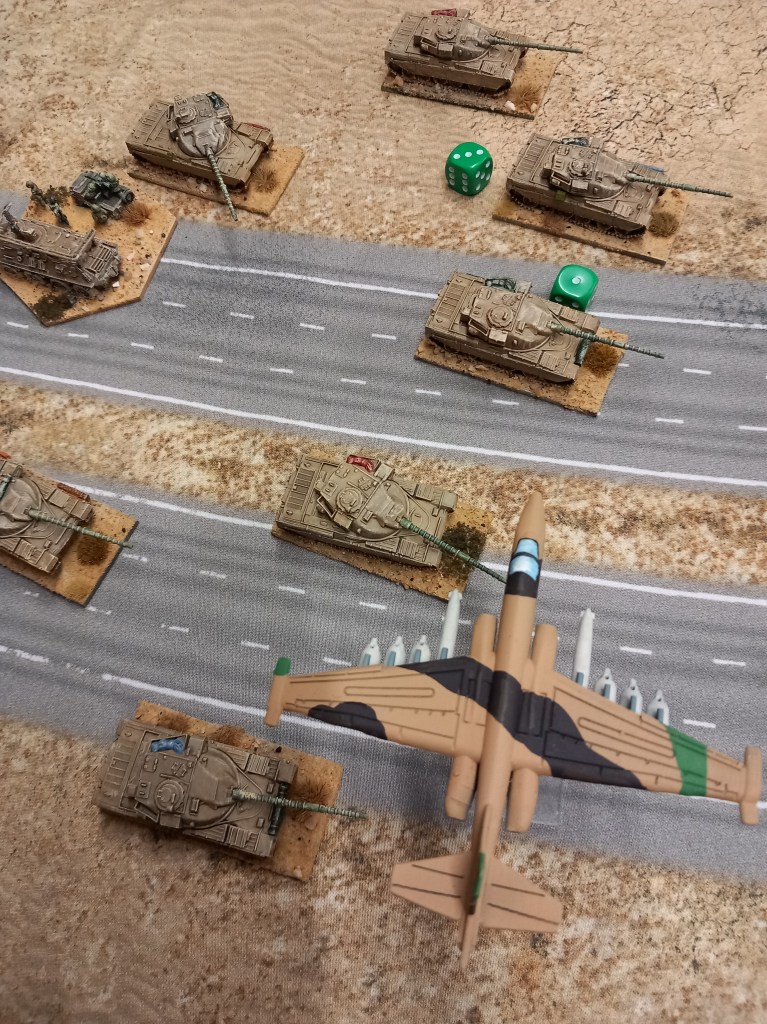
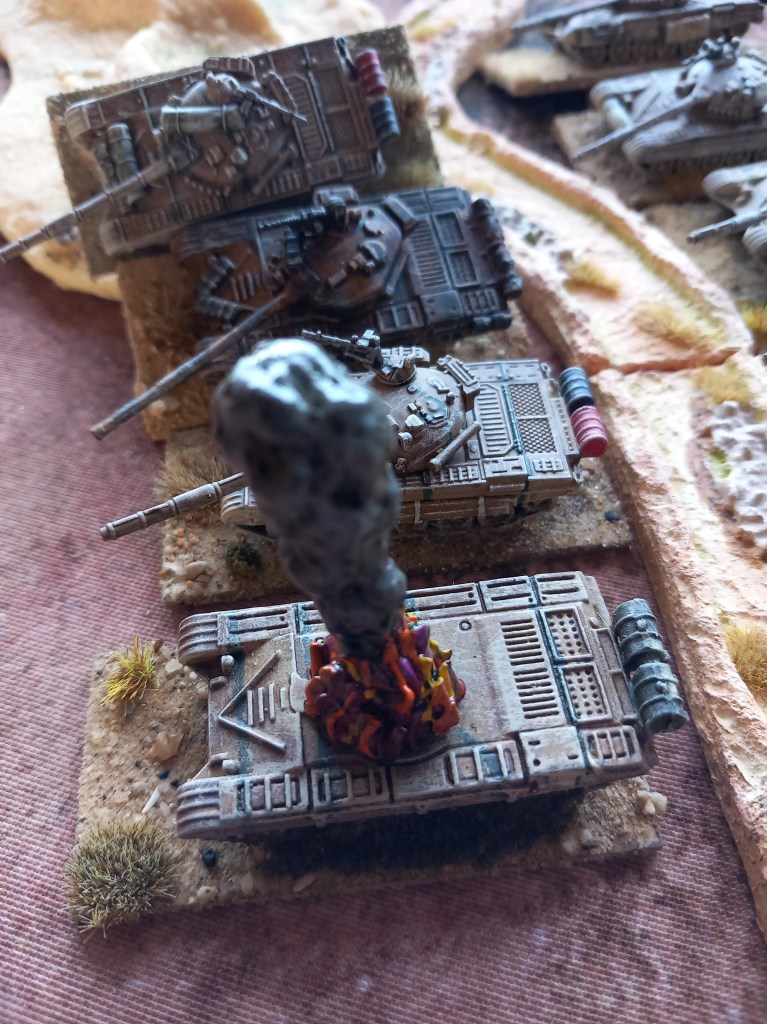
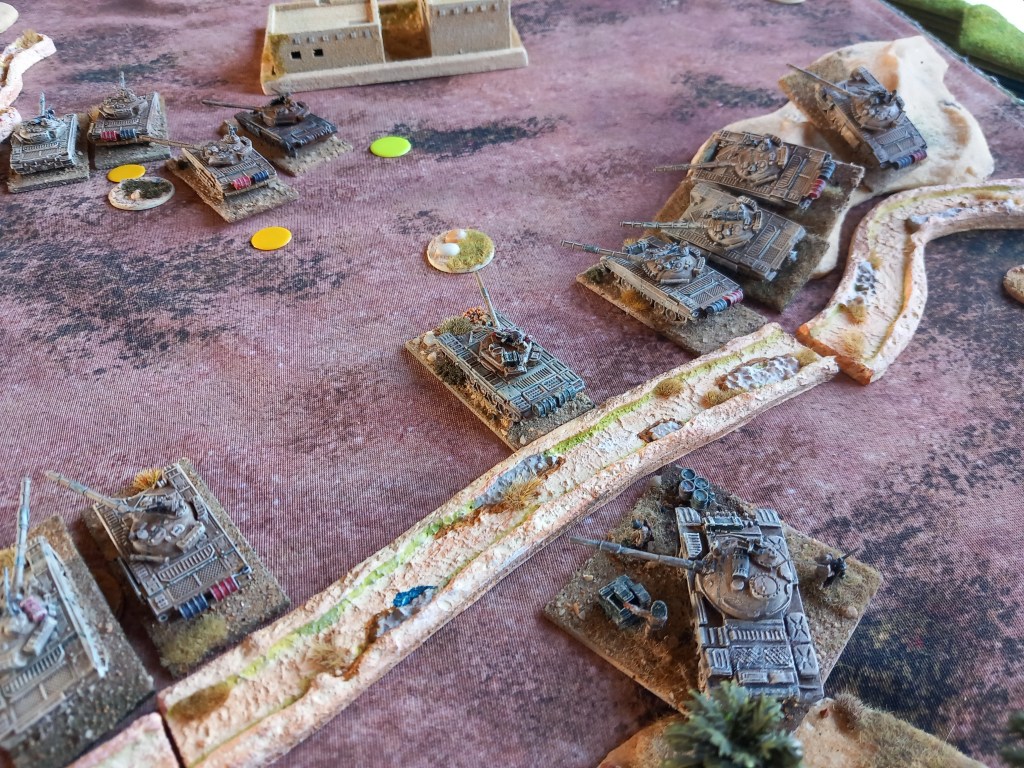
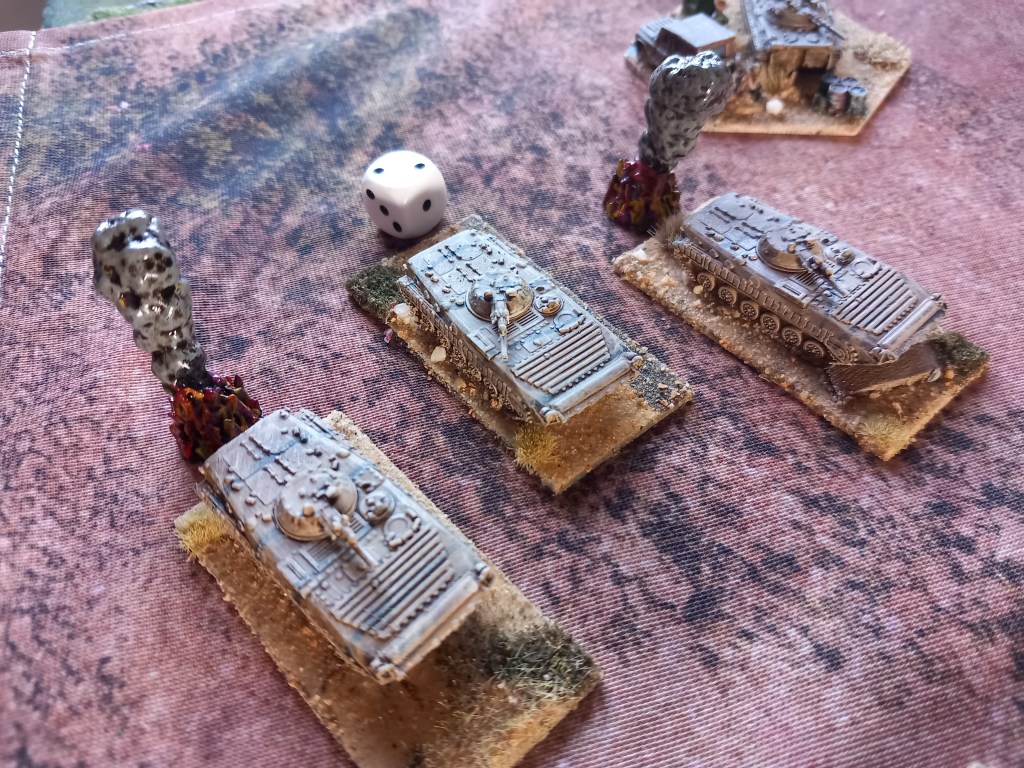
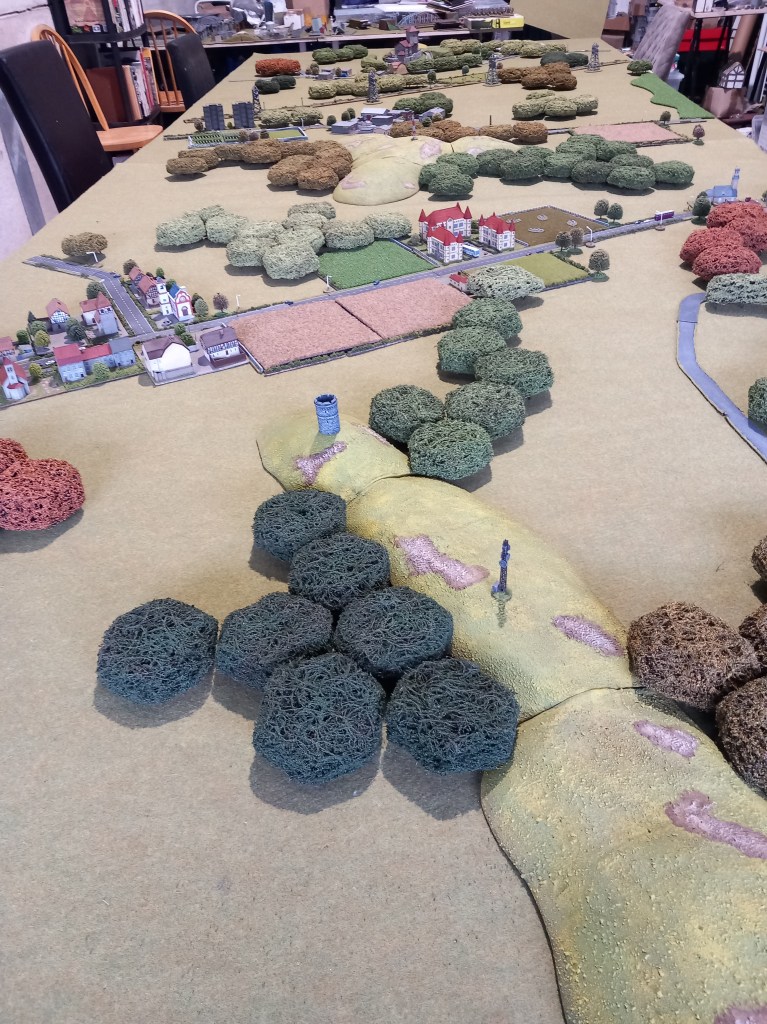
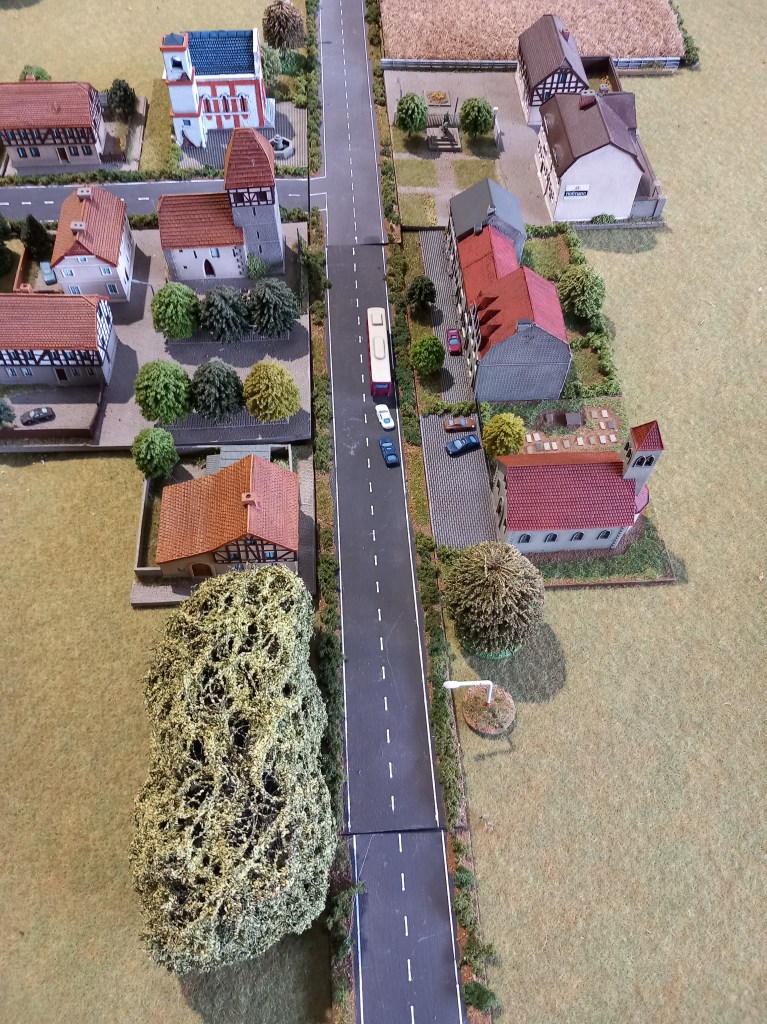
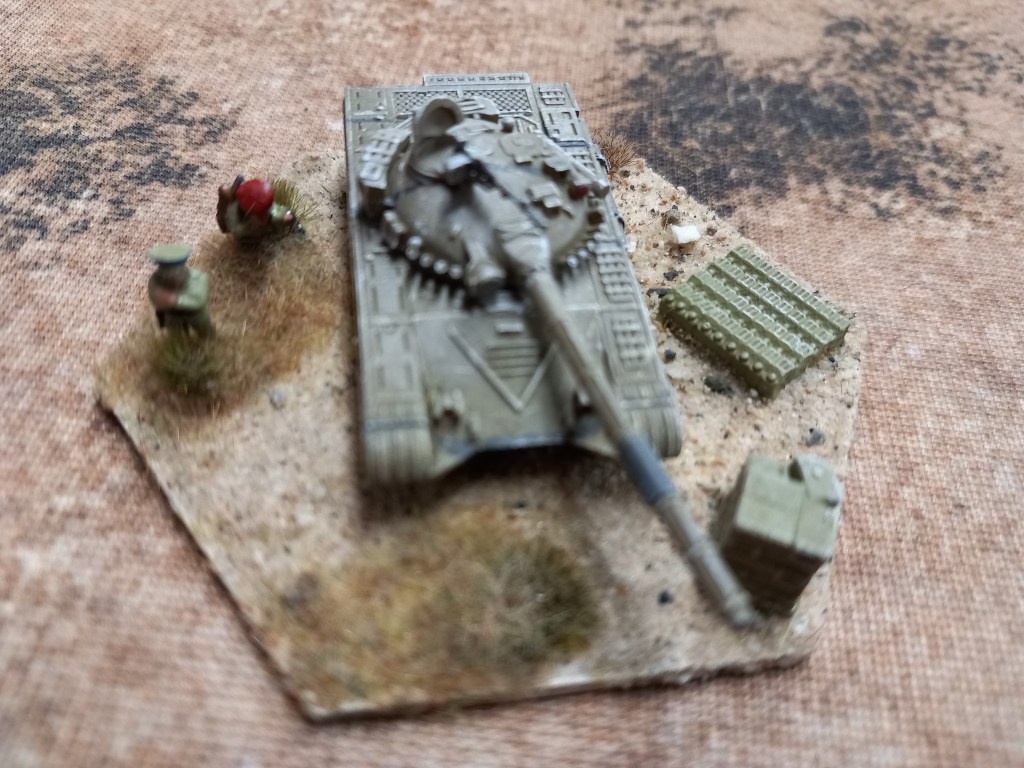
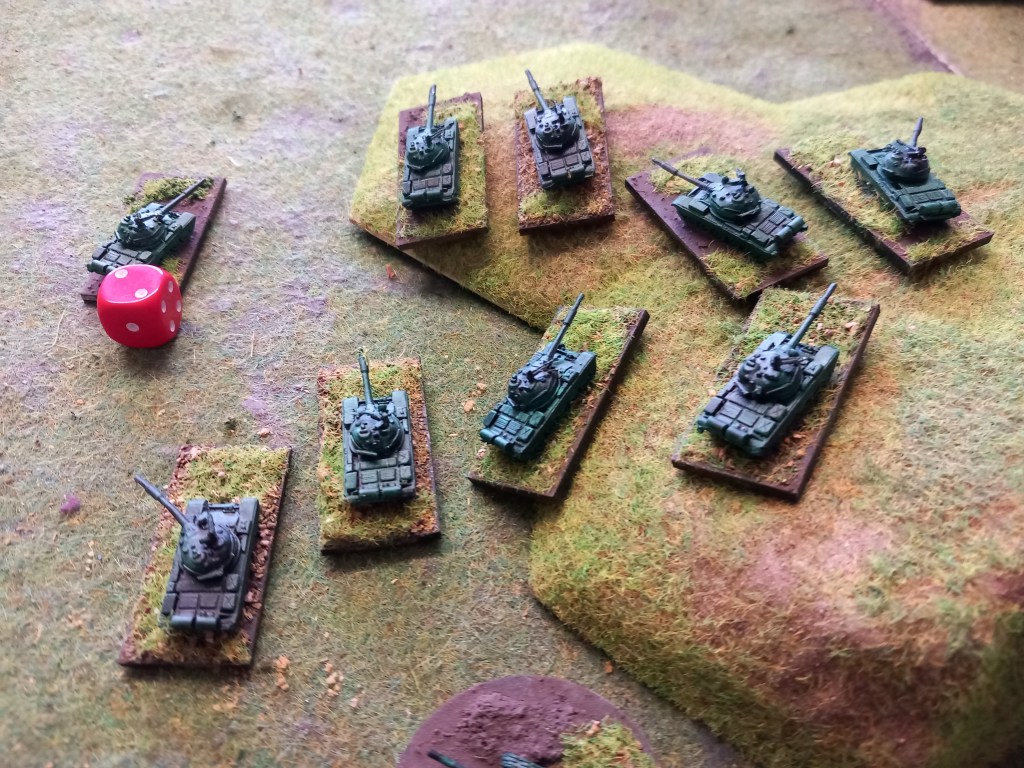
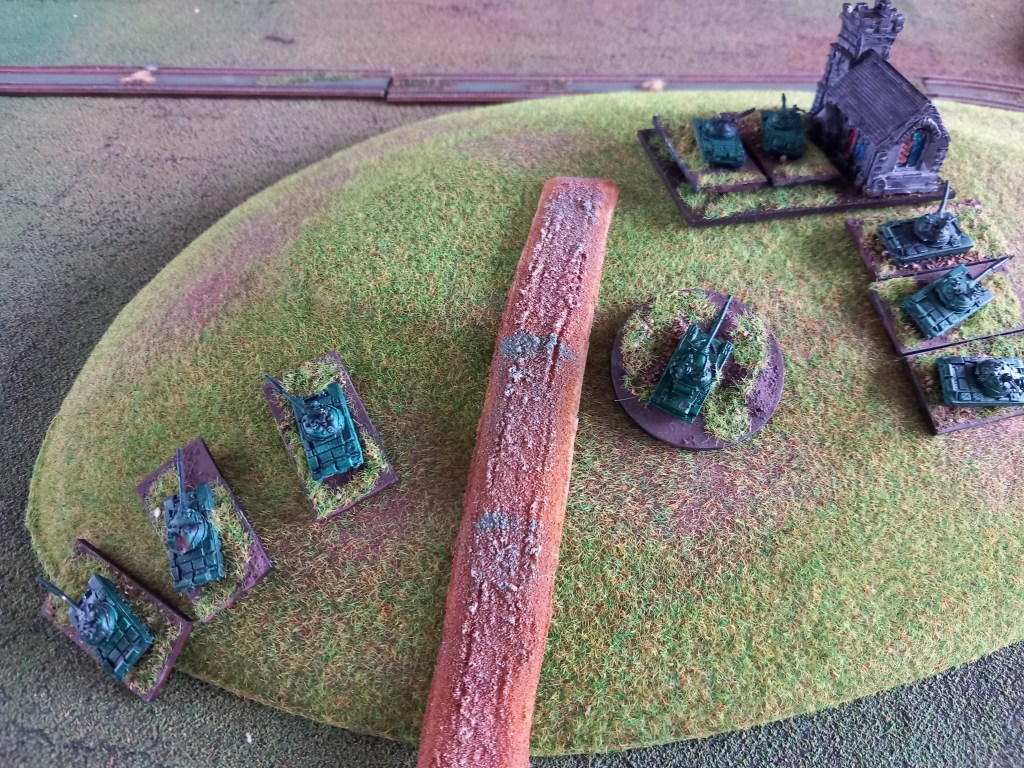
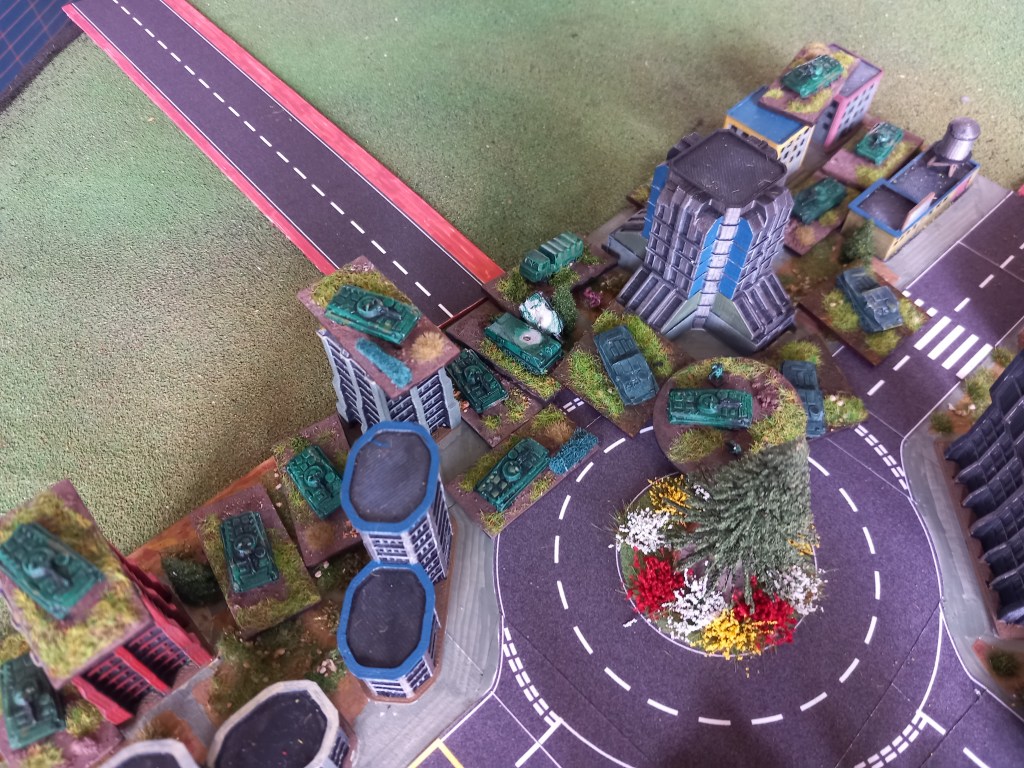
Conditions not withstanding we had a fine game. The Soviets arrived a broad front on the first day with three tank battalions, the elite T80 battalion entered the town at the northern end of the board and remained there for the bulk of the first day. The two T62 battalions entered in the centre and toward the southern end of the board, the centre battalion advanced as far as the main autobahn (on a raised embankment) and the southern advanced on a hill with a church on top for a splendid view.

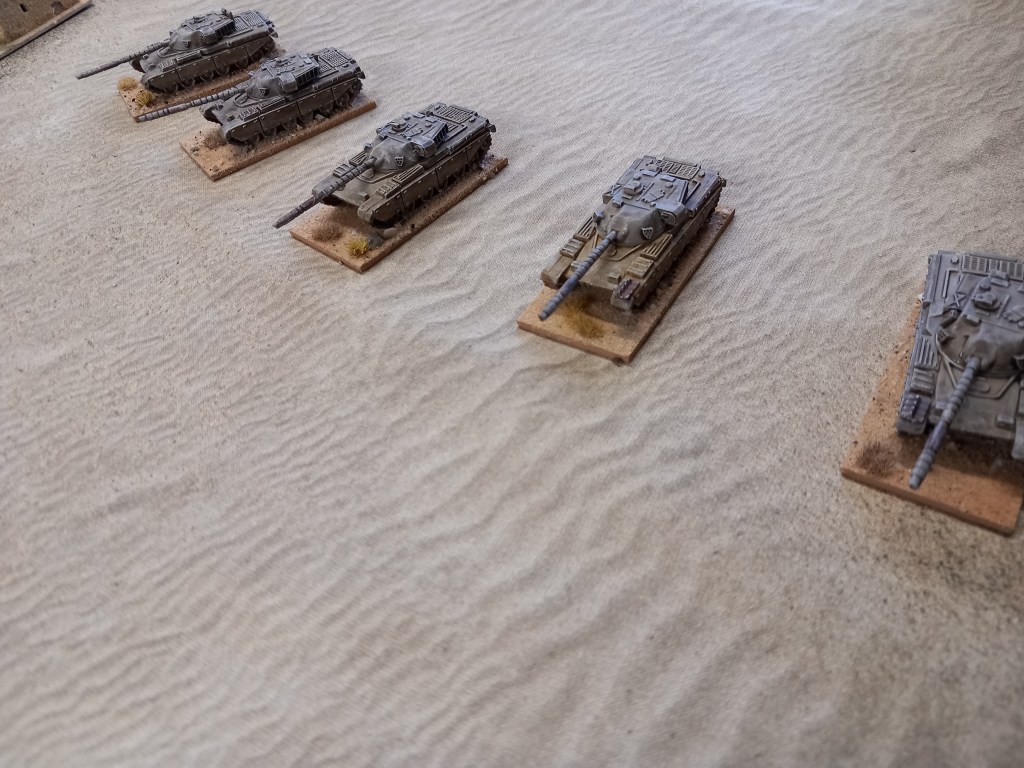
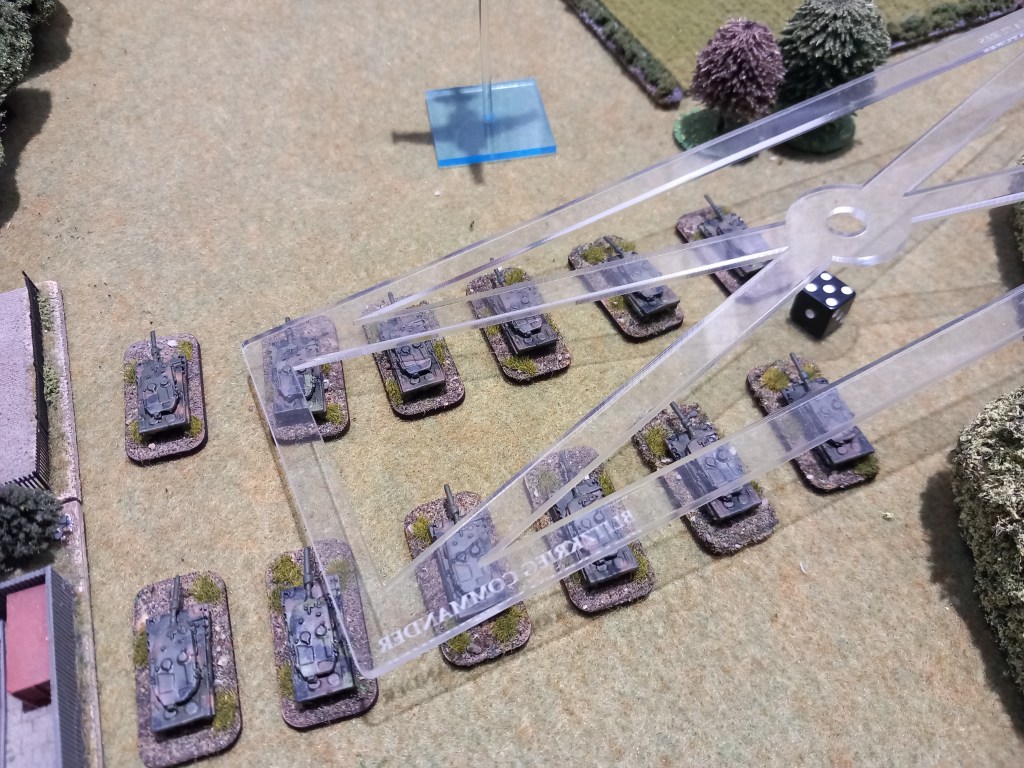
The Bundeswehr had formed into four combined arms groups, copying cold war doctrine, and on day 1 deployed two of these, one to the south and one to the north. Each group comprised two company’s of Leopard 2’s, one company of troop carrying Marders and a Gepard platoon.

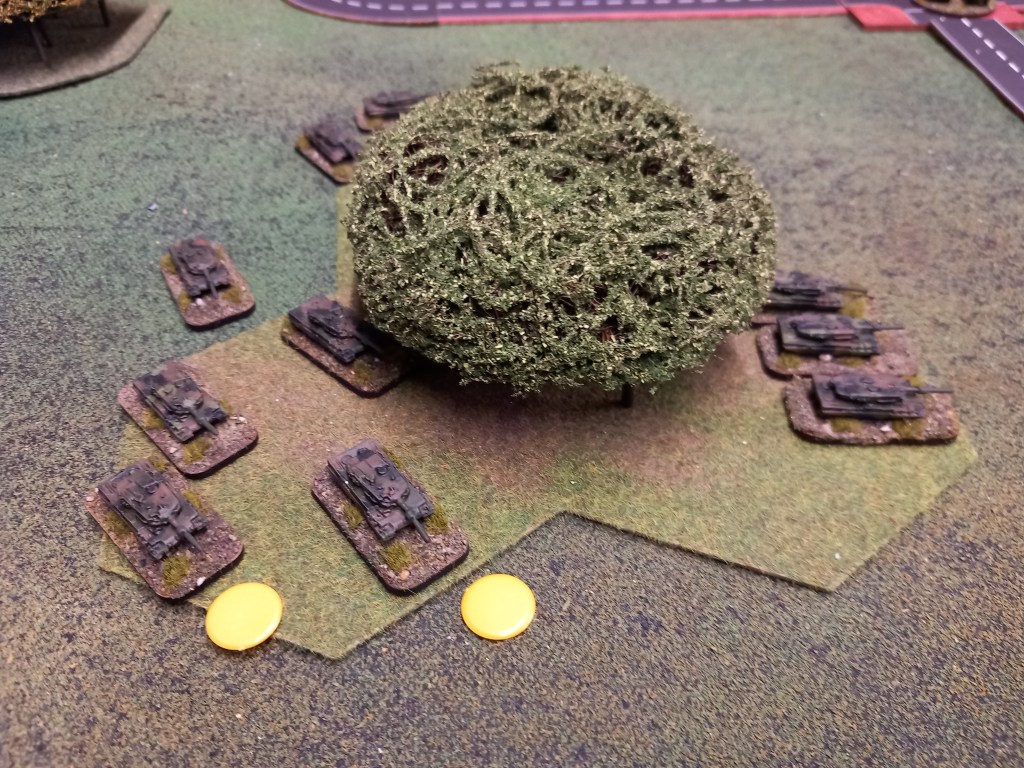
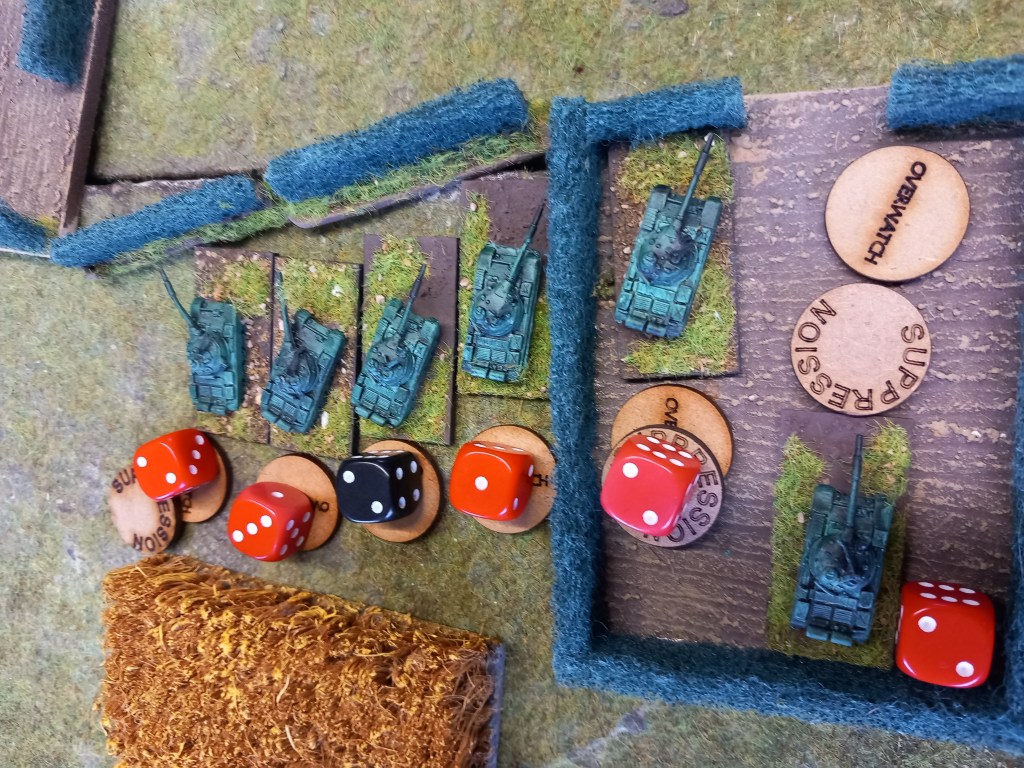
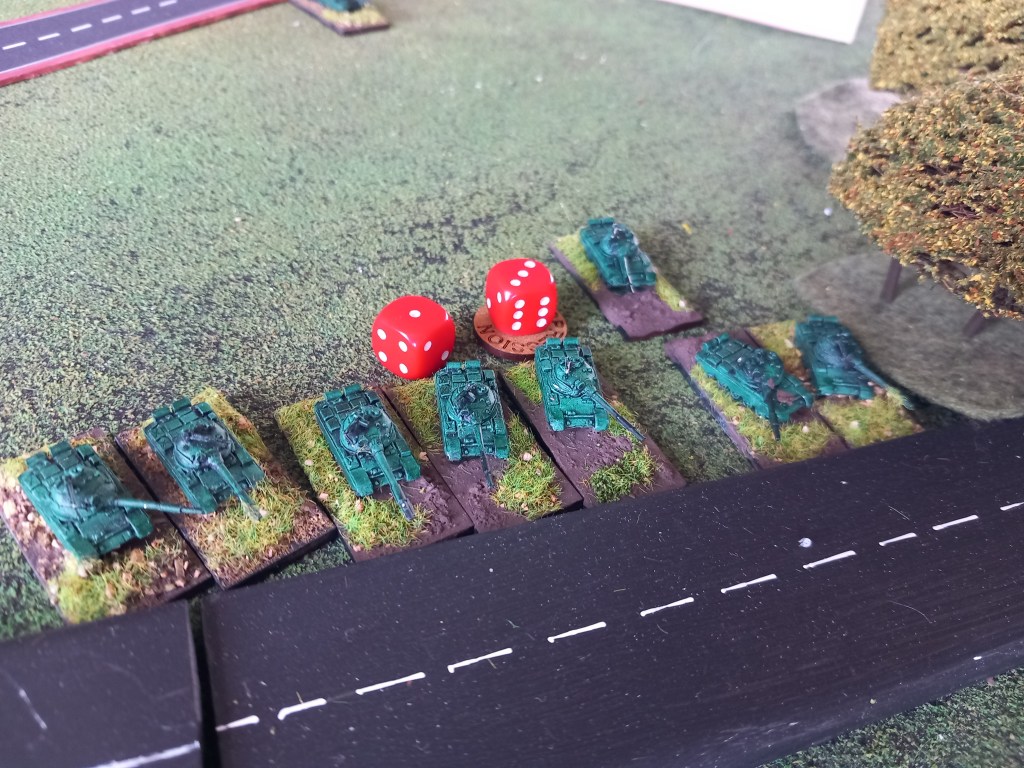
Day 1 was a day of jockeying for position. In the north the centre T62 battalion took on the northern combat group, who had coalesced around a wooded area, and came off worse, retreating out of line of fire. The combat group then got themselves into a shooting exchange with the T80’s in the town which then came off badly in.
At the southern end of the battlefield the other T62 battalion got itself onto the hill and the as the day drew on on exchanged shots with the Bundeswehr below them who were slow to advance – reflecting afterwards the Bundeswehr player saw this as his major error in not pressing the attack (he would pay on Day 2).

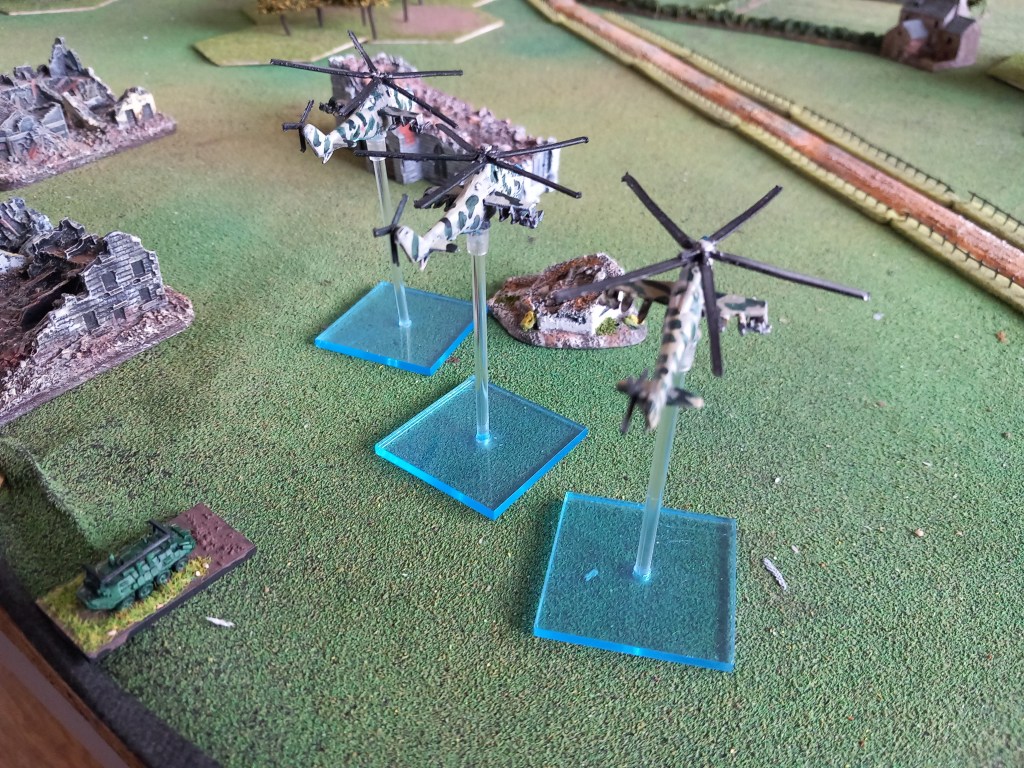
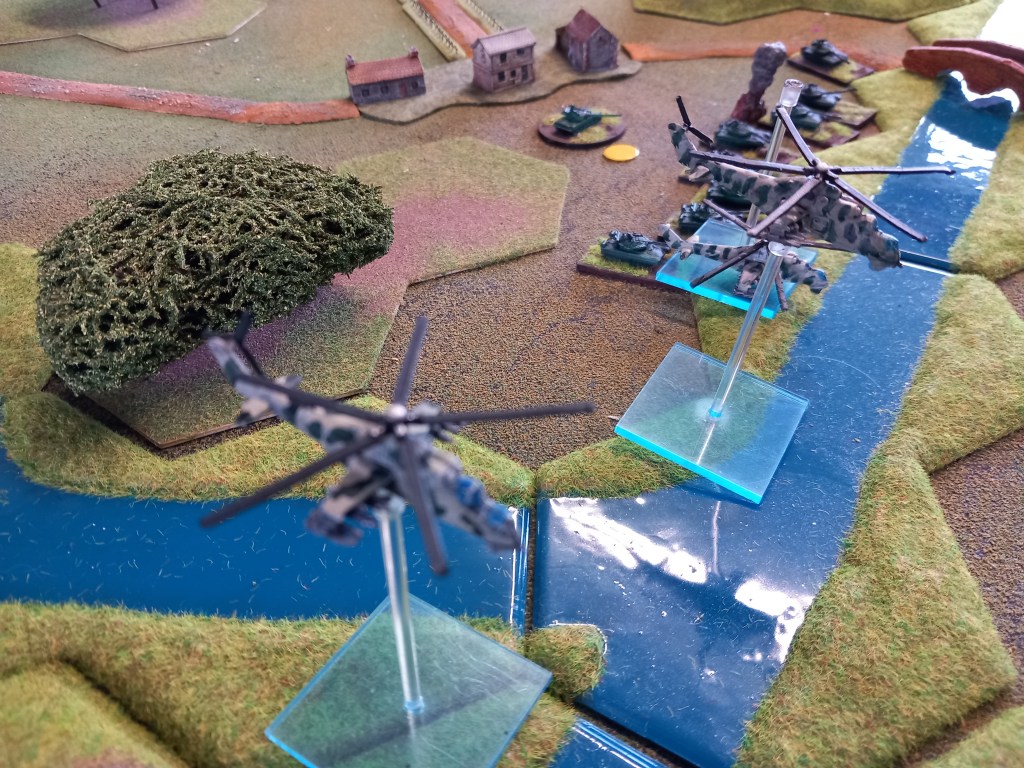
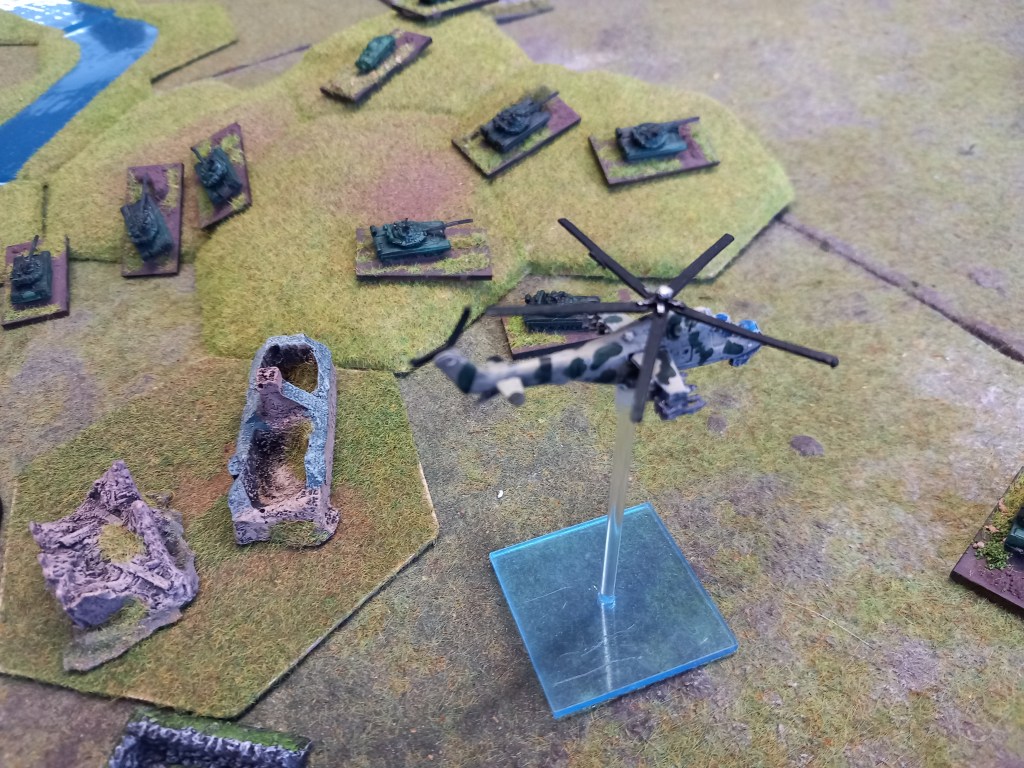
Day 2 dawned with the arrival (or not due to the vagaries of the dice) of both sides reinforcements heralded by the dreaded HINDs.
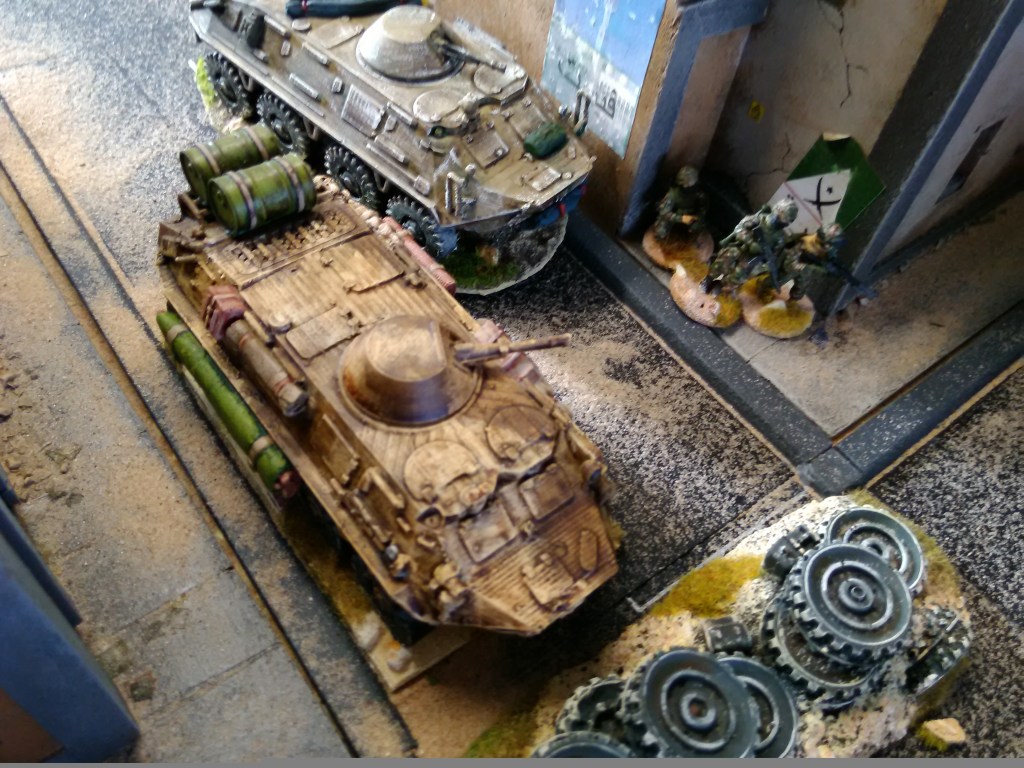
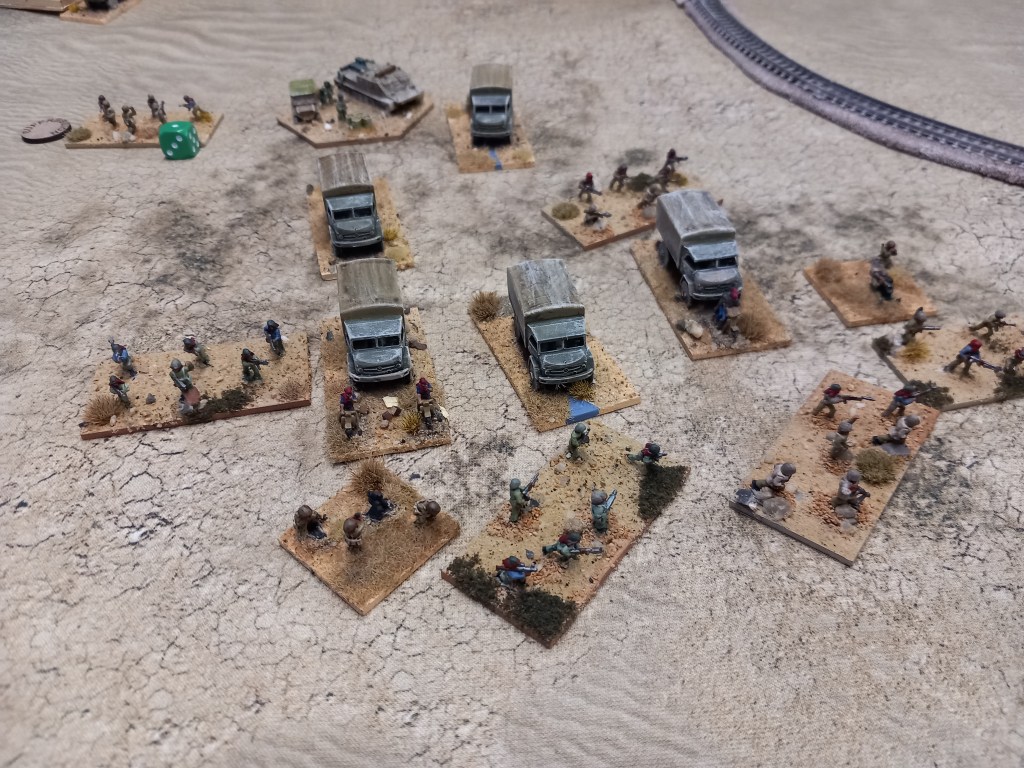
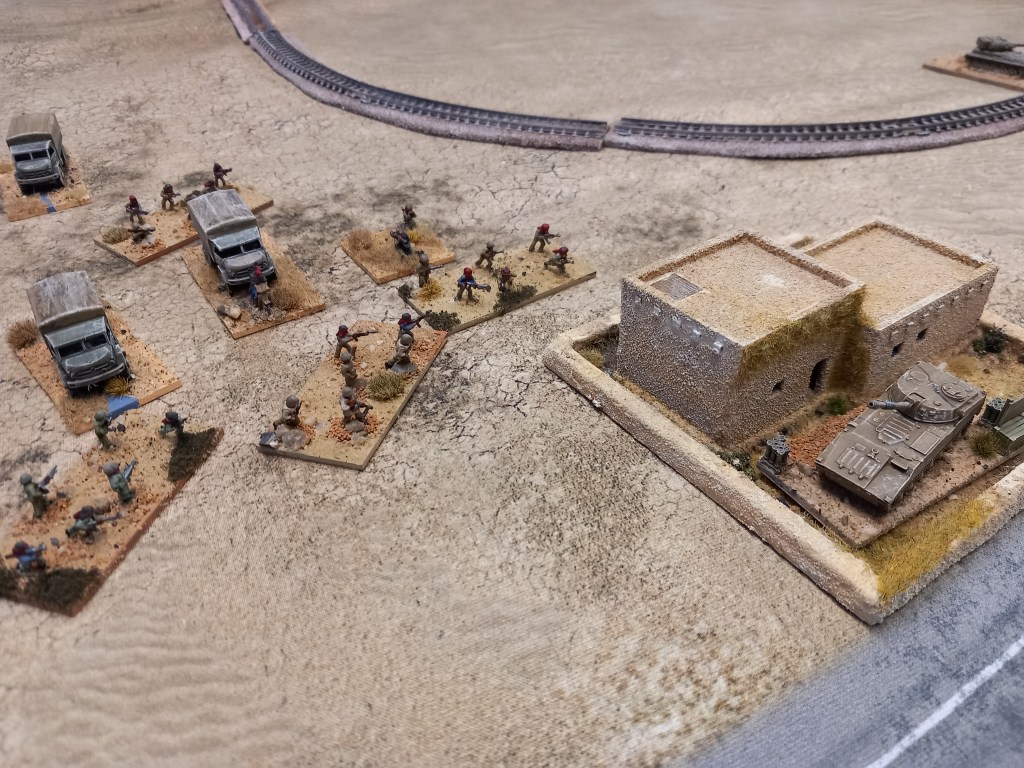
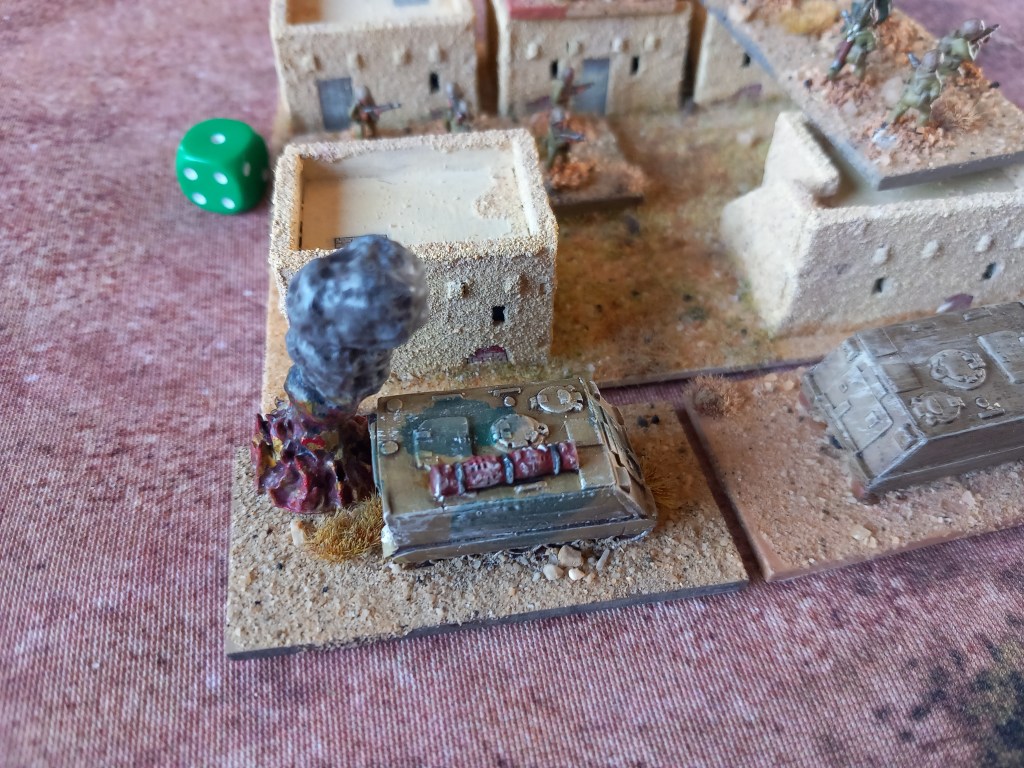
The Soviets came with a motorised infantry battalion who headed straight into the already busy town – everyone getting in some duty free shopping 😂. The rest was off table artillery – mortars and rocket launchers, some self propelled on table guns and air cover in the guise of the HINDs plus Frogfoot and Fitter ground attack aircraft.

The Bundeswehr came with two more combat groups and some M109’s being directed off table. One of the combat groups came on to the south to beef up the push for the hill and a planned sweep up the flank of the Soviet positions and the other came on in the centre planning to push through and link up with the flanking move – it didn’t work out 😒

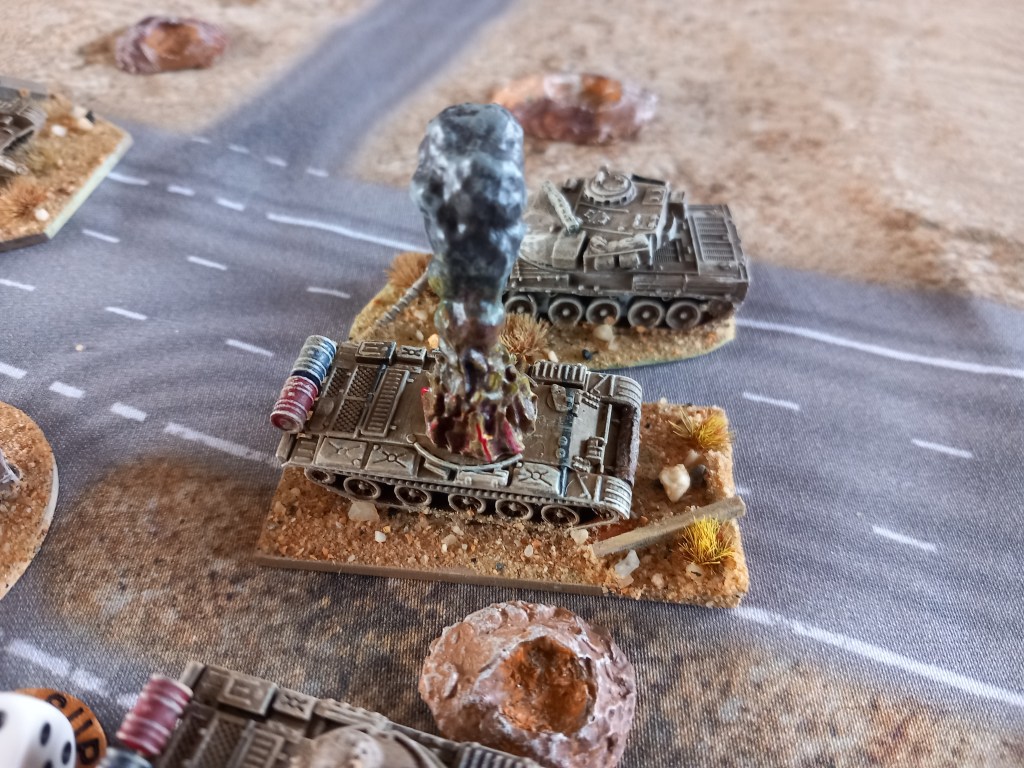
Although not battle winners in and of themselves the HINDs and air were a substantial threat. The Bundeswehr centre thrust got caught and slowed enough to prevent it making the progress needed to split the Soviet positions. A consolation was shooting down a HIND and forcing it out of the battle area.

The additional southern combat group did turn the tide on the hill and even overran the Soviet command post but it shouldn’t have needed 16 Leopards to take out 9 T62s. In reality this was a bit of a hollow victory because the Germans were now exposed to ATGWs being slung at them from the T80s in the town.

As we progressed it was increasingly obvious the Bundeswehr were on a bit of a hiding to nothing and when we looked at the mandated rules breakpoint check the Germans were well over it and so we called it as a Soviet victory.

A good game but hard work in the heat, The perennial problem for the Bundeswehr player is whether to follow doctrine and counterattack whenever possible or be a sensible wargamer and sit back in cover with better armour and better guns – tough choice.
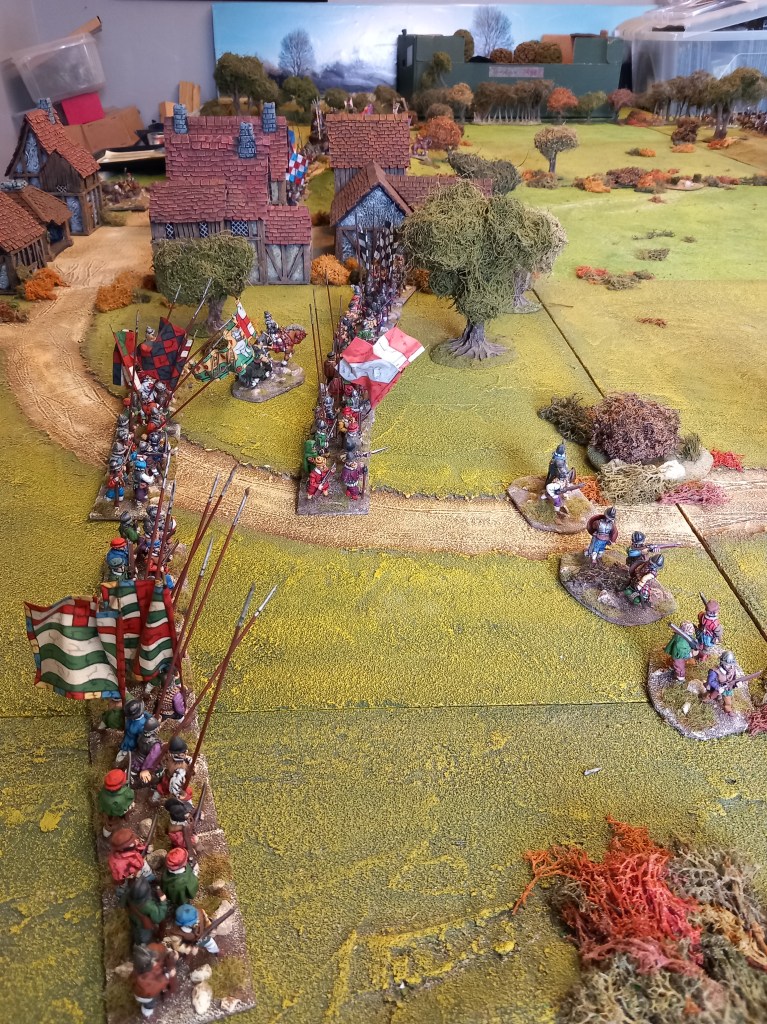
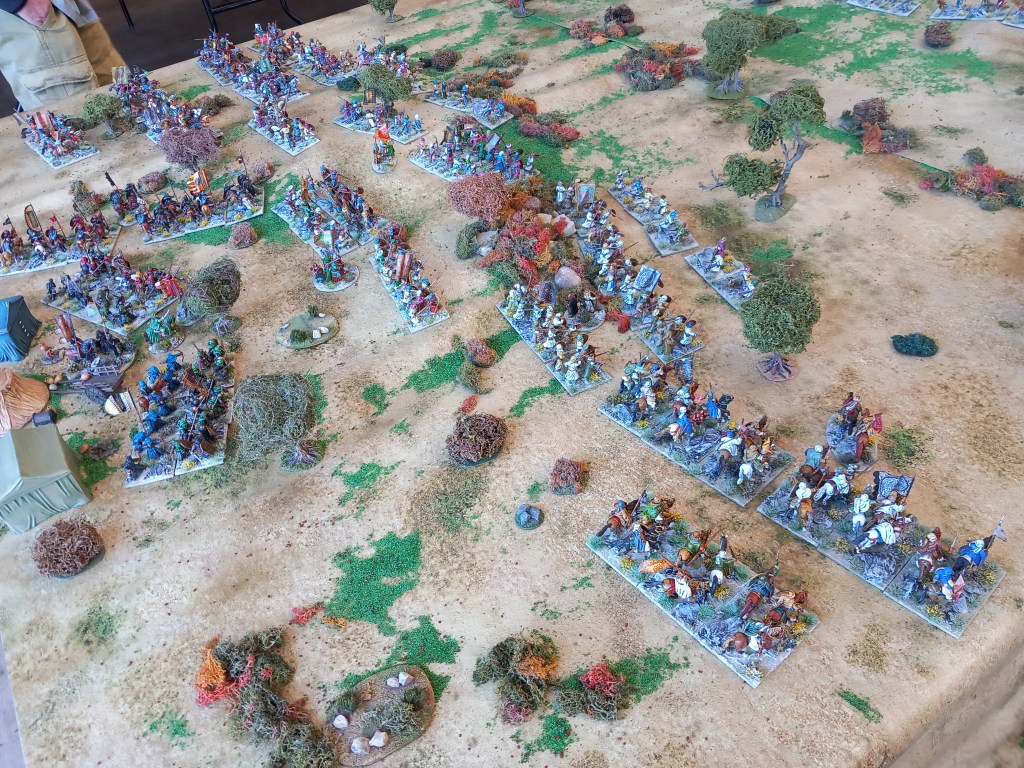
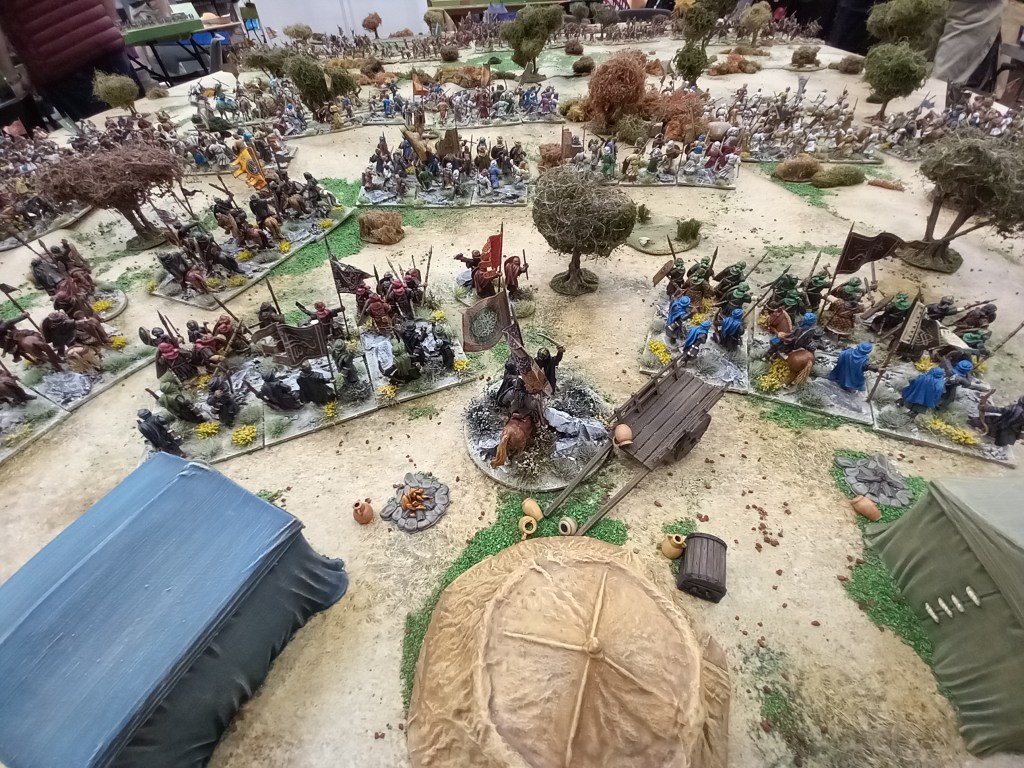
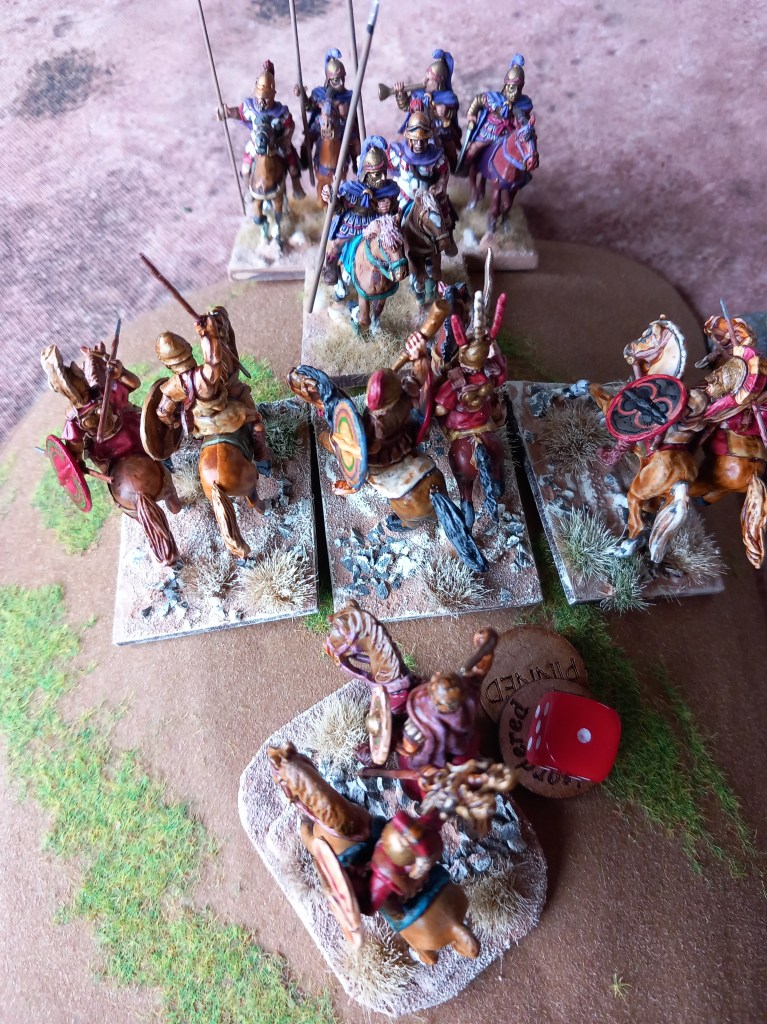
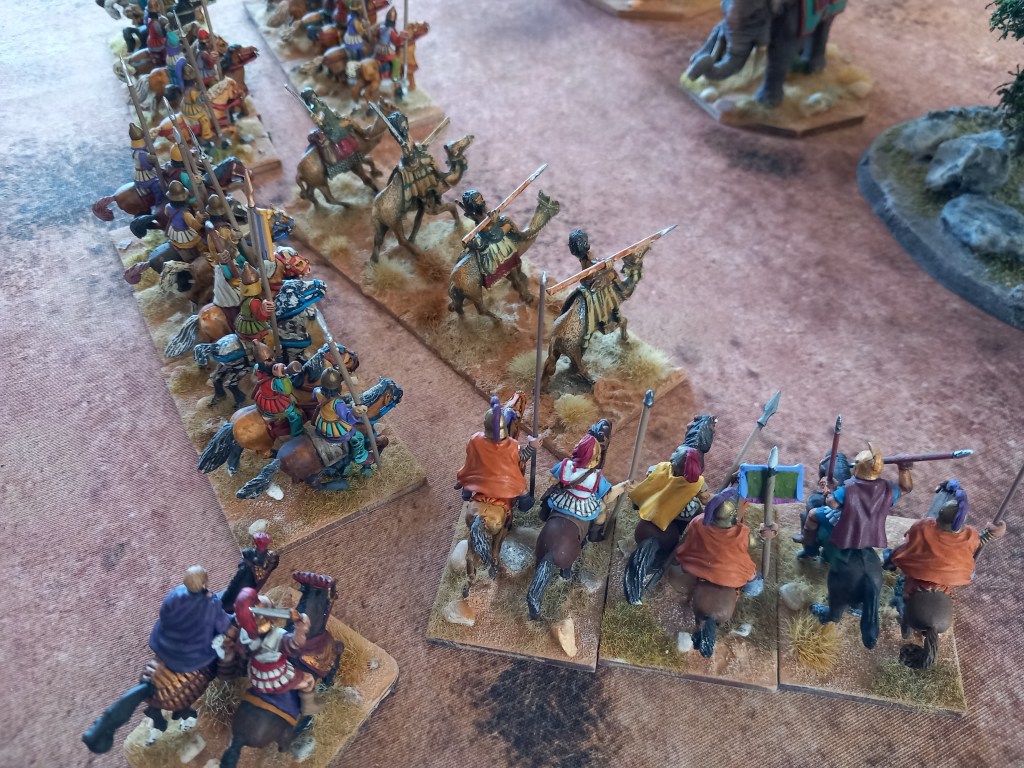
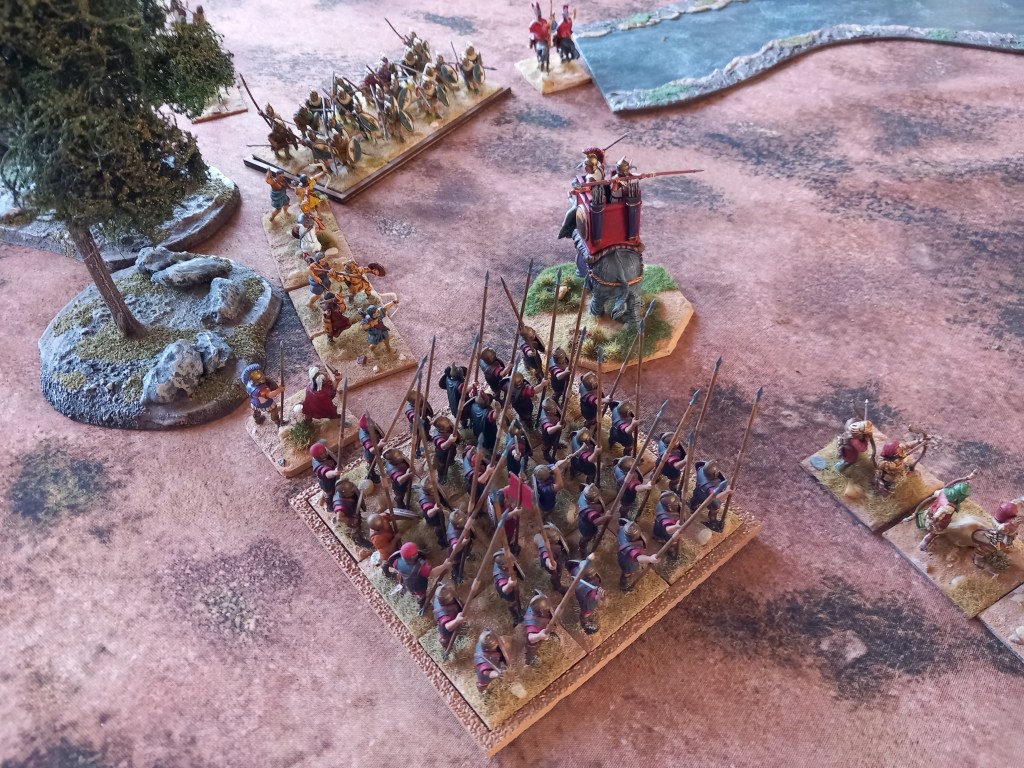
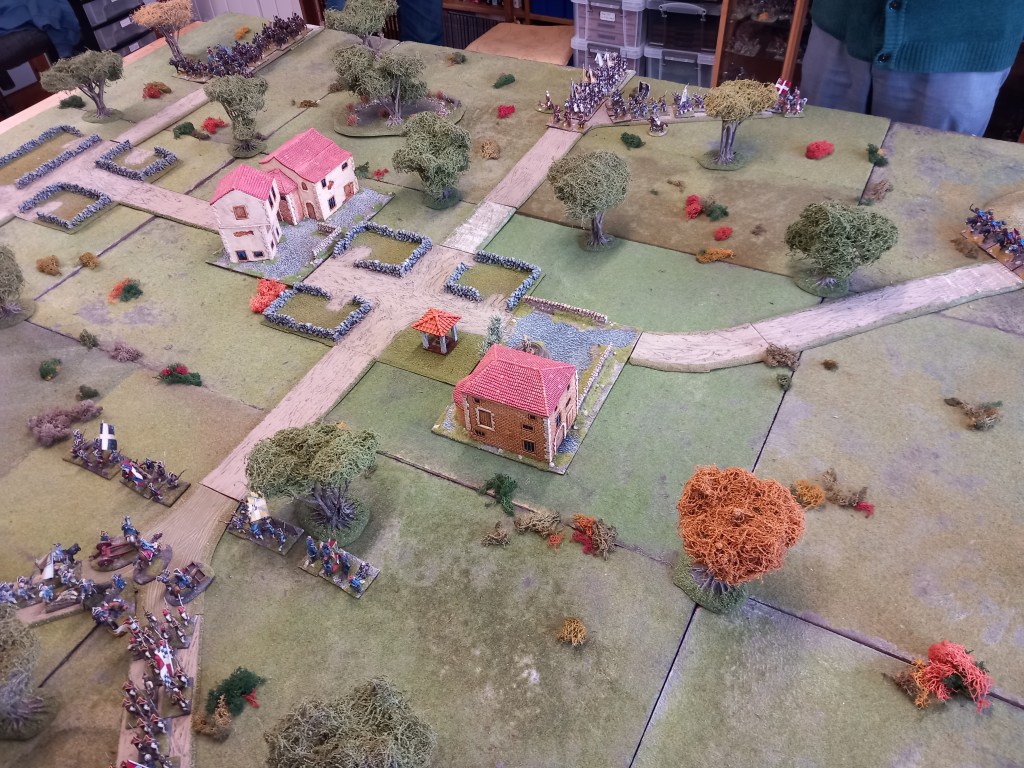
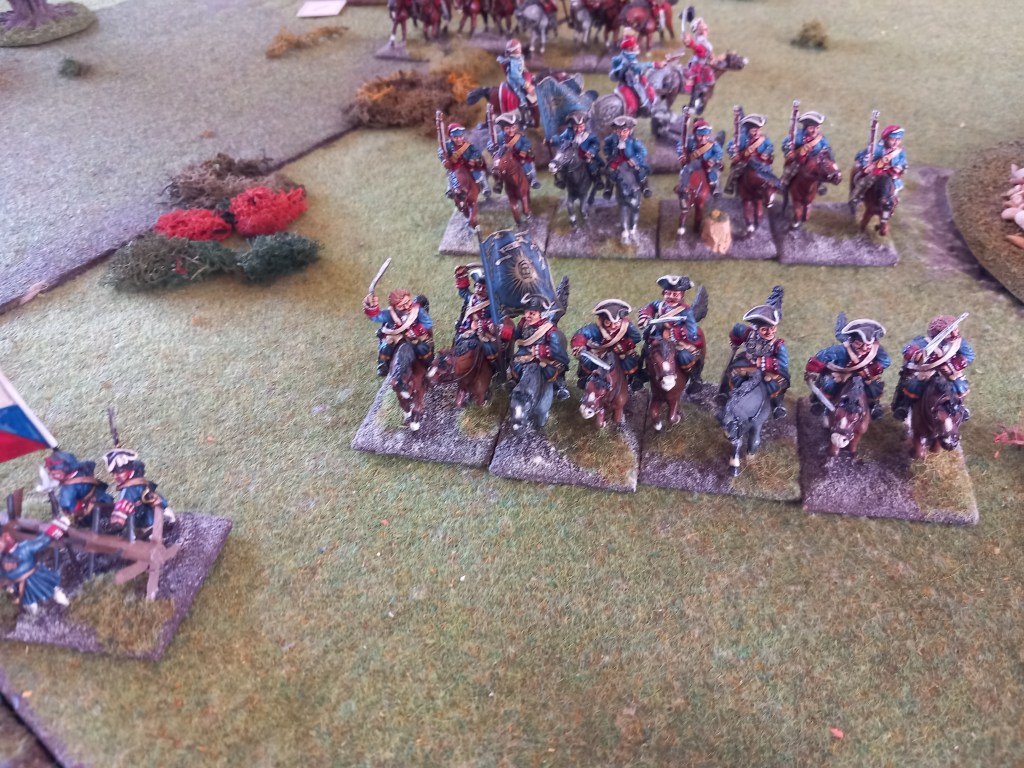
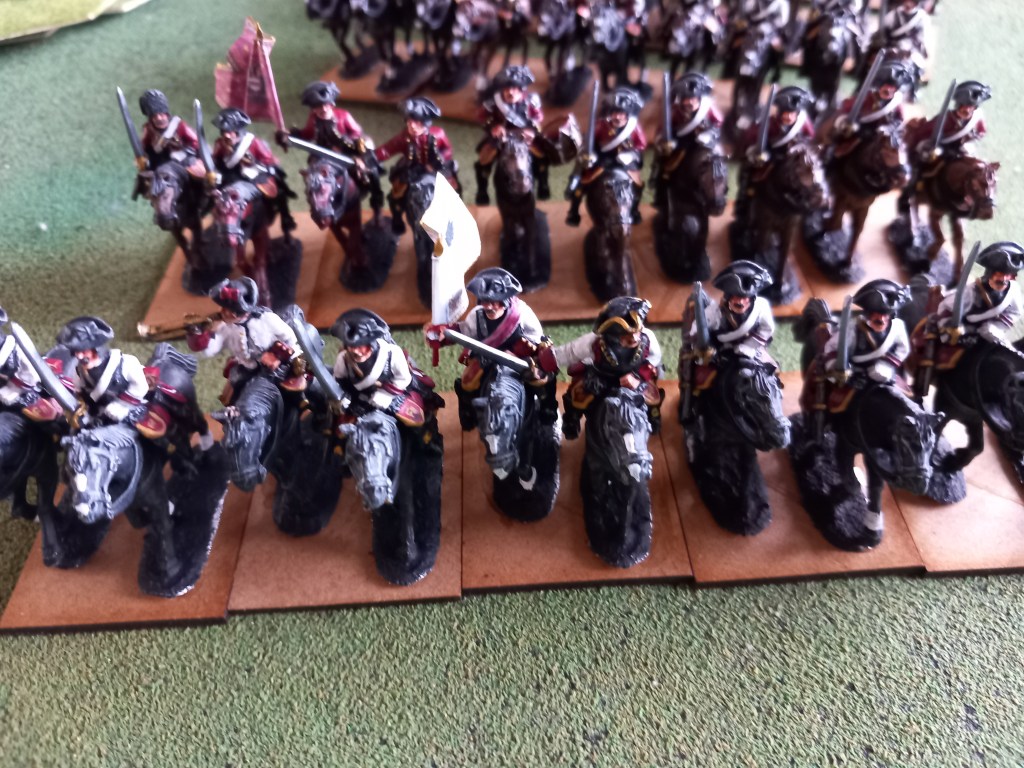
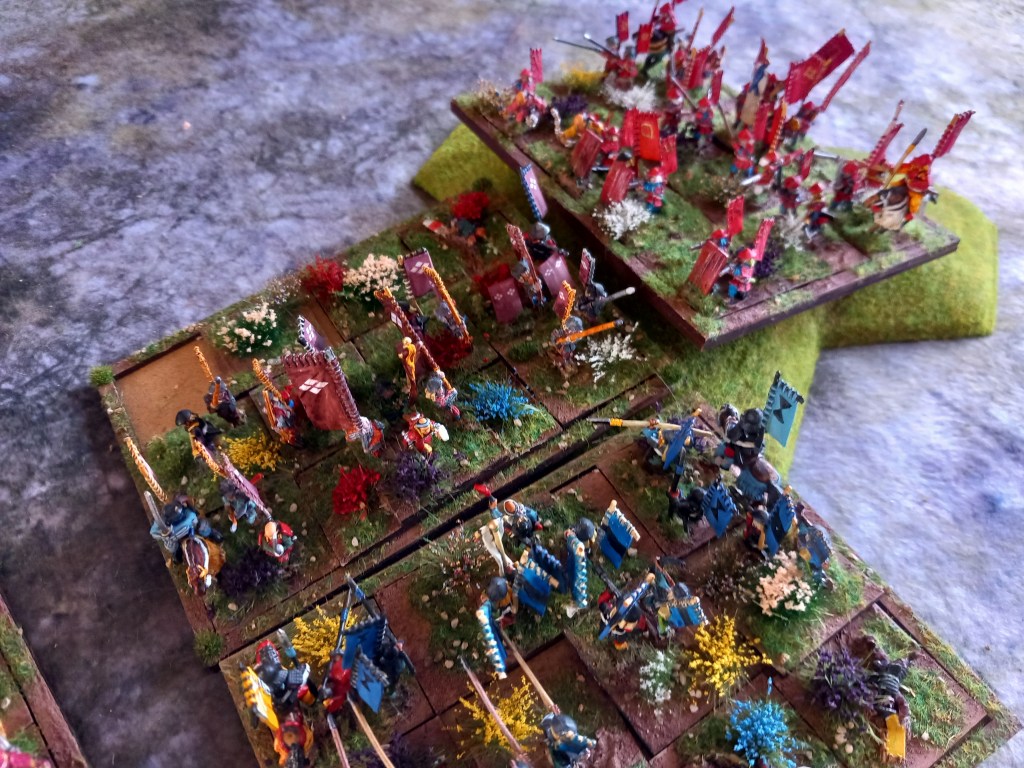
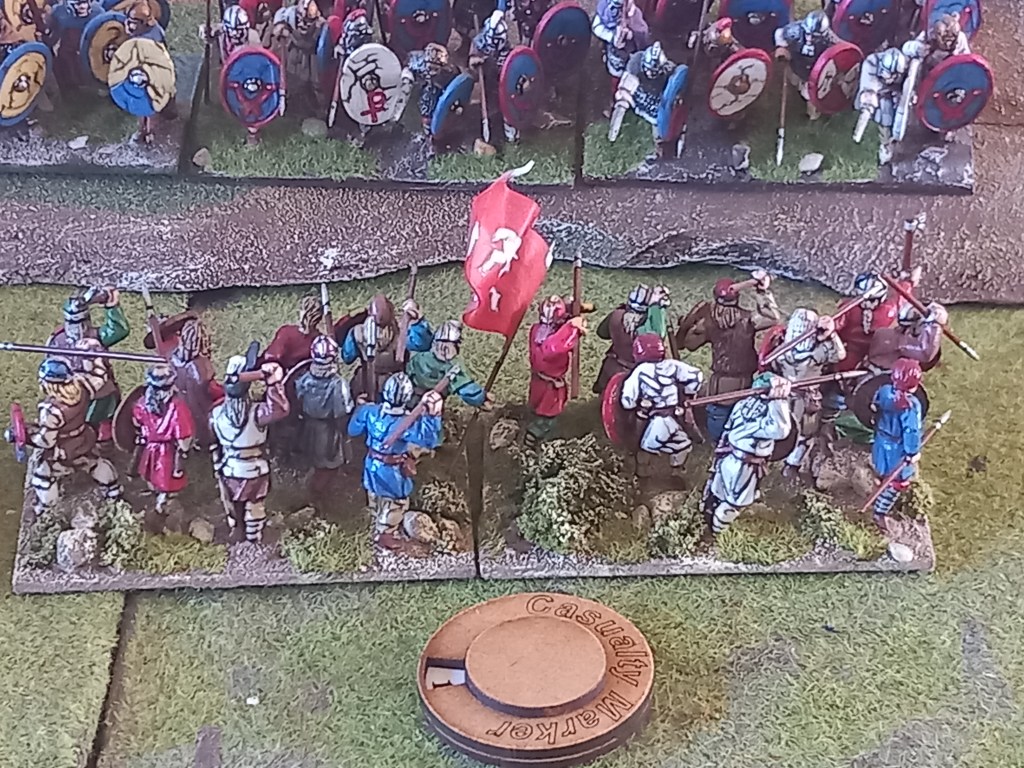
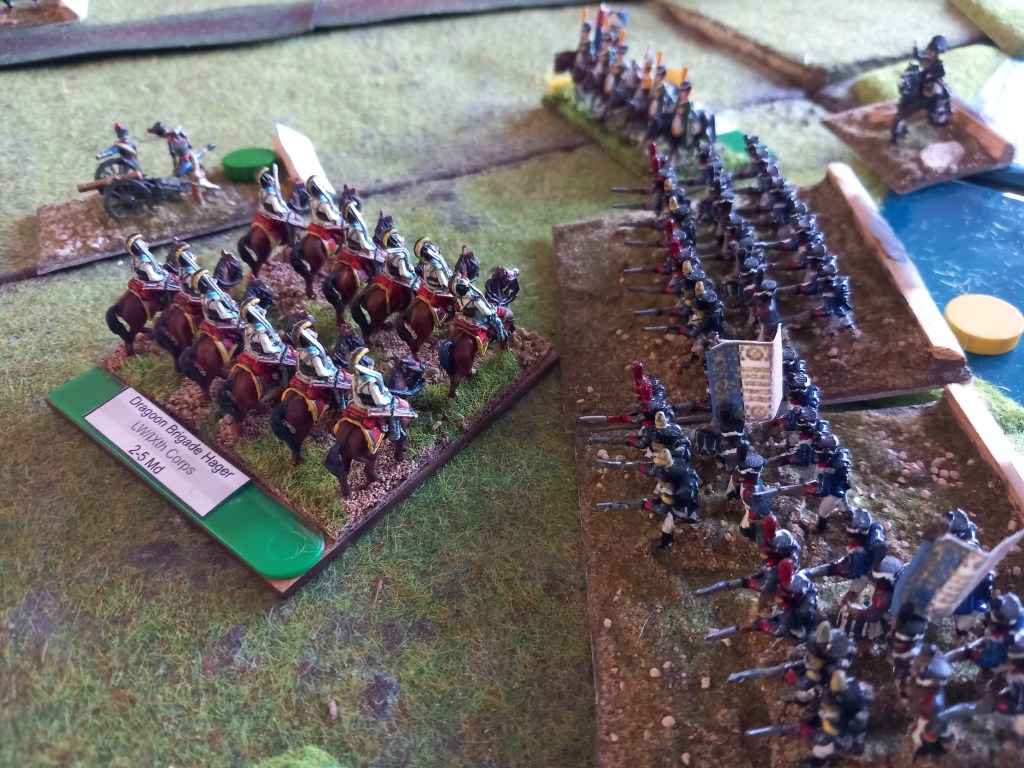
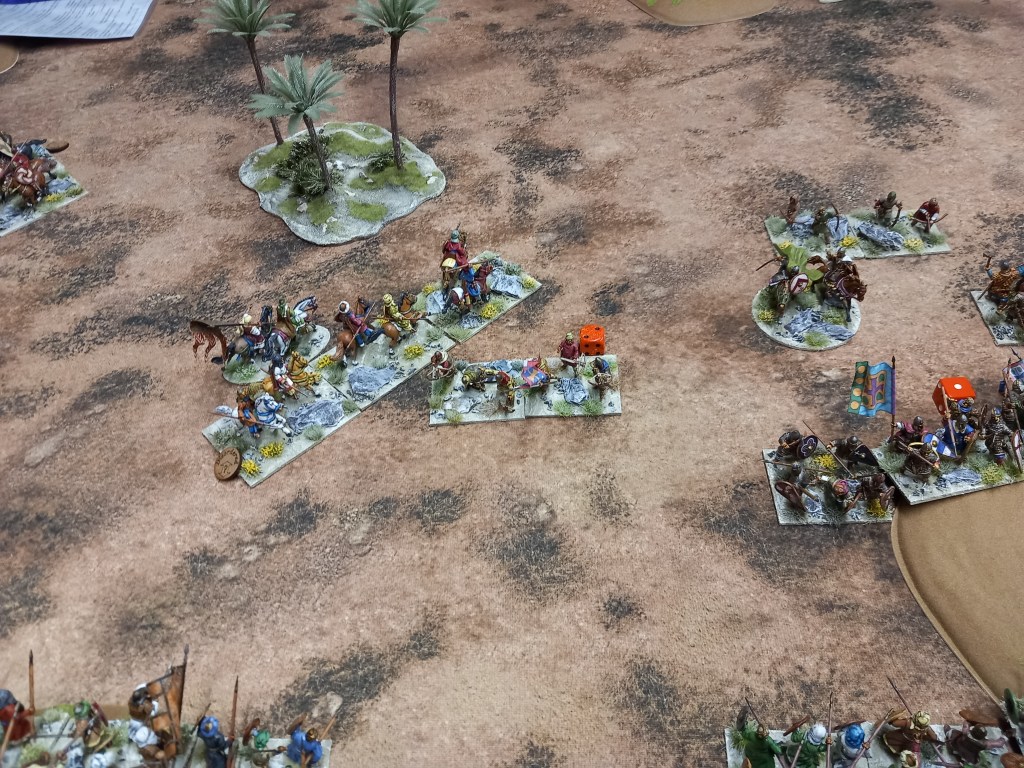
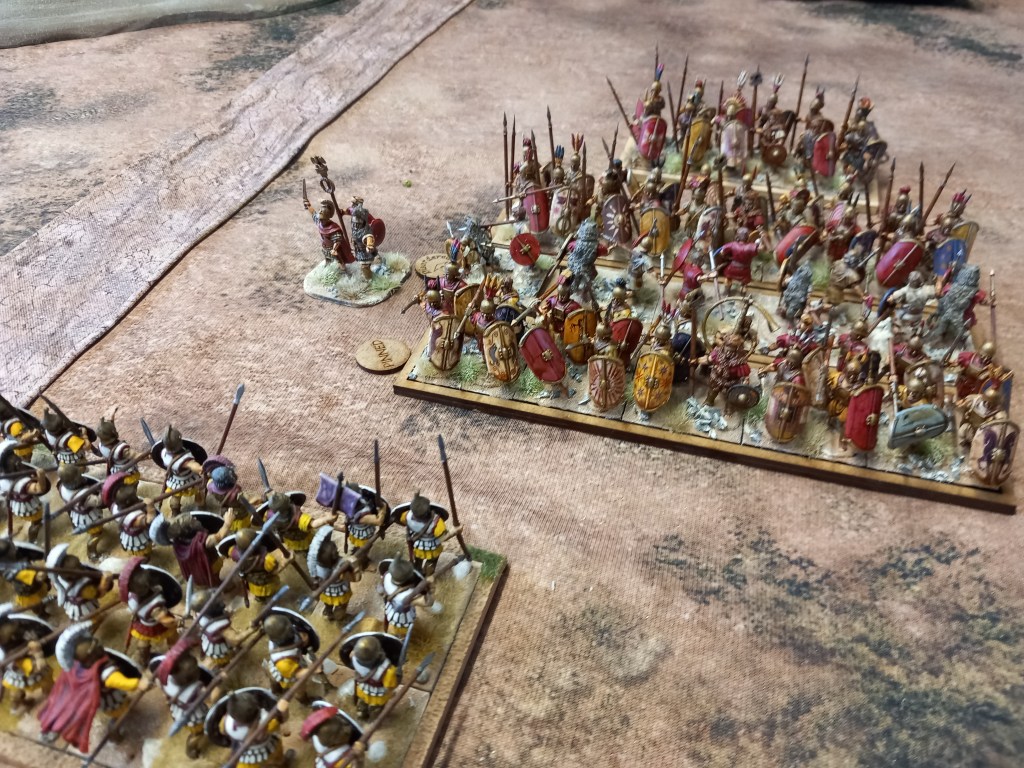
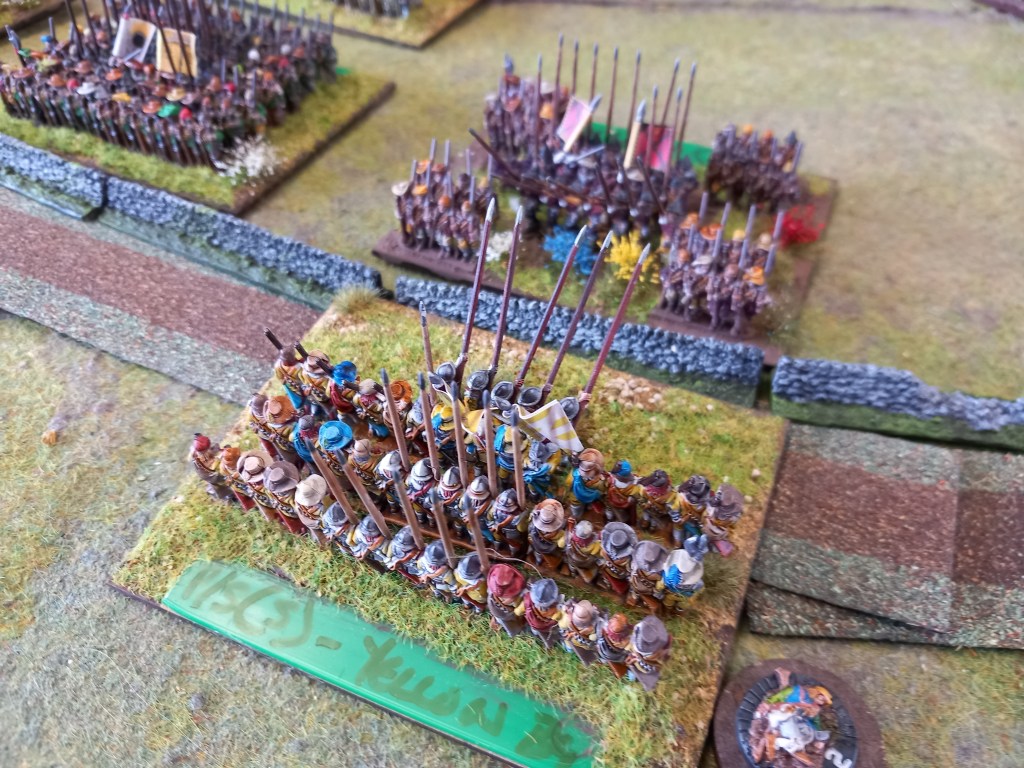
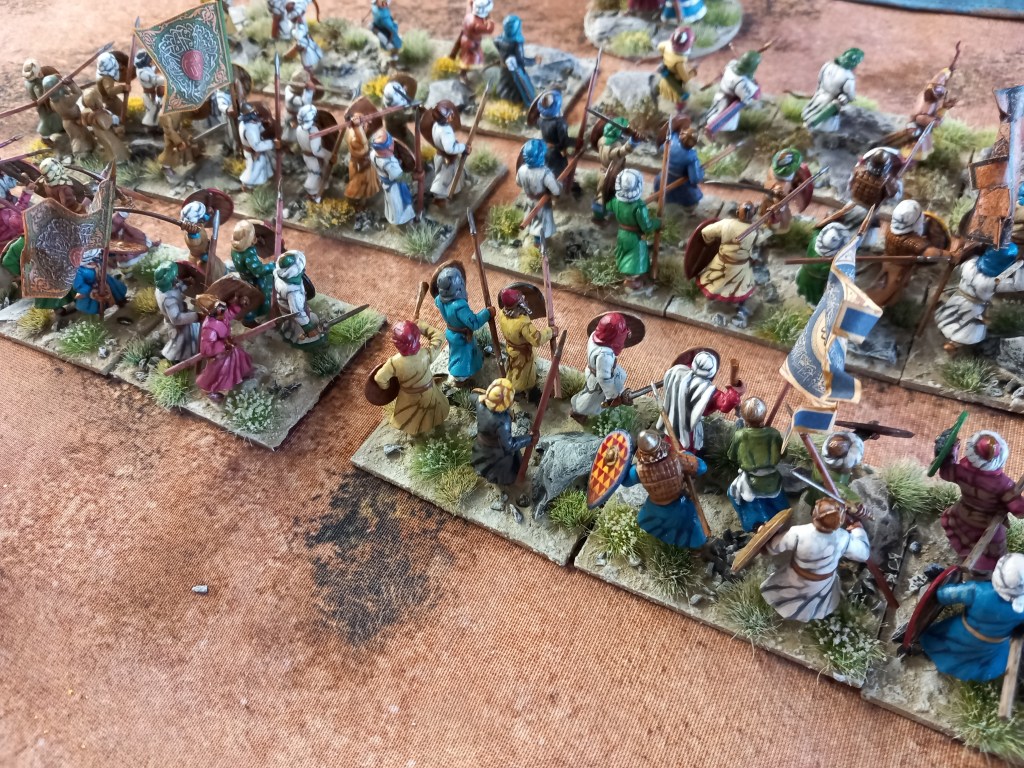
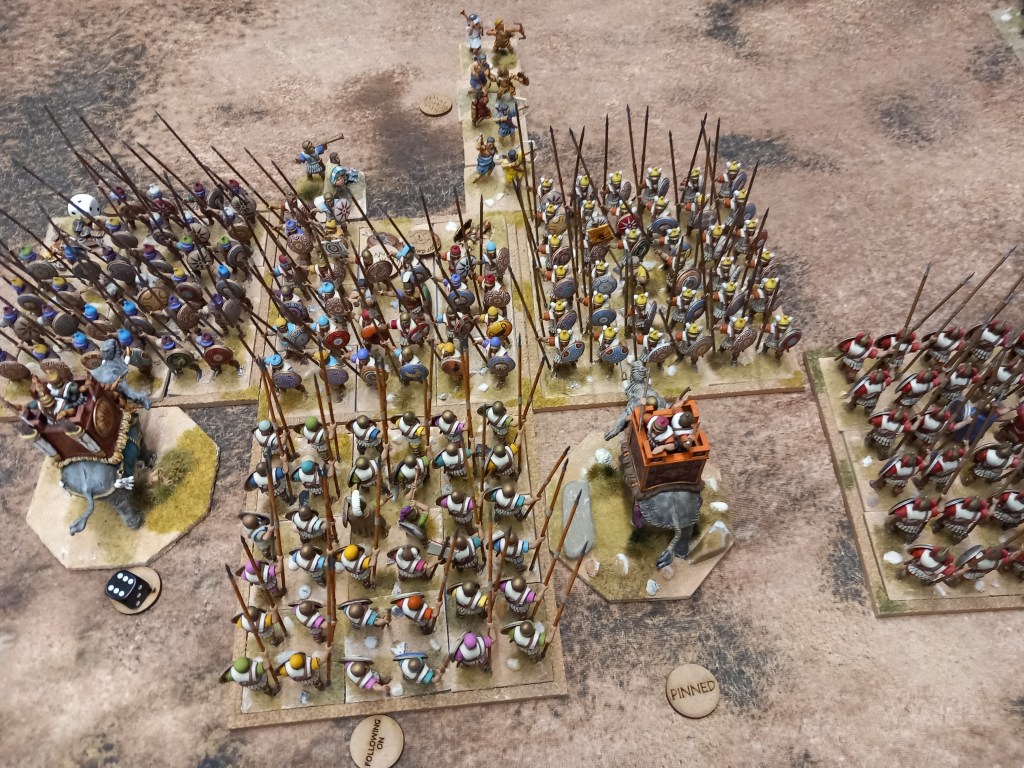
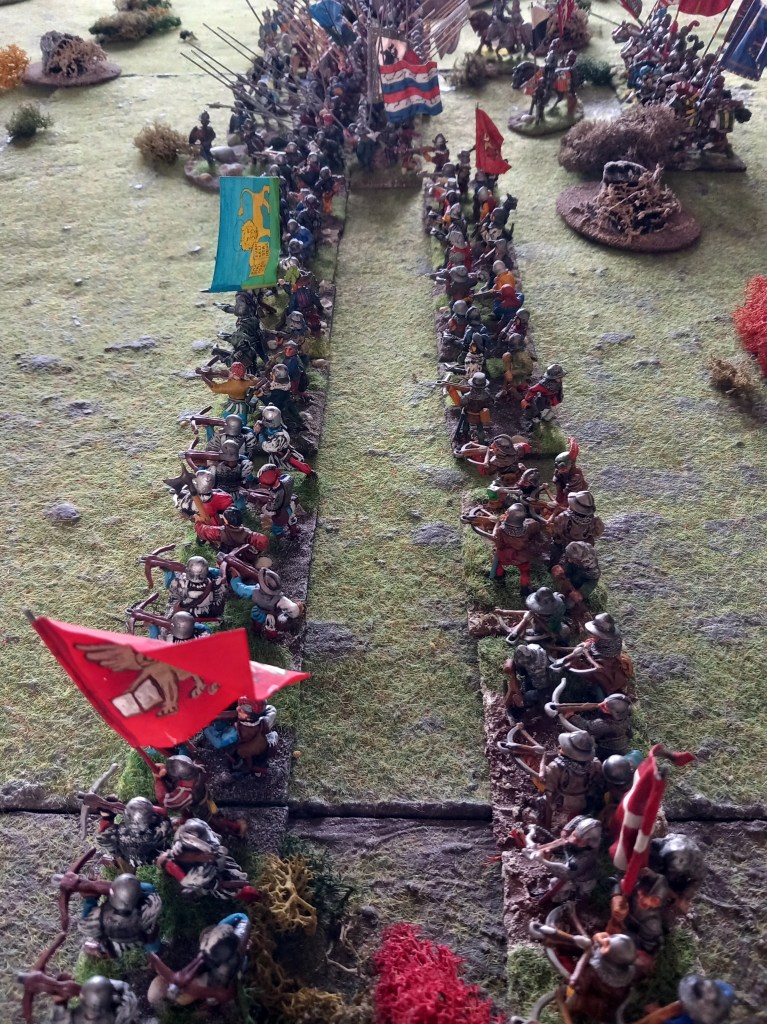
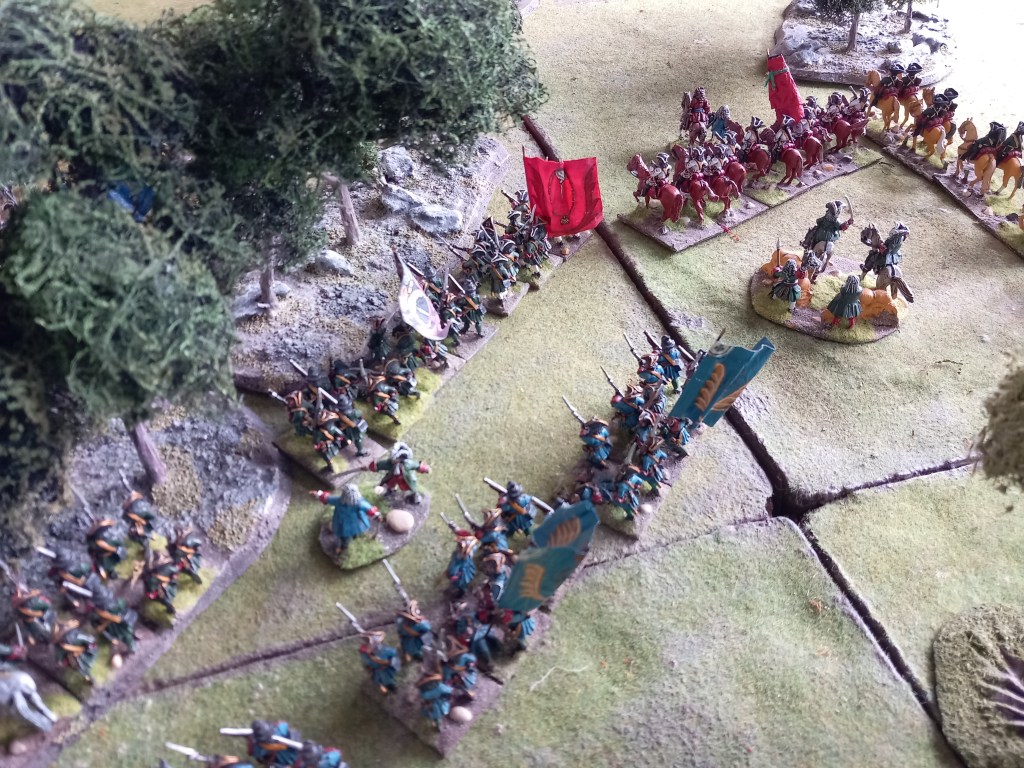
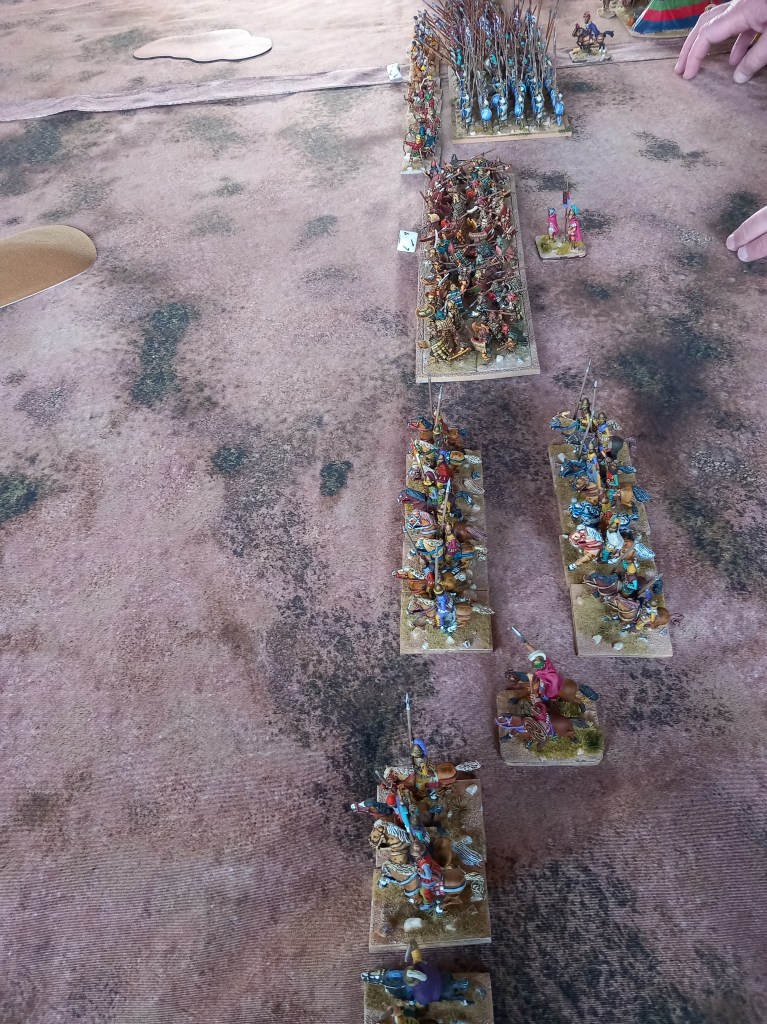
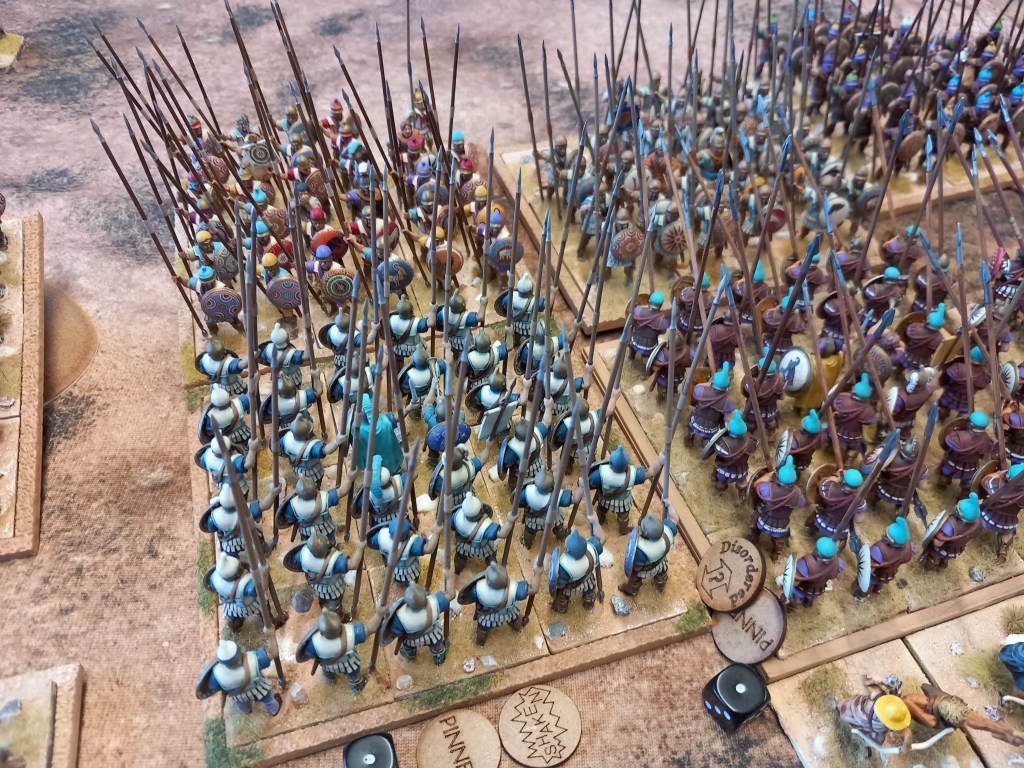
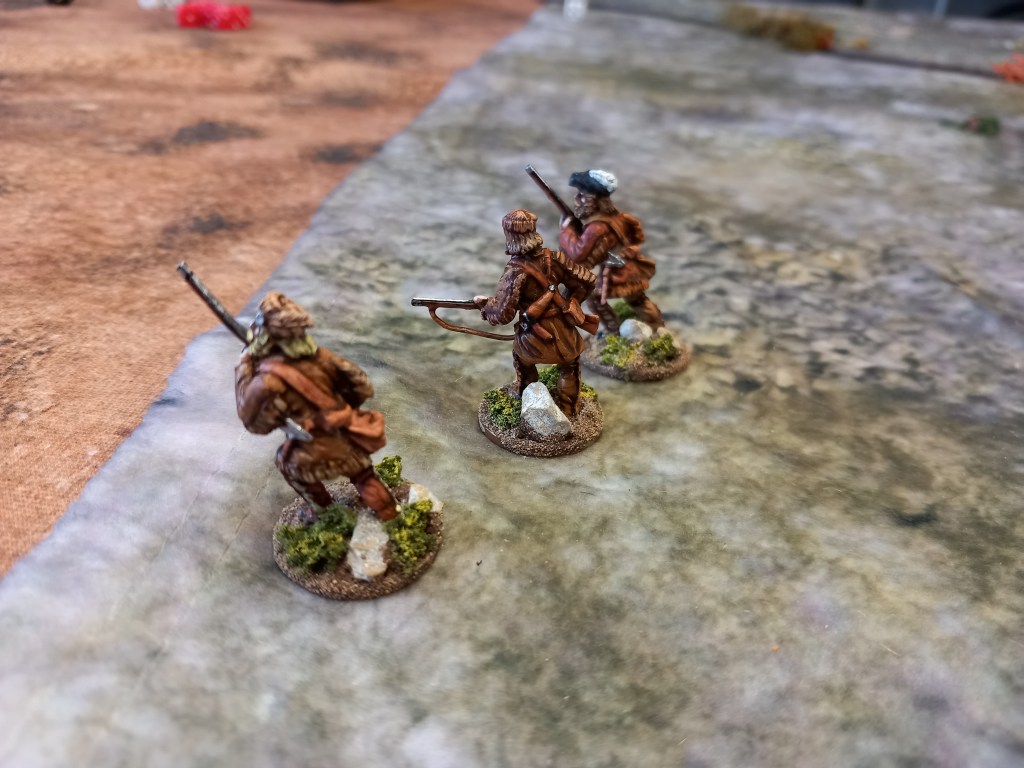
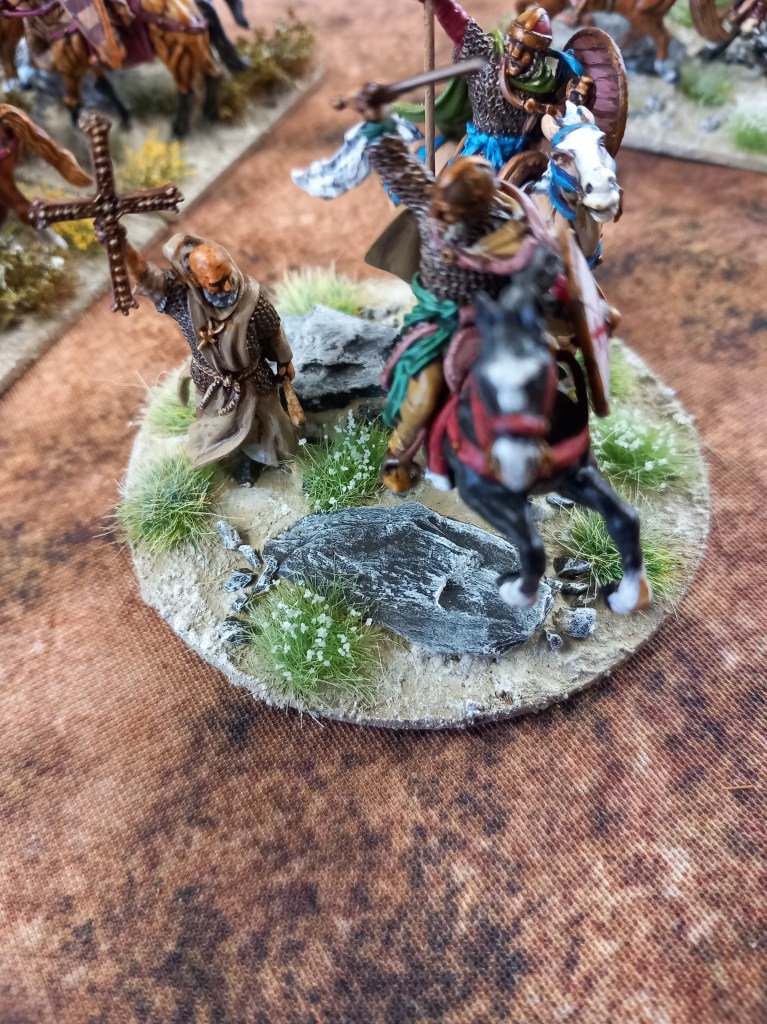
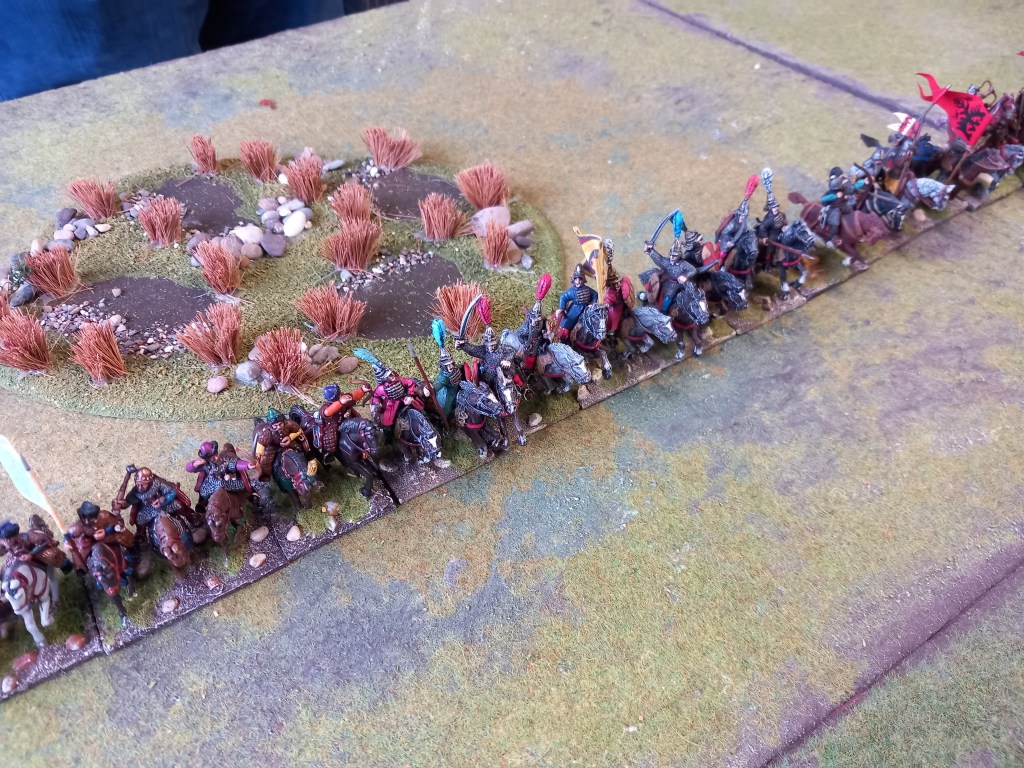
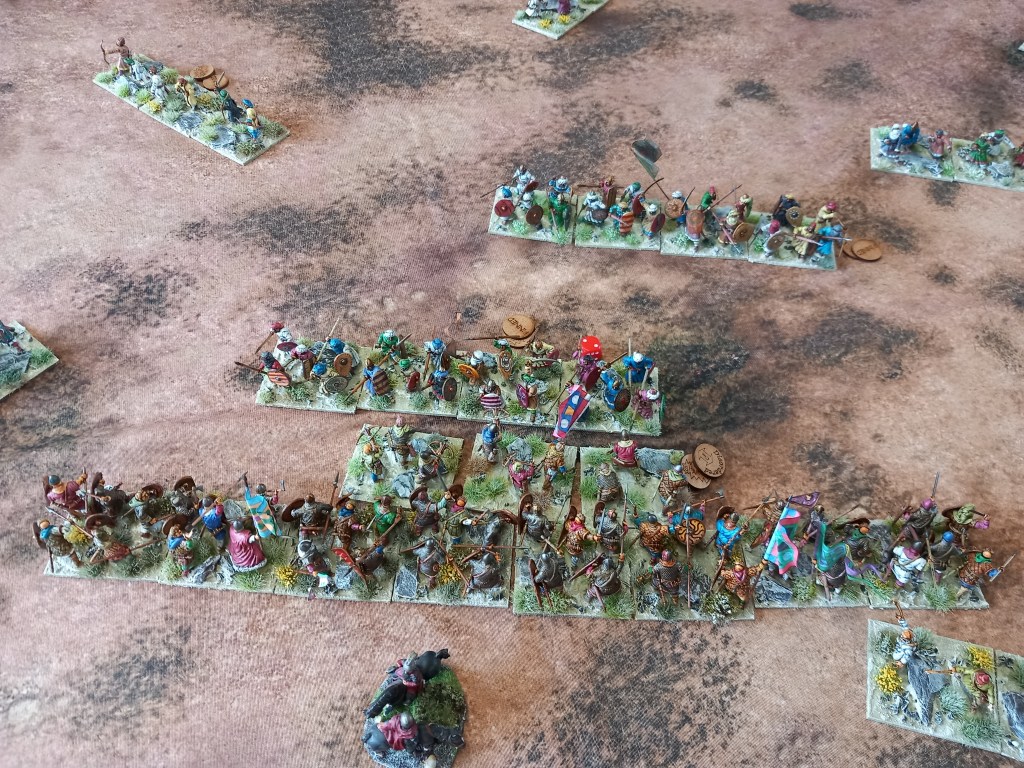
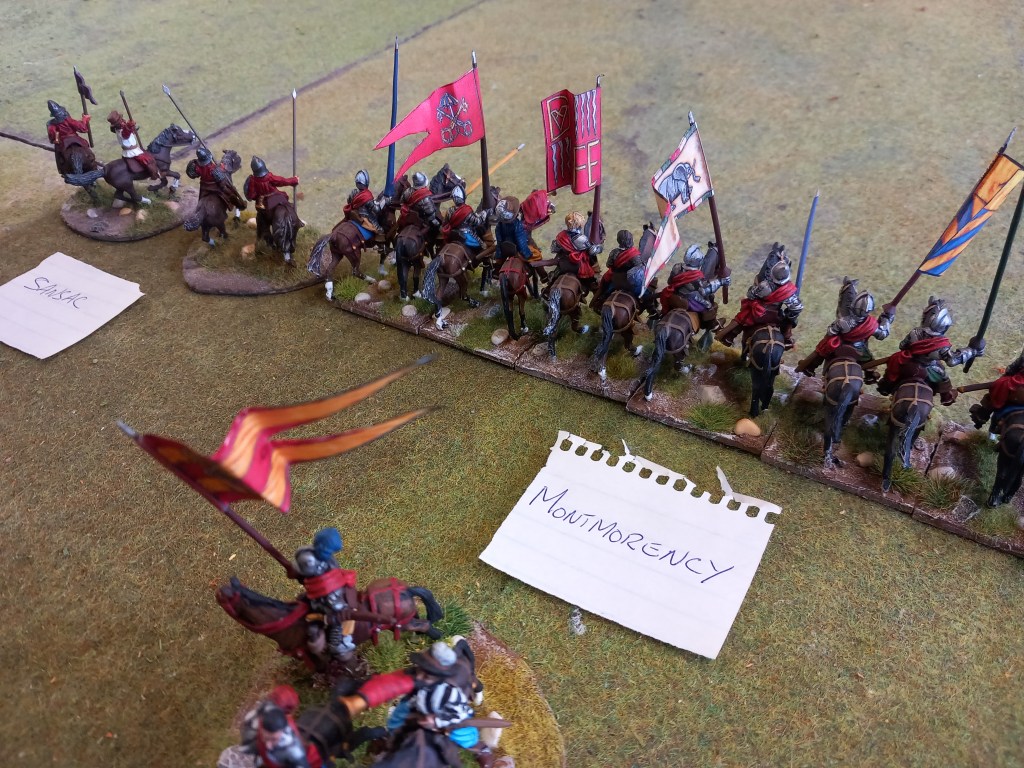
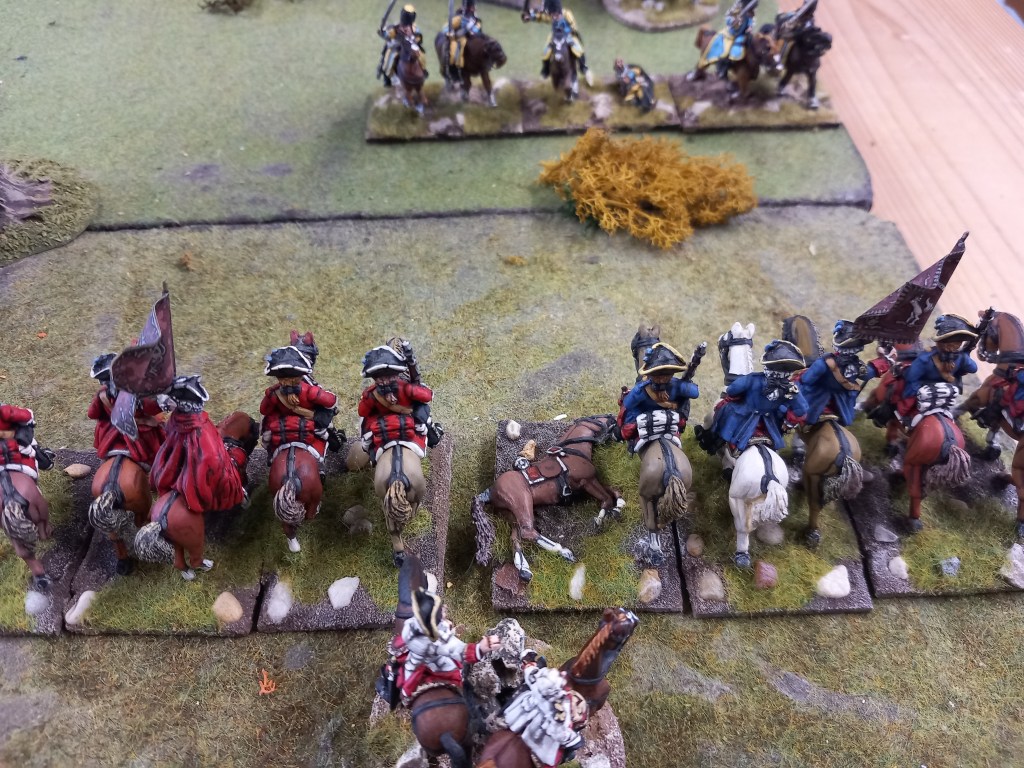
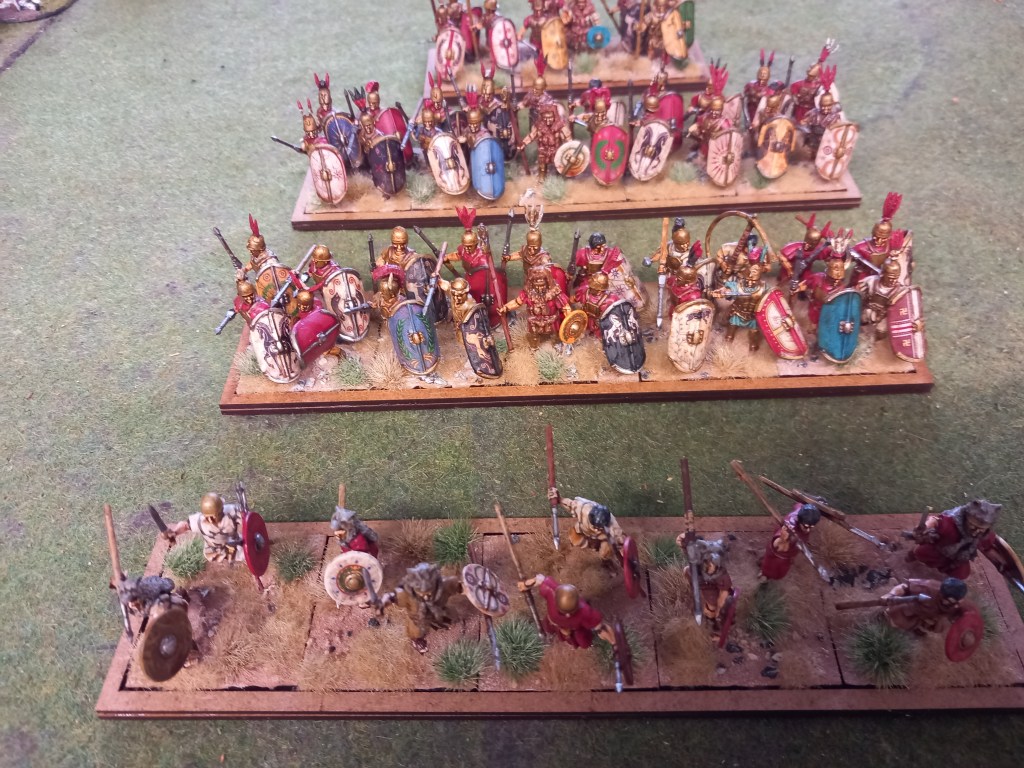
Our final game was a Wars of Religion game, Spanish v Dutch.
The deployments were pre planned, players just needed to dice for sides.

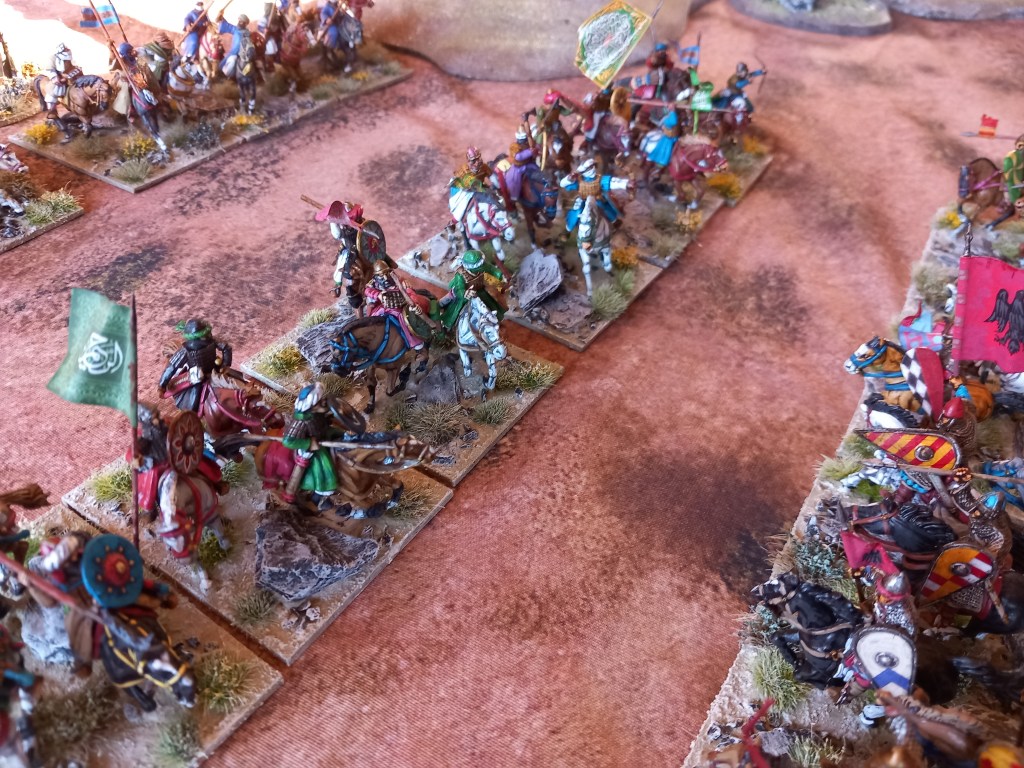
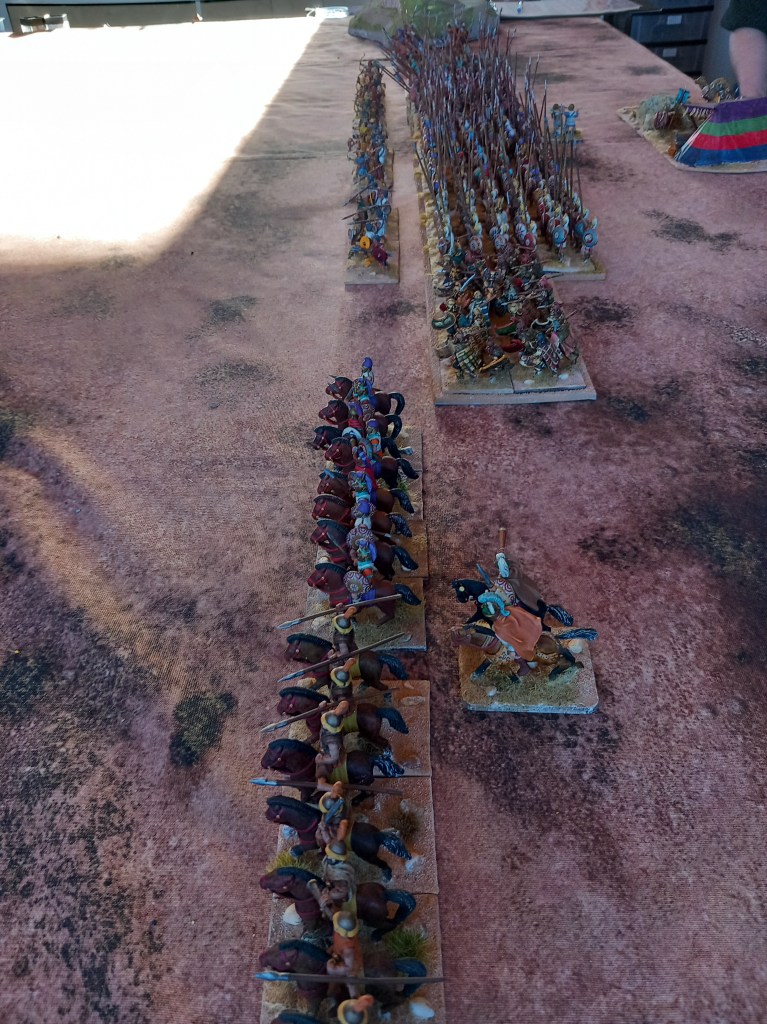
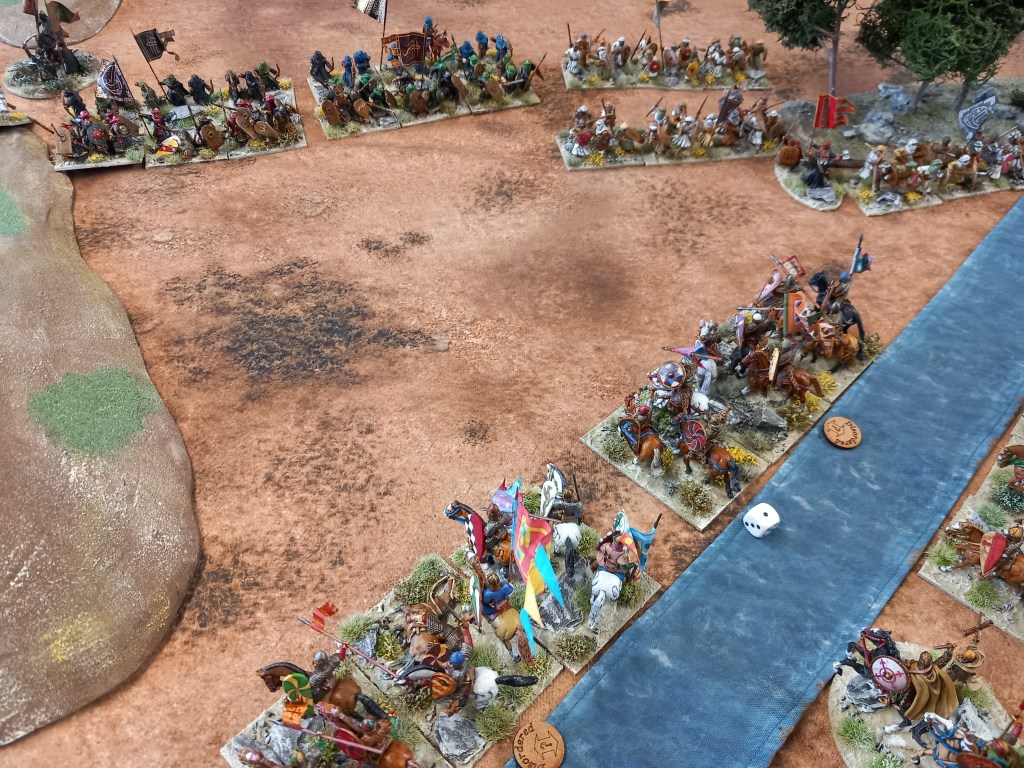
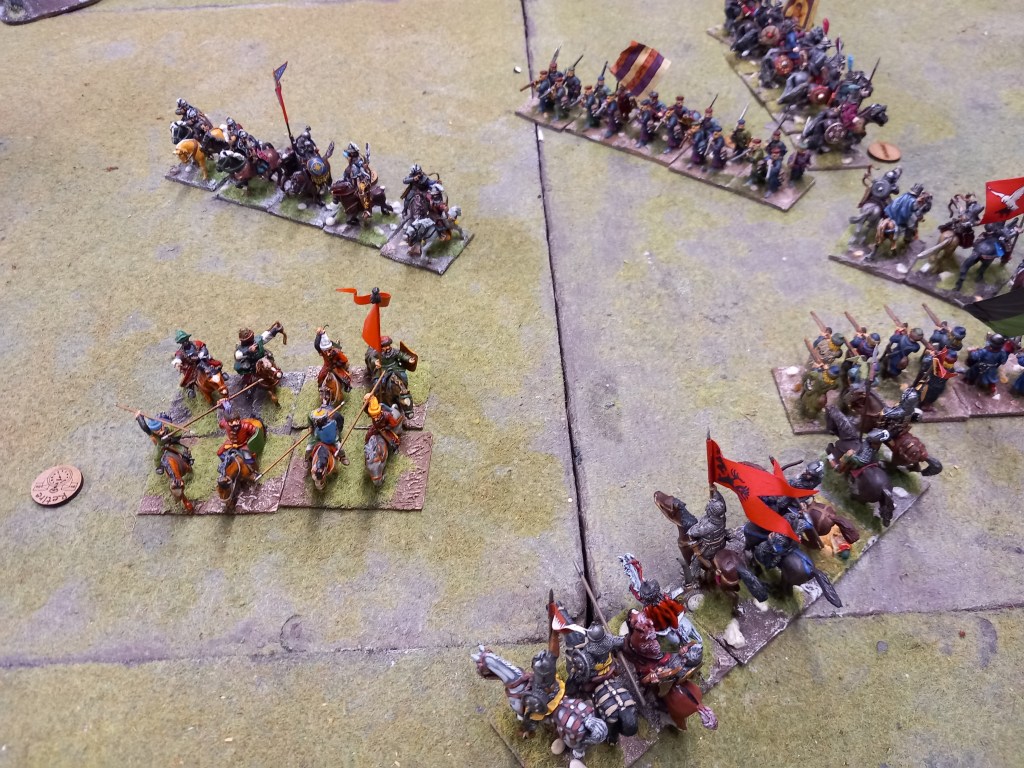
Both sides had a single massed cavalry wing conveniently placed opposite each other 😁

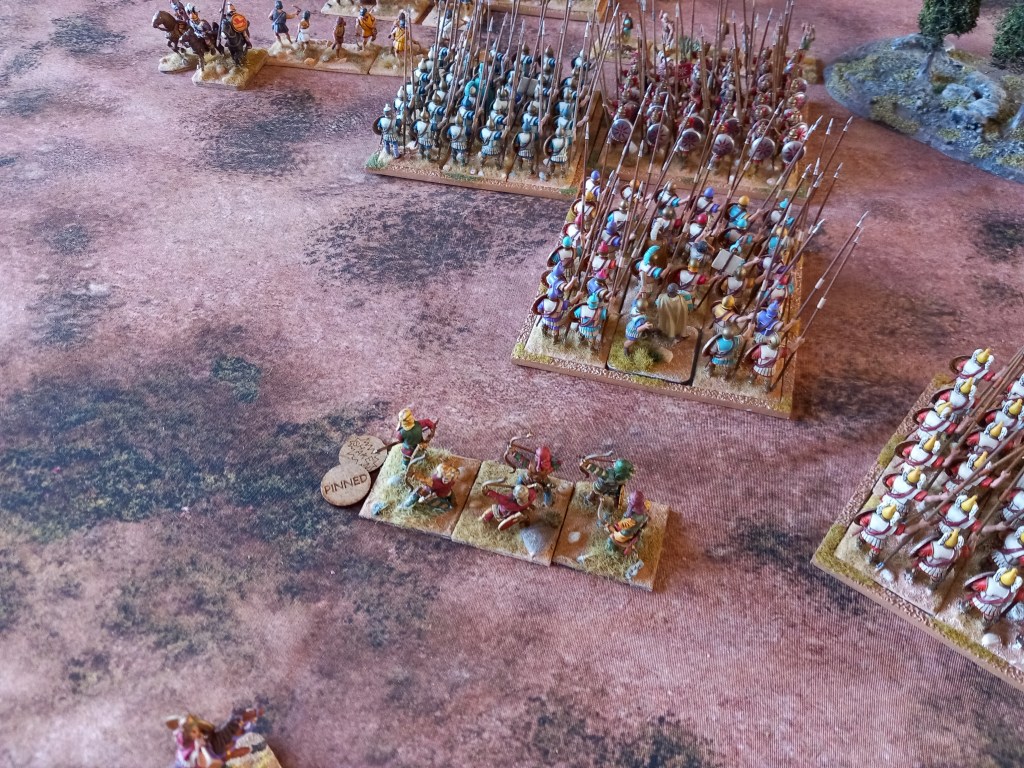
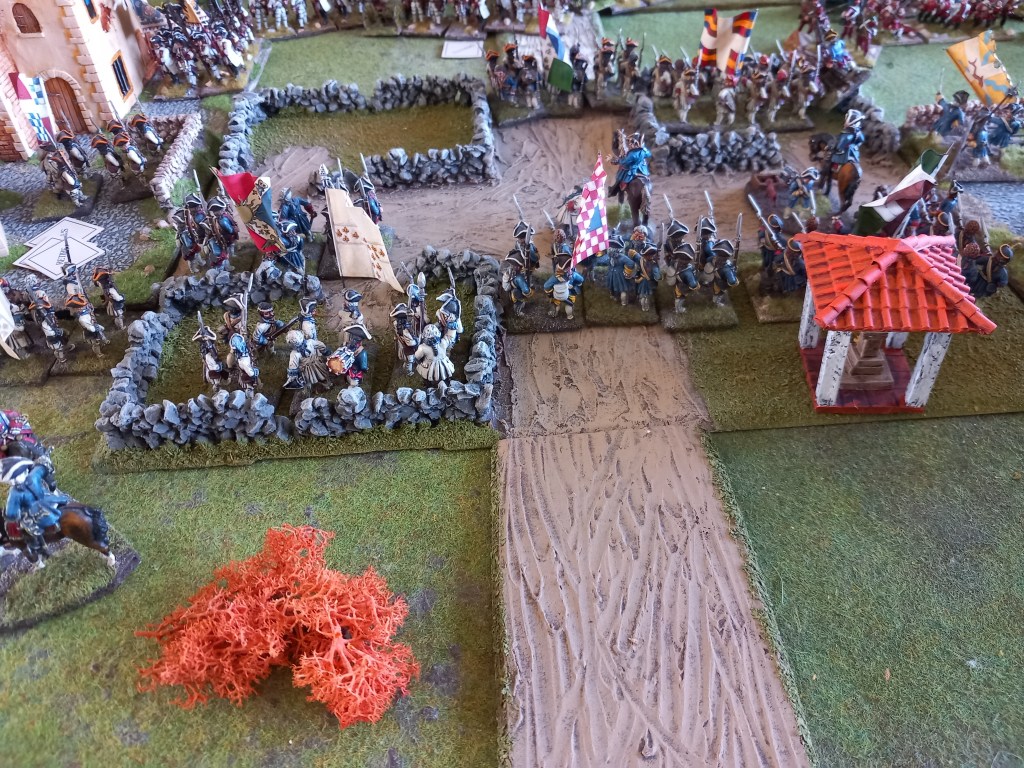
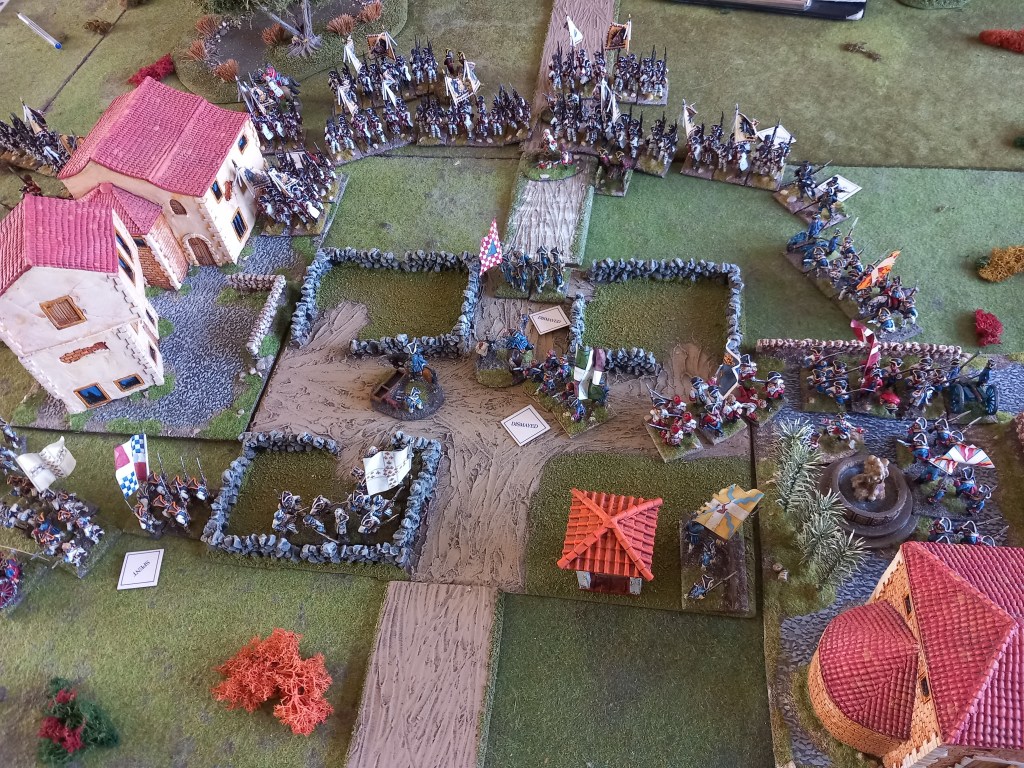
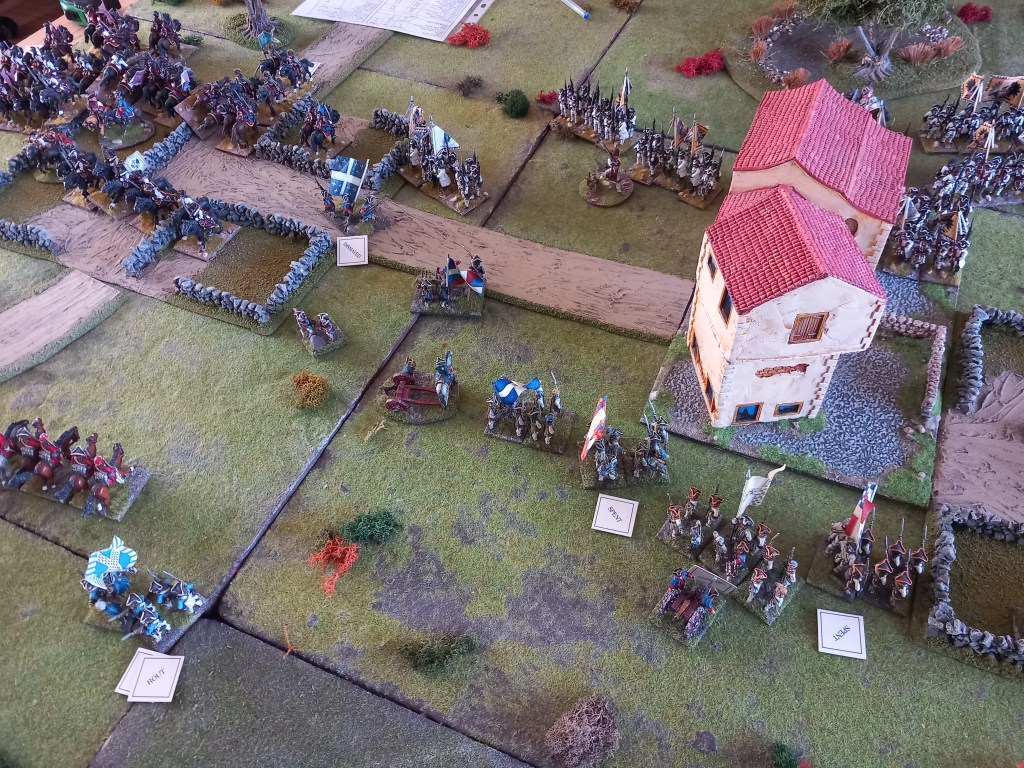
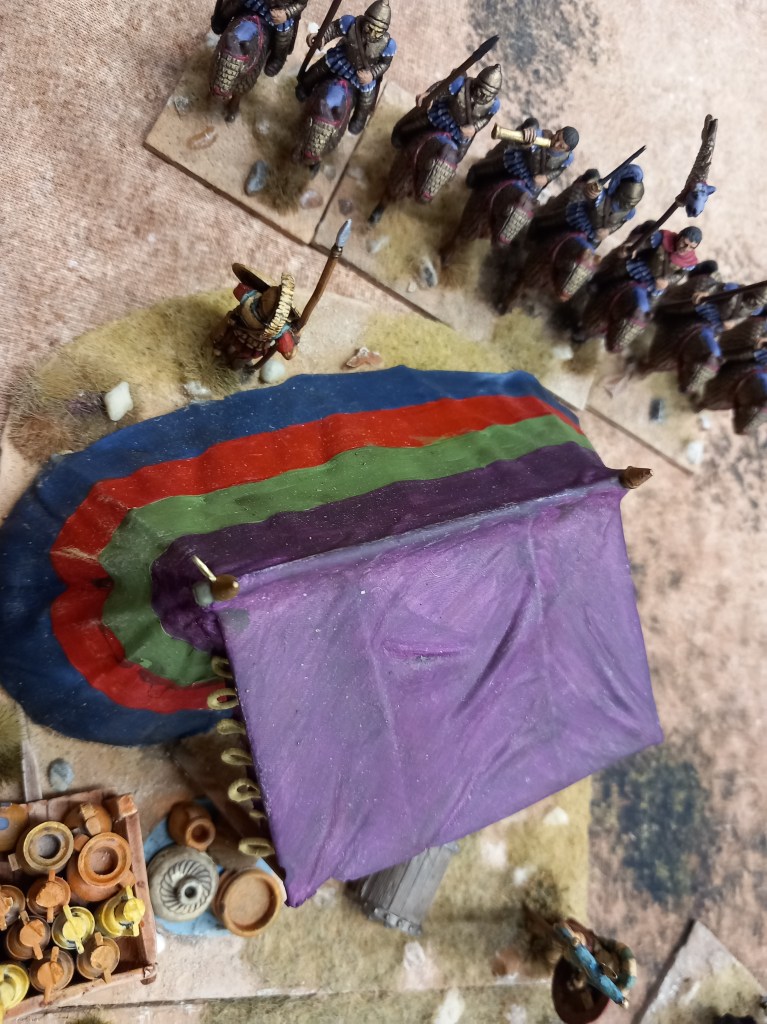
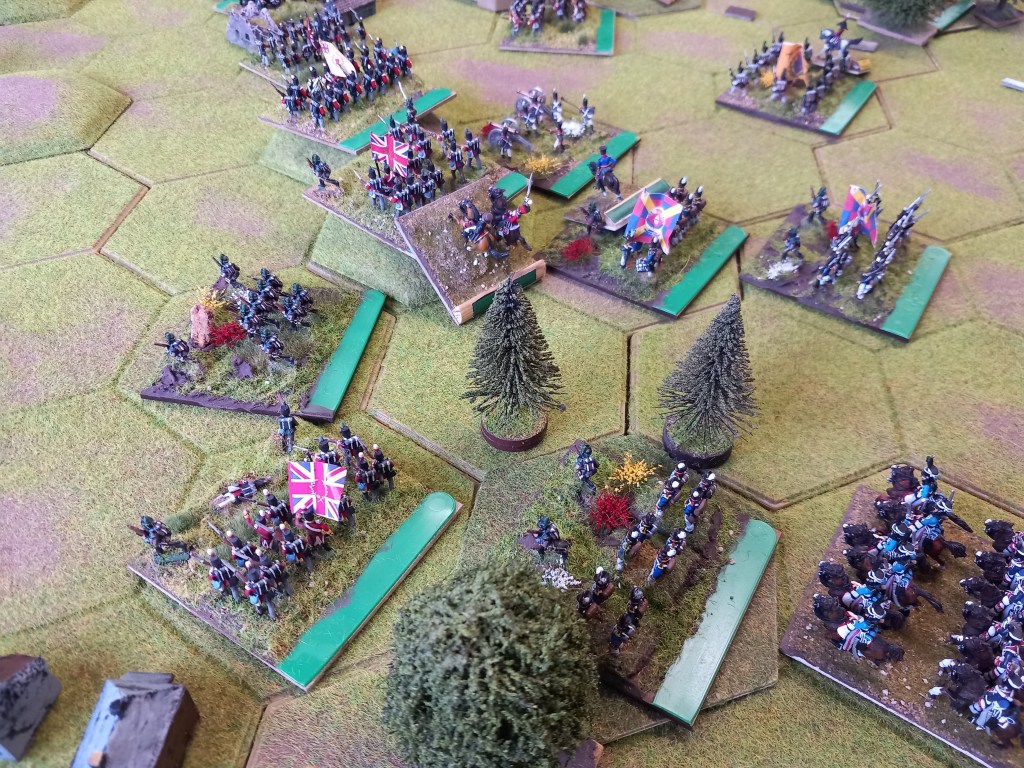
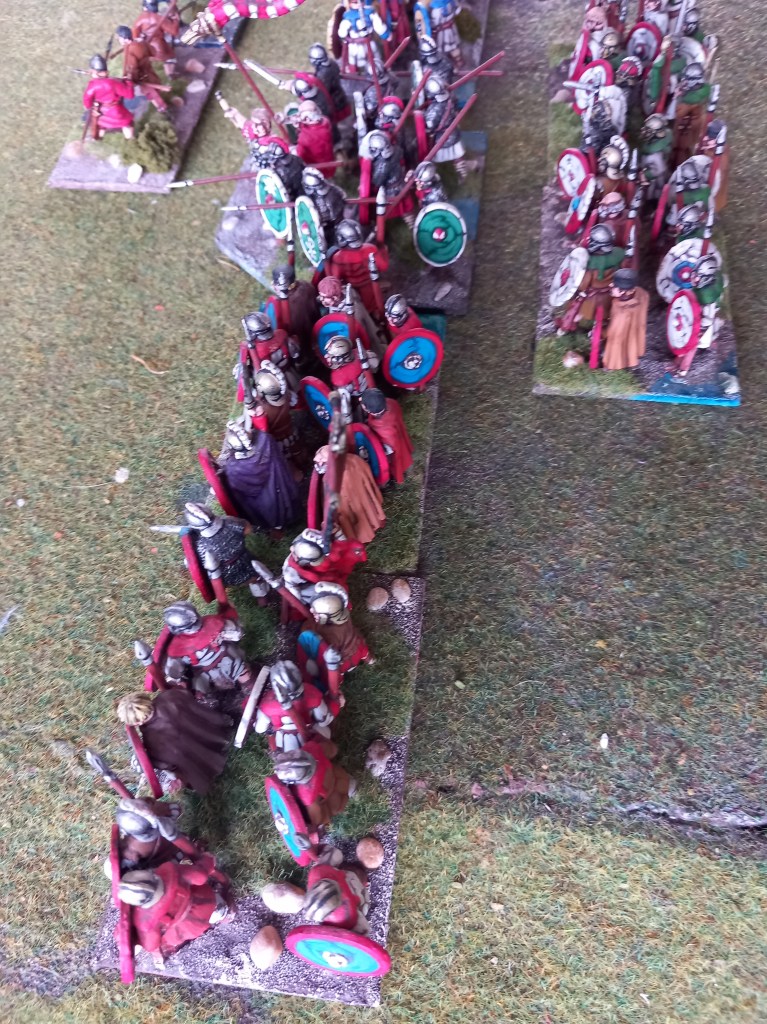
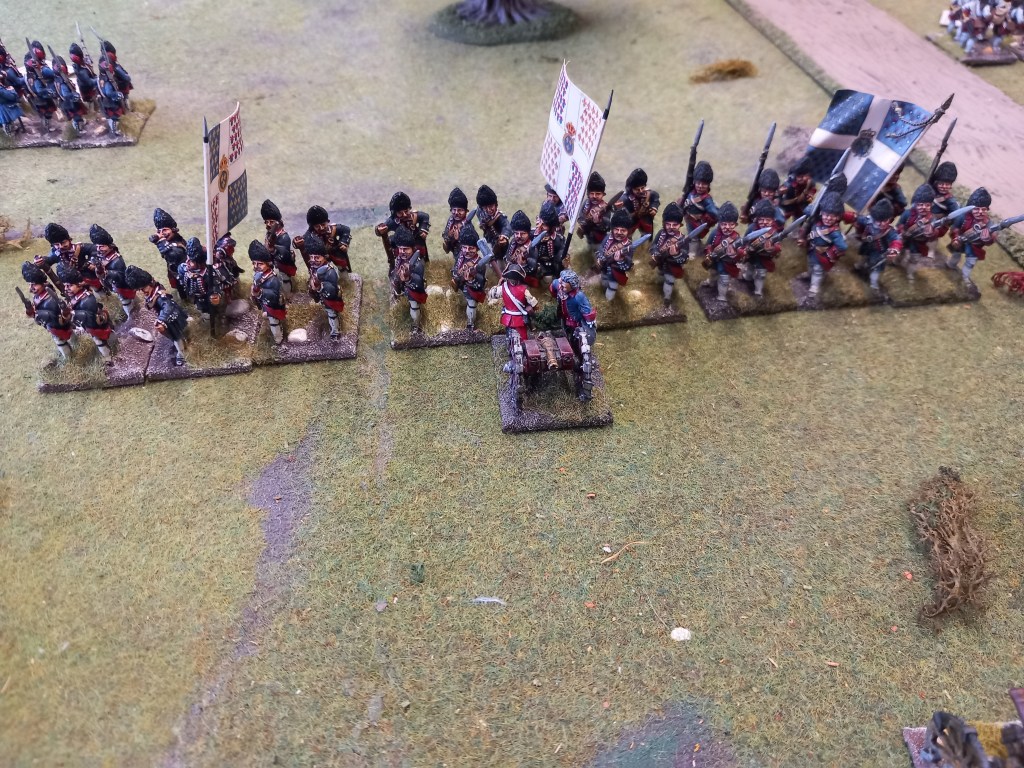
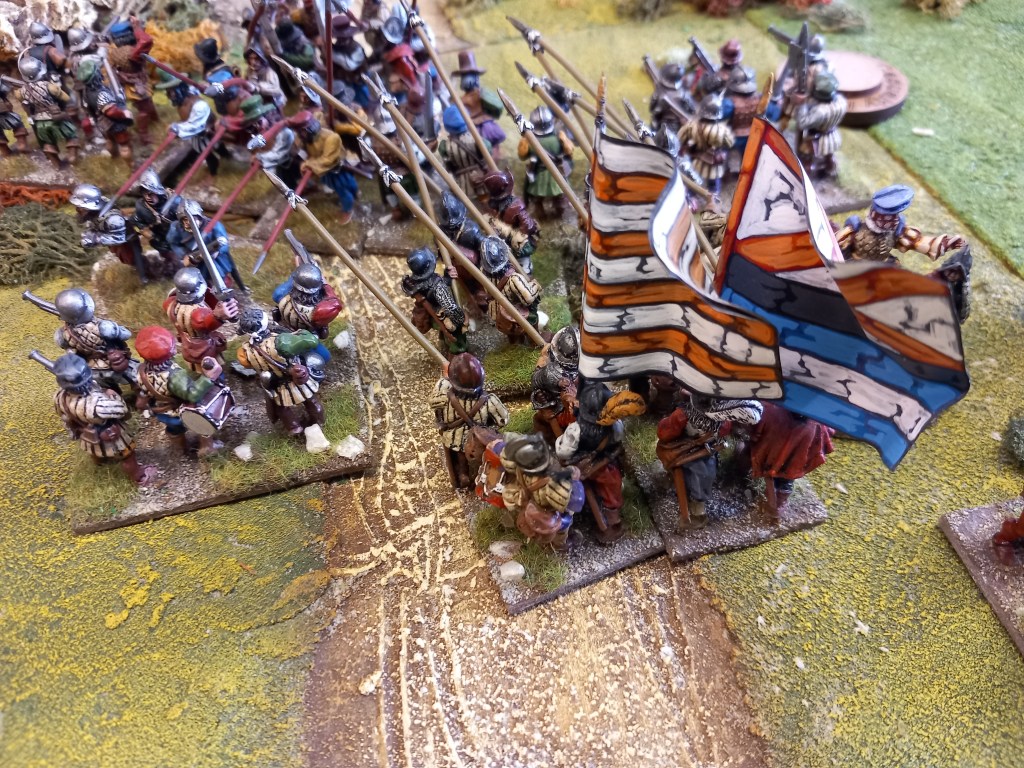
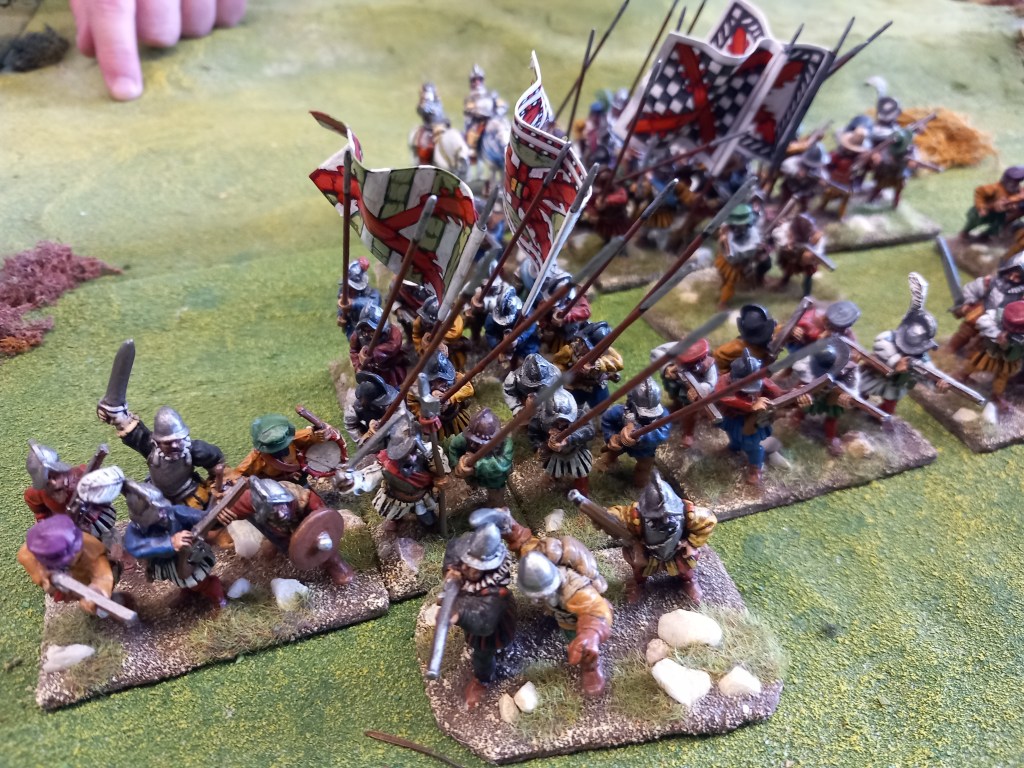
Elsewhere across the table the Dutch had a strong right wing of English allies/mercenaries and Sea Beggars under Sir Francis de Vere facing off to the lesser Tercio’s – Brabant and Walloons while in the centre the ‘good’ Tercios faced the Dutch centre holding a village and hill.
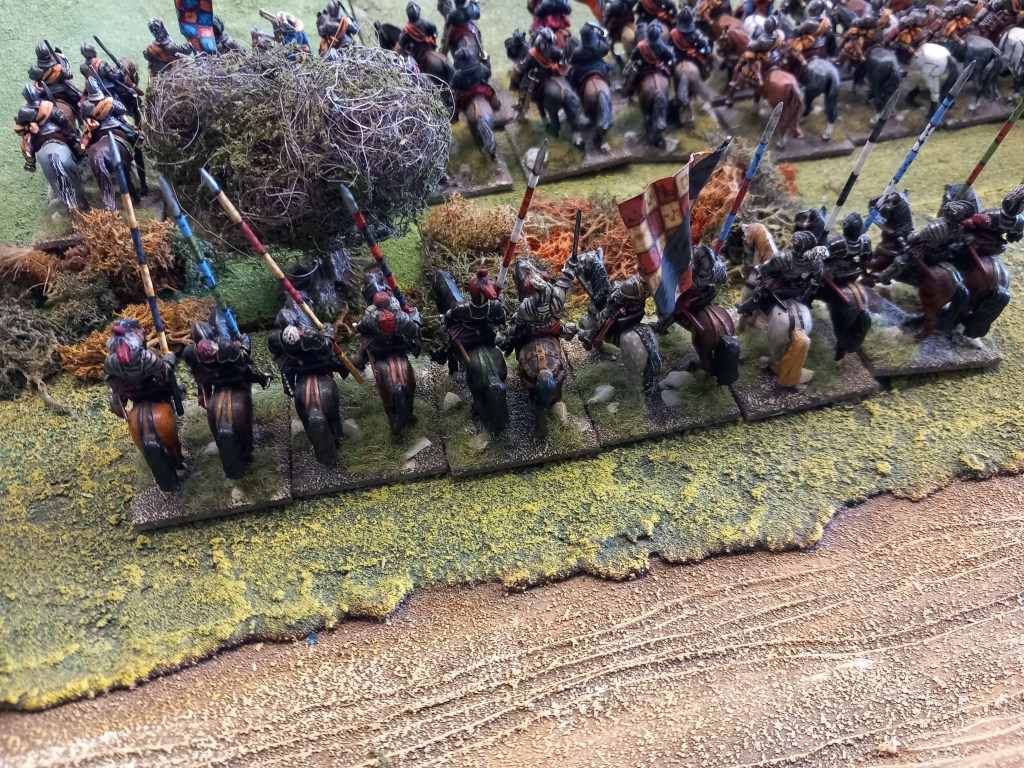
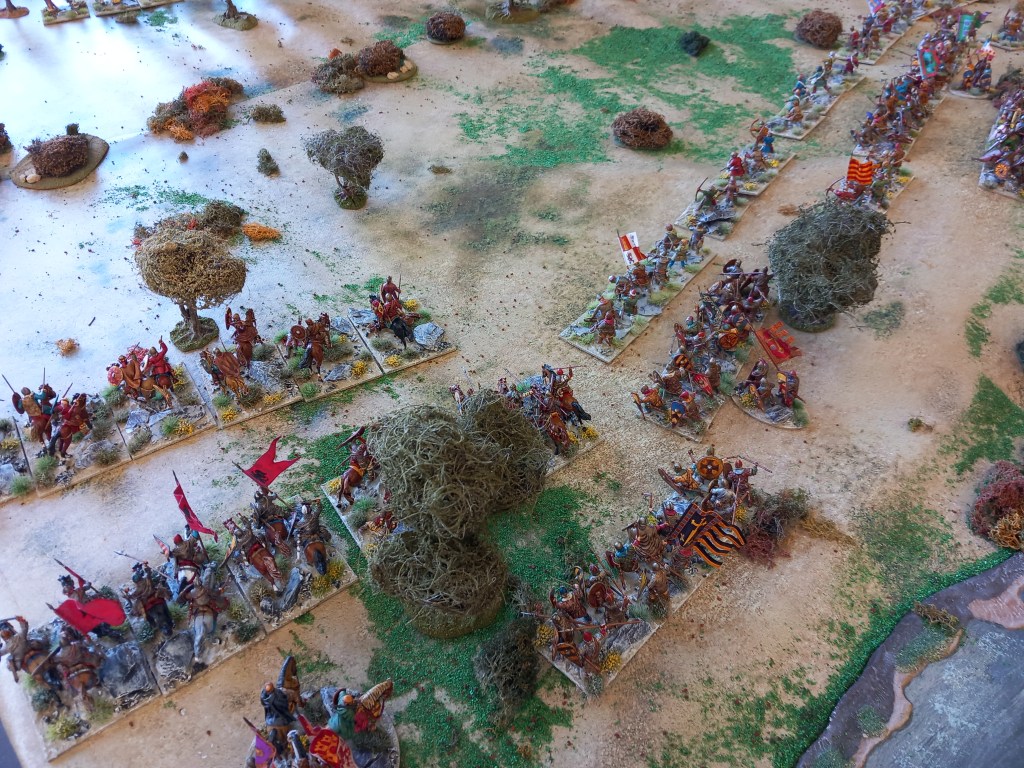
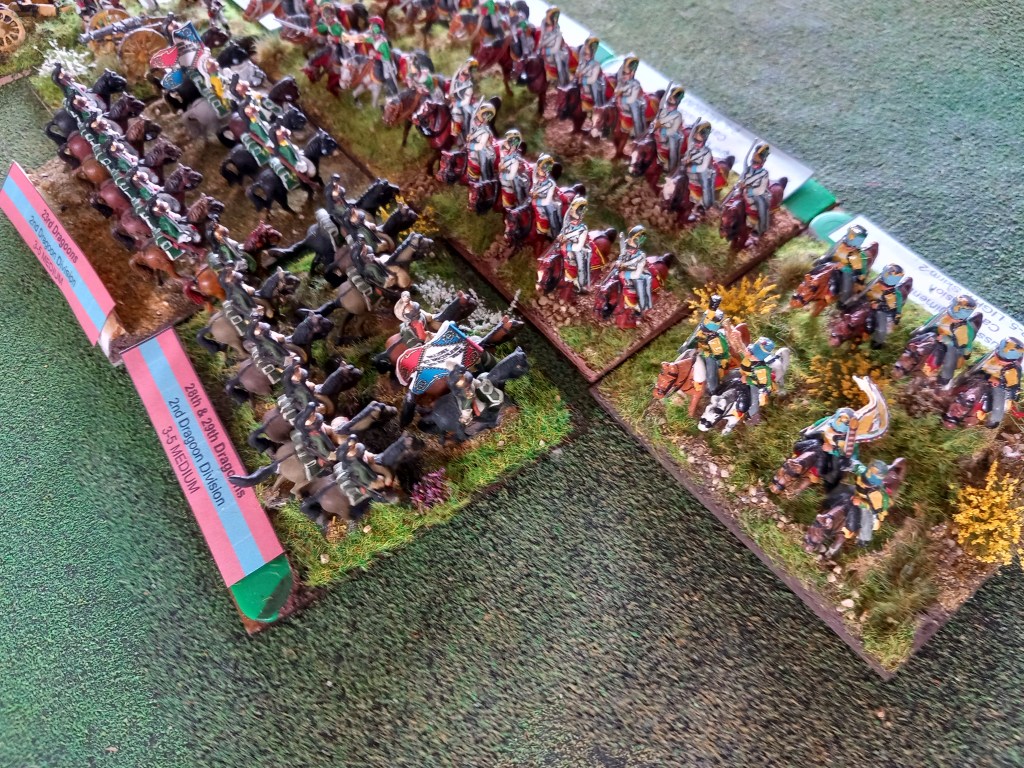
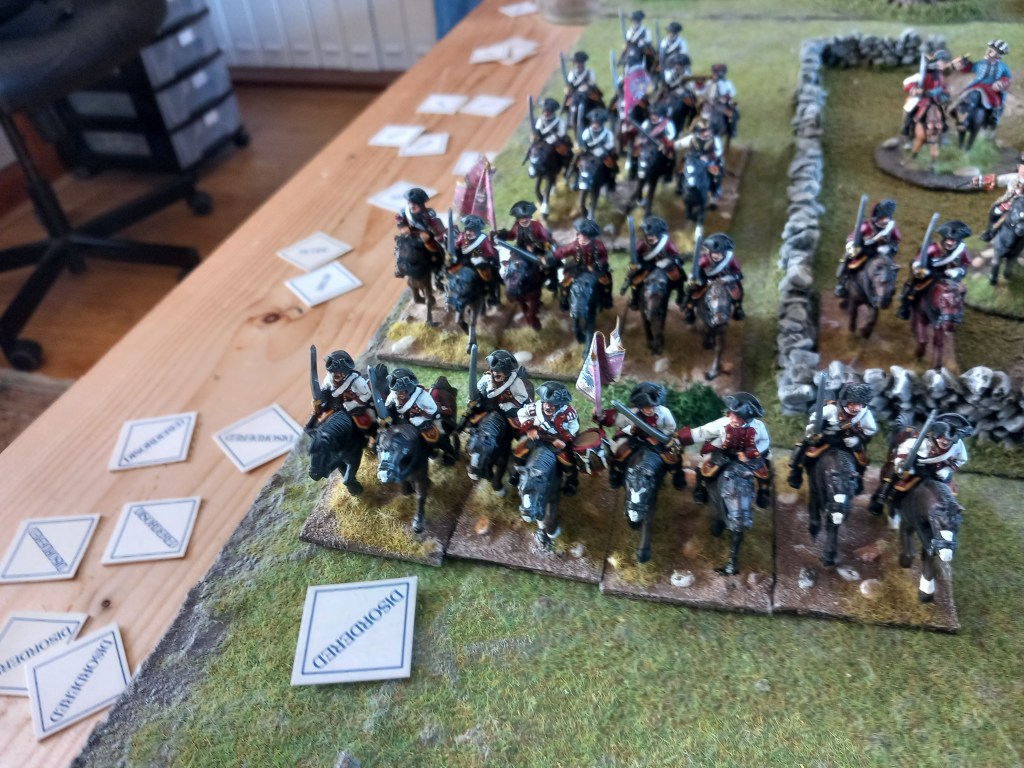
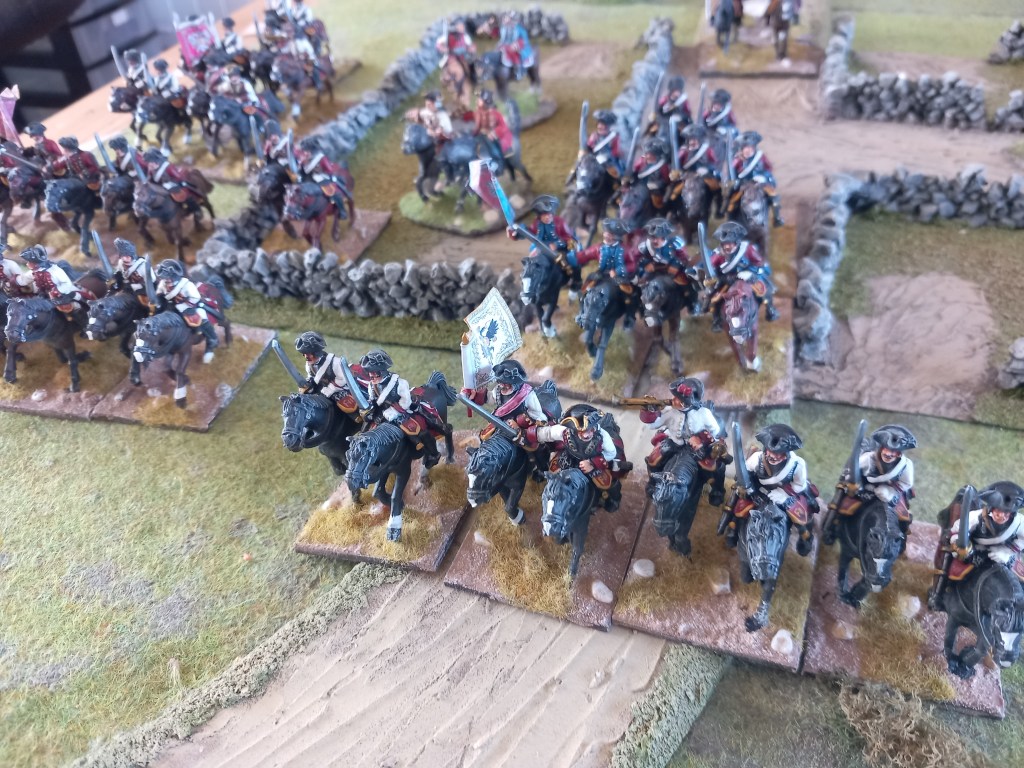
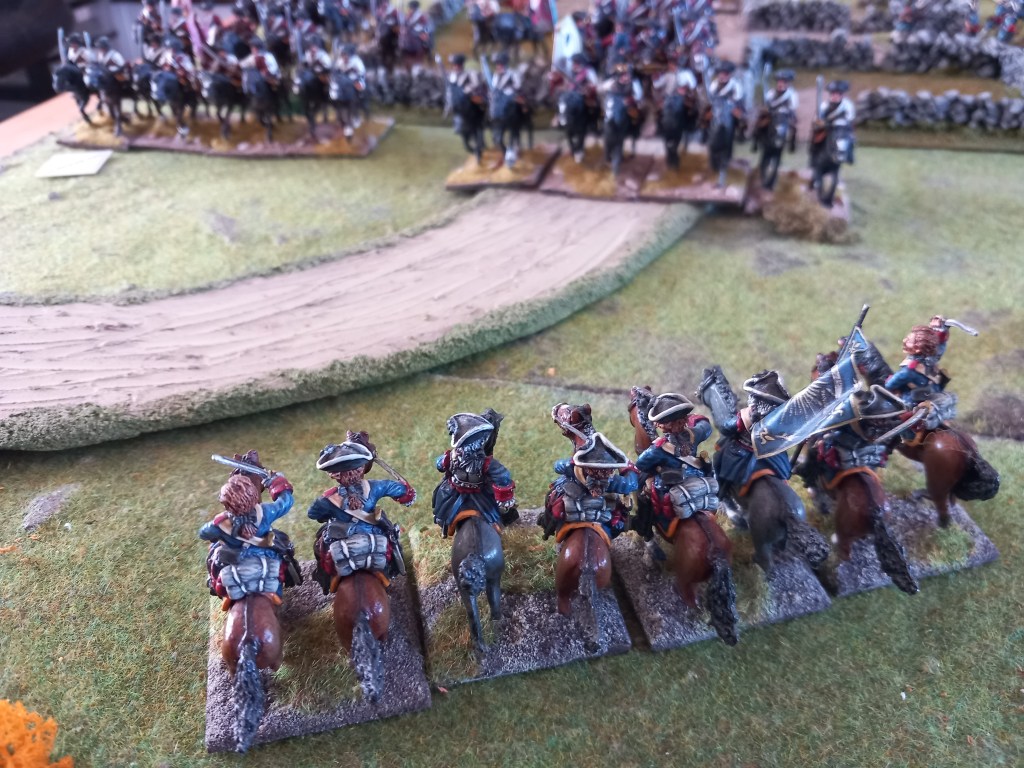
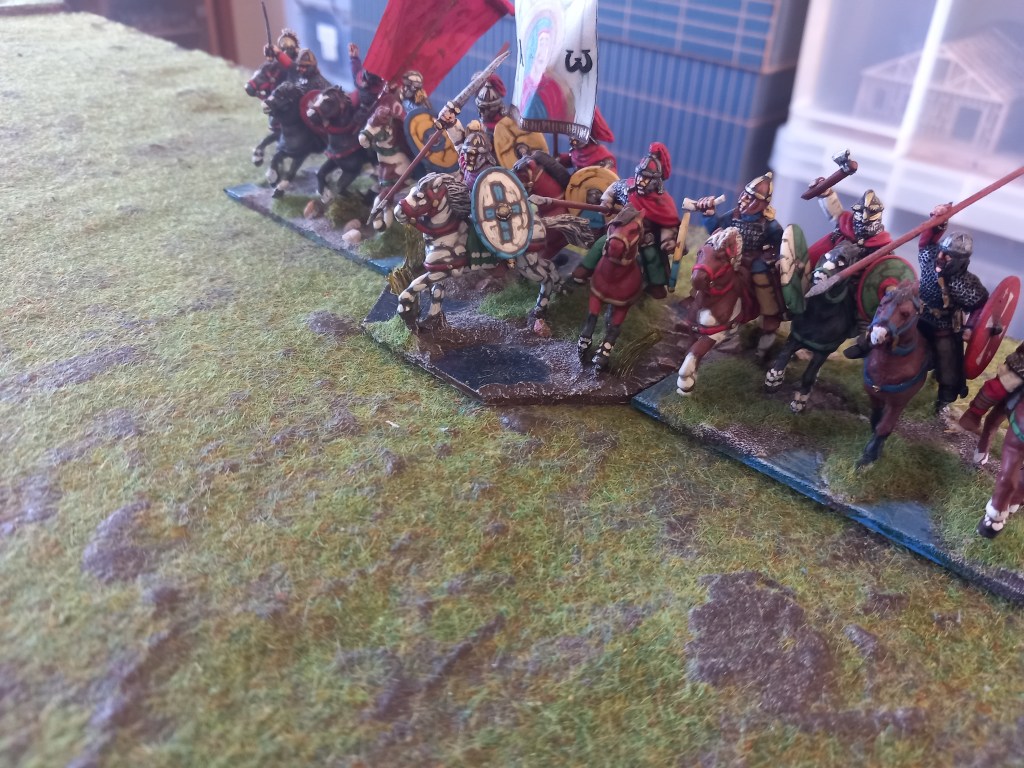
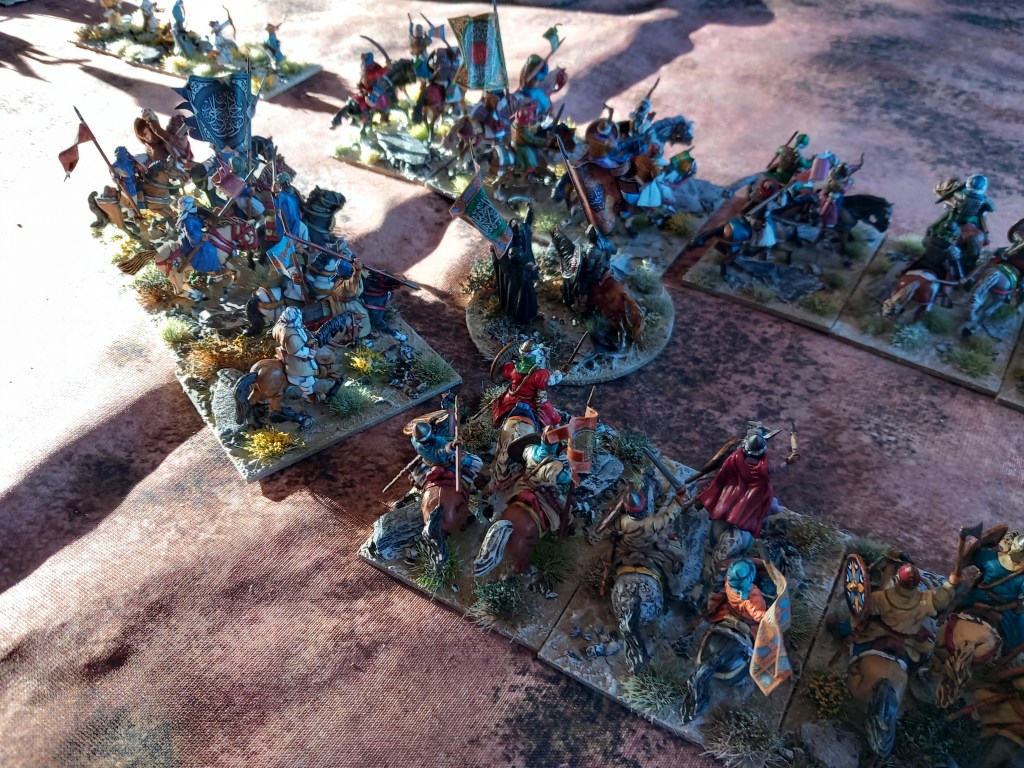
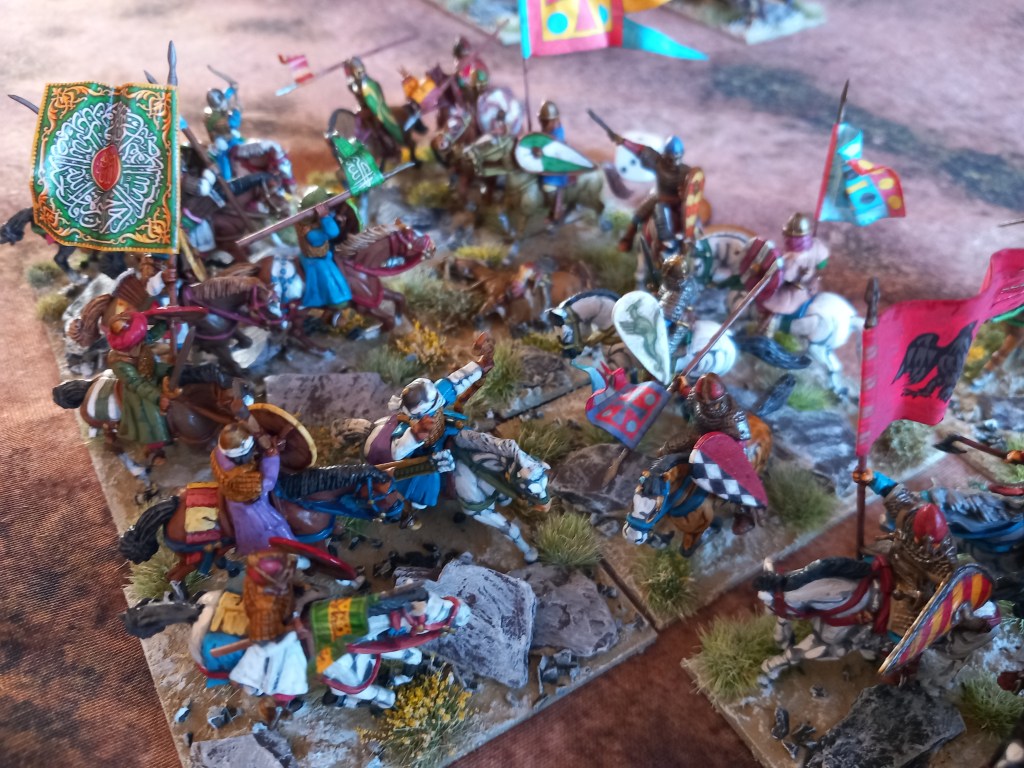
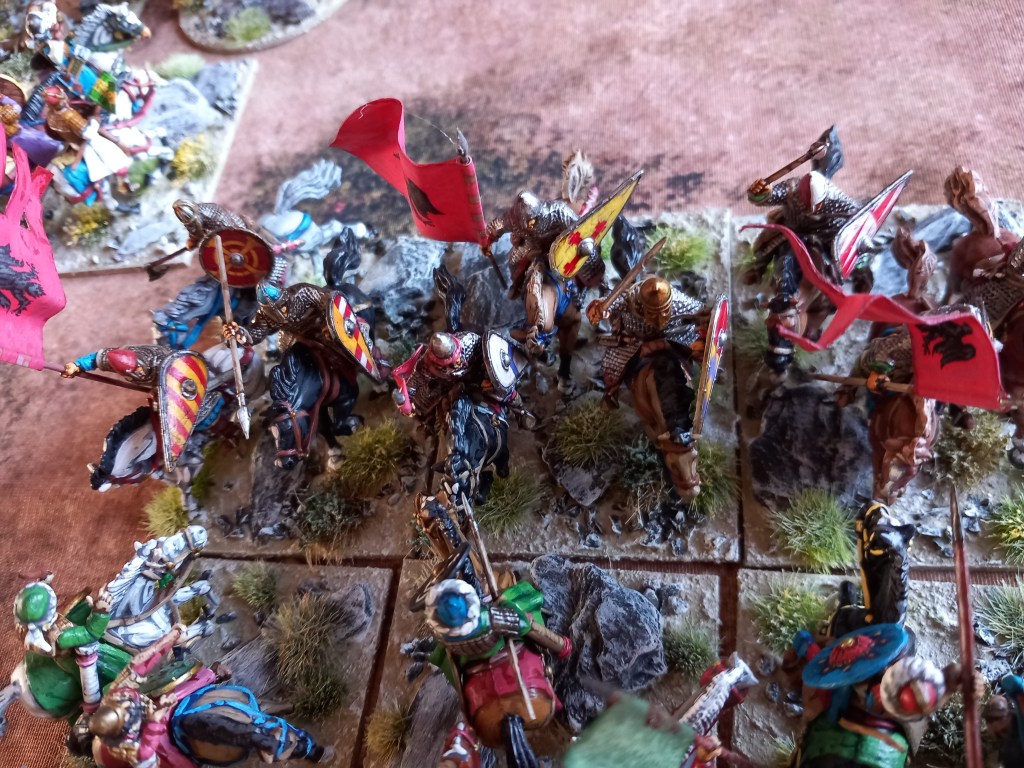
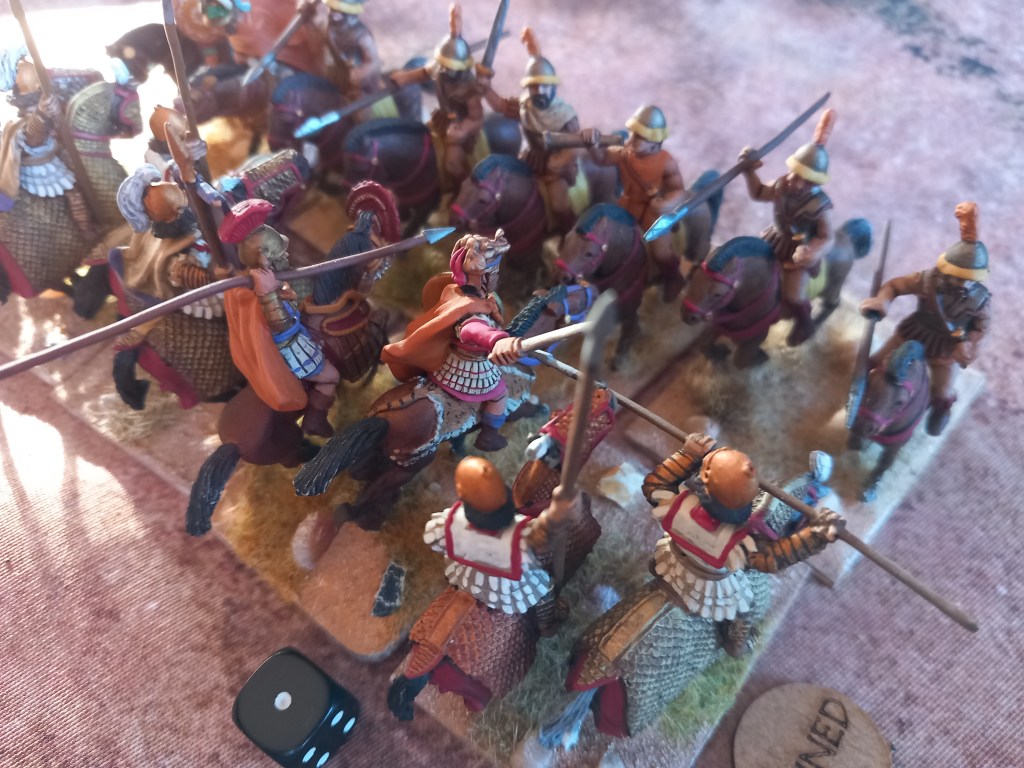
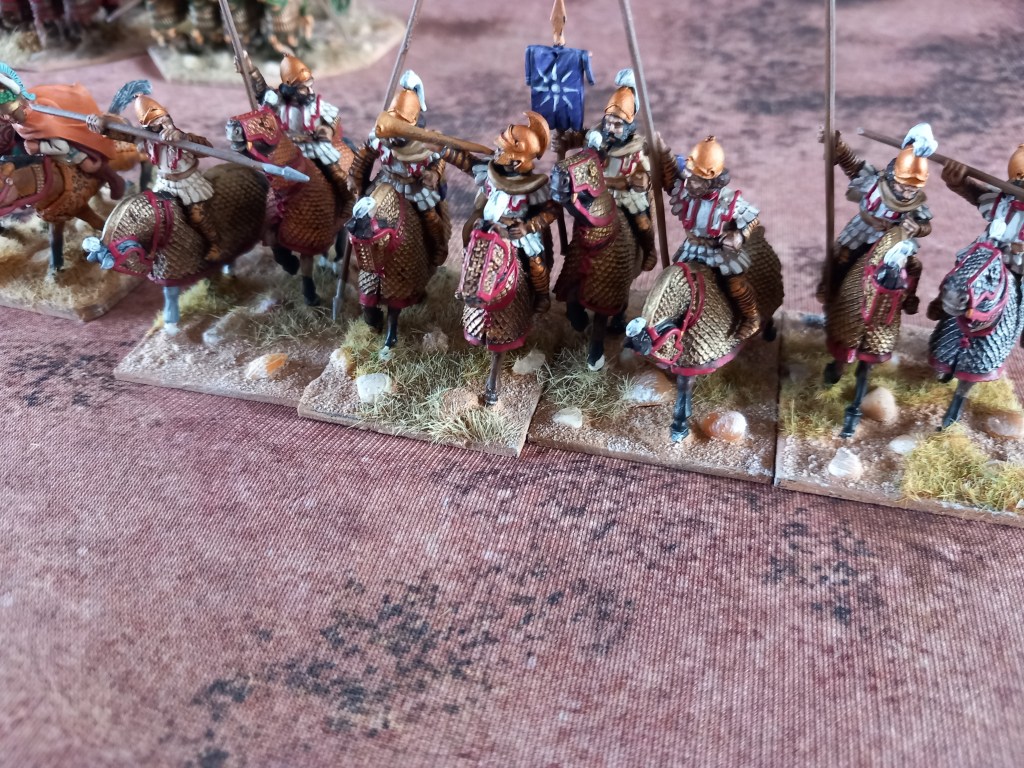
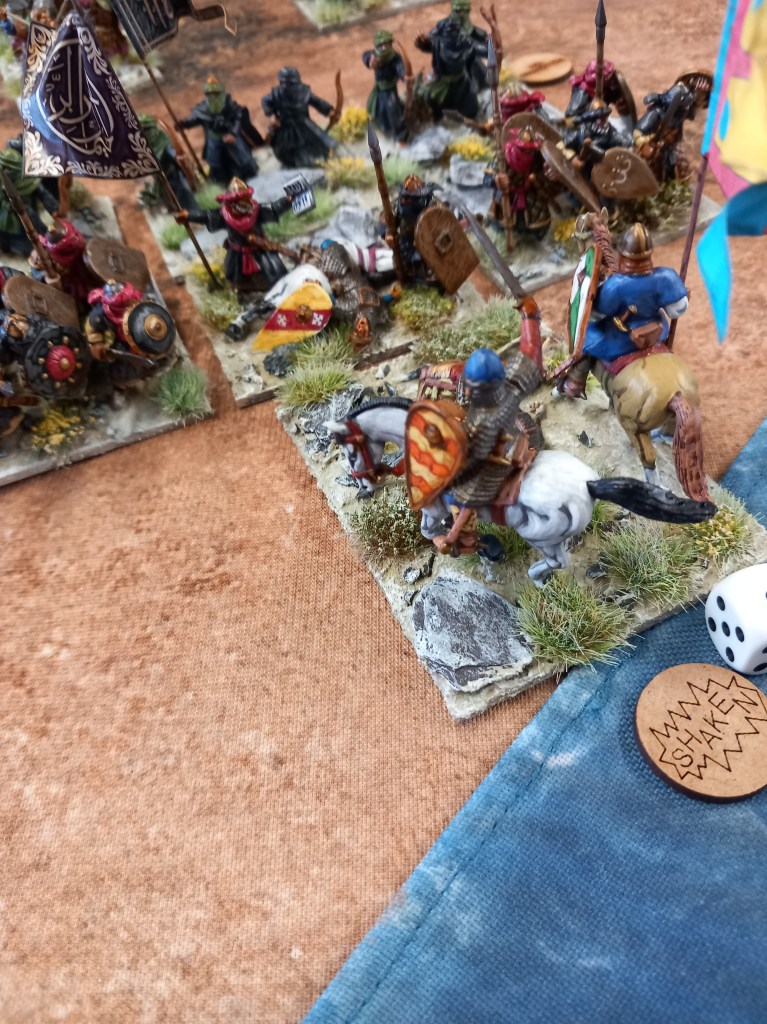
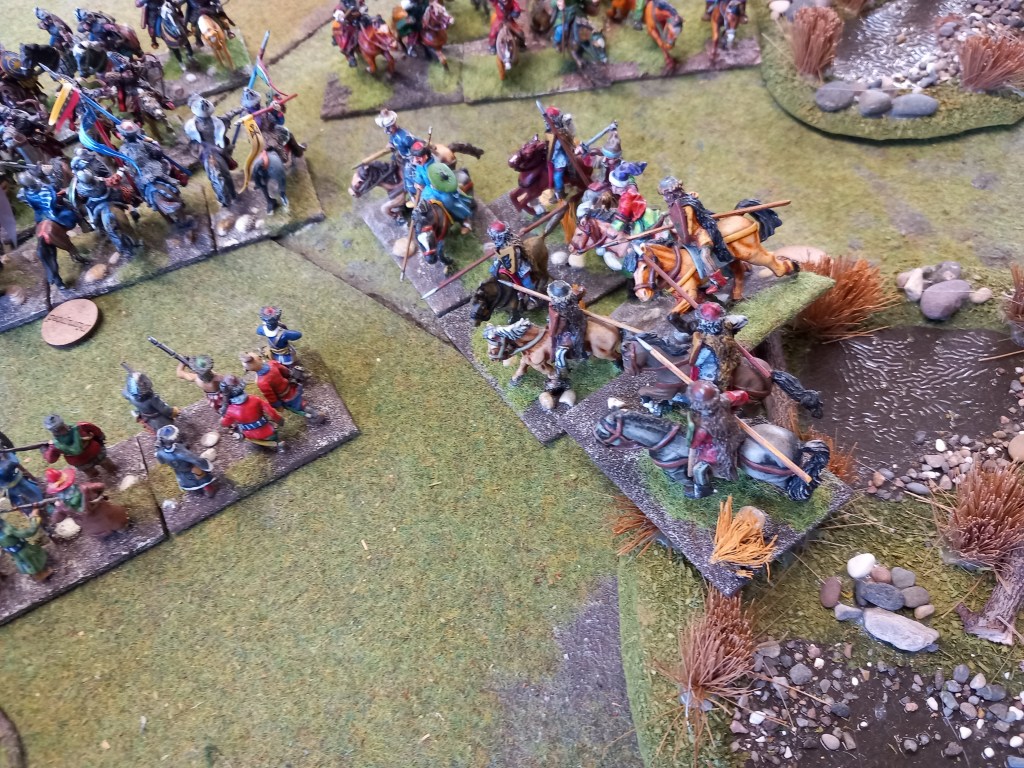
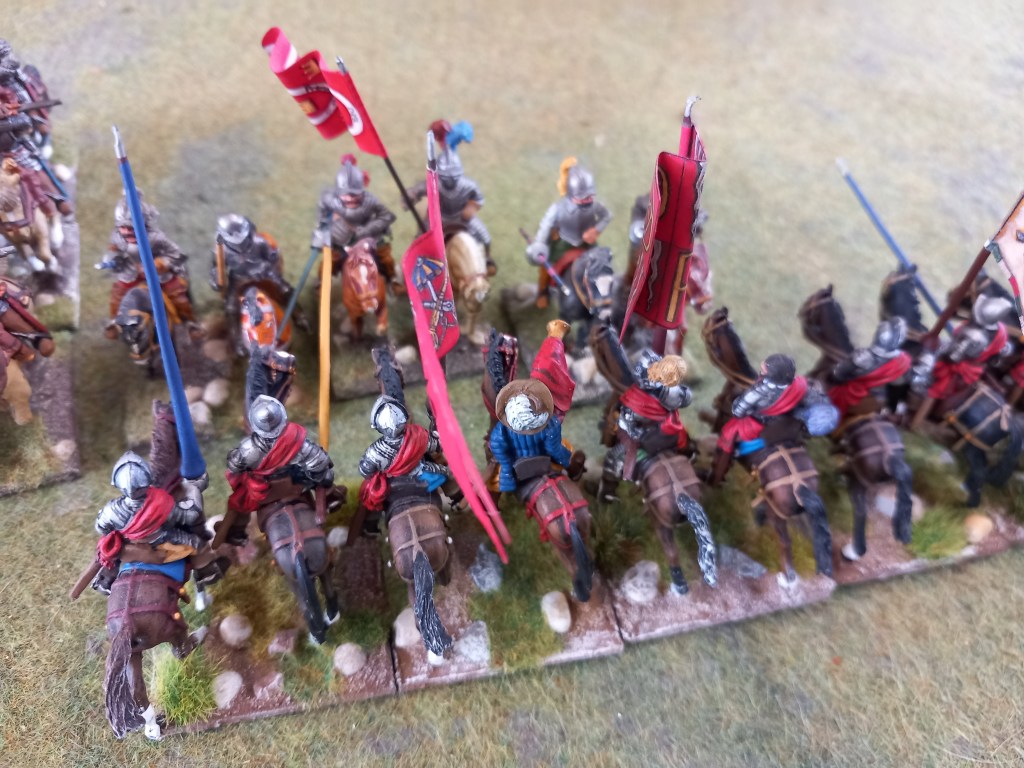
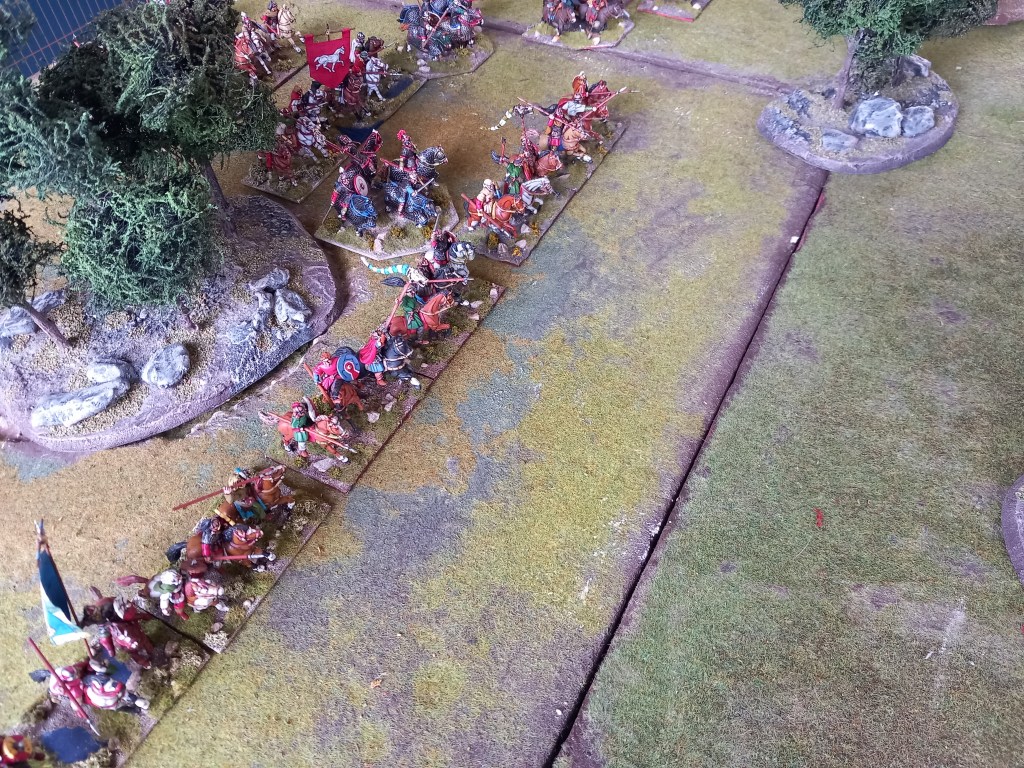
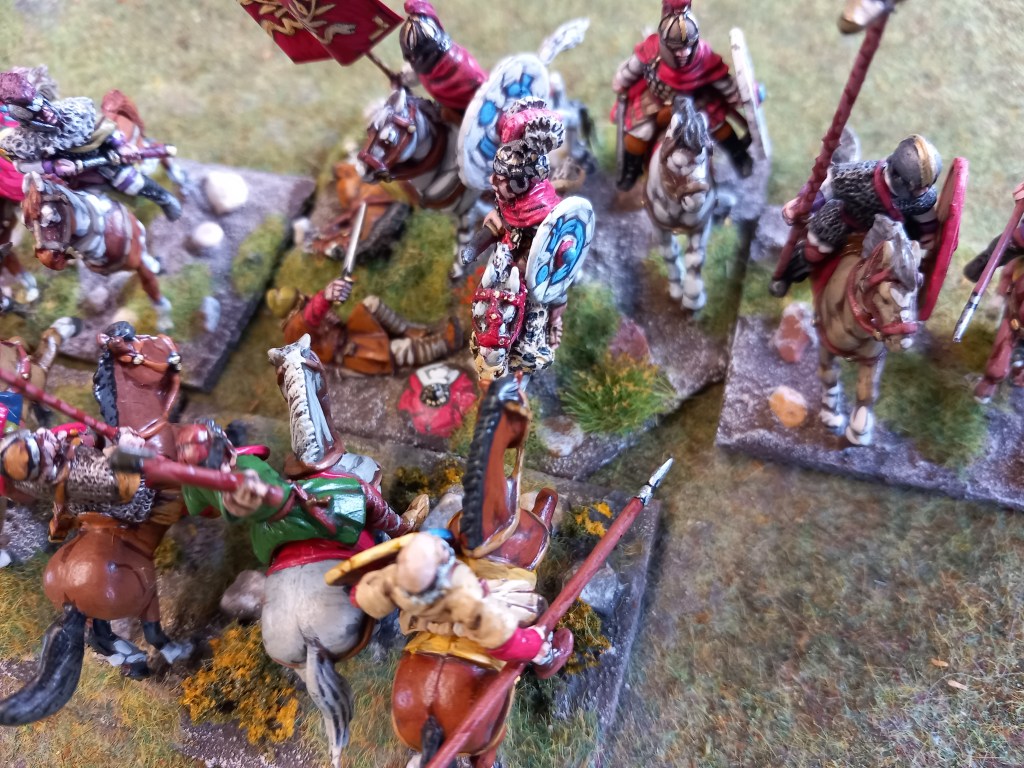
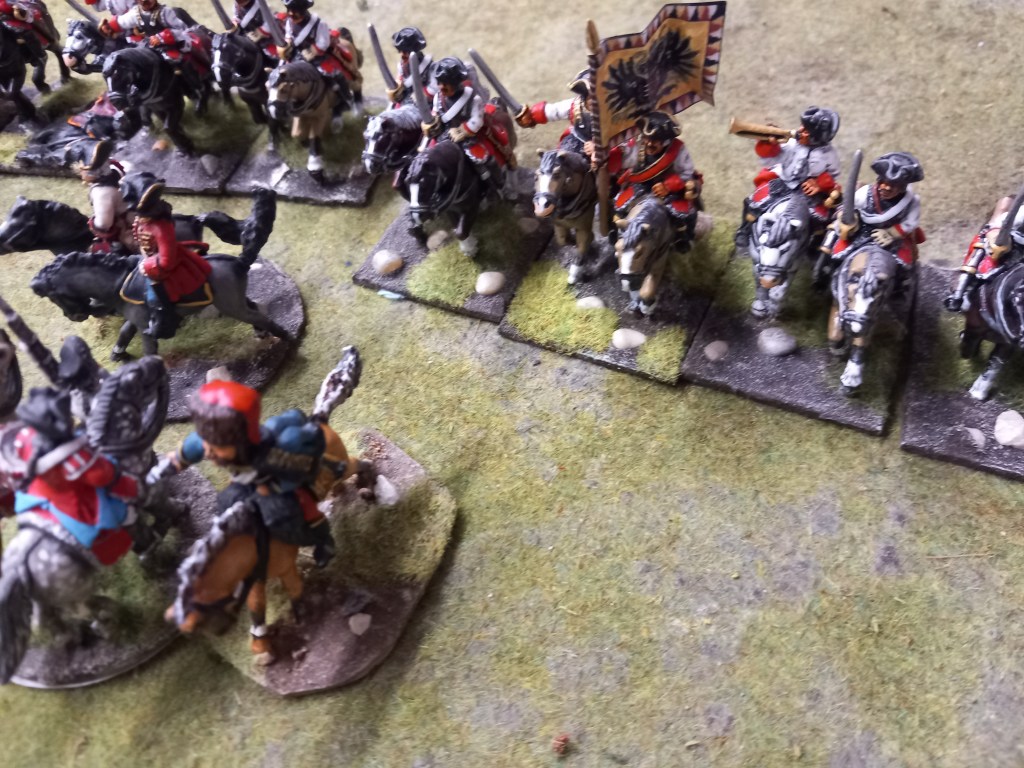
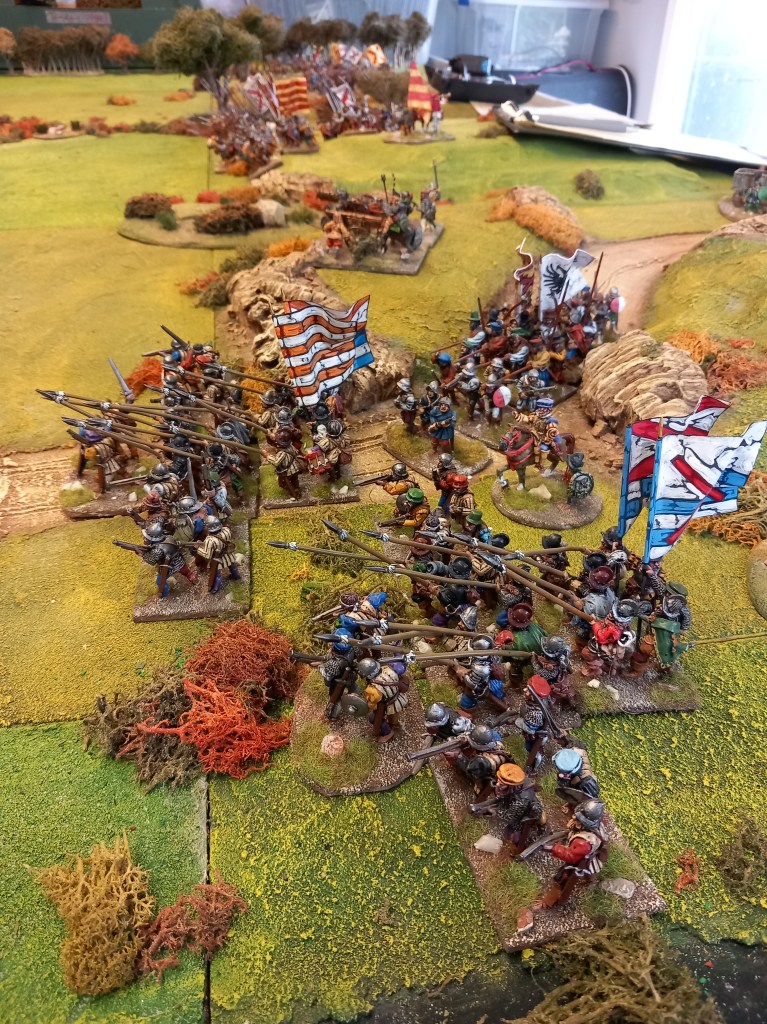
Not surprisingly the bulk of the action was taken up by the cavalry. The massed regiments came at each other in a rush (mainly 🤣) and then settled into grinding melee, retreat, reform and come again for the whole of the battle.

Initially the Spanish had the edge and saw off a cuirassier regiment and a Reiter regiment but the commitment of the Dutch lancers stabilised the line and the conflict swung in favour of the Dutch ultimately leaving them the battered victors.
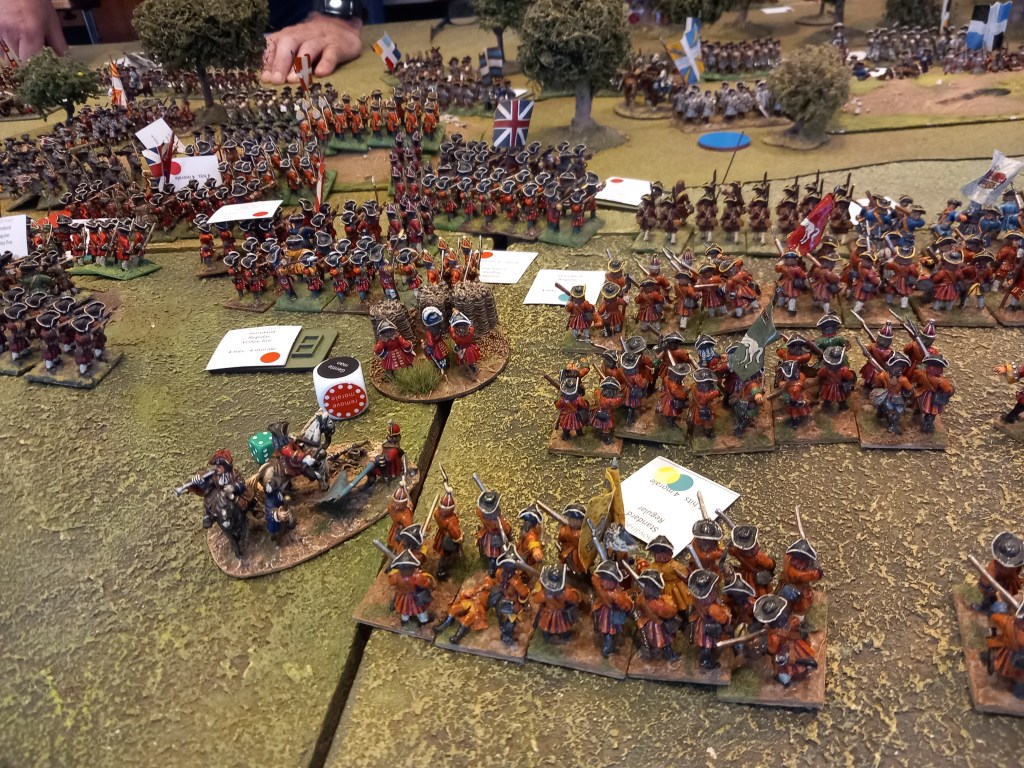
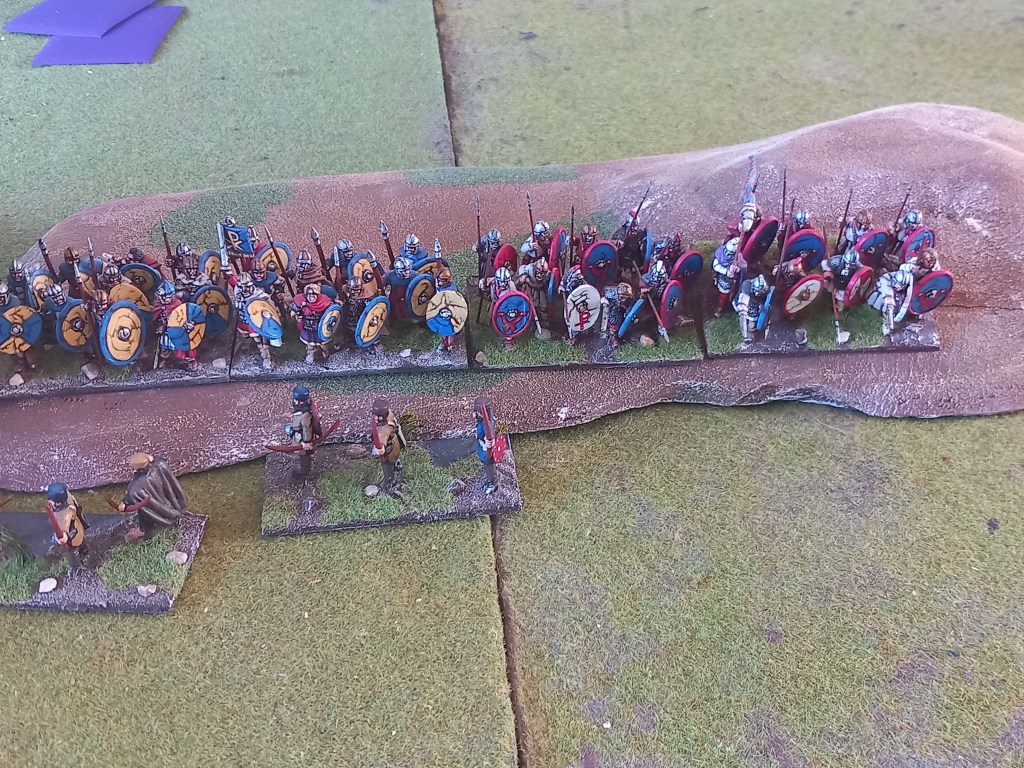
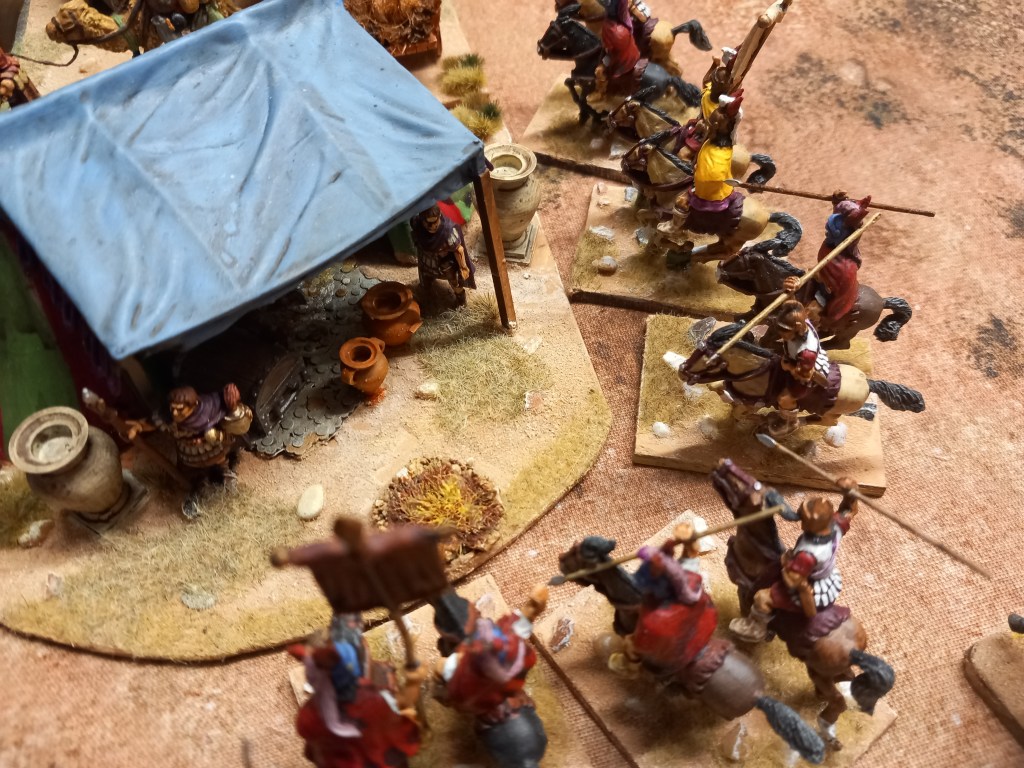
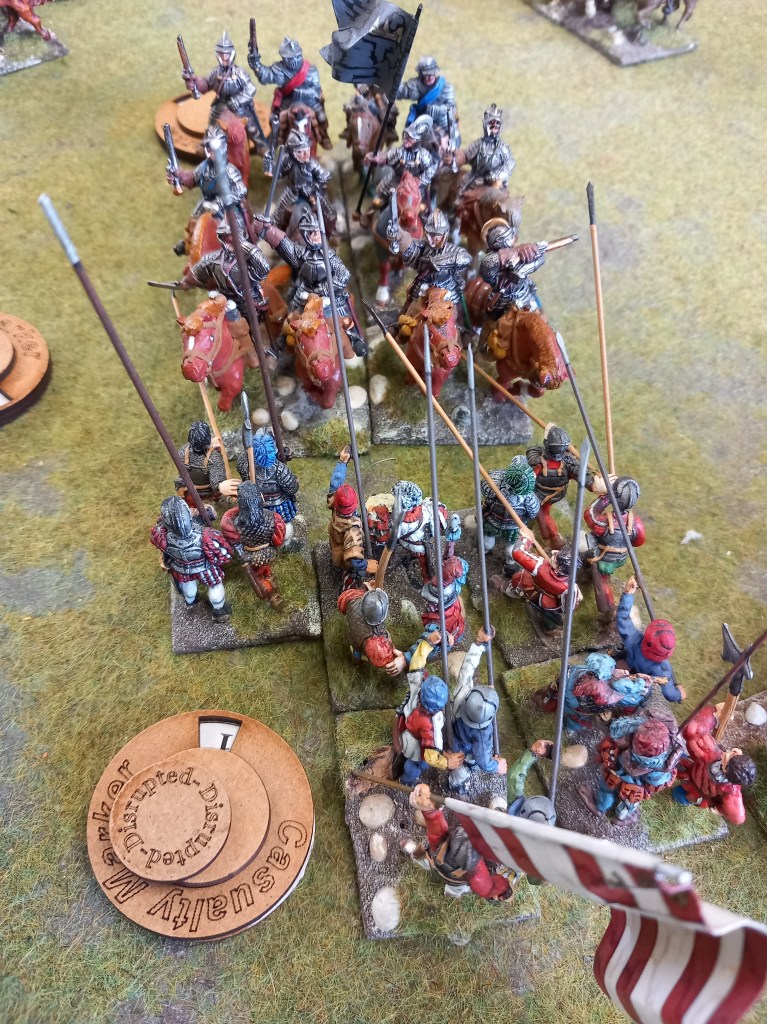
In the infantry engagements the Dutch had an early stroke of luck when the colonel of the Brabant tercio was killed and the regiment had a catastrophic reaction, routing back to the camp. Their fellow infantry didn’t really care but the lack of numbers told when they got into harquebus range of de Vere’s command and the shooting started, they simply didn’t have the firepower to sustain the fight.
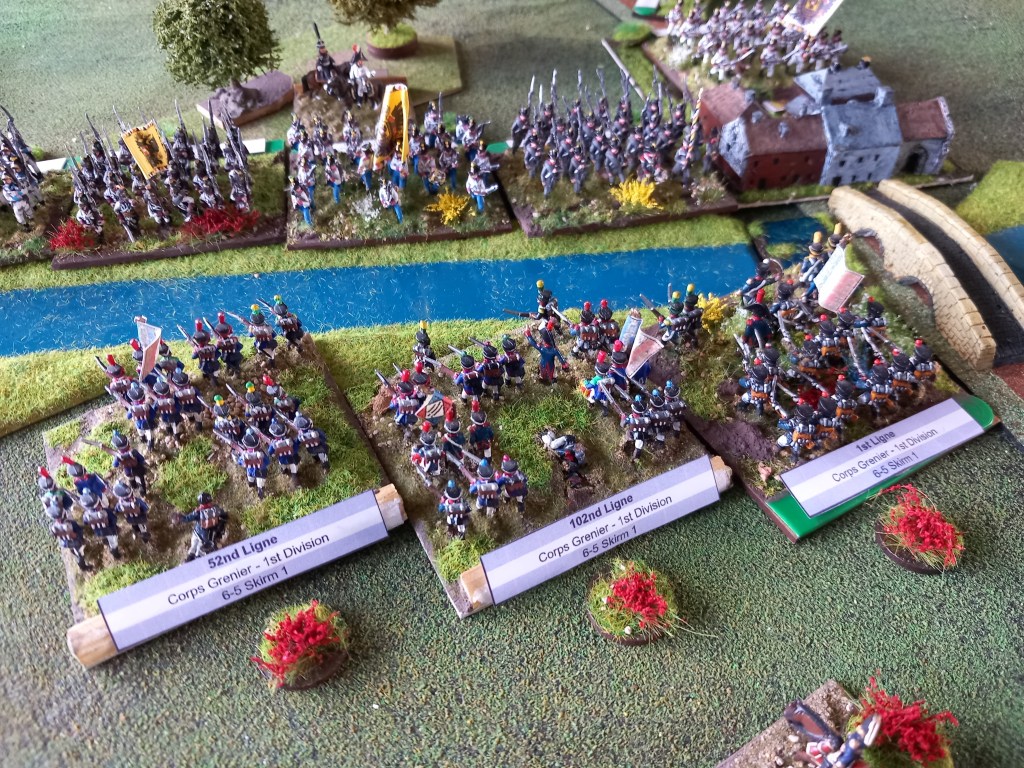
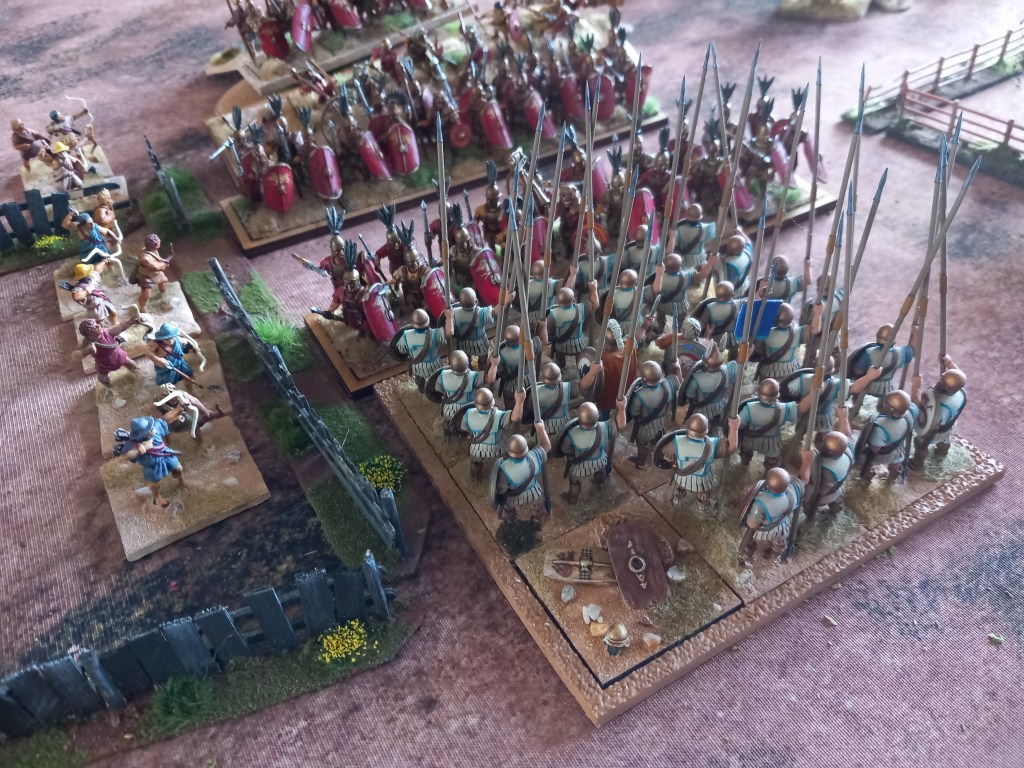
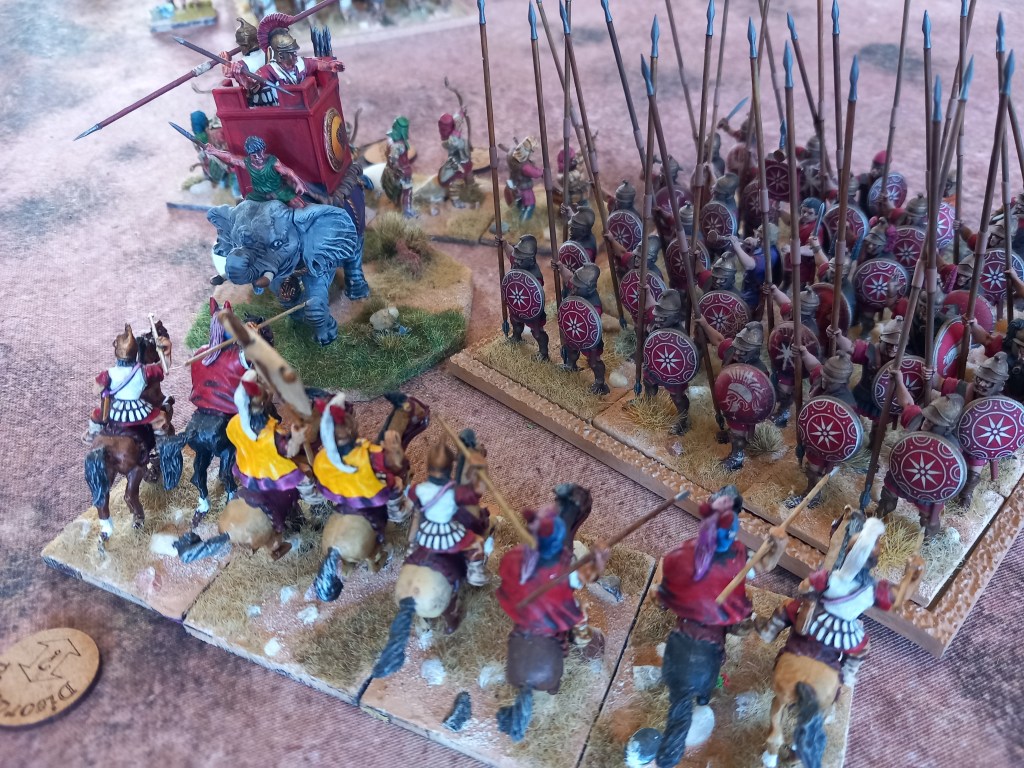
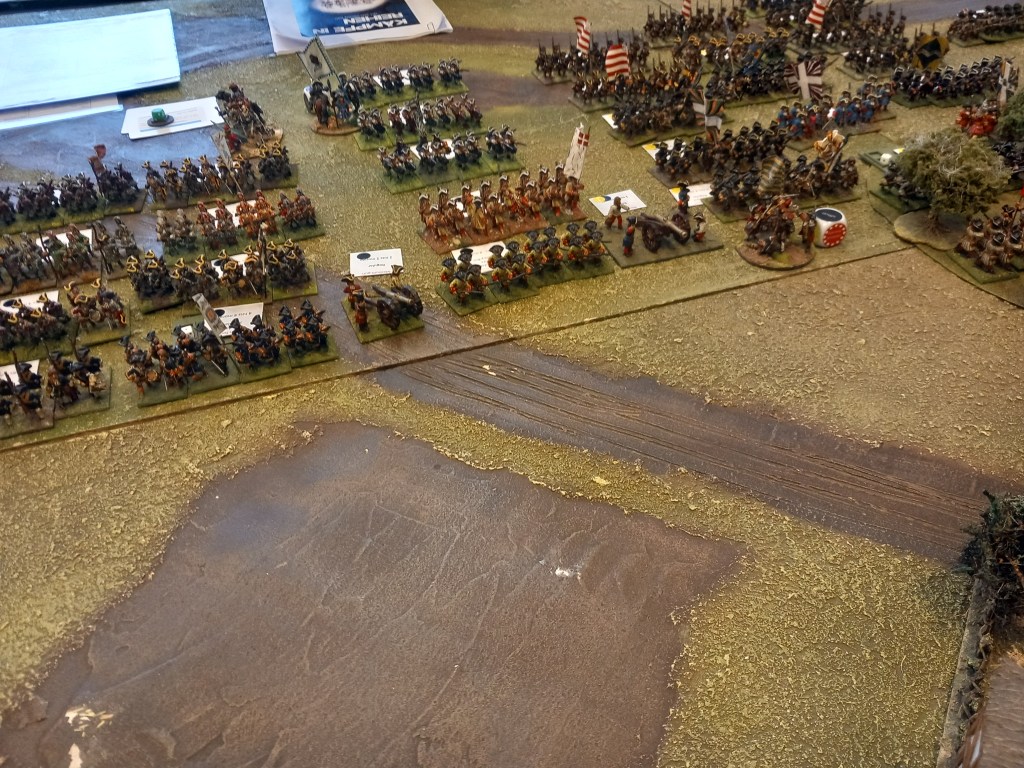
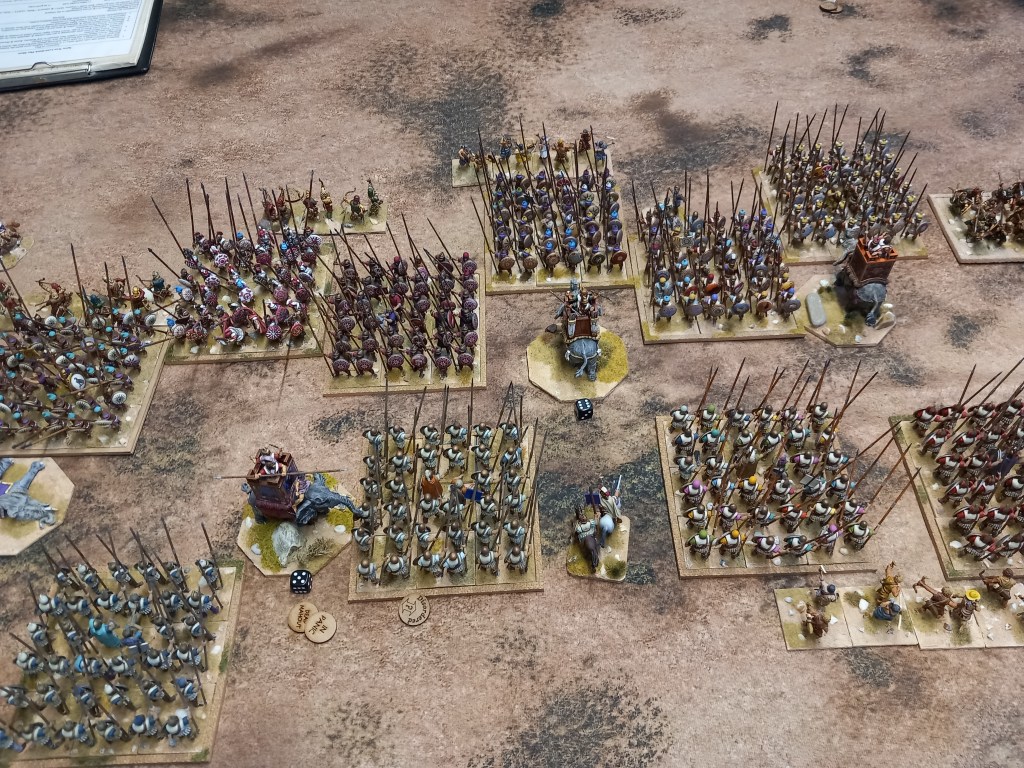
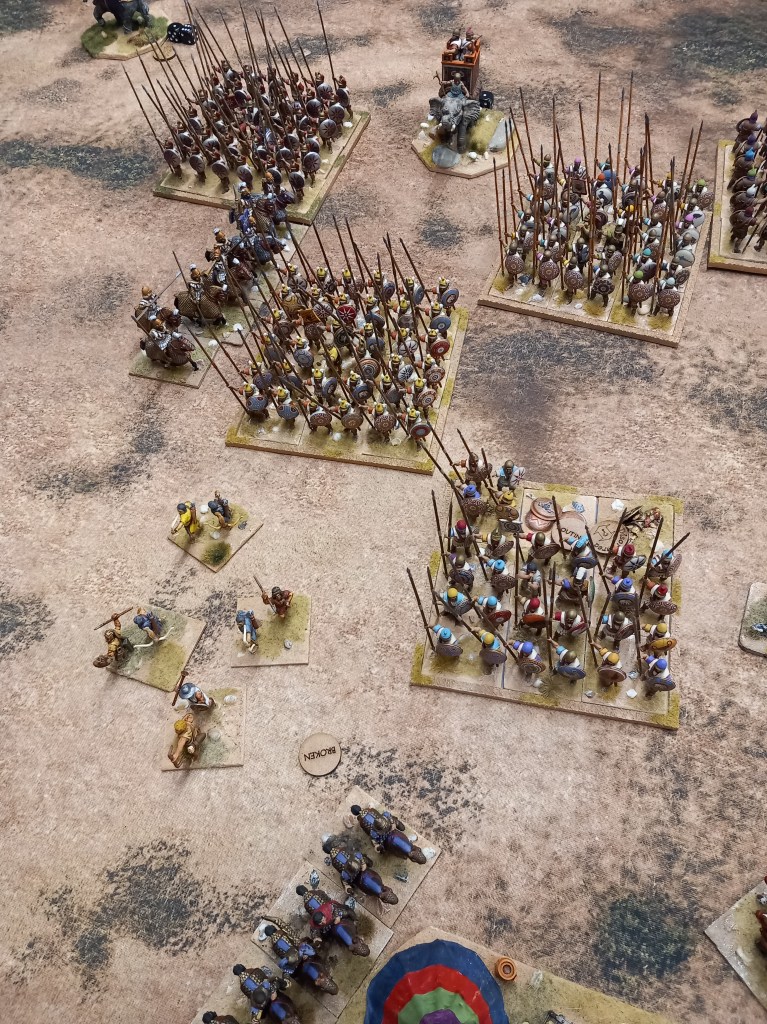
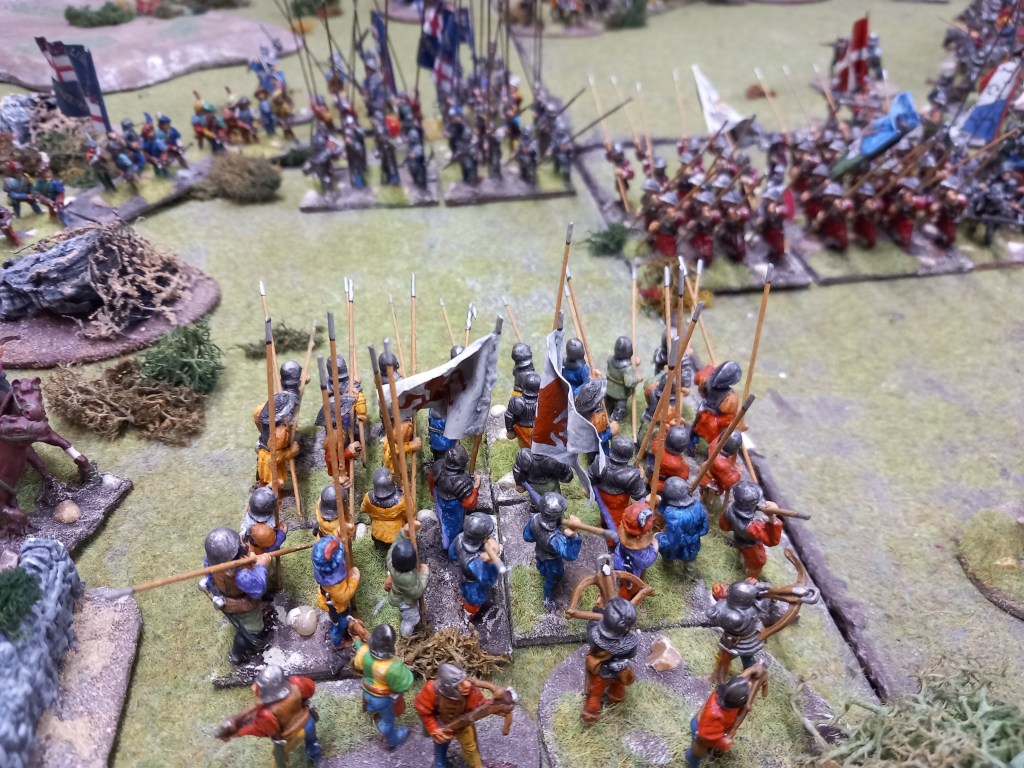
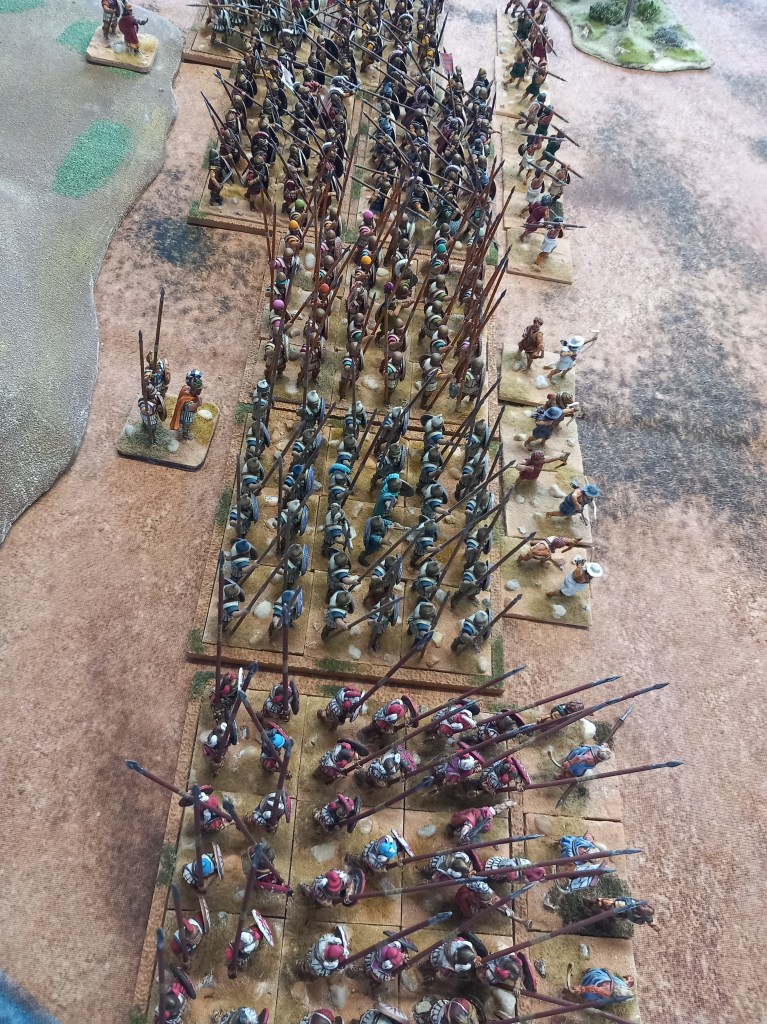
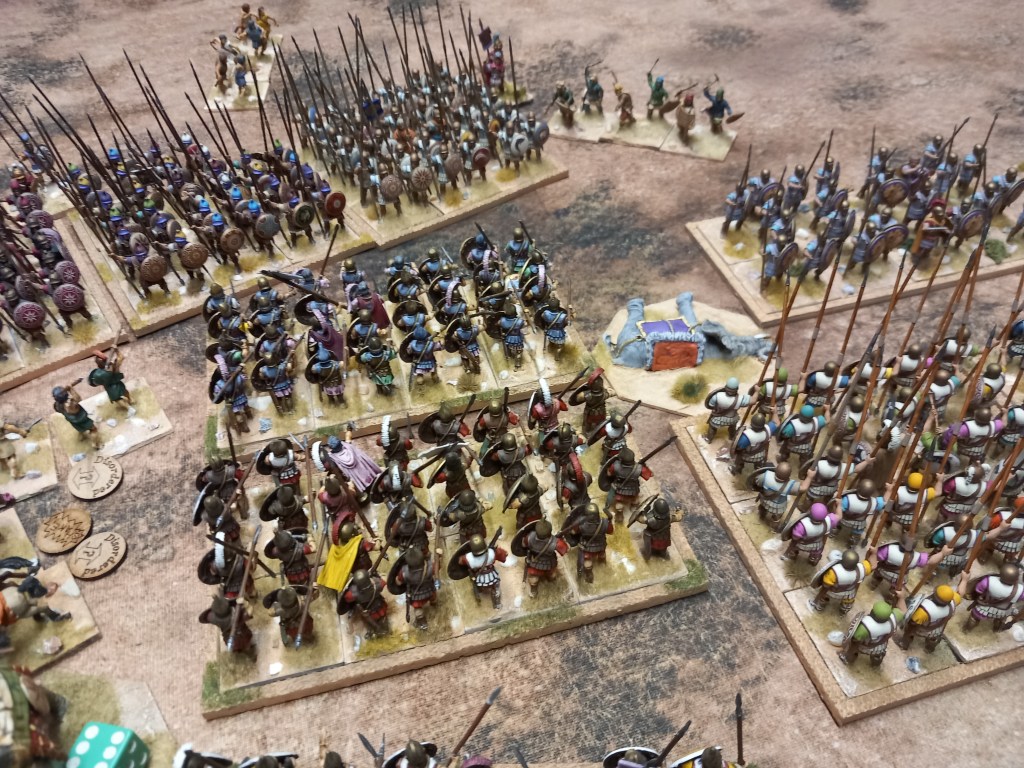
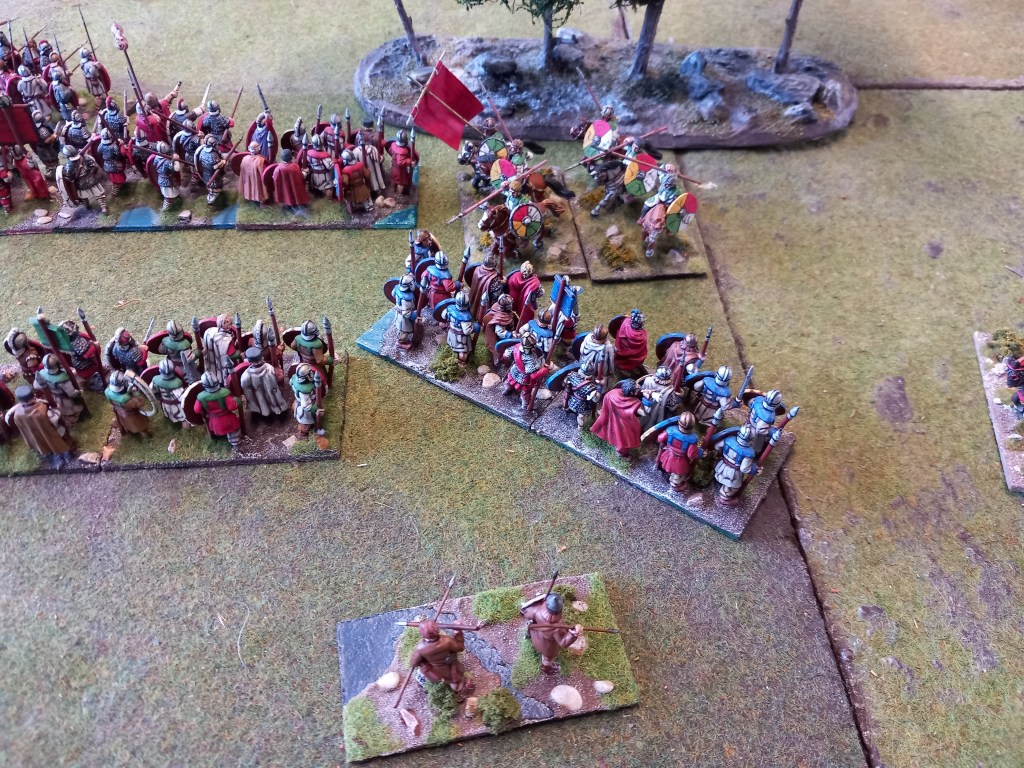
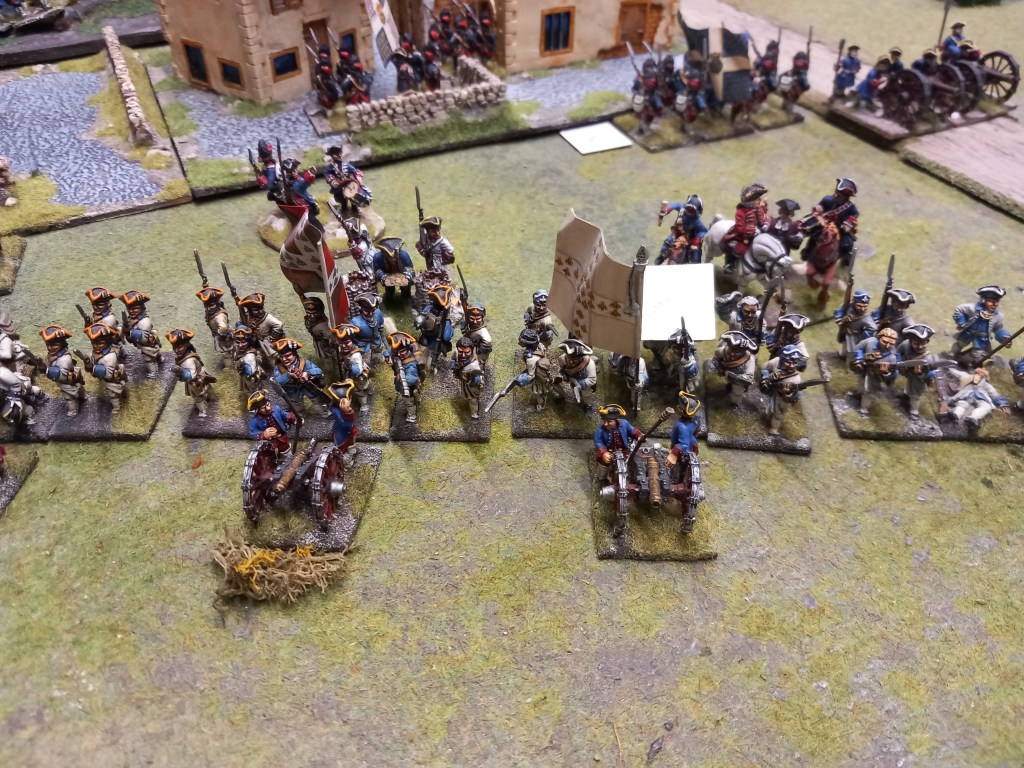
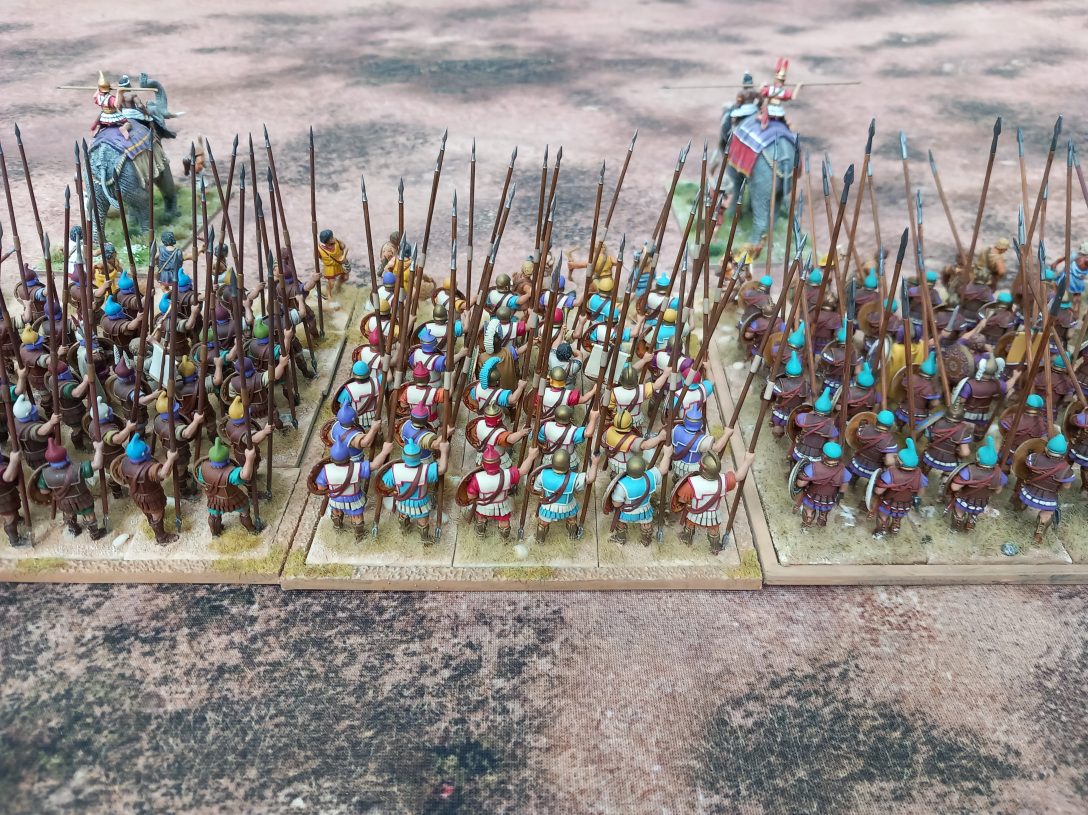
In the centre the Tercios rumbled forward supported by artillery fire but it was a long journey and the Dutch were in no hurry to come and meet them!

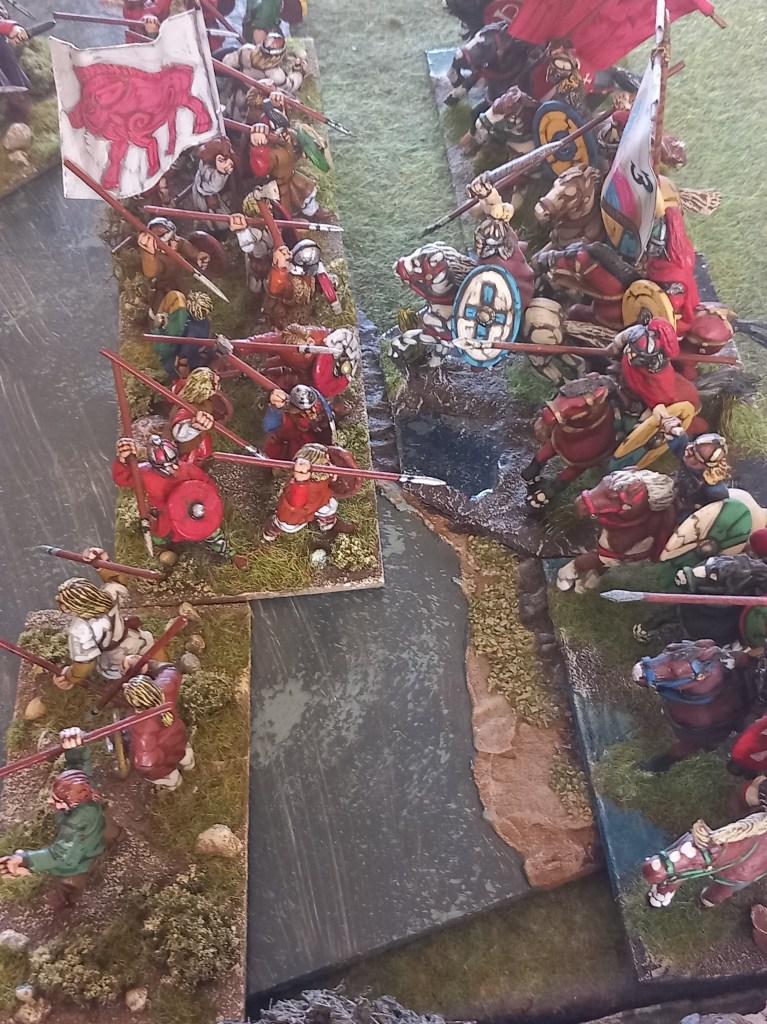
Ultimately the Lombardy tercio got into contact sweeping aside it’s first opponent but held by Zealand, mainly due to the slow attrition faced by Lombardy as it advanced and Zealand being fresh as a daisy.

With night drawing on and 10 colonels dead on the field we called it. From the Dutch perspective they had regained the initiative in the cavalry maul and nothing was going to change that now, on their right de Vere was wearing down the Walloons and the Germans with little loss to himself and in the centre the tercios were being held. A good day to be Dutch.
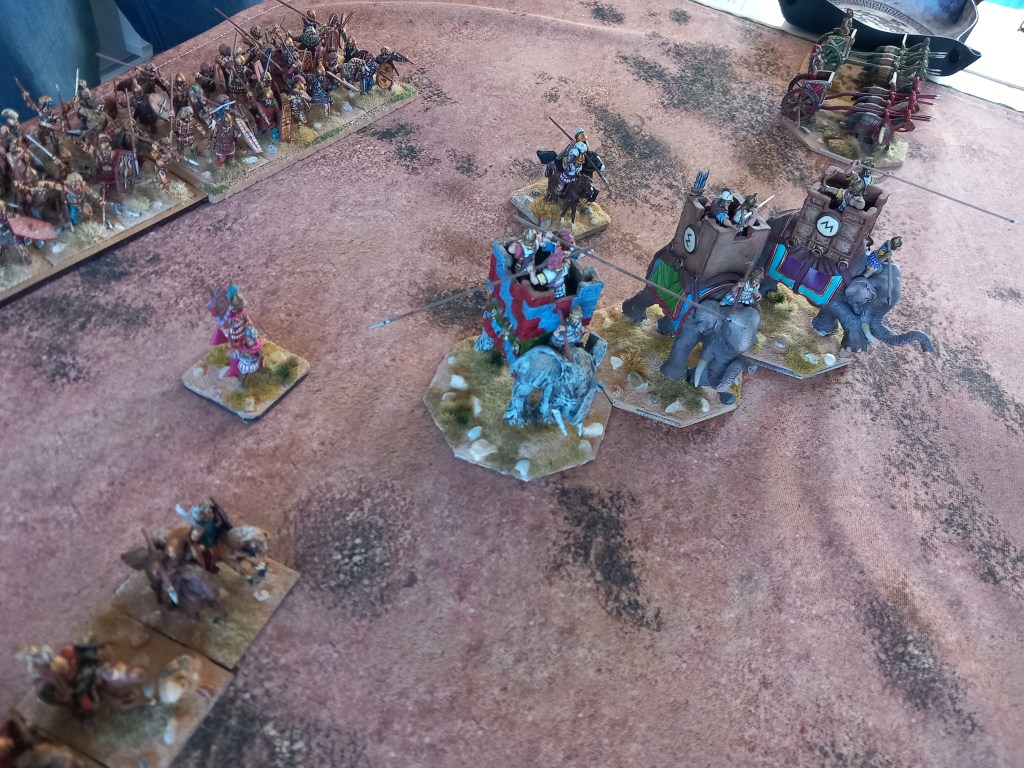
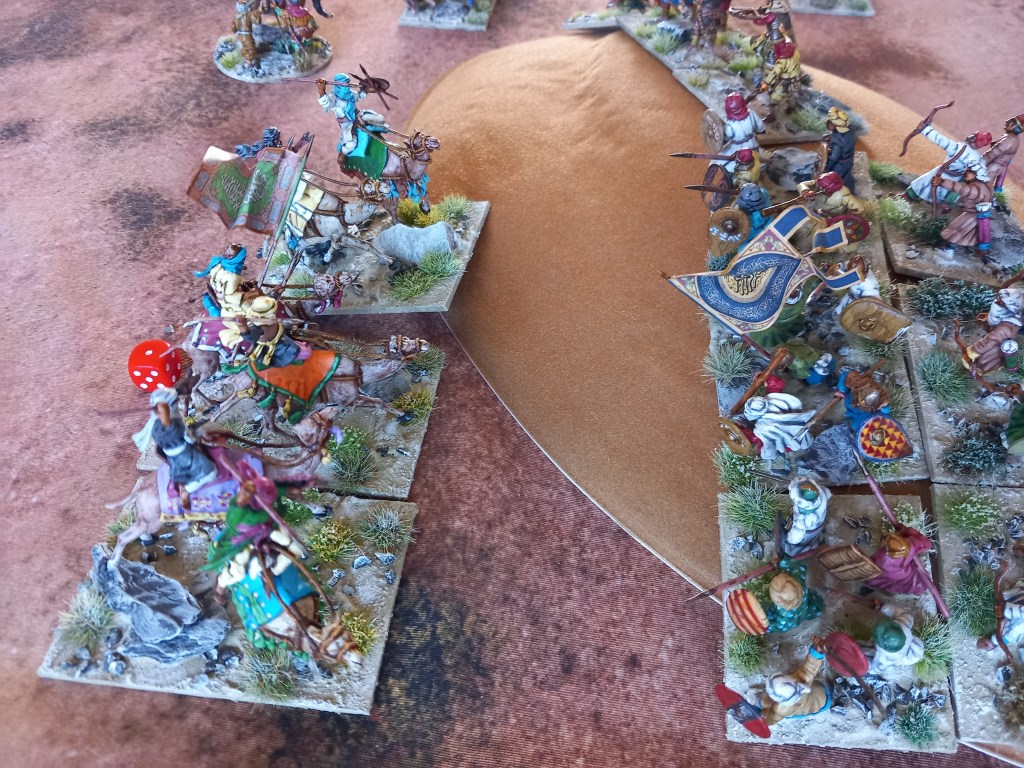
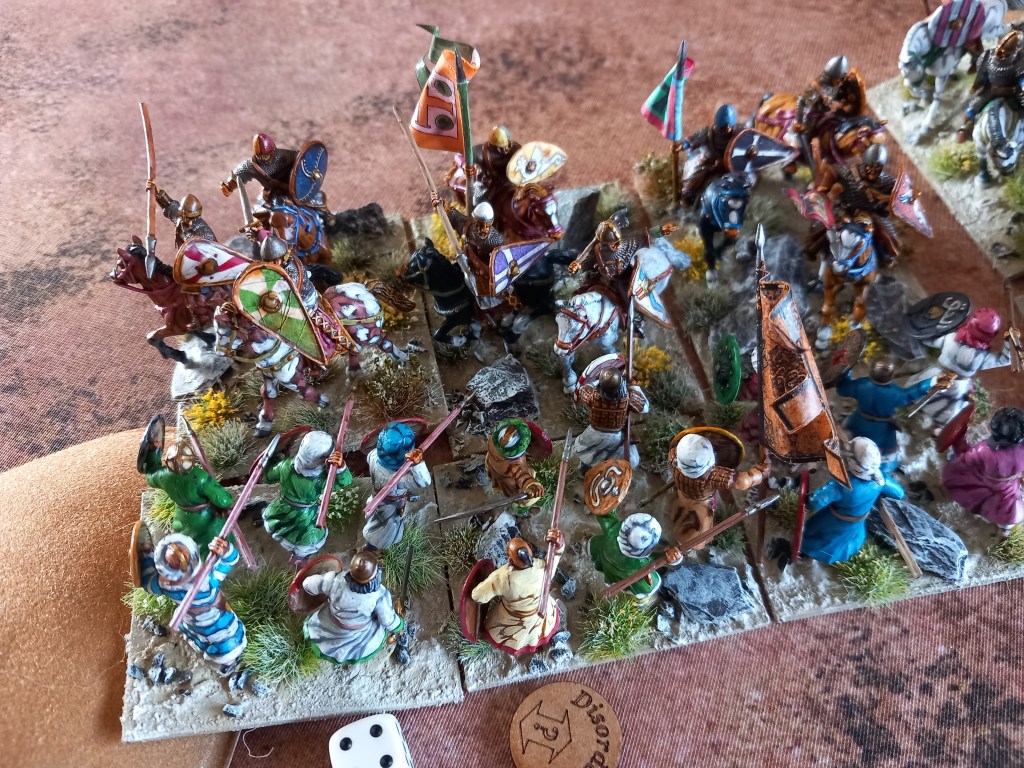
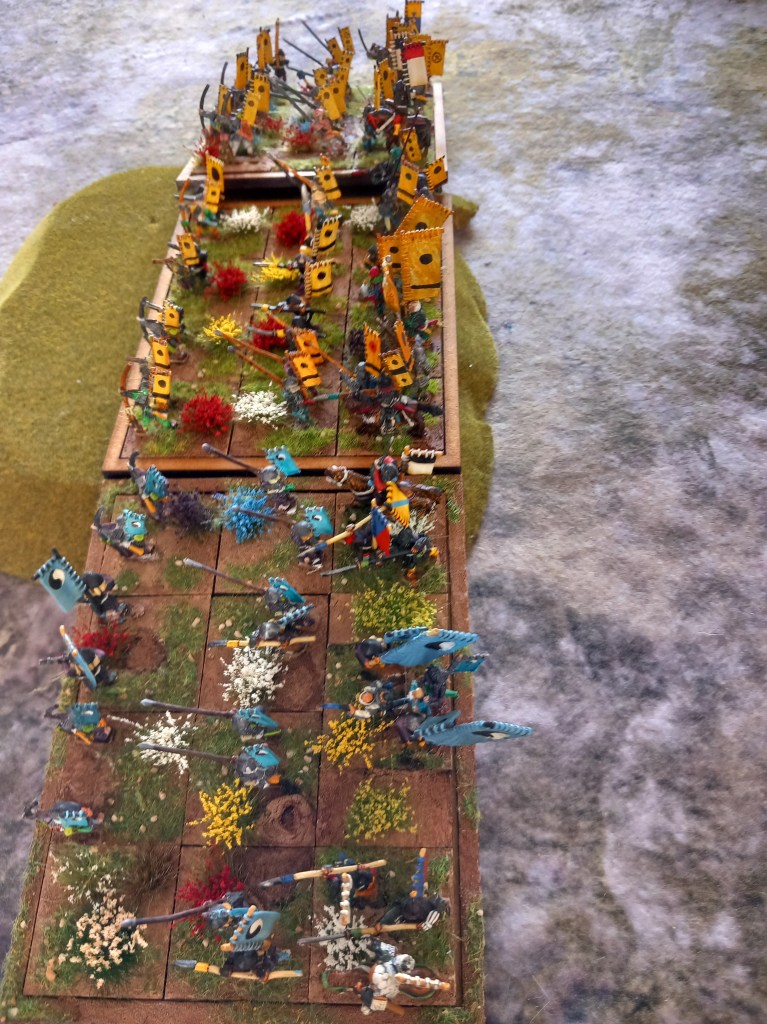
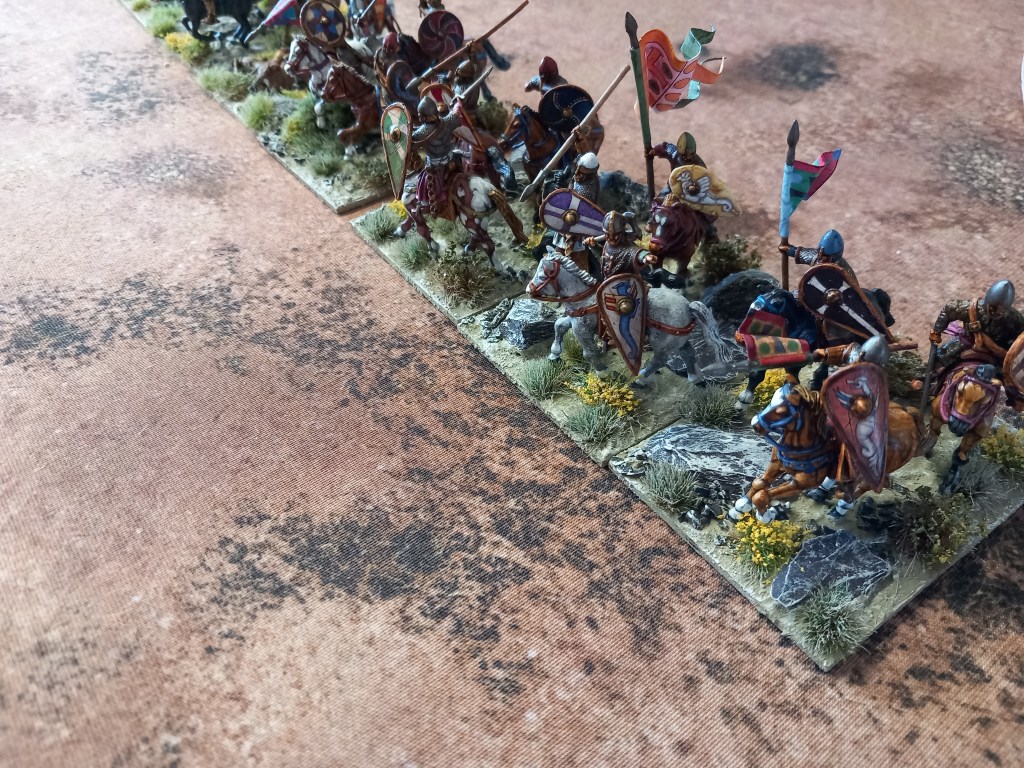
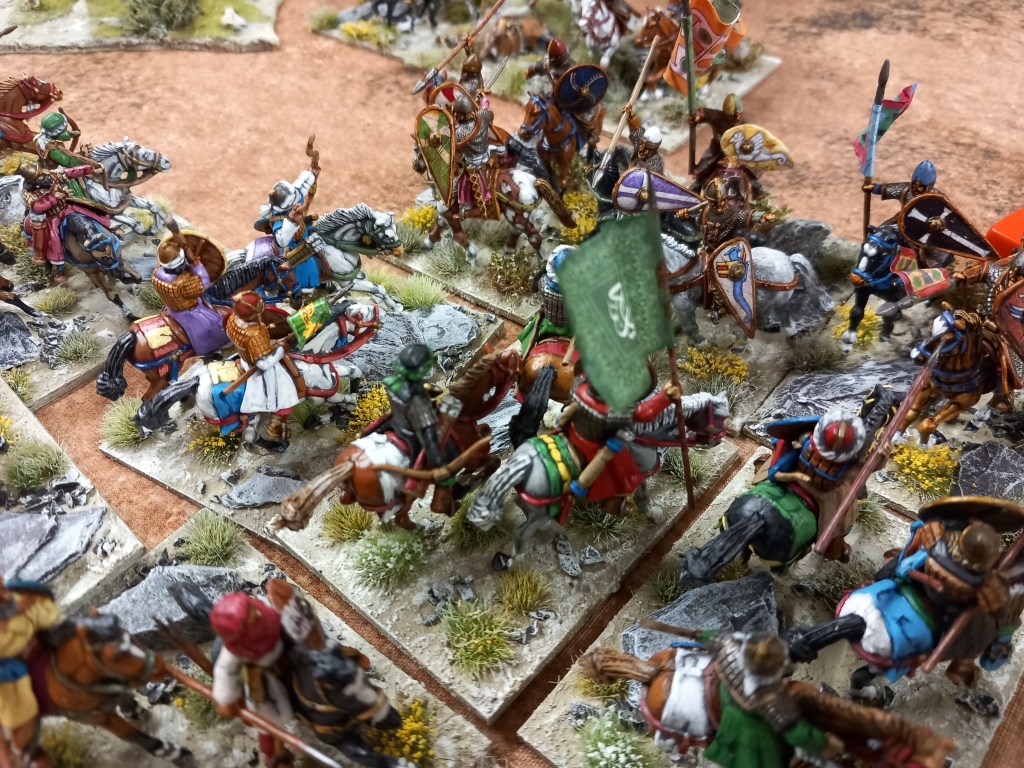
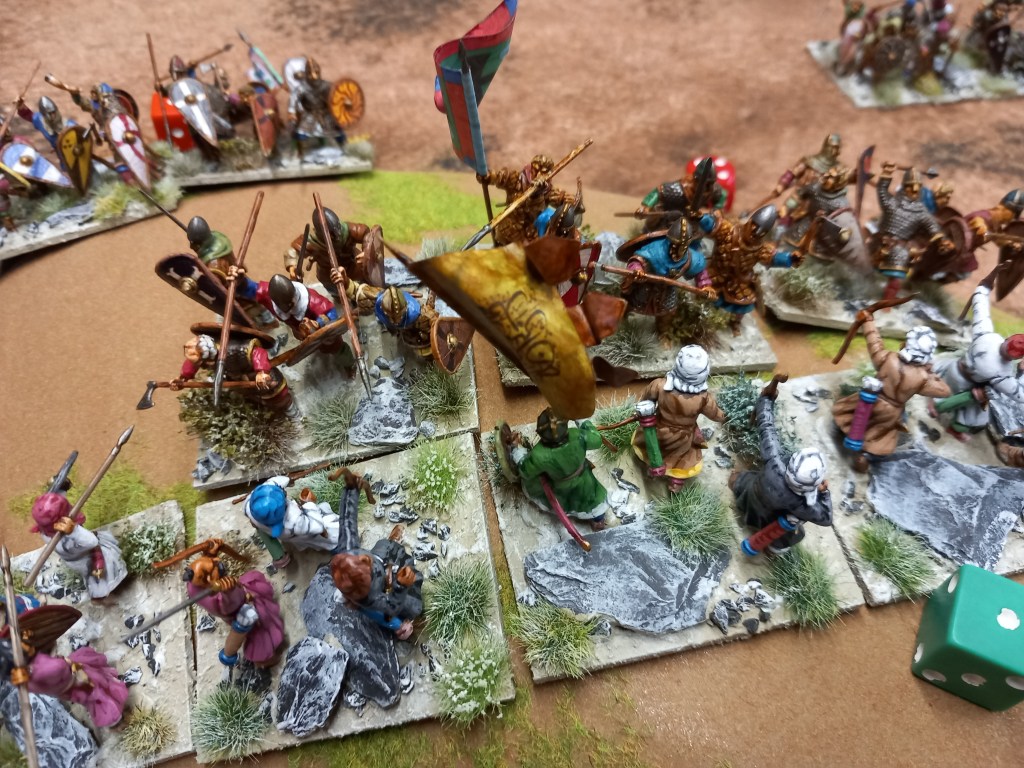
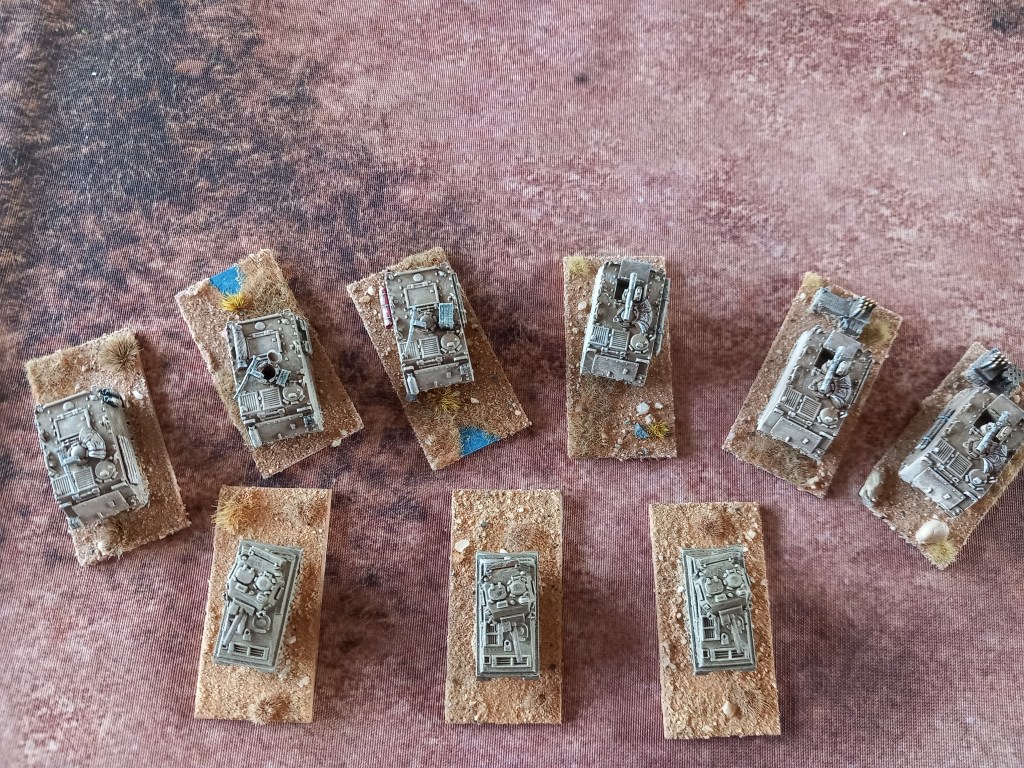
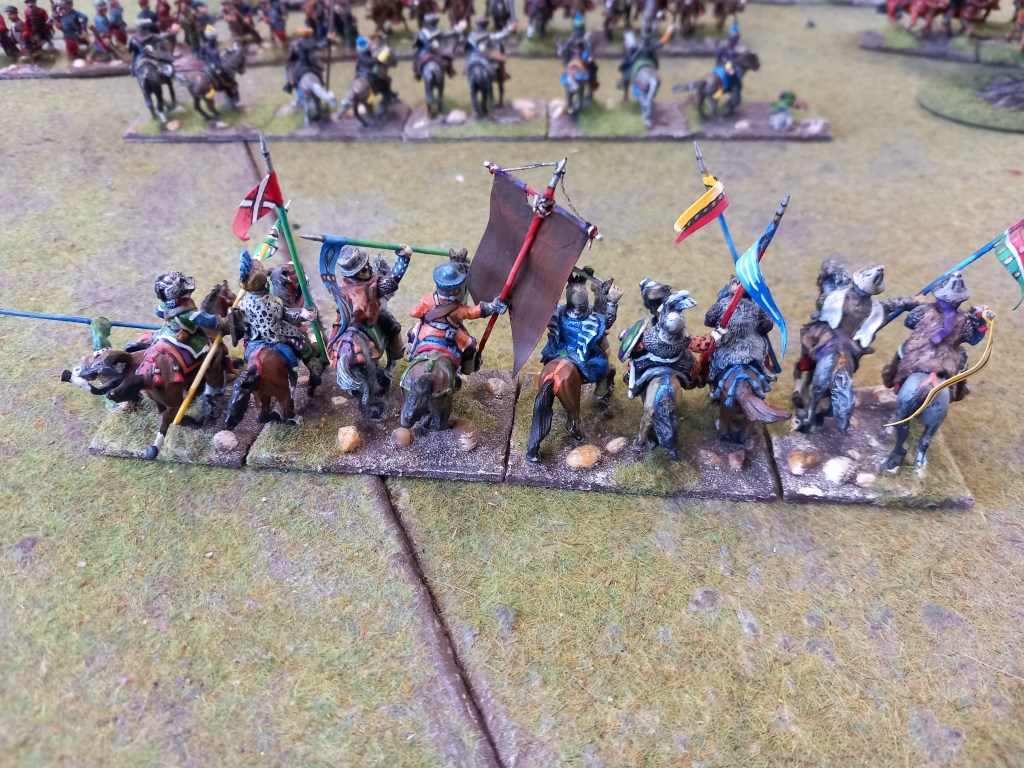
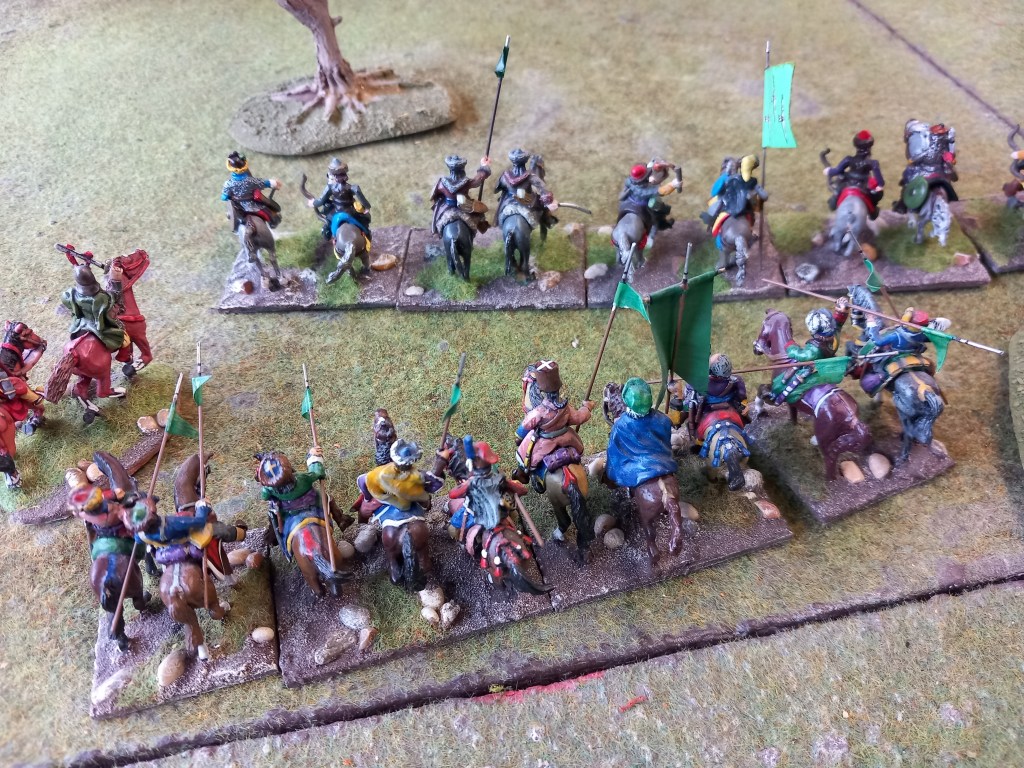
Holidays and the heat have meant that not much has been achieved on the painting table although I have got some more Iran Iraq command stands done. What time has been available has been spent on my renewed effort at sorting rules for the Timurid collection so stay tuned. In the meantime, enjoy the sun and enjoy your gaming.